
Moving this thread over from the ix section. Hope you like.
You might remember "Mila" - the BMW Performance Magazine cover car of January 2010. a 500+whp screamin demon.. well her younger, and soon to be hotter sister just moved into town!
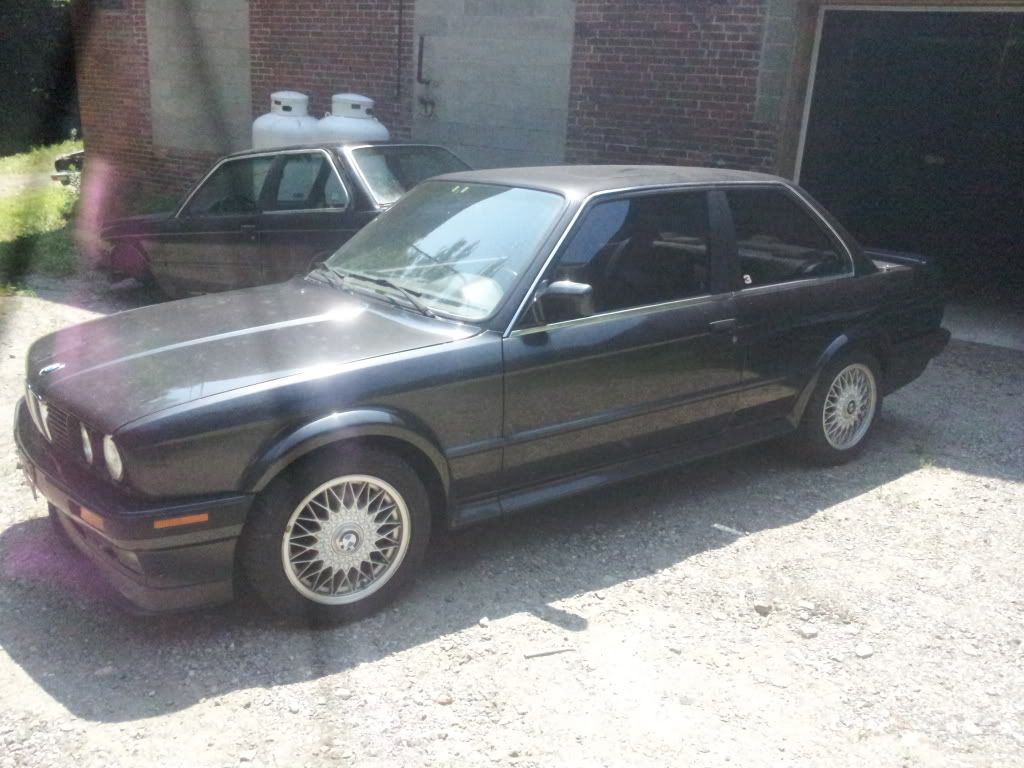
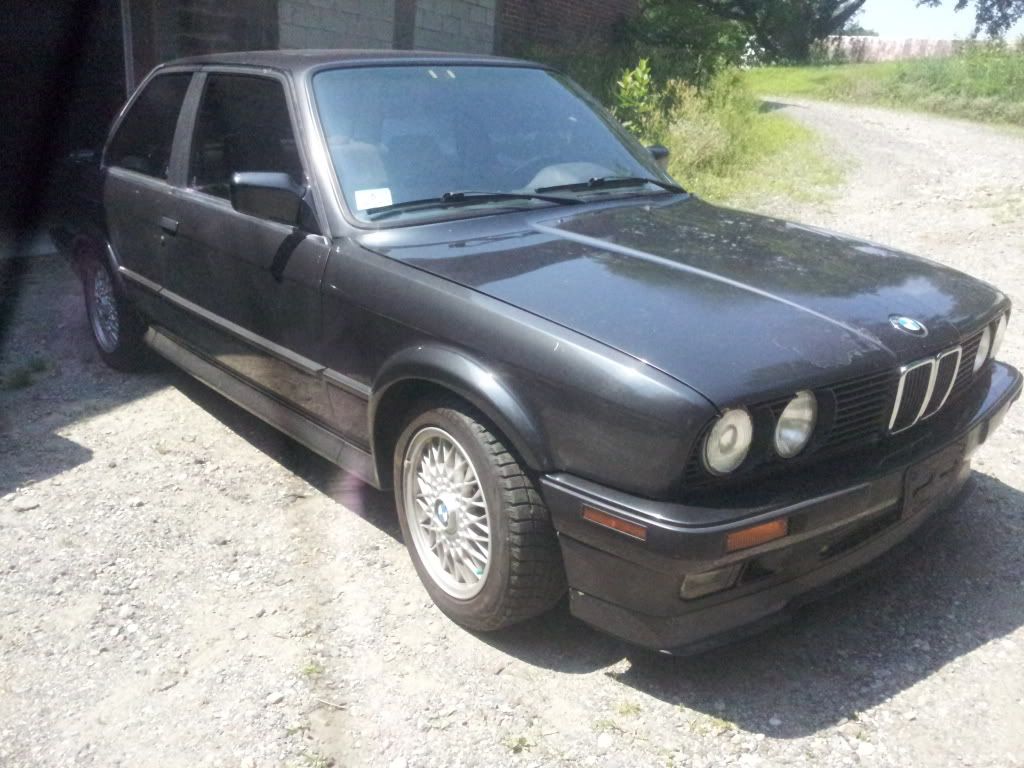
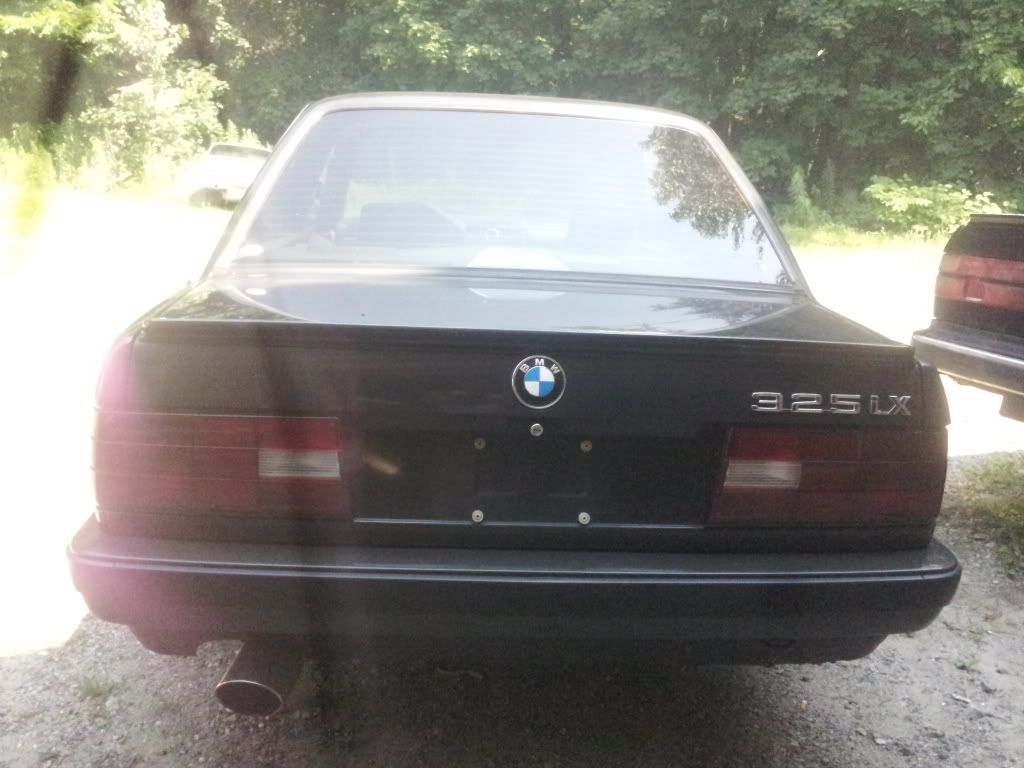
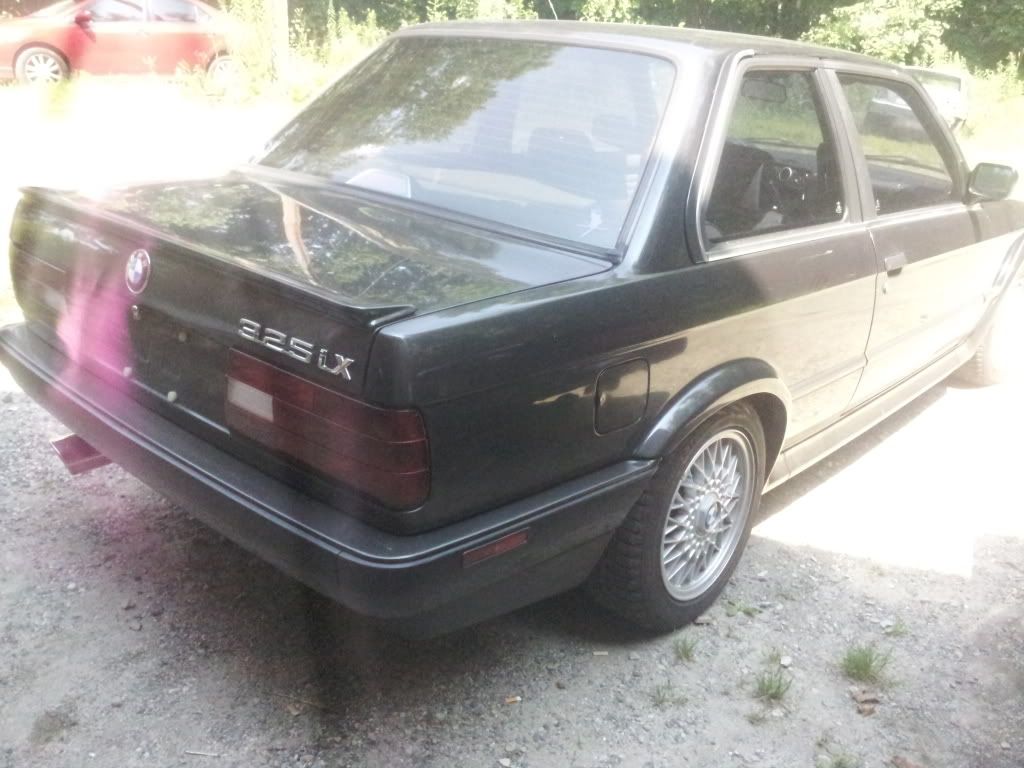
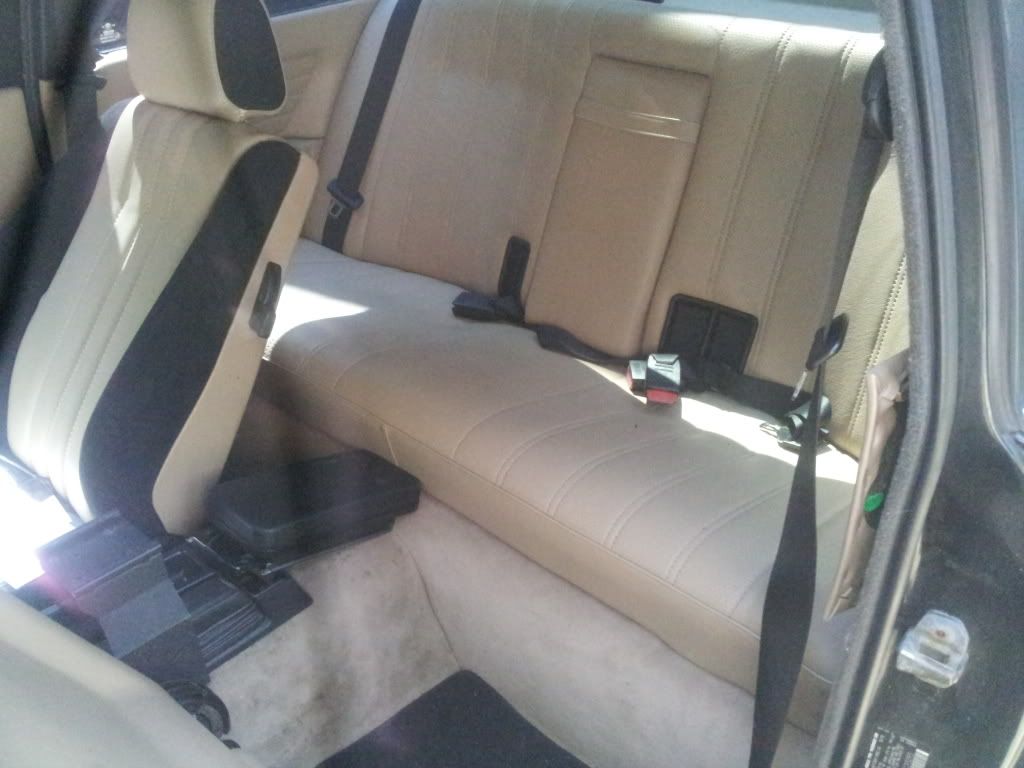
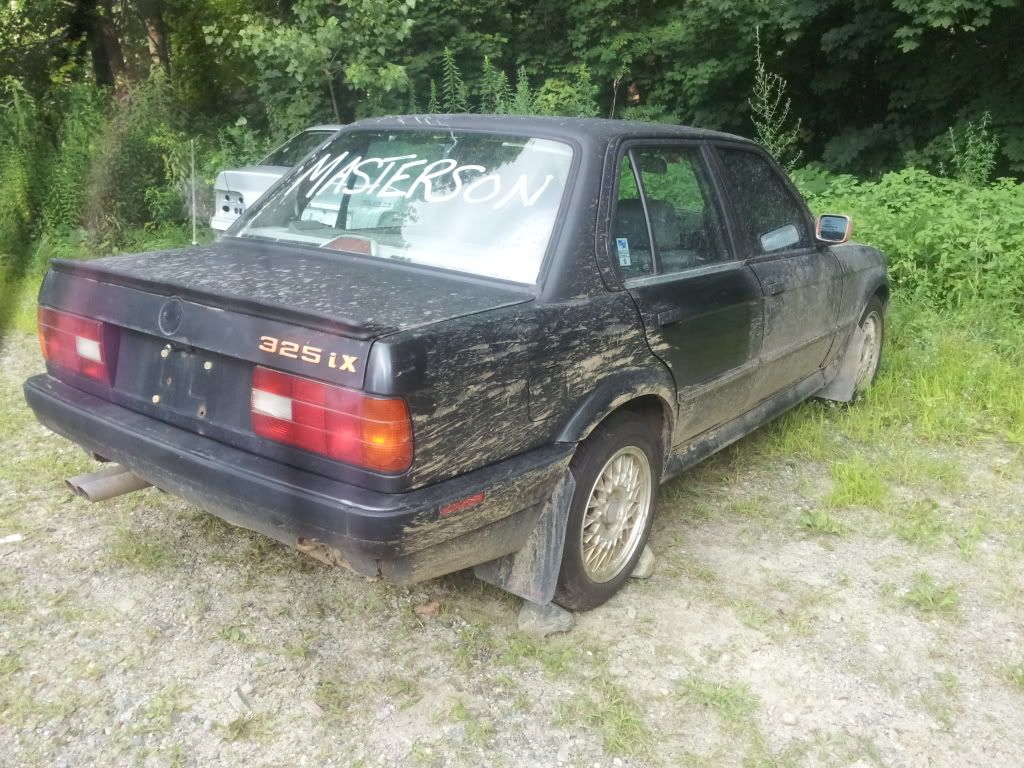
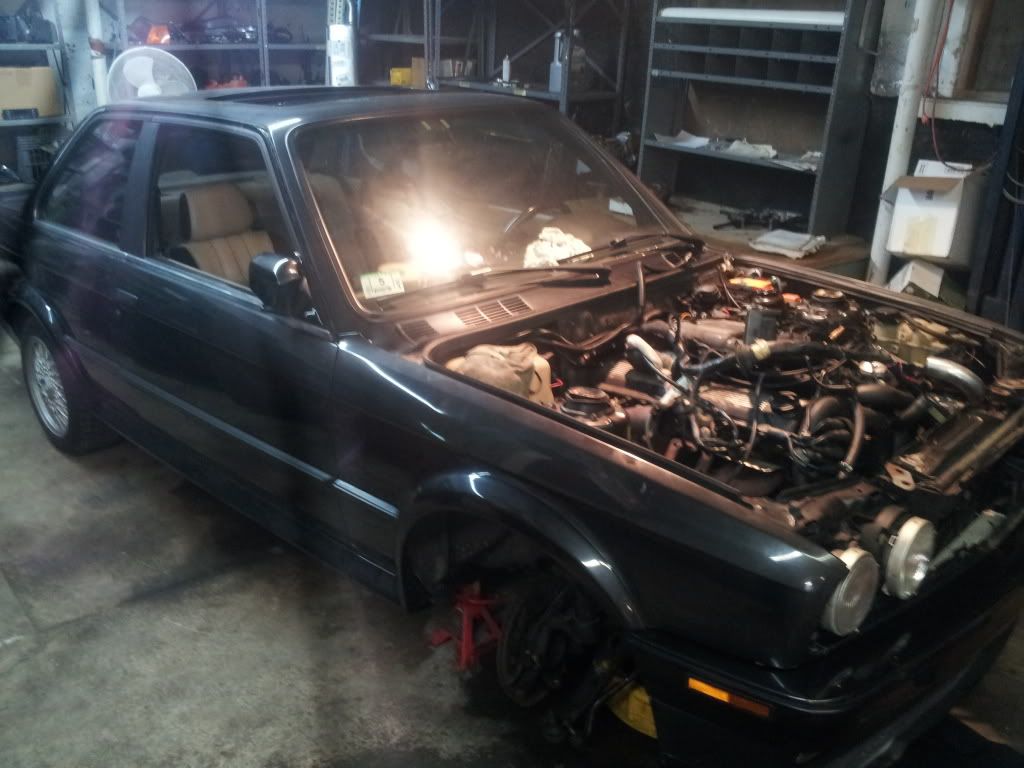
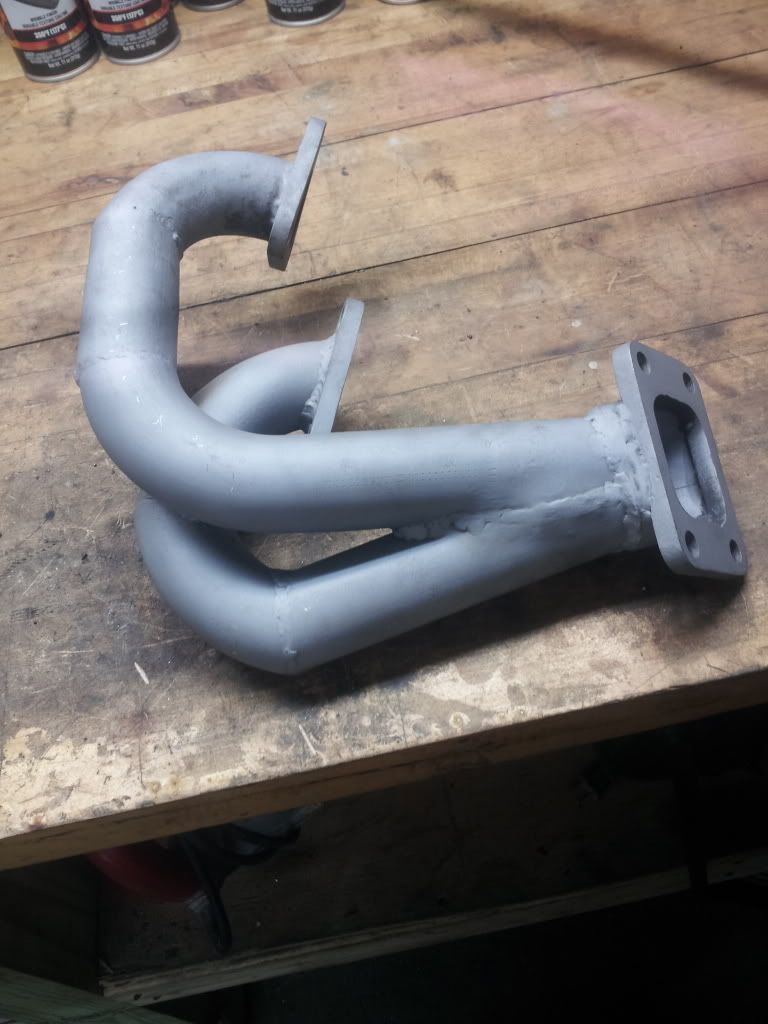
Ladies and gentlemen, i present to you Ms. Lela - a Diamondshwarz, 1991 Bmw E30, 325IX Coupe, roughly 116k Turbocharged, automatic transmission with a soft and beautiful immaculate tan heated Sport leather interior, tinted windows, and a 3'' turbo-back exhaust.
She was spotted cold and lonely, stripped of her beautiful voice (all stereo components including speakers, tweeters, factory amp, and head unit) in the New england patriots hometown of Foxboro MA. Being offered for a unbeatable price.. i absolutely HAD to pick her up and bring her home to be sorted in the best manner possible.
Simply put, I wanted a resoration project, and not your typical e30. I went for the praised unicorn, second best to the e30 m3, I found awd to be much more what I wanted. This was a great start. My plans originally were as follows:
Strip car, fix any rusts.
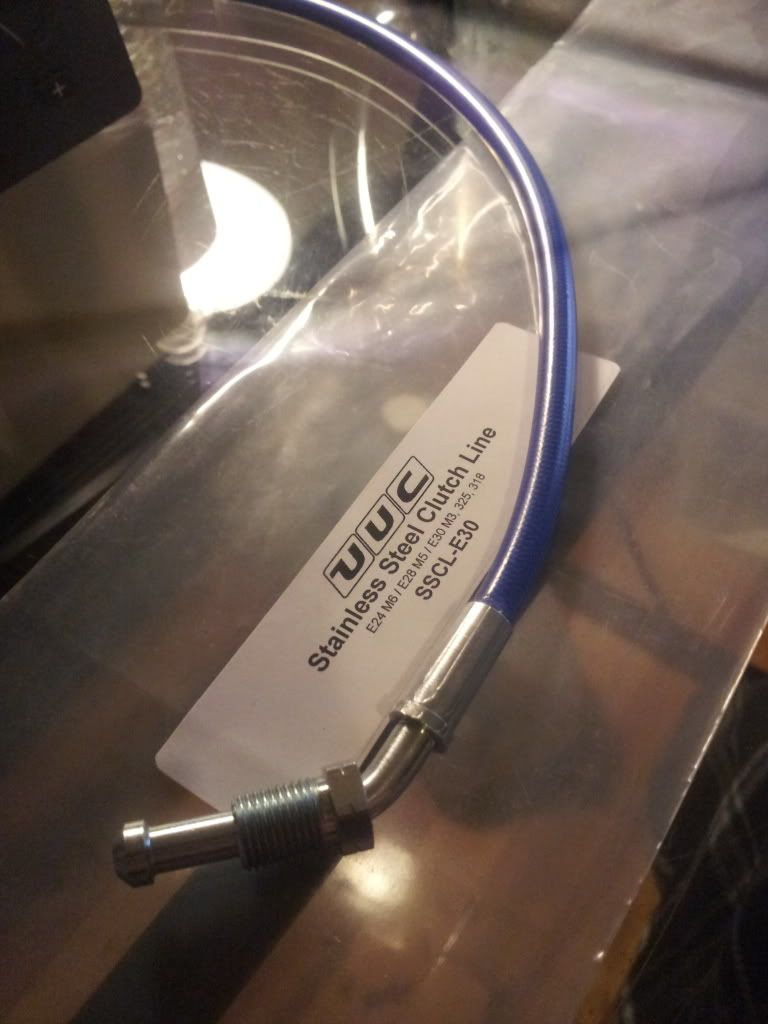
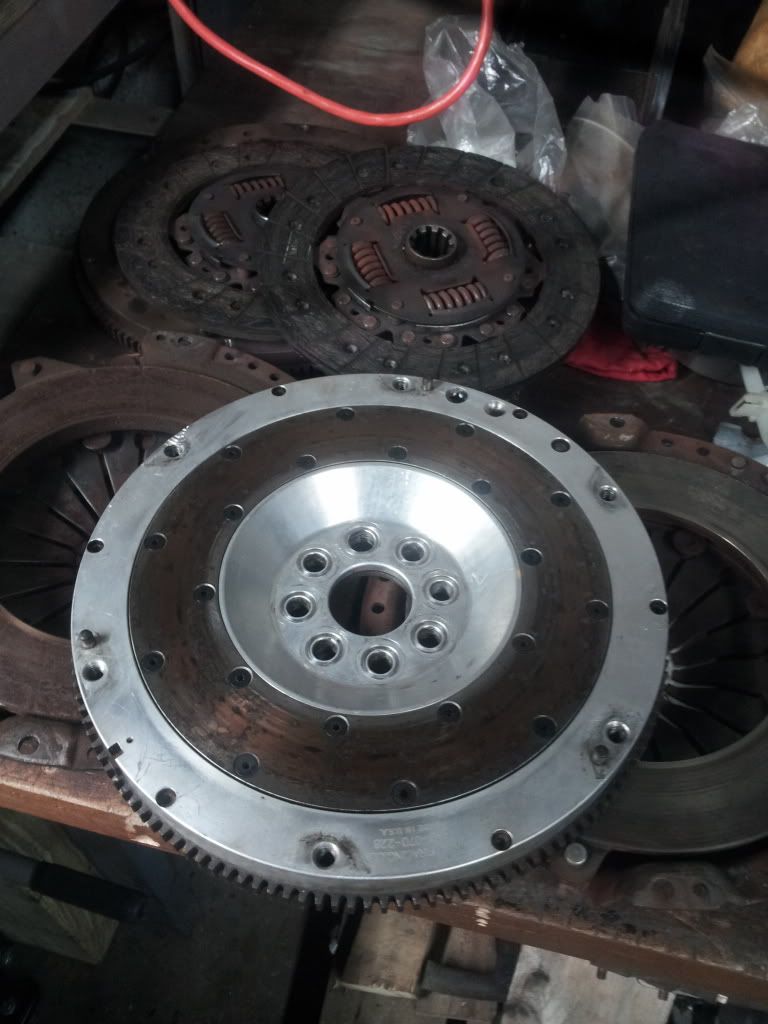
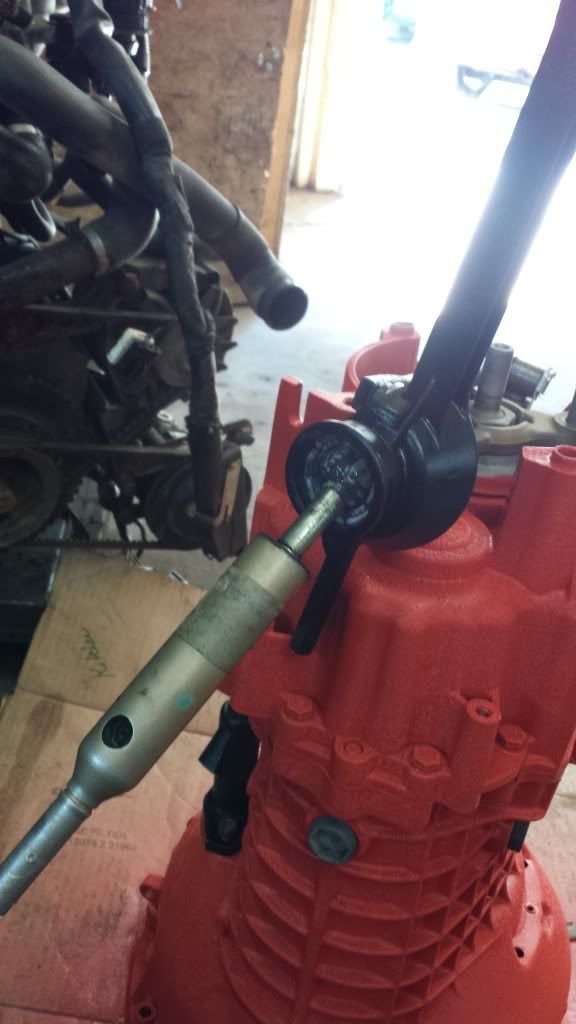
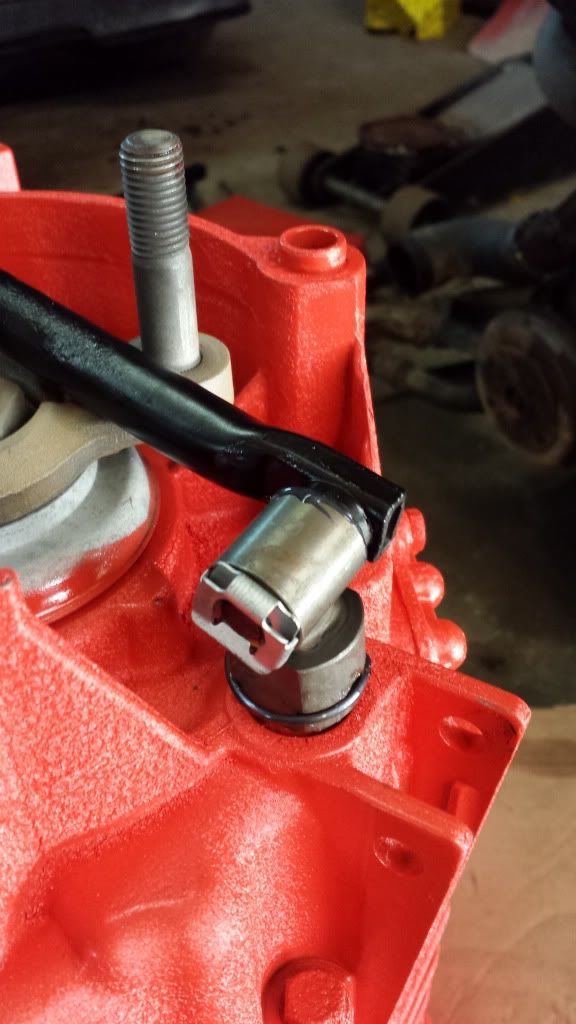
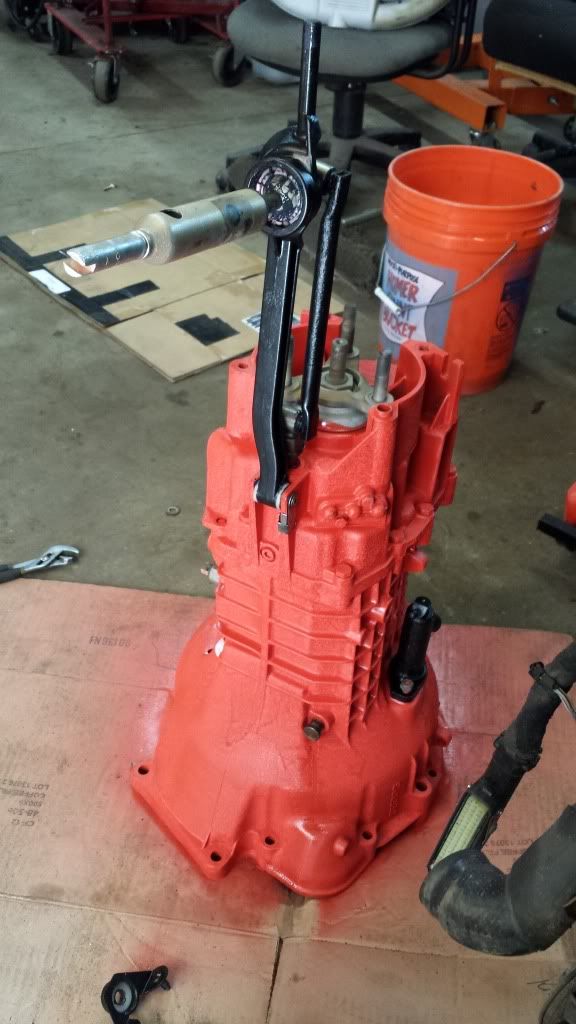
Swap to a 5 spd.
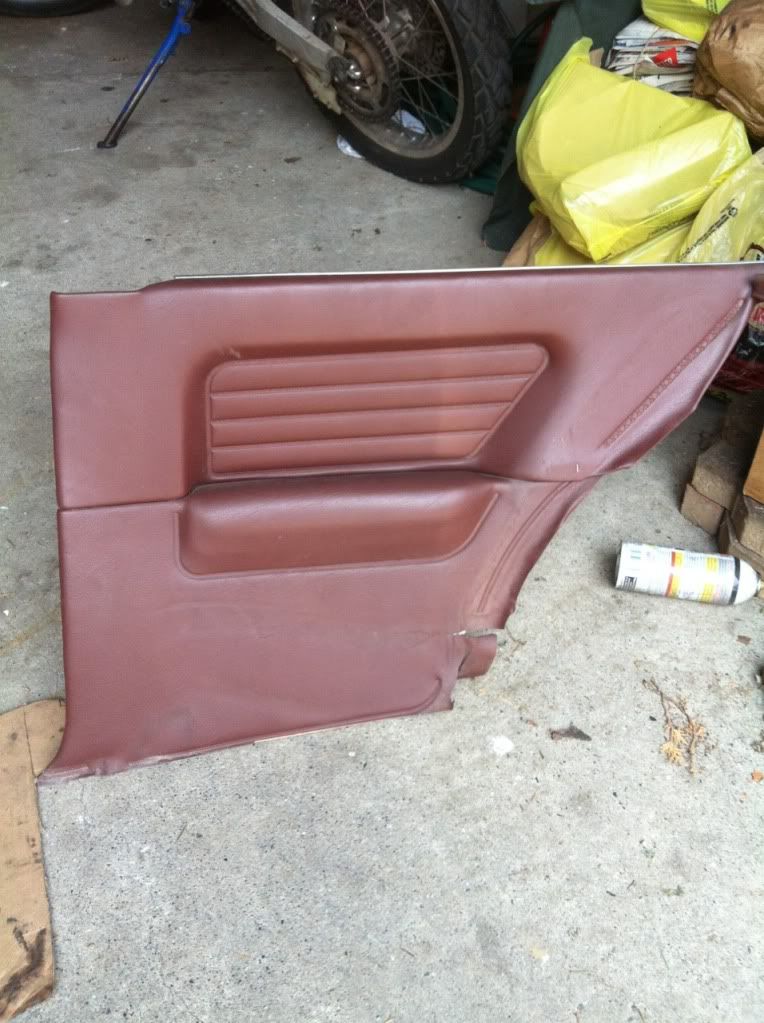
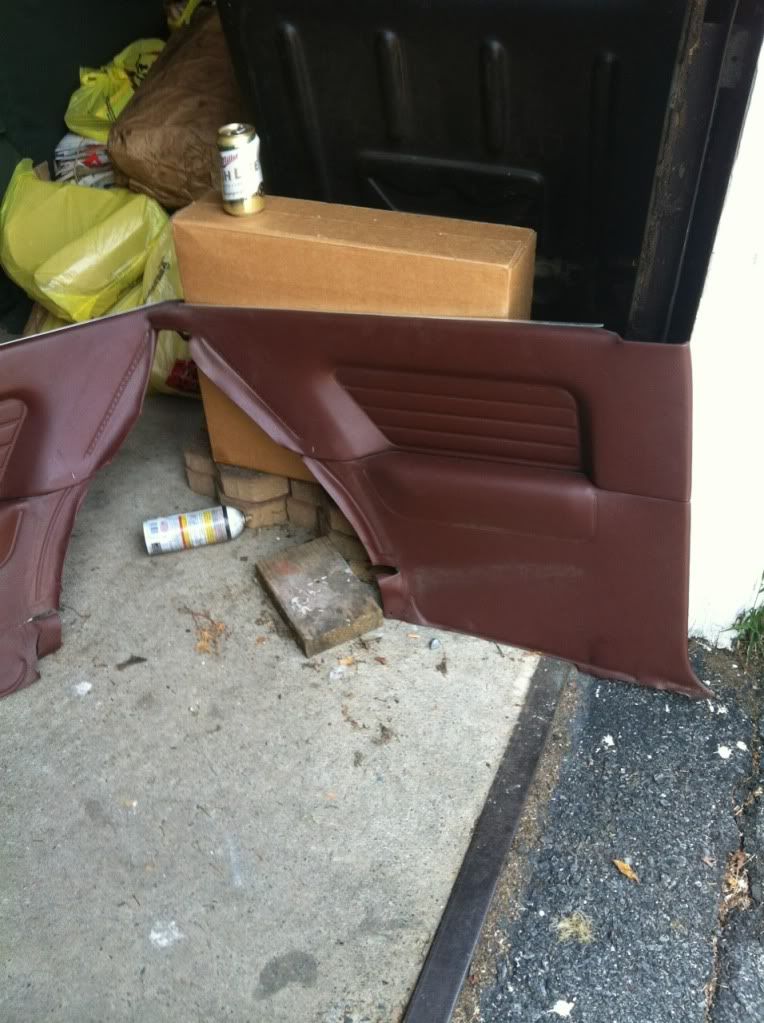
Remove the tan interior.
Add additional luxuries (power/heated seats, rear heated seats, lighting delaY module, rear passenger lighting, front and rear cupholders and so forth.)
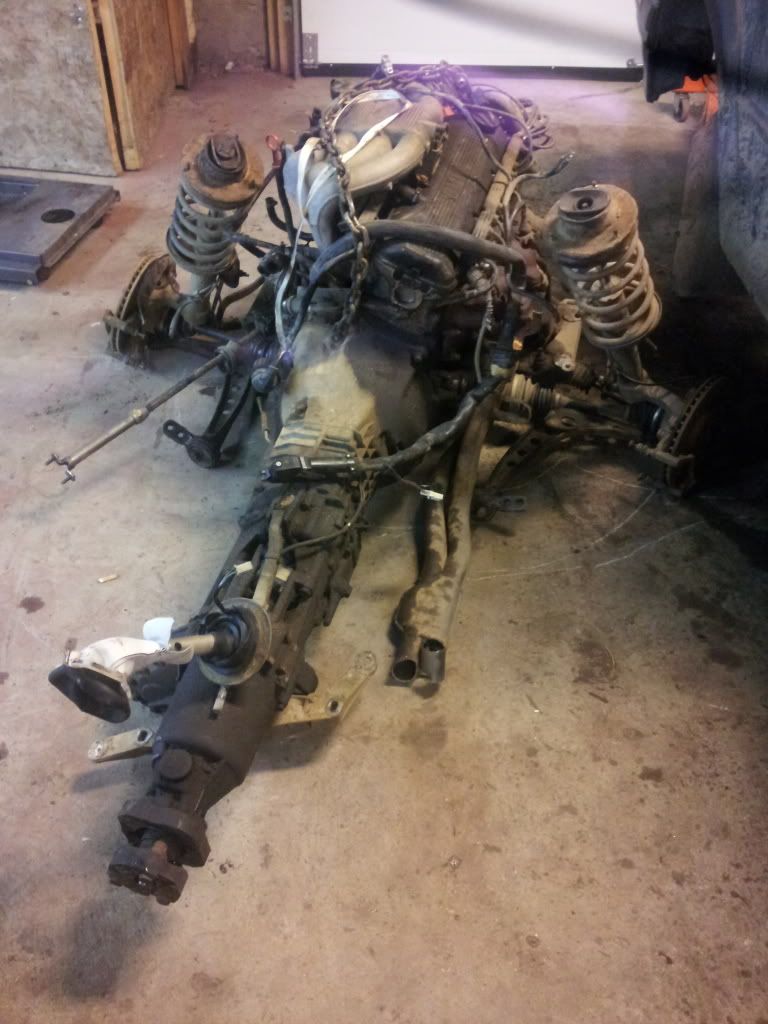
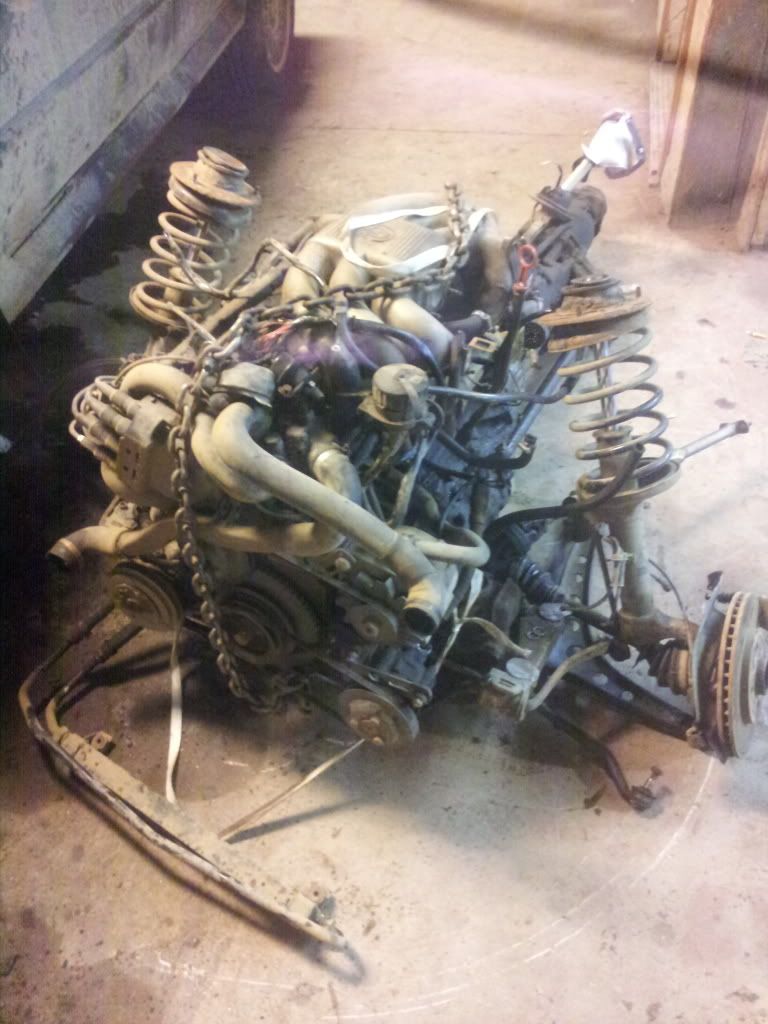
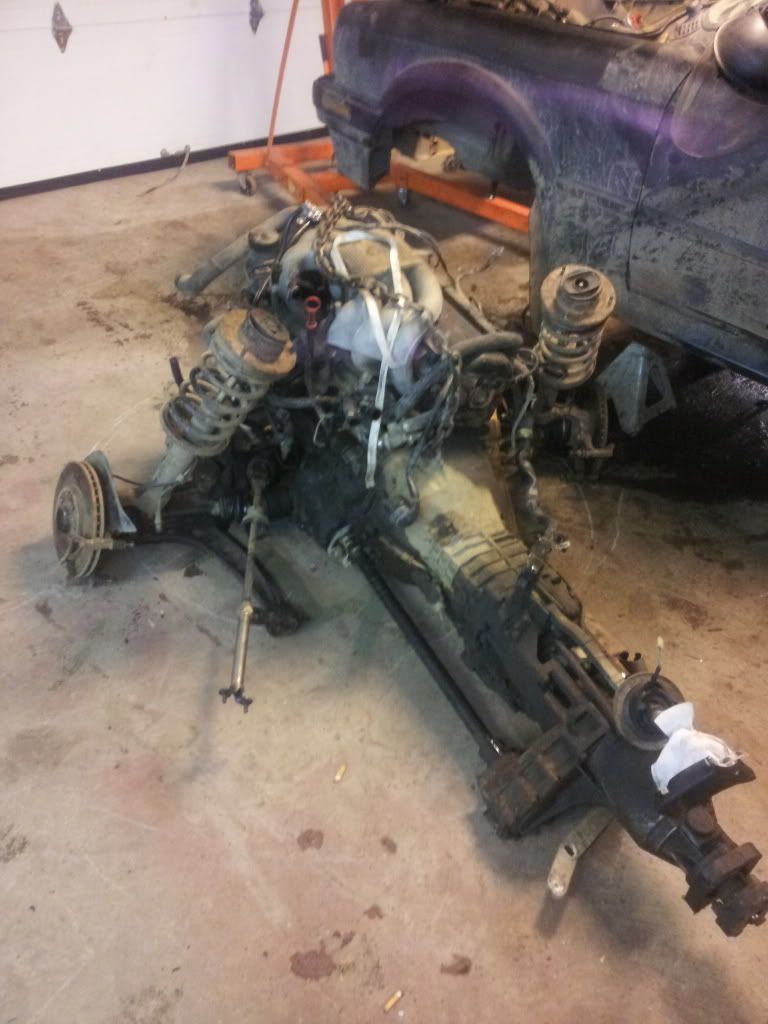
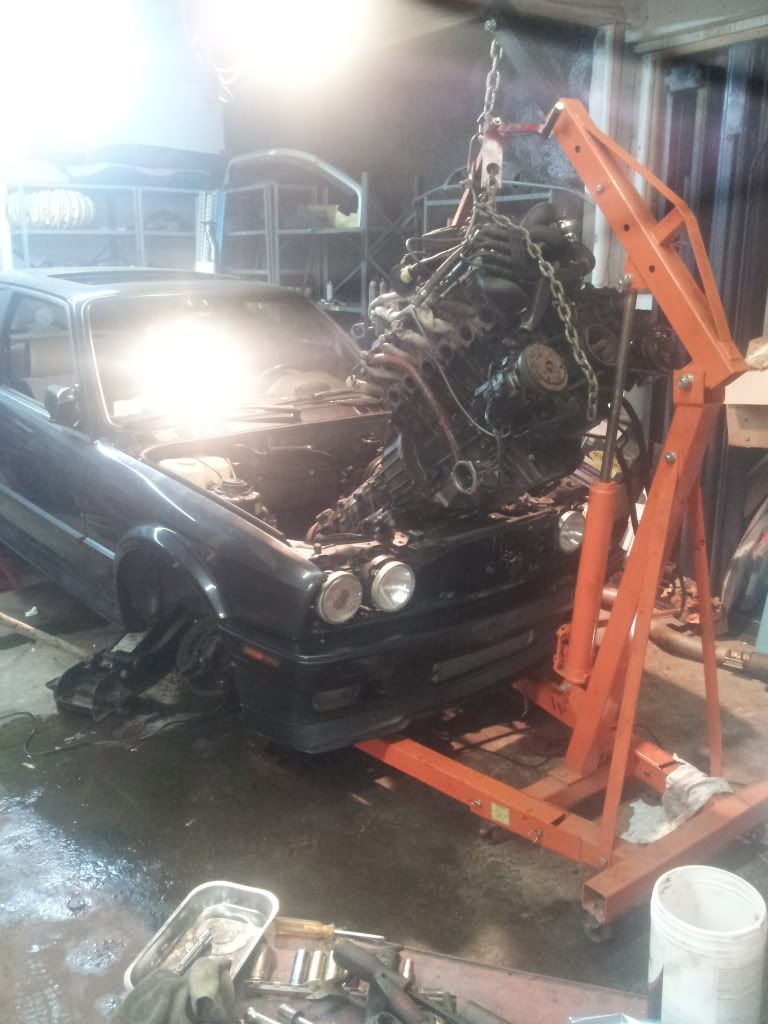
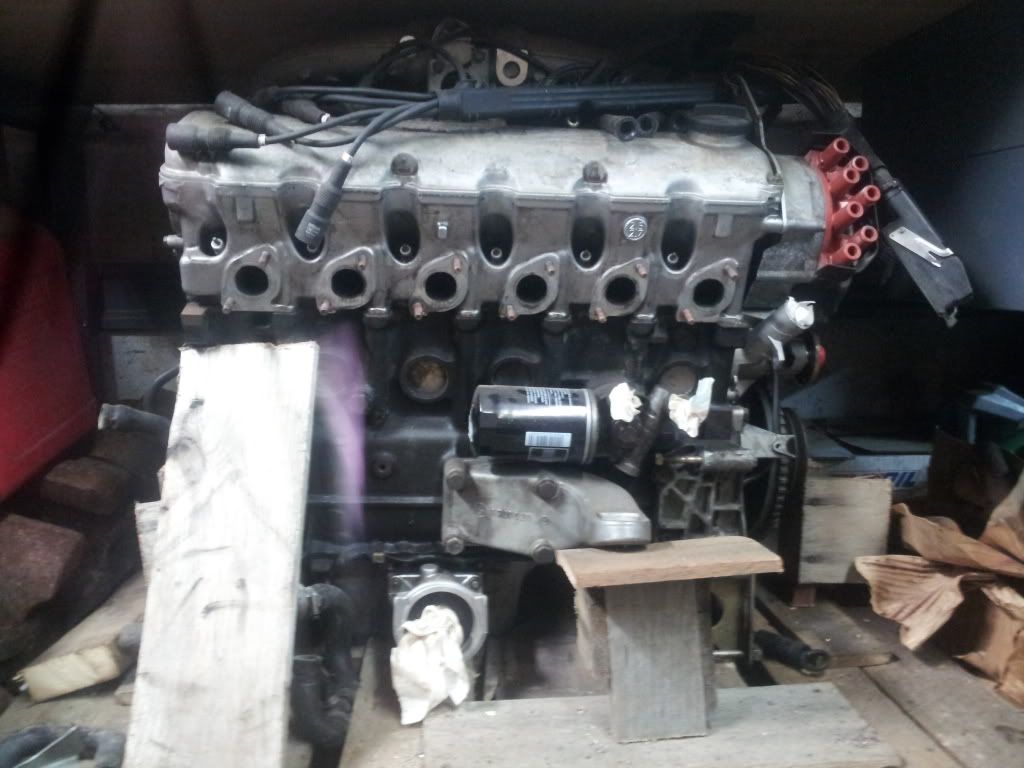
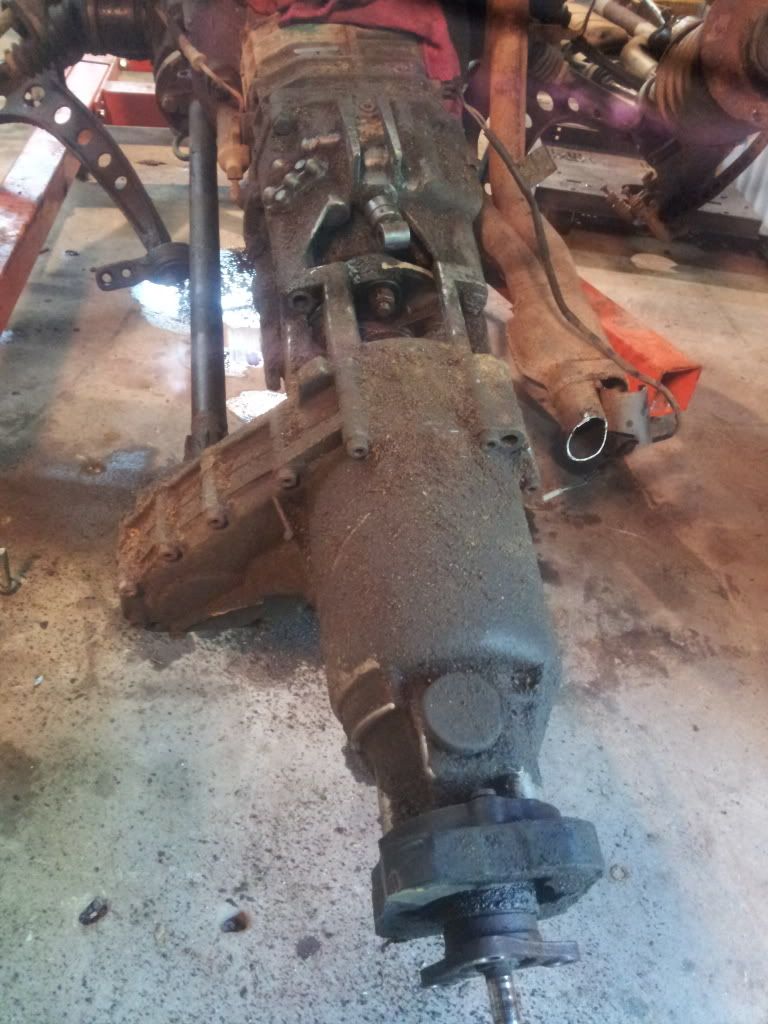
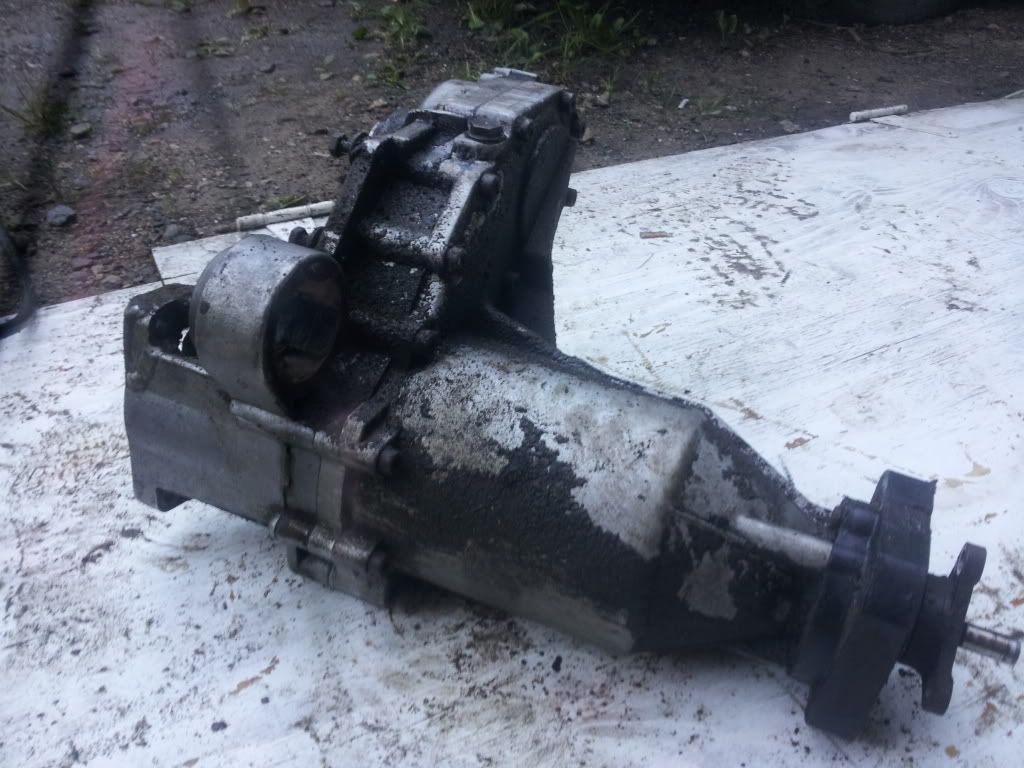
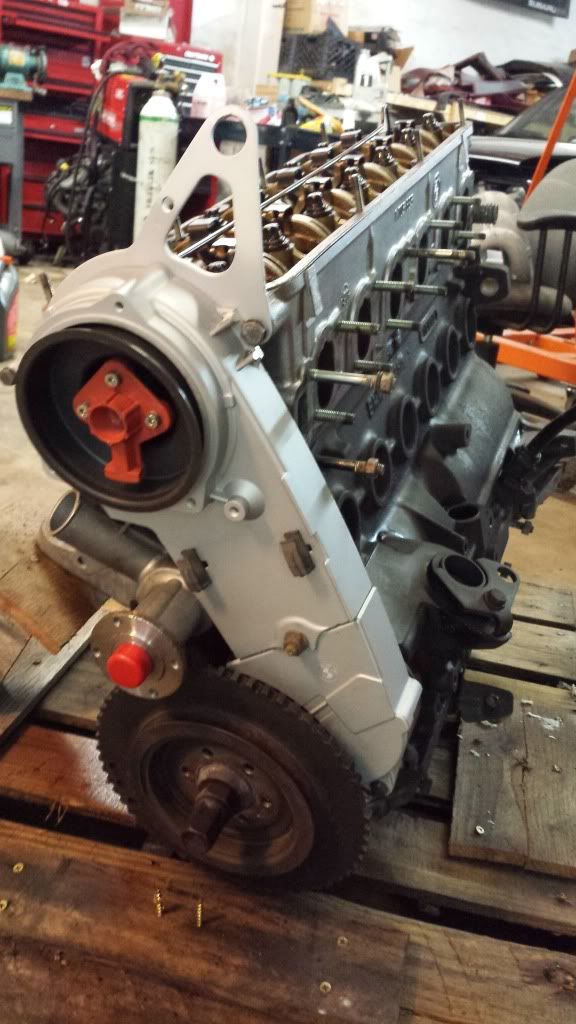
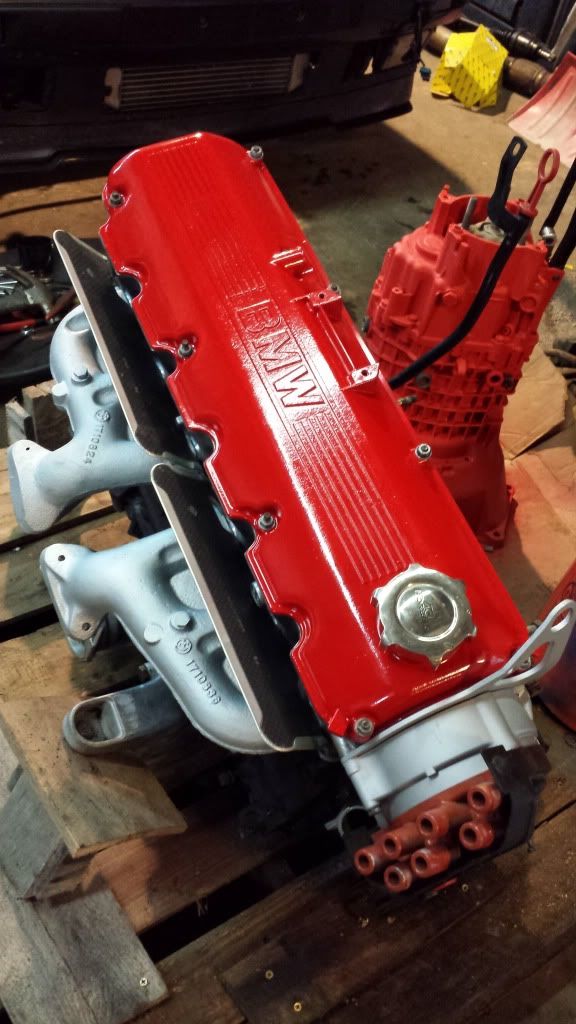
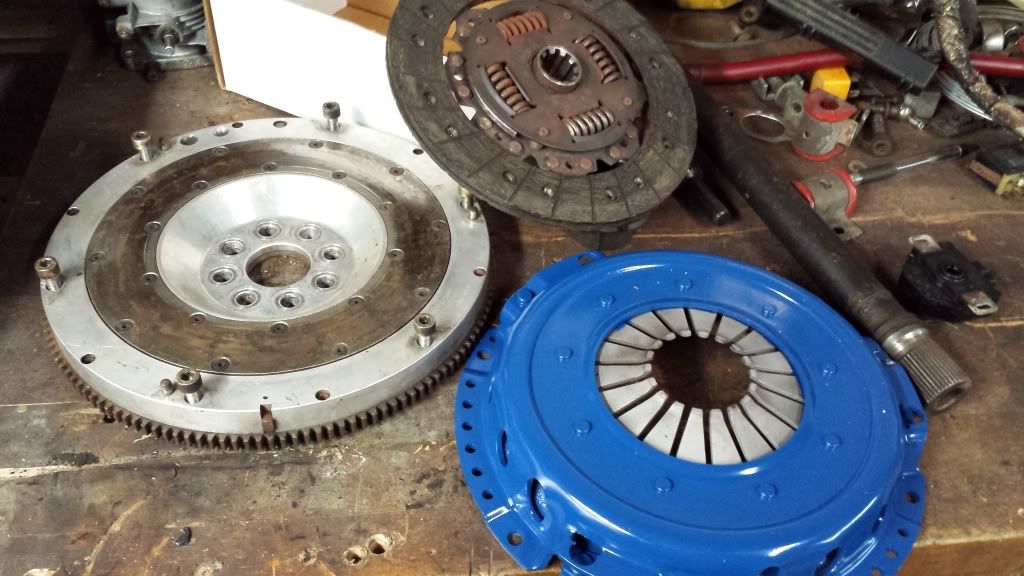
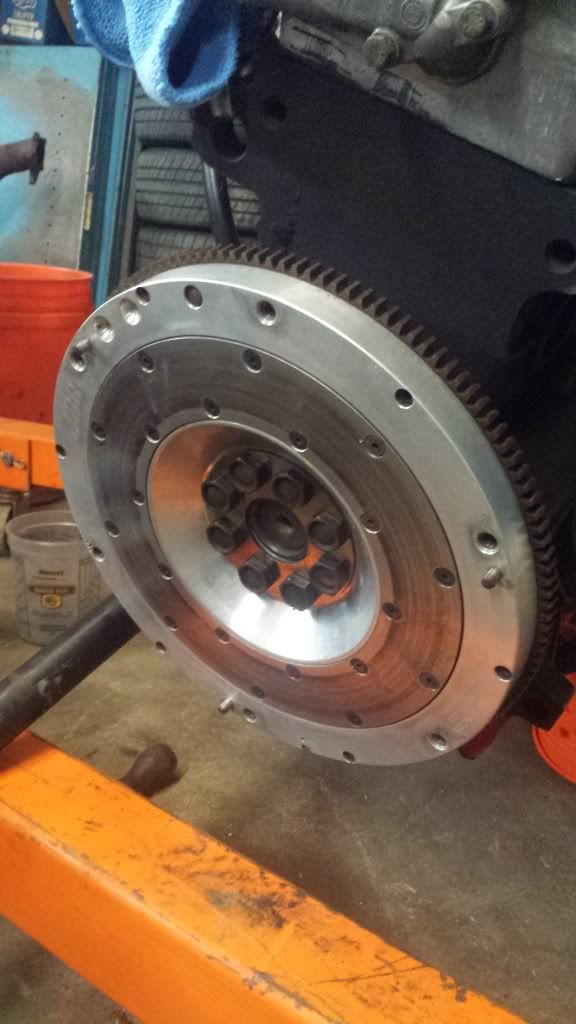
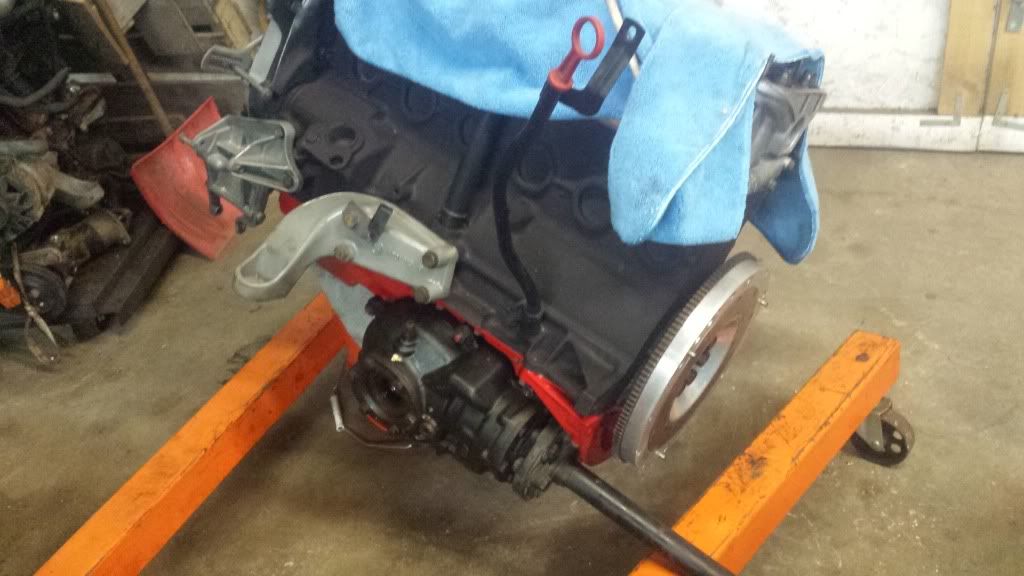
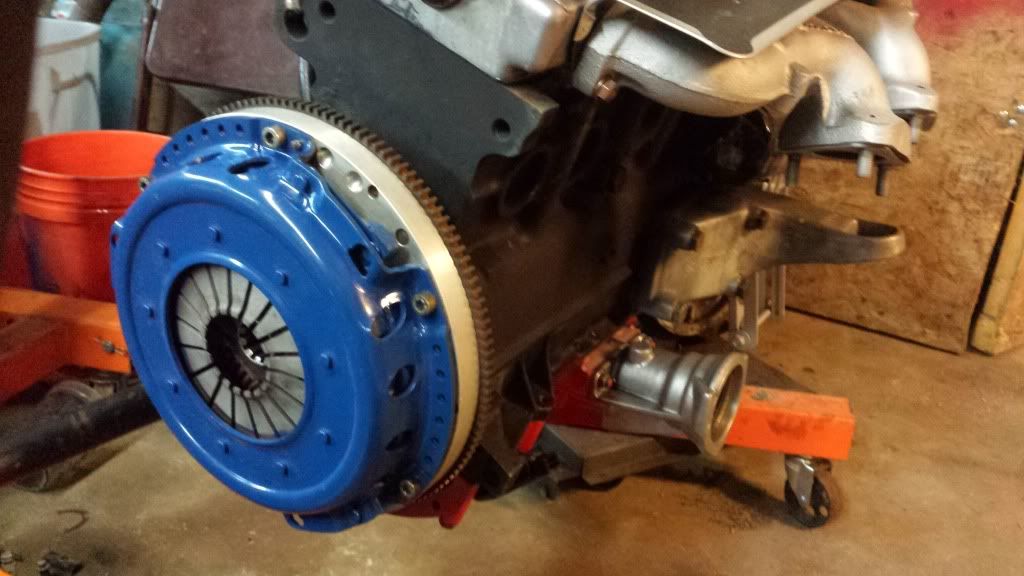
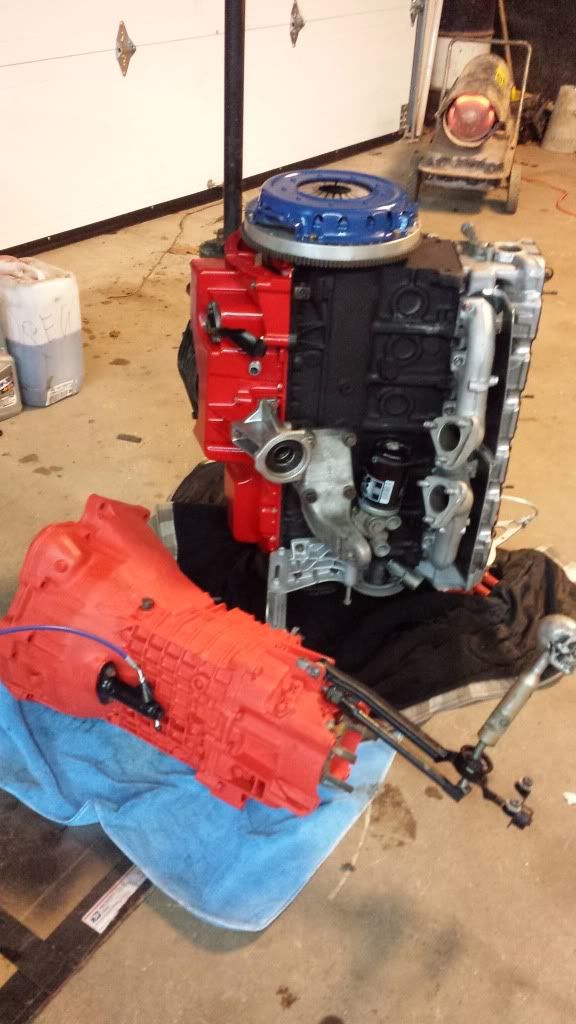
pull drivetrain and fully rebuilt and upgrade entire driveline and engine.
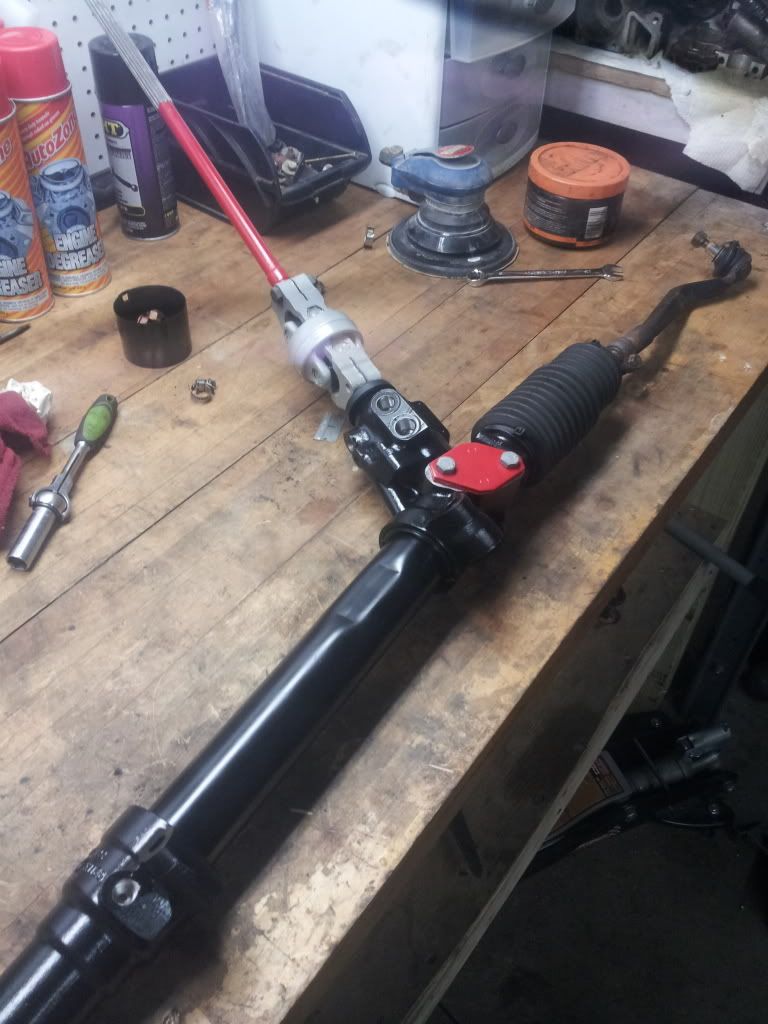
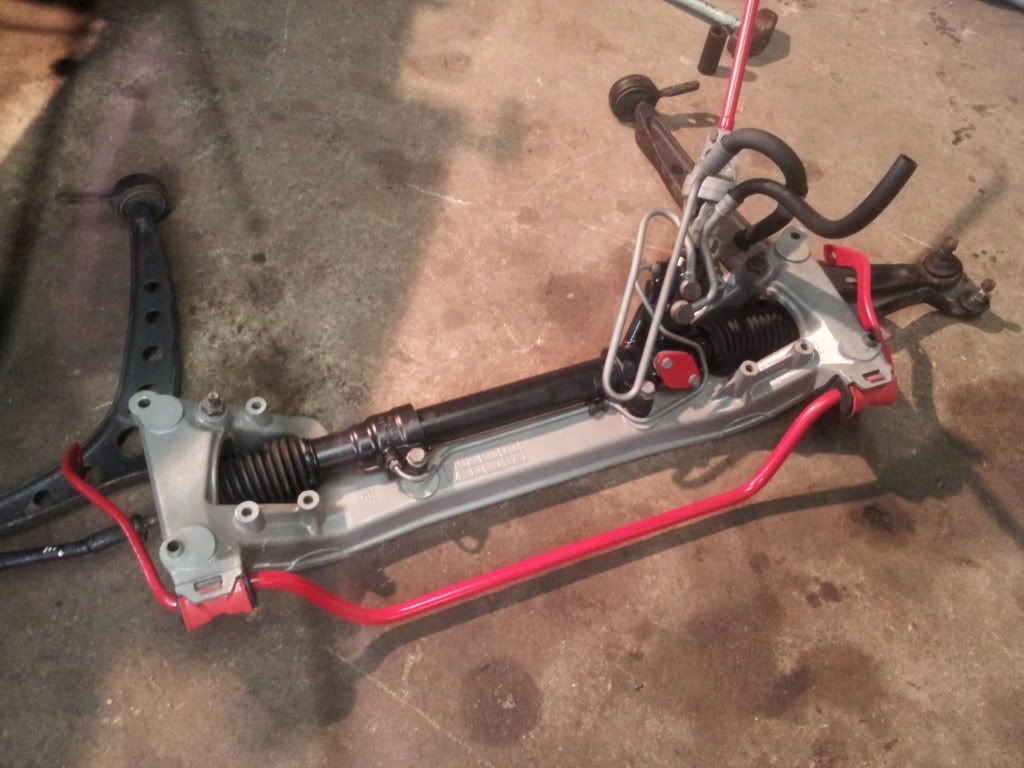
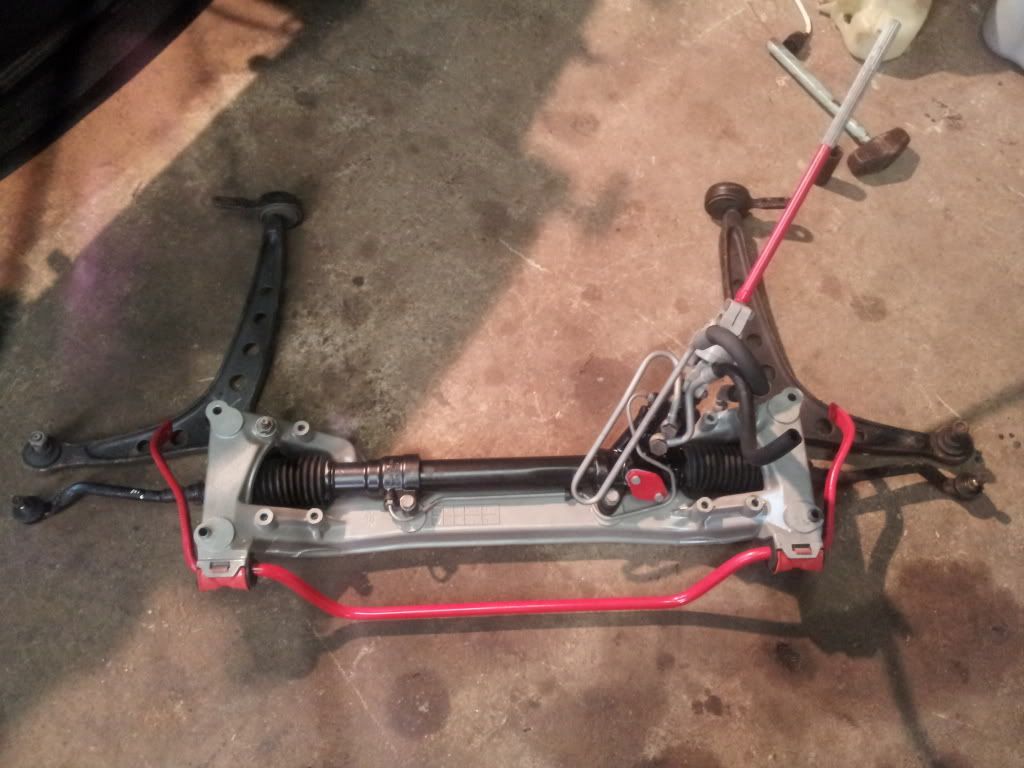
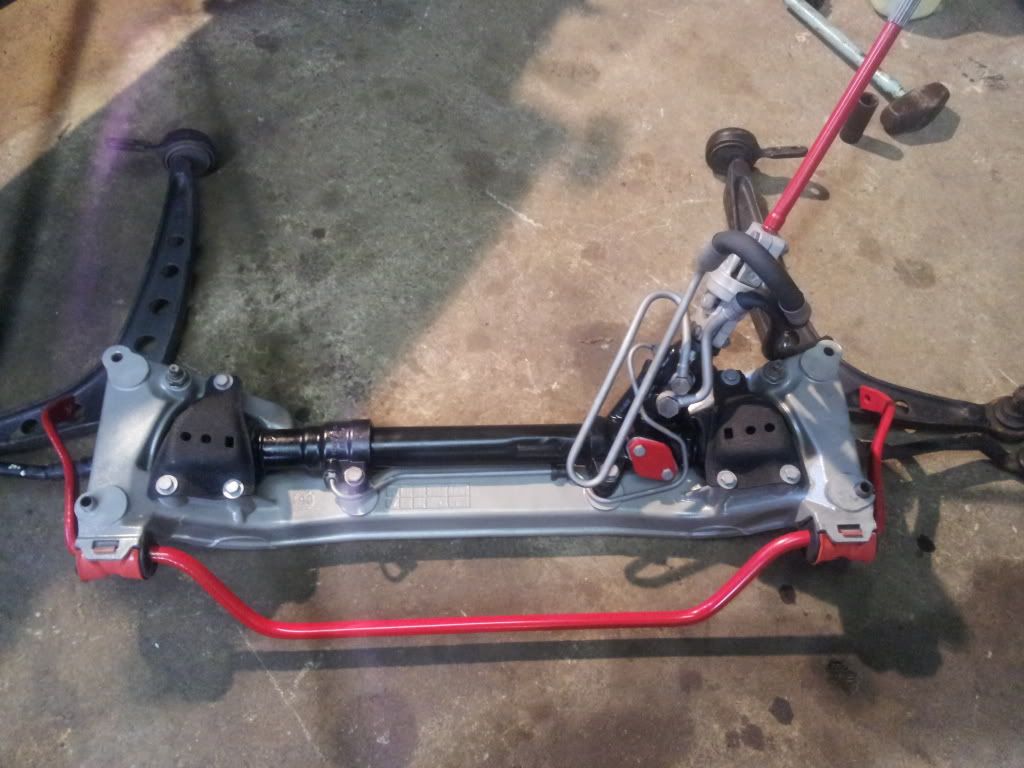
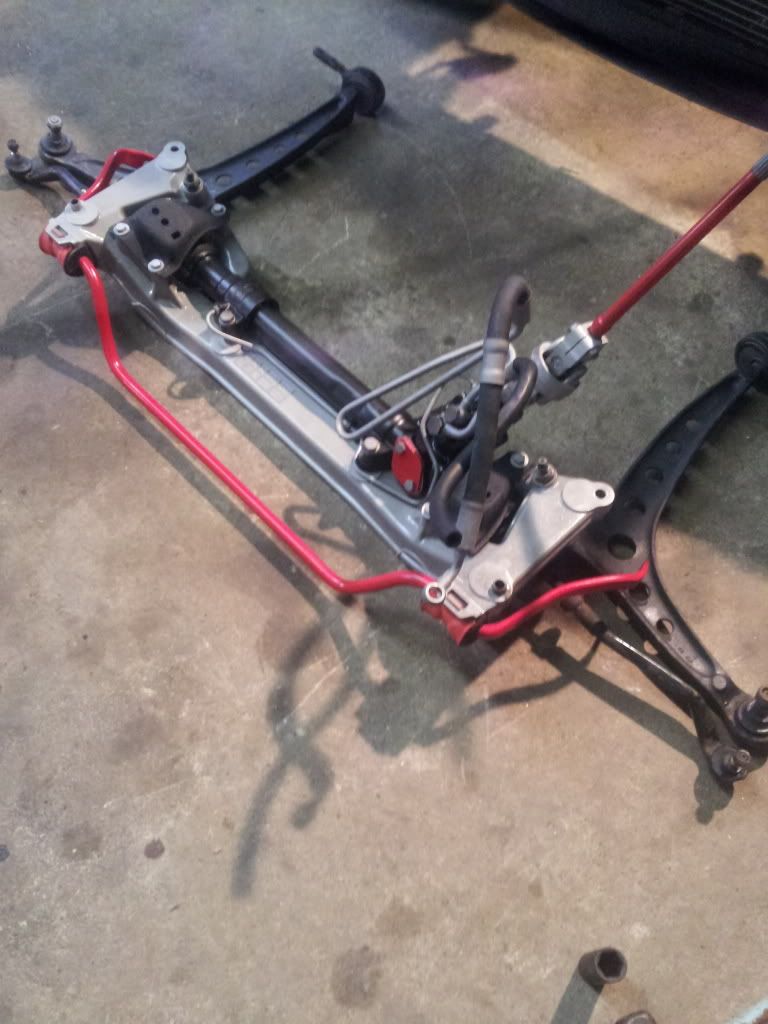
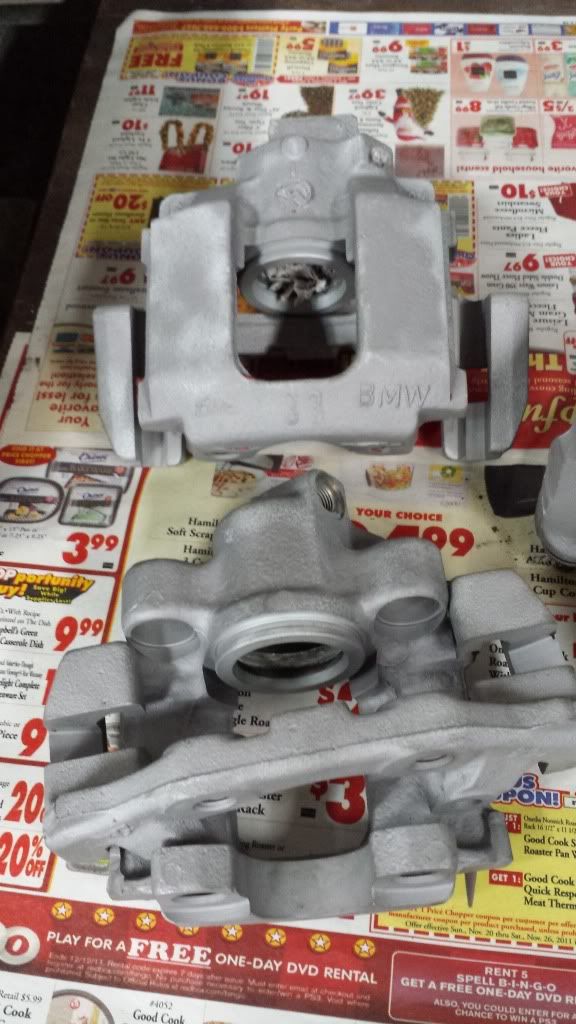
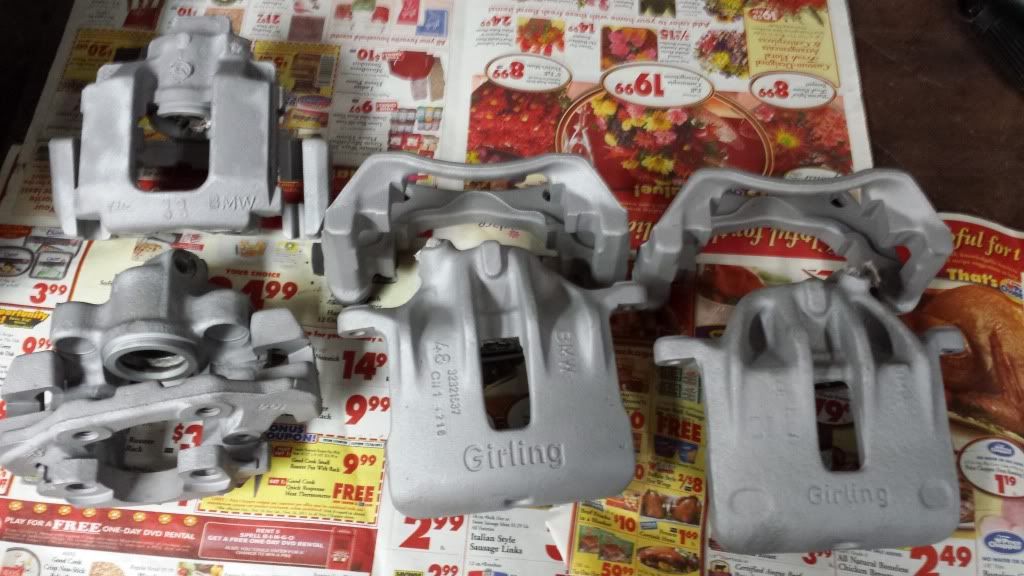
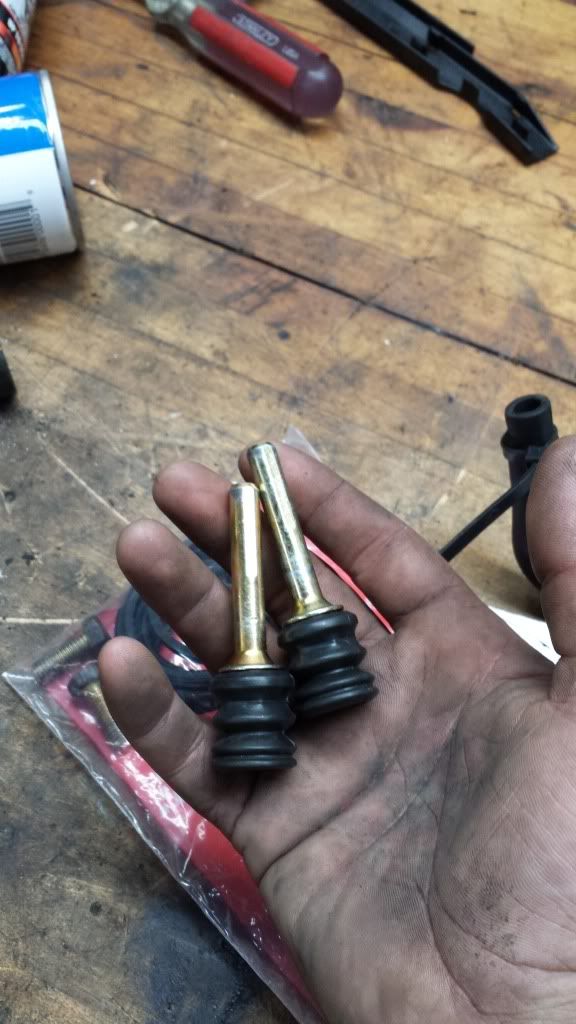
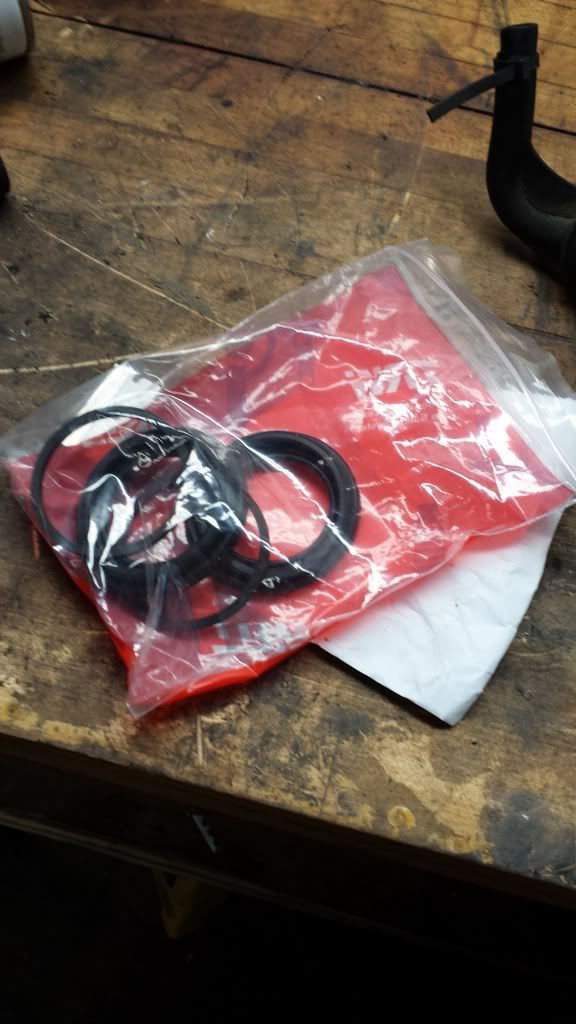
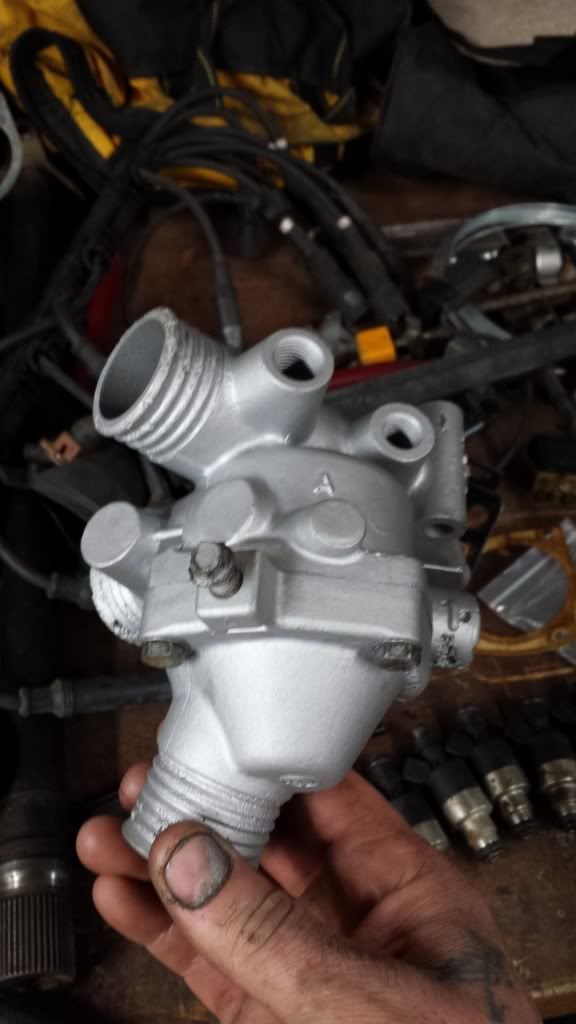
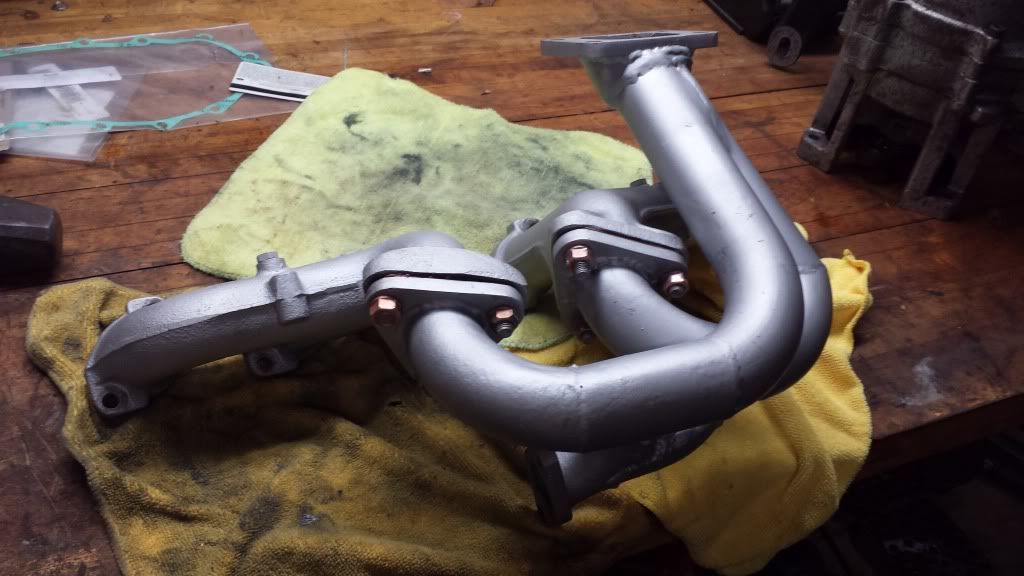
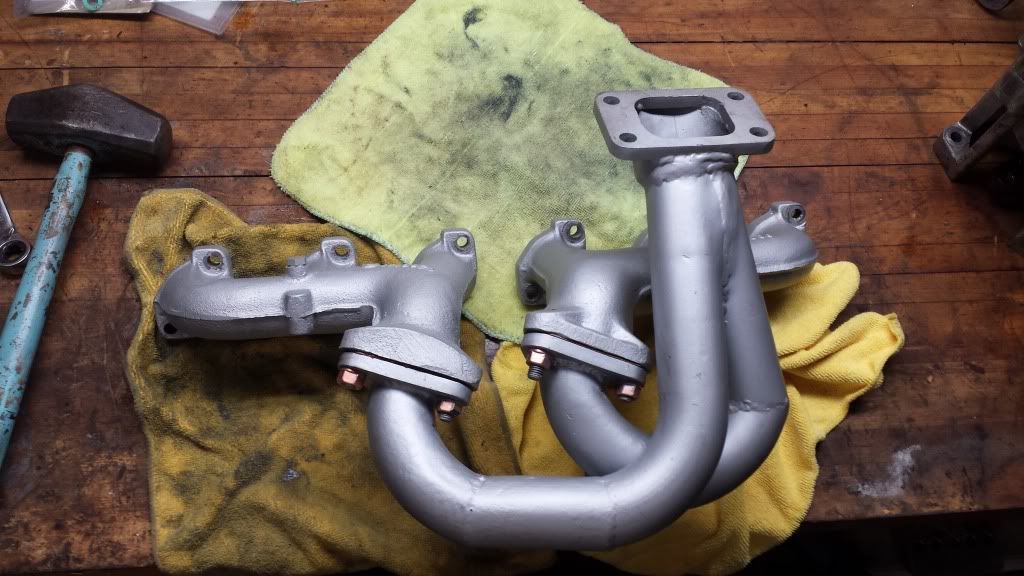
Sandblast and powdercoat everything along the way, install all new parts as necessary.
Install a screamer of a stereo system, professional installs, false floor trunk, bandpass cabin, and modify trunk space for cargo/tools/emergency kit/fire extinguisher.
Keep the detail OEM+, BUT still keep it attractive.
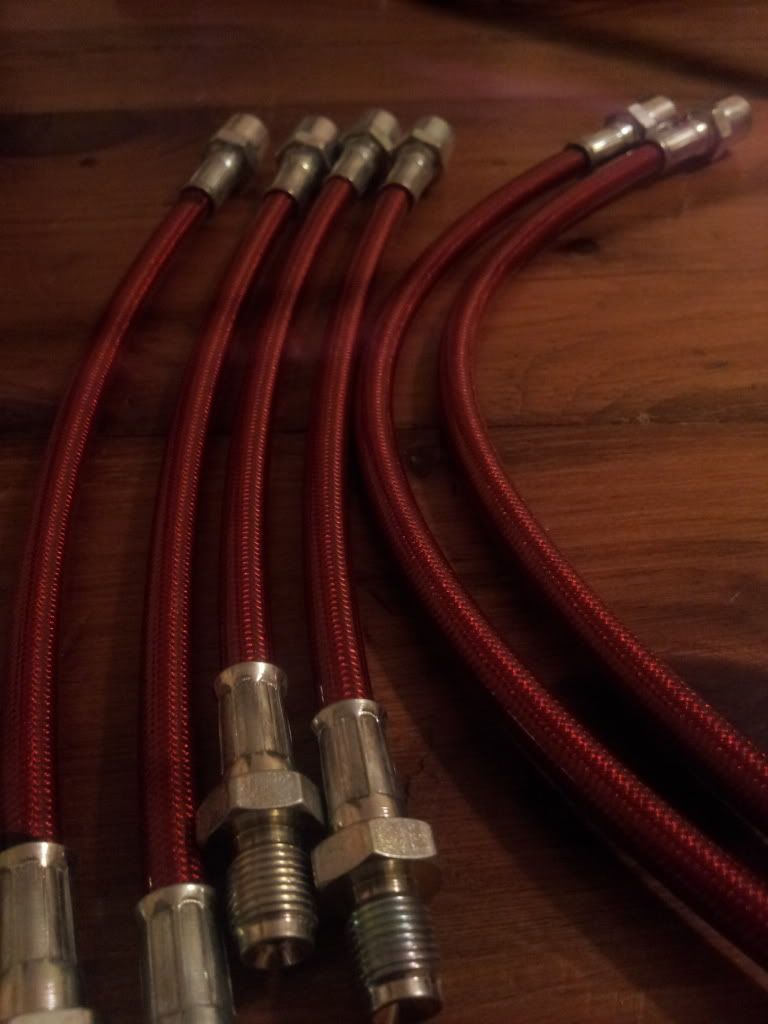
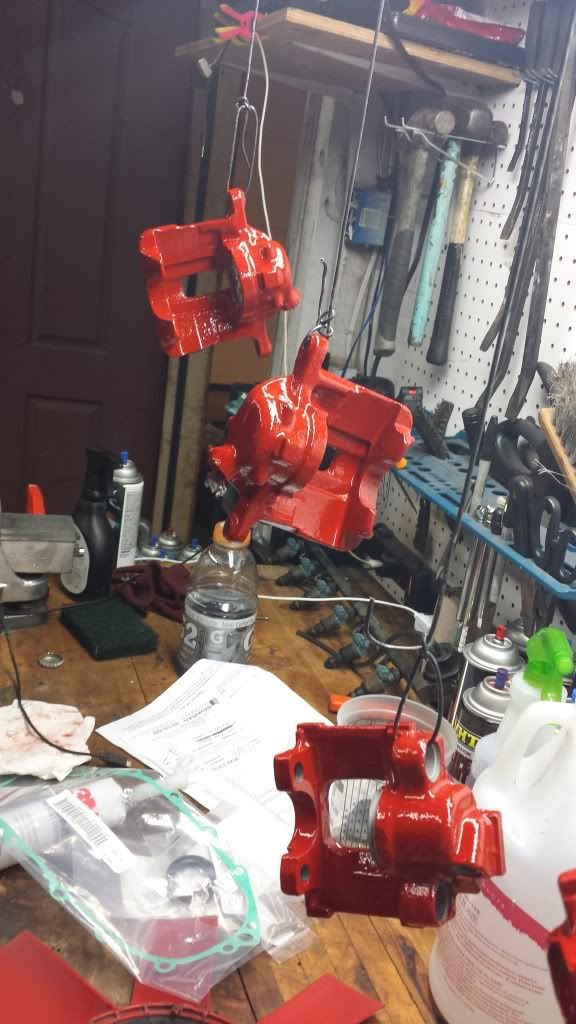
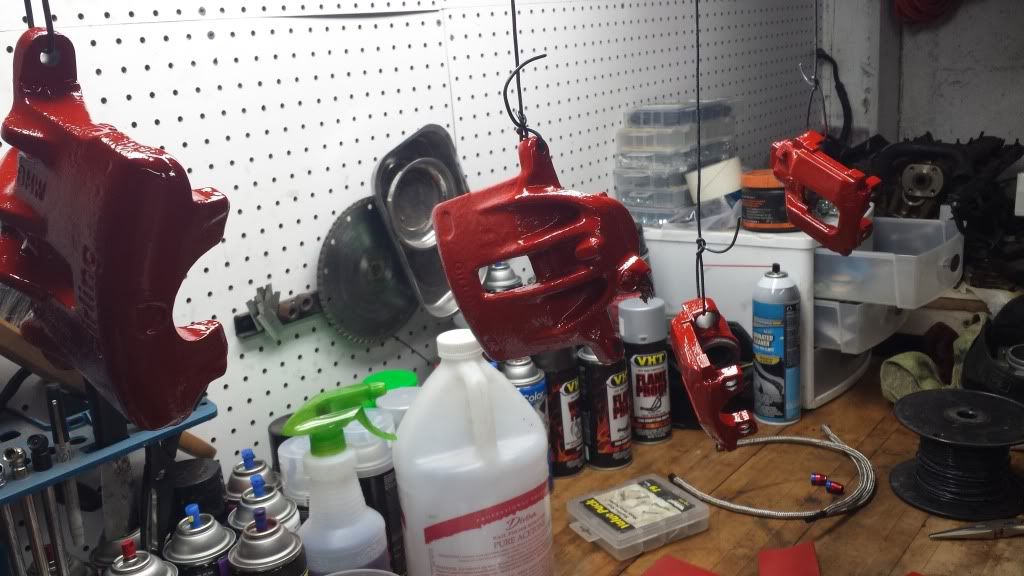
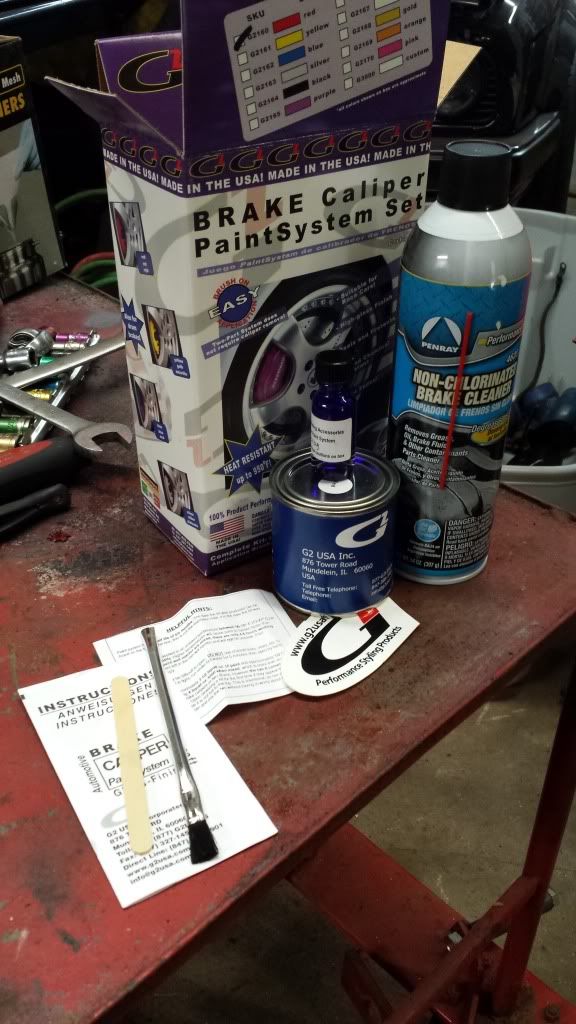
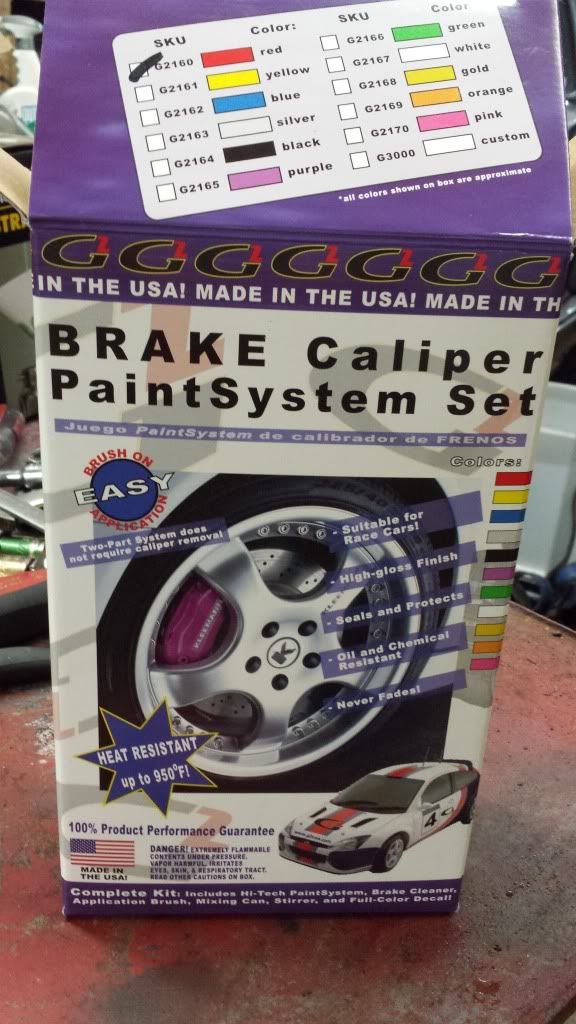
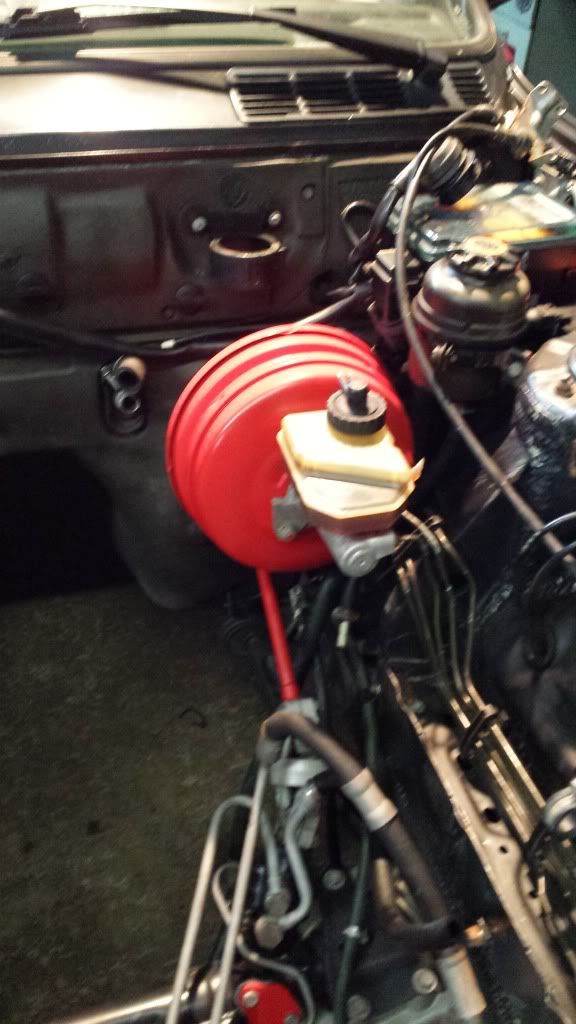
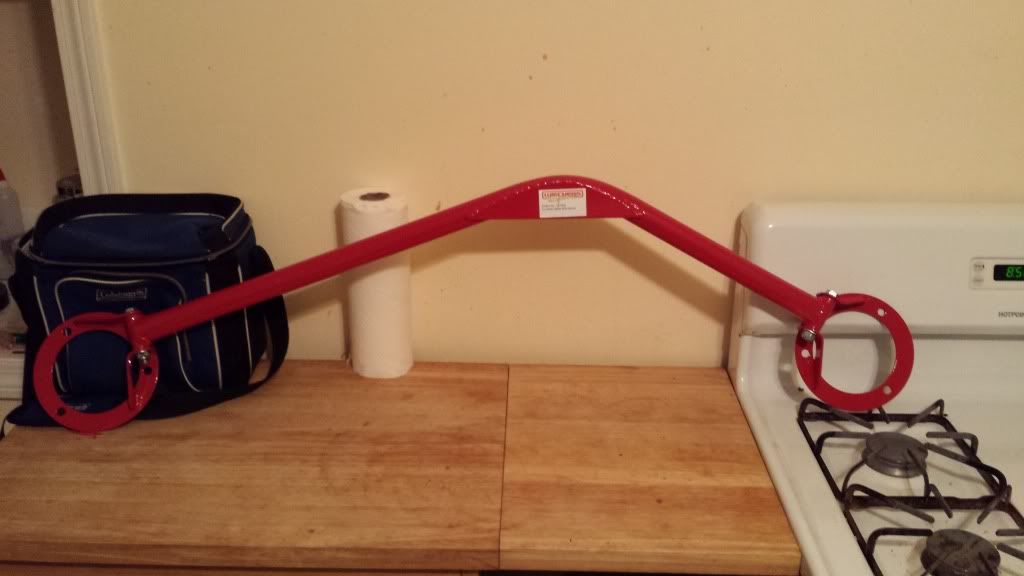
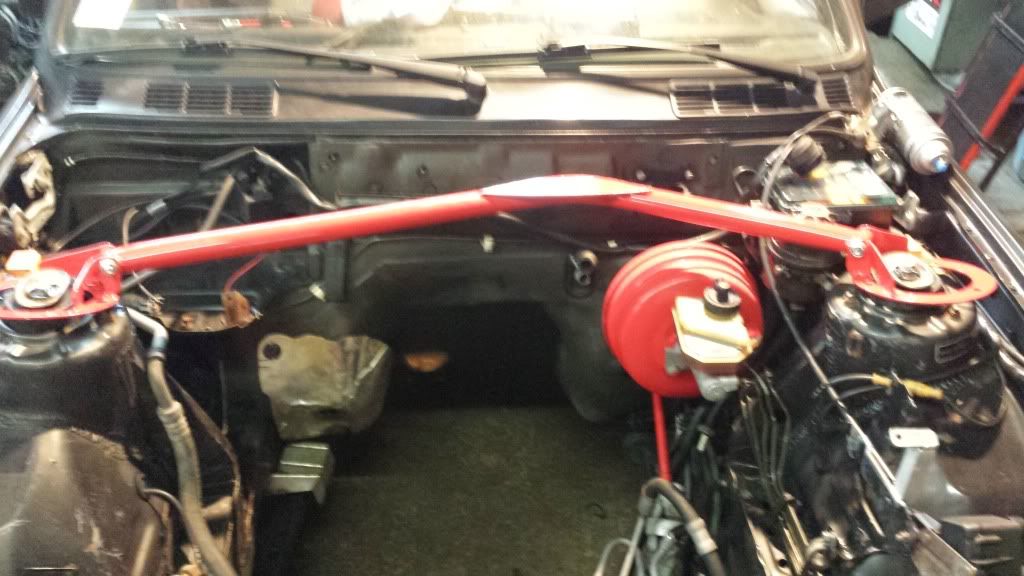
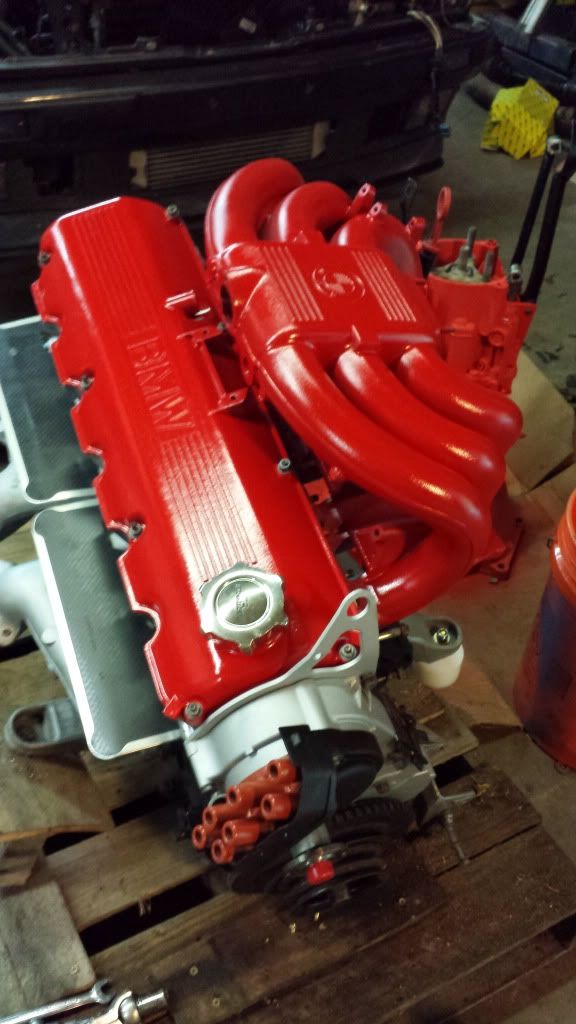
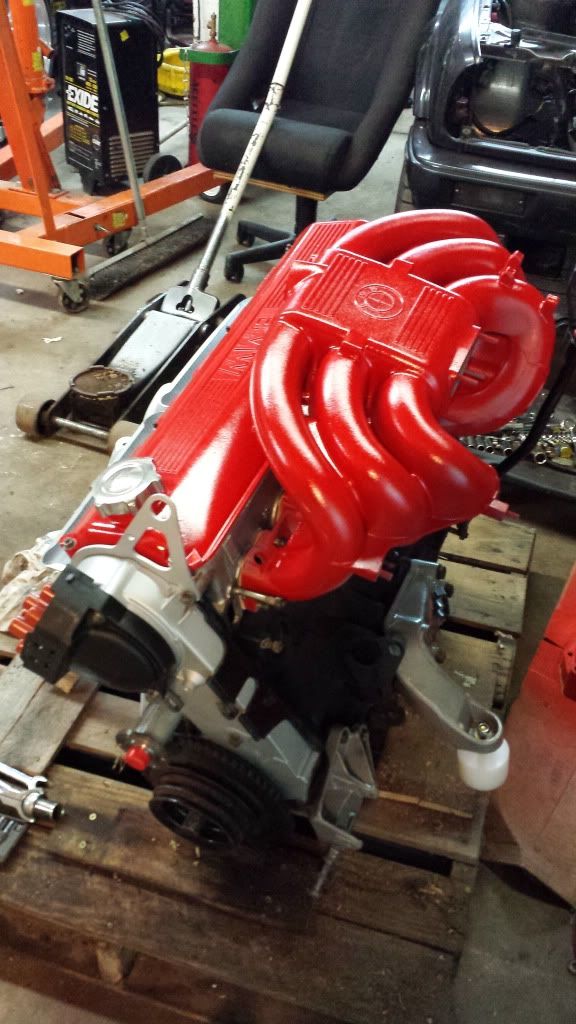
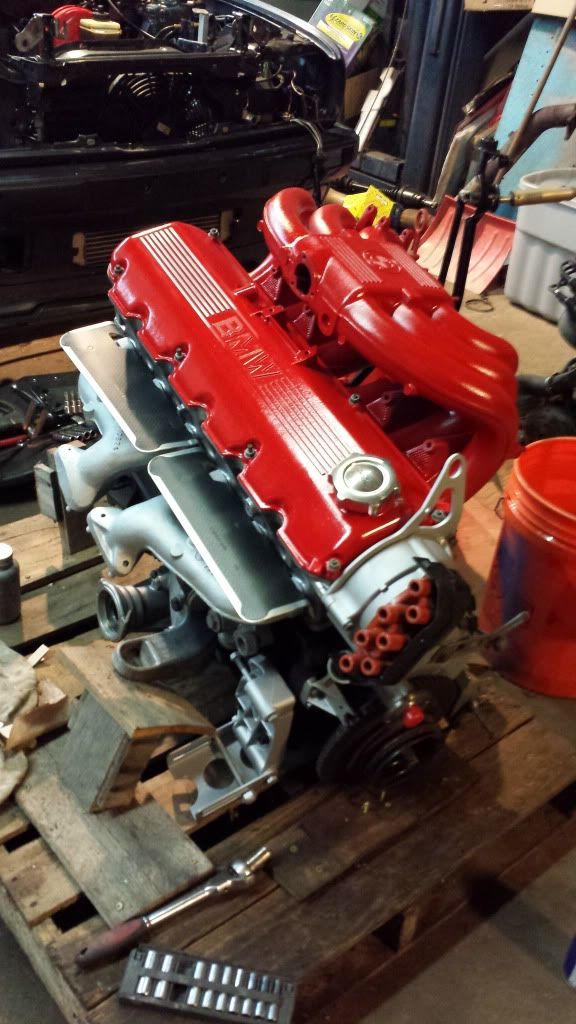
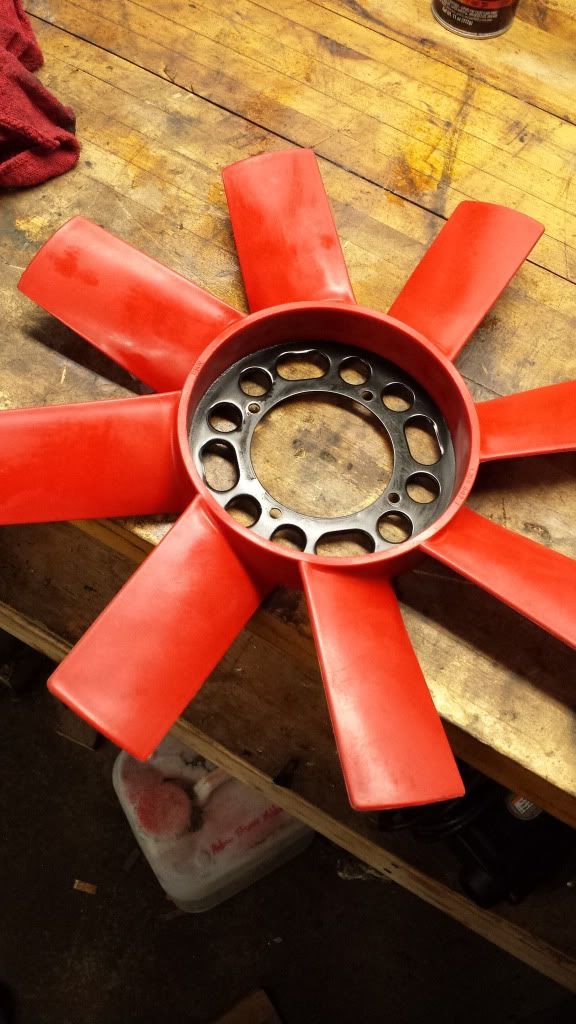
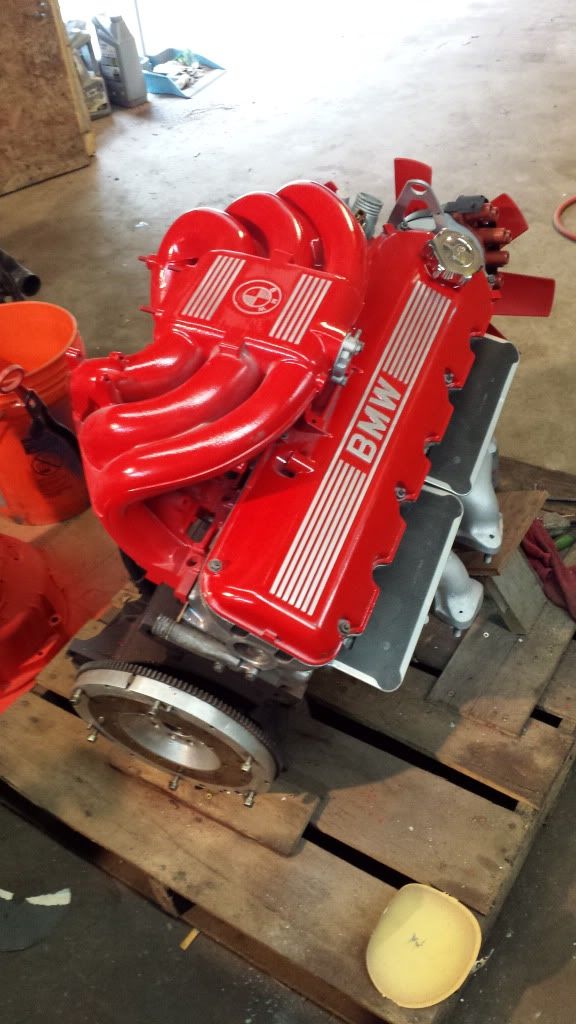
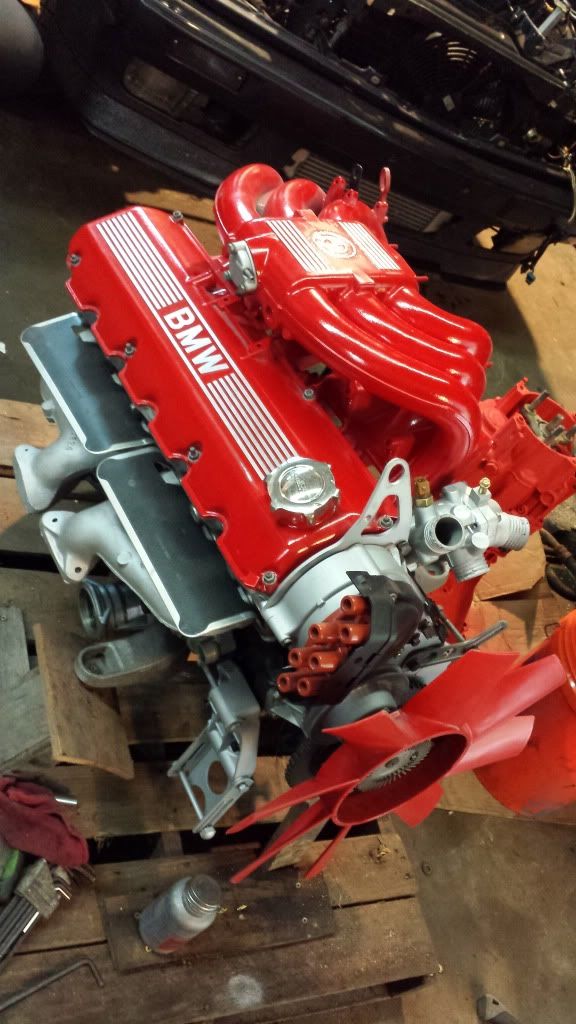
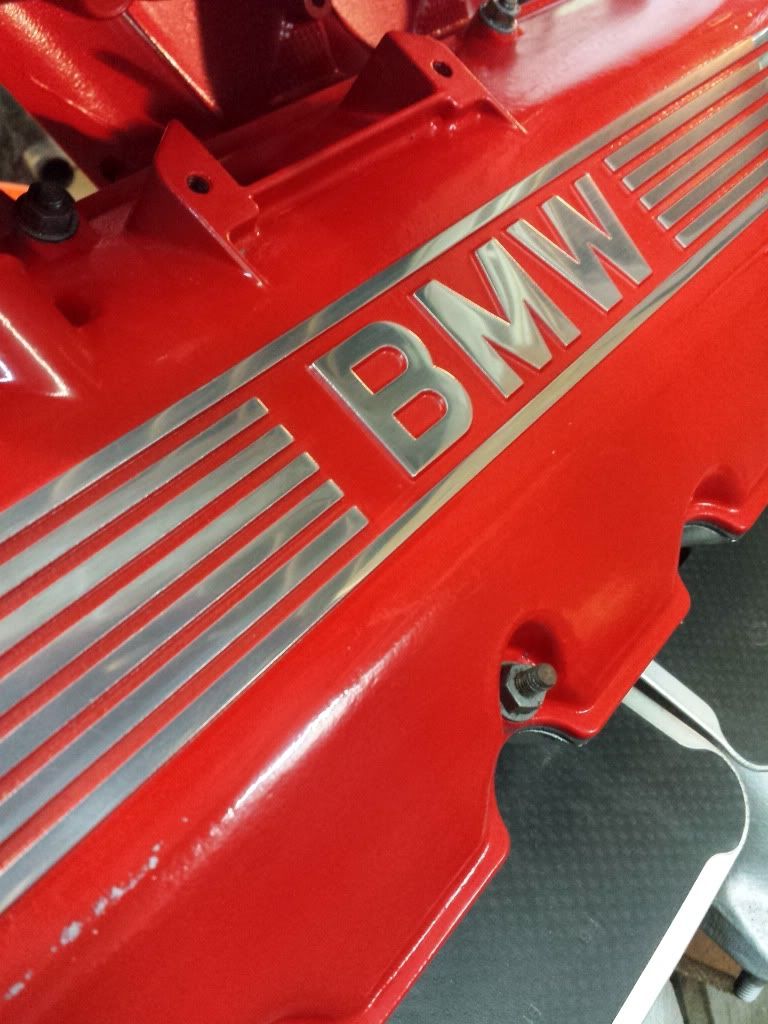
RED detail to everything, PROPER. being careful not to overdo it. The diamondshwarz goes with red in the best of ways.
Combine as many non stock parts from other bmw's into the mix that didnt originally come equipped in the e30s.
shave the engine bay and tuck the wiring while retaining many luxuries such as PS, AC, ABS etc.
Try to revive and repair any exterior paint issues, otherwise save for a fresh paint job after the build is over.
The idea was to have a powerful, reliable, extremely attractive, and yet still enjoy many of the luxuries that e30s had to offer, as well making improvements that passengers could enjoy, so it would be a great racer, commuter, show stopper and travel vehicle.
Sit back and get the lotion ready. Here we go.
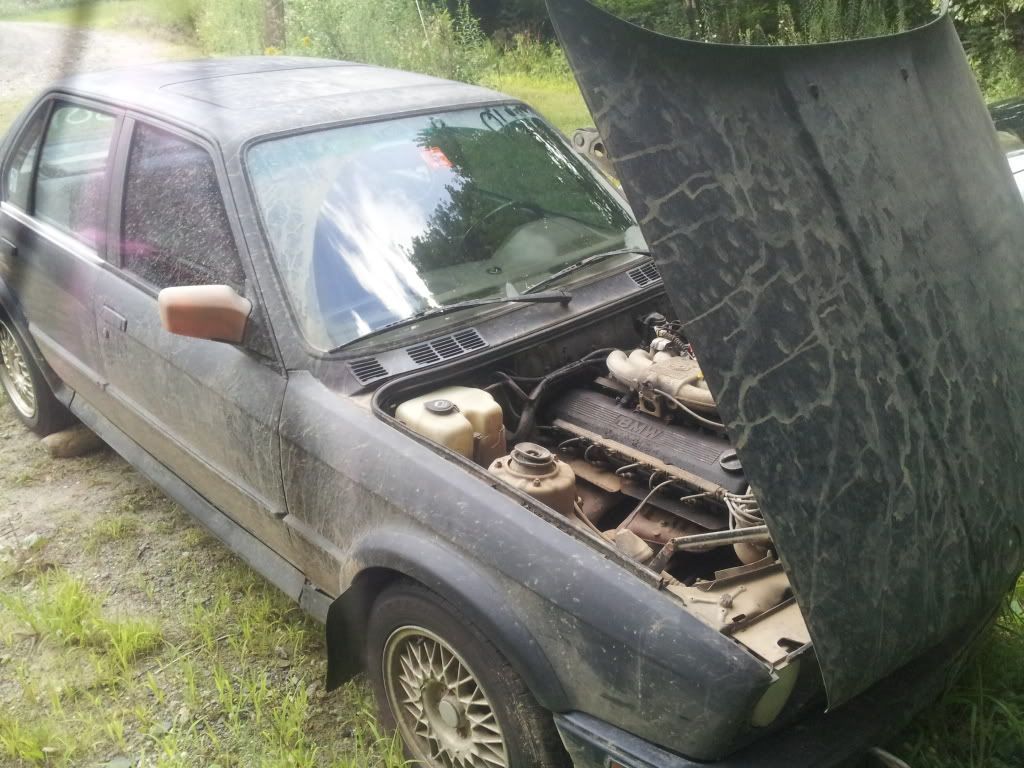
. Here she is when i got her.

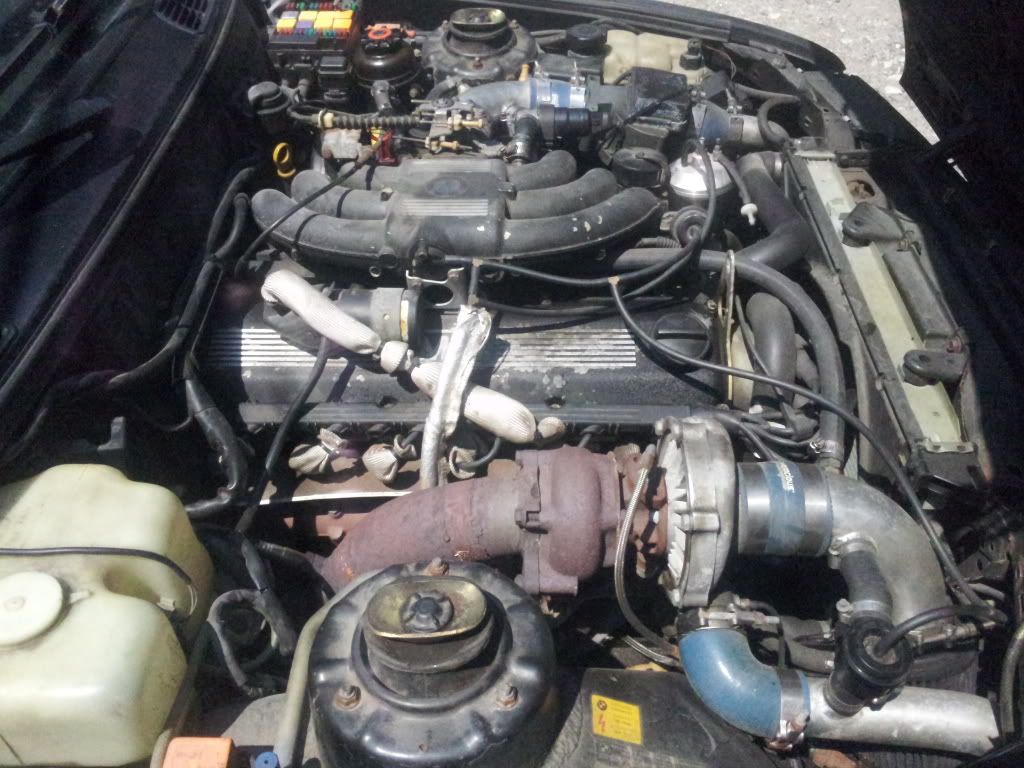
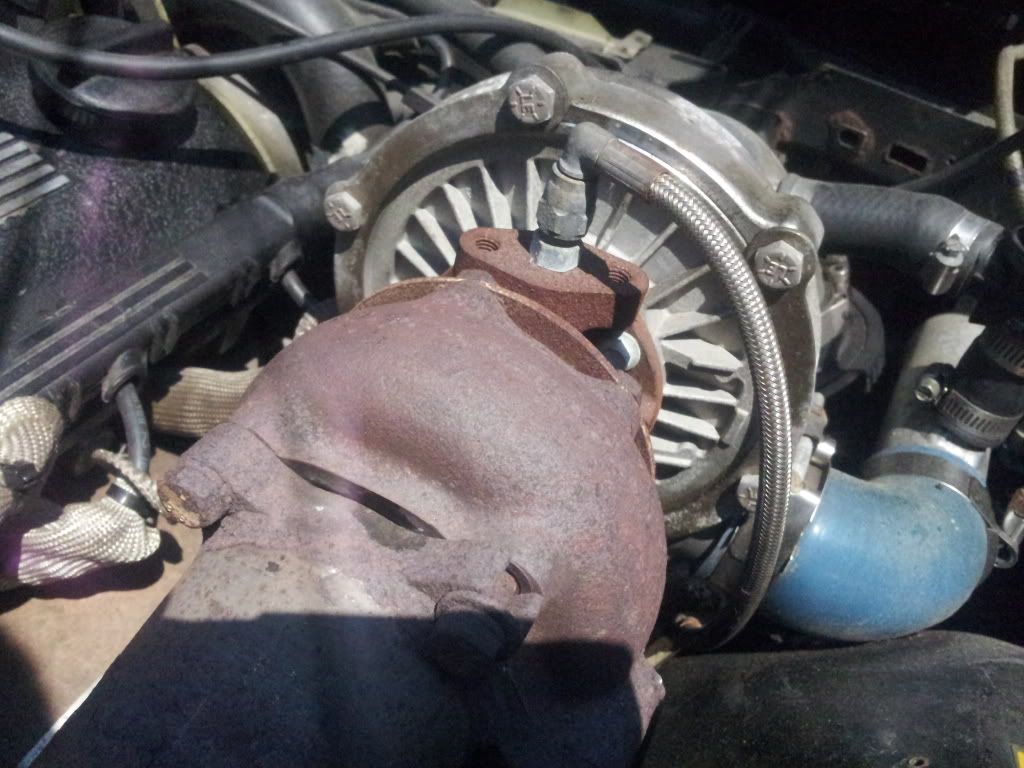
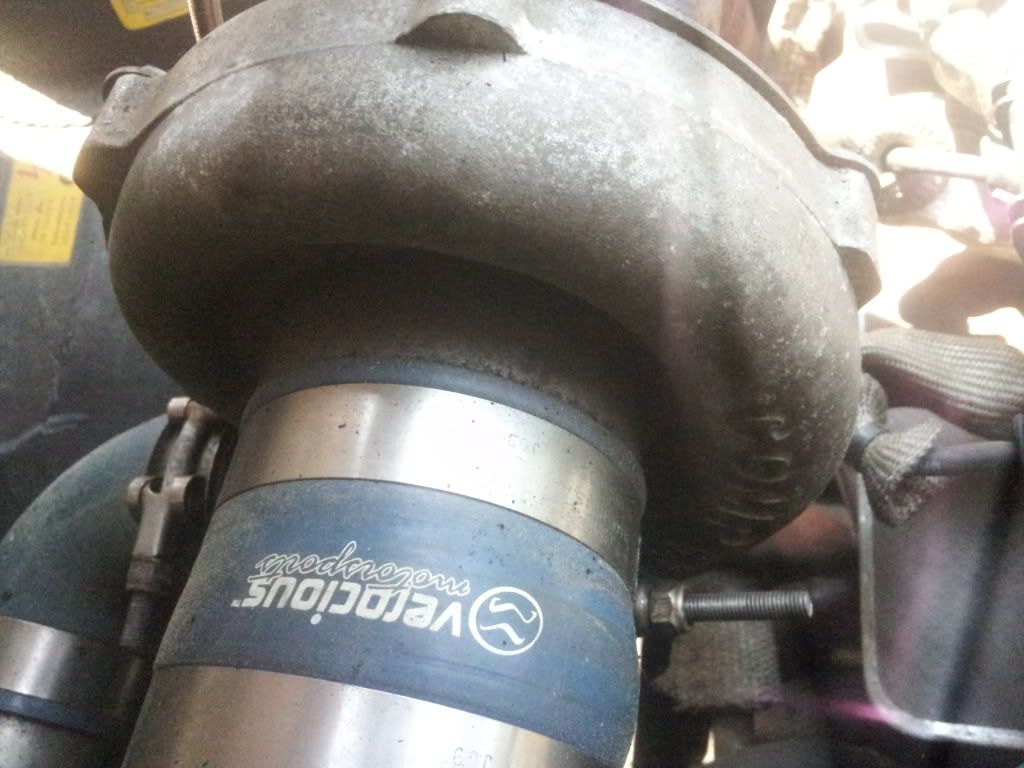
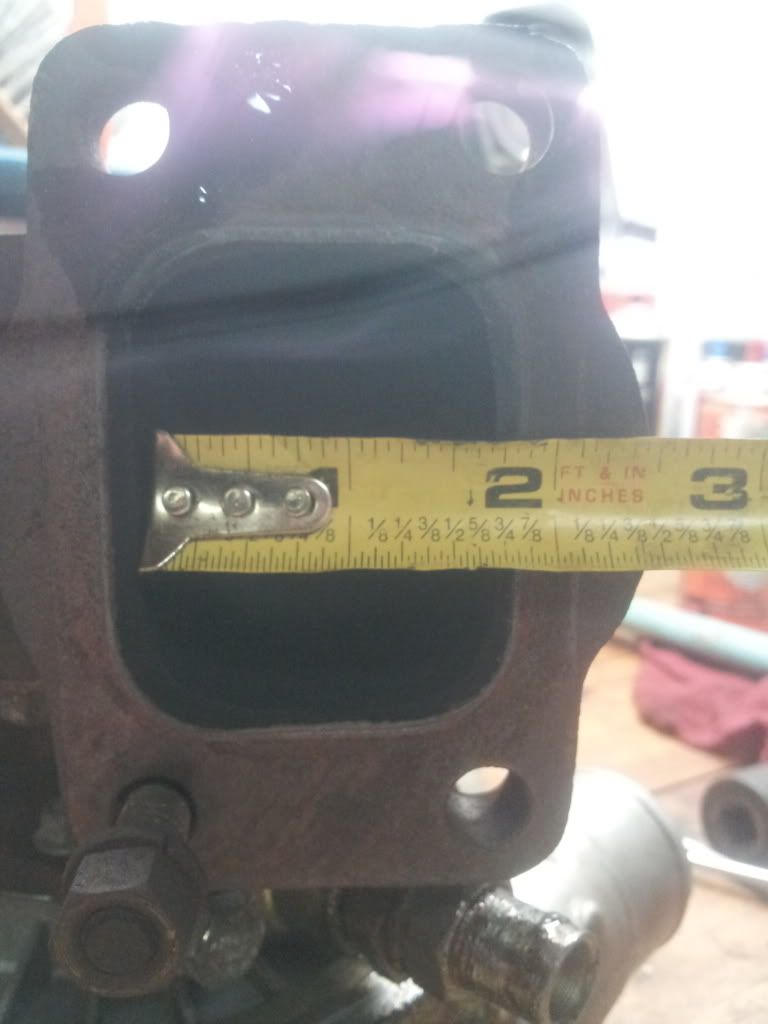
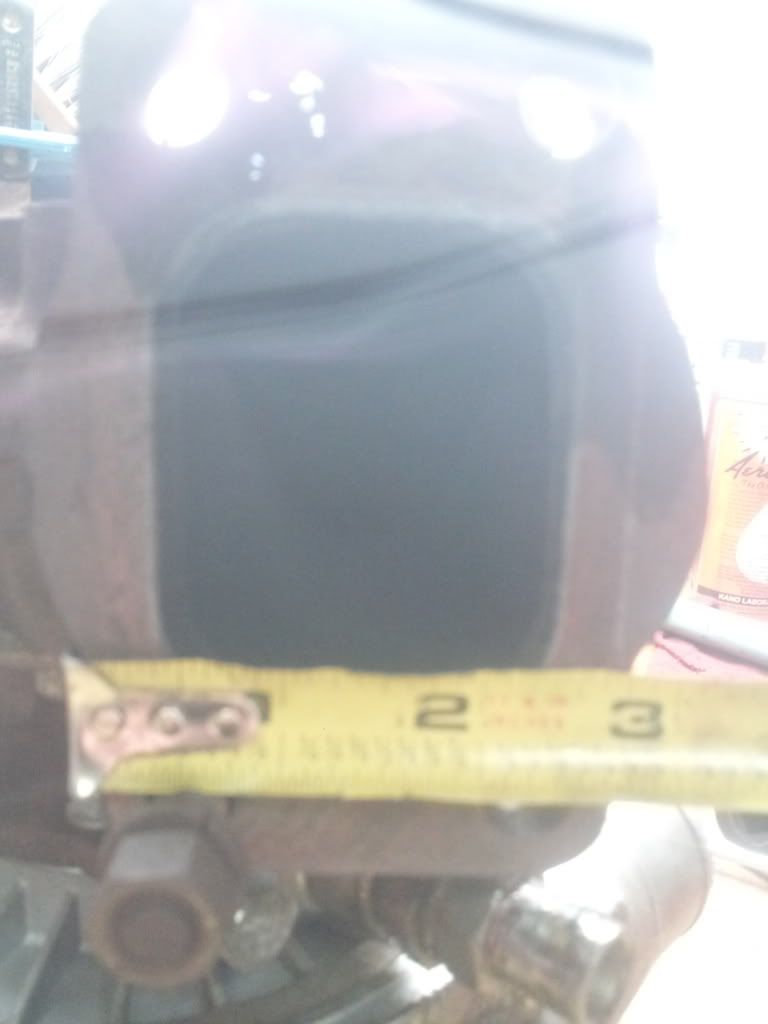
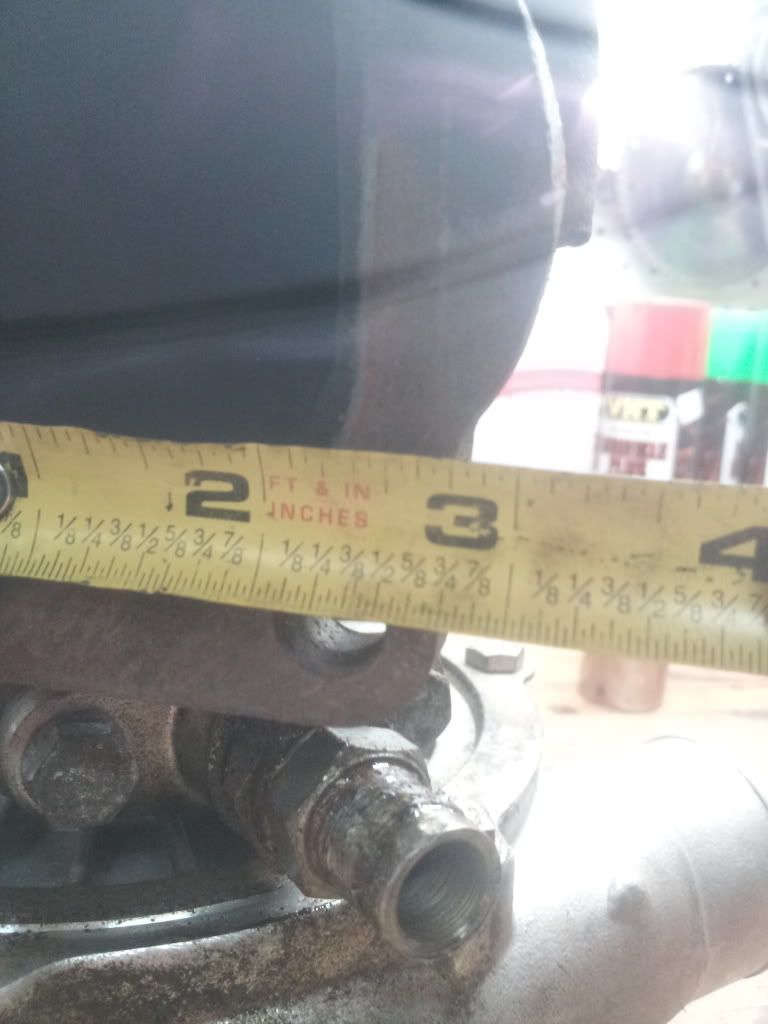
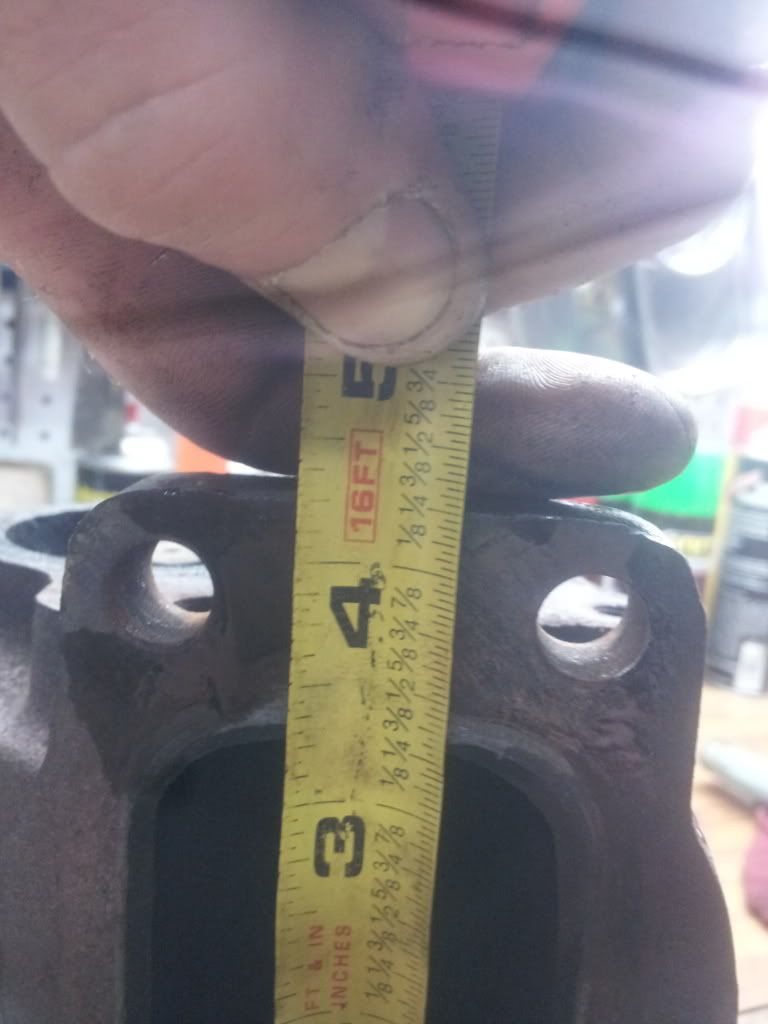
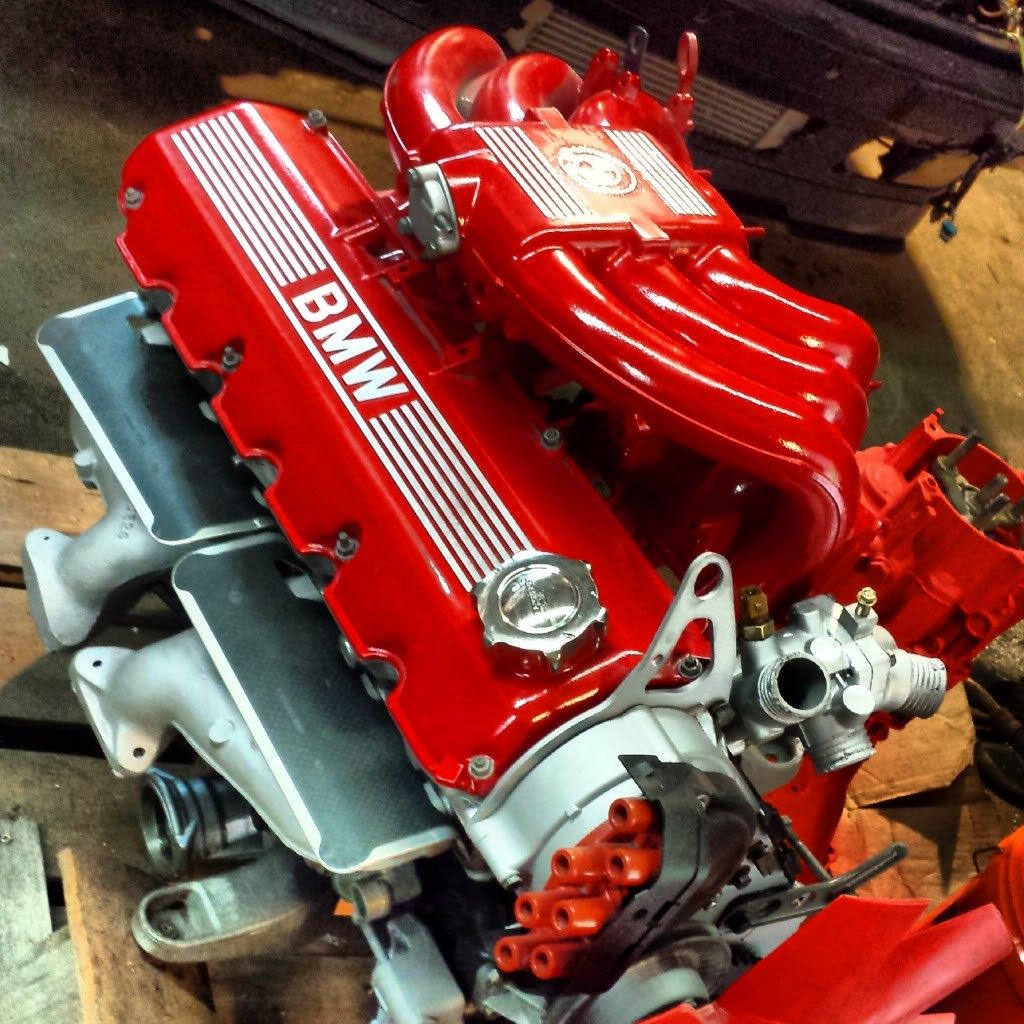
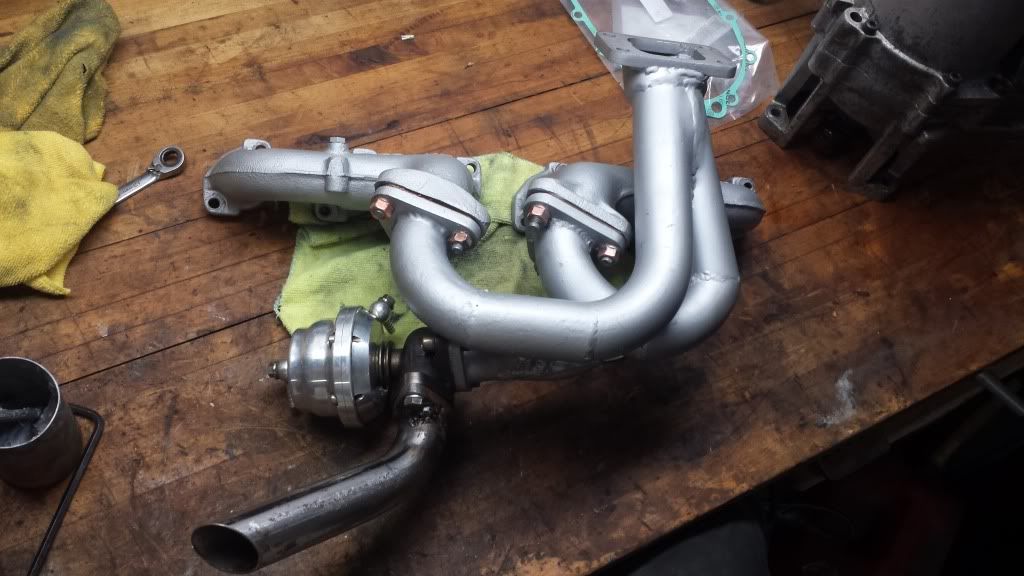
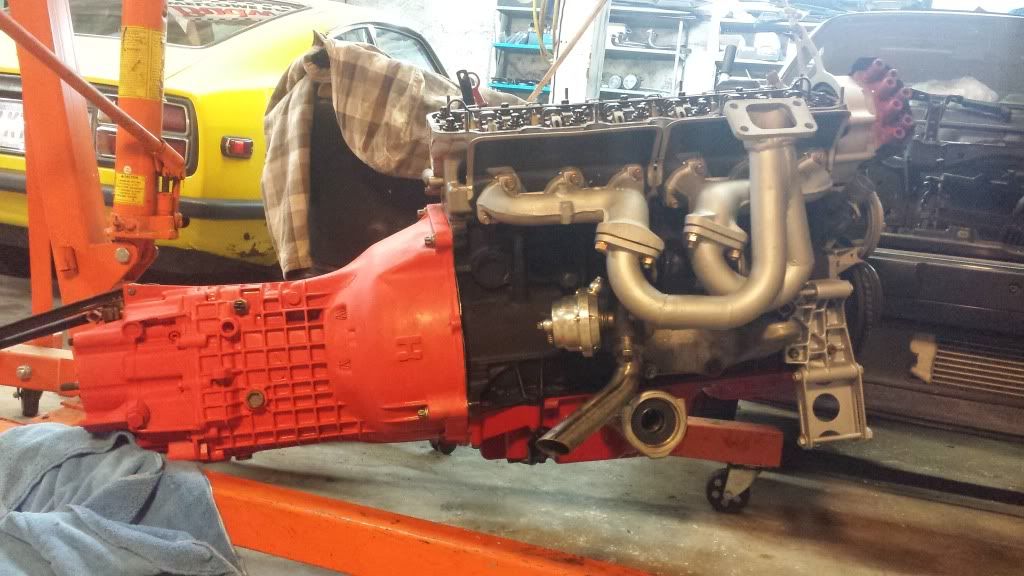
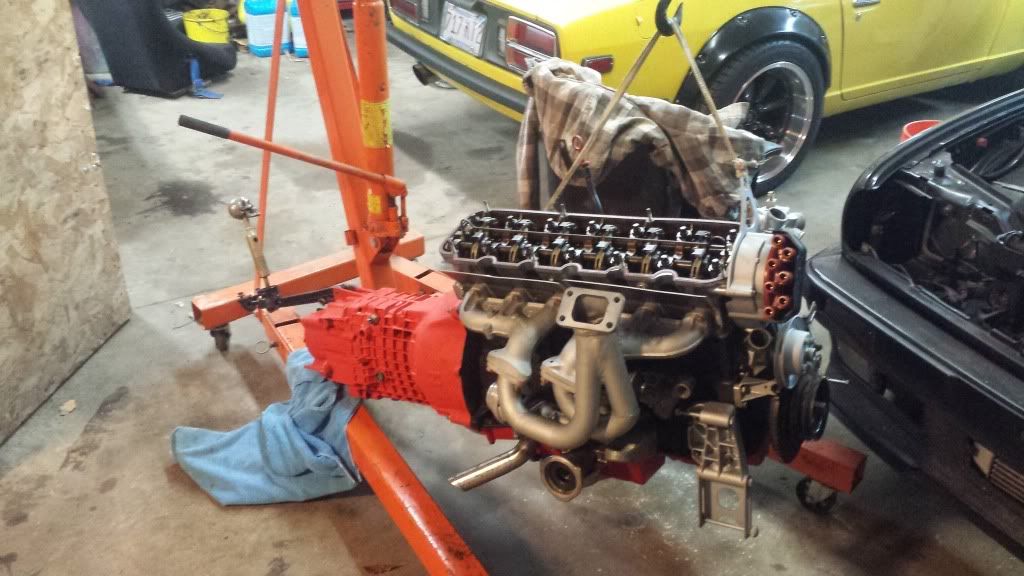
Can anybody identify this turbo for me? I will look at the markings further on once i pull this engine and post more information.
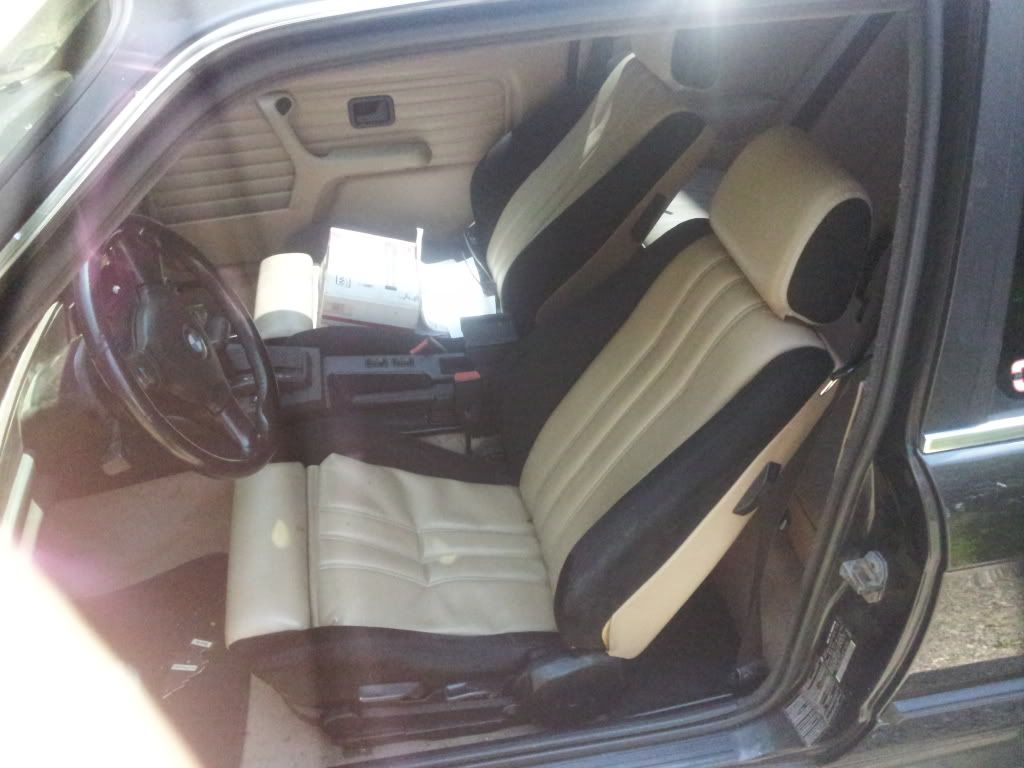
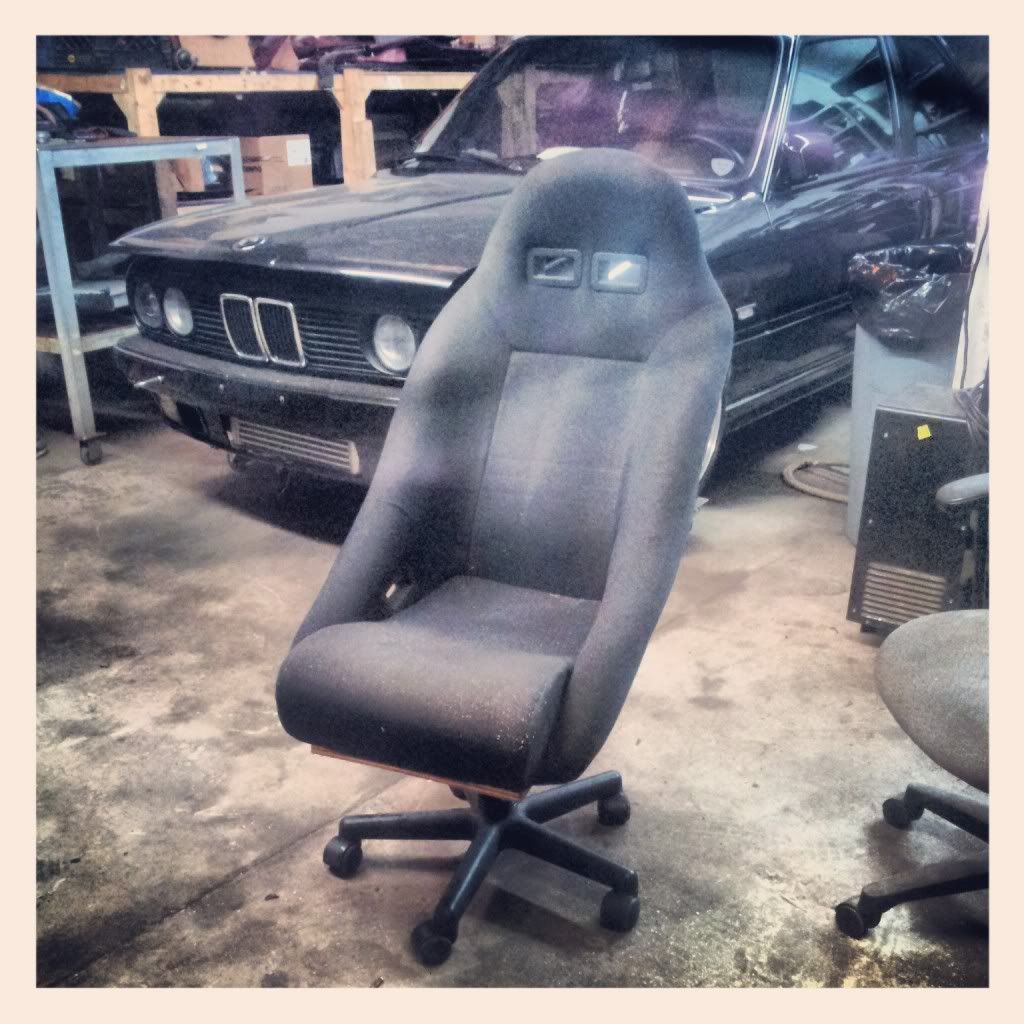
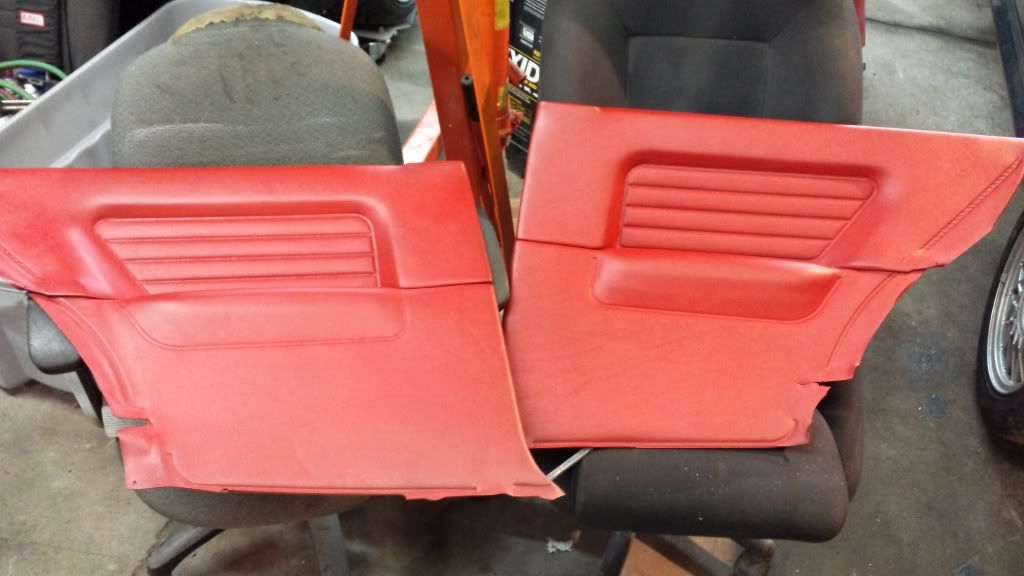
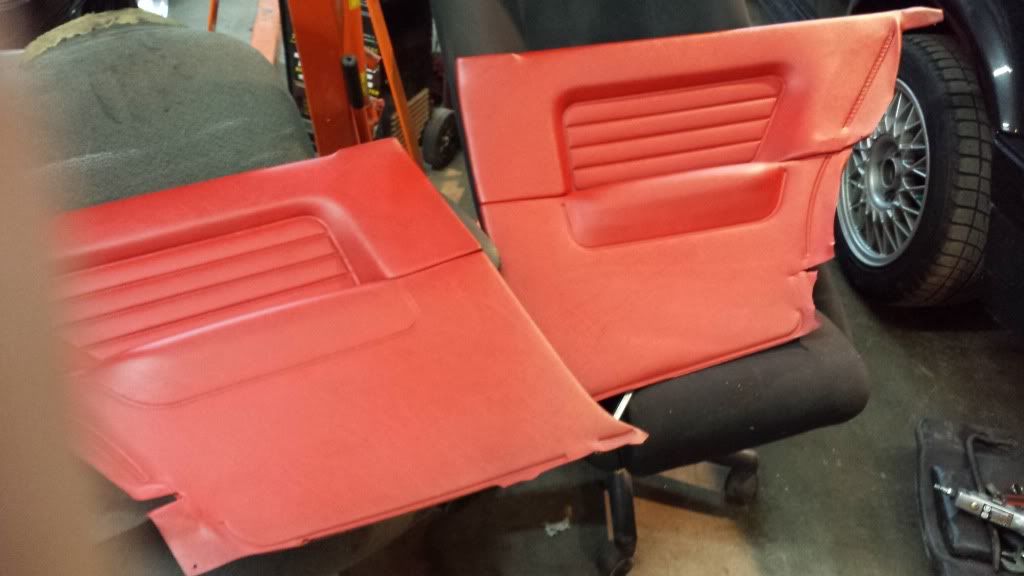
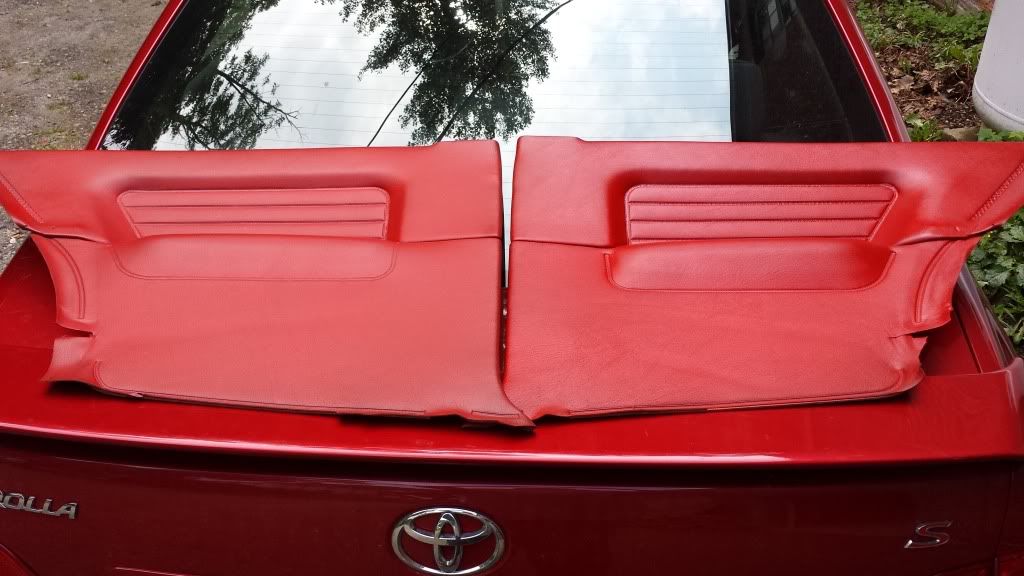
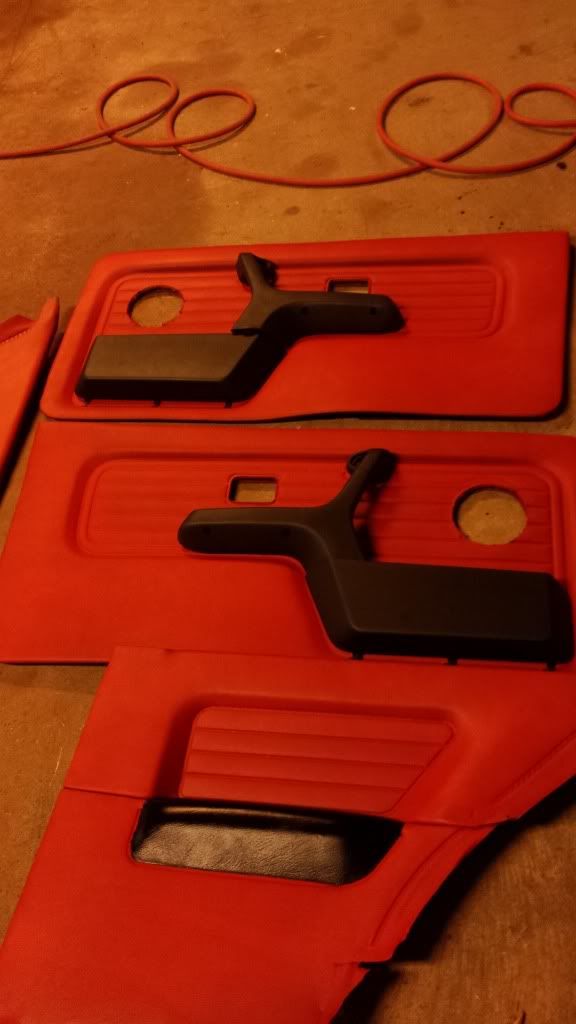
Heres the fancy re-upholstry on the bolsters. Black suede and some clean ass leather butt/back sections
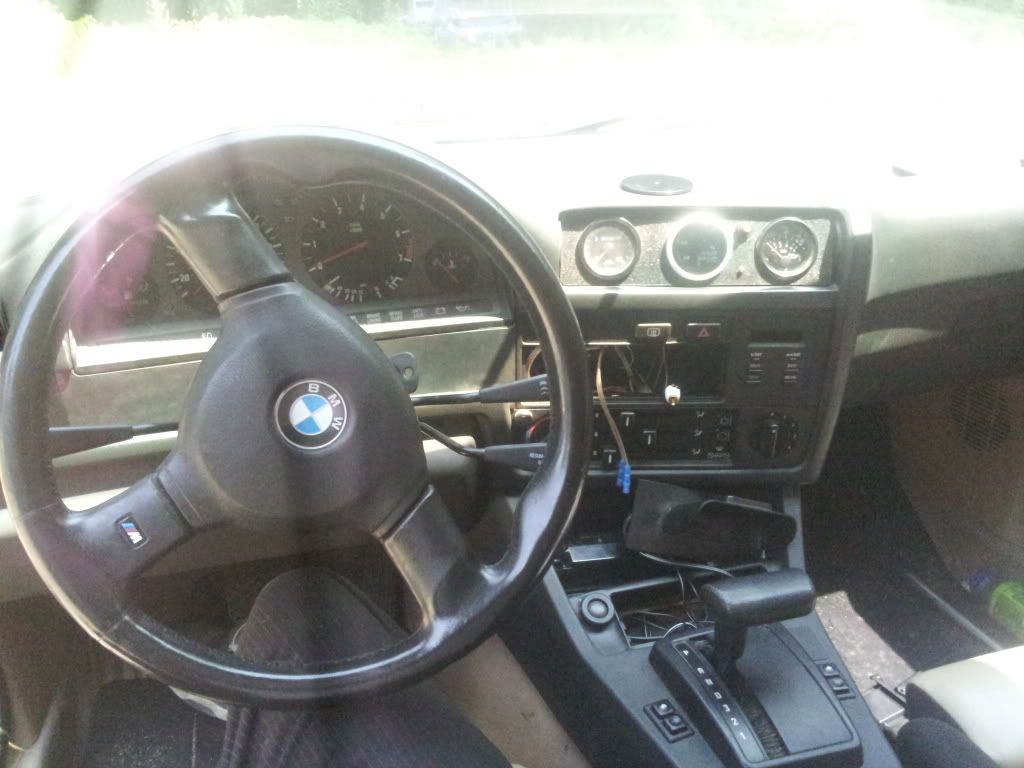
Didnt take long for me to start hacking into things... awful gauge selections, creating horrible spaghetti messes! :hitler:
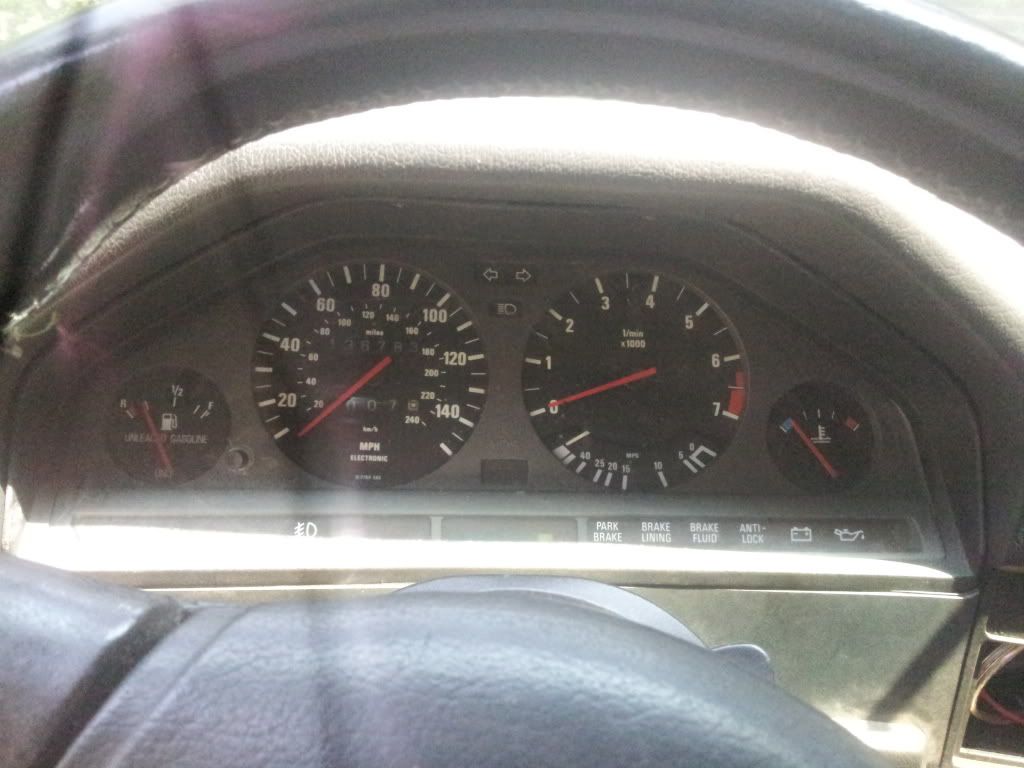
only 136K !
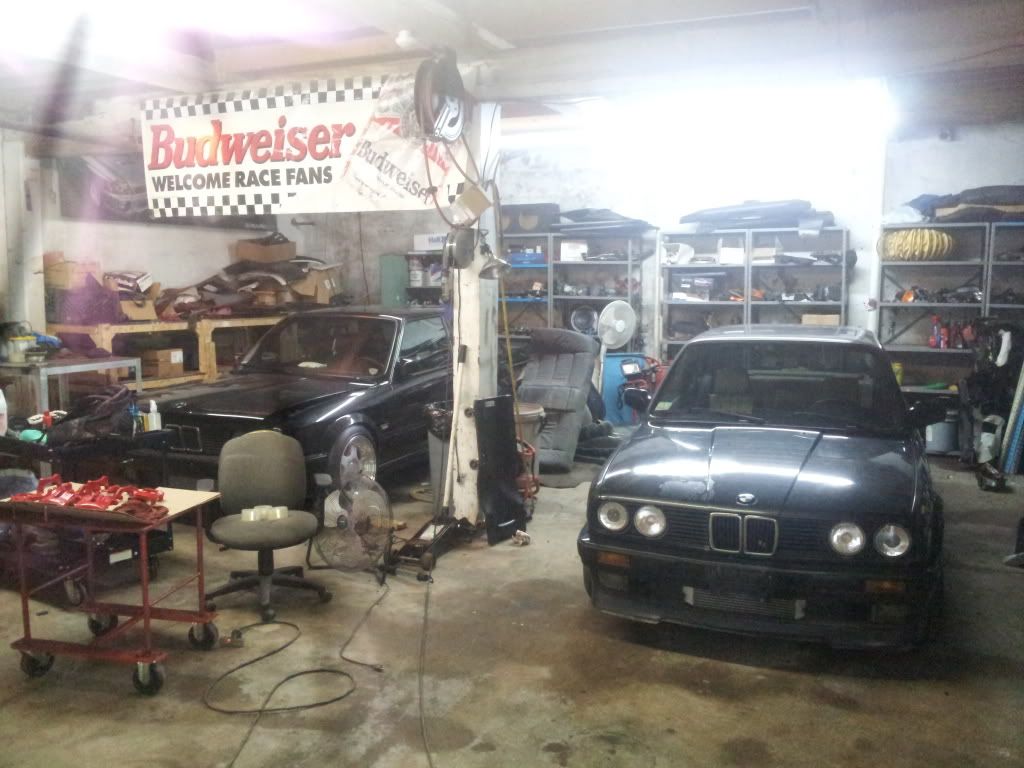
Here are my girls!! Mila (left) Lela (right)
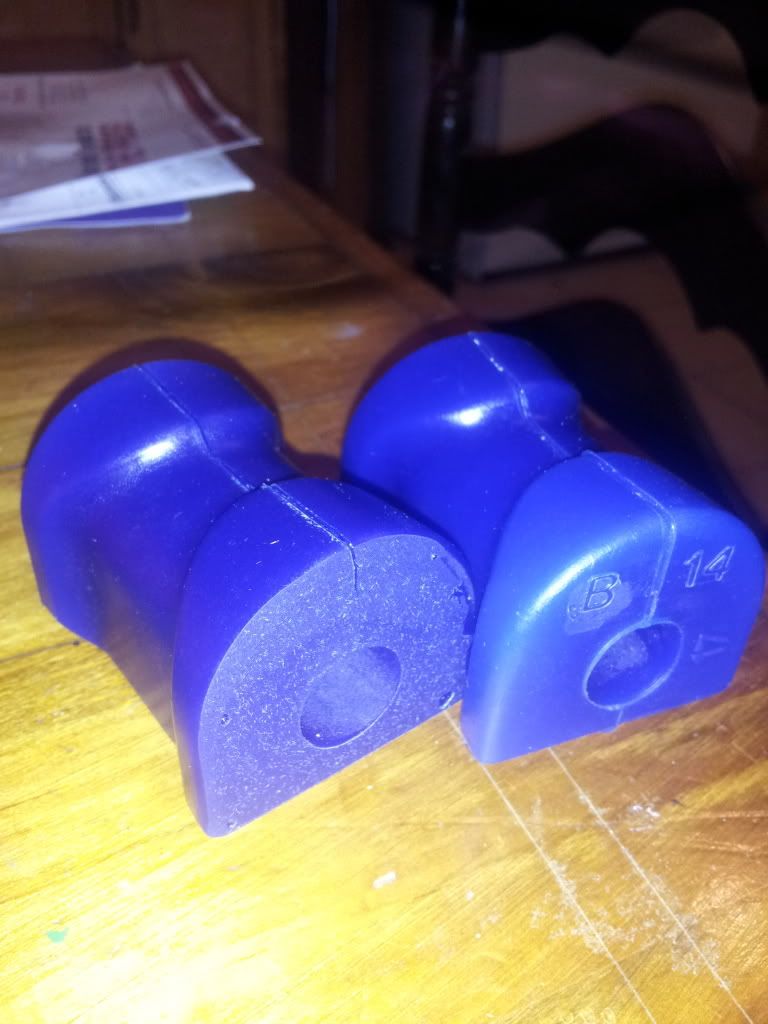
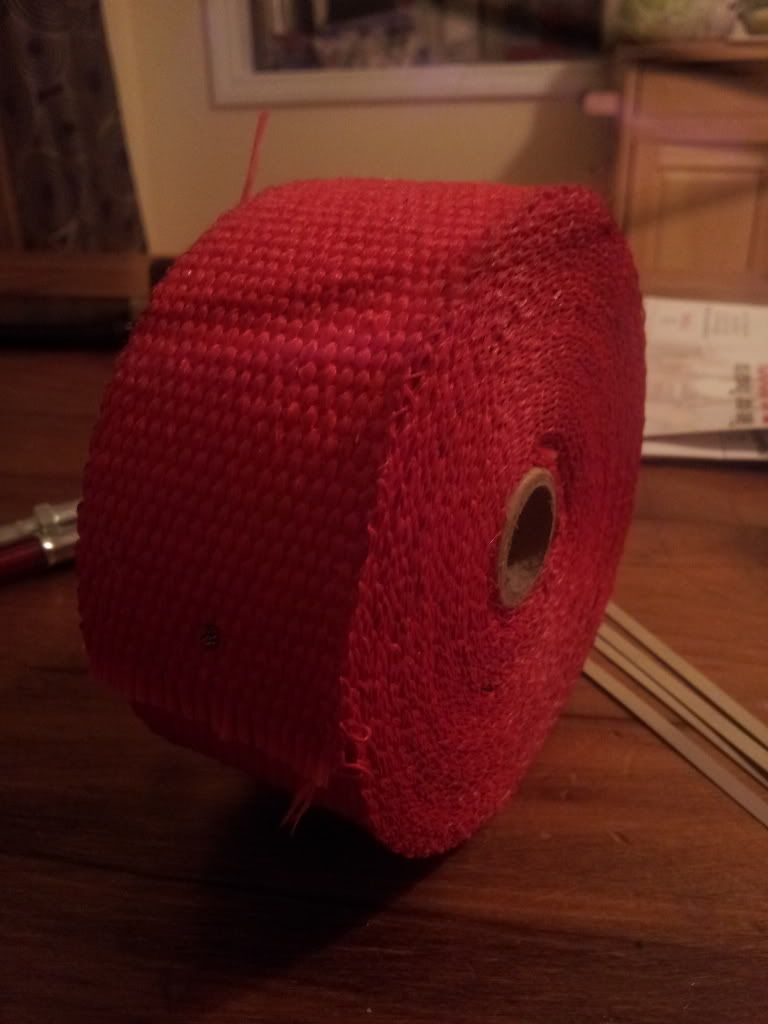
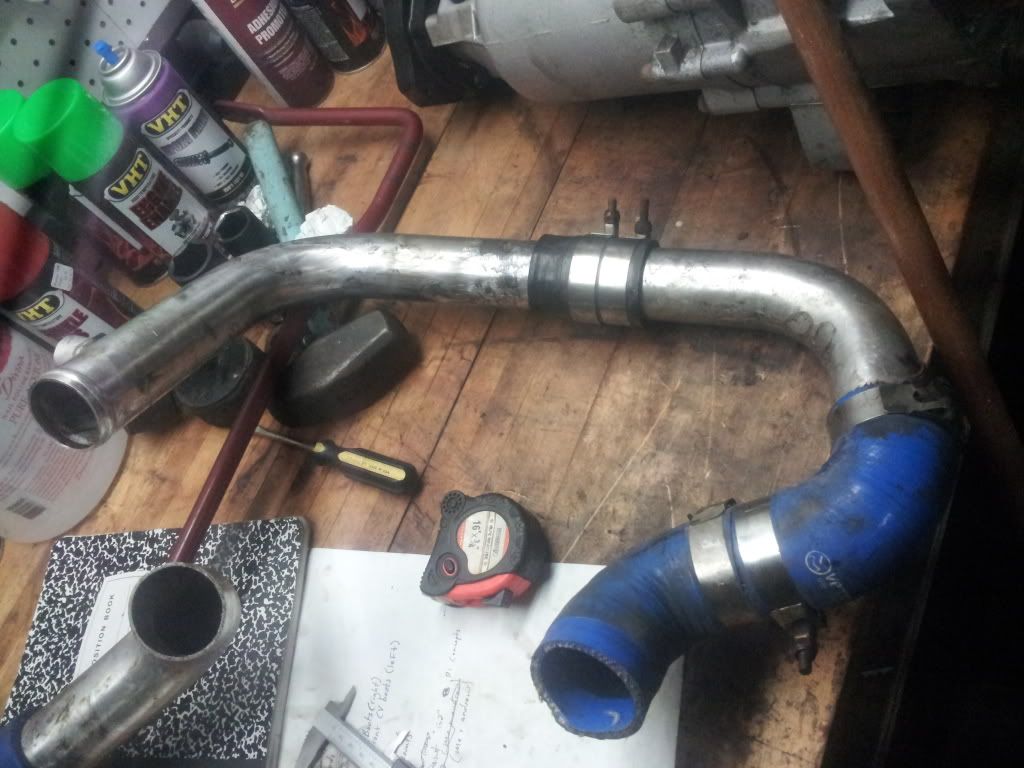
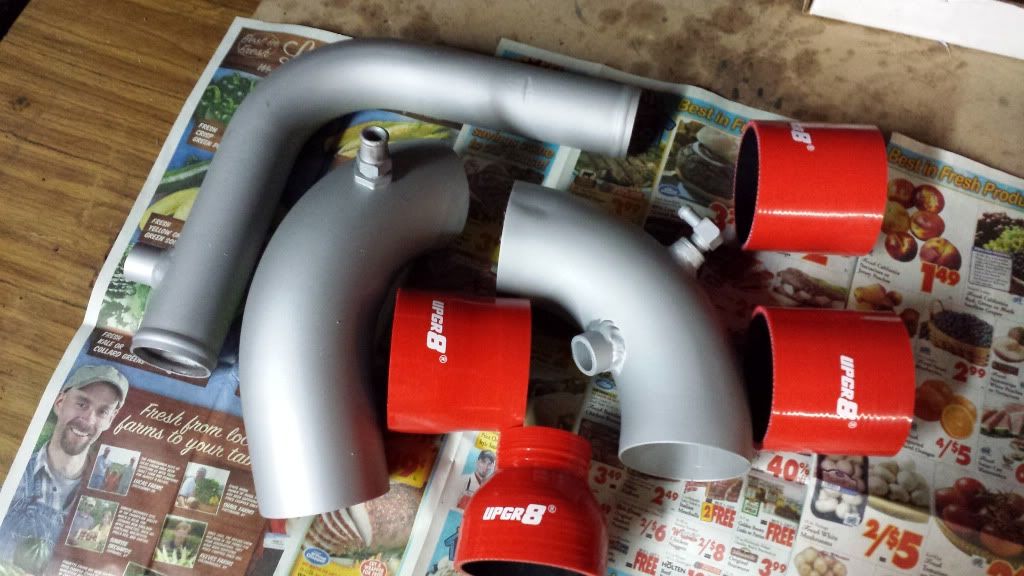
So without hesitation i started to clean up the little odds and ends, and put a few things into her that have been waiting on the shelves!
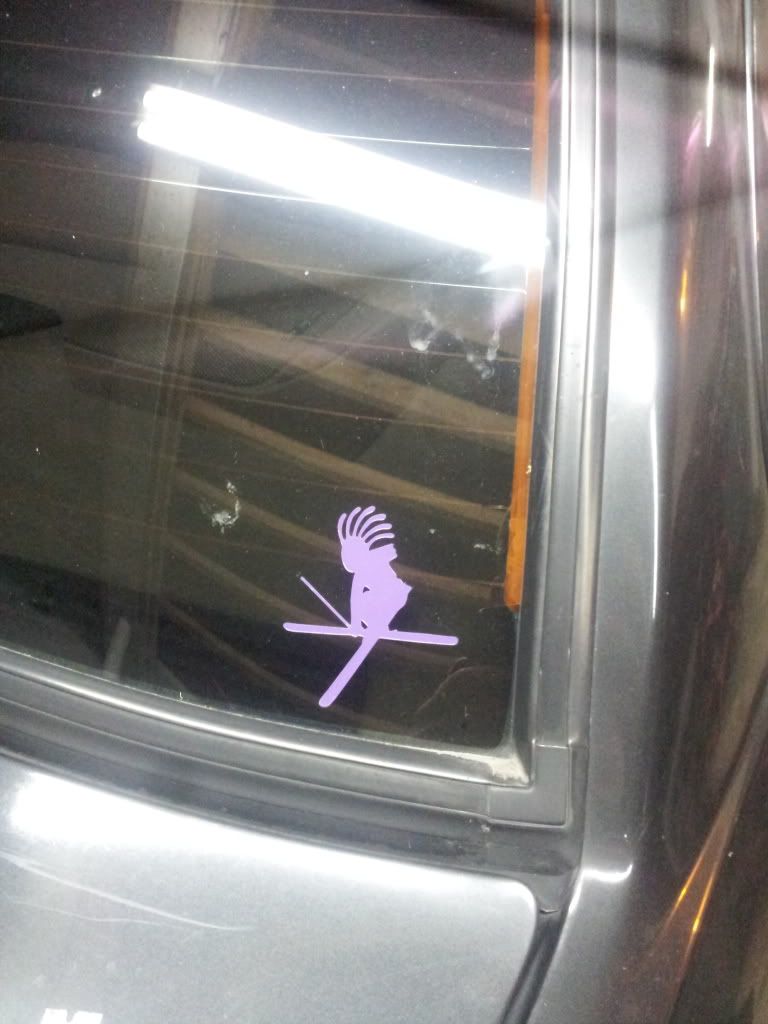
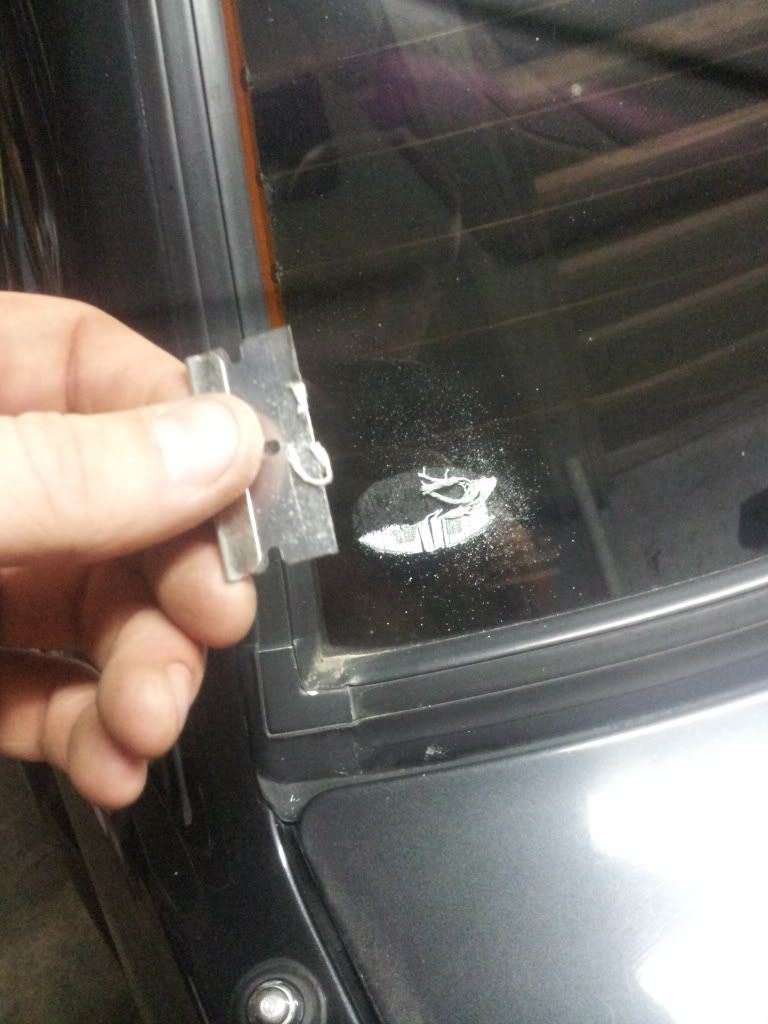
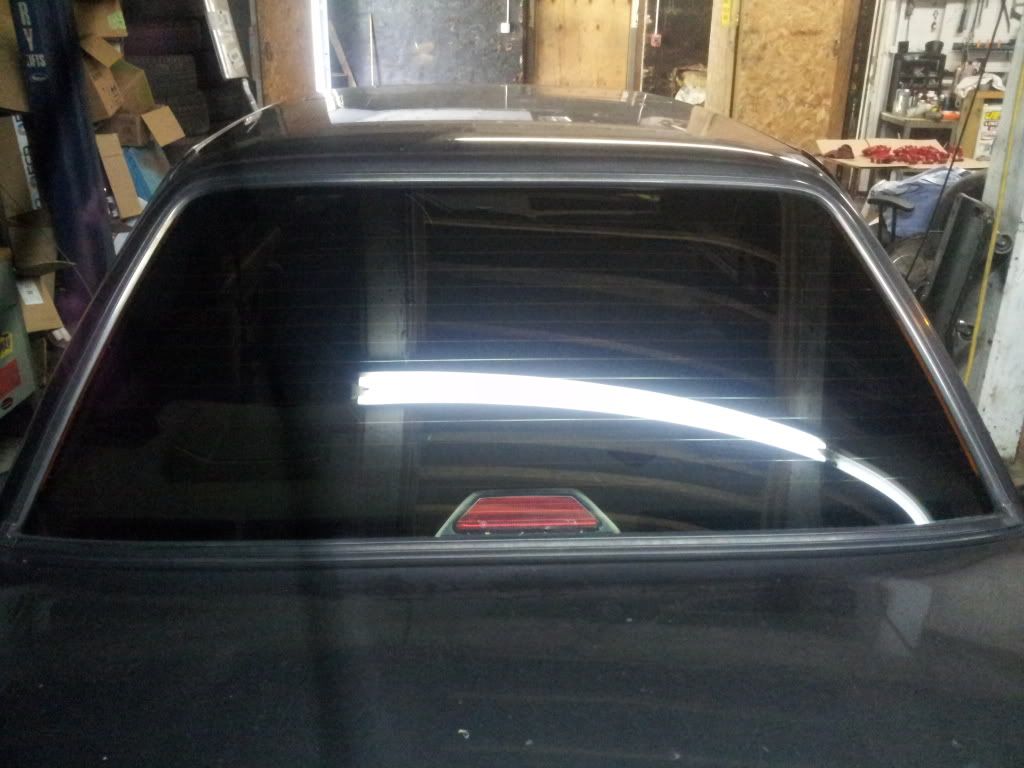
someone was a skii'er (sticker removal!!! hate stickers.. ;P)
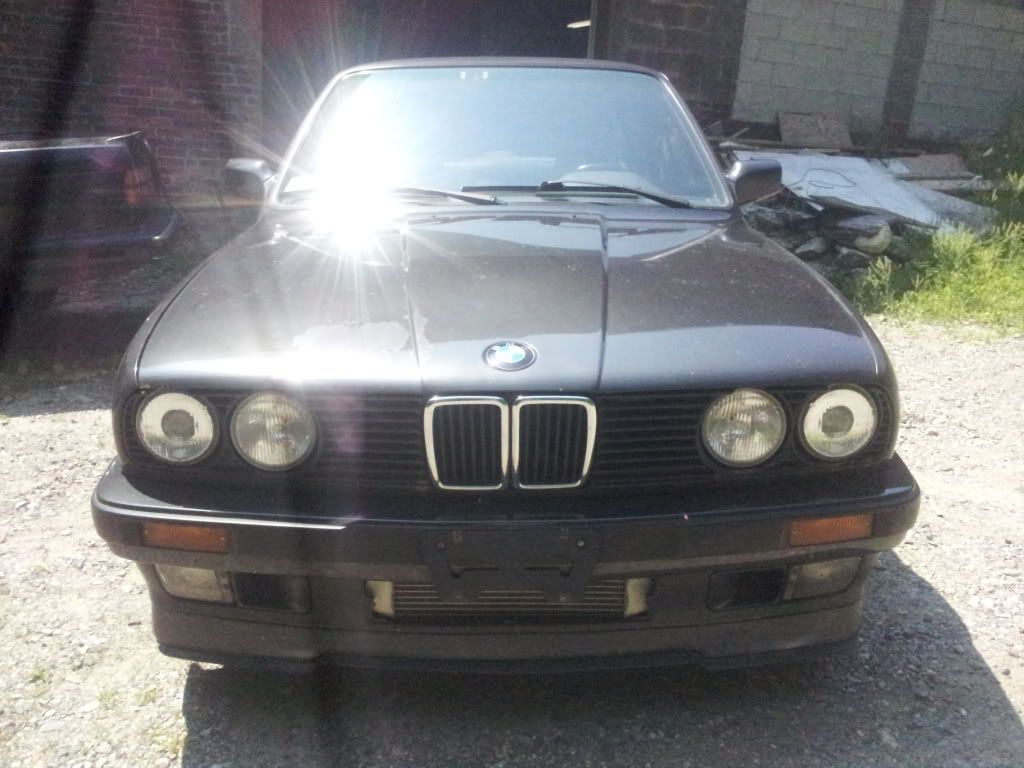
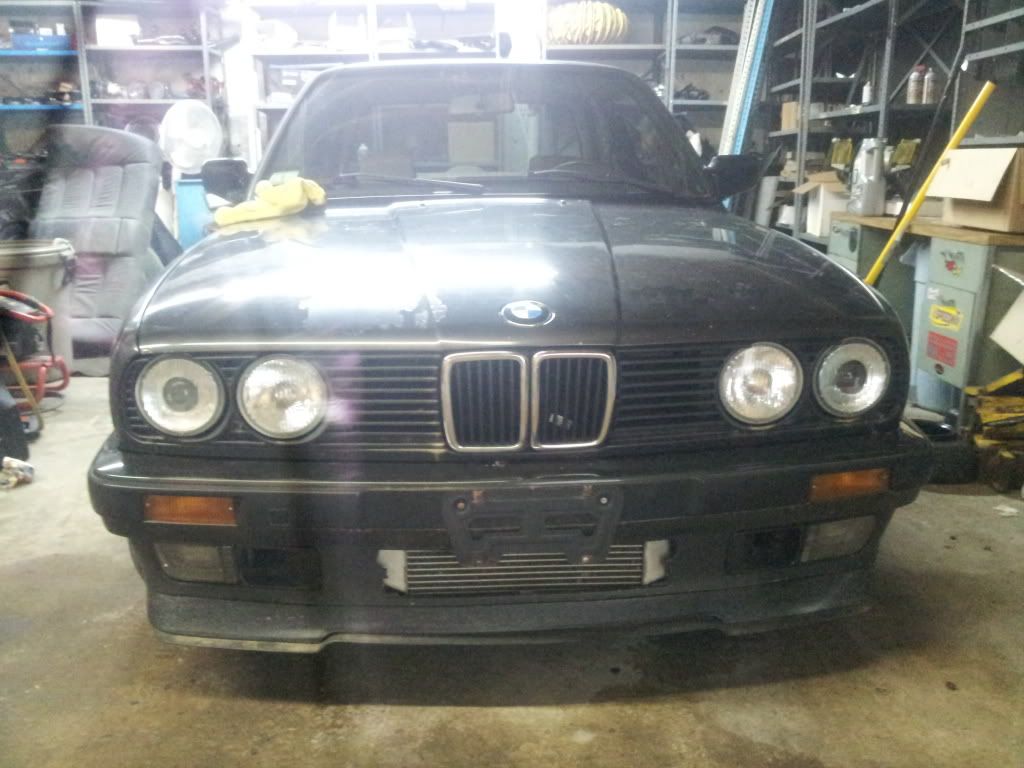
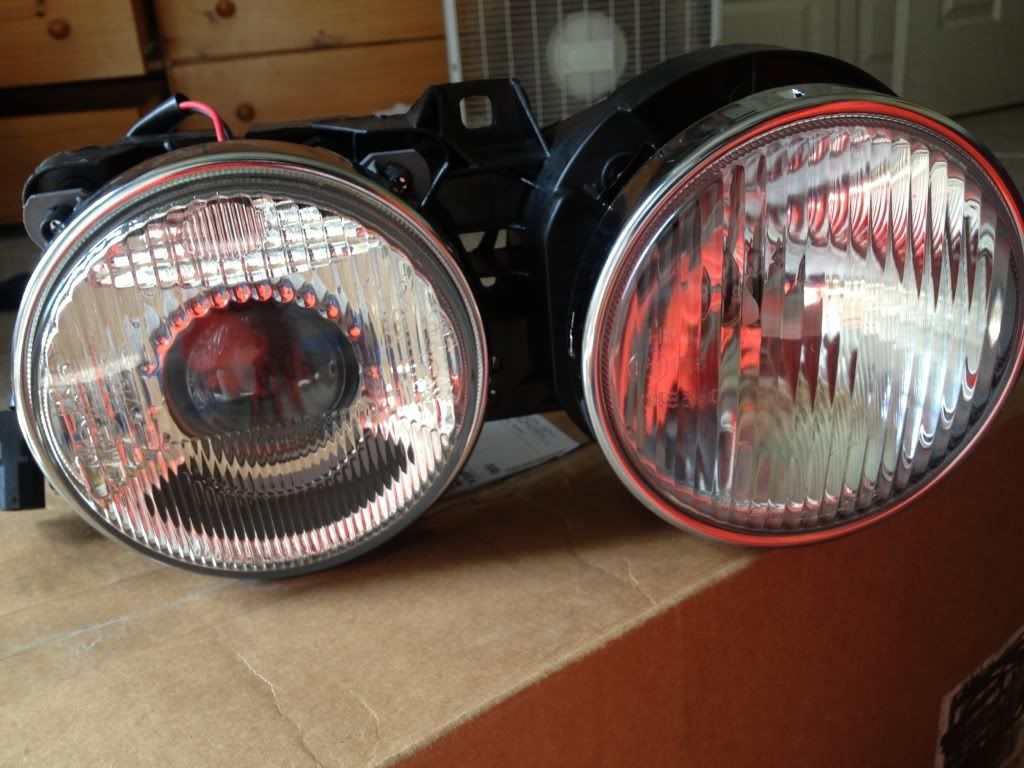
Heres the front end before!
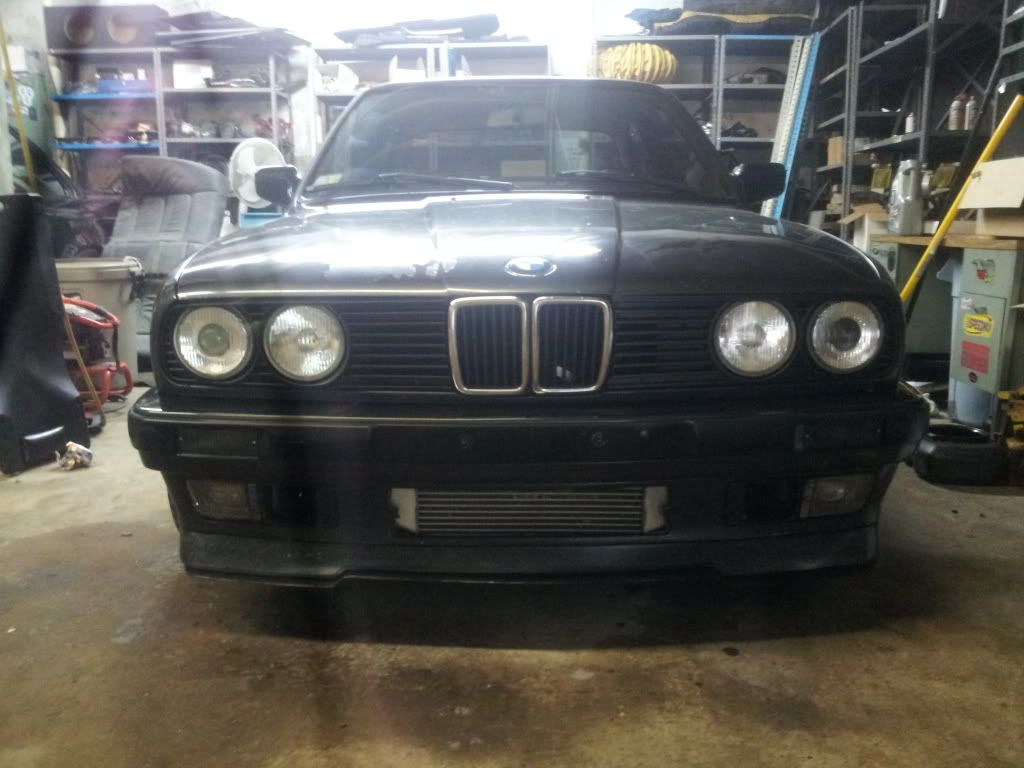
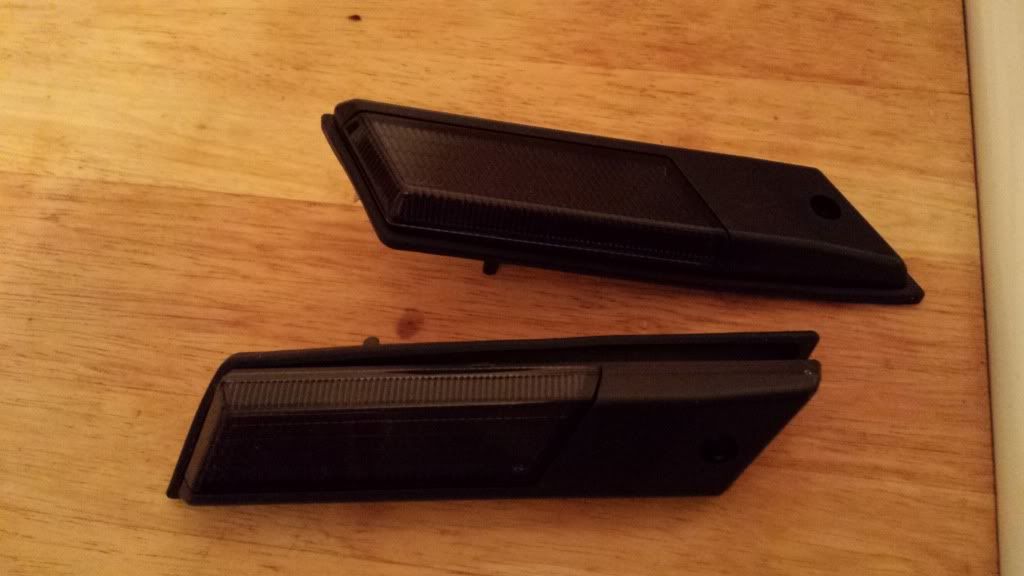
And after! Repainted some old euro grilles i had lying around, removed the ugly metal license plate bracket, and installed some ZKW german smoked signal lenses
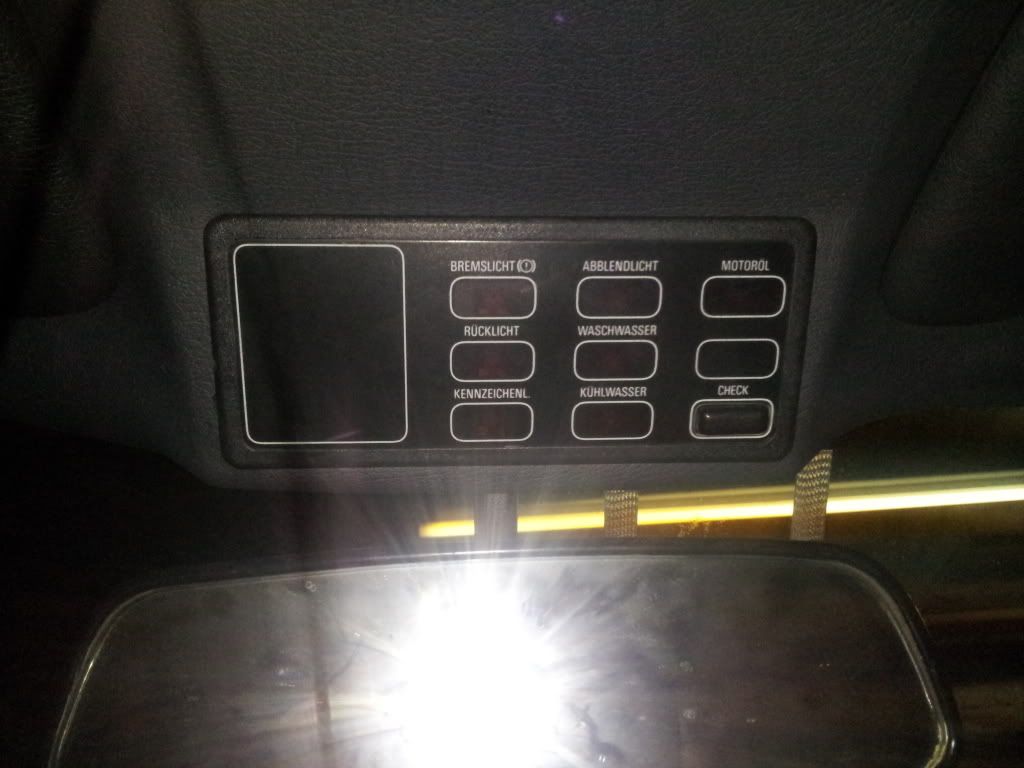
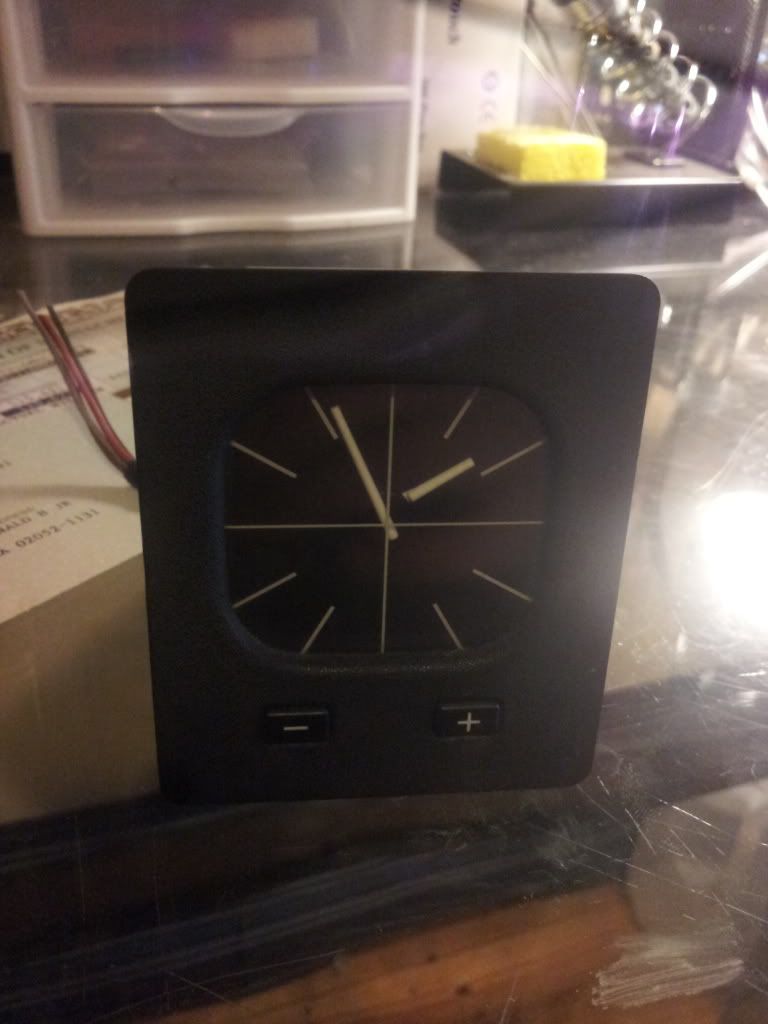
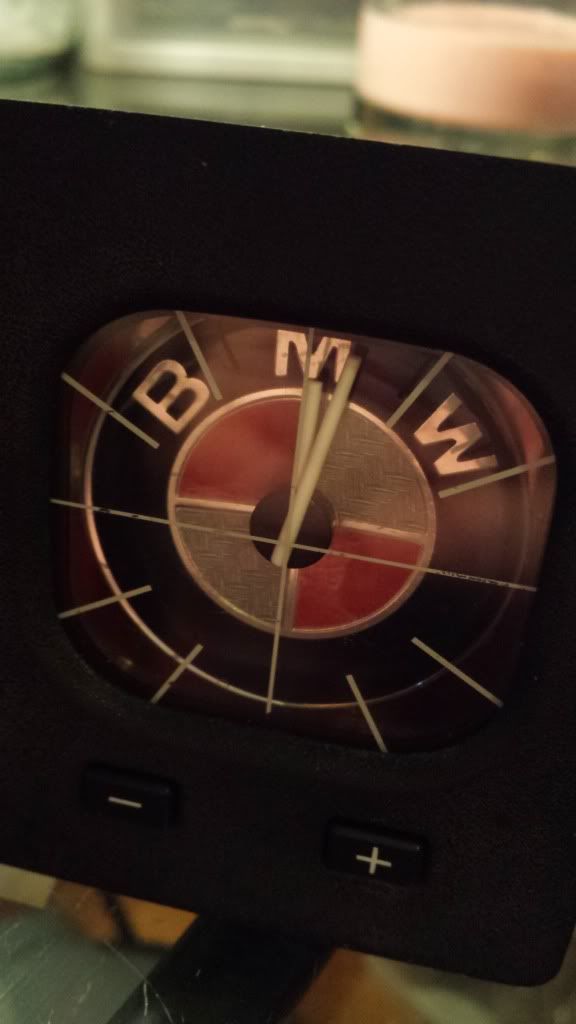
Also installed my spare german check panel (havent got it working yet, think its something in the wiring)
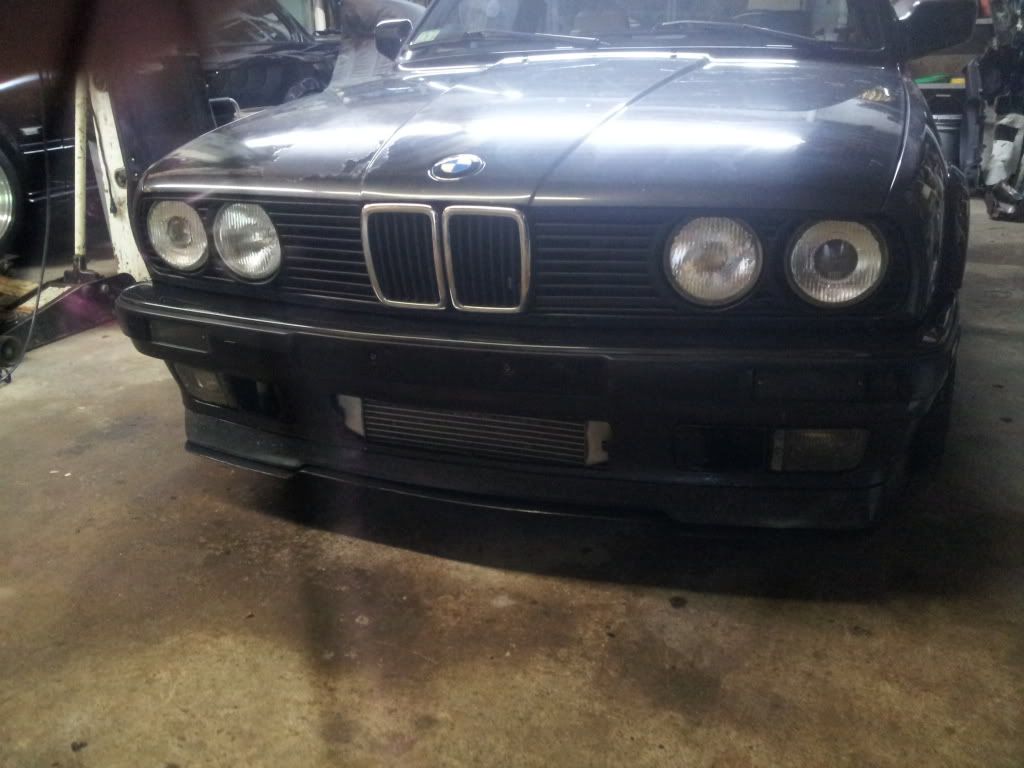
And thats all for today folks, another quick shot on my way out before locking up! plenty of high paced action in this build so stay tuned!
You might remember "Mila" - the BMW Performance Magazine cover car of January 2010. a 500+whp screamin demon.. well her younger, and soon to be hotter sister just moved into town!
Ladies and gentlemen, i present to you Ms. Lela - a Diamondshwarz, 1991 Bmw E30, 325IX Coupe, roughly 116k Turbocharged, automatic transmission with a soft and beautiful immaculate tan heated Sport leather interior, tinted windows, and a 3'' turbo-back exhaust.
She was spotted cold and lonely, stripped of her beautiful voice (all stereo components including speakers, tweeters, factory amp, and head unit) in the New england patriots hometown of Foxboro MA. Being offered for a unbeatable price.. i absolutely HAD to pick her up and bring her home to be sorted in the best manner possible.
Simply put, I wanted a resoration project, and not your typical e30. I went for the praised unicorn, second best to the e30 m3, I found awd to be much more what I wanted. This was a great start. My plans originally were as follows:
Strip car, fix any rusts.
Swap to a 5 spd.
Remove the tan interior.
Add additional luxuries (power/heated seats, rear heated seats, lighting delaY module, rear passenger lighting, front and rear cupholders and so forth.)
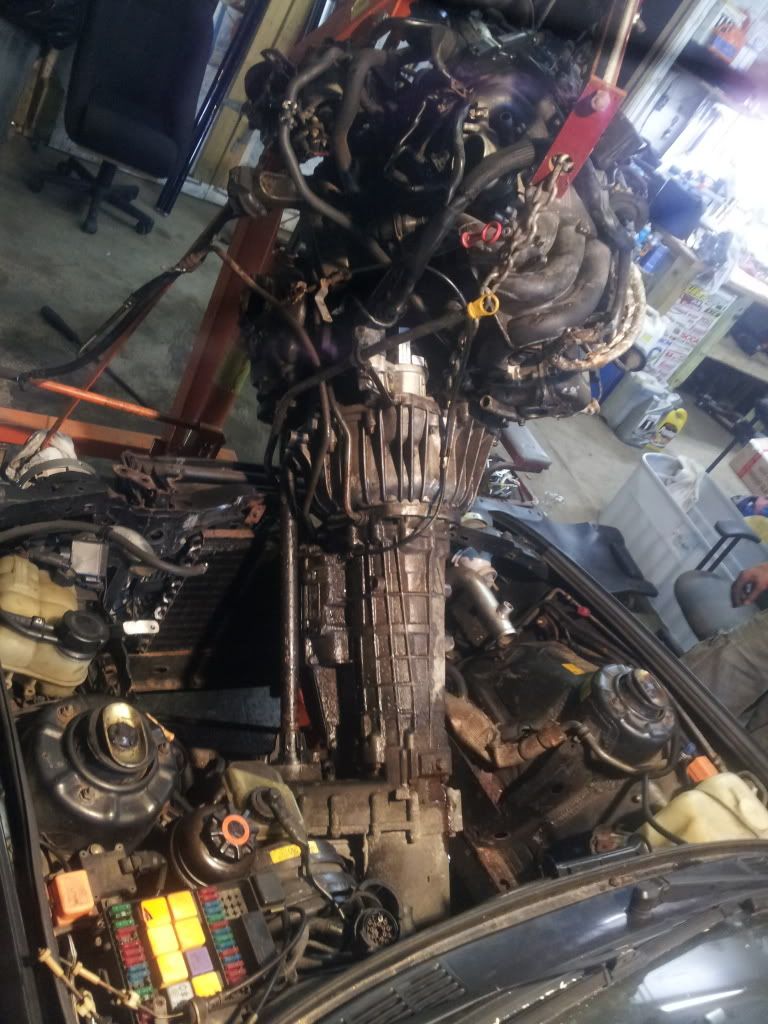
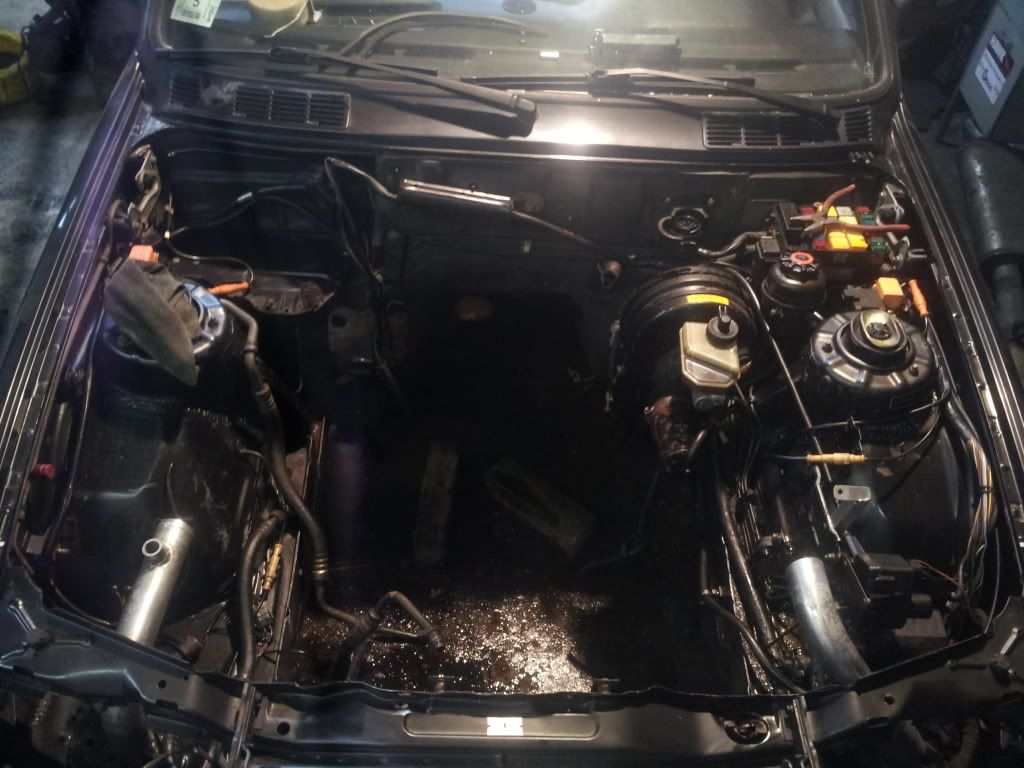
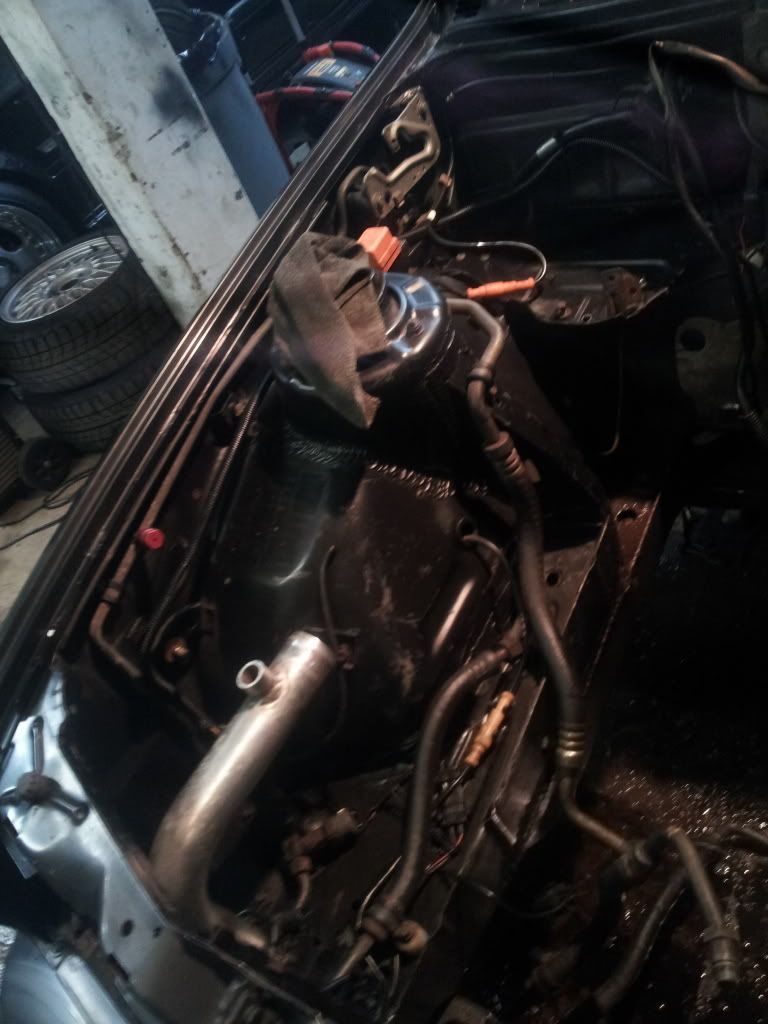
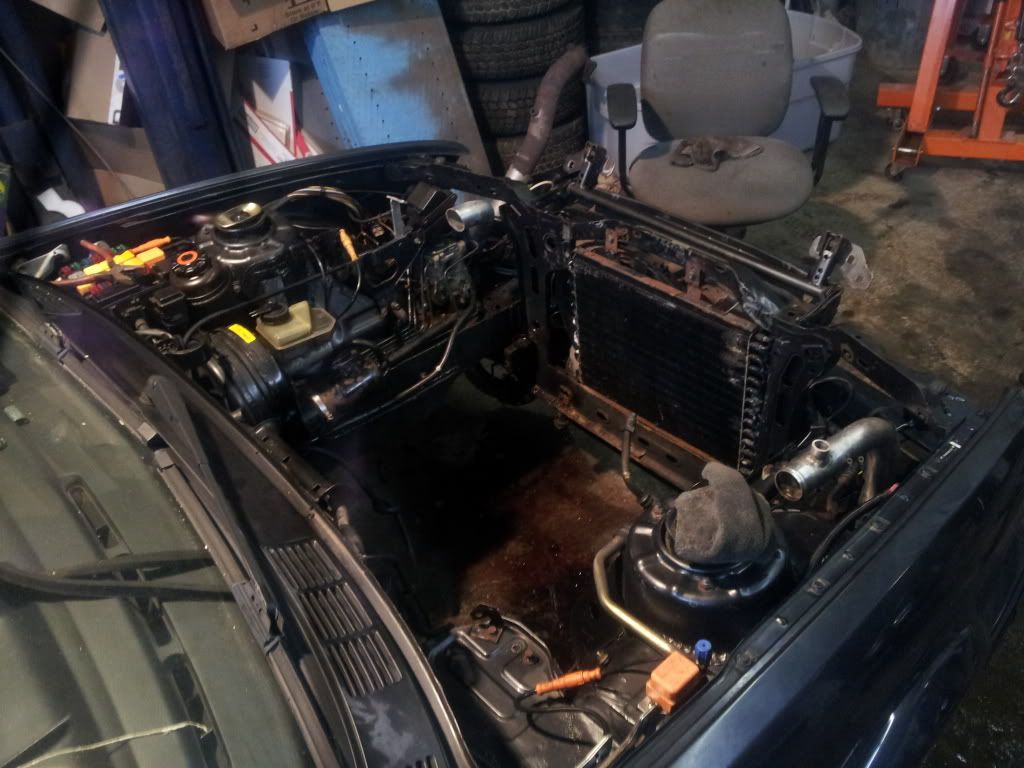
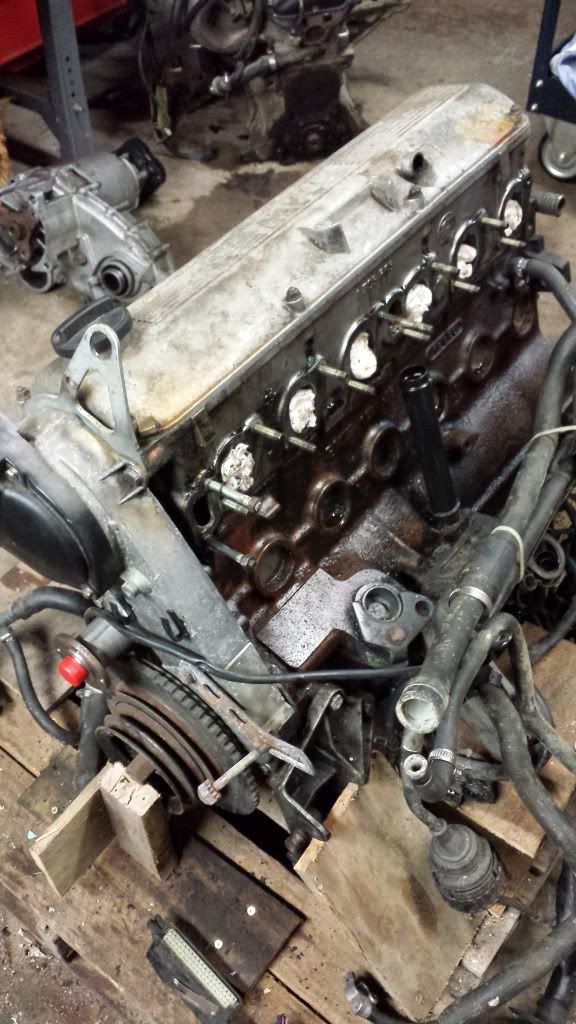
pull drivetrain and fully rebuilt and upgrade entire driveline and engine.
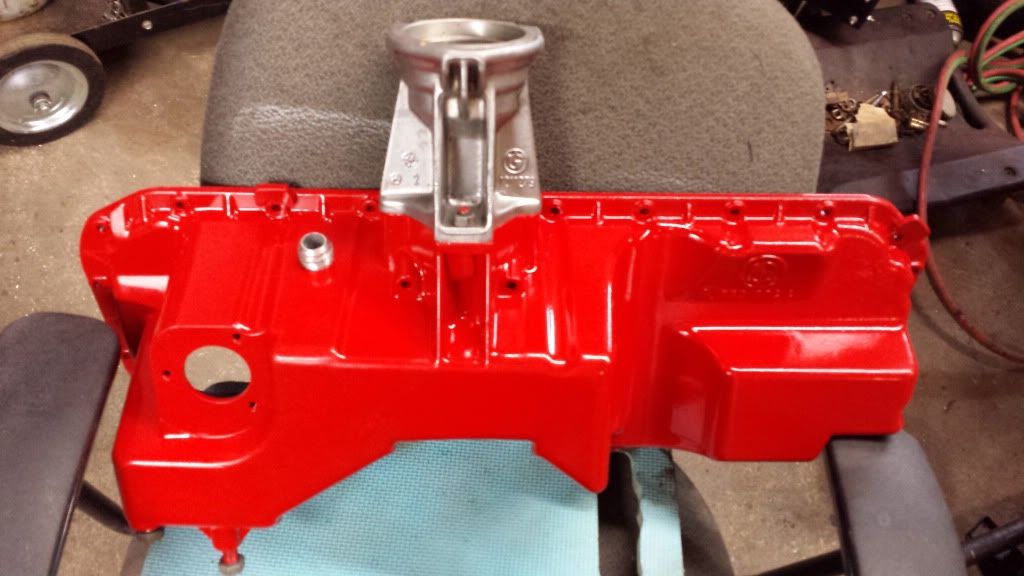
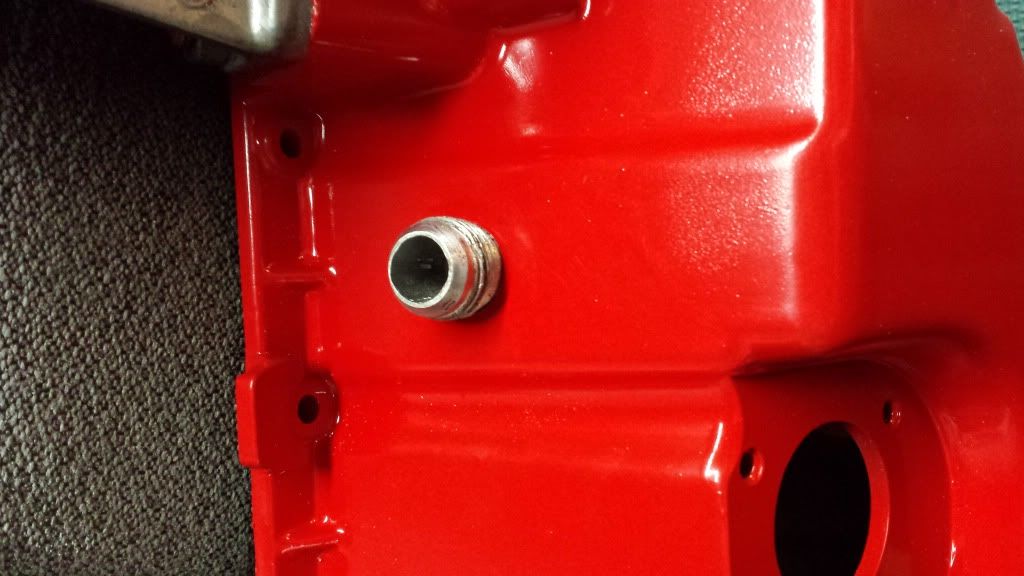
Sandblast and powdercoat everything along the way, install all new parts as necessary.
Install a screamer of a stereo system, professional installs, false floor trunk, bandpass cabin, and modify trunk space for cargo/tools/emergency kit/fire extinguisher.
Keep the detail OEM+, BUT still keep it attractive.
RED detail to everything, PROPER. being careful not to overdo it. The diamondshwarz goes with red in the best of ways.
Combine as many non stock parts from other bmw's into the mix that didnt originally come equipped in the e30s.
shave the engine bay and tuck the wiring while retaining many luxuries such as PS, AC, ABS etc.
Try to revive and repair any exterior paint issues, otherwise save for a fresh paint job after the build is over.
The idea was to have a powerful, reliable, extremely attractive, and yet still enjoy many of the luxuries that e30s had to offer, as well making improvements that passengers could enjoy, so it would be a great racer, commuter, show stopper and travel vehicle.
Sit back and get the lotion ready. Here we go.
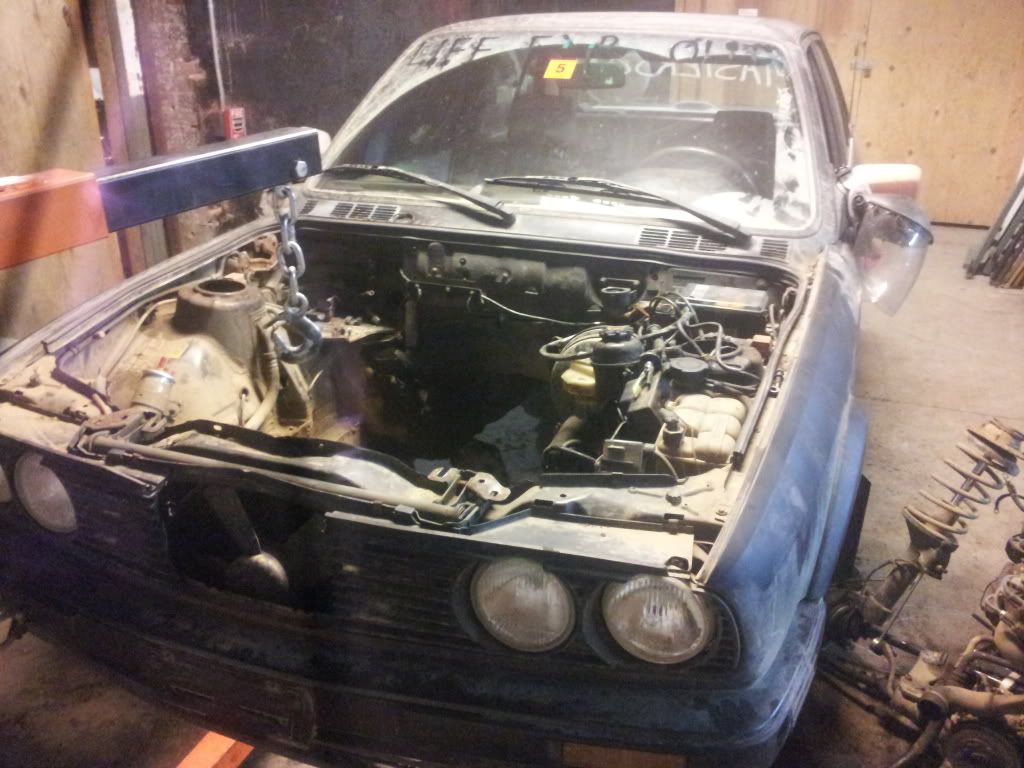
. Here she is when i got her.
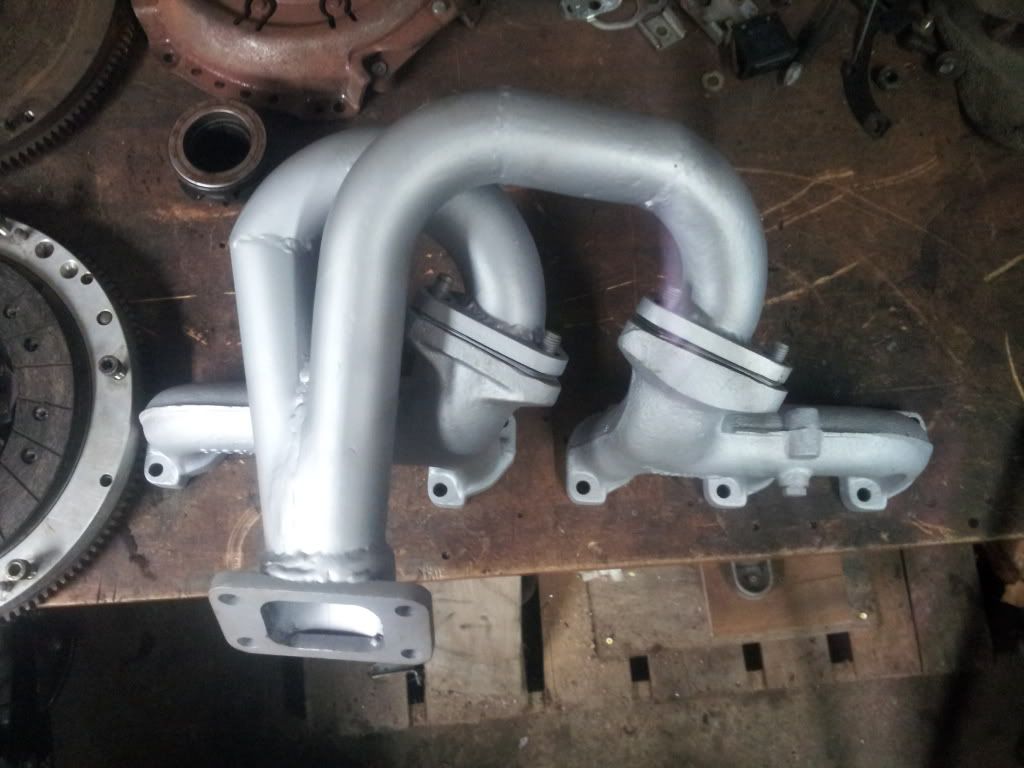
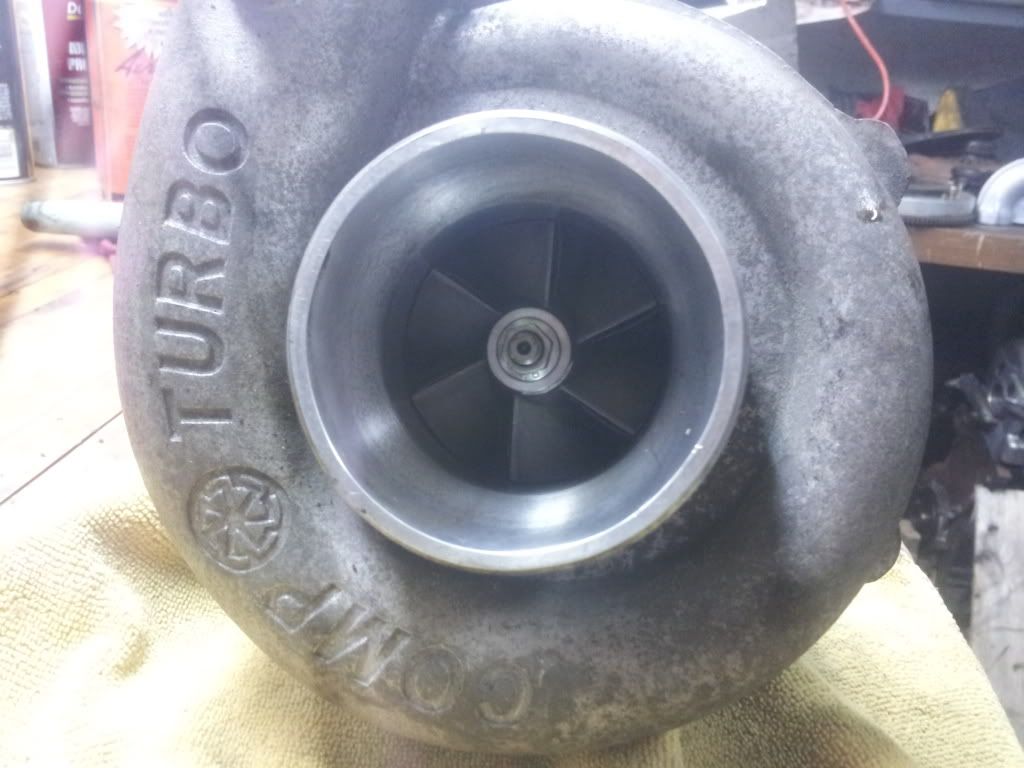
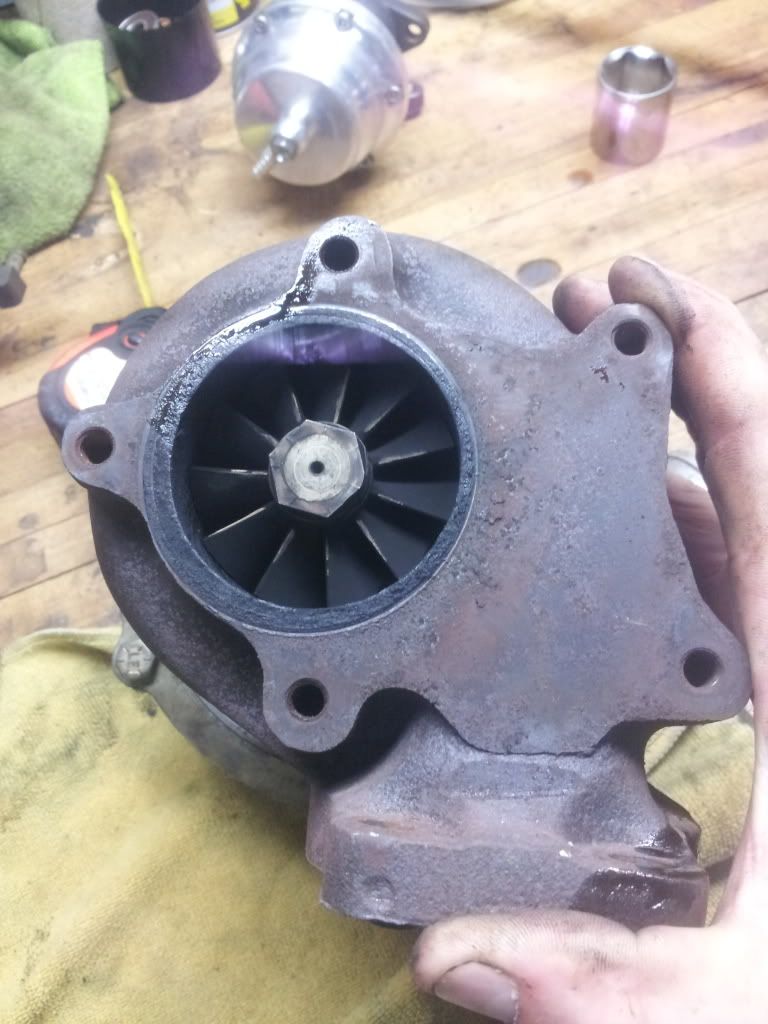
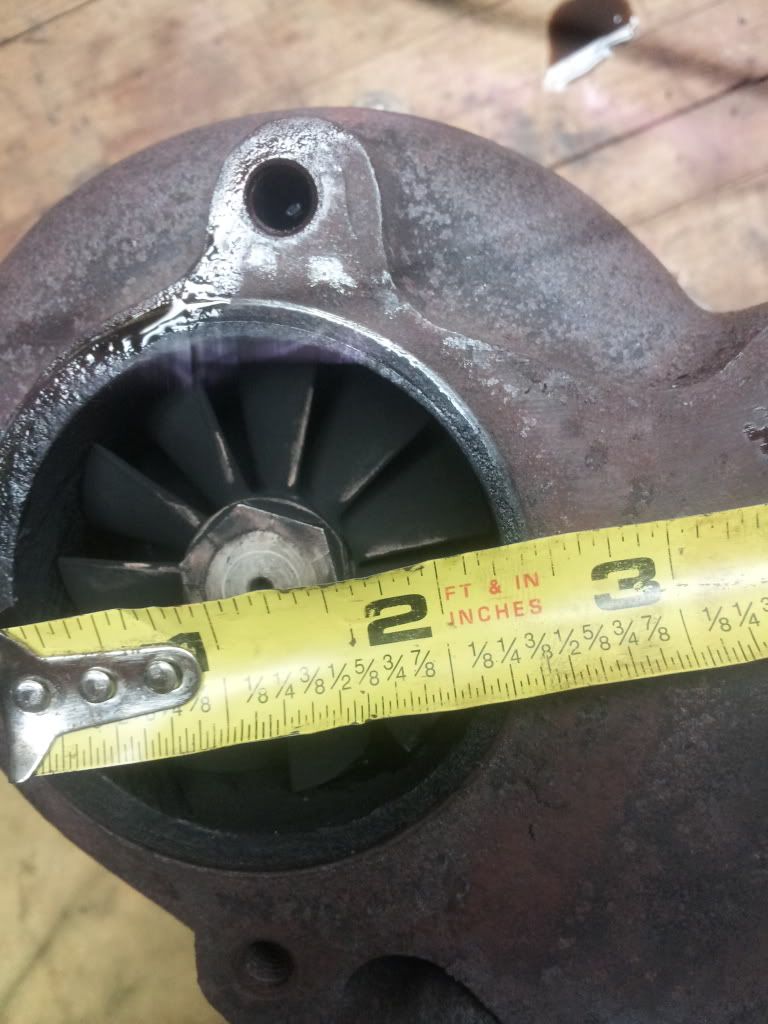
Can anybody identify this turbo for me? I will look at the markings further on once i pull this engine and post more information.
Heres the fancy re-upholstry on the bolsters. Black suede and some clean ass leather butt/back sections
Didnt take long for me to start hacking into things... awful gauge selections, creating horrible spaghetti messes! :hitler:
only 136K !
Here are my girls!! Mila (left) Lela (right)
So without hesitation i started to clean up the little odds and ends, and put a few things into her that have been waiting on the shelves!
someone was a skii'er (sticker removal!!! hate stickers.. ;P)
Heres the front end before!
And after! Repainted some old euro grilles i had lying around, removed the ugly metal license plate bracket, and installed some ZKW german smoked signal lenses
Also installed my spare german check panel (havent got it working yet, think its something in the wiring)
And thats all for today folks, another quick shot on my way out before locking up! plenty of high paced action in this build so stay tuned!


Comment