Announcement

Collapse
No announcement yet.

e30 M3 minor rust repair.

Collapse
This is a sticky topic.
X
X
 
  • Filter
  • Time
  • Show
Clear All
new posts

    #16
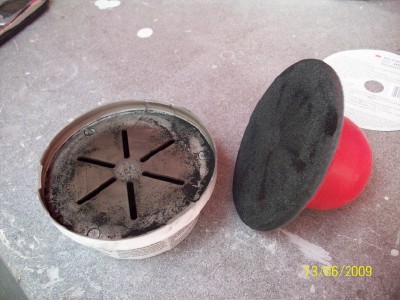
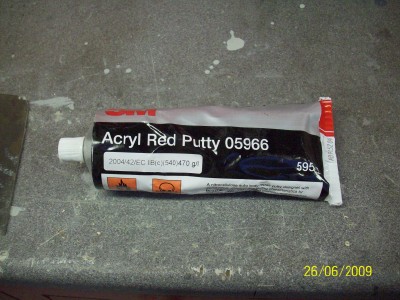
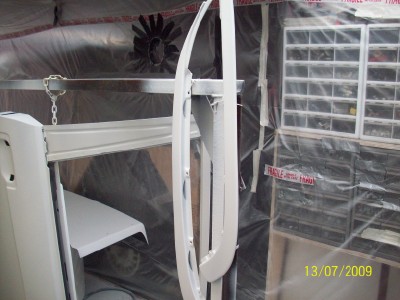
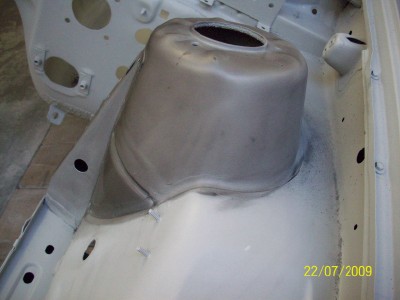
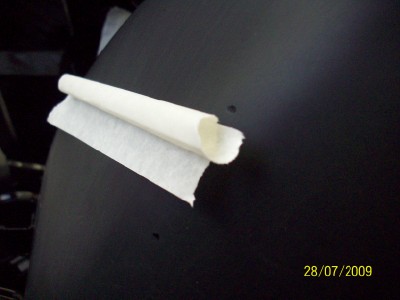
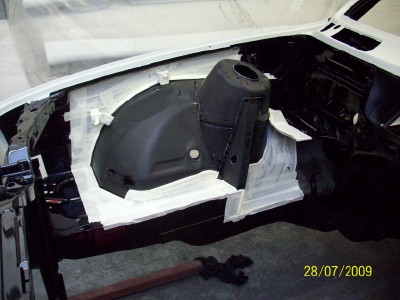
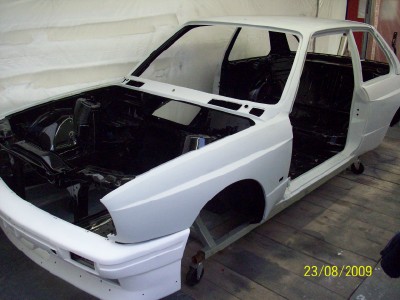
    After the paint has had time to dry and settle it's on to the application
    of this stuff...


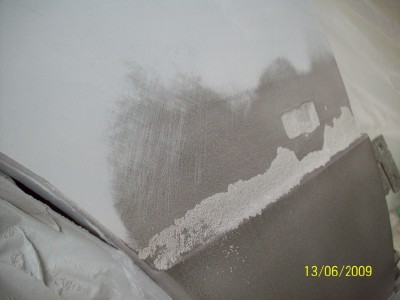
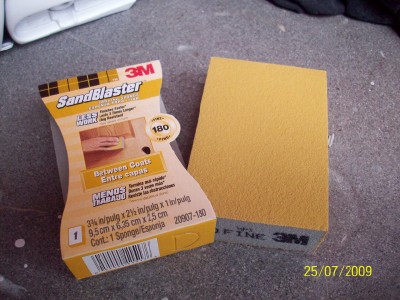
    It's a powder guide coat as opposed to the aerosol type one used
    earlier. The main difference being that the spray on one will help
    show up dips and bumps in the panel work while sanding, while this stuff
    will show up everything till the surface is sanded completely flat.
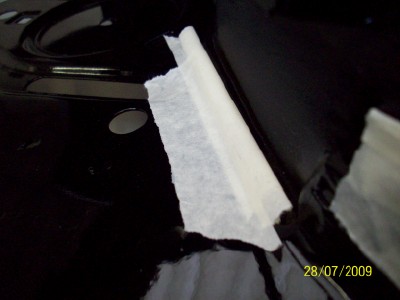
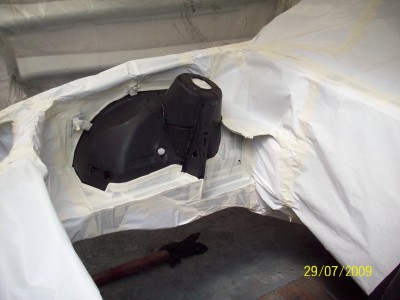
    The bottom part contains the coating which is like lead pencil dust,
    while the top half is the sponge you use to apply it....
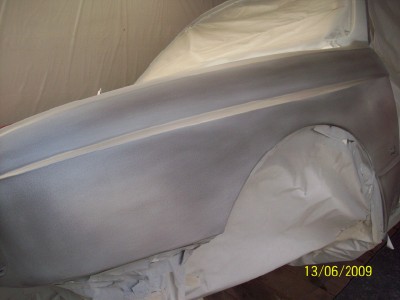
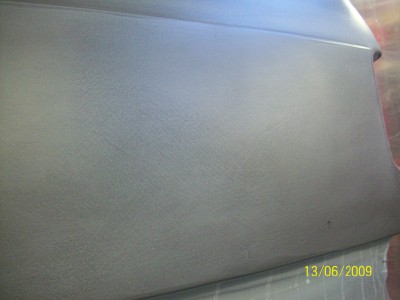
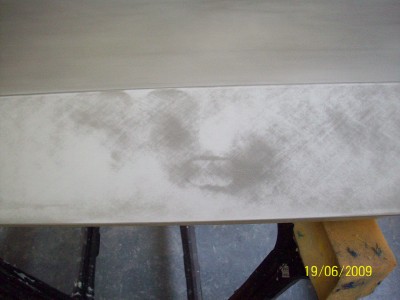
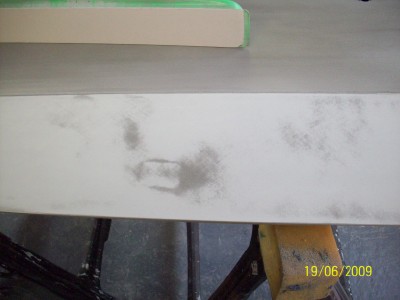
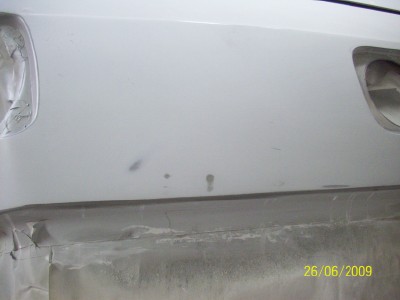
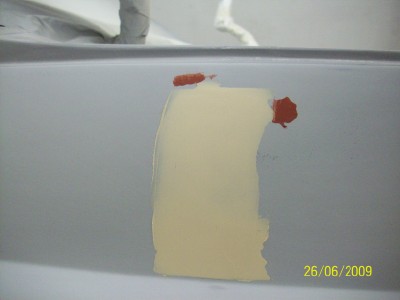
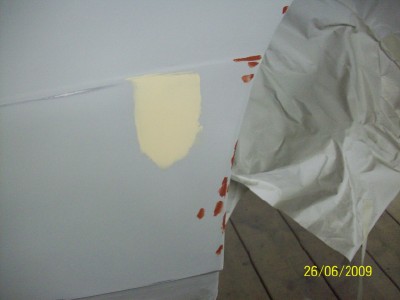
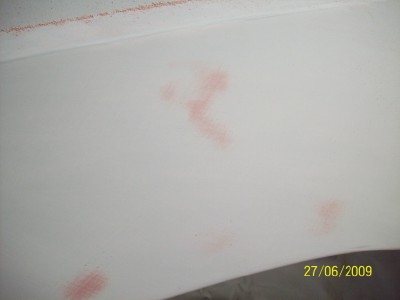
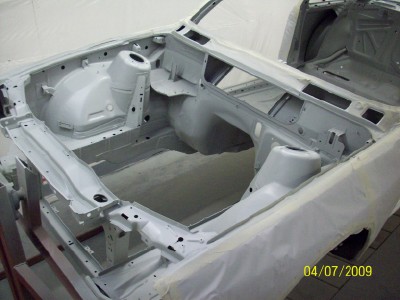
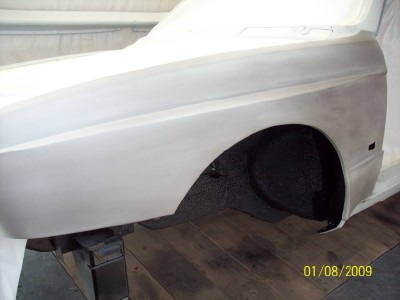


    pick a panel....


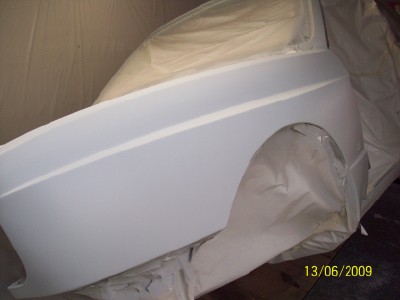
    and start rubbing it on....


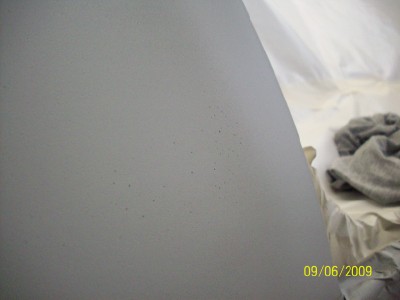
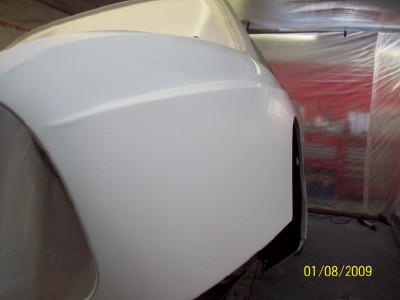
    and if you look closely you'll see just how far from perfect the nice
    coating of primer is....


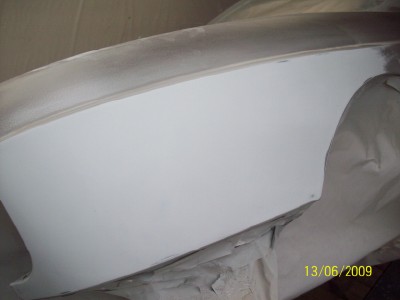
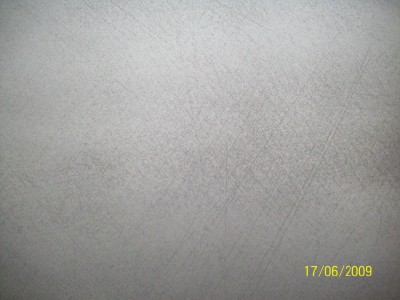
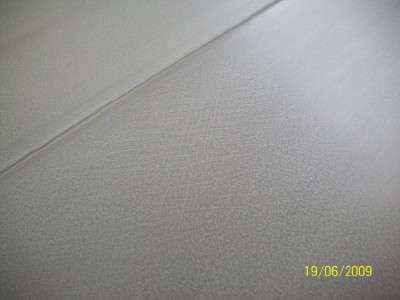
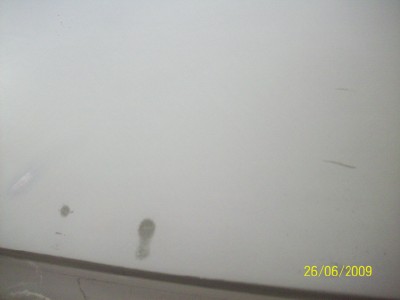
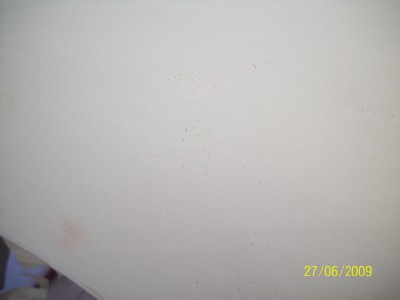
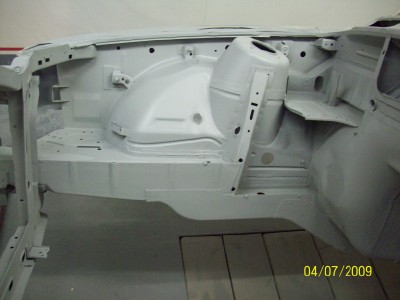
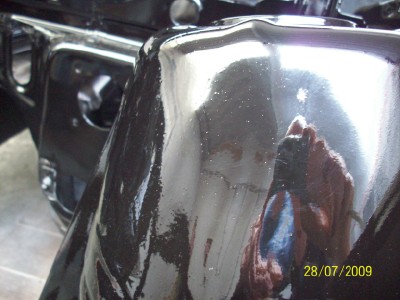
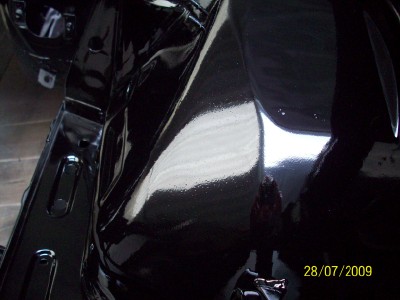
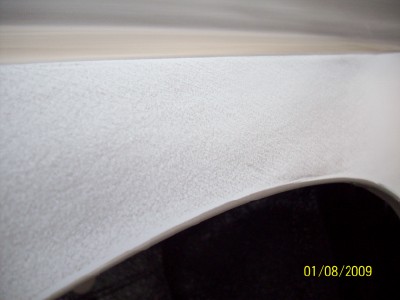
    what you can notice is that paint doesn't go on silky smooth but rather
    builds up like a coating of millions of minuscule little snow flakes leaving
    a sort of orange peal effect. The other thing you can notice is the remaining
    scratches from the 80 and 120 grit sanding. So, with the whole panel
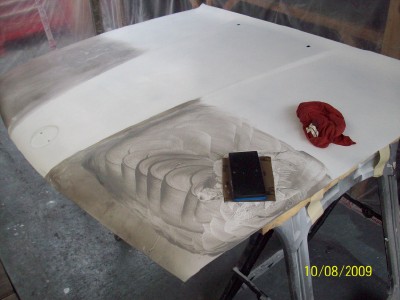
    covered in guide coat....


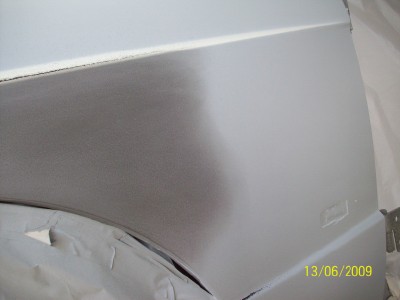
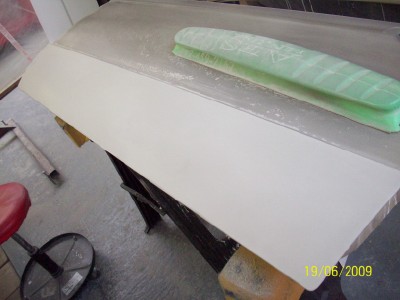
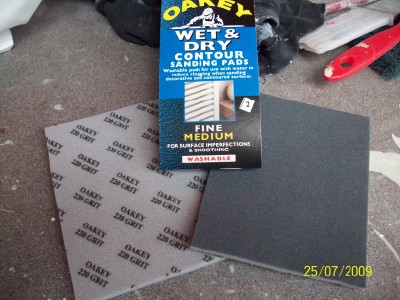
    it's out with the long sanding blocks again and together with some
    320 grit sand paper it's back to everybody's favourite pastime.
    More f**king sanding....


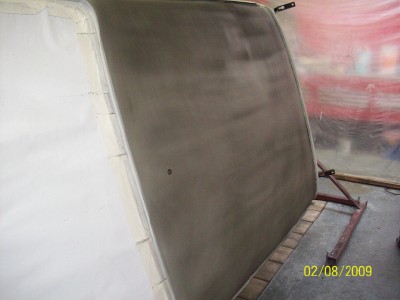
    the 320 grit is fairly fine grit paper and blocks are being used fairly
    lightly compared to earlier but there's still a bit of scope to flatten
    out any small imperfections as you can see there's a nice thickness
    of paint to work with...


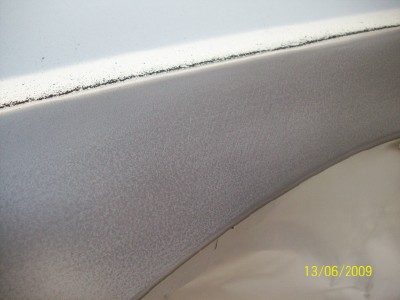
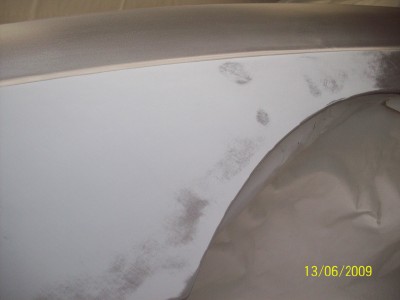
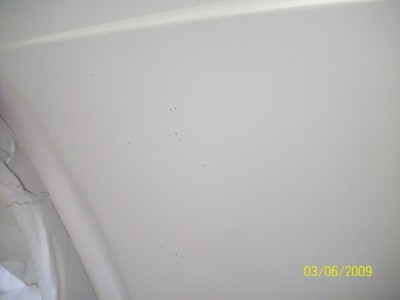
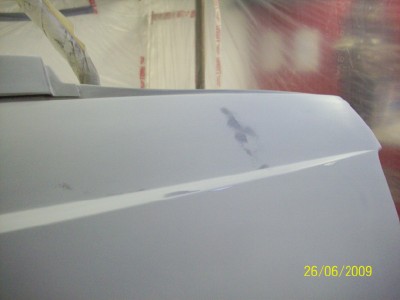
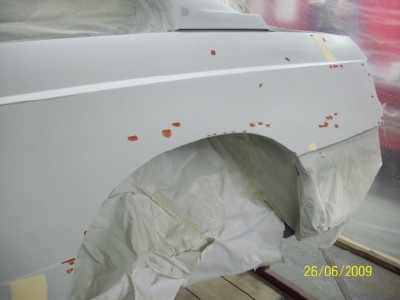
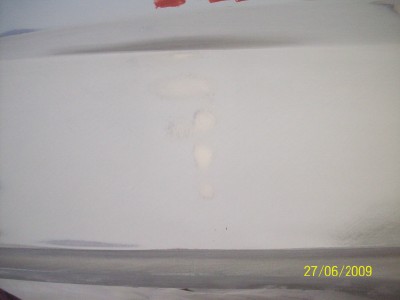
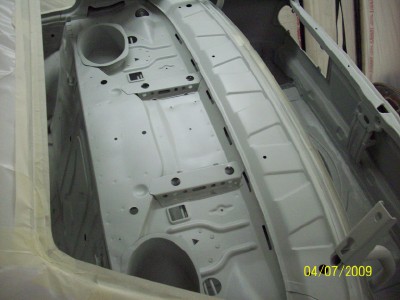
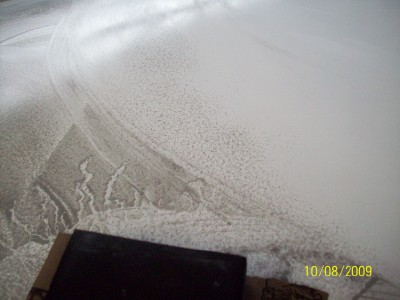
    to illustrate this, the rear quarter panel was showing up a lot of scratch marks
    left over from the earlier 80 and 120 grit paper....


    and as this is blocked down you can see the marks slowly starting
    to go.....


    first the lighter 120 marks go, just leaving the deeper 80 grit....


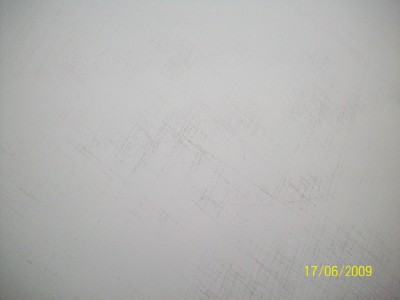
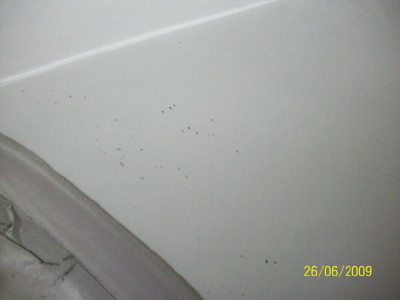
    and after some more rubbing they go too, and if you've applied enough
    coatings of the filler primer you'll get them out before breaking through
    to the metalwork underneath. (we used 2 heavy coats)....


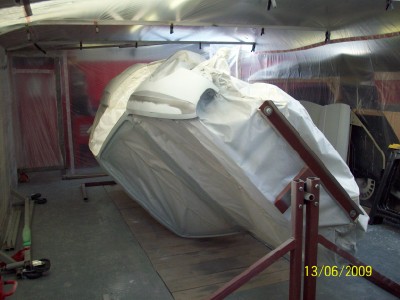
    at this stage it's probably worth pointing out that if your planning on
    having a go at something like this then buy, build or rob yourself
    a spit. Being able to turn the car to any angle you want to make
    yourself more comfortable while sanding is priceless.
    Sanding is a horrible enough job without adding a broken back into
    the equation.


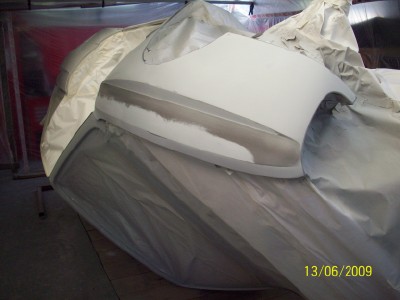
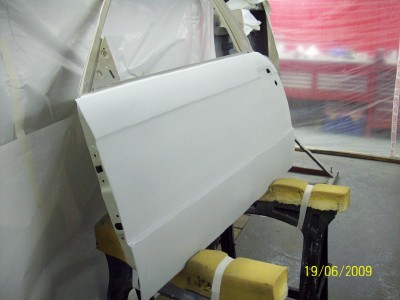
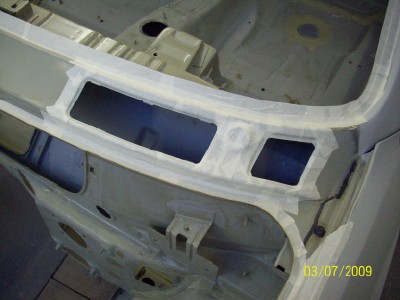
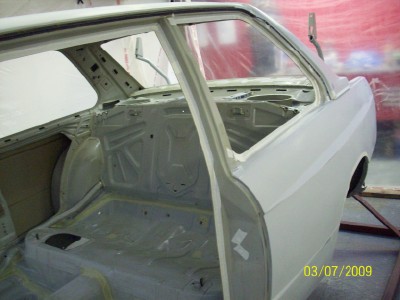
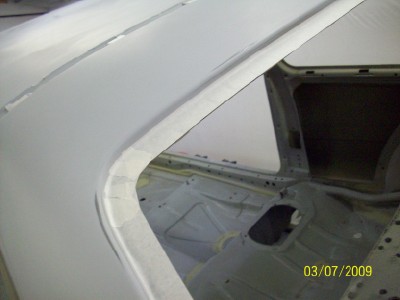
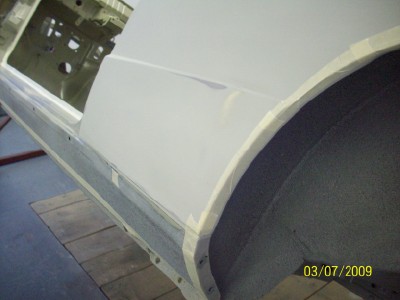
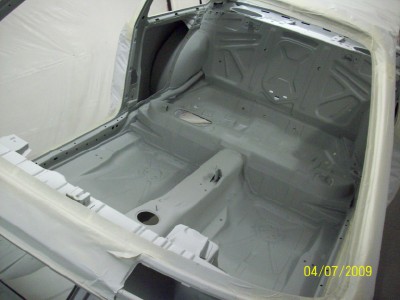
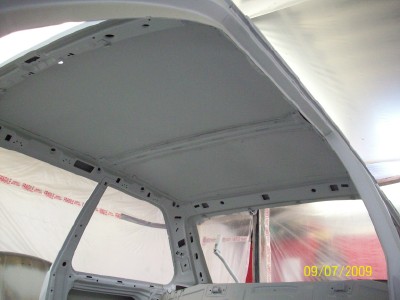
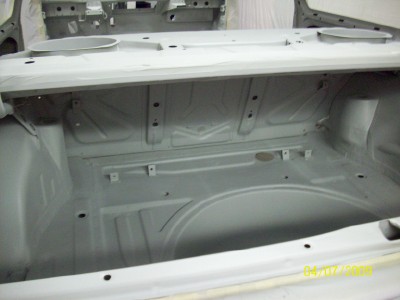
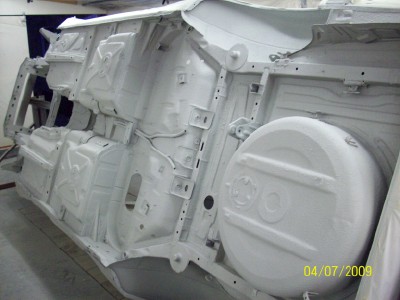
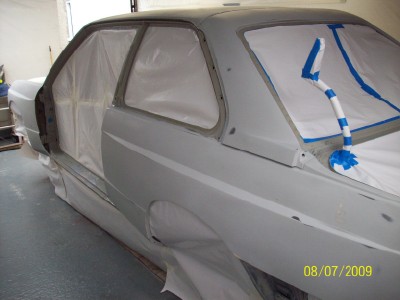
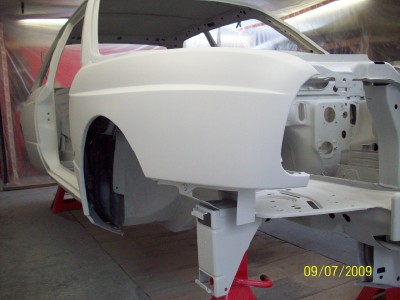
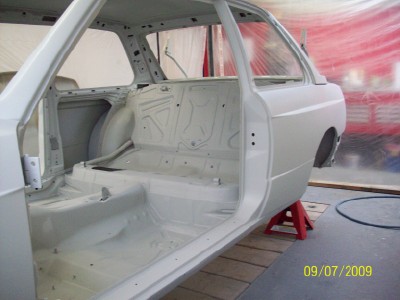
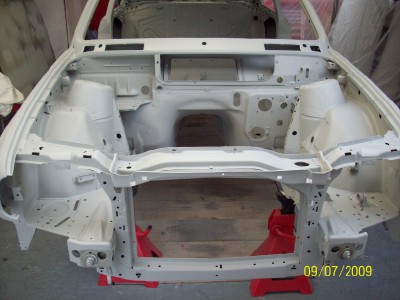
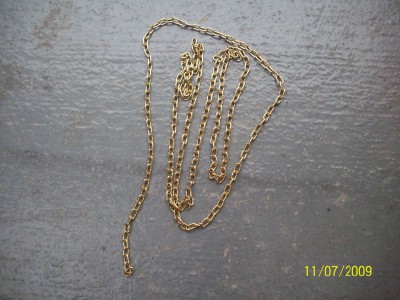
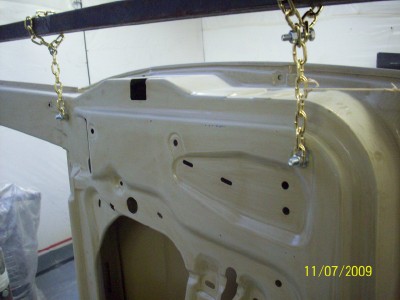
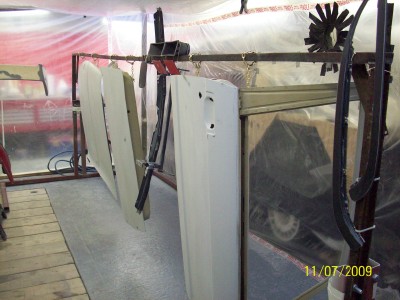
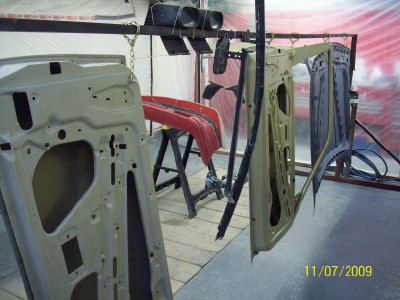
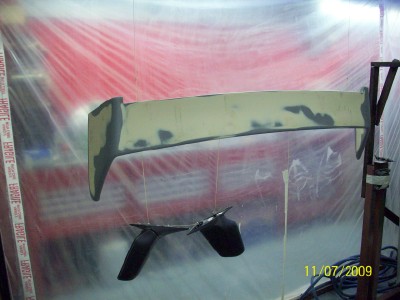
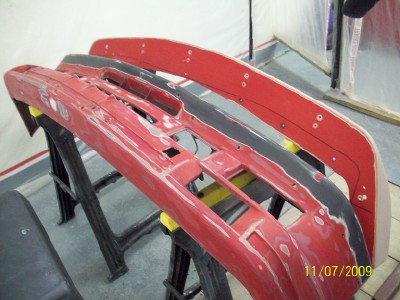
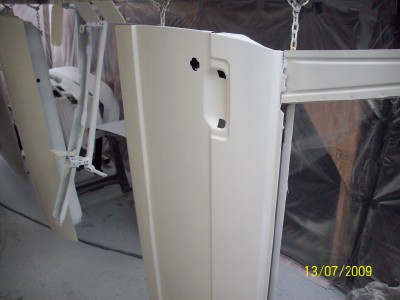
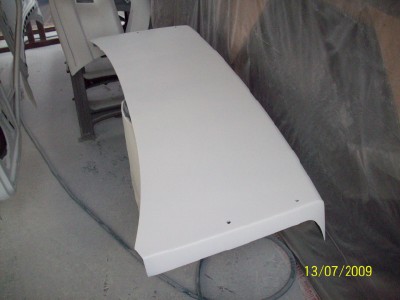
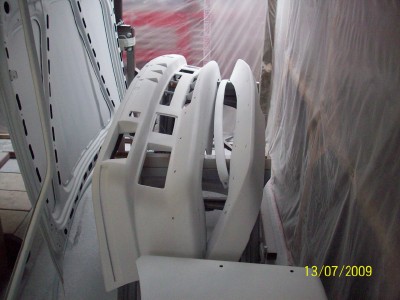
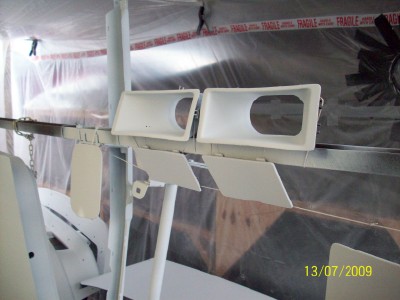
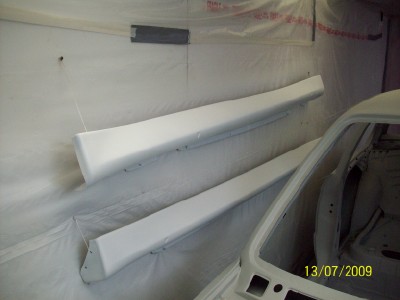
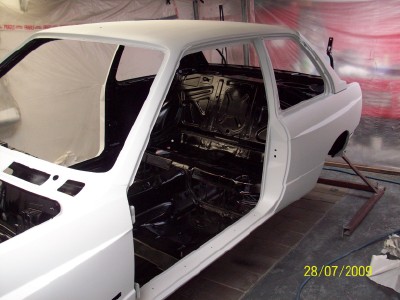
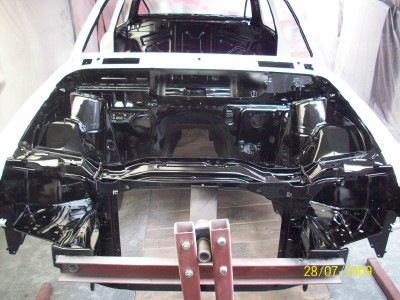
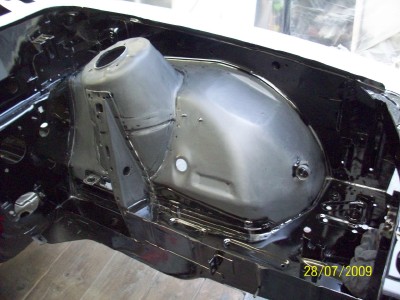
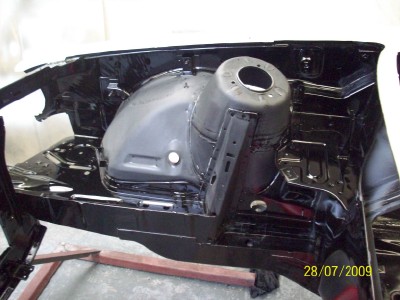
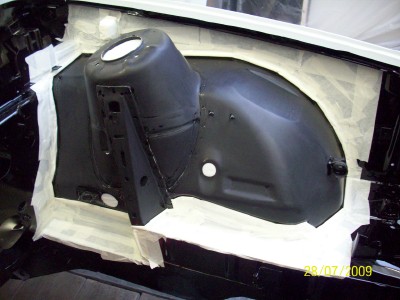
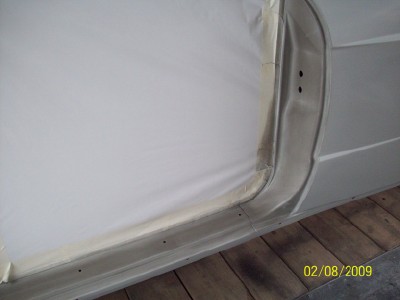
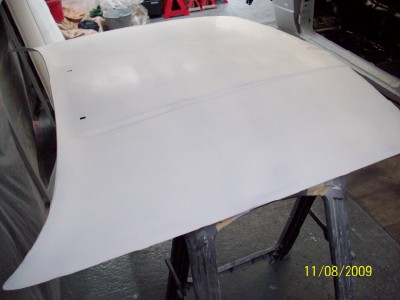
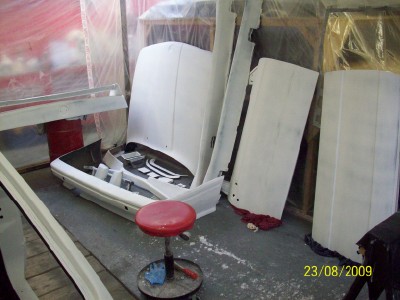
    with the shell done the doors and bonnet get the same treatment....


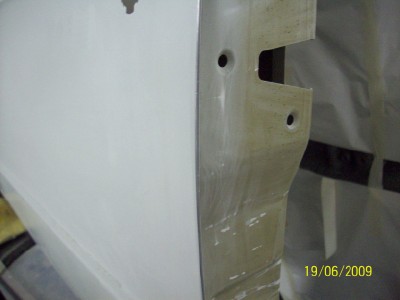
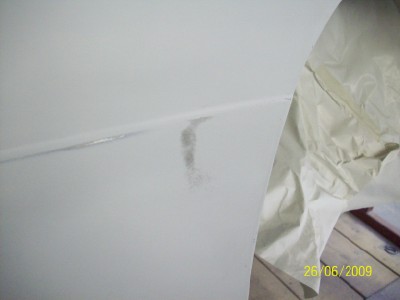
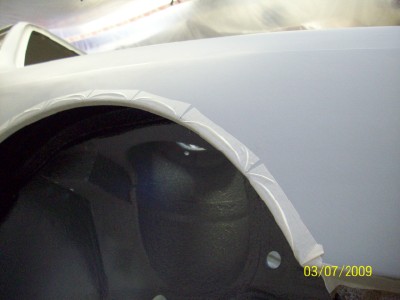
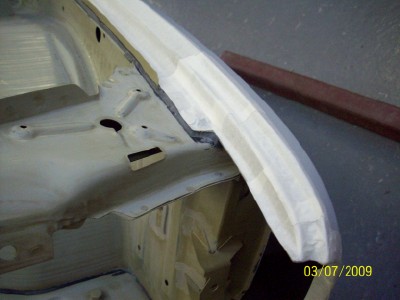
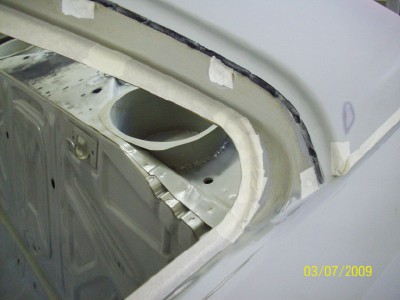
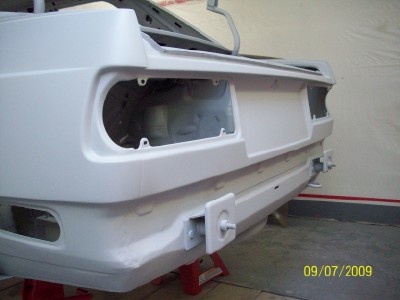
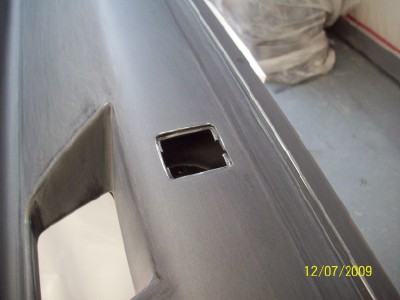
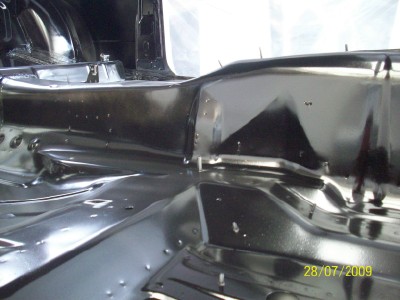
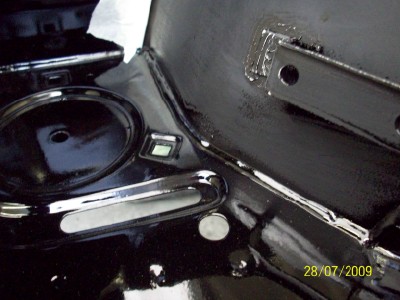
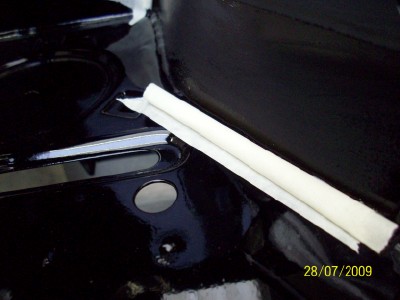
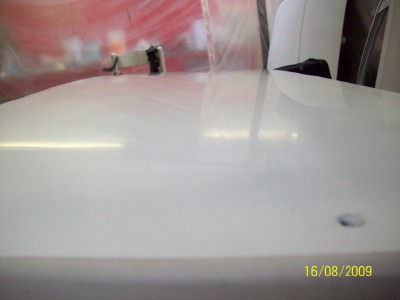
    the other thing that gets a little attention is the edges of the panels.
    The more paint you have on the edge of a panel the greater the
    chance that when you whack it off something a large chip will come
    off it. You might notice that with a door or bonnet that has been
    resprayed over the original paint work that when it gets stone chipped
    the flakes are usually fairly large as opposed to an edge that only has
    the normal amount of paint on it, which when chipped usually flakes
    a much smaller chip. So, all filler primer is removed from the edges...


    Last edited by xworks; 03-05-2016, 04:14 AM.

    Comment


      #17
      little rust? looks like there wasn't enough metal left to crush it, hehe


      Great job

      Comment


        #18
        carrying on from where we left off last night, and it's on to the final of
        our 3 types of fillers. With the heavy fillers on and filler primer done and rubbed
        down it's time to break out the stoppers.
        After rubbing down the black guide coat on the shell and separate panels
        it's not uncommon to find some little tiny holes in the surface of the
        filled area. These are tiny little air bubbles that sometimes get trapped in the
        fillers as your spreading it on, and will show through the final top coat if
        not dealt with. Kinda hard to see them they're so small but since I can't
        figure out how to use the zoom on the camera your just going to have to
        shove your face up close to the monitor...


        along with these tiny holes, block sanding the guide coat also showed
        up a few larger blemishes that would also have to be dealt with....


        The last few larger one's shown above can be filled with a thin covering of fillers,
        but theres no point trying to fill the tiny pin holes with fillers, it just won't fit.
        So, we use this stuff....


        as you can see by the label 3M have decided to call it "Acryl Red Putty"
        probably cause they couldn't charge you enough if they just called it "stoppers".
        Basically it's just a very fine, runny, light form of normal fillers that
        has the advantage that it'll fit into any little scratch or pin hole. You can
        buy it in a tin or a tube like above. The tube seems to be handier for the
        simple reason that this stuff already has the hardner premixed in it, so
        the minute it's exposed to the air it starts to go off. With the tube you can
        take a little out at a time but the tin version seems to go hard after only
        opening it a few times. Then again I'm not exactly the fastest worker.
        So, squirt a little out to use...


        and apply it to the one or two pins holes on the car along with the
        thin coat of fillers for the bigger blemishes....


        well maybe a little more than one or two holes...


        if you ware spectacles it helps to clean them before this job or you
        may use half the tube before realising it's dirt on your glasses not
        pin holes on the car...


        the stoppers goes off fairly quickly and can be sanded away usually
        within 10 minutes. As it's so fine and light it sands much the same as
        the primer, so just gently rubbing it with some 320grit takes away the
        excess....


        to leave just the little bit filling the pin holes...(you'll have to take my word on it)


        the larger bits of normal filler take another small covering of guide coat
        and a light block sanding again to get them down flat....


        and with all that done around the shell and separate panels the bodywork
        is finally as flat as we can get it.....


        it's then time to clean up the....


        and start taping up for final coating of primer....


        as everything now needs to be coated fully in primer it's decided to break
        it down in to three sessions. First the underneath, inside, engine bay and
        boot and then later the outside and finally the doors and bumpers and other stuff.
        We decided to do it like this because theres just so much square footage
        of bodywork to be sprayed on the car it would be hard not to get overspray
        on panels that were starting to dry while your just getting around to
        spraying the area next to it. Plus with our magnificent, money no object,
        extraction system there was a good chance one of us would probably die
        from toxic fumigation.
        Got to spend a little time being precise taping the car up before hand as
        any paint that gets under it and on to the other half will show up when
        you spray over it later....


        1 inch tape around all the edges first....


        and then with that done, roll out the paper and fill in the gaps....


        quick once over with pre-cleaner, a swift wipe of the tac-rag, slop
        some paint together, fire it into the gun, and splatter it out on to the
        shell, leaves it looking like this....


        again handy having it on the spit for this part as you can turn it to any
        angle to help getting all the nooks and crevices inside and underneath....


        and when that was finished and dried the paper is whipped of and
        everything that was sprayed is now taped off ready for the second
        half to start....


        the window and door jams are all taped from the inside so as to
        allow full coverage right out to the edges....


        there is however one danger to watch out for when
        taping a car up from the inside....


        Last edited by xworks; 03-07-2016, 12:07 PM.

        Comment


          #19
          with all that done the final thing was to hang some paper down from
          the sills of the car. This is not to avoid overspray on the underneath
          of the car, thankfully we're not quite that anal, but instead to stop
          and spray travelling under the car and landing on freshly painted
          panels the far side....


          a wipe, tac, mix and splatter later....


          with the shell now fully primered we could move attention to the other
          bits, bumpers, doors, spoilers etc. However to do this the shell would have
          to go outside to make room, and we were worried that extreme temperatures
          of the Irish summer season might literally warp the metalwork!
          Yeah, as usuall it had been pissing rain solid for a week now....


          alas, just as we were about to abandon work on the M and start
          building an ark, the clouds broke and the sun shone through long
          enough to allow us to get this done.

          a few lengths of steel....


          spit dismantled....


          one short length of steel bolted to each spit stand...


          and some pimp daddy chain...


          allows us to hang the panels up for spraying like so....


          and some string from the rafters hangs the spoiler and mirrors.
          (spoiler worked out grand like this, mirrors were a disaster,
          imagine trying to spray an old grandfather clock pendulum, whilst moving,
          and you'll get the picture, you live and you learn)....


          the rest of the stuff went on what ever we could find to prop them up...


          started to run out of suitable props at this stage so had to borrow the
          neighbours wheelie bin.....


          had to be careful with that and tape it up good and proper as he's
          already fairly suspicious as to why the grass in his back garden
          has turned a funny shade of primer grey.

          bumper plugs are removed and done separately so as to allow the
          primer under where they shall sit....


          and thats it, the last of the stuff to be primered.....


          wipe, tac, mix, splatter and ta-daaaa....


          join us tomorrow evening to find out how things turn out as we
          take a turn to the darker side and start applying the Jet black.
          Last edited by xworks; 03-07-2016, 12:10 PM.

          Comment


            #20
            We had decided right from the start of this project that the car would
            be going out to have it's top coat applied by a professional. The
            reasons for this were:
            a) i wanted the top coat and lacquer to be baked in an
            oven to get the finish as hard as possible.
            b) i wanted the finish to be fly free, ie. nothing stuck to the
            outside of the shell but paint, no dust, no flies, no stray pigeons.
            c) perhaps most importantly of all I wanted it painted by a
            professional. We've sprayed quite a bit so far on this car and quite
            a few rally cars in the past and in a moment we'll also be spraying some black
            to the interior and underneath of this one. But, there's a world of difference
            between spraying primer and spraying top coat. Spraying primer is fairly
            straight forward and your always going to be sanding it before the next
            coating anyway so the finish doesn't have to be mint. But top coat can go
            t*ts up in the blink of an eye if you haven't got enough experience to spot
            the signs that all is not well. After this much effort to prep it, I want the top
            coat to be as good as it can be and for that to happen it needs to be
            painted by someone with a lot more experience than me.

            That said, I'll be f**ked if i'm going to let someone else have all the fun, we
            were going to paint as much black as we could first.
            With the whole car now primered the bits we were going to paint black
            next would need to be sanded/ flattened. For the interior and boot we
            used these.....


            above is a 180 grit soft sanding block and below is a 220 grit
            sanding pad. They're much quicker to use than normal sheets of
            wet and dry paper and they'd do just fine to give a quick lick to the
            interior....


            the engine bay was a different story though. I'd spent a lot of time
            already sanding parts of the engine bay smooth and sanding down
            the seam sealer flat as I wanted the bay to look as good as the
            outside of the car. So now the primer in here was going to have to be
            guide coated and wet sanded with 600grit to get it mirror flat. Only
            the turrets, wheel tubs, chassis legs and front slam panel got this
            treatment. Not bothering going this far on the bulkhead as it'll be
            covered by the oem soundproofing.....


            and with that eventually finished it was time to shoot a couple of
            coats of blackness....


            very happy with how it came out, interior took it very well...


            the boot, as always,was a pure pig to do but came out well too.
            For anyone who's curious as to why a boot's a pig to spray, get yourself
            an empty kellogs conflakes box, stick your head inside it and then
            shove an aerosol can in there aswell and try to spray the inside of the box.
            You'll get the idea pretty quick.


            underside came out pretty sweet to....


            and then the engine bay, would all that extra sanding pay off???


            it looked like all that extra effort was worth while, the majority of
            the bay was silky smooth...


            all except that is, the f**king turret's and wheel tubs which was the
            main part I wanted to get right....


            I'd like to say I took this discovery in a cool and collective manner,
            but the truth is passers by outside had to cover there young children's
            ears for quite some time. What had happened was we had sprayed
            the underside of the car first and some overspray had blew up in to
            the engine bay and settled on the turrets. Unawares of this we then
            flipped the shell over and started spraying the engine bay. You could
            see it showing through as we were spraying but there wasn't a lot we
            could do then, so we finished and let it dry to see what it would look like....


            It's not terrible, but it's not what I wanted either. And the irony of it is
            it's only on the turrets and wheels tubs, the only part thats really noticable
            when everything refitted to the bay. So, what to do? well if you've read
            this far you've probably a good idea. After leaving the paint to fully
            cure the effected areas were wet sanded back down again with 600grit.
            Didn't have to go right back to the primer to get it flat although the areas
            do look grey in the pictures...


            each side was sanded back to a line or crease in the bodywork
            as it was going to have to be taped off to be resprayed and
            you don't want nasty tape/paint lines standing out.....


            So to also help blend in the resprayed parts, instead of just normally
            taping off the area, the masking tape was rolled like so....


            and then placed snug up against the seam....


            and another strip of tape softly over it to stop the roll unfurling....


            and repeat until all the area is done....


            the thinking behind this is that if you just taped it normally you'd get
            a noticeable line where the paint builds up against the edge of the
            tape, whereas this way some of the paint will fade in under the roll
            and if all goes well, make the line unnoticeable.
            With that done the rest of the shell needed to be taped up....


            and then mix a small bit of paint, spray it on, say 3 decades of the rosary
            and slowly open one eye to see if it's come up good....


            yipidy f u c k i n g doda....


            Last edited by xworks; 03-07-2016, 12:11 PM.

            Comment


              #21
              with that little episode over it was time to move on to the final
              preparation of the exterior and remaining panels for top coat.
              The reason this wasn't sanded along with the interior is if any
              overspray crept through the masking you could end up 15 pictures
              back up again and in serious need of sedation. Quick mask up
              to stop the nice black paintwork getting messed up by the coming
              wet sanding....


              and then head to toe every last square inch of bodywork left in
              primer gets powder guide coated and wet sanded with 600grit wet
              and dry paper....


              no scratches or blemishes to worry about this time just the need to
              get the primer as mirror flat as possible, any top coat can only be
              as flat as whats underneath it....


              bit of washing up liquid in the water helps the sanding go a little easier
              and cleans any stray contaminants off the panels as you go...


              this....


              took...


              forever....


              and...


              a day...


              or 3 weeks to be precise....


              but there is a small reward, with everything sanded so smooth
              you could now catch the light and see reflections on the panels
              and see how flat it'll look when black....


              and then with nothing left to do, the time had finally come for the
              top coat to go on. How was the black going to look? Would it
              come out ok? Was all this effort going to pay off?.....


              And i'd dearly love to be able to tell you all, but the simple truth is,
              we just delivered the shell to the bodyshop this morning and it'll be
              an agonising few weeks before we get to see the finished article.

              But at least now you know how I feel.....

              STAY TUNED
              Last edited by xworks; 03-07-2016, 12:13 PM.

              Comment


                #22
                Dam nice write up! Hope all comes out well

                Comment


                  #23
                  holy balls.

                  Comment


                    #24
                    This has been posted on this on S14.net right? Been following it there also. Nice attention to detail.
                    Continuous For Sale Thread
                    323i s50

                    Comment


                      #25
                      Wow, one of the damn best write ups ive seen. Nice work and keep it up.

                      '88 325iX -Totaled
                      '97 M3 - Sold
                      '85 euro e30 Pete McHenry 2.8L m20 Stroker - Parting out
                      '89 325is - Sold
                      '95 540i 6spd
                      '87 325is M Technic I s50

                      Comment


                        #26
                        excellent work my good sir.

                        Comment


                          #27
                          WOW! impressive work!

                          this has been one of the best reads on r3v IMO

                          great job sir!

                          Comment


                            #28
                            +10 great job..

                            Comment


                              #29
                              damn, thats going to look amazing when finished.

                              Flickr

                              @michael.colby on Instagram


                              "All he needed was a wheel in his hand and four on the road"

                              Comment


                                #30
                                holy shit this is amazing ....

                                Comment

                                Working...
                                X