Looking for opinions-Sealed beam/smiley swap issue

Collapse
X
 
  • Time
  • Show
Clear All
new posts

  • ELVA164
    replied
    So I'm resurrecting this thread a bit to share the process I went through to clean the fog out of my high beams. You can see the picture from my earlier post as a "before" shot, this picture is a "during" (the driver's left high beam has been cleaned), and the final picture is of my specialized cleaning setup.

    Halfway


    Used a piece of solder with a cotton ball taped to the end and a tiny bit of glass cleaner to get the crap out. It wasn't just condensation; the stuff was really caked on to the lens and the reflector, and it came off looking like dirt. Weird.

    Leave a comment:


  • ELVA164
    replied
    Originally posted by Fourbanger
    Looking sexy. Euro grilles too, I see. Now all you need are some Euro bumpers :p
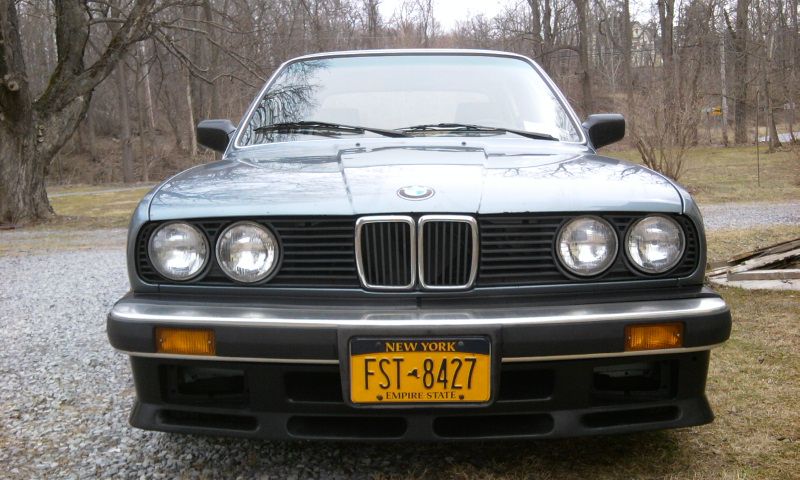
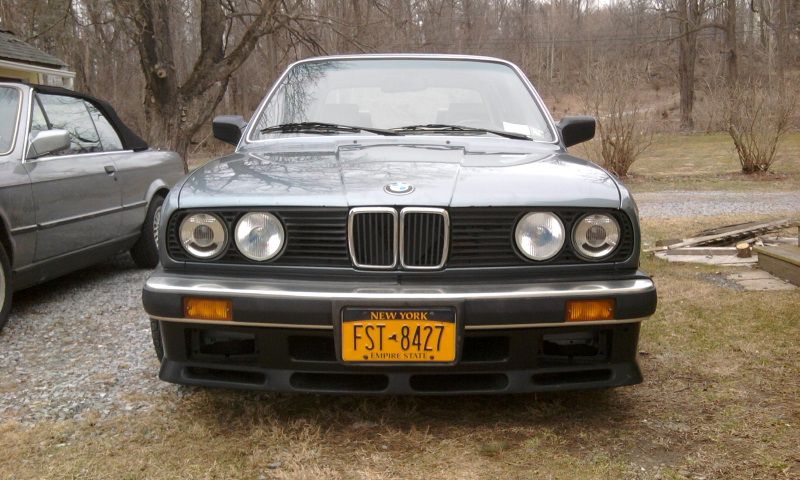
    You know, I'd really like to see what these look like polished. That said, neither option will be happening anytime soon!

    Leave a comment:


  • Fourbanger
    replied
    Looking sexy. Euro grilles too, I see. Now all you need are some Euro bumpers :p

    Leave a comment:


  • ELVA164
    replied
    I will forever sing the praises of AlumTap cutting oil. The stuff is pure magic. I'm considering trying it on our convertible's electric antenna because it penetrates so well. Here are the results!

    Before...

    After!

    Leave a comment:


  • Fourbanger
    replied
    You're lucky, my adjusters were rusted to hell so I got fed up and just ended up replacing them all at $11 a pop.

    Leave a comment:


  • ELVA164
    replied
    So after doing some research about possible adjuster lubricants (PB obviously, 50/50 acetone/ATF mix, rust-eaters), I actually ended up trying some aluminum cutting fluid. Before applying, ZERO adjusters moved at all. I ran some fluid down the threads of each adjuster and into the plastic bit, and all but one of them were moving within minutes. Luckily, I have a spare half-set of US ellipsoids I can use to replace the hydraulic adjusters so I should be in business tomorrow!!

    I can't wait to see the lights in their full glory.

    P.S. The cutoff adjuster is a very cool feature.

    Leave a comment:


  • ELVA164
    replied
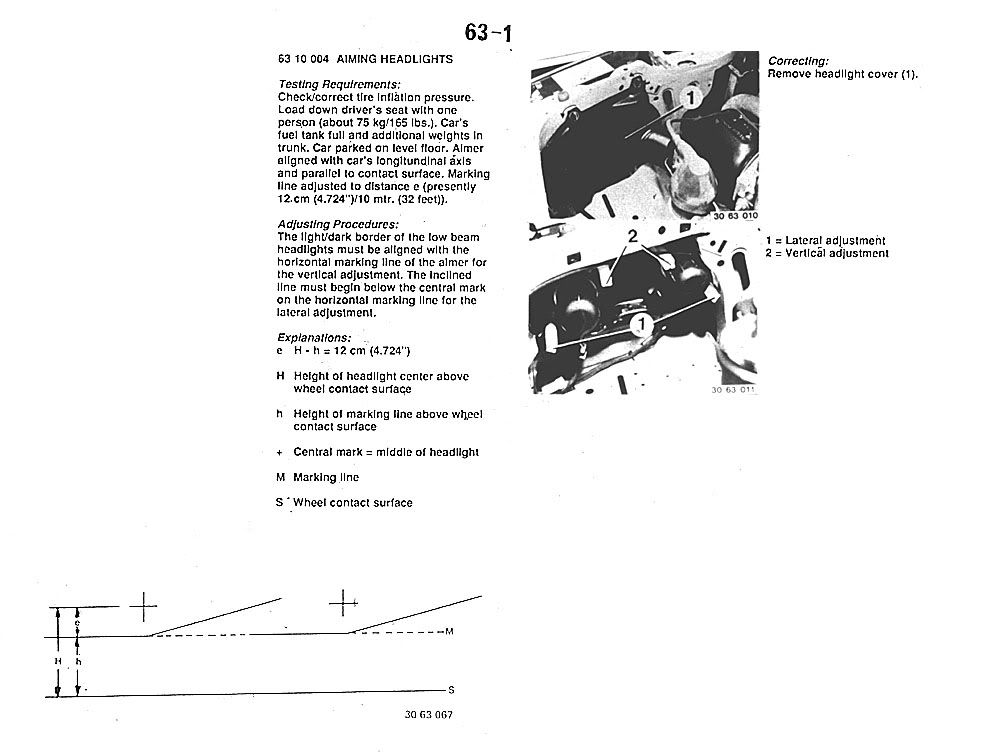
    I just found that in my Bentley manual. Thanks for all the help Fourbanger.

    Leave a comment:


  • Fourbanger
    replied
    If you want to be accurate:

    Leave a comment:


  • ELVA164
    replied
    Originally posted by Todd Black 88
    Adjust them.
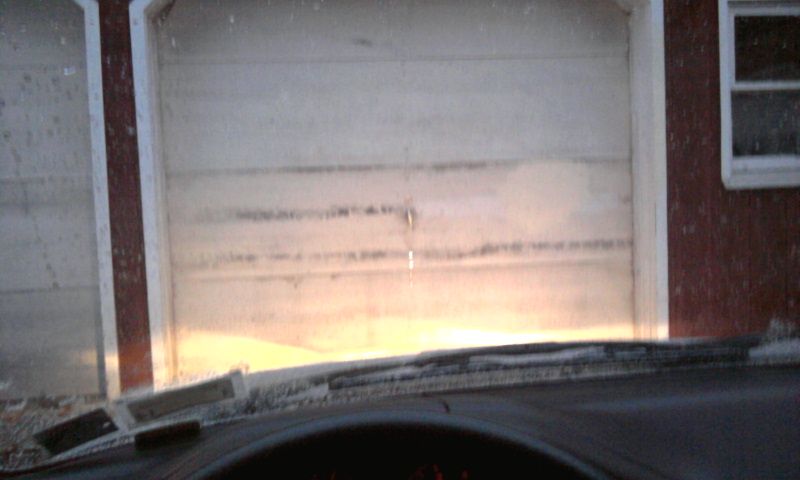
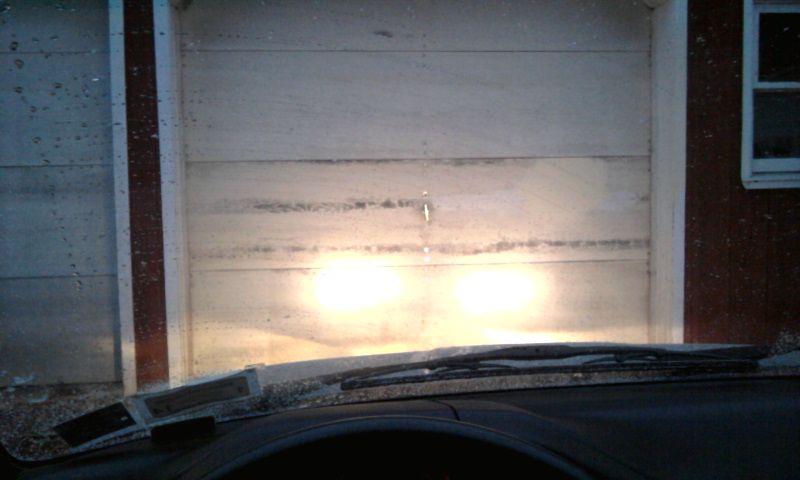
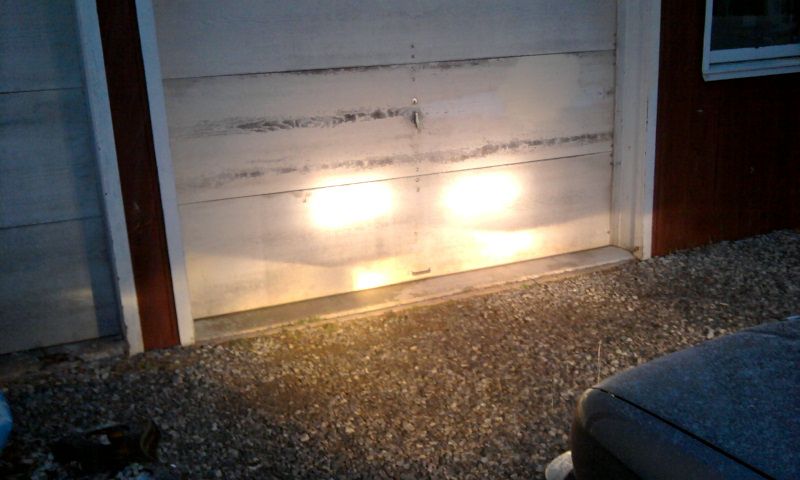
    So here are pictures from inside and outside the car. The lows look like fog lights and the highs seem too high. Euro or not, the beams should all line up, right? If so, time to see if the adjusters are at all usable.

    Low


    Low and high


    Low and high outside

    Leave a comment:


  • Todd Black 88
    replied
    Adjust them.

    Leave a comment:


  • ELVA164
    replied
    Okay, so after a thorough going-over, it looks like my high and low beam relays were bad, my replacement high and low beam relays were bad, and after all that one of my brand new bulbs was bad. Sigh.

    But they're in!

    Related question: my low beams are fairly even with each other but the high beams shoot MUCH higher. Is that normal for smileys or did the PO of these just have no idea what he was doing? I'll take a picture when it gets dark.

    Leave a comment:


  • Fourbanger
    replied
    Not sure, but it seems possible since those big pins probably took a bit of heating to melt the solder. If your fuses are good (a cheap multimeter would tell you with certainty) they'd be the next things to replace. Make sure you're testing the connections with the high-beam stalk in both positions.

    Leave a comment:


  • ELVA164
    replied
    Hmm. Thanks, that's the how-to I've been referencing. I undid the solder and still had no power to any of the connections. I think tomorrow I'll cut and re-strip the wires and see if that changes anything. Do you think the heat from the soldering could have damaged the relays at all? I'll take some pictures tomorrow if things continue to be problematic.

    Leave a comment:


  • Fourbanger
    replied
    I don't recall a third wire to the high beam, but there were three to the lows.

    Low beams: +12v (low), +12v (high-- tape this off), ground
    High beams: +12v, ground

    Figure 1c might help you: http://users.rcn.com/nifftylion/head...%20-%20Pub.pdf

    As for the no-power thing, not sure what to tell you. Check fuses, relays, and the quality of connections you've made. If things stopped working after the relay bridge, undo it.

    Leave a comment:


  • ELVA164
    replied
    I haven't taped anything off yet because I was able to initially get power for the low beam using the one wire, but since then I'm not sure if something changed. The wire ends aren't touching however. All the fuses are fine as well. It just seems like something crapped out somewhere mysterious...

    Does the third wire for the high beam matter at all? I currently only have two wired up. Is that some sort of extra ground/shutoff wire or something? The two I have attached had power until this last thing with the relay bridge.

    Leave a comment:

Working...