
Here come the promised pics:
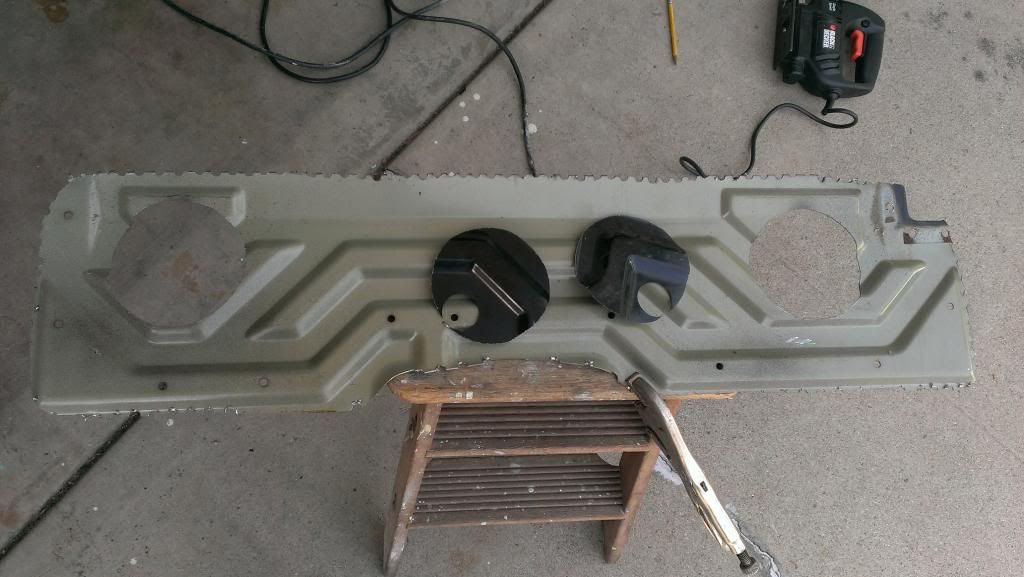
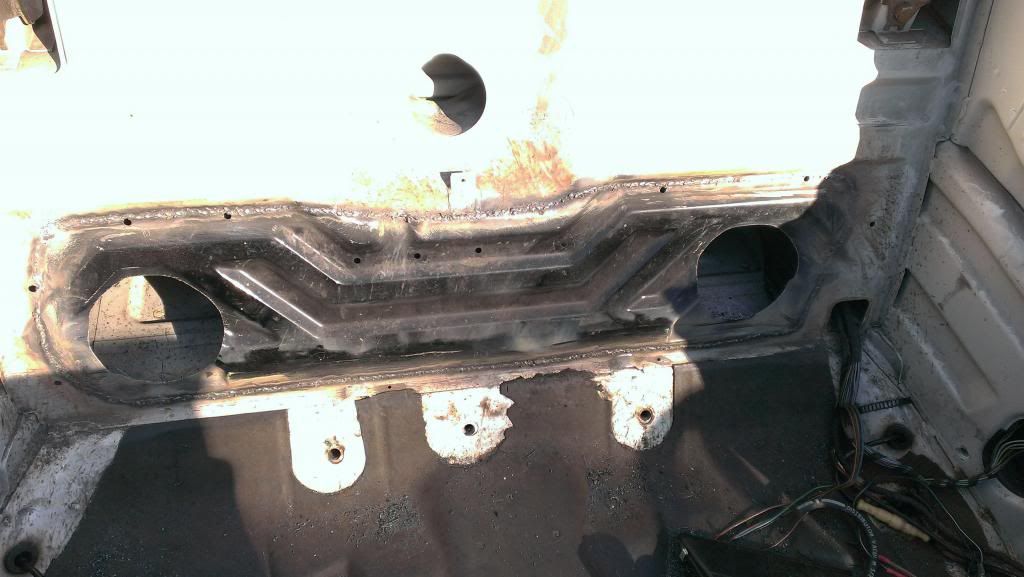
The donor I found. The color could not be any more different from mine but I'm glad I managed to find one.
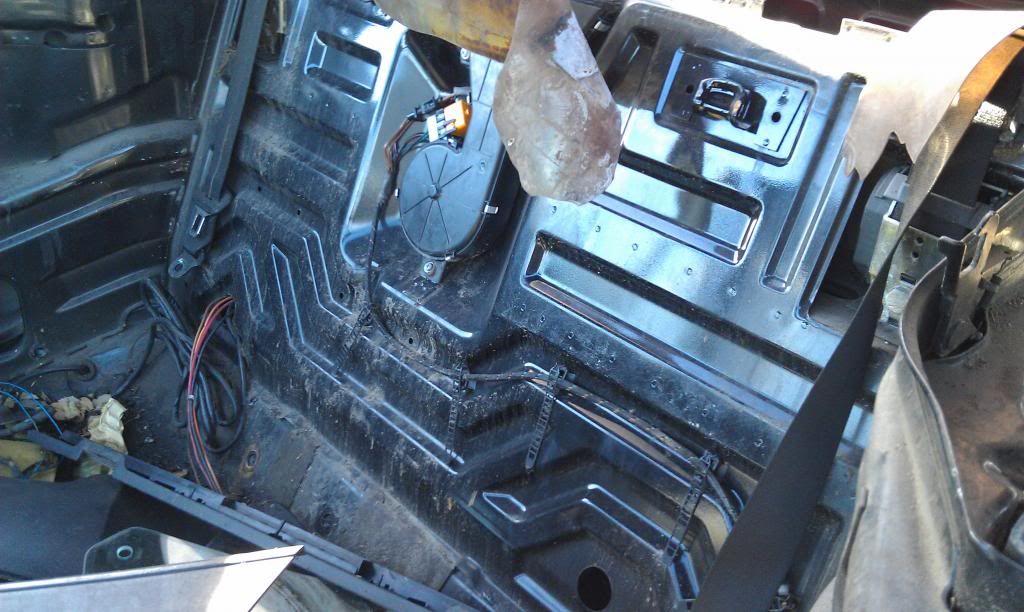
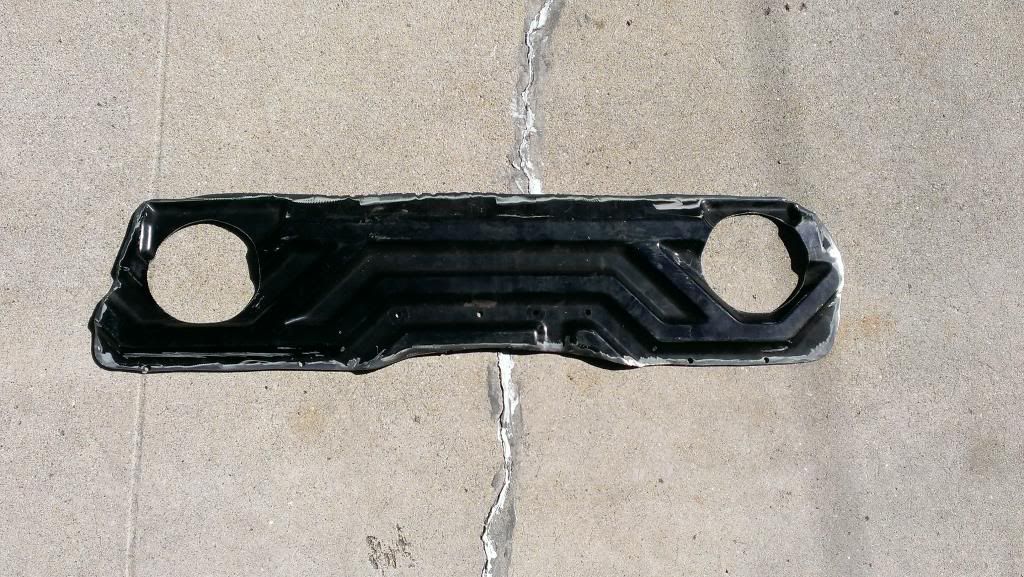
Originally I wanted to pull the whole panel but after taking a good look at it I realized that there are about 150 spot welds on this thing plus it supports the top mount of the rear seat belts which I really didn't want to mess with so I decided to cut out the missing part only.
Holes cut for the tubes.
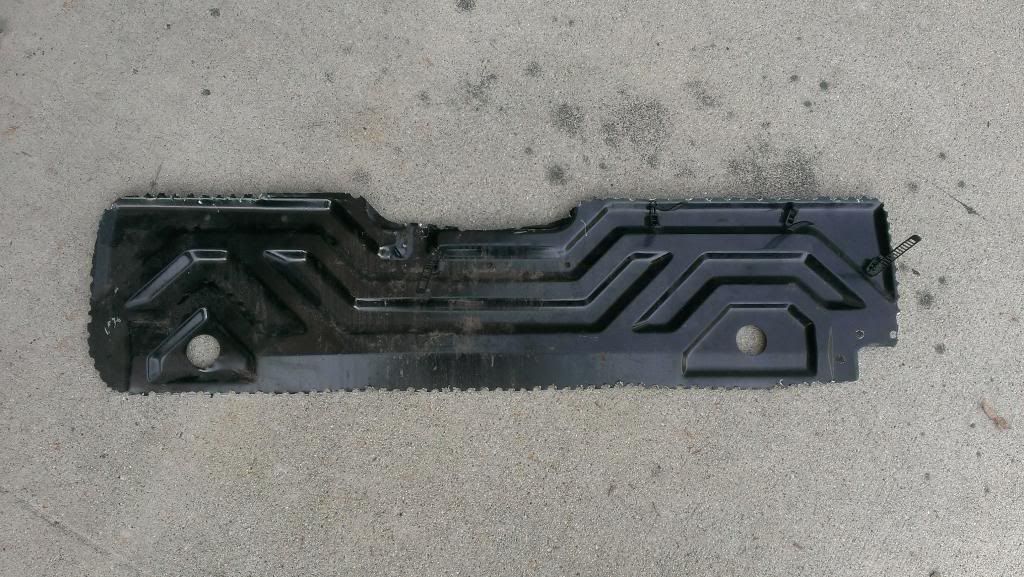
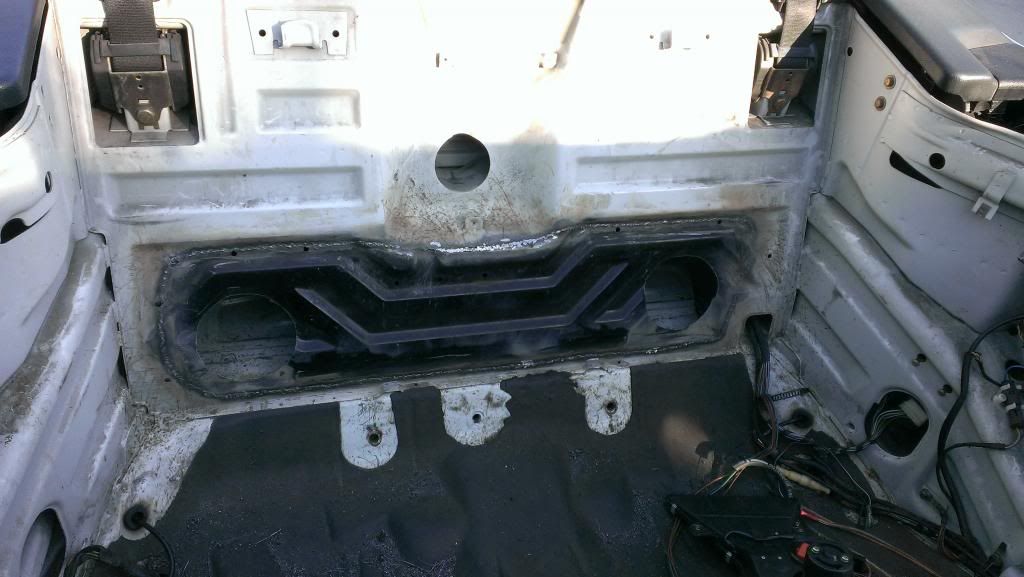
I trimmed the piece to match the hole on my car so it's ready for welding.
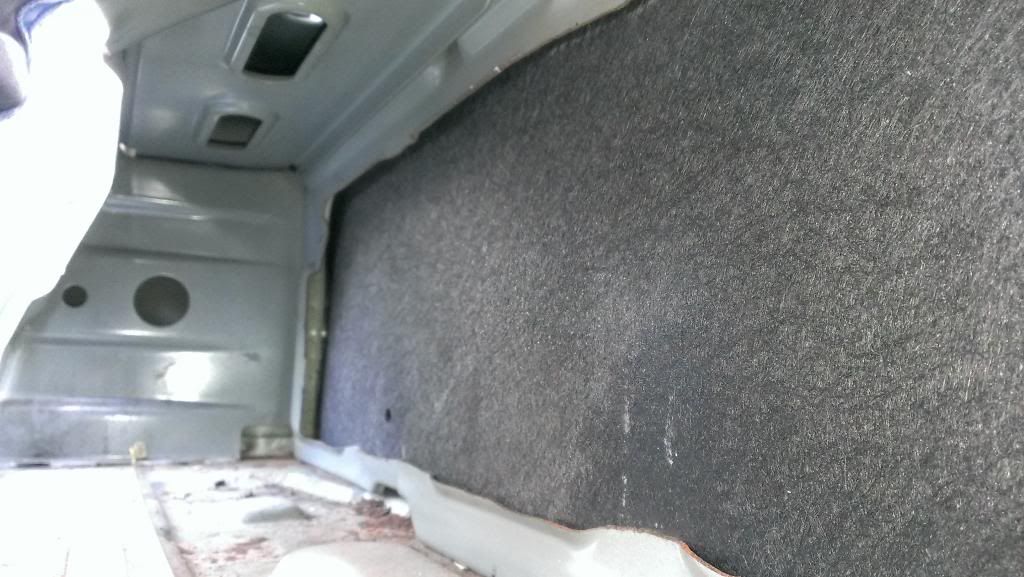
After this I wanted to get rid of the trunk tar when another surprise came: No trunk tar!!! I don't know if some of these cars came without it or the PO got rid of it but it's one less headache for me! :D

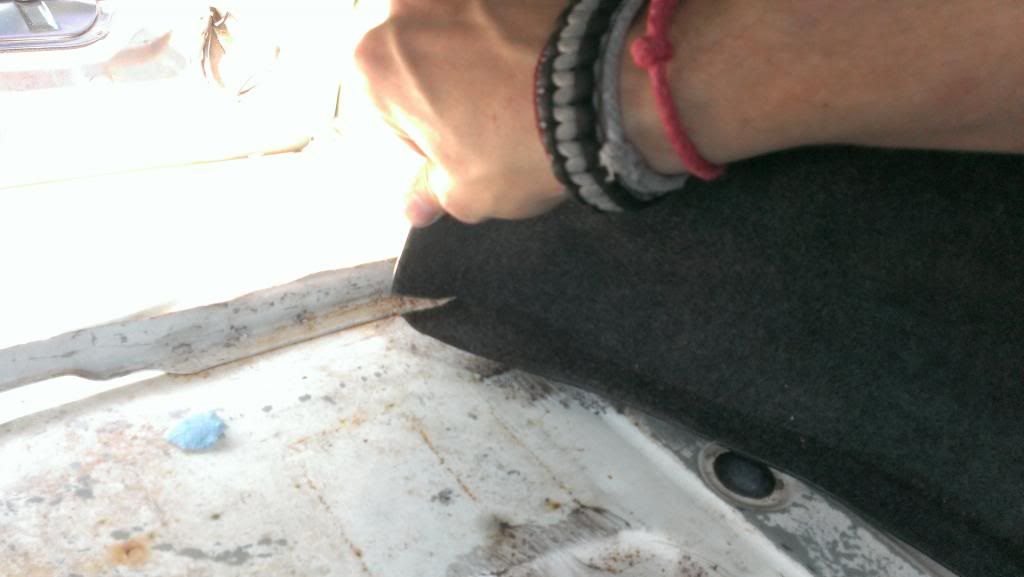
I pulled out the front cover from the trunk and test fitted the box. It wouldn't slide all the way to the wall. After a short investigation I found out that the front ends of the side covers are bent in and they won't let the box slide all the way forward. You can see in this picture that the end doesn't reach the wall. Also the harness was in the way so I untied it and removed the tie down. You can see the hole by the harness where it used to be.
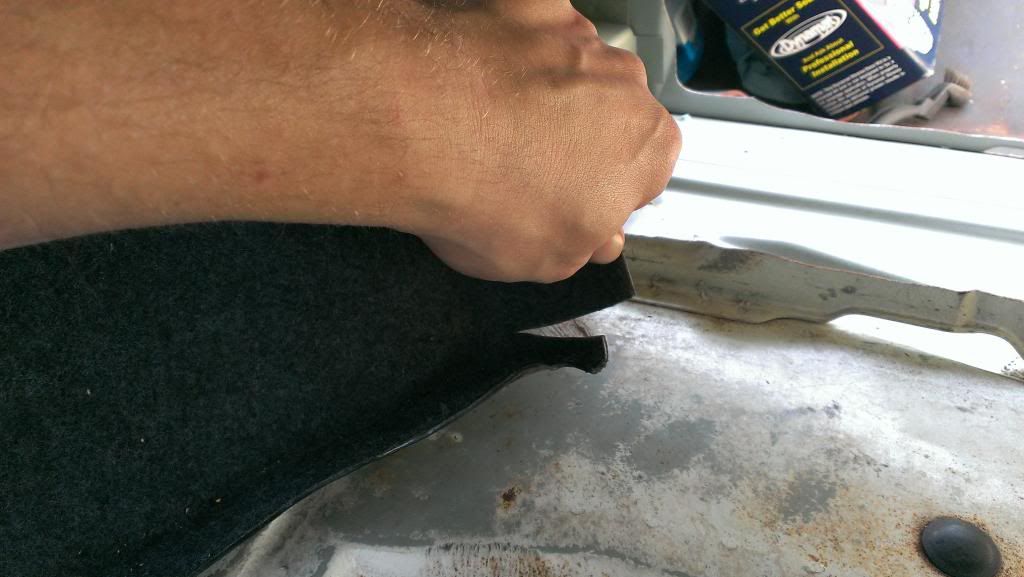
In order to be able to push the box all the way forward I cut these corners on the covers so they can open up. I cut the bottom and top corners as well. This way the box was able to slide all the way to the wall.
I looked around in there to see if I will be able to secure the box in place somehow or some bars need to be welded in that I can screw it to but the box is actually a couple inches taller than the hole itself so it won't be an issue. There is enough metal on top to drive some screws through. However the foam that Luke put on the box that's supposed to seal the box to the wall might not be enough because there isn't much wall left so I will install some self sticking foam strip around the cut out to create a better seal.
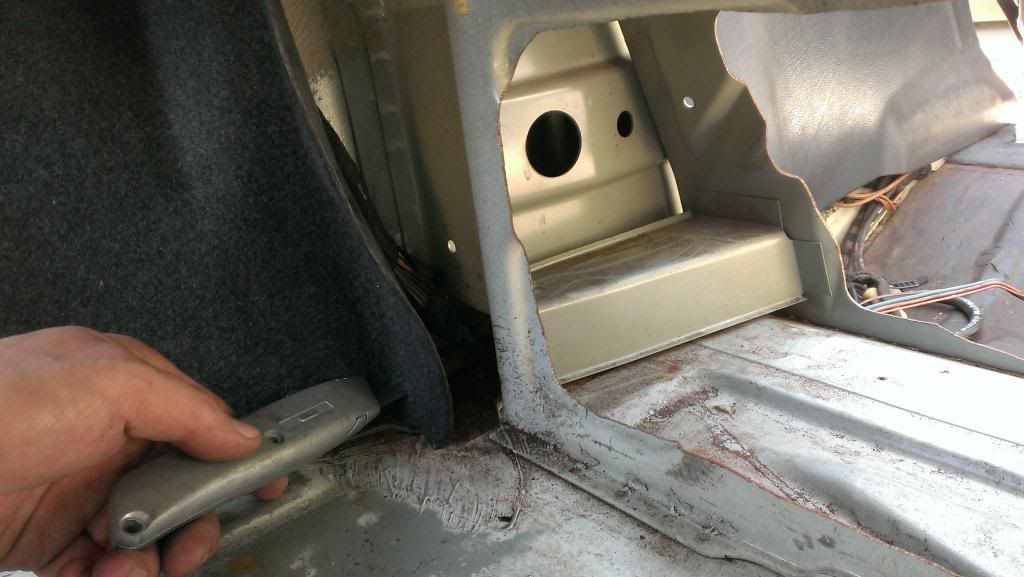
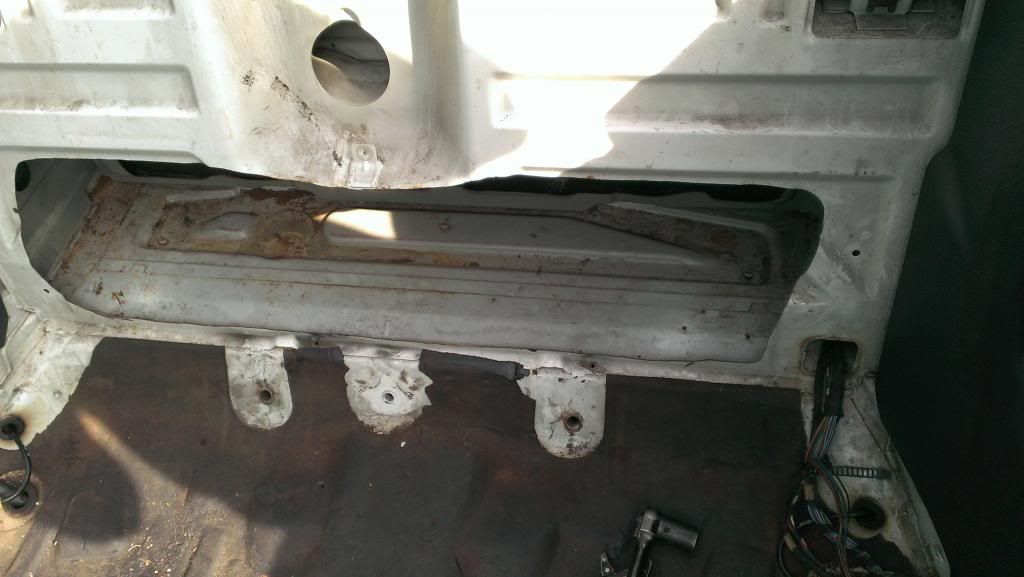
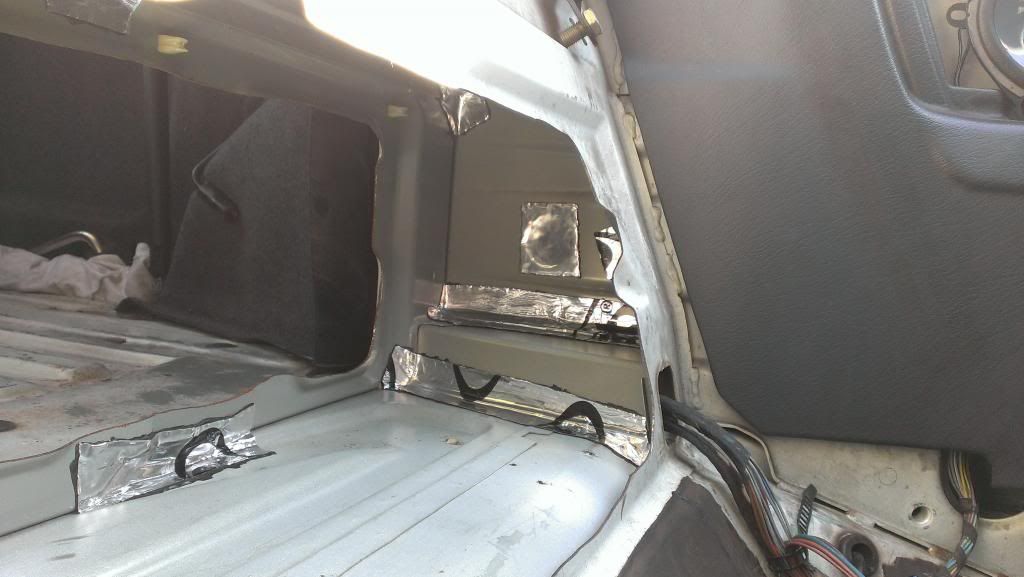
Here's the compartment before I touched it. All that rusty crap is metal shaving. Whoever cut that hole didn't take the time to clean it out and it just rusted and stuck in there.
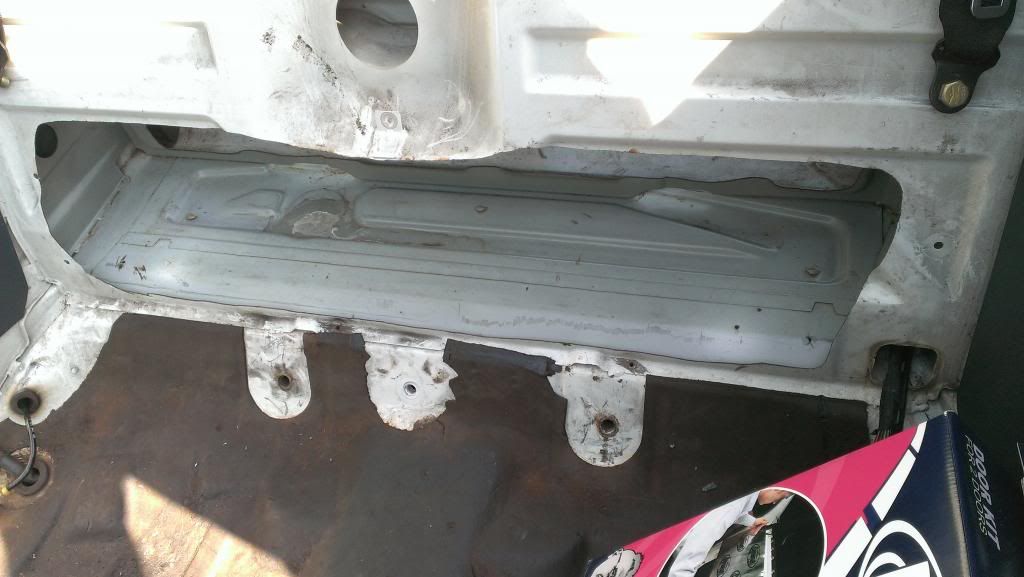
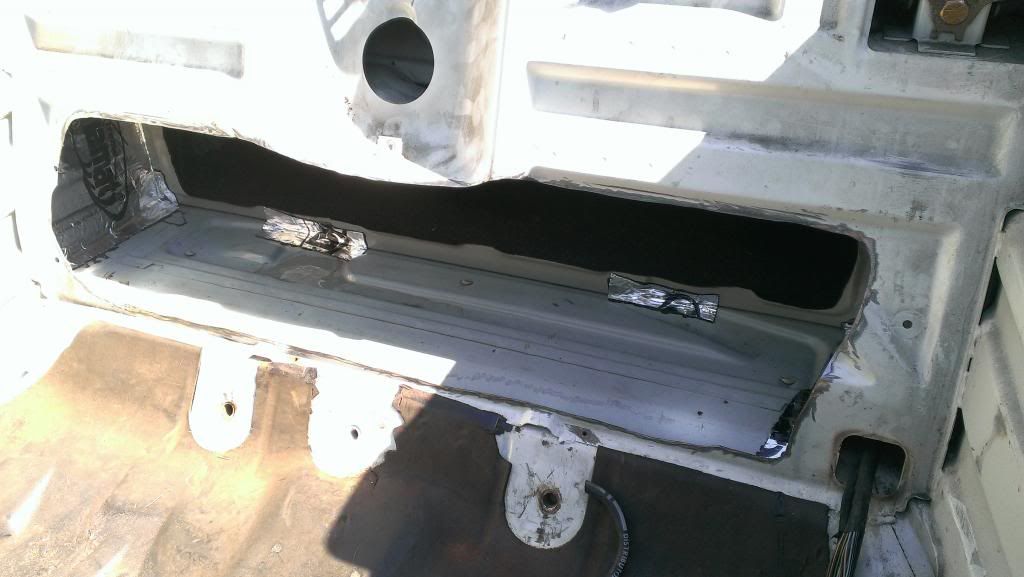
And after a good scrub:
With the wall cut out I was able to stick my head in there and take a good look around. There are a bunch of holes in there! This picture only shows the big ones:
I was going to use the dynamat door kit which is more thin than the regular sheet (as far as I know). Because of it isn't that thick I wanted to use 2 layers over the holes to make it more rigid so I sealed all of them first.
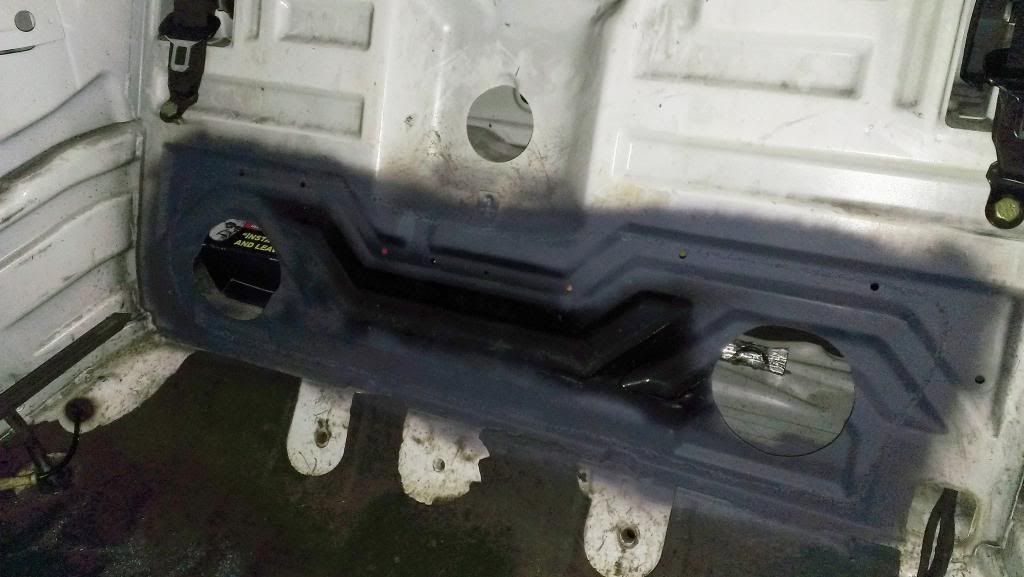
And this is how far I got as of now. The next step will be to weld in the missing piece.
The donor I found. The color could not be any more different from mine but I'm glad I managed to find one.
Originally I wanted to pull the whole panel but after taking a good look at it I realized that there are about 150 spot welds on this thing plus it supports the top mount of the rear seat belts which I really didn't want to mess with so I decided to cut out the missing part only.
Holes cut for the tubes.
I trimmed the piece to match the hole on my car so it's ready for welding.
After this I wanted to get rid of the trunk tar when another surprise came: No trunk tar!!! I don't know if some of these cars came without it or the PO got rid of it but it's one less headache for me! :D
I pulled out the front cover from the trunk and test fitted the box. It wouldn't slide all the way to the wall. After a short investigation I found out that the front ends of the side covers are bent in and they won't let the box slide all the way forward. You can see in this picture that the end doesn't reach the wall. Also the harness was in the way so I untied it and removed the tie down. You can see the hole by the harness where it used to be.
In order to be able to push the box all the way forward I cut these corners on the covers so they can open up. I cut the bottom and top corners as well. This way the box was able to slide all the way to the wall.
I looked around in there to see if I will be able to secure the box in place somehow or some bars need to be welded in that I can screw it to but the box is actually a couple inches taller than the hole itself so it won't be an issue. There is enough metal on top to drive some screws through. However the foam that Luke put on the box that's supposed to seal the box to the wall might not be enough because there isn't much wall left so I will install some self sticking foam strip around the cut out to create a better seal.
Here's the compartment before I touched it. All that rusty crap is metal shaving. Whoever cut that hole didn't take the time to clean it out and it just rusted and stuck in there.
And after a good scrub:
With the wall cut out I was able to stick my head in there and take a good look around. There are a bunch of holes in there! This picture only shows the big ones:
I was going to use the dynamat door kit which is more thin than the regular sheet (as far as I know). Because of it isn't that thick I wanted to use 2 layers over the holes to make it more rigid so I sealed all of them first.
And this is how far I got as of now. The next step will be to weld in the missing piece.


Comment