
I was tired of closing my door on the seat belt buckle. New seat belt assemblies are really expensive & the webbing on mine still seemed to be in good shape, so thought I'd see if I could tighten the retractor spring up myself.
Oh, before you read further:
<Begin Disclaimer> By reading this statement & anything further in this thread you and the beneficiaries of your estate in perpetuity, "you", hereby agree to waive and hold harmless the author of this article, the host of this web site, your internet provider, and anyone who responds to this thread, "those people", from any and all potential claims for injury, loss of property, loss of income, death, or any other potential claim if you follow any of the instructions contained herein. "Those people" are only writing or providing this set of instructions for "you" as a possible guideline and are in no way implying that what is contained herein is the only or safest way to complete the task listed as the title. Don't do anything listed in this article if you have the slightest doubt of your abilities. Vehicle restraint systems are serious business. Messing one up could mean the difference between life and death if you are in a traffic collision. Consider this article to be provided for entertainment purposes only. Unless you are a fully licensed, insured, and bonded car restraint system technician, I recommend taking your vehicle to a professional. <End Disclaimer>
My example vehicle is a 1988 cabrio, so depending on your vehicle things may be a little different.
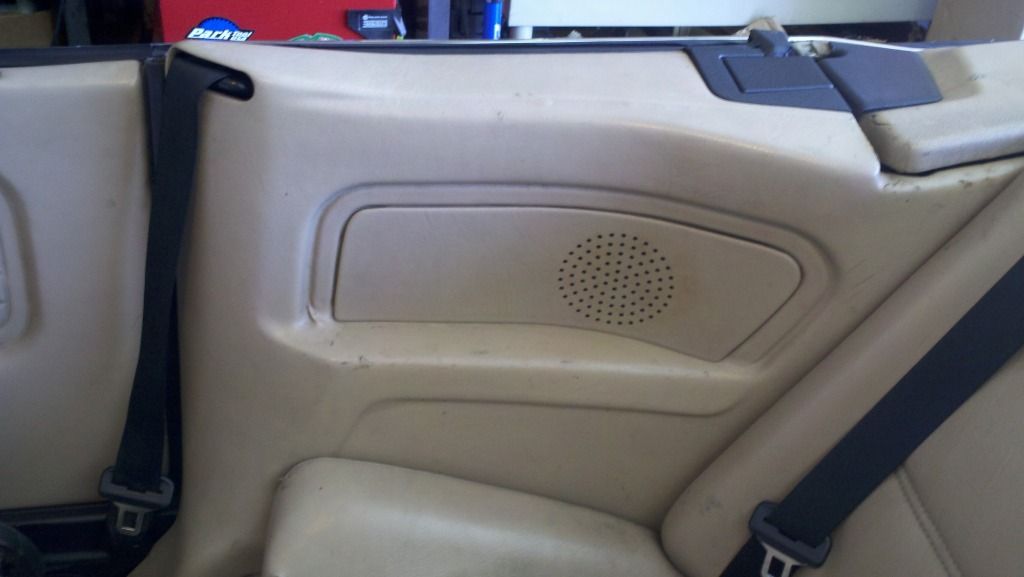
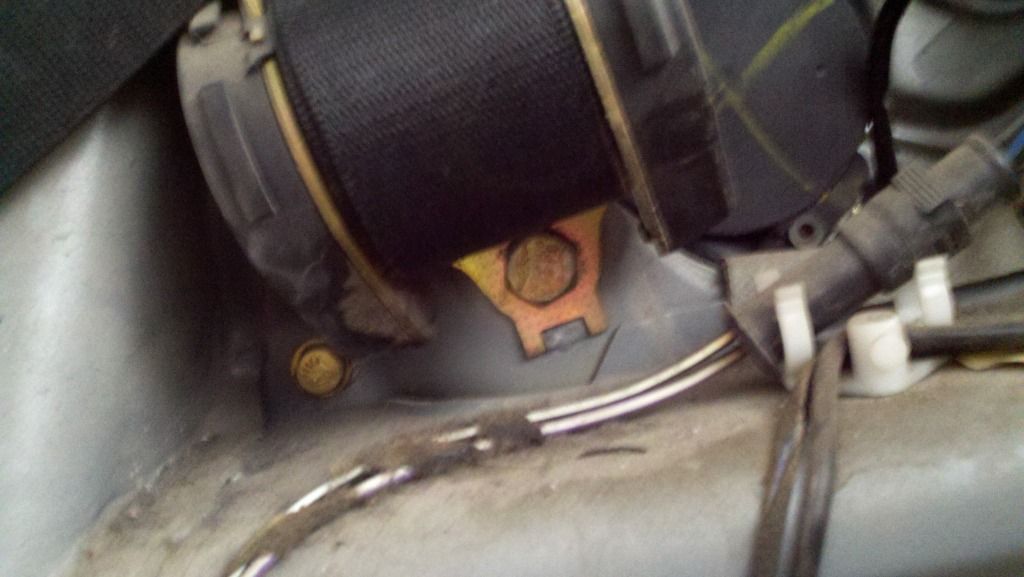
First, start by gaining access to completely remove the seat belt winding assembly. Here's a picture of the passenger (right side) of my car before I started:
Remove the back seat. Not sure this is totally necessary, but it is easy to do. I took no photos of seat removal.
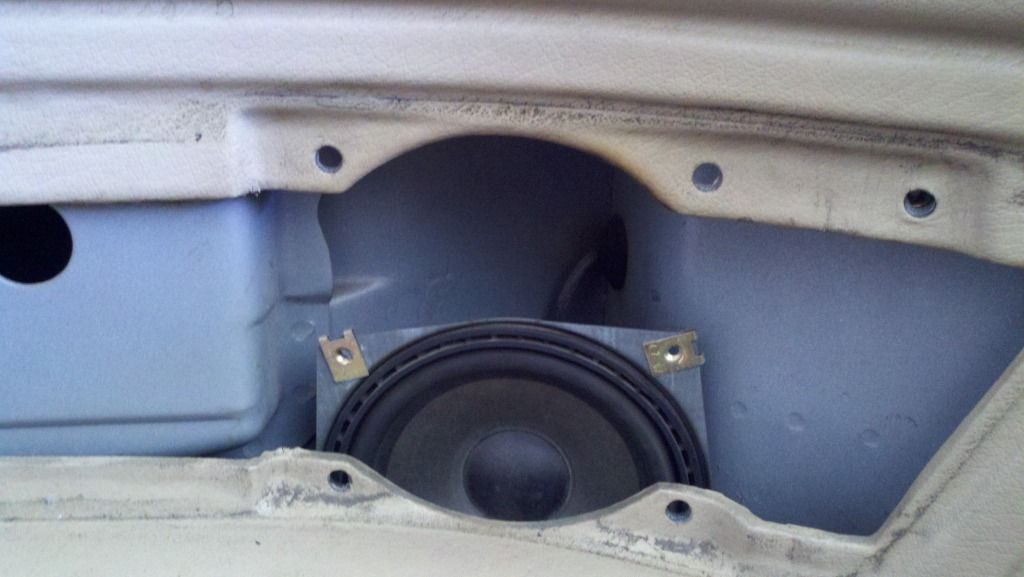
Next, carefully pry off the speaker cover. The cover has tabs along the top & hooks at the bottom, so start at the top. Once it is off, it should look like this:

Next remove the 4 screws that hold the speaker, and let the magnet of the speaker hold the speaker in place against the metal behind it:
Then take out the other two screws that were hidden by the speaker cover. There is one already removed in this picture, but you should be able to find the other easily:

Next, open the passenger door and pull back the door weatherstripping a little until you clear the bottom of the trim panel (sorry, blurry picture, but it should still make sense):

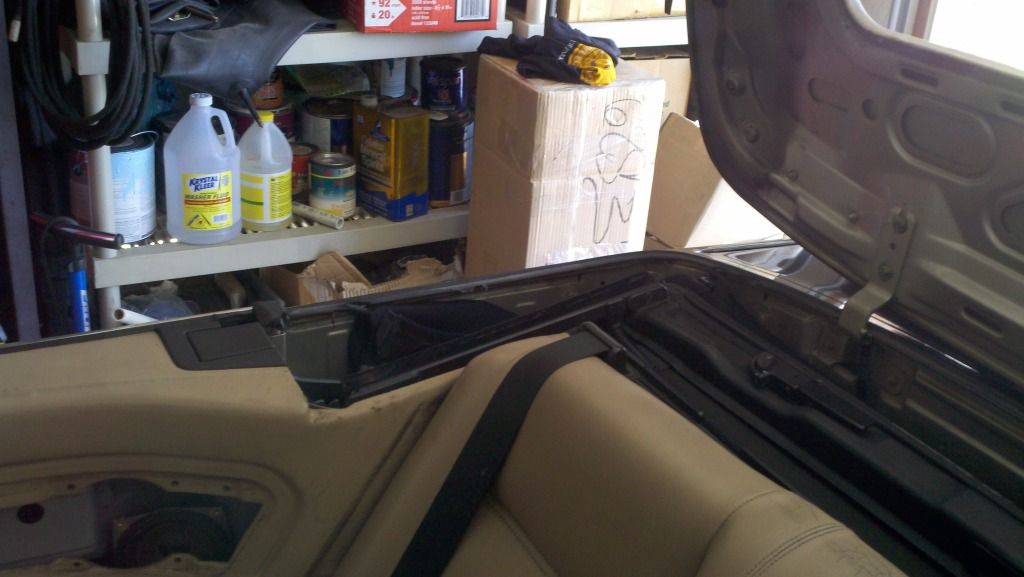
Next, open your convertible top storage compartment lid:
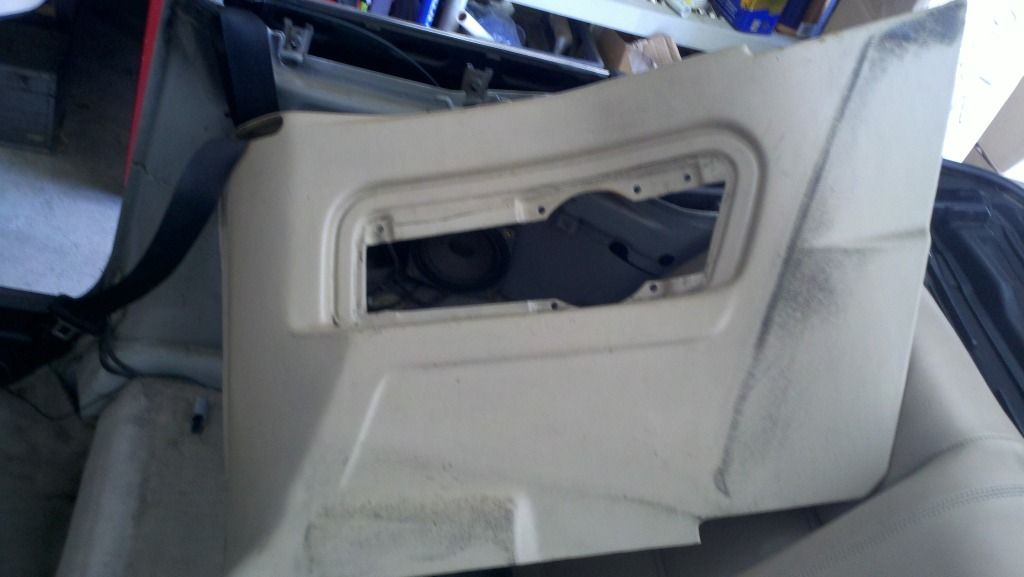
Then pull out a few feet of seat belt, and while holding it out, wiggle the trim panel forward and up until (other than for the seatbelt) it is free:
Then carefully remove the cover over the bottom mount of the seatbelt. It has two tabs that hold it in place, and is already cut on the back of the 'rainbow' so you can slide it off over the seatbelt. It is fragile, I and broke the one on the driver's side. I had better luck here:


Remove the bolt with a 17mm socket:

Try not to lose these items: spring, bolt, plastic washer (can't see in photo), steel spacer:

Feed the now loose end of the seatbelt through the opening in the trim panel:

Unbolt the 13mm bolt that hold this metal piece in place:

Lift the metal piece up and remove the belt:

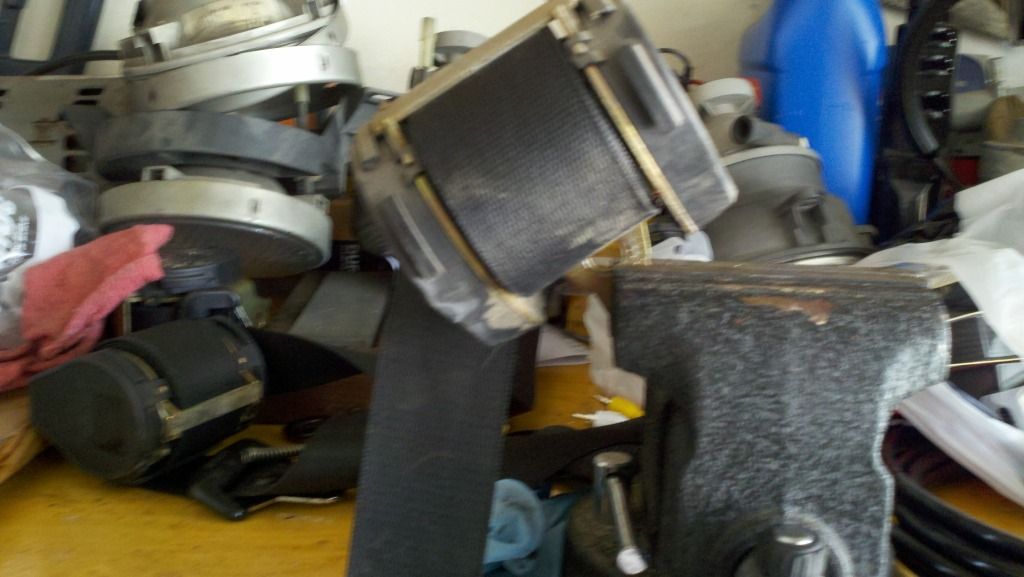
Remove the bolt that hold the seat belt retractor in place. I think it was 17mm:
Free!

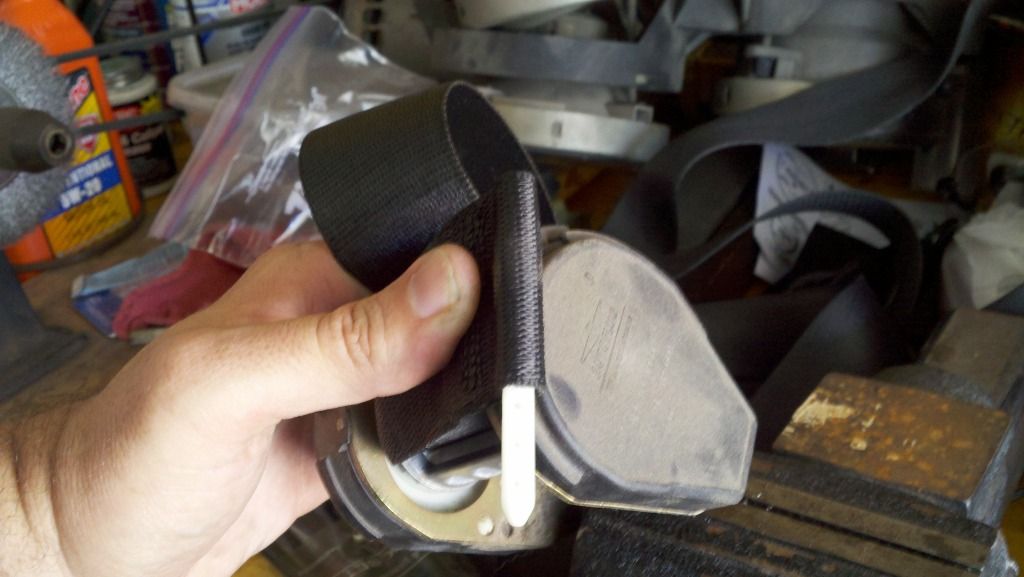
Put the retractor in a vice or hold it in some fashion:
Pull all the webbing out:

Use a hook or something to pull the end of the seat belt out a little bit to remove the plastic piece inside the end loop:

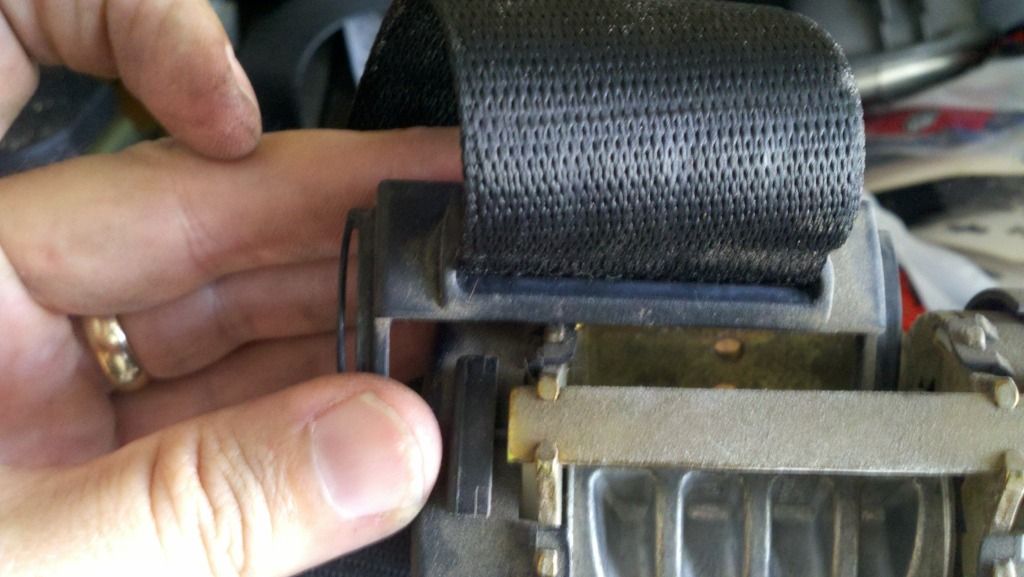
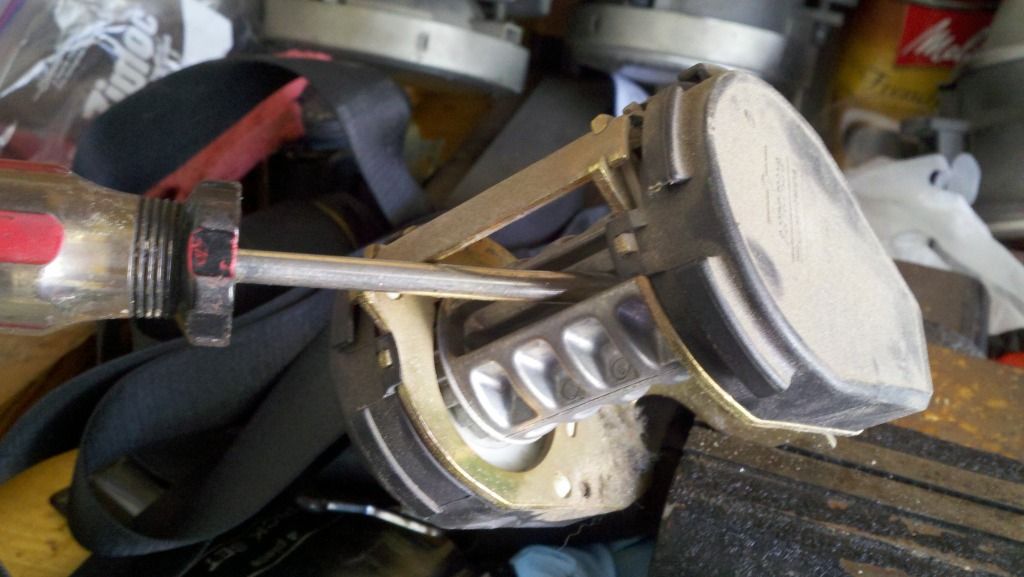
Remove that white plastic thing, then remove this plastic guide thing while keeping the belt retractor from spinning:
You can prevent the retractor from spinning like this, once the seat belt is pulled out. Oh, as a suggestion, you might want to make some kind of marking that will not wash off so you can tell which way to put the belt back on later. I didn't. It is pretty easy to figure it out.:
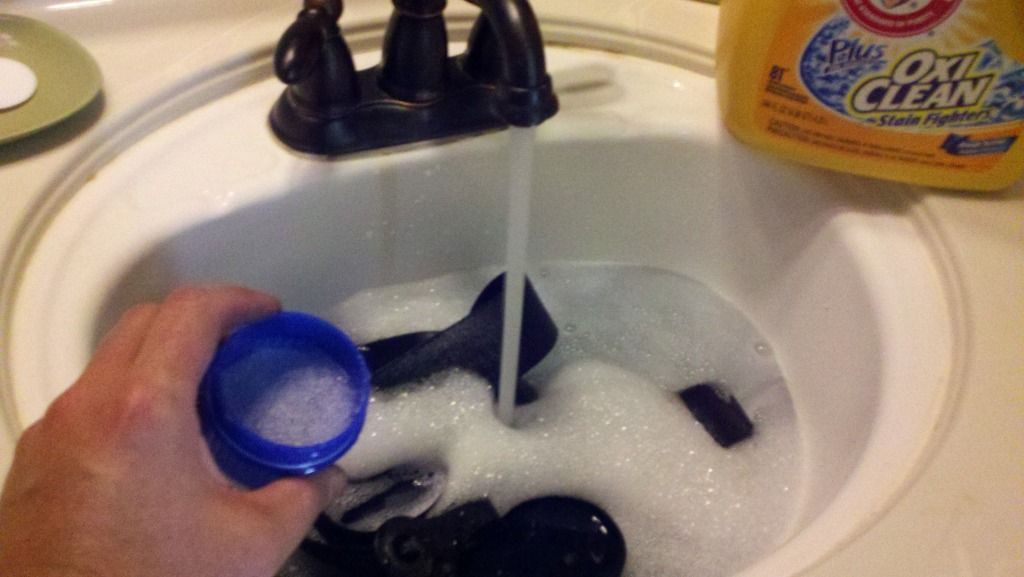
Fill up a basin with hot soapy water and wash the webbing. I used regular household laundry detergent & a plastic bristled scrub brush.
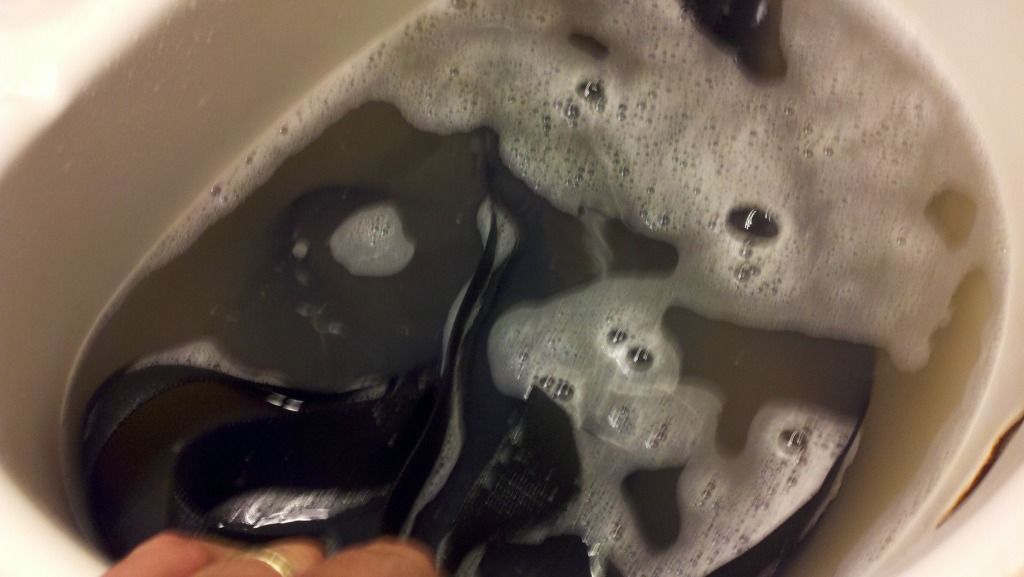
Be disgusted by how much dirt comes out of your seatbelt:
Wash it as much as you feel is necessary, rinse it as much as you want, then hang it to dry. (Yes, I like Labatt Blue):

I didn't get any more pictures of the process, but it is pretty simple.
While it is drying, hold the retractor spinning thing in place and wind it against the tension, tightening the spring. I got like 3 or 4 turns on the driver side, and 2 turns on the passenger side.
I didn't take any pictures of the reassembly either. Just go in the reverse order of when you disassembled it. Torque values: tight!
For me, the belts don't snap tight when the belts are taken off, but they retract enough that they no longer sit on the door sill & prevent the door from closing. Mission accomplished? I say success!
Oh, before you read further:
<Begin Disclaimer> By reading this statement & anything further in this thread you and the beneficiaries of your estate in perpetuity, "you", hereby agree to waive and hold harmless the author of this article, the host of this web site, your internet provider, and anyone who responds to this thread, "those people", from any and all potential claims for injury, loss of property, loss of income, death, or any other potential claim if you follow any of the instructions contained herein. "Those people" are only writing or providing this set of instructions for "you" as a possible guideline and are in no way implying that what is contained herein is the only or safest way to complete the task listed as the title. Don't do anything listed in this article if you have the slightest doubt of your abilities. Vehicle restraint systems are serious business. Messing one up could mean the difference between life and death if you are in a traffic collision. Consider this article to be provided for entertainment purposes only. Unless you are a fully licensed, insured, and bonded car restraint system technician, I recommend taking your vehicle to a professional. <End Disclaimer>
My example vehicle is a 1988 cabrio, so depending on your vehicle things may be a little different.
First, start by gaining access to completely remove the seat belt winding assembly. Here's a picture of the passenger (right side) of my car before I started:
Remove the back seat. Not sure this is totally necessary, but it is easy to do. I took no photos of seat removal.
Next, carefully pry off the speaker cover. The cover has tabs along the top & hooks at the bottom, so start at the top. Once it is off, it should look like this:
Next remove the 4 screws that hold the speaker, and let the magnet of the speaker hold the speaker in place against the metal behind it:
Then take out the other two screws that were hidden by the speaker cover. There is one already removed in this picture, but you should be able to find the other easily:
Next, open the passenger door and pull back the door weatherstripping a little until you clear the bottom of the trim panel (sorry, blurry picture, but it should still make sense):
Next, open your convertible top storage compartment lid:
Then pull out a few feet of seat belt, and while holding it out, wiggle the trim panel forward and up until (other than for the seatbelt) it is free:
Then carefully remove the cover over the bottom mount of the seatbelt. It has two tabs that hold it in place, and is already cut on the back of the 'rainbow' so you can slide it off over the seatbelt. It is fragile, I and broke the one on the driver's side. I had better luck here:
Remove the bolt with a 17mm socket:
Try not to lose these items: spring, bolt, plastic washer (can't see in photo), steel spacer:
Feed the now loose end of the seatbelt through the opening in the trim panel:
Unbolt the 13mm bolt that hold this metal piece in place:
Lift the metal piece up and remove the belt:
Remove the bolt that hold the seat belt retractor in place. I think it was 17mm:
Free!
Put the retractor in a vice or hold it in some fashion:
Pull all the webbing out:
Use a hook or something to pull the end of the seat belt out a little bit to remove the plastic piece inside the end loop:
Remove that white plastic thing, then remove this plastic guide thing while keeping the belt retractor from spinning:
You can prevent the retractor from spinning like this, once the seat belt is pulled out. Oh, as a suggestion, you might want to make some kind of marking that will not wash off so you can tell which way to put the belt back on later. I didn't. It is pretty easy to figure it out.:
Fill up a basin with hot soapy water and wash the webbing. I used regular household laundry detergent & a plastic bristled scrub brush.
Be disgusted by how much dirt comes out of your seatbelt:
Wash it as much as you feel is necessary, rinse it as much as you want, then hang it to dry. (Yes, I like Labatt Blue):
I didn't get any more pictures of the process, but it is pretty simple.
While it is drying, hold the retractor spinning thing in place and wind it against the tension, tightening the spring. I got like 3 or 4 turns on the driver side, and 2 turns on the passenger side.
I didn't take any pictures of the reassembly either. Just go in the reverse order of when you disassembled it. Torque values: tight!
For me, the belts don't snap tight when the belts are taken off, but they retract enough that they no longer sit on the door sill & prevent the door from closing. Mission accomplished? I say success!

Comment