Announcement

Collapse
No announcement yet.

The 5 Year Restoration - E30 M3 Reborn

Collapse
X
 
  • Filter
  • Time
  • Show
Clear All
new posts

  • CurrusDei
    replied
    Body Work

    Alright, I've held out on you long enough with body work ;D
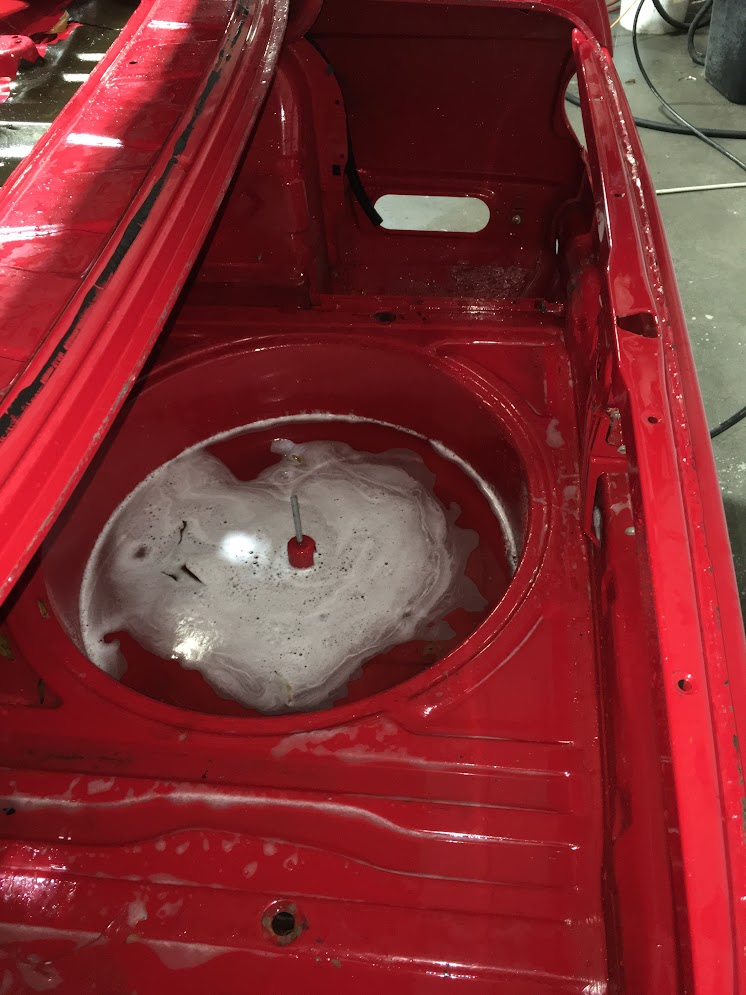


    PRESSURE WASHING


    INITIAL SANDING


    The guy in this picture is Steve. He's the tech doing the work on the car - and he is VERY good. You cant see it very well in these pics, but there's a 60's mustang he is converting from a coupe to a fastback.


    Remember how the passenger side was all dinged up and looked like a golfball in some places? Yeh, not anymore.


    I'm going to replace the hood because it will give a better result than smoothing out the existing one, but the rest of the panels are ALL being restored like this.

    Leave a comment:


  • Bmwdayz
    replied
    Wow seeing the M3 torn down to a bare shell is just awesome! I'm almost to the same point with my 90 M3. Can't wait to see the out come! Great work

    Leave a comment:


  • bradnic
    replied
    OH MY.. just a sand blast and repaint? they look incredible.
    "MADE IN W. GERMANY" letting in the hub.. awesome.

    Leave a comment:


  • CurrusDei
    replied
    Wheels Before and After

    Magnum killed it on the wheels

    BEFORE


    AFTER (first ones are wet from rain)


    Leave a comment:


  • CurrusDei
    replied
    They have some crazy stuff in there. The tech (one tech, one restoration) that is working on my car is also doing a 60s mustang coupe to fastback conversion. Check out this video from Caffeine & Octane ...

    Leave a comment:


  • bradnic
    replied
    What a luxury to have a rust free shell..
    Judging from that pic, it's clearly the right place for a grounds up paint job :-)

    can't wait for progress pics!!

    Leave a comment:


  • CurrusDei
    replied
    Originally posted by bradnic View Post
    Atlanta! went to school there.
    will you be dipping the shell? doesn't seem to need it.
    No need to dip. They're sanding down to get the surface perfect and have a good surface to adhere to. Not to bare metal because they say the electrostatic primer from the factory is better surface for adhesion than an aftermarket primer. This wasn't the case with older cars but this car is new enough that the primer bond is great.

    I'm sure I'm grossly oversimplifying this, but they're the experts so I'm trusting their expertise - and lifetime guarantee on the paint.

    The shop is Magnum Collision in Marietta. They've done work for me several times in the past, including on my 335 and they are a stunningly good shop. I stopped by on Friday and this was their parking lot... and this is normal.

    Leave a comment:


  • bradnic
    replied
    Atlanta! went to school there.
    will you be dipping the shell? doesn't seem to need it.

    Leave a comment:


  • CurrusDei
    replied
    To the body shop!

    This was the biggest milestone so far. I'll let the pics do the talking for the most part.

    Accessories loaded up


    Car going on the jig my shop built for me


    Wasnt going to fit on this little trailer. Call the flatbed!


    Leave a comment:


  • CurrusDei
    replied
    Thanks. Yep. Replacing all hoses.


    Sent from my iPhone using Tapatalk

    Leave a comment:


  • bradnic
    replied
    nicely done. you can still get those oetiker clamps no problem. The lack of rust on the lines and brake line tee is very cool :-)

    you'll be replacing all the hoses right?

    Leave a comment:


  • CurrusDei
    replied
    Fuel Tank/Lines

    Hey Guys,

    It has been a while since my last update because we just moved to a new house. More on that later, but for now. Here's the fuel tank:

    Started where most people interface with their car's fuel system. Took the cap off, then drained from the plug you see pictured here.


    Its wet here because i had drained some out already.


    This container was nearly perfect for the job. Still had a good amount of gas in there.


    Next i removed the covers under the rear passenger seat


    The electronic sensor has already been unplugged here, but the fuel lines are still attached. The thing being held down in the middle by four bolts is the fuel level sensor.


    No need to take it out to remove the tank, but here it is


    Hoses Removed. Based on looking at the hoses underneath the car, the one that is above and to the right (if you are facing the rear of the car, not in the pic below) of the fuel level sensor is the main fuel sender line. The other is the fuel return line.


    There is also another line that is in front of the hoses above. This heads over to the expansion tank.


    I found this diagram VERY helpful


    With those off, there's some underbody shielding to remove


    And the lower end of the fuel filler neck to disconnect.


    Next i started to remove the four (i think its four, could be more - its been a while) bolts that hold up the tank. They're all fairly obvious. There are still some lines on the driver's side of the tank that need to be disconnected but i did that with the tank partially lowered - either way works but it was easier to reach with the tank down.


    removed the fuel filter


    The sender pump and pressure regulator are easy to remove after the filter is out of the way.


    Tank is partly down


    Other lines i mentioned. I disconnected one from the tank and one further down.


    Tank down


    Many shop towels later...


    The underside had a gunky coating on it. I'll probably respray it with a protective coating, but this one was coming off.


    Now for those fuel lines (and a brake line)


    These guys are LONG, and are held on by several clips along their journey from in front of the driver's feet to behind the rear axle.


    Fuel lines terminate here. The line at the top connects to the return, and the other runs into the fuel absorber (which here has been detached from the sender pump).


    the brake line continues on past the fuel pump assembly, then makes a 90 degree turn to run to a T joint in the middle of the car - where it splits into two lines to feed the driver and passenger side rear brakes. (dont know why the pic is all red... its not an instagram filter, just a taking pictures on your back under a car filter i guess...)


    The T joint is right above where the diff used to be


    I had to loosen the fuel sender pump assembly to get the rear brake line out, since i runs behind the bottom mount.


    Once that's free, the rest of the mounts are just as easy. I've catalogued them all, but here's the end result. Lots of long lines to store.


    Then there's the filler neck and tank mess. I believe i just pulled the filler neck out through the back of the rubber boot you see here (after loosening the bolt on the bracket that holds it to the body).


    Neck comes off with a few bolts


    Right above the fuel filler neck in the picture above you can see the lines running to the evap tank. These are normally covered by a shield which i have already removed here. Most were very easy to remove, but the one that runs to a metal condiuit that runs to the charcoal canister needed a bit more work.


    Here's the charcoal canister line


    A little more work and...


    There's more detail, but thats the gist of it. At this point the car was pretty much a naked shell.

    Leave a comment:


  • Rouvld
    replied
    Man! I can wait for it to be sprayed and for you to start the reassembly

    Leave a comment:


  • jhaurimn
    replied
    Wowza. This will be a legit respray!

    Leave a comment:


  • CurrusDei
    replied
    Some misc pics of clips and retainers on the inside. gotta remember where these all go.


    I think im pointing to where another clip goes...


    Yeh, thats what it was


    reading light mount


    Holds the glove box, keeps it from going down too far


    And in the engine bay


    How the hardware goes back on


    under the lip of the quarterpannel


    Where the speed nuts go


    Next up. Gas tank!

    Leave a comment:

Working...
X