If this is your first visit, be sure to
check out the FAQ by clicking the
link above. You may have to register
before you can post: click the register link above to proceed. To start viewing messages,
select the forum that you want to visit from the selection below.
Ok here goes. This is a lot to update. I'll put it up piece by piece and descriptions may not be as detailed, but ask if you have questions. Also this isnt going to be in any strict order - just semi-coherent area by area
Got a new cap. So i got that going for me, which is nice
Filling time
MTL for Trans
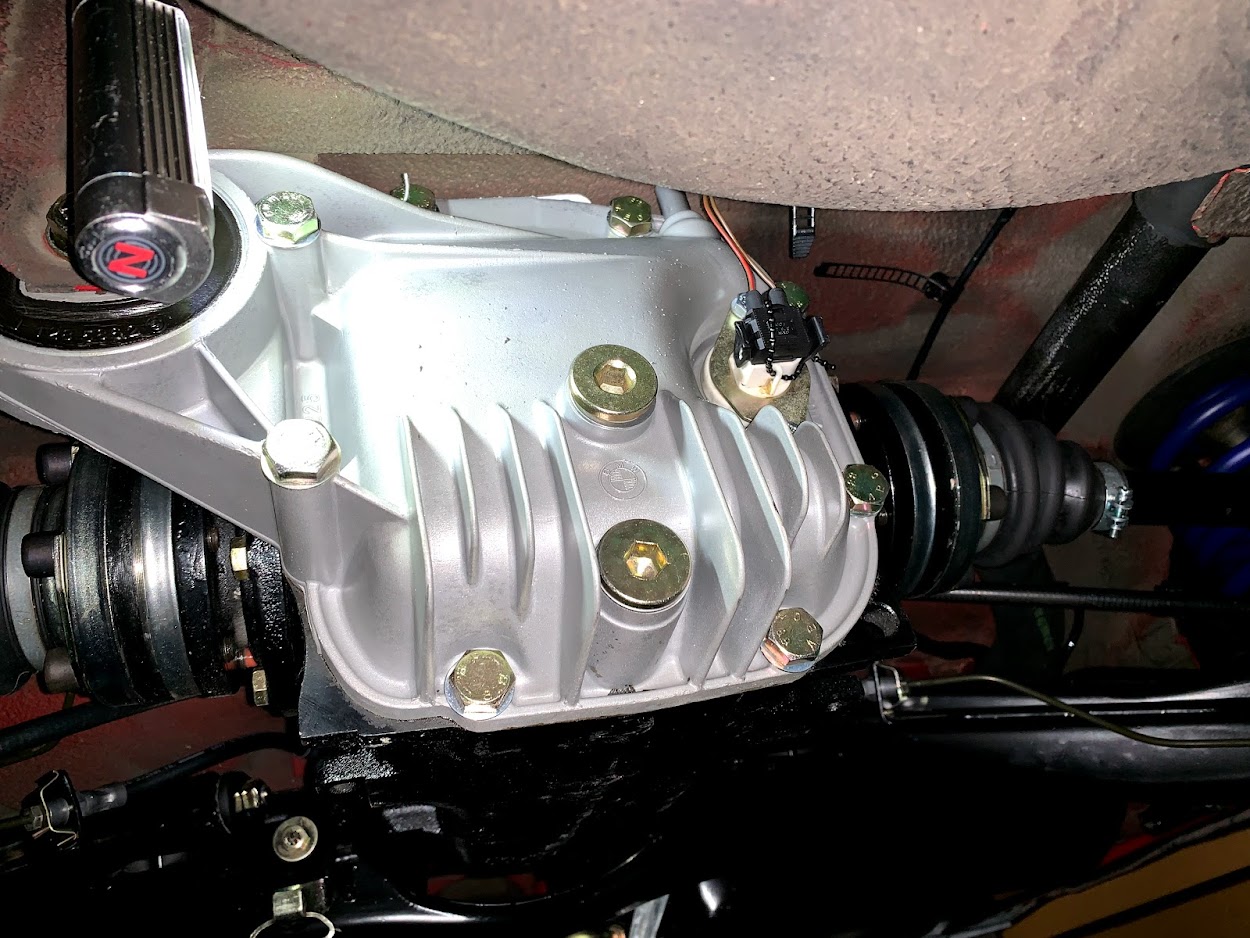
MT-90 for Diff
Speaking of the diff. This took a while, but I was able to find a reasonable match for the cable tie that keeps on the speedo sensor. Turnsout the best fit is a tamper-resistant seal that is used for cargo shipments. The things you learn doing this stuff...
Old one
New one
Belting
Oh and, i had installed my fan backwards - so i fixed that
Cowl Covers:
This little guy hooks to the check valve on the charcoal canister. I didnt like how it wasnt very waterproof with the connectors exposed. You know, because waterproofing is key in a car that will never see rain. Anyways...
Fixed
This is the housing for the clutch pedal sensor. The housing looks like garbage and the metal has that Statue of Liberty patina thing going on - which isnt great for conductivity
The brake pedal uses a black housing which is the mirror image of this one. It was used in the E39s so it is easy to find. The white one seems to be NLA. I couldnt even find it in RealOEM or after a lot of digging online, soooo
Found a connector with the same interface, modified the back end to make it accept the connectors, which i cleaned up with Wurth Contact Cleaner and some wire brushes
My fix. only thing is the plugs can back out when you're plugging it in if you dont watch them Might put some putty or something in there eventually but wanted to keep it easy to service
My battery from years ago was way, way dead. So I got a Bosch one that exactly fits the M3, factory tie downs, vent provision and everything. Surprisingly this was available at PepBoys - rare that i can source anything from the chains
Oh AND. Letting that old non-vented battery sit in my trunk for a while made me wonder if it was starting to hurt the battery tray. My paranoia paid off. When i took up the tray i found that there was already yellow residue gathering on the paint, which fortunately was not yet damaged.
If anyone ever tells you that you dont need to vent your E30 battery - dont listen.
As for me i broke out the baking soda, short brush, and steam cleaner and went to town
All better with the battery vent box installed. These used to be a lot bigger, but now they're tiny. The plug going down isnt long enough to completely clear the rubber grommet, so i added some extra line onto it to make sure the vapors vent far enough away that they dont back up in to the tray.
Exhaust. I looked through my old exhaust and determined that it is too roached out (tech term) to bother restoring. Whoever welded on this thing must not have had opposable thumbs. Anyone else spot the stick weld element still attached in one of the pics below?
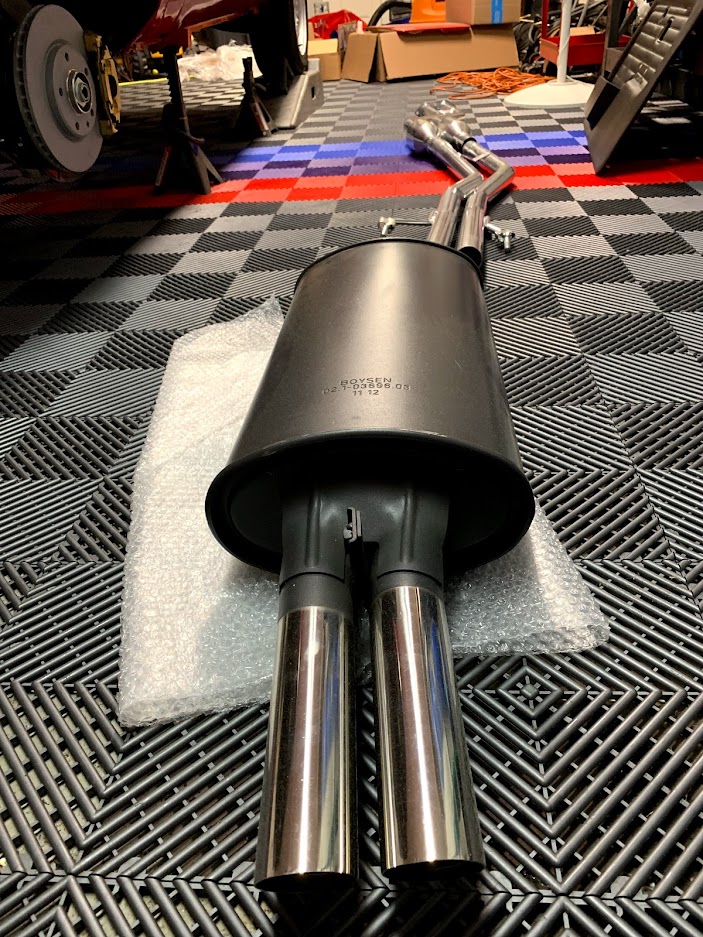
So here's the replacement.
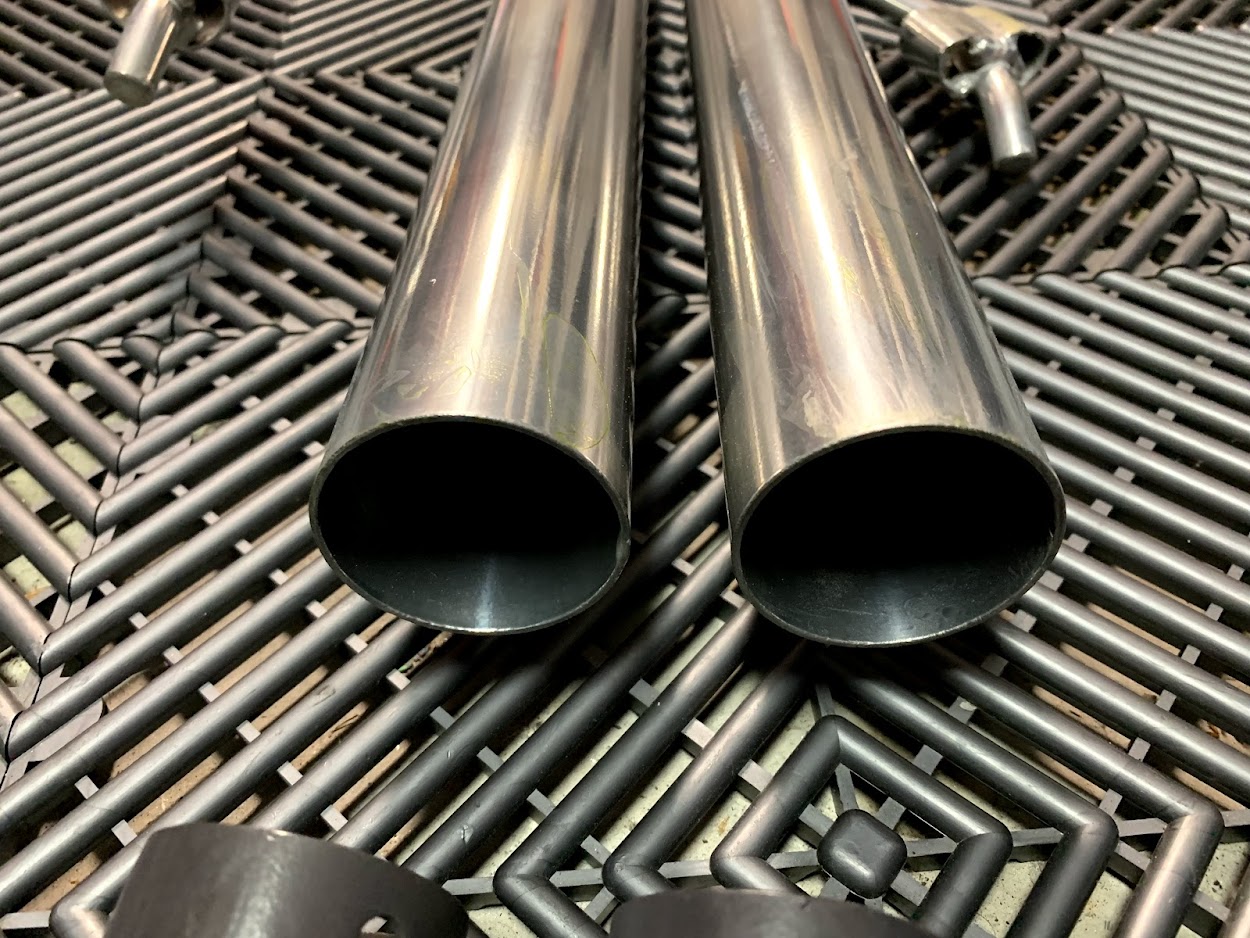
VSR high flow cat factory style stainless steel, dual 2" with ceramic exterior coating
BMW OEM EVO III Muffler
Those little rocks are from the pre-coating tumbling process. I got them out after this pic. May have the flange to pipe transition welded smooth.
I also cleaned off that yellowish stuff in the pic below
Excuse the pollen on the pipes in this last one. That stuff is everywhere now, including in garages
I'm going to have it all welded to gether by Origin Fab. Here's a small sample of their work:
Header is factory, ceramic coated (Calico Coatings) inside and out
Mid Section is VSR, stainless, ceramic coated by VSR outside only (inside would mess with cats)
Muffler is OEM (Evo III) no coatings
I found some NLA, new old stock Hella Euro Smiley Elipsoids. Wired them up here in place of the U.S. Elipsoids. The primary differences are the bulbs, the euro "smiley" cutout, the city lights, and the connectors. Had to cut off the U.S. connectors and got new pigtails from BMW that match up to the Euro connectors (also available new). The pigtails from BMW all come green, so i used my colored bands and clear shrink wrap method to keep the wiring distinguishable for future reference.
Left to right - Hi Beam, Lo Beam, City Light
US Removed
Euro On
Since my front bumper is a Euro version, i dont need the wiring for the front reflectors. Repurposed them as the city light connections (gray one at the top)
In place
City
Low
High
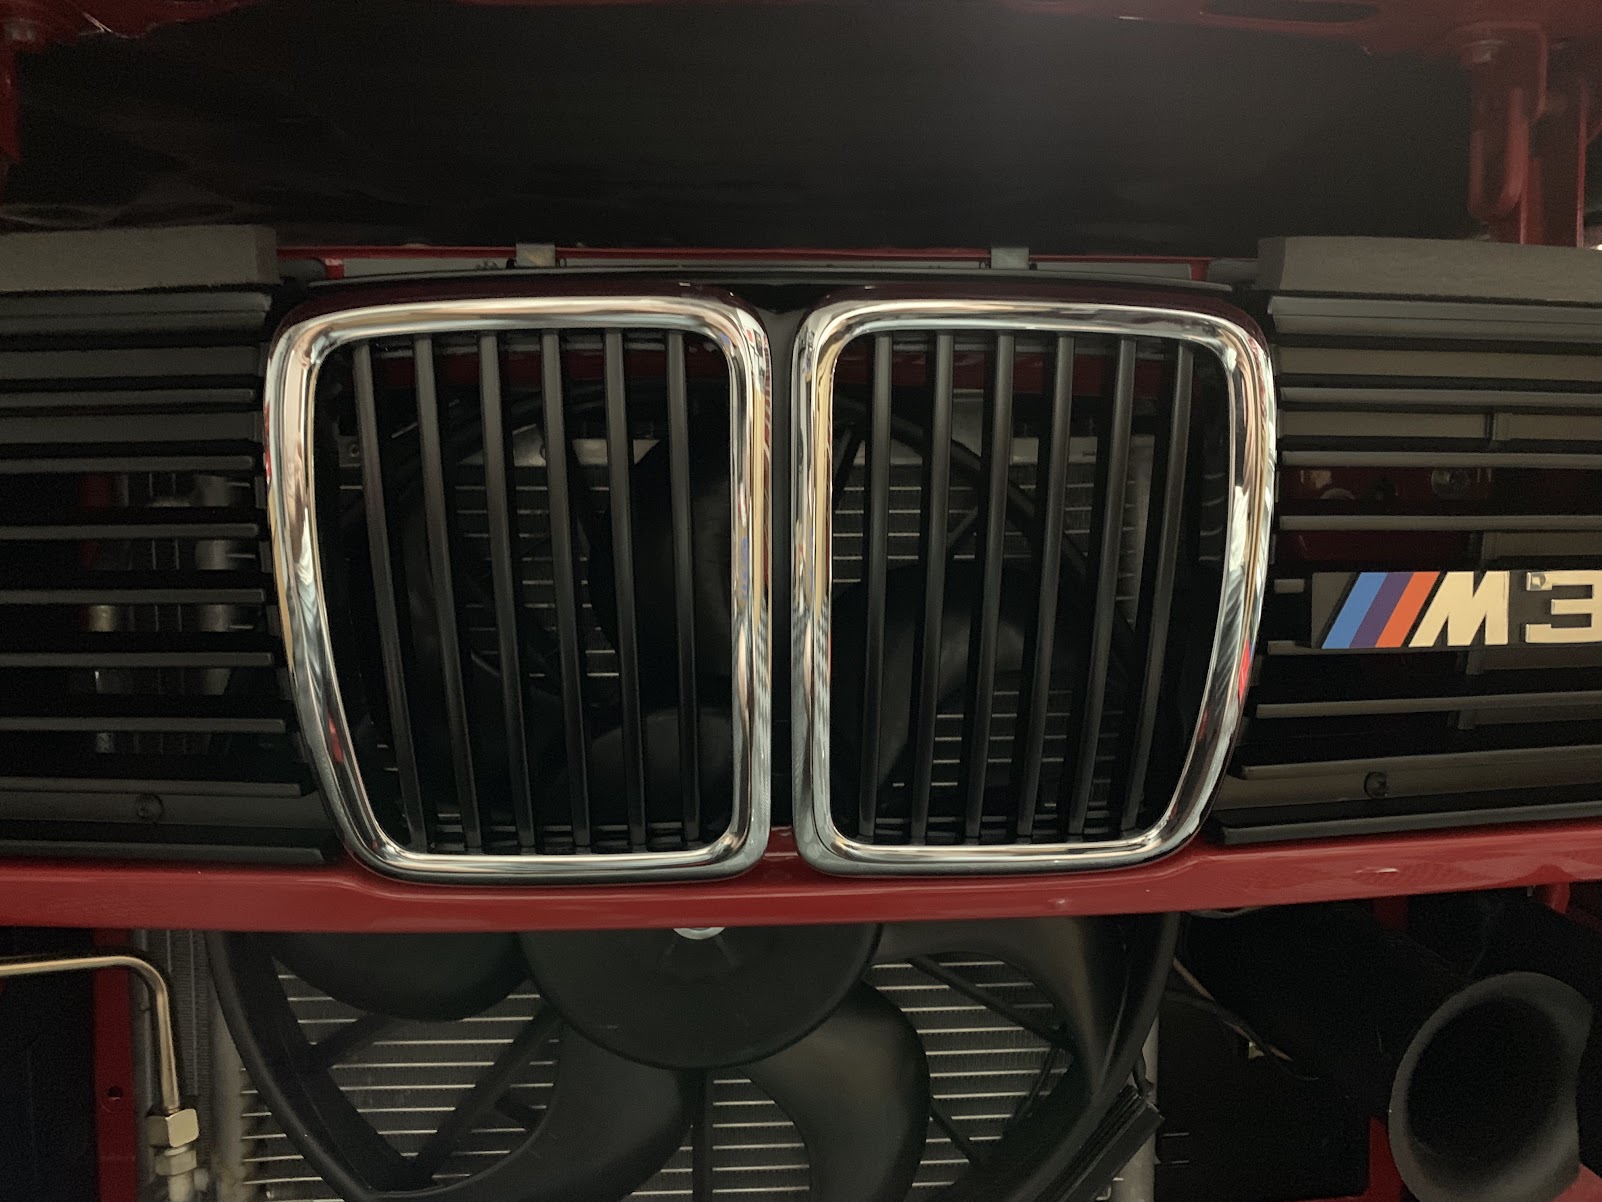
Euro Grille (R) with AC sticker
Euro Grille (L)
From font (Condensor fan on now)
Front Grille in place
New Horns
New Speakers
Got a Bosch sticker for the Alternator
Ground by ABS tightened down
Rear seatbelt finished
The compessor fan was a real, real pain. I tried to buy the ECS replacement one, but it was not anything like the factory one, tried ordering the 4 Seasons version, wrong size, so i finally got o factory one off ebay. Hoping to not have to replace this anytime soon.
Brakes.
These things came out GREAT. I used Korman to do the plating, they glass peened them and had their plater run them through several times. I cant imagine them looking better coming from the factory - these things are like jewelry.
on and torqued and marked
Rear Caliper
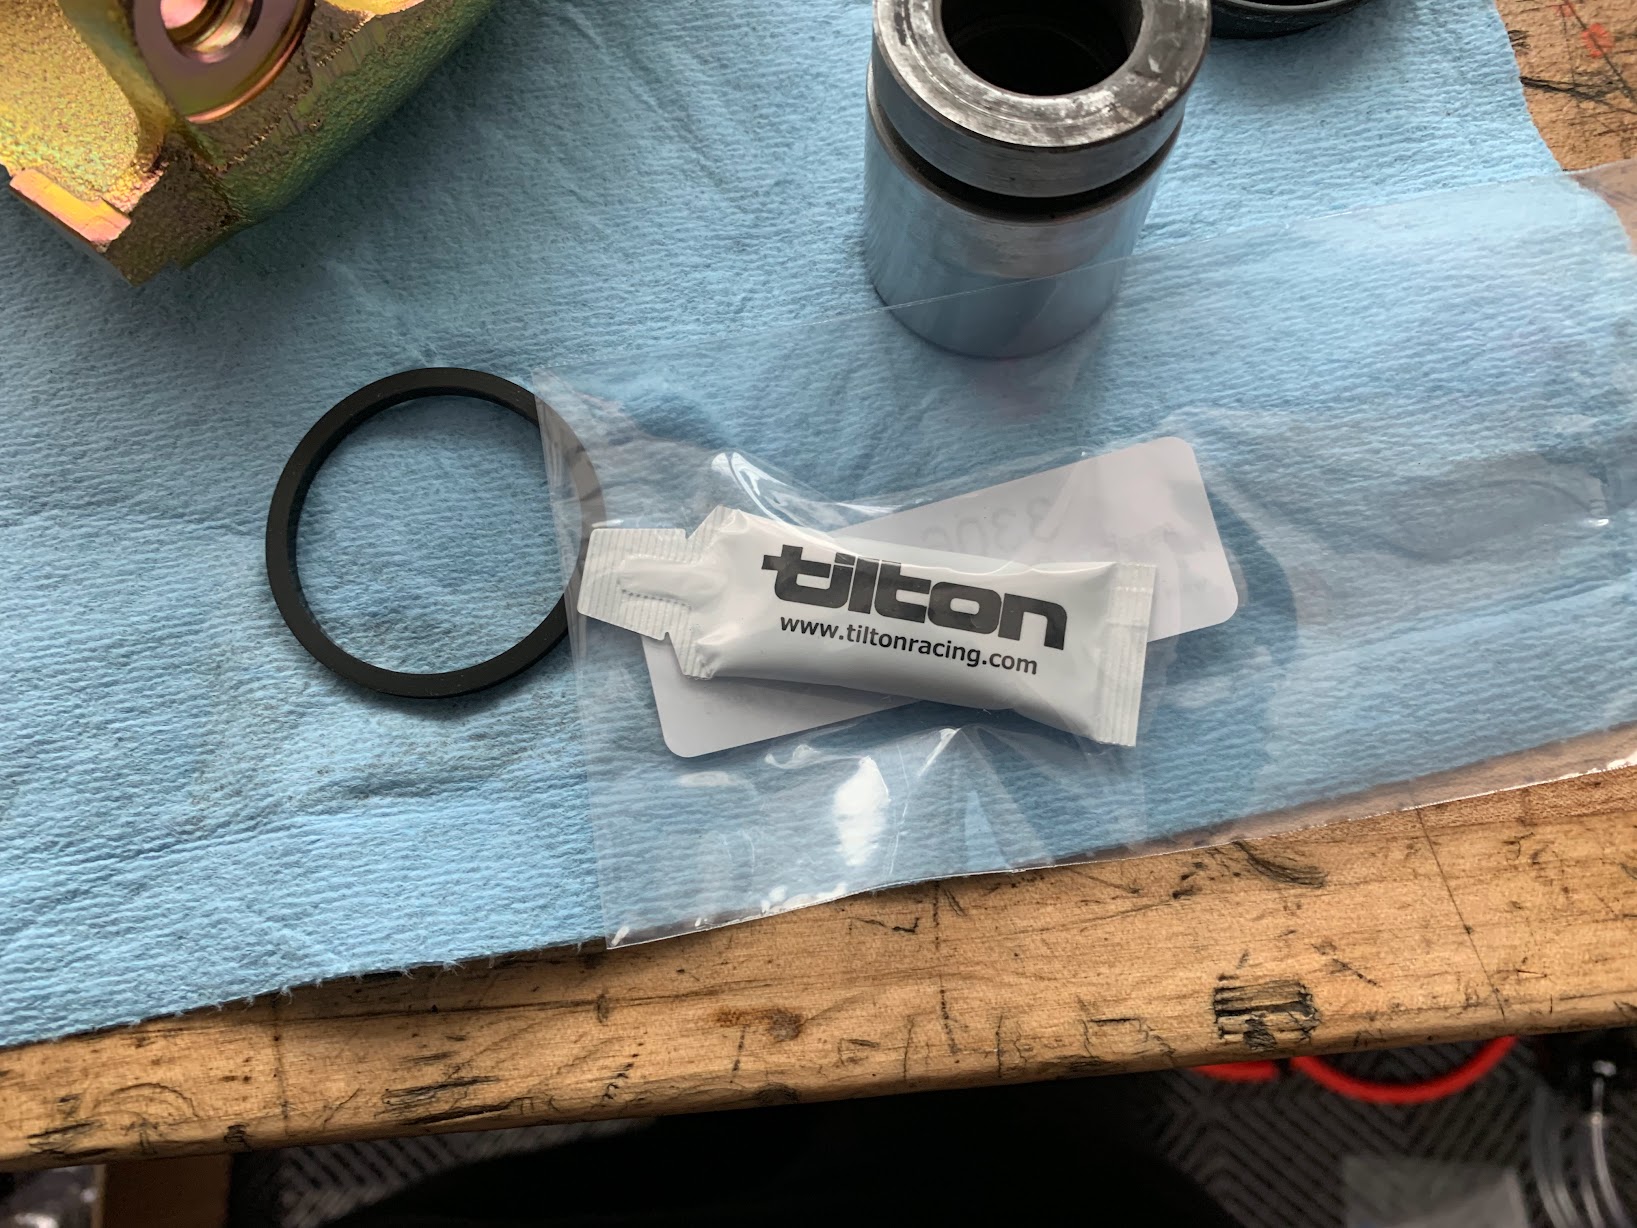
Caliper boot kits
This is the grease Korman suggested. I think Russian beluga caviar is cheaper per oz.
Inner seal in. I've read stories of some people receiving these with a chisel shape profile instead of a rectangle profile. THis wasnt the case with mine, both sides were flat on all four caliper seals. Coated with the super expensive grease and installed.
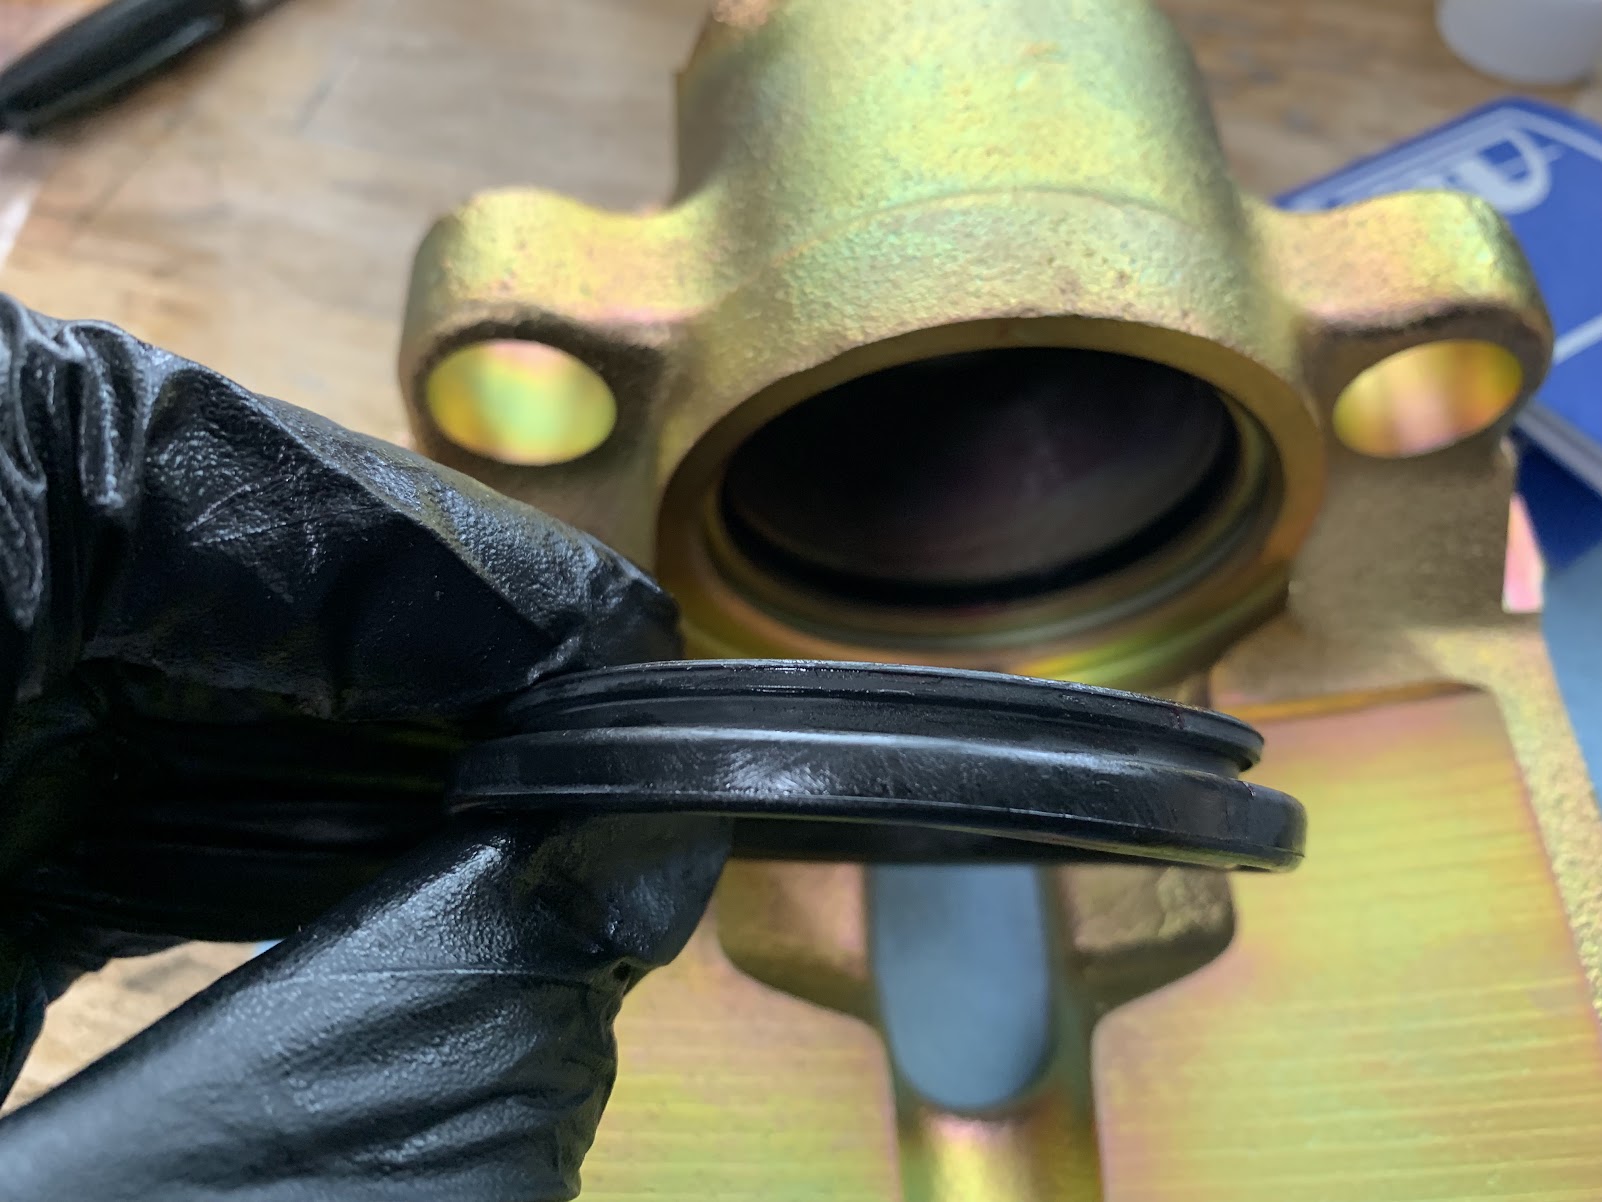
Easiest way to put the dust boots on is to grease them, install them on the caliper first, then press them into the caliper (gently, i had to rock them back and forth very slightly to align them, and then they went in with minmal resistance). From there it was easy to work the outer edges around the caliper lip. The rears have a retaining ring, the fronts do not.
Front Caliper
The rear caliper pistons were cleaned up, but i was able to source brand new stainless steel calipers for the fronts.
Front caliper boot goes inside a lip on the caliper, vs the rear where it goes over a retaining lip. THis makes it a little bit more complex, but not if you use good grease on the rubber areas and take your time.
I seated the outer retainer lip into the seat before pressing in the caliper to avoid a "pinch" situation after pressing in the piston
New bleed nipples
Slide pin boots and brake line on
Brakes bled. Very happy with how these turned out. Also, they work very well
Thanks guys.
Carl was the guy looking for mine, must have recently run out. The hub nuts are staked
The car is way ahead of the thread. I took it to the Vintage and the motor now has over 800 miles on it.
Unfortunately someone backed into the right front fender in a parking lot (2 weeks before the vintage) and damaged the fender and chipped the paint on the hood, so it’s in the shop getting a new fender, genuine BMW from Germany (thankfully no damage to the engine bay or other areas). The guys that did the original paint work are doing the repair.
I just had shoulder surgery so I’m laid up for a couple days. I’ll try to update the thread but you’ll have to excuse mistakes from my one hand typing


Comment