Announcement

Collapse
No announcement yet.

Doing a suspension upgrade... question on rear subframe bushings.

Collapse
X
 
  • Filter
  • Time
  • Show
Clear All
new posts

    Doing a suspension upgrade... question on rear subframe bushings.

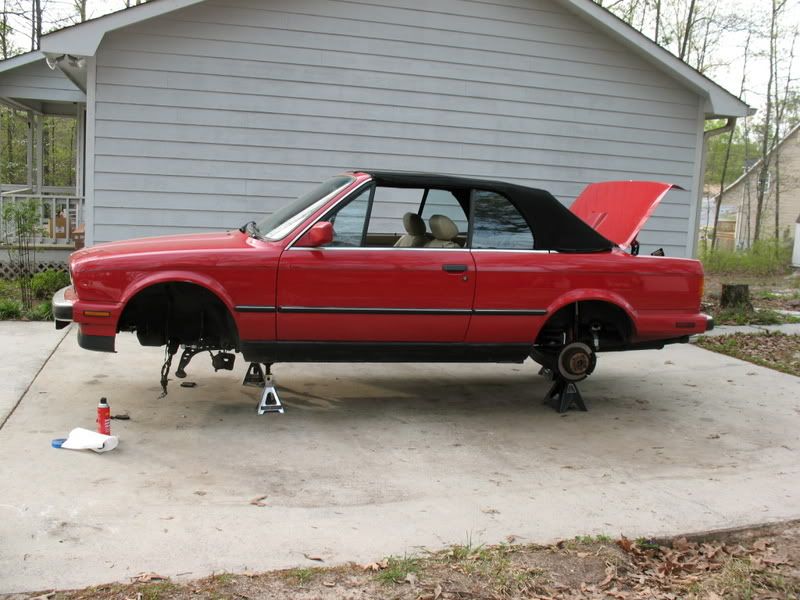
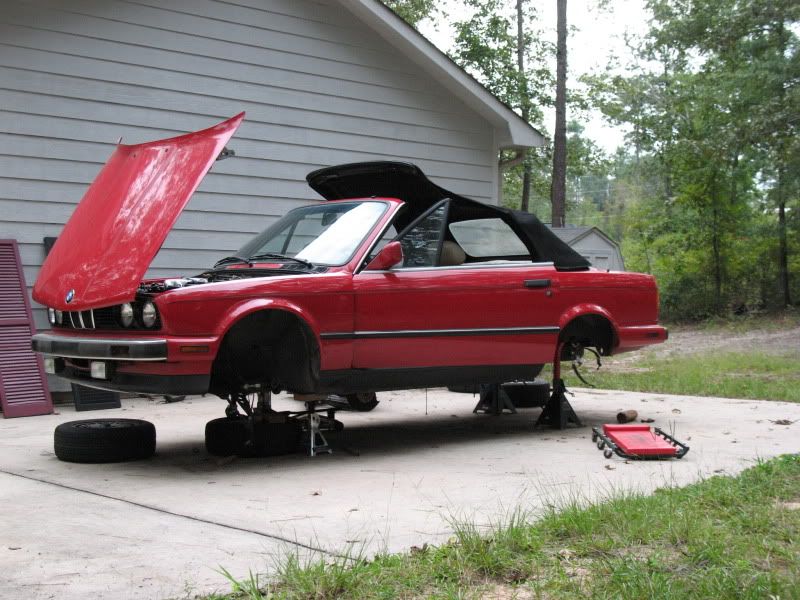
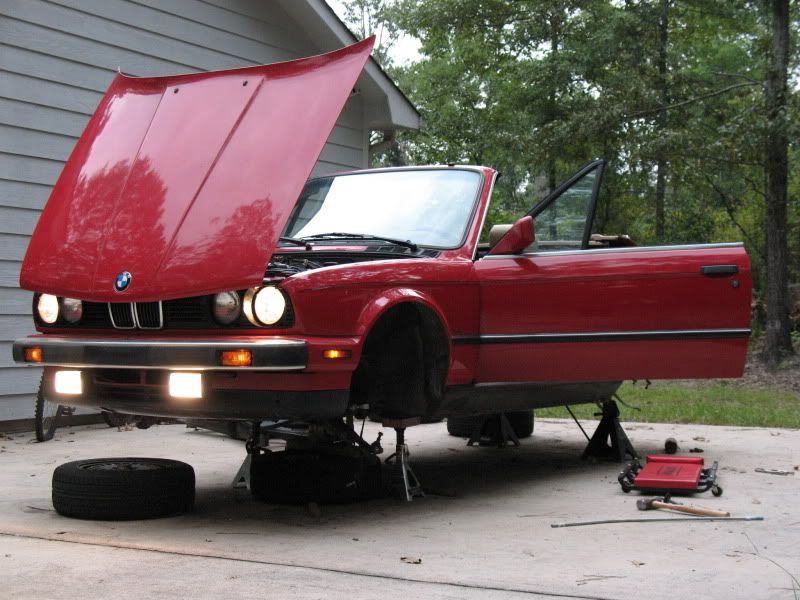
    My vert is down for a while going thru a 20-yr checkup that is involving many parts of the car, the big one being the totally worn out suspension.

    Front control arms (as well as CABs and balljoints) have been replaced in the past and are still good. I already replaced front sway bar links (were nearly gone) Waiting to be installed now are rear sway bar links (worn out) I am going to be ordering the IE rear shock mounts, as the stock rubber ones are just about gone (weren't even holding the shocks anymore) Shocks front and rear were dead, so I'll be ordering H&R sport springs and Bilstien sport shocks. tie rod ends have torn boots, but are still tight, so they will remain on for now, in the future when I upgrade the brakes (stock for now, still lot of life left on pads) I'll replace the tie rod ends.

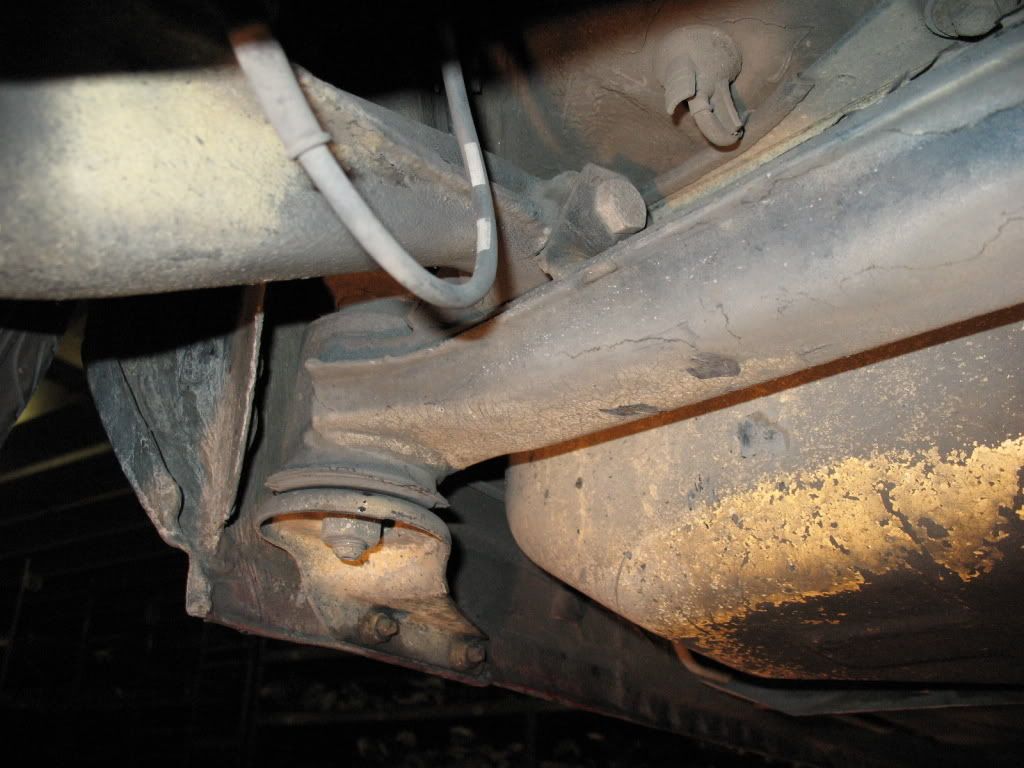
    I was also going to be replacing rear trailing arm bushings with poly, looking under the car, they appear cracked, but since I am there, they are cheap and apparently not too hard to replace, I'll do them.

    Which leaves me to the main question. I've searched and read alot about the rear subframe bushings, and how the stock ones are very stout and also how they do not wear like the rest of the suspension due to the design of the subframe.

    The car has ~140k on it. From looking under the car, I don't see anything alarming with them, but I have nothing to compare it to either. Will I be kicking myself in the butt later on down the road for not replacing them at this point now, or will they be fine and allow the above mentioned components to function properly?

    The car is more of a cruiser, not a track car. Once It's complete, I'd like to take it to some auto-x, just for the fun of it. I'm not concerned about replacing the bushings for stiffness purposes, but if they are worn, then I'd like to. I can take other pictures too.


    Thanks!

    ~Rick
    ~Rick | 1990 325iC ~Noelle - Her build/cleanup thread http://r3vlimited.com/board/showthread.php?t=179507

    #2
    im about to do the EXACT same work

    im replacing mine, and my rear soft brake lines and everythign else...its worth the time
    88 325ic ~~~> Rusty and ugly
    85 E ~~~> RIP

    Comment


      #3
      definitely do everything you can while you have the rear subframe out of the car as you will never want to pull it apart again. AKG or IE sell urethane subframe bushings that should slip without a press. It sounds like you don't really need to upgrade to urethane if you are just interested in making the car a cruiser, but using new stock rubber bushings will probably require a press to get them in.

      Comment


        #4
        The IE poly bushings will slip in without a press,

        but, from what I heard, trying to remove the rear subframe can be tough, and trying to remove the rear subframe bushings is also quite a job. I don't have a lift, press, torch etc... I'm working on the car as it is in the picture above (I will be getting blocks to supplement the jack stands)

        How much trouble am I going to be looking at to get the subframe out, remove the bushings and install the poly?

        If the rear subframe does get removed, what else is reccoemended to replace as well? I've read about rear brake lines, anything else?
        ~Rick | 1990 325iC ~Noelle - Her build/cleanup thread http://r3vlimited.com/board/showthread.php?t=179507

        Comment


          #5
          I'm going to buy new OEM rubber subframe bushings and fill in the voids with 60A (soft) urethane. Essentially it's just removing the air space with a soft rubber. This is a fairly ridiculous and expensive method, but it should hold up well over time and still give a more compliant ride than any solid urethane ones available. 2-part urethane kits are available from McMaster-Carr. I got the idea from a guy who was firming up his E21 front control arms on the cheap.
          "If the sky were to fall tomorrow, the tall would die first."

          -Dr. Paul Forrester


          Do I LOOK like I need a psychological evaluation???

          Comment


            #6
            Well I ordered the green IE poly subframe bushings, along with poly IE trailing arm bushings, and the upgraded rear shock mounts.

            I've been searching, but it's hard to find a good write-up to remove the rear subframe, anyone know of one?
            ~Rick | 1990 325iC ~Noelle - Her build/cleanup thread http://r3vlimited.com/board/showthread.php?t=179507

            Comment


              #7


              check out this thread, on a cabbie is a little differnt

              we cannot EASILY pound the lag bolt from the top due to how the body is constructed from above

              TO be able to pound it out, you need a 3 foot steel rod, I got one from lowes (cold rolled for strength) for about 6 bucks


              follow all of the above directions then thread in the lag bolt as far as it will go then pouund out from above


              This only worked on one side for me..the other side i had to threadin the lag bolt and hit the back and forth horizontally so it would break off the aluminum inside the body.


              I then used a dremel and a rotzip bit to cut away a portion of the siezed in alum sleve and tap the remaining out with a hammer and chisel.


              Good luck, having a cabbie make this job even harder
              88 325ic ~~~> Rusty and ugly
              85 E ~~~> RIP

              Comment


                #8
                Thanks for the advice Naplm!

                This is a very long, slow process, and I really, really want to drive the car again!

                I got the rear sub frame out, sadly I did not fully understand the lag bolt idea until AFTER I broke the drivers side bushing off in the car.

                I then understood the lag bolt and rod idea. I went to Lowes and got the 5/8" lagbolt and 3 foot steel rod, the rod had to be bent to fit in the Cabby panel area where the bolt sticks thru. I was only able to get a few threads of the bolt on the bushing as it would thread into the body if I went any further. No luck, I'd wail on the lag bolt and it would just fall out of the bushing, after a few times, the threads on the lag bolt were flattened, it was no longer biting the bushing. I think that was the cheaper of the two bolts, I went back and bought the galvanized one (IIRC) that should be stronger?

                So my question is, how do I get the broken part of the bushing out of the car now, I should have understood it all better before I broke it, but it's too late now. Besides, I am not too upset, because of this I've got alot of my motivation back to get it done.

                Here are some pics:


                The broken part can be seen missing:

                ~Rick | 1990 325iC ~Noelle - Her build/cleanup thread http://r3vlimited.com/board/showthread.php?t=179507

                Comment


                  #9
                  drill/chisel/dremel/screwdriver...
                  sigpic
                  '86.5 325eis Track Ho | '08 128i DD | '04 Silverado Tow Vehicle

                  Comment


                    #10
                    Originally posted by SkinnyVT View Post
                    drill/chisel/dremel/screwdriver...
                    I see you are from upstate, NY. Which part? I am from the Mid-Hudson Valley, been out of the state for 4yrs now.

                    Well, I went back out with the new 5/8" galvanized lag bolt, threaded it in, deep, put the top down and got the rod and hammer out, wailed on it about half a dozen times, then went under the car and hit the bolt hard sideways also half a dozen times, then tightened it back up snug, went back up top and got about another half dozen wails on it before I heard the familer "tink" of the lag bolt hitting the concrete driveway.

                    Except this time it wasn't alone. All in all, only a few mins, WOW you can imagine I am happy! Now to remove the old subframe and T/A bushings, then install the new ones (which I've already got) Noelle has been down for nearly 5 months now, time to get her back on the road!

                    Some pics of the fun:

                    Removed the car cover, everytime I see her again - damn I forgot what a sexy car the E30 vert is!


                    kustom bent 1/2" x 3' rod, 4lbs sledge, the lagbolt


                    Oh yes, I'll be holding on to this to proclaim victory.


                    Clean:


                    Us Cabbie owners don't have it easy like the rest of ya'll,


                    Deep in there you find this:


                    Which has to be hit thru here:


                    It is not a straight shot either, hence the bend in the rod.

                    I am quite glad tho, now I can finally get back to working on it a little bit each day and get it done. To celebrate, I ran it a while, no exhaust after the manifolds and the transmission is supported by a bottle jack (added the Jeep spare tire bottle jack also this time)


                    WOOOHOOO!!!
                    ~Rick | 1990 325iC ~Noelle - Her build/cleanup thread http://r3vlimited.com/board/showthread.php?t=179507

                    Comment


                      #11
                      enjoy following this , as it is my winter project to hit the back end, did all the front and new springs and billy sports on the rear,a few weeks ago out of bneccessity. but this winter, the back end drops out, like yours. I too have a cabbie so reading your "trial" is good.
                      car looks good, need to get the bumpers tucked or plastic

                      only thing I might add, is get more support under it, in my 50+ years, Ive had more than one car fall off of good jack stands and live to tell about it

                      Comment


                        #12
                        Originally posted by 3bvert View Post
                        enjoy following this , as it is my winter project to hit the back end, did all the front and new springs and billy sports on the rear,a few weeks ago out of bneccessity. but this winter, the back end drops out, like yours. I too have a cabbie so reading your "trial" is good.
                        car looks good, need to get the bumpers tucked or plastic
                        Do the lagbolt thing before you break the bushing off in the car, it'll have alot more area to bite.

                        Thanks for the comments! She's got alot of dings and needs minor body work, but heck - still looks good. Once she is done, daily driver duty will be split up between her and the Jeep, I plan to drive her all over and she'll be the primary non-wheelin' road trip vehicle, so I am definitly going to get my use out of it. Which is why I am not overly concerned about the body/paint work, then I'd be paranoid. She gets much better gas mileage then the Jeep. I drive alot, for fun - only work 14 miles from home, but in less then 8 months I have put exactly 20k miles on the Jeep, not counting the 2k on the BMW and 3k on the Lincoln (now sold) in that same time period. Both of these vehicles are absolutely amazing in their own right, and both fit "me" very well. As long as we are all in driveable condition, they'll be around. Noelle starts her new life ready to turn 135k, now it's gonna be a race to see how many fun-filled, jam-packed, absolutley great miles I can clock in.

                        As for the bumpers... i've given it alot of thought, and the plastic bumpers don't look right without the skirts/valances that go along with them, which is alot of work, plus I am a crazy one that actually dosen't mind the aluminum bumpers (these, be it late model or cabbies don't stick out nearly as far as the early models) I may tuck then, but for now they are fine. When the car gets around to getting all the needed bodywork and a new paint job (in the same exact color) I may do the full factory plastic bumper conversion, it gives it a more modern "complete" look, but takes away from the 80's BMW styling, plus, as it is now, when you look at the lower portion of the car from the side, it "flows" The plastic bumpers do not, they look out of place from the side, when compared with the lower body line of the car - it's something that has bugged me since I first saw them.
                        ~Rick | 1990 325iC ~Noelle - Her build/cleanup thread http://r3vlimited.com/board/showthread.php?t=179507

                        Comment


                          #13
                          ha, congrats on getting the remnants of the bushing out! The alternative is to slot it and hit it with a chisel. This is really unrewarding work, as aluminum chips get thrown everywhere, and you tend to loosen a lot of under chassis dirt into your face too. That was pretty resourceful of you to use a bent piece of steel rod to hit the bushing. :D

                          Originally posted by whysimon
                          WTF is hello Kitty (I'm 28 with no kids and I don't have cable)

                          Comment


                            #14
                            I REALLY wish I had seen your thread about the lag bolt BEFORE I did the rear subframe bushings Fred.... both broke off in the body.... What a BITCH!
                            09 BMW 328xi touring 6spd
                            05 Subaru Outback XT 5spd
                            87 BMW 325is
                            a few bicycles

                            Comment


                              #15
                              awesome cant wait to do mine (sarcasm) going to go all powerflex

                              Comment

                              Working...
                              X