
rofl!
-
FREE BITCOINS!! http://qoinpro.com/71690d1639966bfbf223bf16538cec21
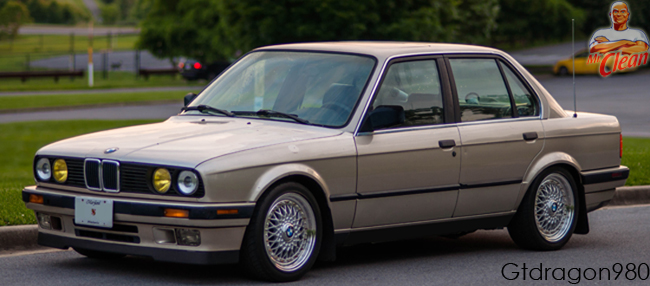
1989 325i - Project/weekend driverOriginally posted by scabzzzz
2002 325i - DD
2005 Suzuki SV650 - Toy -
ok, you guys are going to kill me but all I have is finish photos, like I said, I really didn't think it would work that great but it did, and my "cleaning up and refinishing of the metal" really surprised me....I wish you could have seen the gouge on the one I refinished,,,
Here's the wheels side by side now that one is done and the other isn't,
the one that isn't has some curbage but it is nothing compared to what this one wheel looked like before...
The color is almost PERFECT, for ZENDER wheels, lots of flake like ZENDER, and once on the car you would never see the one shade darker the DC Paint difference...
My camera sucks balls so that doesn't help either along with the flash reflecting off the flake,,,
[IMG]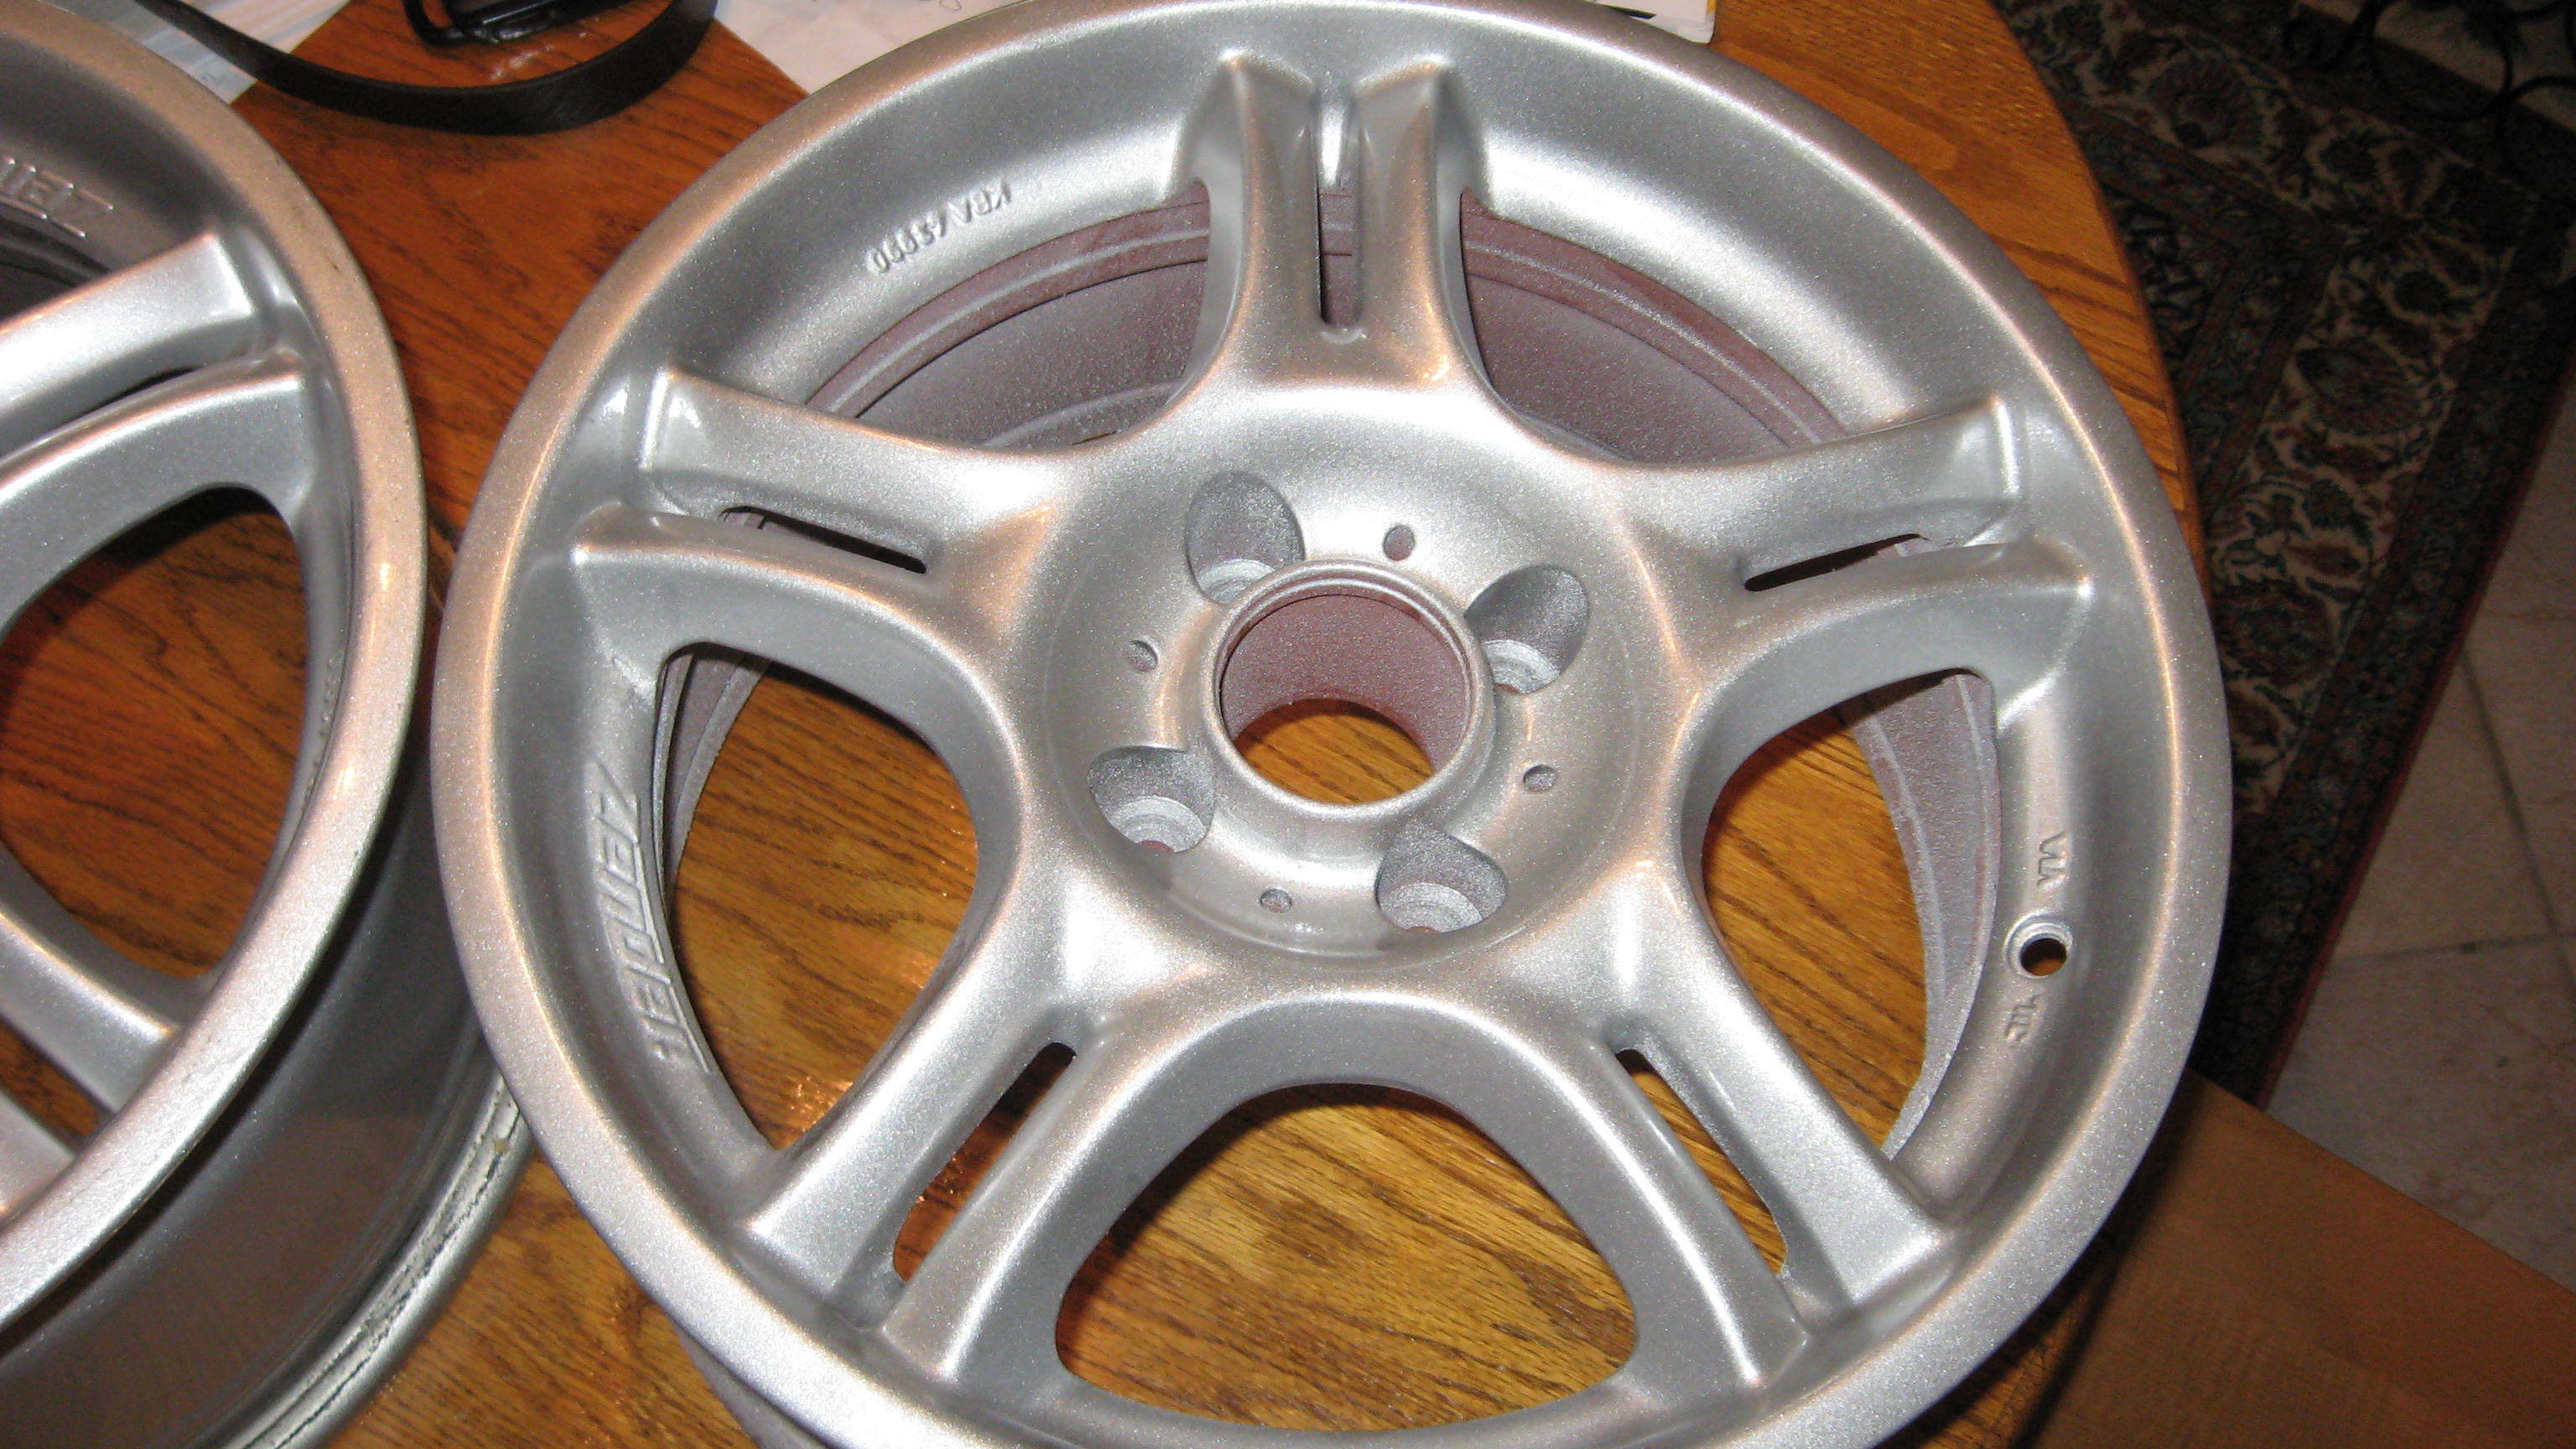 [/IMG]
One, as is,
[IMG]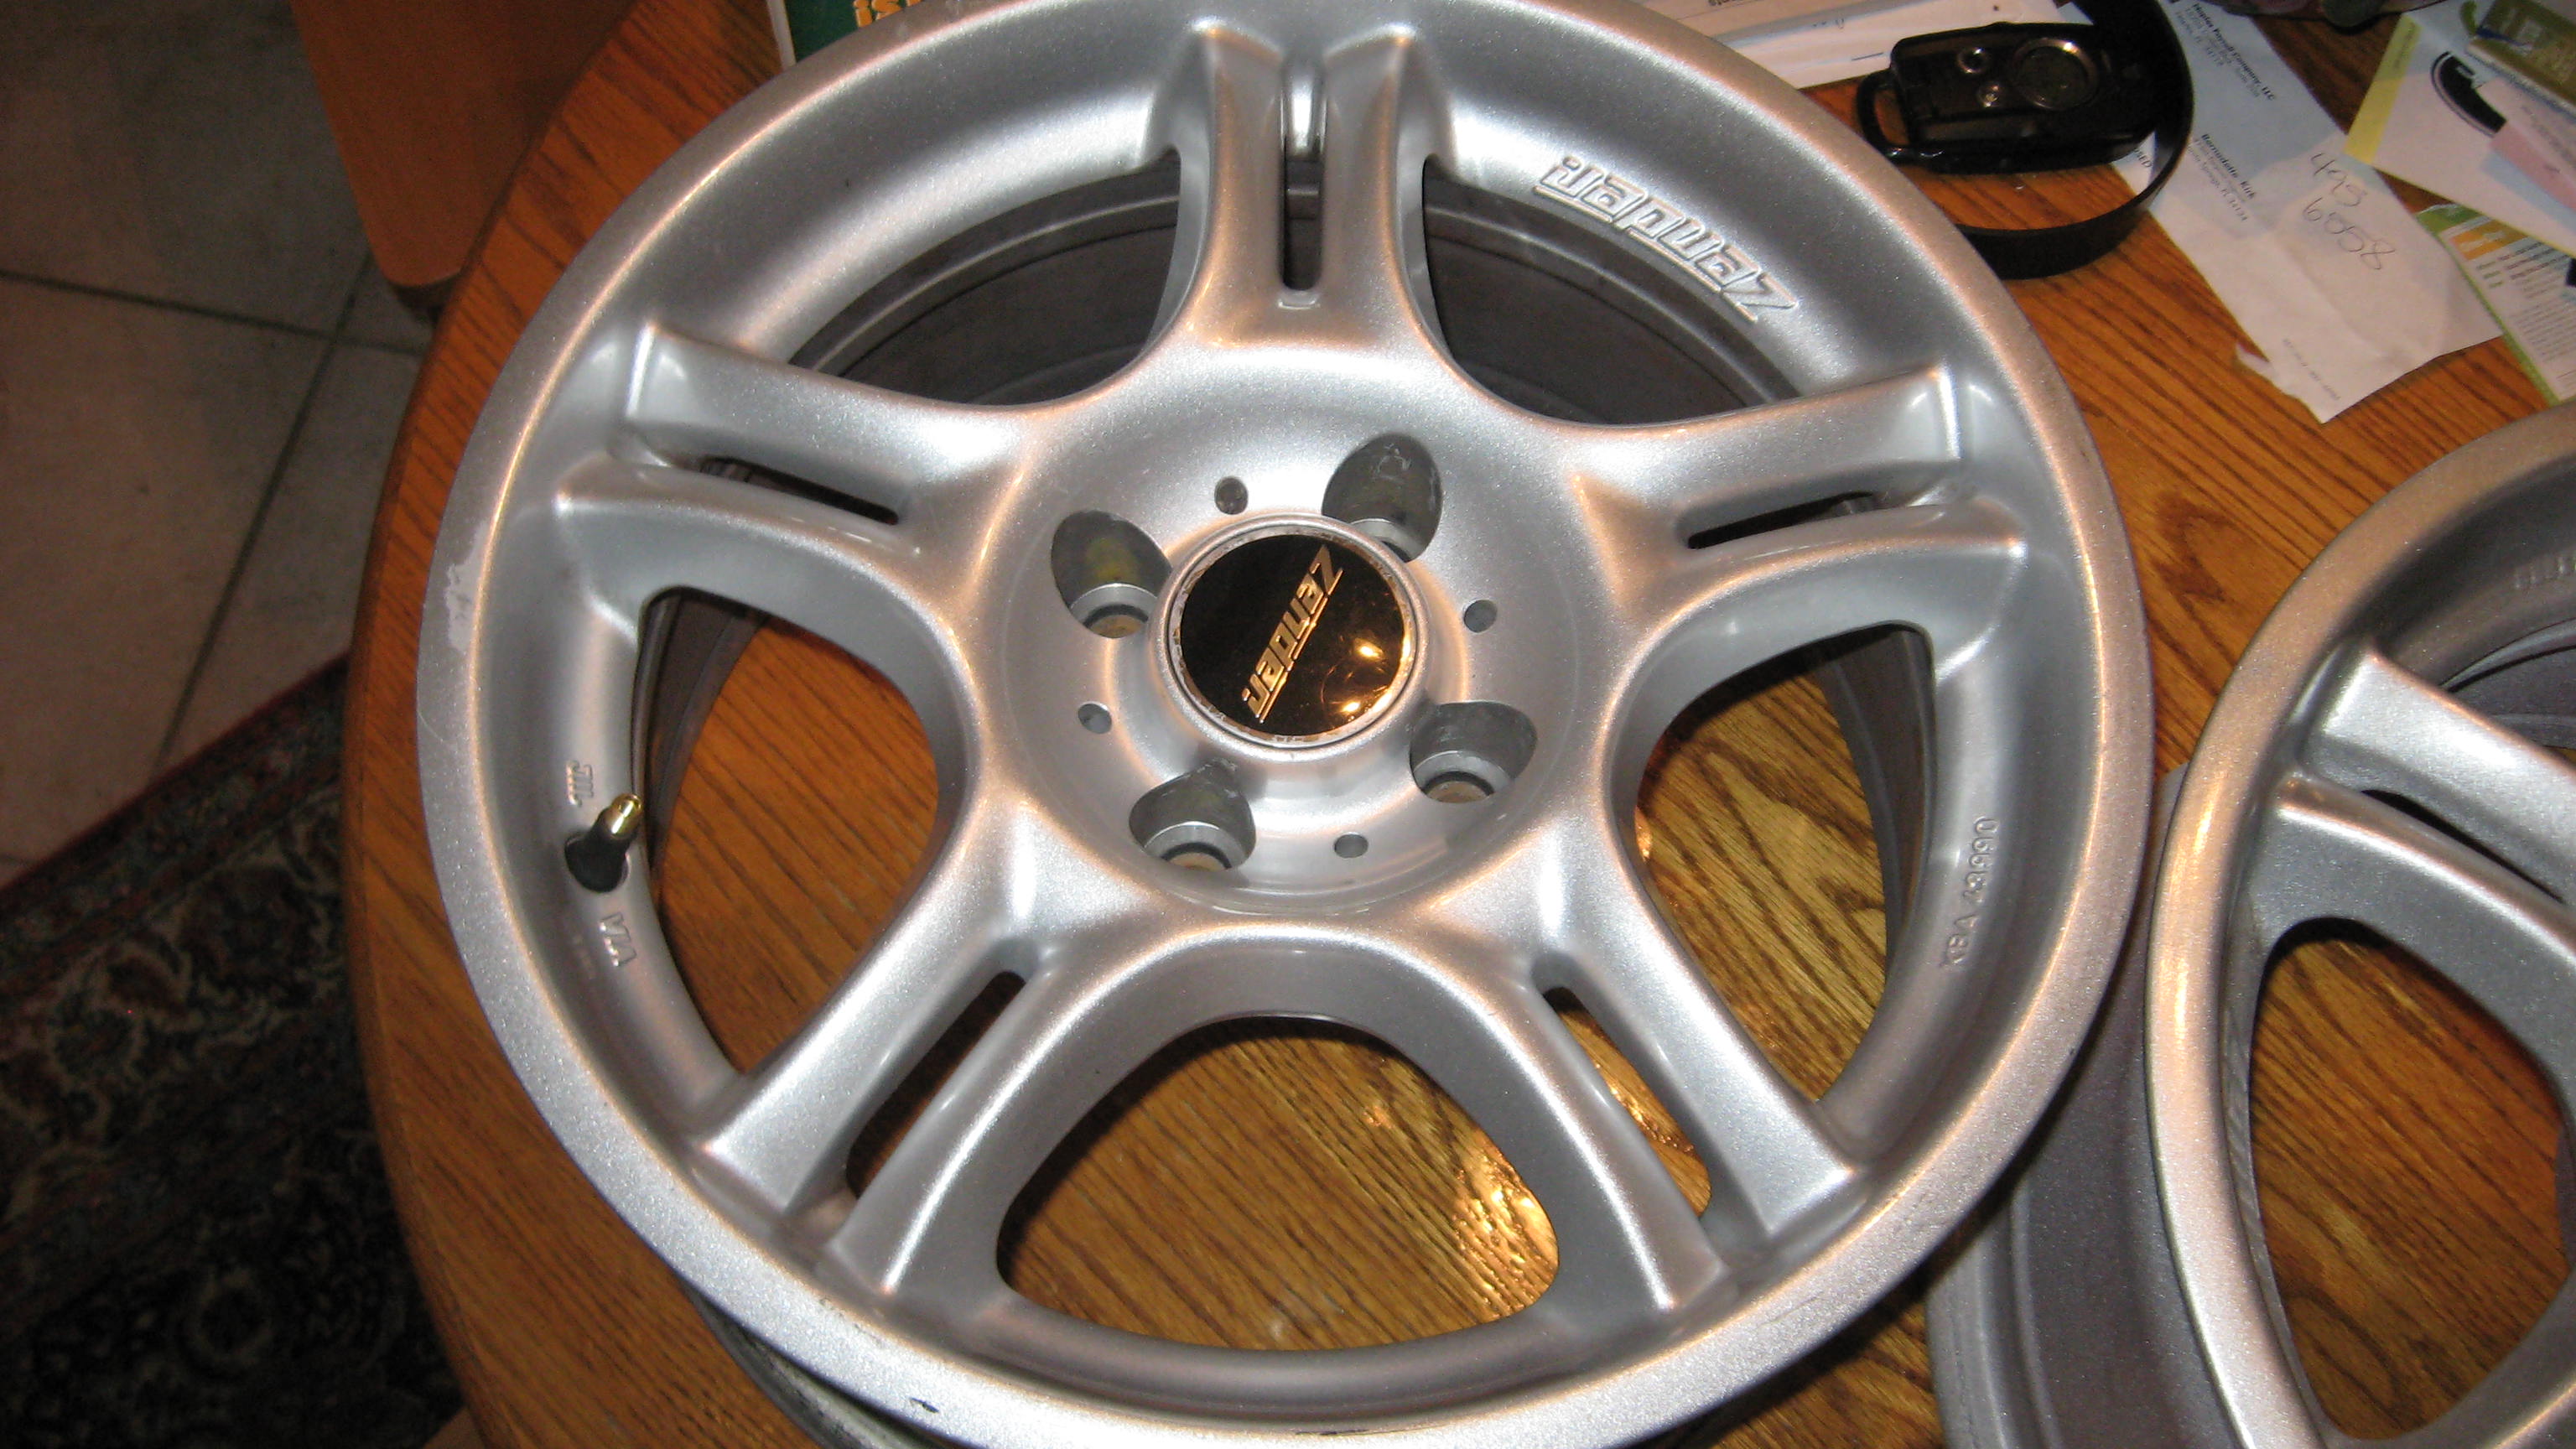 [/IMG]
refinished and kinda washed out due to flash...
but you get the idea...
[IMG]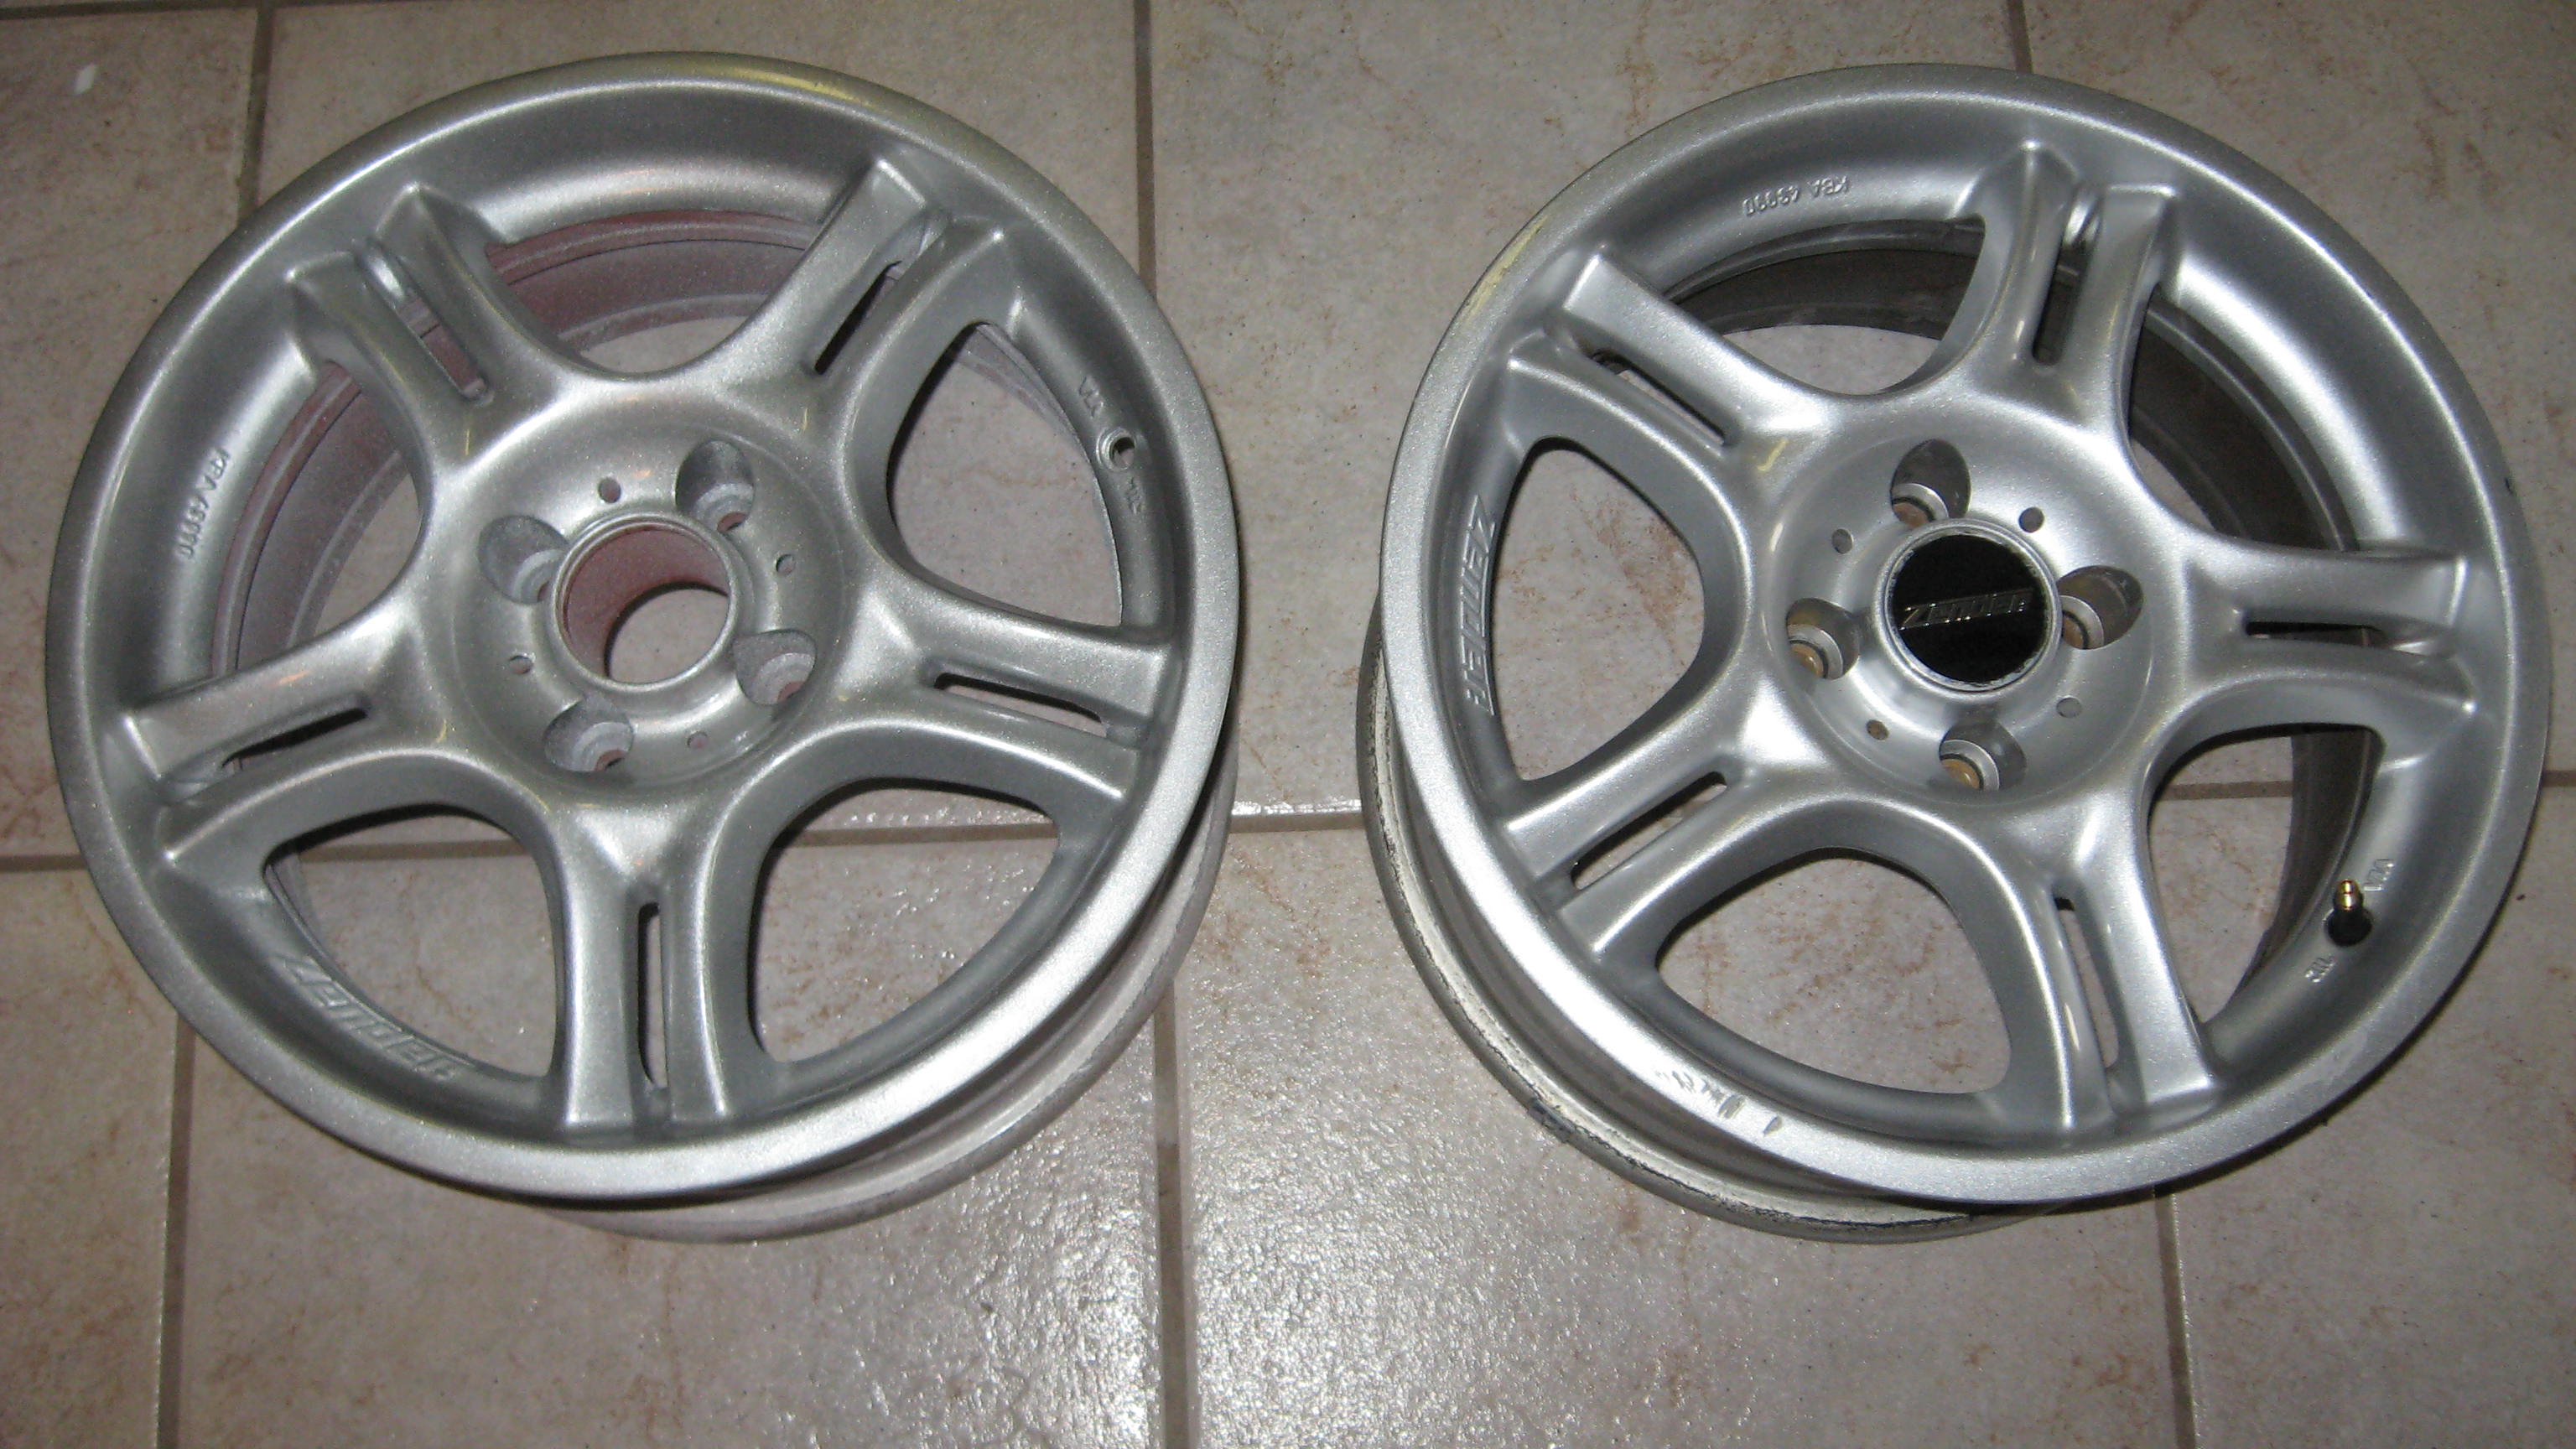 [/IMG]
I will post a pic of all tools, paints used too next...
Sorry, no play by play but like I said I didn't expect it to work...
if and when I refinish the others, I will definately post pics...
I will say this, keep spraying and sanding primer coats until it is smooth, about the 3rd coat you will see that it is flat/smooth and the surface is nice enough for color...
if you pic up any of the imperfections, it is Operator error, not the paint itself, after last of color a big wind blew some shit into them, they were on my back porch, which caused me to scramble and fuck up here and there...
it happened again during the clear phase but all in all, the product works great...
I will definately not be afraid to do it again, and really take my time next time and have a better place to paint....Comment
-
?
edit: damnit! he posted right before i posted.
oh well
nice pics :)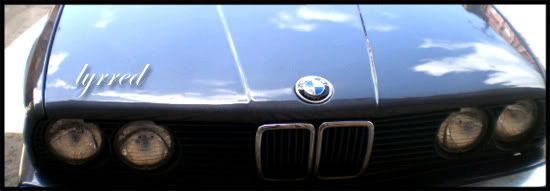
Comment
-
here's some as attachments so that they are not so HUGE....Attached FilesComment
-
-
Here's a good Cat Pic....LOL
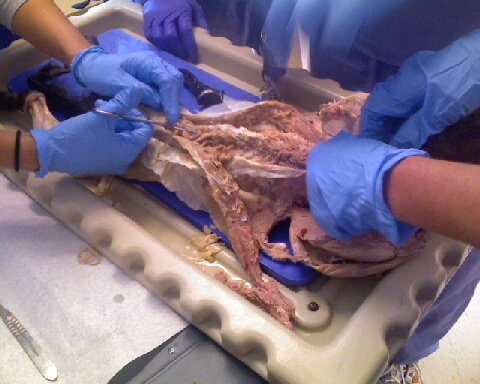
A Cat Dissection.....Comment
-
recognize this baby?

Comment
-
Here's the tools....
forget to mention,
I used 320 grits for initial sanding, and lightley after some primer coats if needed, but once the initial big stuff was off, I moved to 600 grit, then wet sanded with the 1500 on the finishes,,,
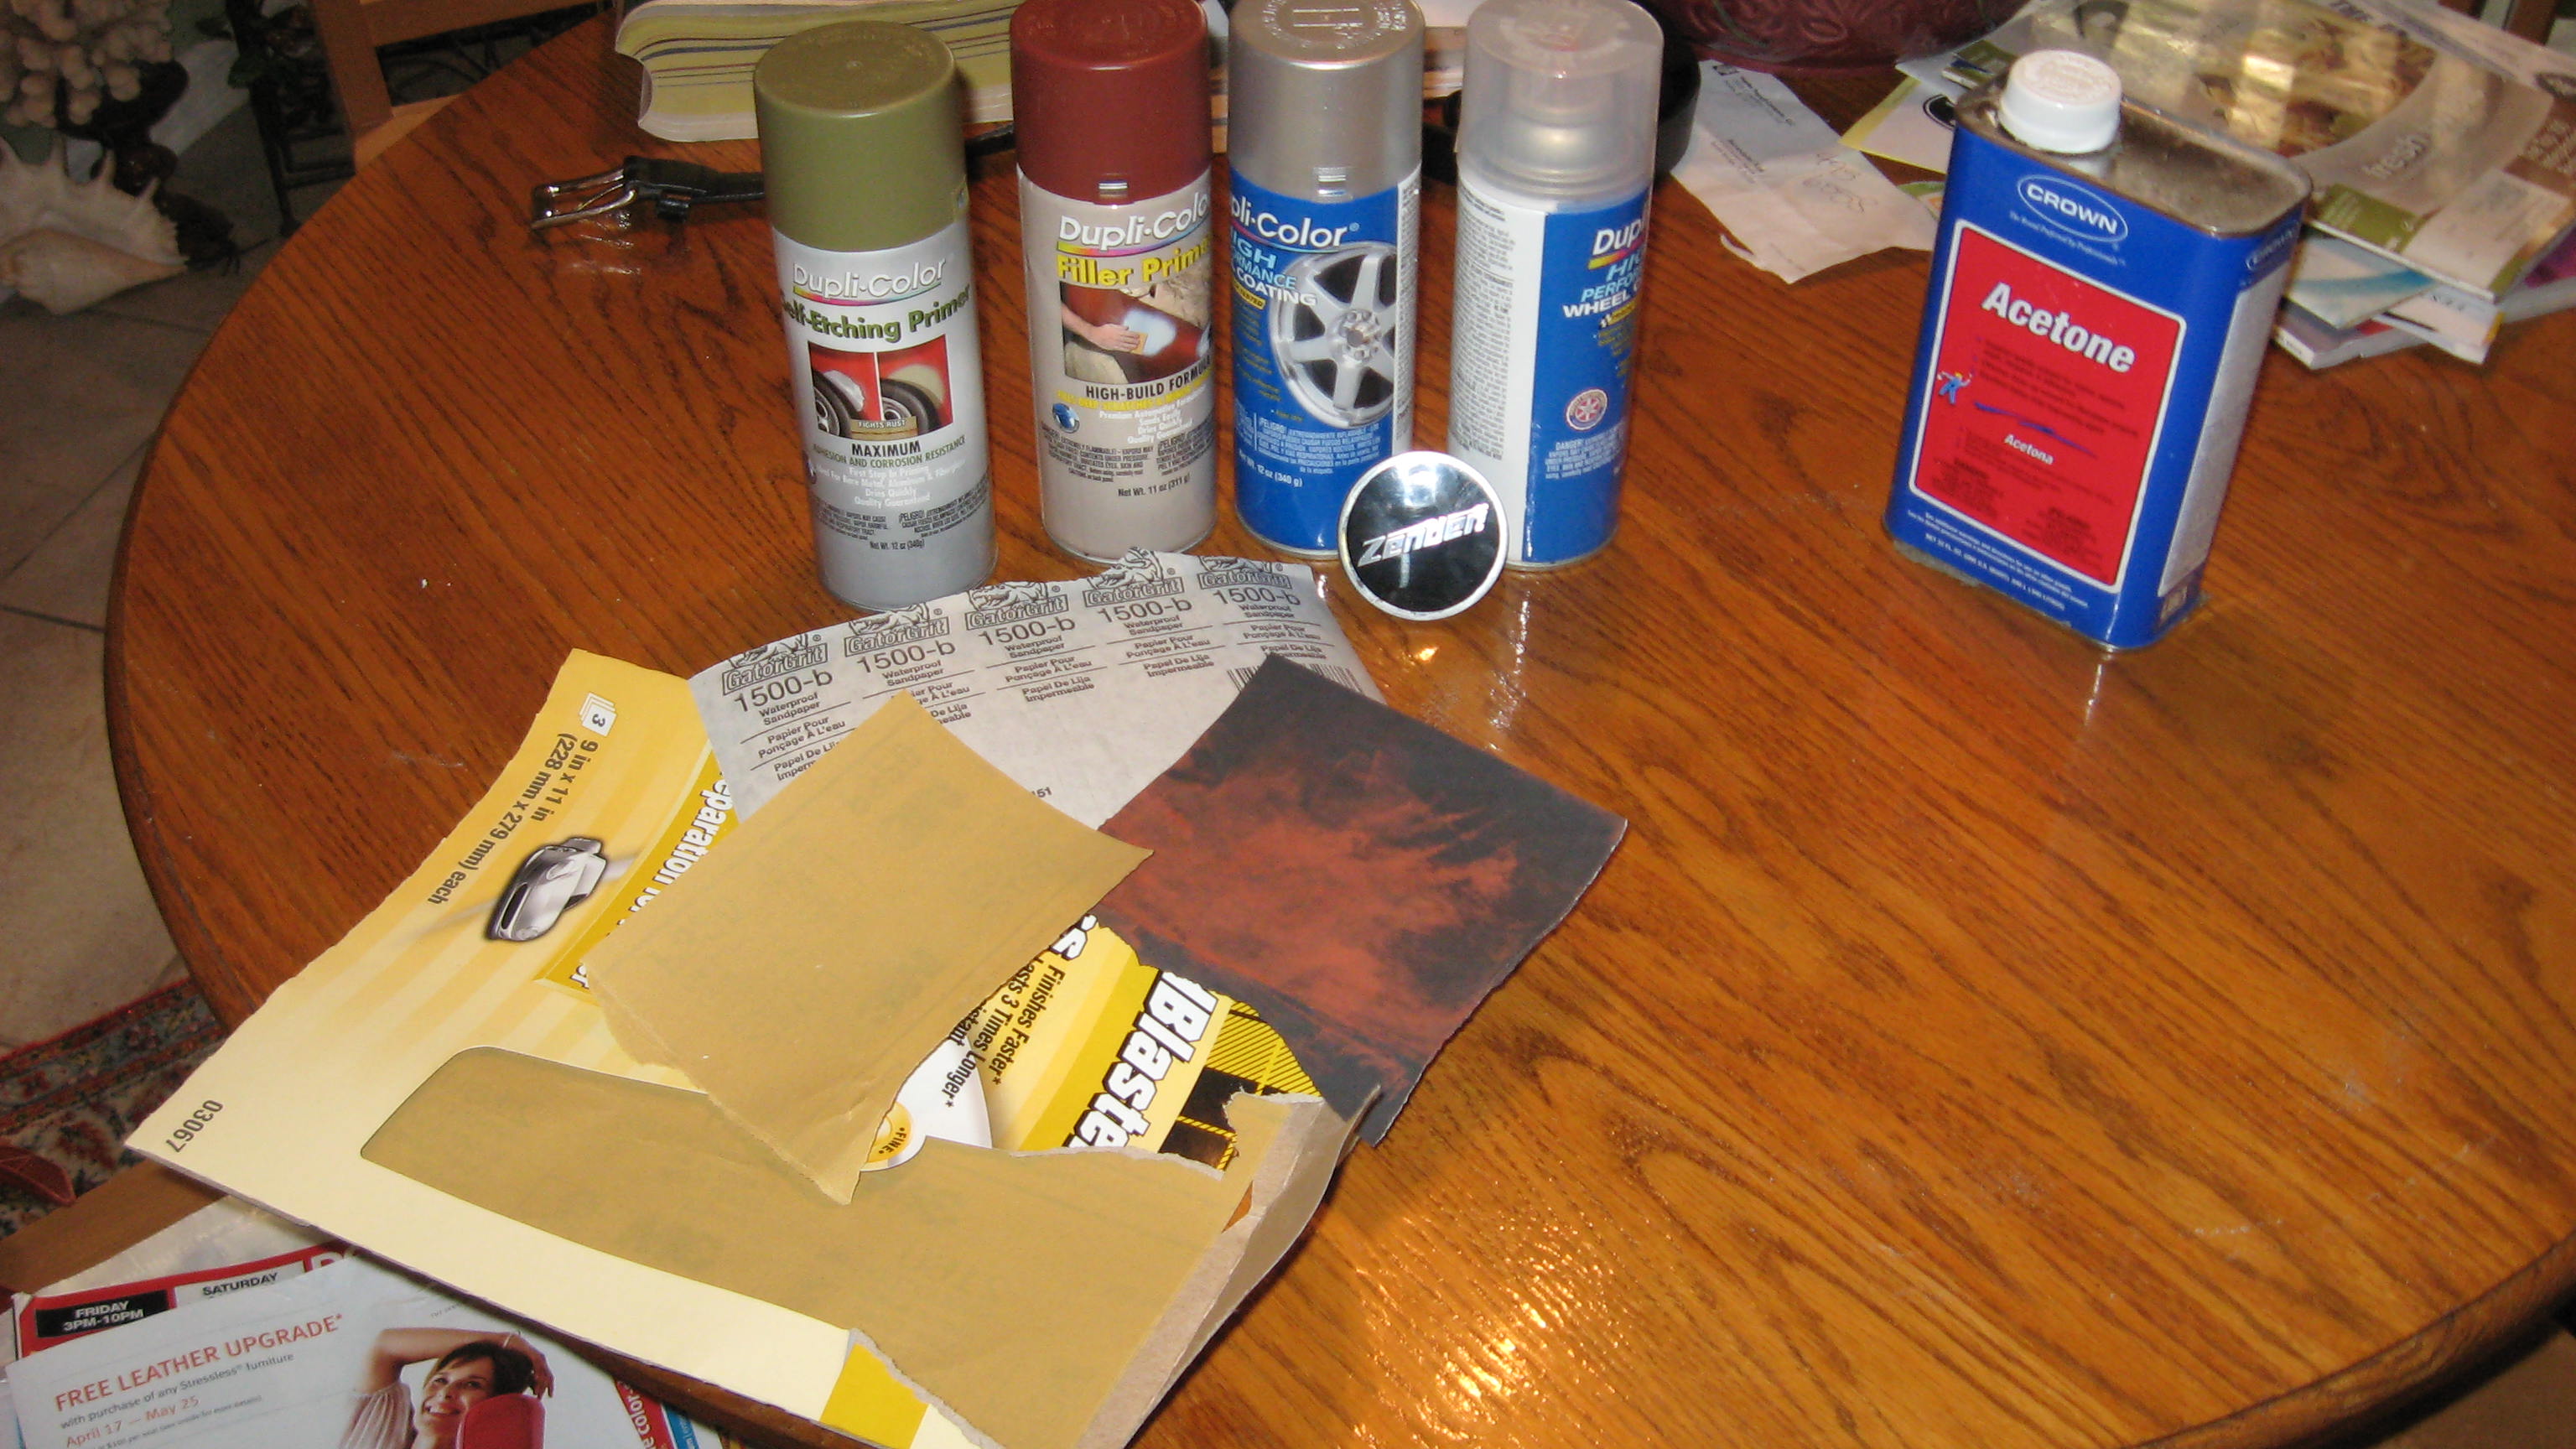
and don't forget I used a dremel and a sanding disc to take out the curbage, and gouge, also used it to reshape the lip....Comment
-
you should clear coat emComment
-
Any chance of larger pics so we can see some of the details? Thanks in advance.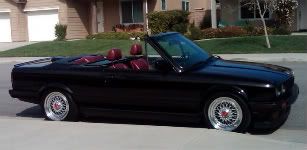
1987 E30 cabrio | Bumper swap | H&R Sport | Koni Yellow | Eibach Sways | BavAuto strut bar | Cardinal seats
MTech2 wheel | Husco Armrest | Smoked Hella Smileys | 5k HID | Stromung | RS003 | Shadowline | Amber Fogs | Too much else to list
Comment
-
ROFL at this thread.
Good job on the wheels OPComment
-
Looks good. Glad to hear Duplicolor makes a good wheel paint as I will be painting some wheels Monday and already bought the paint.Comment
-
Thanks,
I know the pics suck but so does my camera....
If you were here, you could see that the "my finish" is very close to the Factory Zender finish...very close and I am a hack when it comes to spray painting...
These wheels have one thin coat of clear, the color has a good amount of shine anyway, but I want to wait a week (per Instructions) let the paint cure/harden and do a good rub down with rubbing compound and then clear them with a few coats...
I figure with this first wheel, no matter how it comes out, it looks 10x better than it originally did and I am kicking myself in the ass for not taking more detailed pics...
I suck at spray painting, seriously, and for it to come out as good as it did, I am very happy...
some of you guys are talented with a rattle can and I could only imagine how your could come out....
Locally, it cost $400 for blasting and Powder coating a set of 4 not including "fixing the gauges and scratches" or for about $60-$75 and a few evenings or a good long days worth of labor you can do it yourself....
plus the feeling of accomplishment doing it yourself...
another thing,
I F*cked up and had a couple of runs,
first in the primer stage, I let it completely dry, then sanded it back down, then lightly recoated...
then again with color coat, let it set up about 30 mins, wet sanded it off,just the spot feathering it out, then lightly recoated the color...
it worked, maybe not 100% but 95% and if I hadn't told you, you would be hard pressed to see it especially while mounted on the car...
you can do this, take your time, walk away if you have to, then come back to it and you will get thru this and be happy with it...
Hint, spray the opposite side of the wheel that you are on,
meaning reach across the wheel to paint it,
do not spray directly down, that is how both of my runs occured...
spray the wheel in the 10-2 positions of a clock, maybe 9-3, but keep the wheel turning
start with the inside if you plan on painting it, finish with the face,
move on to the "spoke" areas and then finish with the face of the wheel and lips...Comment
-
Very good effort and results on this-the wheel looks great!Eric Giles
'20 M2 CS
'04 M3
'11 X5 35D
'87 325is
'91 325i Sport
There are few things more expensive than a cheap BMW...Comment
-
Hilarious thread!Comment

Comment