-
Bonus! One of the 300 cu ft ranks has 750 psi of argon left in it. The other registers nothing. Argon doesn't go bad, does it? -
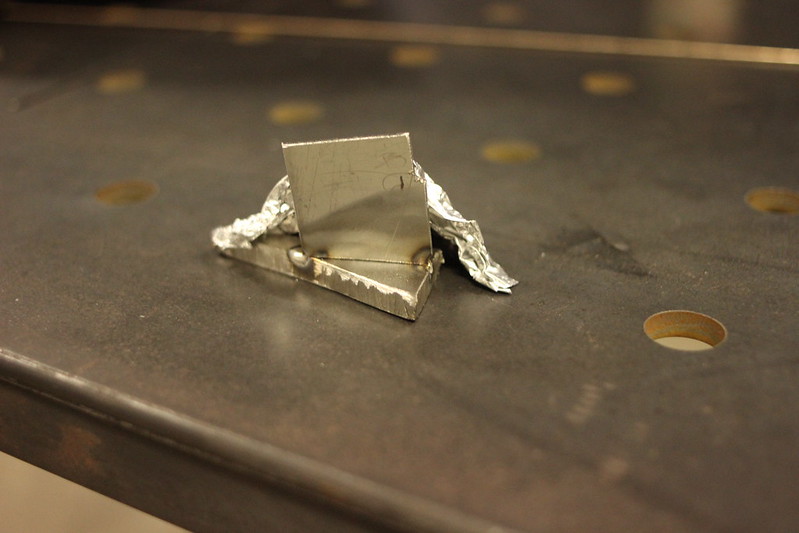
I have a Smith dual flow gauge. Purge setup is pretty basic. 5-10cfm through a hose and I have a diffuser from a smaller torch threaded into the end. Just use tin foil. Have purge blocks for t3/t4 flanges and 38/44 wastegates.Leave a comment:
-
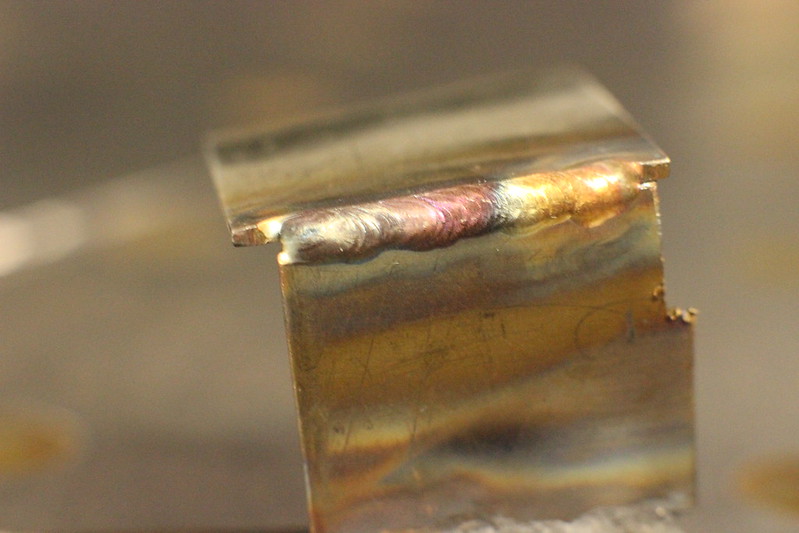
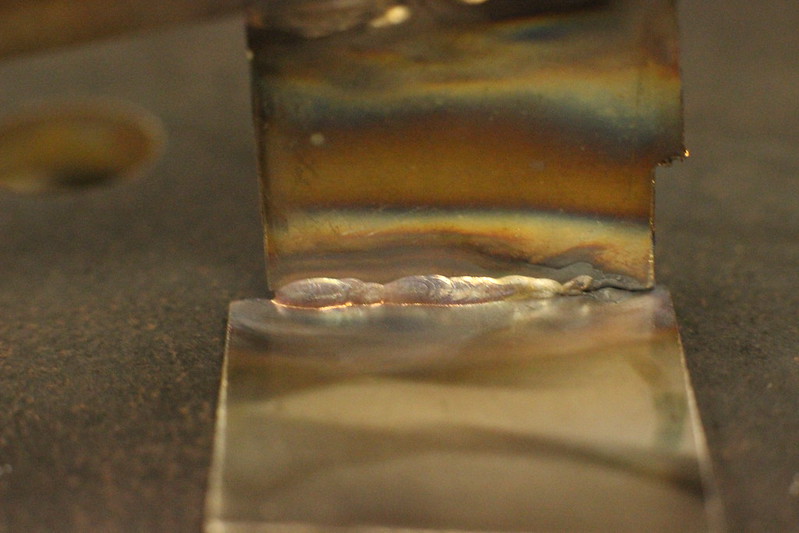
Neither of my flanges warped after welding, and I think that is also part of the reason why Burns recommends it. Fillets pull all sorts of nasty, even when you run a perfect bead, and have the part in a jig.
Looks nice :)
What do you use for a purging set up? Another tank and reg? I was going to order a dual regulator, but they are out of stock until may... :( I ordered Solar Flux B for the time being, and it should be here this week.Leave a comment:
-
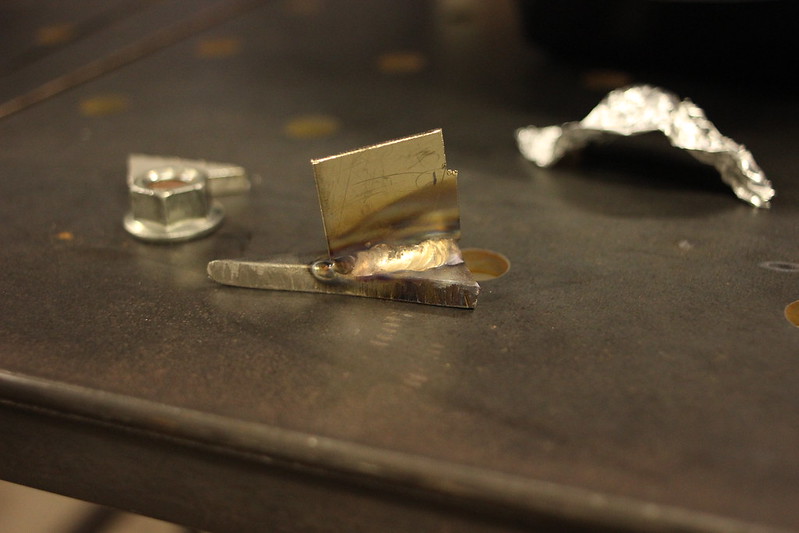
Silicone bronze is a really cool filler. Not for structural purposes but for us car guys it's great. Has significantly less shrinking properties then the majority of your other fillers.Leave a comment:
-
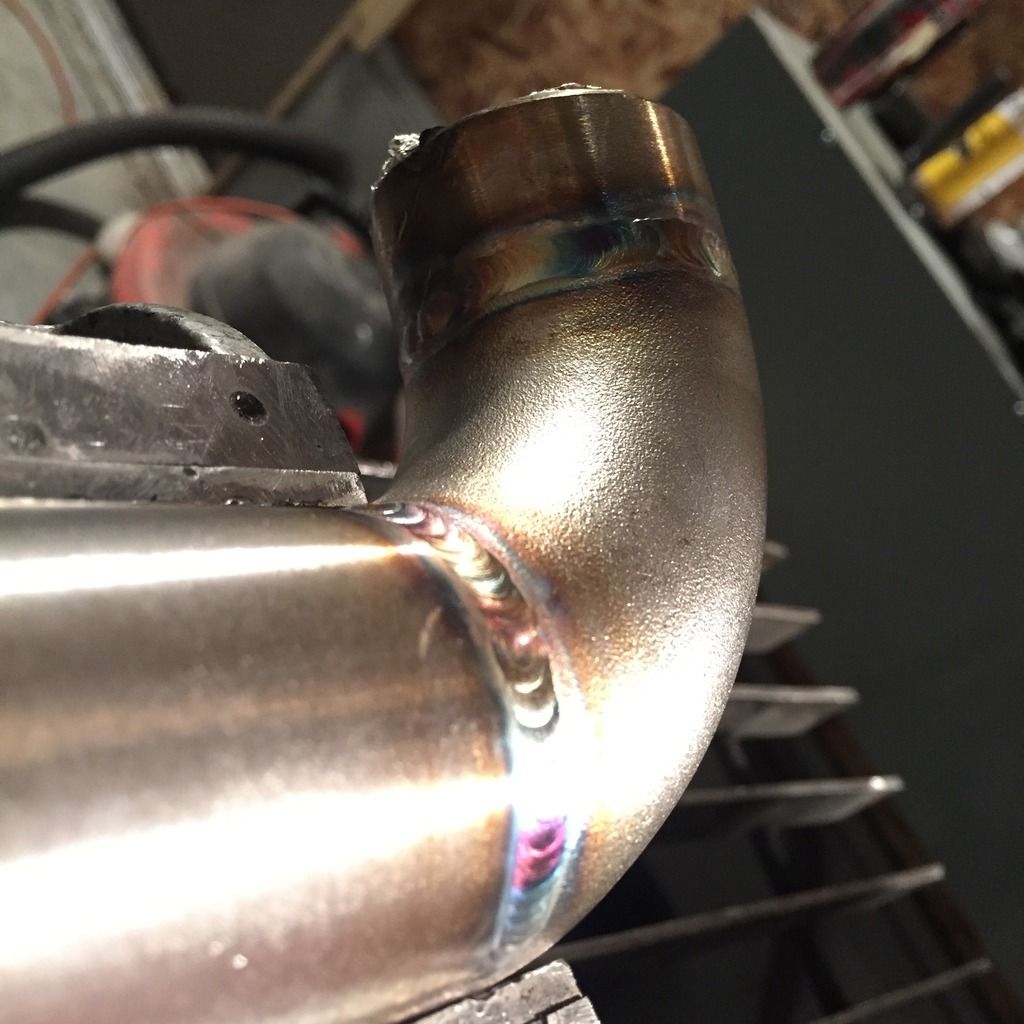
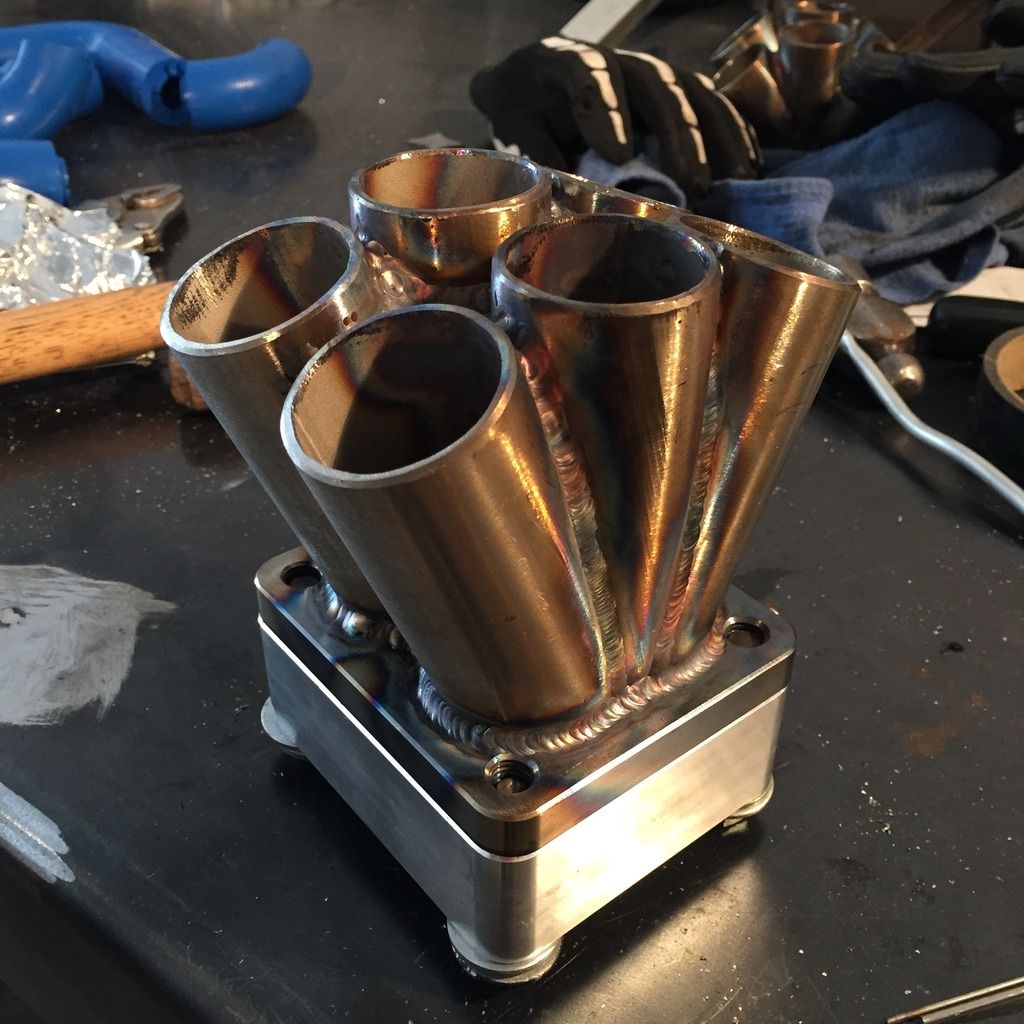
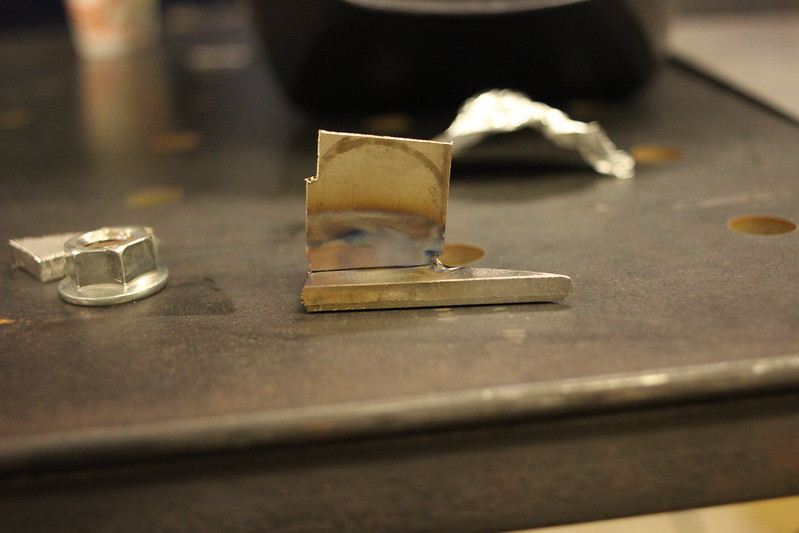
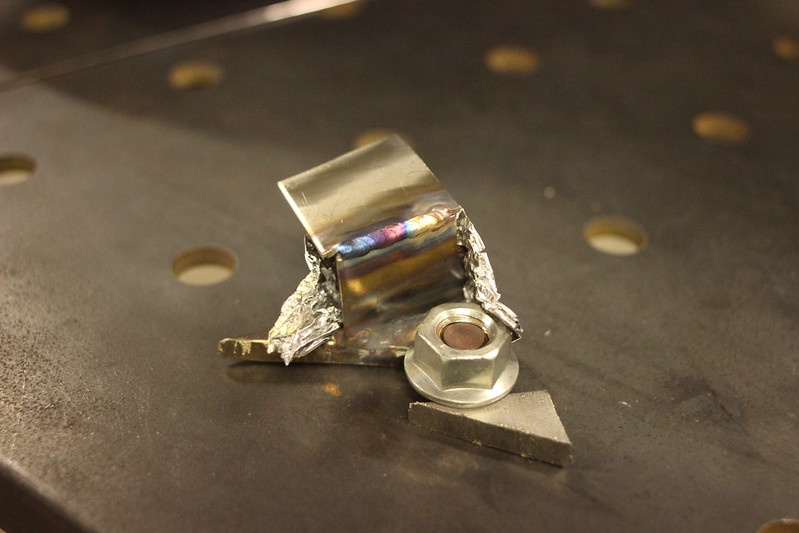
So, I wasn't just playing around with stainless for nothing... Here are a few photos of my current project.
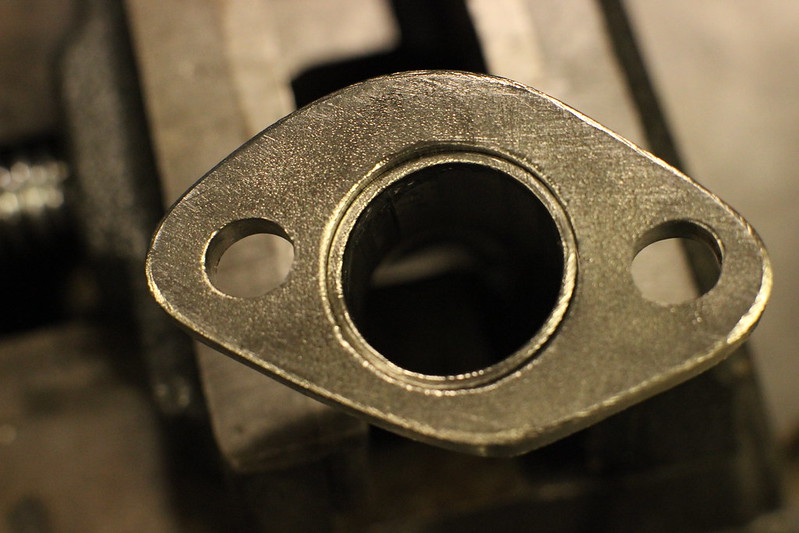 IMG_0126 by Los Pantelones!, on Flickr
 IMG_0128 by Los Pantelones!, on Flickr
 IMG_0129 by Los Pantelones!, on Flickr
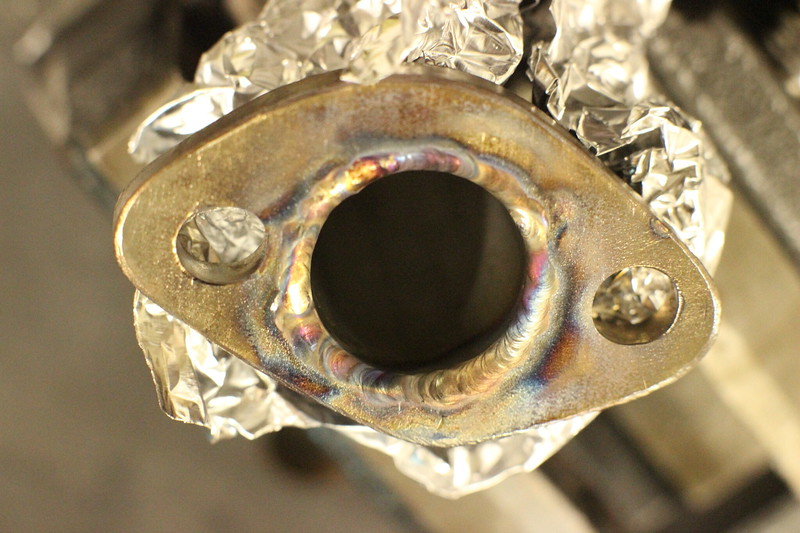
 IMG_0131 by Los Pantelones!, on Flickr
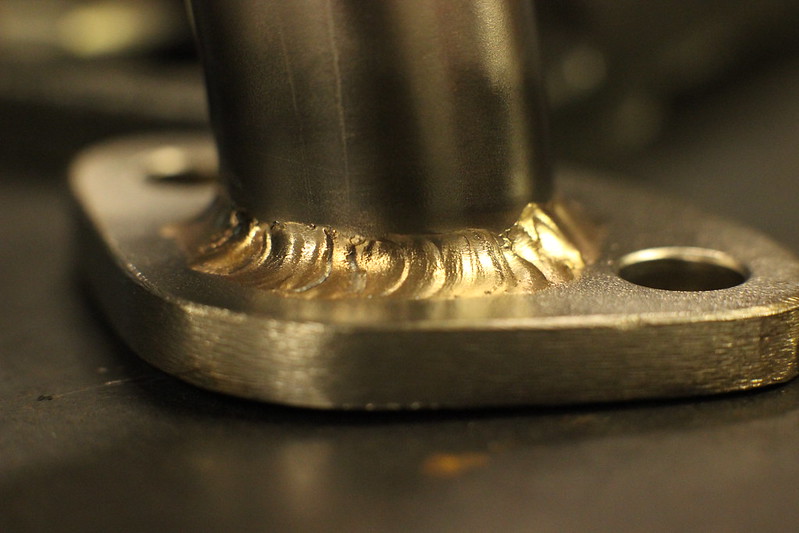
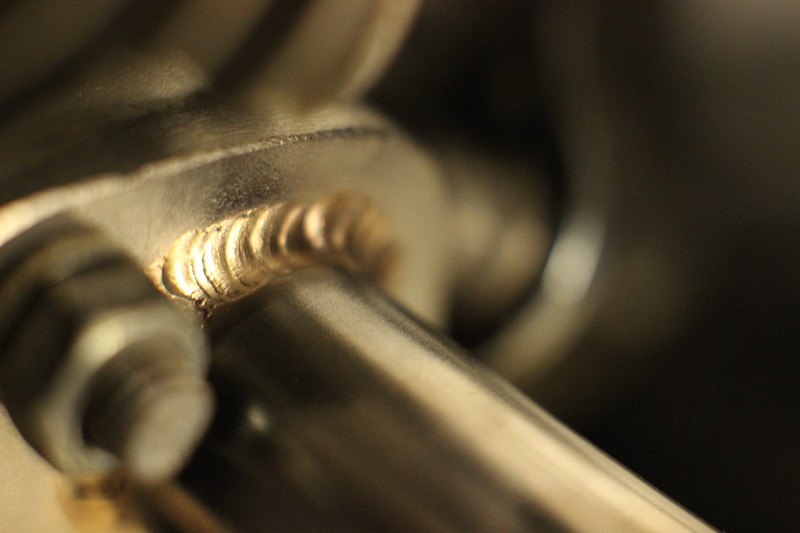
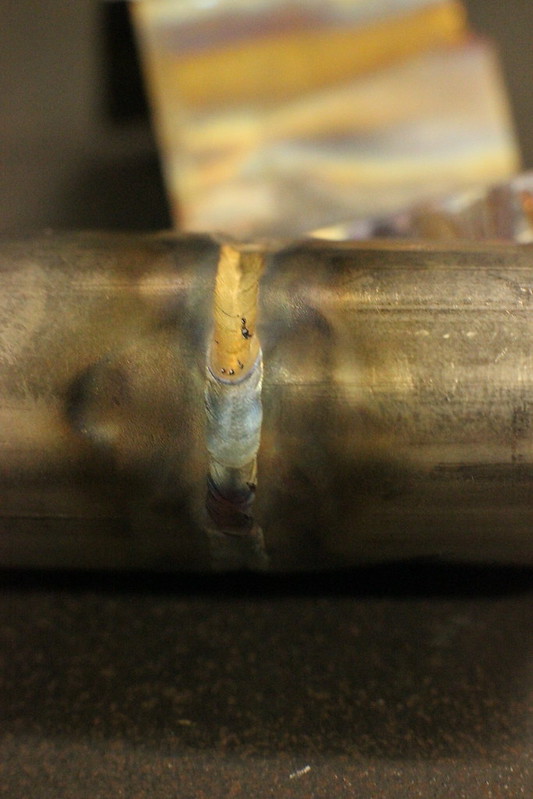
I ran less amps for the fillet on the exhaust and it turned out better. The silicon bronze rod is interesting to work with, and I am glad that I used it. I took the idea from the Burns Stainless web site, and I guess they stole it from NASCAR.
 IMG_0137 by Los Pantelones!, on Flickr
 IMG_0138 by Los Pantelones!, on Flickr
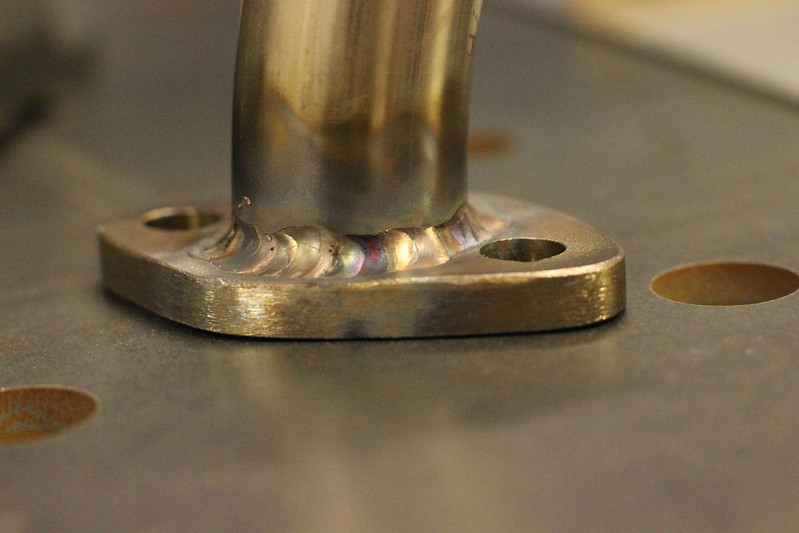
 IMG_0140 by Los Pantelones!, on Flickr
I really have been enjoying how much stick out you can get away with using a large gas lens ;)
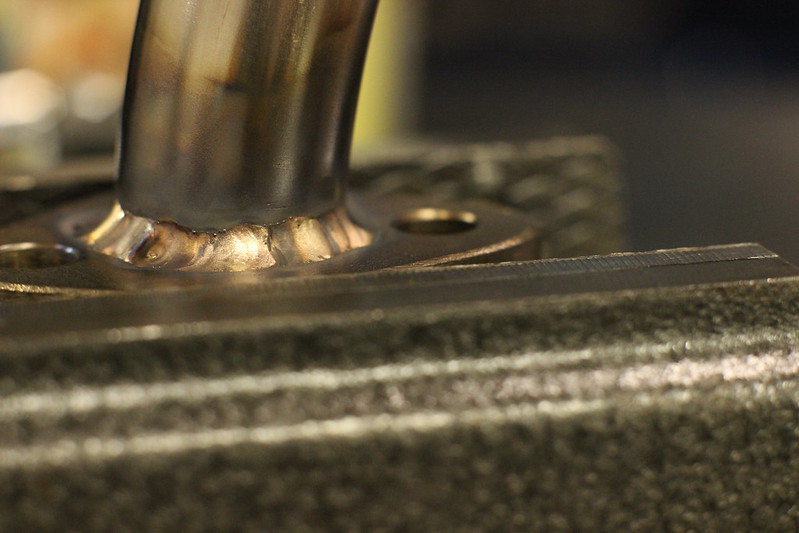
 IMG_0141 by Los Pantelones!, on Flickr
Leave a comment:
-
You can't avoid it entirely, but it's a bad habit a lot of welders have. It's just due to running too hot/fast and not shielding properly. I thought this was pretty neat...

That is a replacement... The original one was flat, and this one was only $10. I was already grabbing a tank refill so I didn't care.
And Eric, Pre-heat bud... The general rule of thumb is 1 AMP per .001" and with aluminum that could go up 10%.Leave a comment:
-
Red is 2% Thoriated, I usually tell our customers to run the Green Pure ones on the older rectifier machines and 2% Thoriated or 2% Lanthanated on the newer Inverter machines.
I think if you were to preheat like IronFreak said, that may help to burn out any contaminates in the material as well as getting you a more distinguished puddle.
Those welds from school are fantastic, esp. the 3G Tig Alum, nicely done!Leave a comment:
-
I was of the opinion that %2 lanthinated isn't very good for the old transistor boxes. I have a pack of them, but I bought some green tips just for this project.
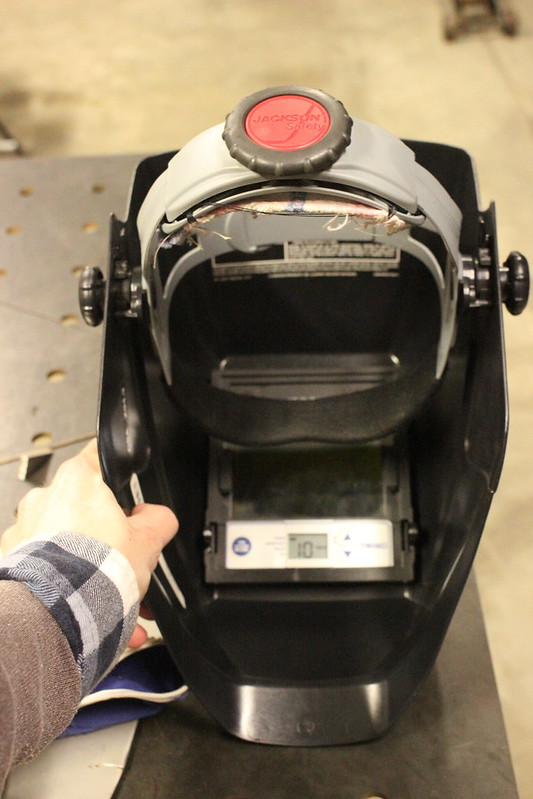
The machine is archaic, it has the foot pedal and a knob (numbers worn off) for current.
I was having a problem even getting the pool started. once it got a little shiney , i'd dip and it would just goo everywhere. I was using a 3/32" tungston, 1/8" rod and I think it was a 19 torch.
Thanks for the tips above, I thought I was pretty good in school, passing objectives in one or two passes, but I got a big slice of humble pie with this project!!!
Here are some of my work from school... thinner stock, inverter machine, much more comfortable.
3G aluminum:

1G lapjoint. No filler, just glueing to sheet's together.

Pipe to plate mild steel. First attempt at running a bead on round items...

Red - Yes, brushed with a SS brush, but I could still see the oxide burning up, should I brush through it?Leave a comment:
-
-
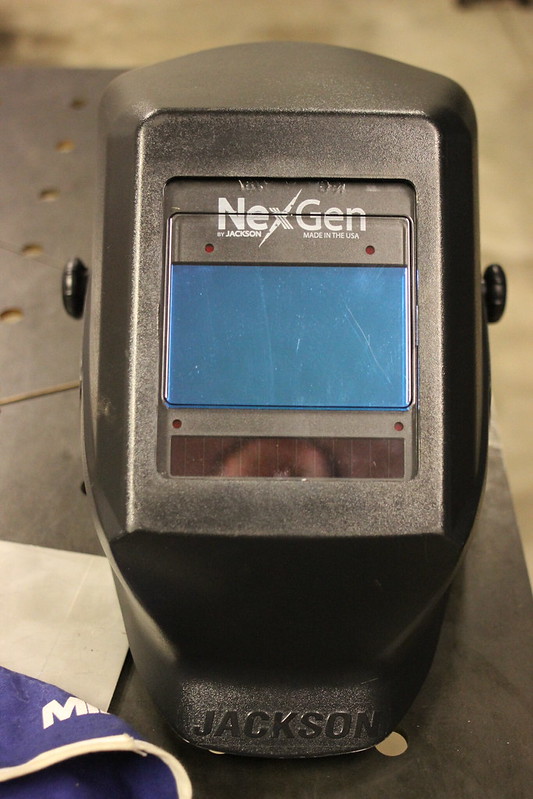
Pantalones, when you go to replace your front cover lenses, you can just get the standard 4 1/2" x 5 1/4" flat plates, the one you have on there now is for the W60 ADF filter Jackson makes. They're salty too, much more than the standard ones.
Eric, are you cleaning it up with a SS brush before welding as well? Looks like it, just making sure, a Mild Steel brush will contaminate the surface and make your welds terrible.
Are you running a WP-17 150A torch on that machine and are you running pure tungsten as well?Leave a comment:
-
-
Few things to try next time on aluminum:
you're pushing to limits of 1/4" aluminum if all you have to play with is 175 amps, so give it a boost. have a torch handy, (butane works fine) and preheat the back side surface of your weld area. Get that thing up to about 200-250*.
Utilize the cleaning properties of AC welding, obviously do your surface prep before hand, but one you drop your hood, arc up and make a fillerless pass at a lower amperage and let the AC spot clean the welding surface, you'll visible be able to see it doing its job.
Lastly, TAKE YO DAMN TIME! Aluminum will suck the ever-living heat out of the weld, arc up, form the puddle and quick dip. On 1/4" with 175 amps, you have all damn day. If your welder doesn't have AC balance control or pulse capability.......do the foot pump! Get into a rhythm, Puddle, dip, push, pump, repeat. Gives you some pretty dimes.
What I see in those pictures can easily be cleaned up, try some of the techniques I mentioned and just go over them without using filler. You'll be surprised how well they'll clean up.
P.S. What torch are you using? I can run 175amps on mine without gloves and it's just fine, make sure it's rated for that amperage.
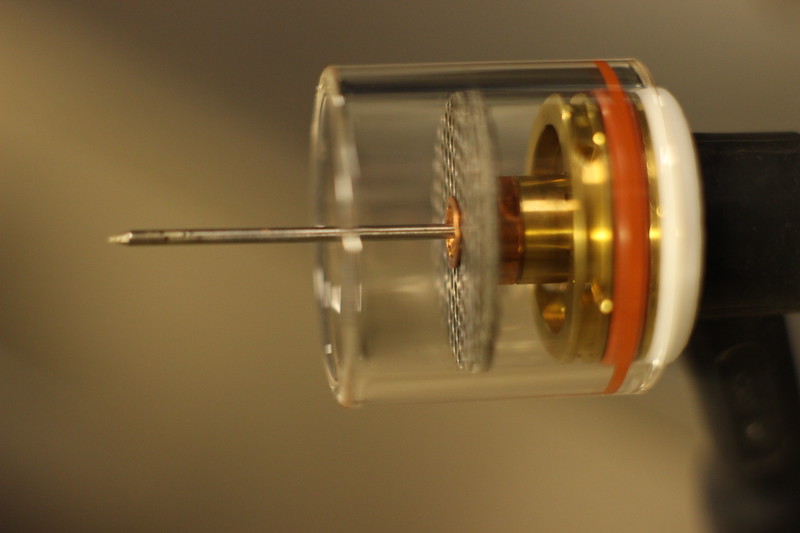
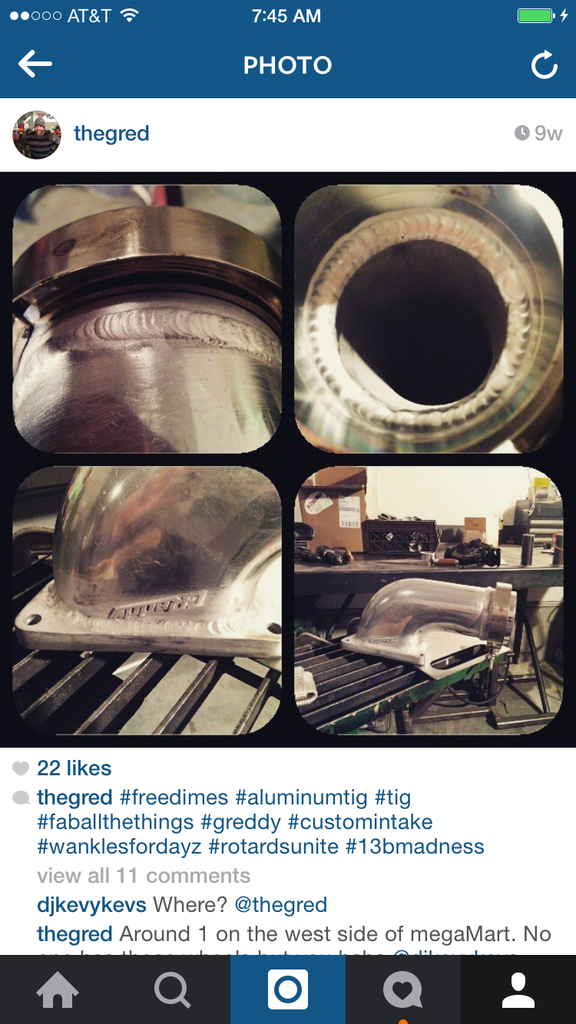
Here is a quick example of me using some of the stuff I talked about. This is a intake pipe for a 13B rotary. I had to cut the flange and take about 5* out of the angle. I also cut of the end where a silicone sleeve would slide over and welded on a v-band assembly. All I have is a Lincoln squarewave 175, the main flange was probably 1/2' thick. I just preheated and had no issues.
 Last edited by IronFreak; 03-27-2015, 05:25 AM.
Leave a comment:


Leave a comment: