
It finally happened, after years of never getting a parking ding, i finally hit something yesterday with my pristine 318ic :-(
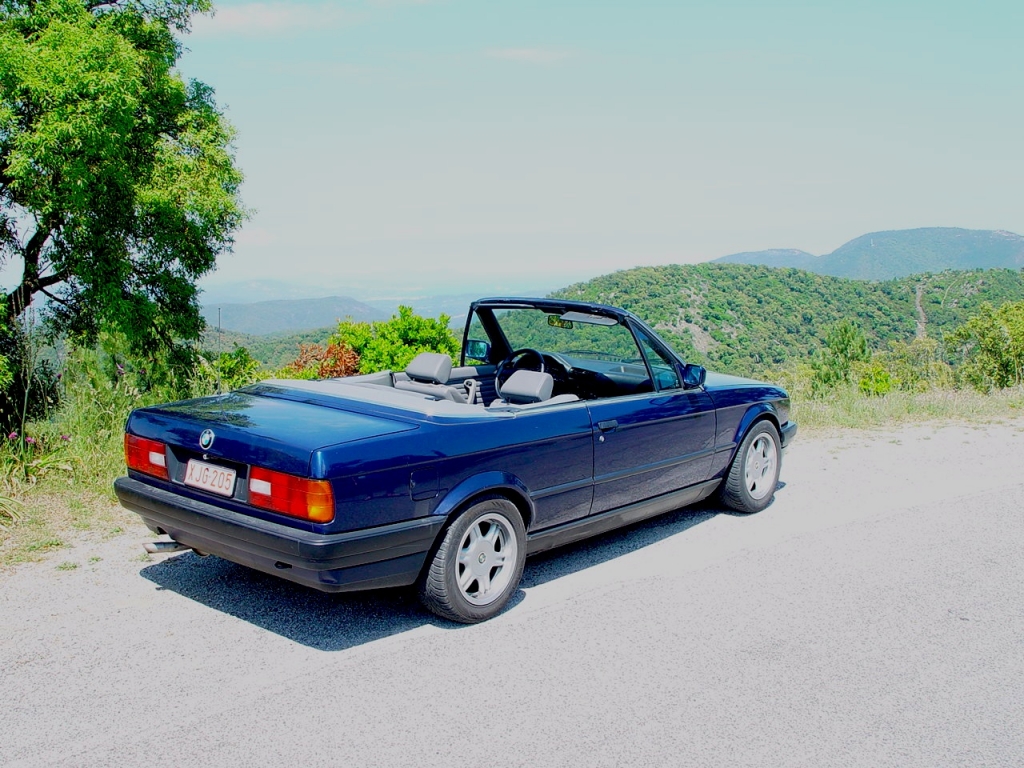
This is basically what I hit:

My street (at my new place, not the place pictured) is lined with these to prevent cars from parking on the actual side walk. Since I had my top up (ie: foggy rear window) instead of my hard top I couldn't see well and bang.

- About 2" across and 3/4" deep..
Well, I was not in the mood to take this bullshit, so i fixed it.
About $100 of materials later:

(Mautritiusblau paint, primer, black paint, bondo, various grit sand paper (230->600) and two body shop hammers)
Removed bumper and tail light and started to straighten out the ding. trick is to not use big hammers or anything without a rounded edge/damper or else you will make a crease in your working area)

I applied two coats of bondo to get the desired smoothness.
-Tip 1: Don't make alot of bondo at once, it dries quickly
-Tip 2: Worry first about shape then worry about smoothness ( a wooden block can help you acheive this while sanding)
I sanded with 230 grit and then 300 grit making sure to to scuff up too much surrounding paint.
Next i took all the taping off, cleaned the area with [edit] acetone [/edit] (nail polish remover...) and retaped a slighly larger area for the primer. This whole area was smoothed out using 400 grit sand paper.

-Tip 1: Small even coats prevents orange peel
-Tip 2: A light scuffing between coats is a good idea, but make sure the primer is dry!!
Clean off area using damp cloth and spray paint coat. remember, paint hides nothing, so if it doesn't look mint right now, it never will.

-Tip: again light even coats does the job.
Also took this oppertunity to paint my flat black euro LM bumper (mid process)

Finally, take the tape off and notice how crappy it looks (not pictured). There is litterally a ridge between the newly painted area and the old painted area.
To fix this you must sand this "ridge" with 400 grit sand paper. I used my finger wrapped in sand paper to really get on it. Your final result must feel smooth with your nail (scraping from new to old paint.)
Once you've acheived this, wetsand the whole deal with 600 grit (again you are doing the main working area + 1 Inch around taped off from the rest of the car.
The Idea is to cover up any remaining marks with paint while not overspraying on the old paint and thus getting another "ridge". I used a fading style to grade from on paint to another. Luckily my paint matched up color really well, but texture was off. (www.paintscratch.com carries BMW paint for the N/A market)

Reassembly before polish
Polish: Use a good product and make sure everything is dry!!! Don't need to use a powerdisk unless you are in a very visible area!

Finished Product 1
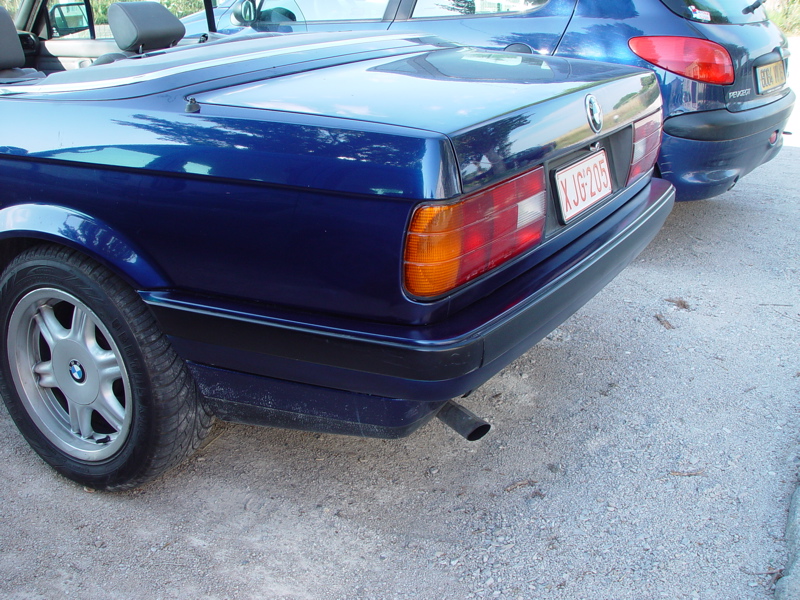
Finished Product 2
Last notes:
1. Always overdo each step, don't expect the next step to make it look that much better. Get it as good as you possibly can at each level.
2. I was working around gravel... be careful for dust, i got lucky
3. Make sure you have everything before hand...
4. Paint rarely matches up but you can usually make do if you cut it off/wetsand/blend it nicely.
5. Beer helps too.
Cheers!
Julien

This is basically what I hit:
My street (at my new place, not the place pictured) is lined with these to prevent cars from parking on the actual side walk. Since I had my top up (ie: foggy rear window) instead of my hard top I couldn't see well and bang.
- About 2" across and 3/4" deep..
Well, I was not in the mood to take this bullshit, so i fixed it.
About $100 of materials later:
(Mautritiusblau paint, primer, black paint, bondo, various grit sand paper (230->600) and two body shop hammers)
Removed bumper and tail light and started to straighten out the ding. trick is to not use big hammers or anything without a rounded edge/damper or else you will make a crease in your working area)
I applied two coats of bondo to get the desired smoothness.
-Tip 1: Don't make alot of bondo at once, it dries quickly
-Tip 2: Worry first about shape then worry about smoothness ( a wooden block can help you acheive this while sanding)
I sanded with 230 grit and then 300 grit making sure to to scuff up too much surrounding paint.
Next i took all the taping off, cleaned the area with [edit] acetone [/edit] (nail polish remover...) and retaped a slighly larger area for the primer. This whole area was smoothed out using 400 grit sand paper.
-Tip 1: Small even coats prevents orange peel
-Tip 2: A light scuffing between coats is a good idea, but make sure the primer is dry!!
Clean off area using damp cloth and spray paint coat. remember, paint hides nothing, so if it doesn't look mint right now, it never will.
-Tip: again light even coats does the job.
Also took this oppertunity to paint my flat black euro LM bumper (mid process)
Finally, take the tape off and notice how crappy it looks (not pictured). There is litterally a ridge between the newly painted area and the old painted area.
To fix this you must sand this "ridge" with 400 grit sand paper. I used my finger wrapped in sand paper to really get on it. Your final result must feel smooth with your nail (scraping from new to old paint.)
Once you've acheived this, wetsand the whole deal with 600 grit (again you are doing the main working area + 1 Inch around taped off from the rest of the car.
The Idea is to cover up any remaining marks with paint while not overspraying on the old paint and thus getting another "ridge". I used a fading style to grade from on paint to another. Luckily my paint matched up color really well, but texture was off. (www.paintscratch.com carries BMW paint for the N/A market)
Reassembly before polish
Polish: Use a good product and make sure everything is dry!!! Don't need to use a powerdisk unless you are in a very visible area!
Finished Product 1
Finished Product 2
Last notes:
1. Always overdo each step, don't expect the next step to make it look that much better. Get it as good as you possibly can at each level.
2. I was working around gravel... be careful for dust, i got lucky
3. Make sure you have everything before hand...
4. Paint rarely matches up but you can usually make do if you cut it off/wetsand/blend it nicely.
5. Beer helps too.
Cheers!
Julien


Comment