
Subbed. You, sir, are a gentleman and a scholar.
-
88 325is - S52 powered
Originally posted by King Arthur -
I like your project. I am also going to build e30 car with a m30 engine an M88 itbs .Projects Hartge,Alpina & AC Schnitzer Builds.http://www.r3vlimited.com/board/showthread.php?t=280601
http://www.r3vlimited.com/board/showthread.php?t=227993
http://www.r3vlimited.com/board/showthread.php?t=289362
 DSC04926 by Raul Salinas, on Flickr
 DSC03413 by Raul Salinas, on Flickr
Comment
-
No , haven't test fitted them, but I know they work, as one of the zone guys has the same ITB's on his M30 Turbo car.
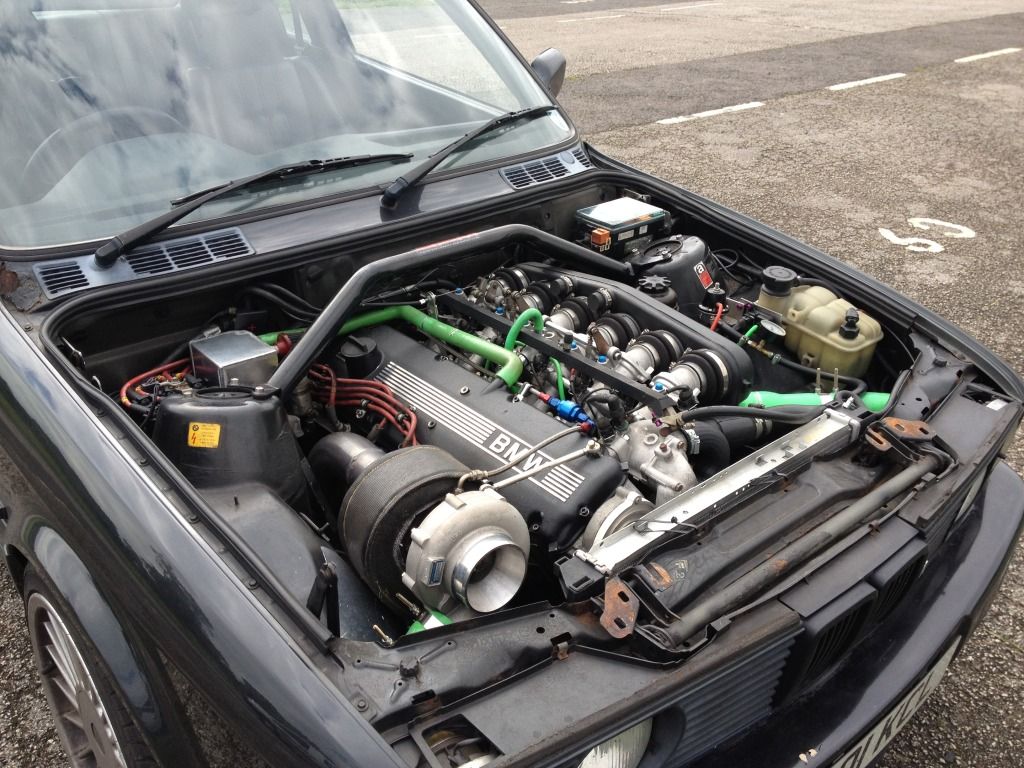
Anyway, can't try them, as i've sent the head away for the valves and valve seats to have 3 angles put on to them, couldn't resist it as I had a very good price quoted to have it done.
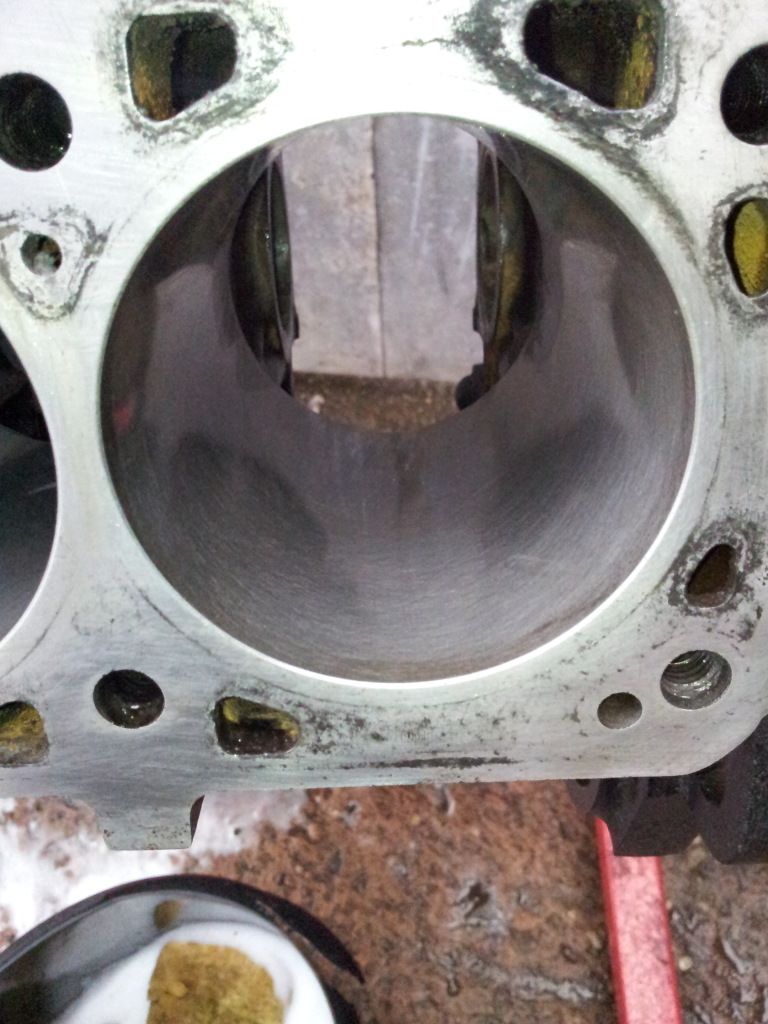
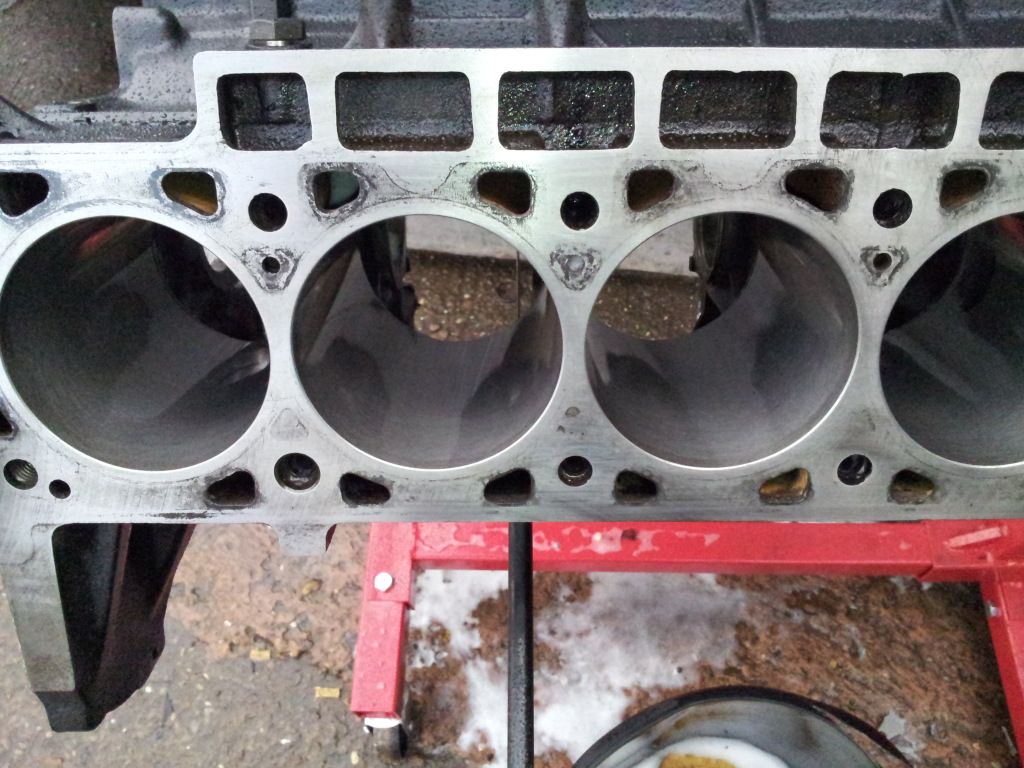
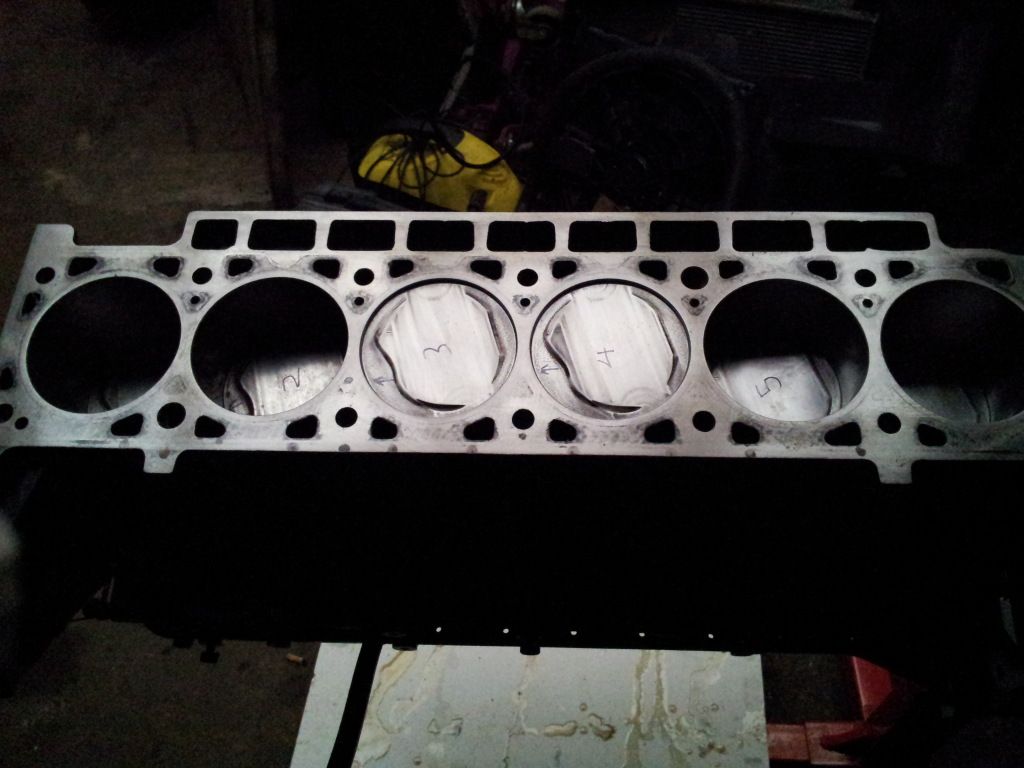
Had the block honed today too, needed doing as there was slight scoring on a few of the bores.
 Last edited by rav320uk; 09-28-2012, 11:49 AM.Your signature picture has been removed since it contained the Photobucket "upgrade your account" image.
If you have bought items from me, please leave feedback below.
If you are a BUYER, Check My Feedback.:up:
http://www.r3vlimited.com/board/showthread.php?t=183860
Check out my Euro Build Thread
http://www.r3vlimited.com/board/showthread.php?t=215557Comment
-
Well, only a small update.
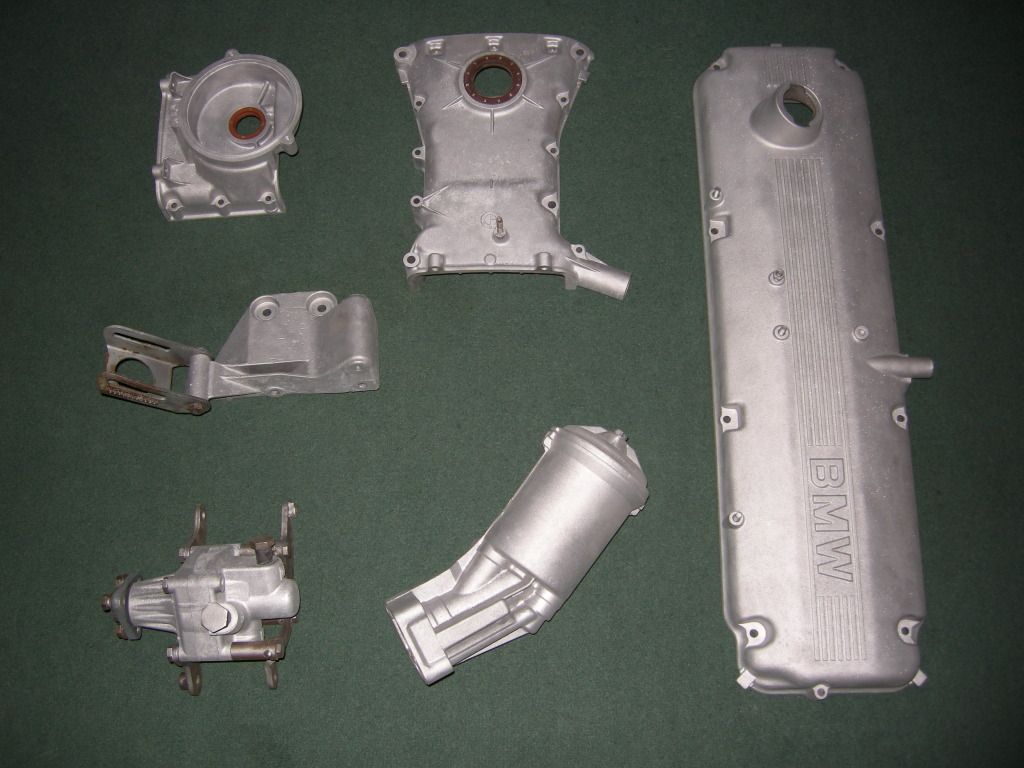
Had a load of parts Soda and media blasted to get rid of all the oil and wax on the parts.
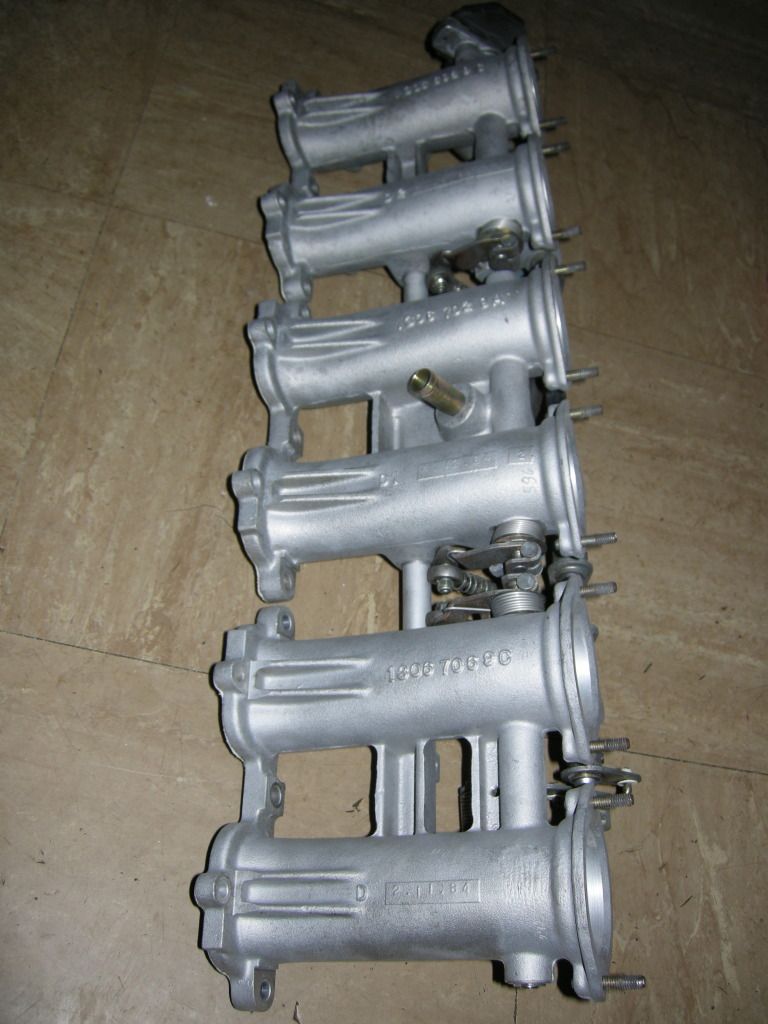
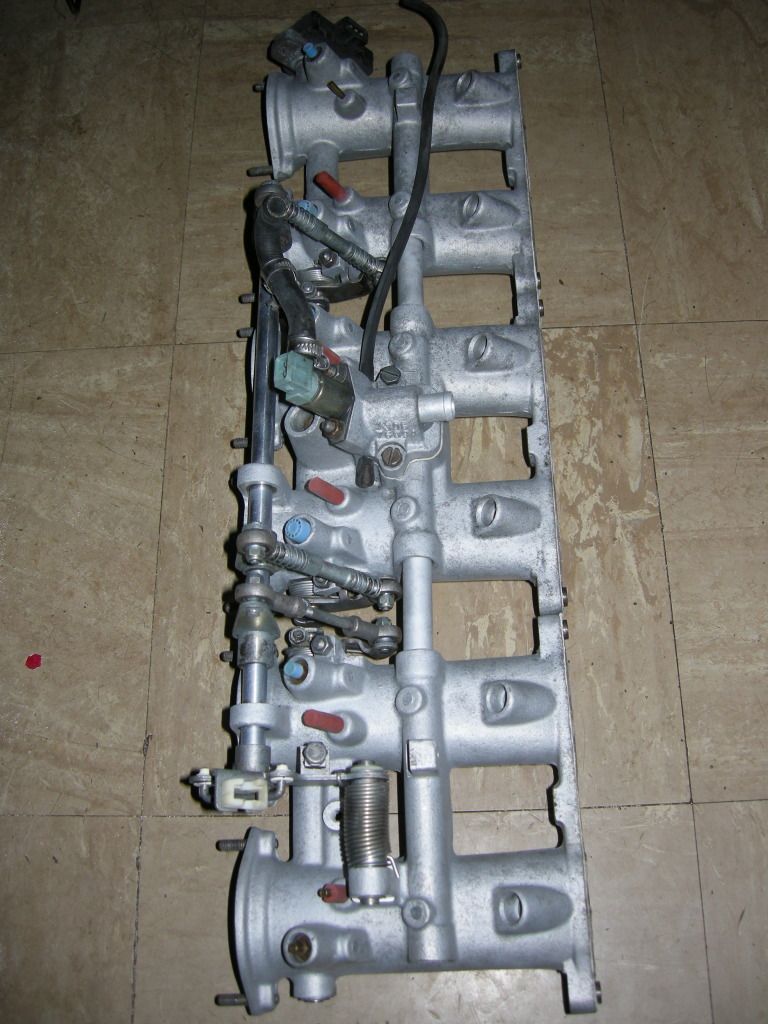
The ITB's were like this
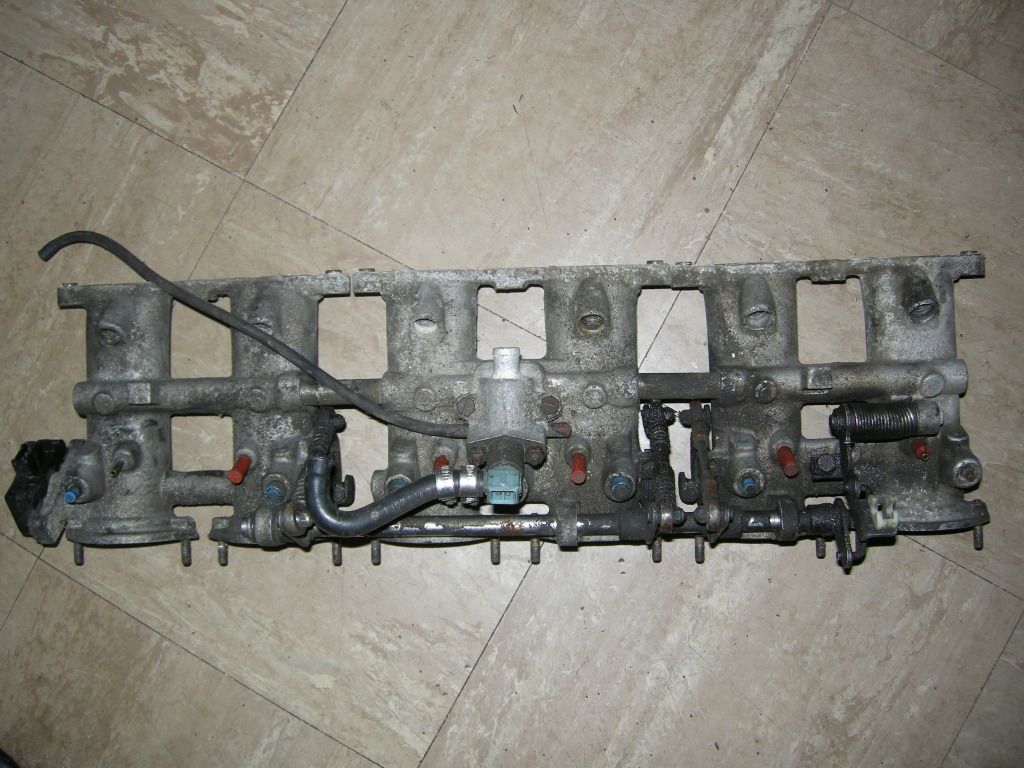
To this
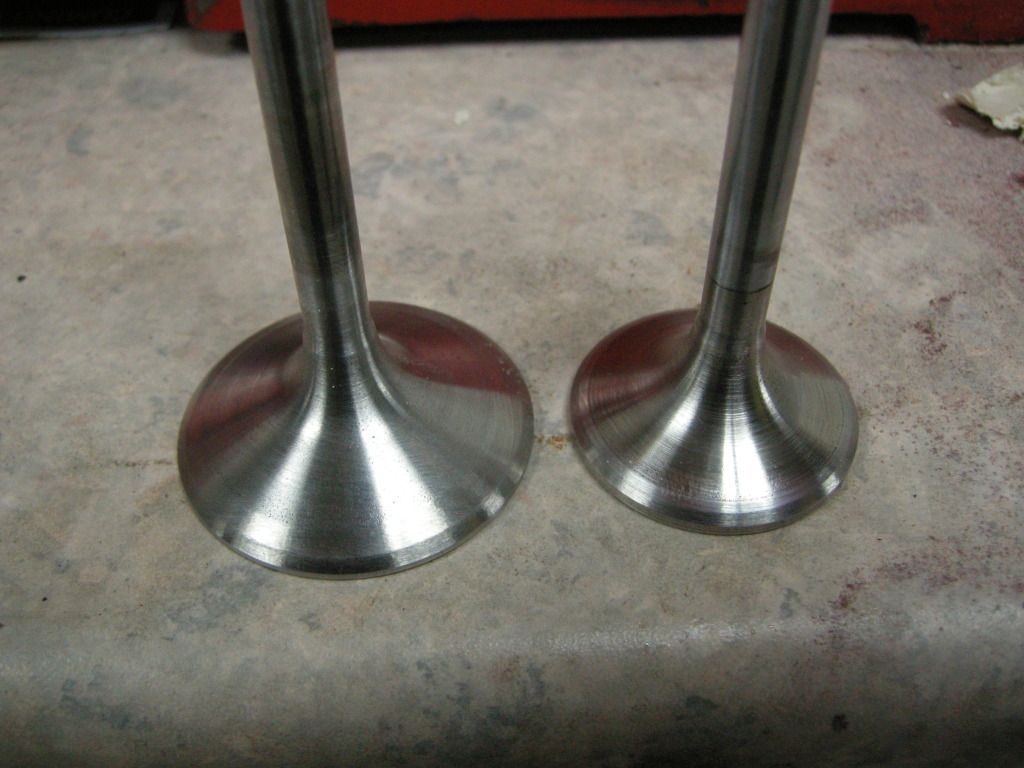
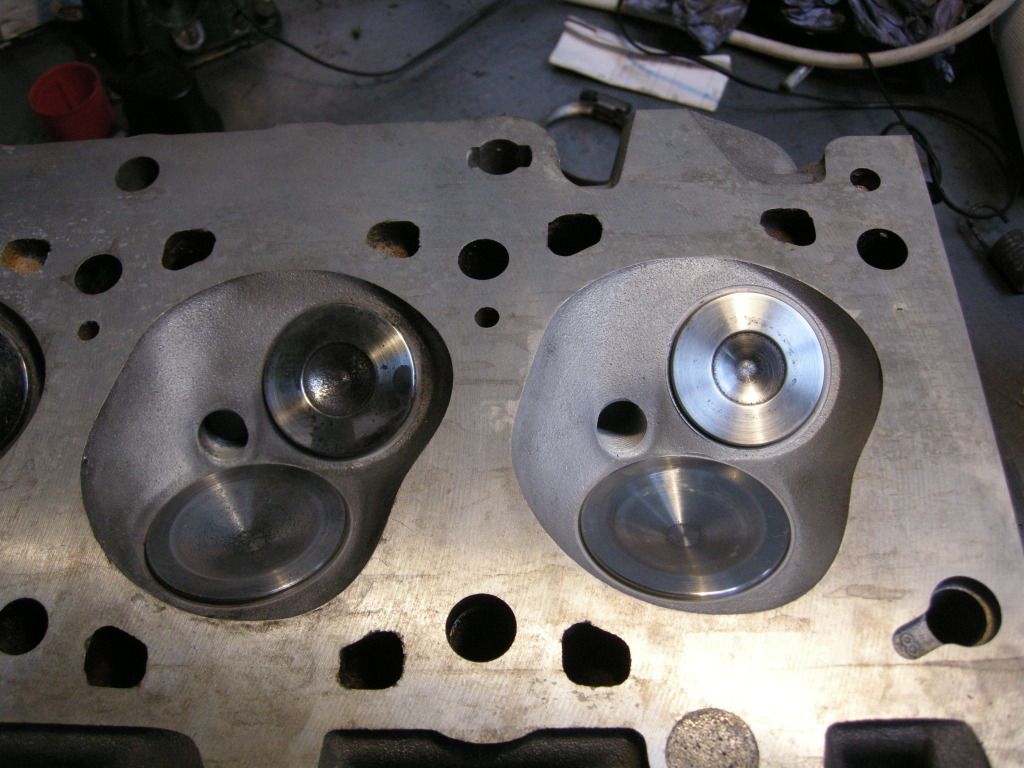
Also, had some head work done in the last few weeks too, thought it would be nice to treat it to a better flow
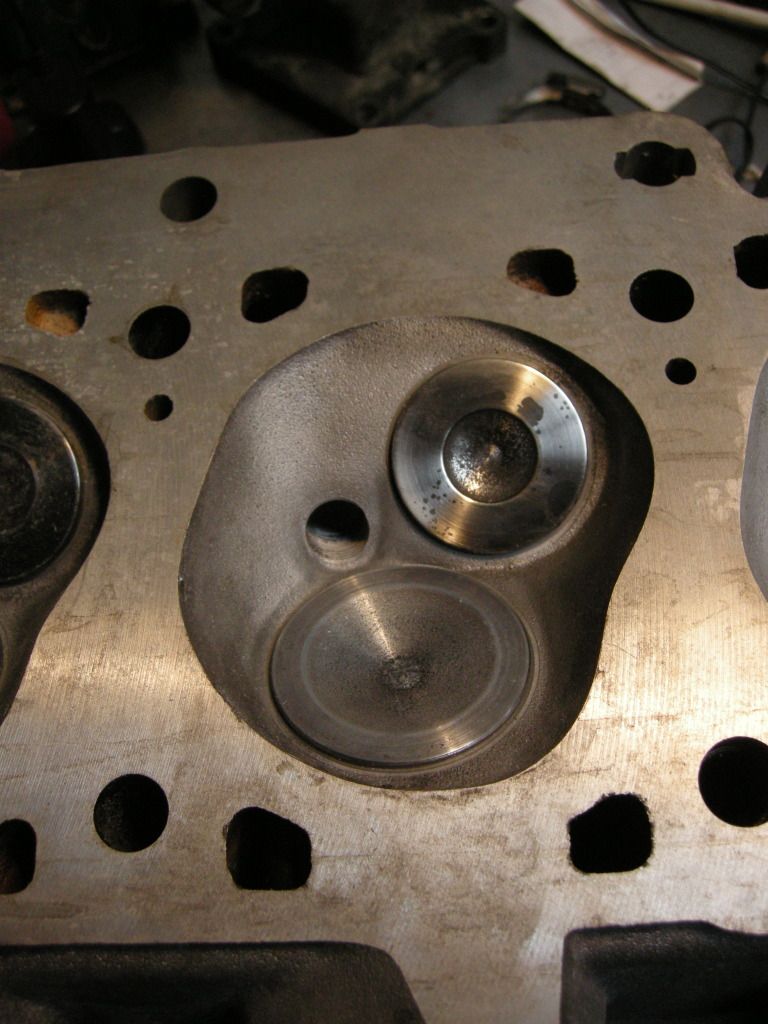
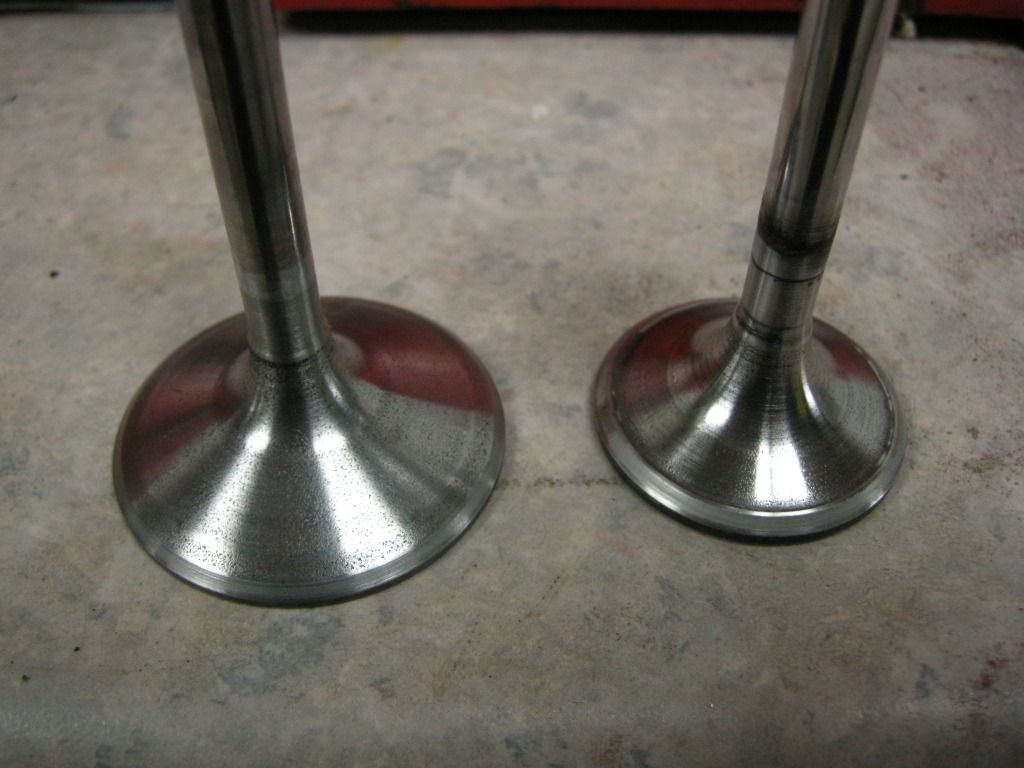
Had the seats and vlaves cut to 3 angled finishes.
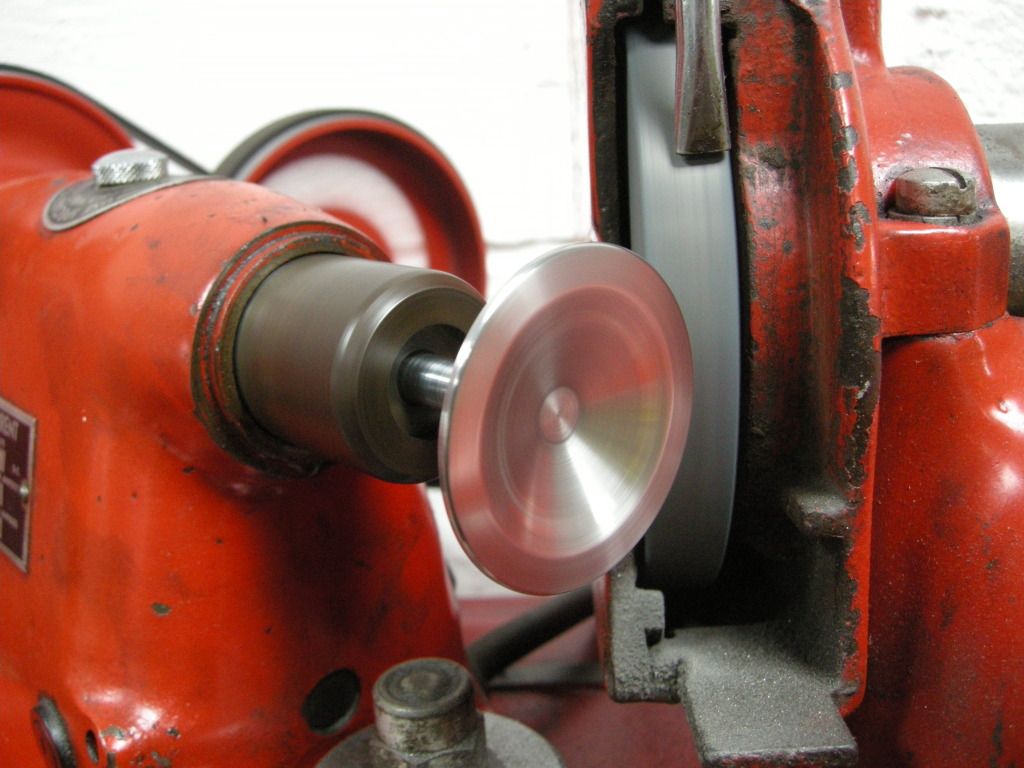
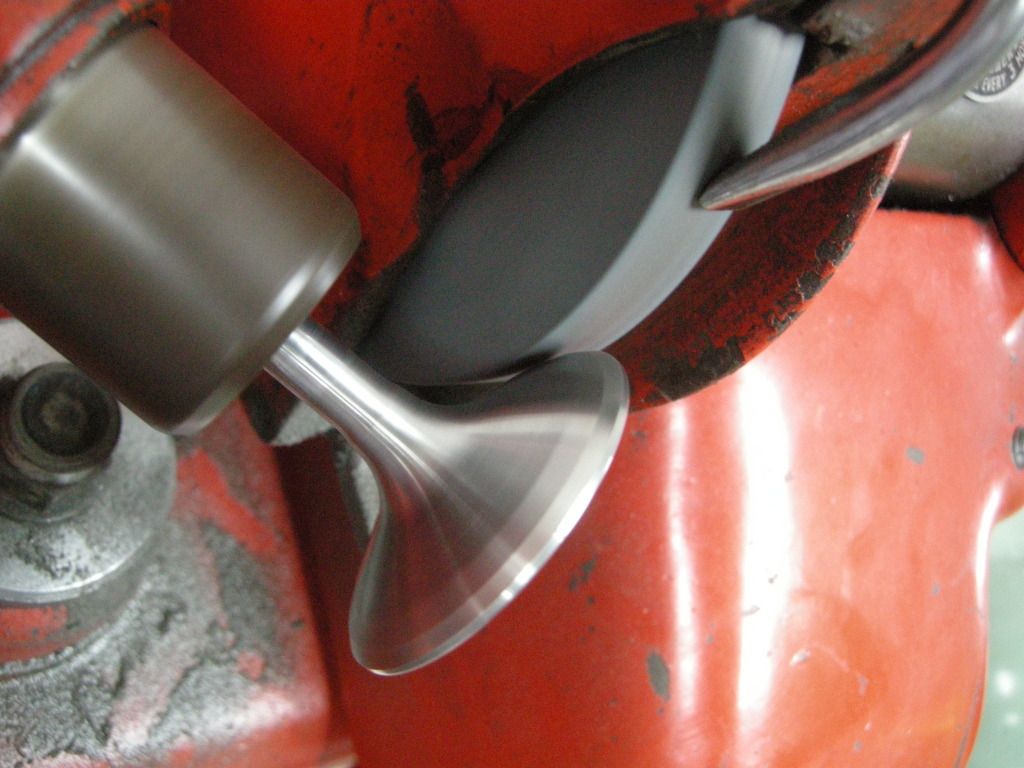
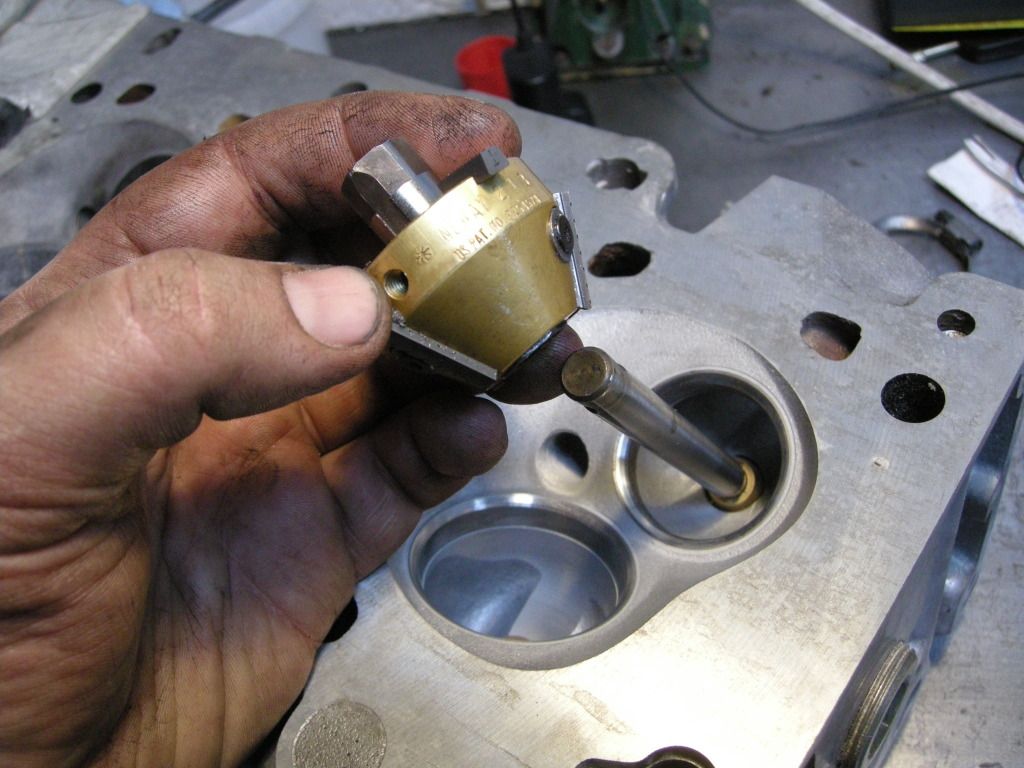
Next new seats, cutter pilot installed.
The first cut at 60* is the bottom cut.
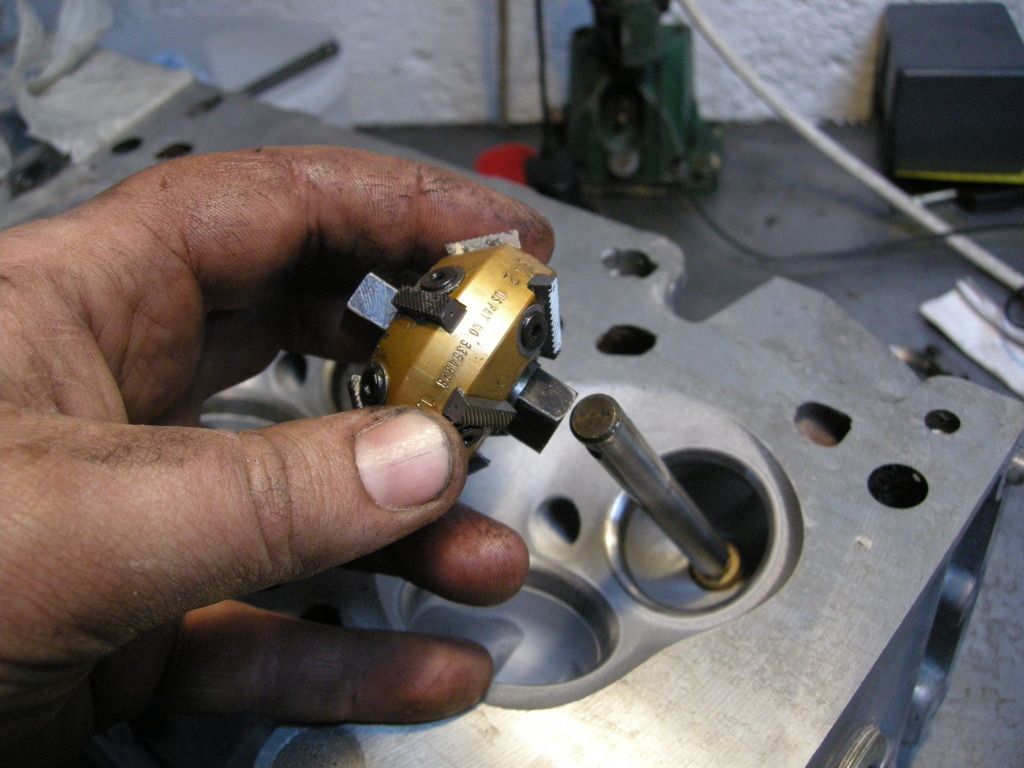
Followed by a 30* top cut, then the seat cut, both are on a double sided cutter. The seat cut is at 46* the two faces will bed in together within the first moments of the engine being started.
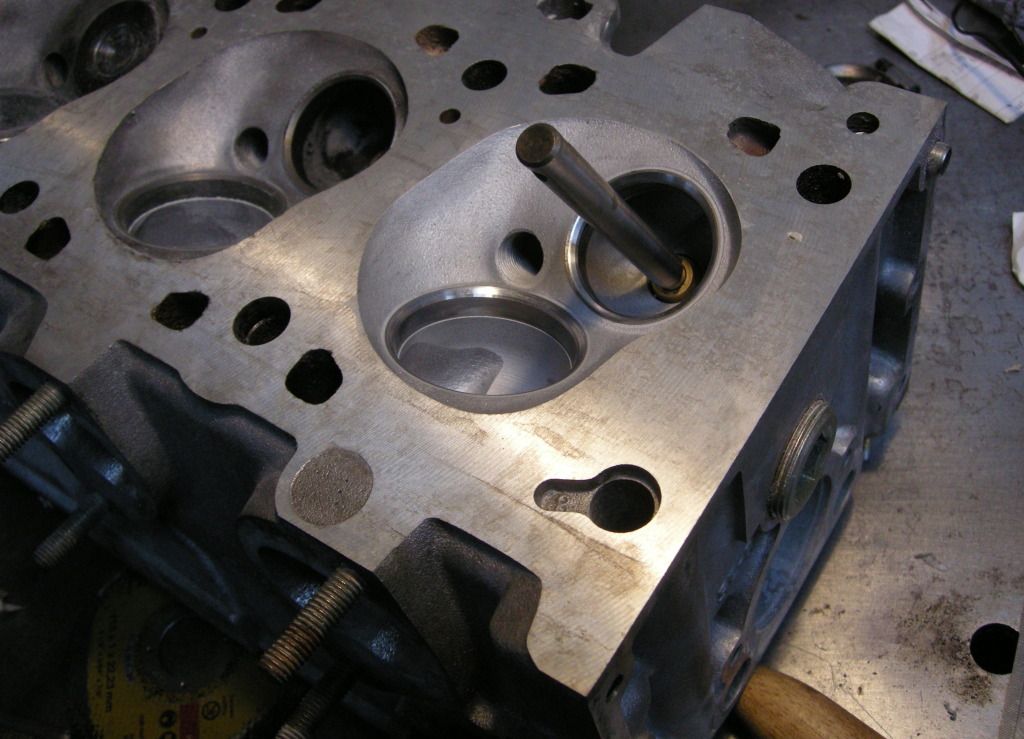
This is what you end up with after it has been soda blasted, and all the cuts finished.
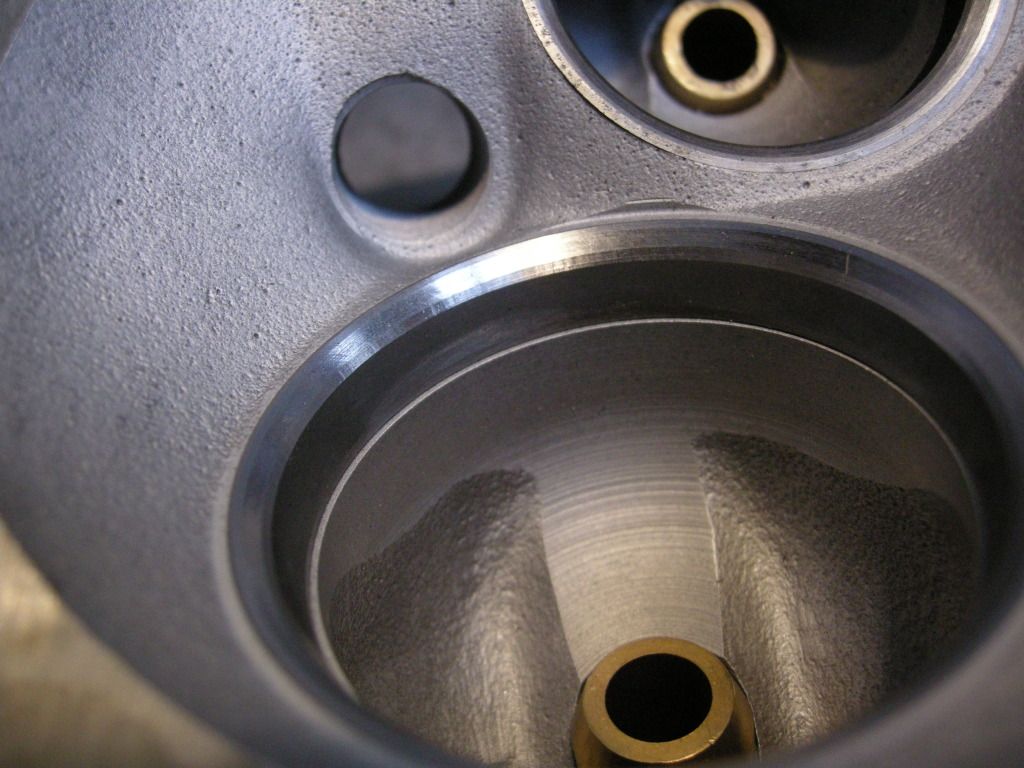
A before and after, not alot of difference really as the head had already been scrubbed, but the soda gives it a nice uniform look and doesn't damage the surface of the alloy.
 Your signature picture has been removed since it contained the Photobucket "upgrade your account" image.
If you have bought items from me, please leave feedback below.
If you are a BUYER, Check My Feedback.:up:
http://www.r3vlimited.com/board/showthread.php?t=183860
Check out my Euro Build Thread
http://www.r3vlimited.com/board/showthread.php?t=215557Comment
-
I like where this project is going.Comment
-
Looks good, Neway cutters rock!! I have a setup for 5 angle cuts :)Comment
-
I thought that may have been an overkill on mine, plus it was way more than I thought too, so opted for the 3.:p
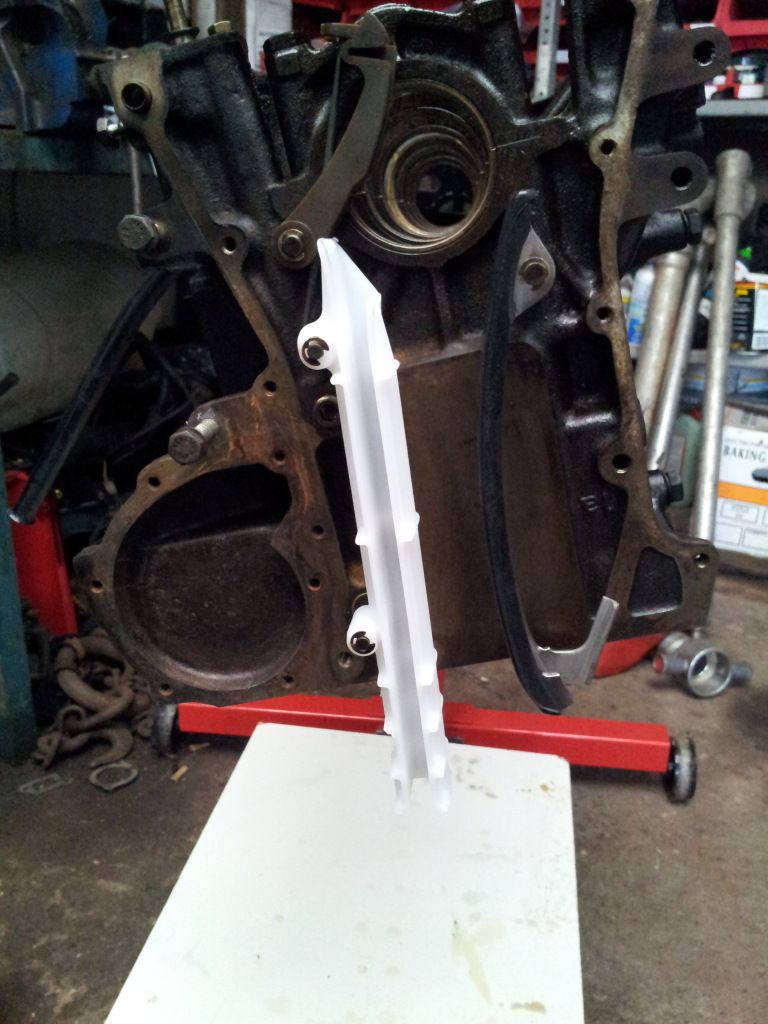
Only a small update to keep you happy. :D
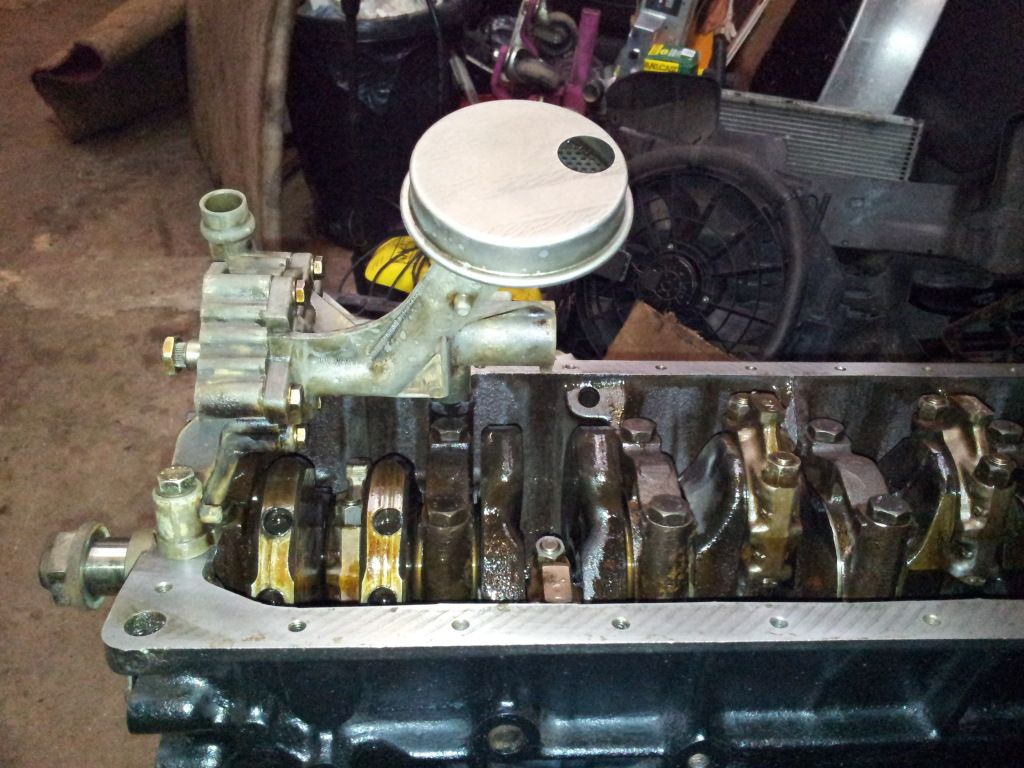
Firstly, all new chain guides fitted yesterday,
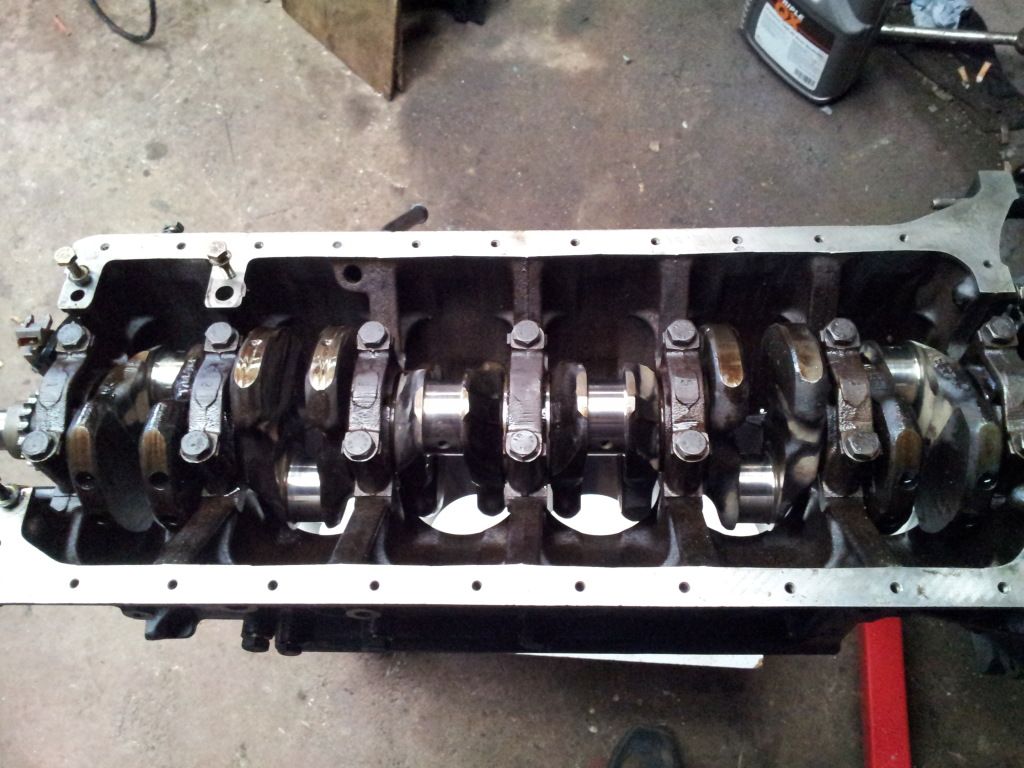
New thrust bearing and shells fitted, dropped the crank in and tightened up the bolts.
For some reason, there was quite alot of end float which was a bit baffling, as everything was measured by using a micrometer :? .
So off came the crank again, the old thrust bearing installed, and then everything reinstalled again, this was to check the origional end float on the crank, cam to 0.005th :?
So, vice versa, new one installed, and for some reason, don't ask, there was reduced crank end float to about 0.002th, so checked and rechecked, phoned a few guys on the Zone to make sure and all is now ok. :D
 Your signature picture has been removed since it contained the Photobucket "upgrade your account" image.
If you have bought items from me, please leave feedback below.
If you are a BUYER, Check My Feedback.:up:
http://www.r3vlimited.com/board/showthread.php?t=183860
Check out my Euro Build Thread
http://www.r3vlimited.com/board/showthread.php?t=215557Comment
-
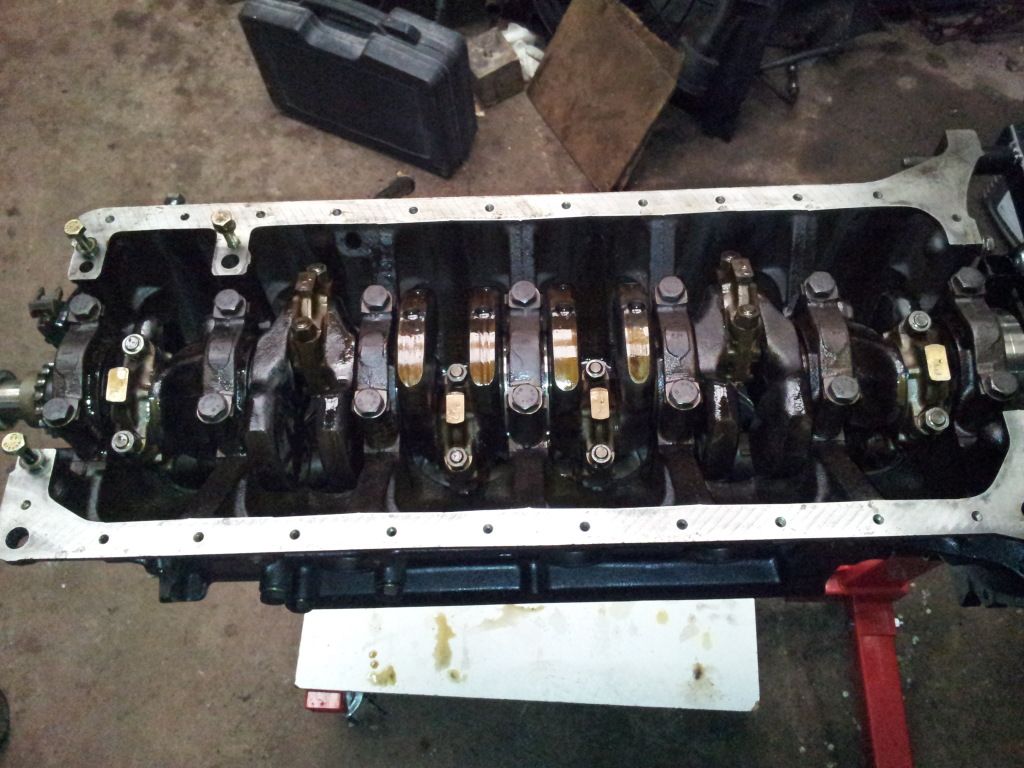
Had a little time to spare today, so got on with putting the pistons back in.
Oil'd up the bores, and put in all the pistons one by one.
The block was then turned over, new shells fitted and the rest fitted and torqued up as needed.
Decided to take the Oil pump apart and give it a clean before refitting. :D

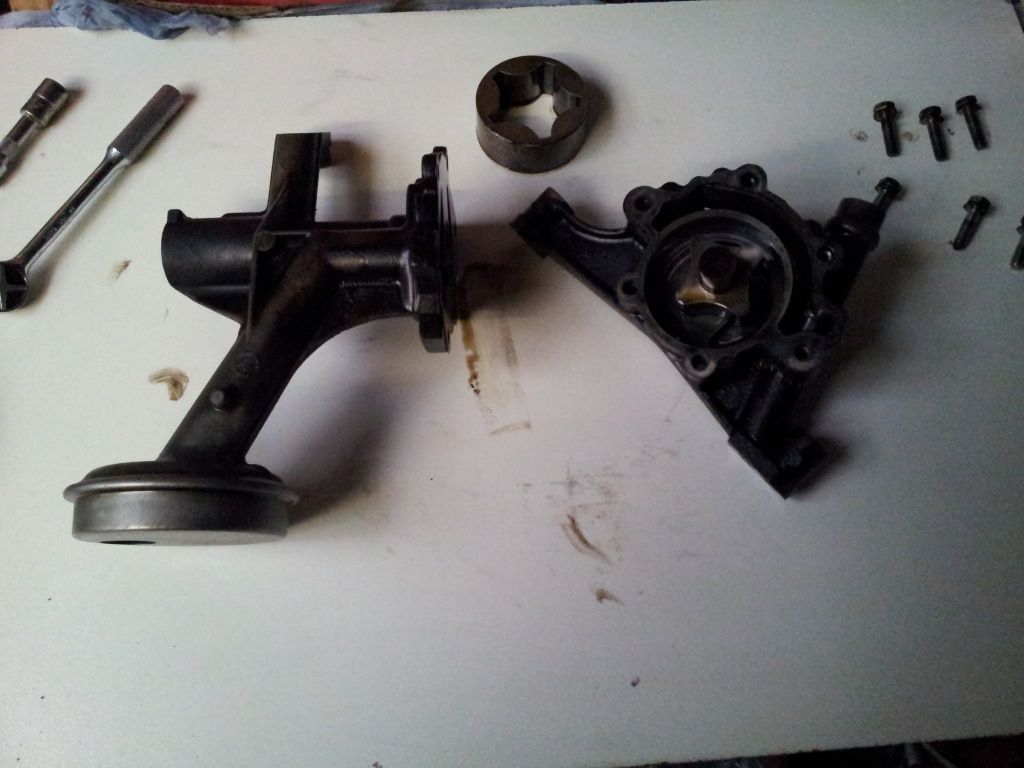
And fitted.
 Your signature picture has been removed since it contained the Photobucket "upgrade your account" image.
If you have bought items from me, please leave feedback below.
If you are a BUYER, Check My Feedback.:up:
http://www.r3vlimited.com/board/showthread.php?t=183860
Check out my Euro Build Thread
http://www.r3vlimited.com/board/showthread.php?t=215557Comment
-
Looking good!Comment
-
Thanks. :D
Decided now not to build the head up, I think it needs more work, so watch this space. Your signature picture has been removed since it contained the Photobucket "upgrade your account" image.
If you have bought items from me, please leave feedback below.
If you are a BUYER, Check My Feedback.:up:
http://www.r3vlimited.com/board/showthread.php?t=183860
Check out my Euro Build Thread
http://www.r3vlimited.com/board/showthread.php?t=215557Comment
-
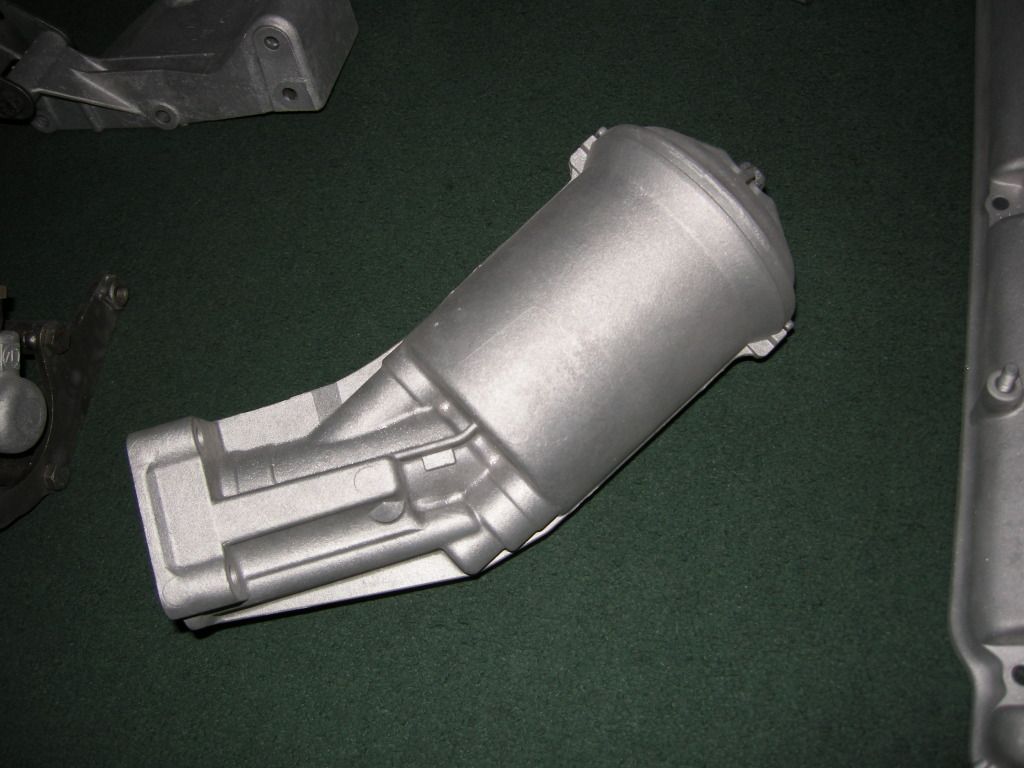
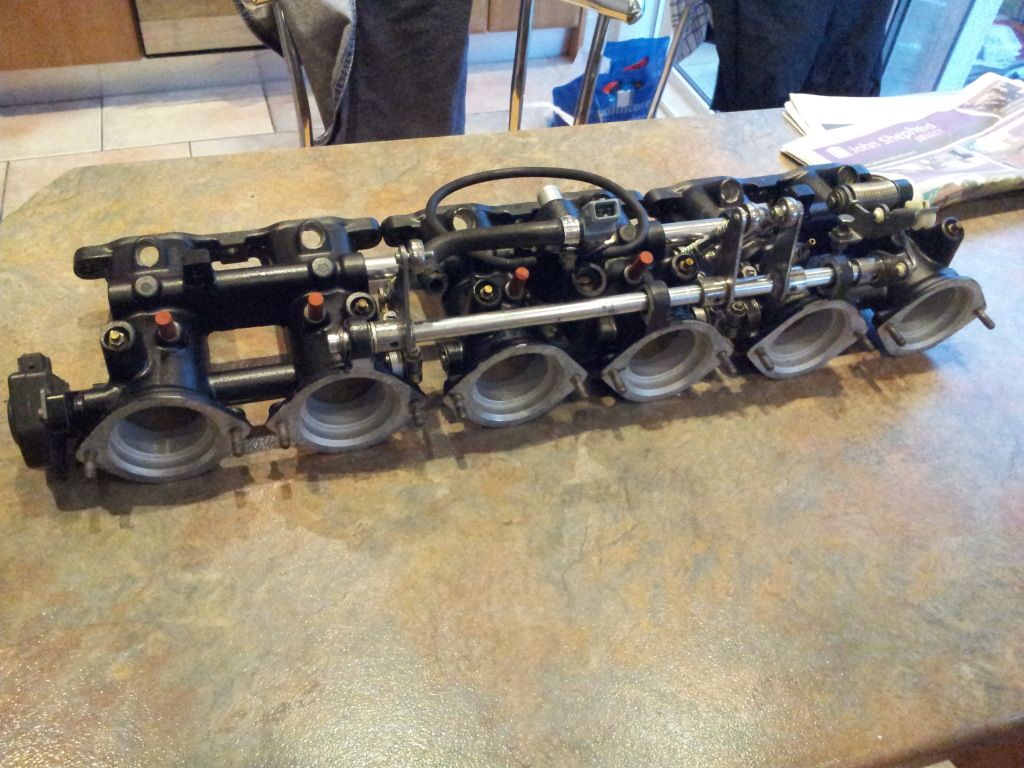
After pissing around today :crazy: and not doing much this morning, I finally decided to pull the ITB's apart and start to clean and paint them.
After a few hours :roll: of freeing up bolts, cleaning faces and general spraying, I ended up from this:-
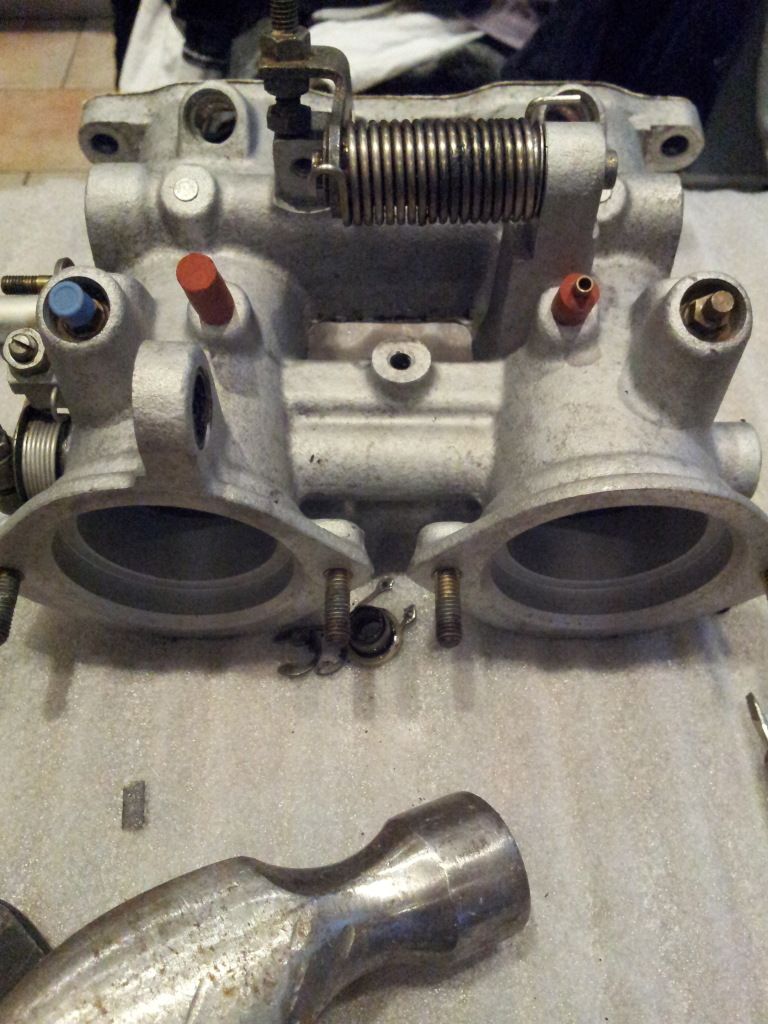
To this:- :D

The "Eagled" eyed of you will notice it's not the exact same part, but you get the idea
Only 2 more to go Your signature picture has been removed since it contained the Photobucket "upgrade your account" image.
If you have bought items from me, please leave feedback below.
If you are a BUYER, Check My Feedback.:up:
http://www.r3vlimited.com/board/showthread.php?t=183860
Check out my Euro Build Thread
http://www.r3vlimited.com/board/showthread.php?t=215557Comment
-
They look sexy
Comment
-
Thought i'd strip/paint and rebuild the ITB's ready for when they're needed.
 Your signature picture has been removed since it contained the Photobucket "upgrade your account" image.
If you have bought items from me, please leave feedback below.
If you are a BUYER, Check My Feedback.:up:
http://www.r3vlimited.com/board/showthread.php?t=183860
Check out my Euro Build Thread
http://www.r3vlimited.com/board/showthread.php?t=215557Comment
-
ME LIKEY!!!
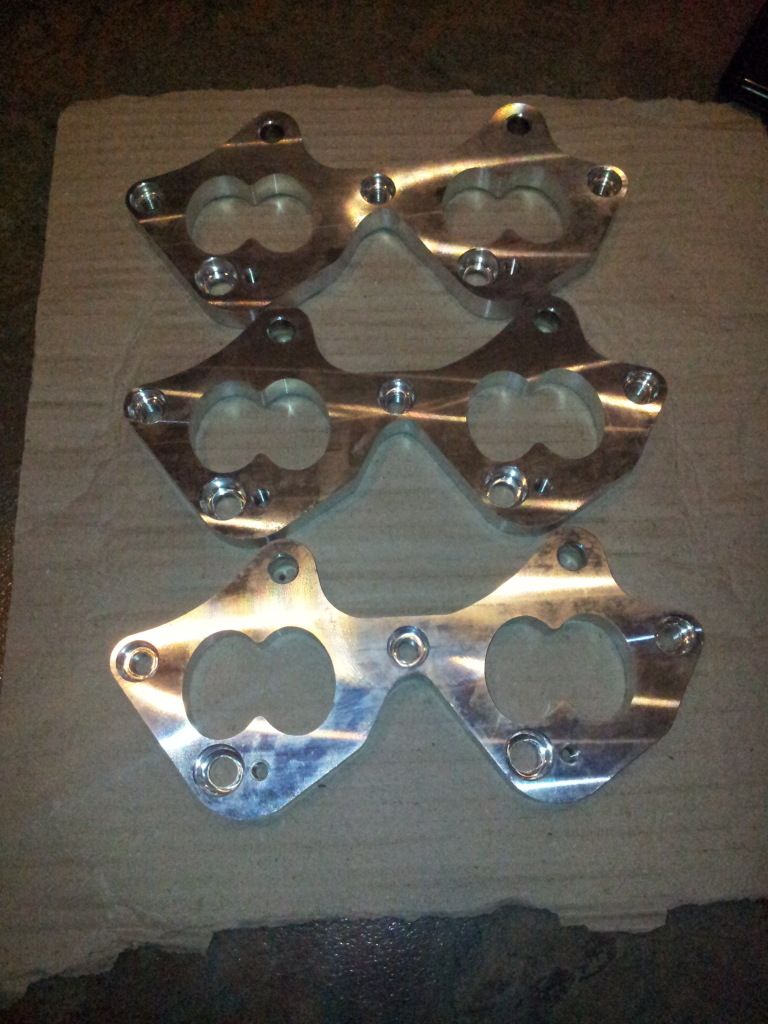
got a set of the itb adapters for mine!! Thanks for the info Rav and keep them updates coming!sigpic
1986 "C2 2.7 Alpina" Sedan
1987 325ic Black Vert
1986 327i Red Track Car RIP 10/10/10
1989 325is Henna S50 track car SOLD
Transaction feedback here please!!
http://www.r3vlimited.com/board/showthread.php?t=170548Comment

Comment