

-
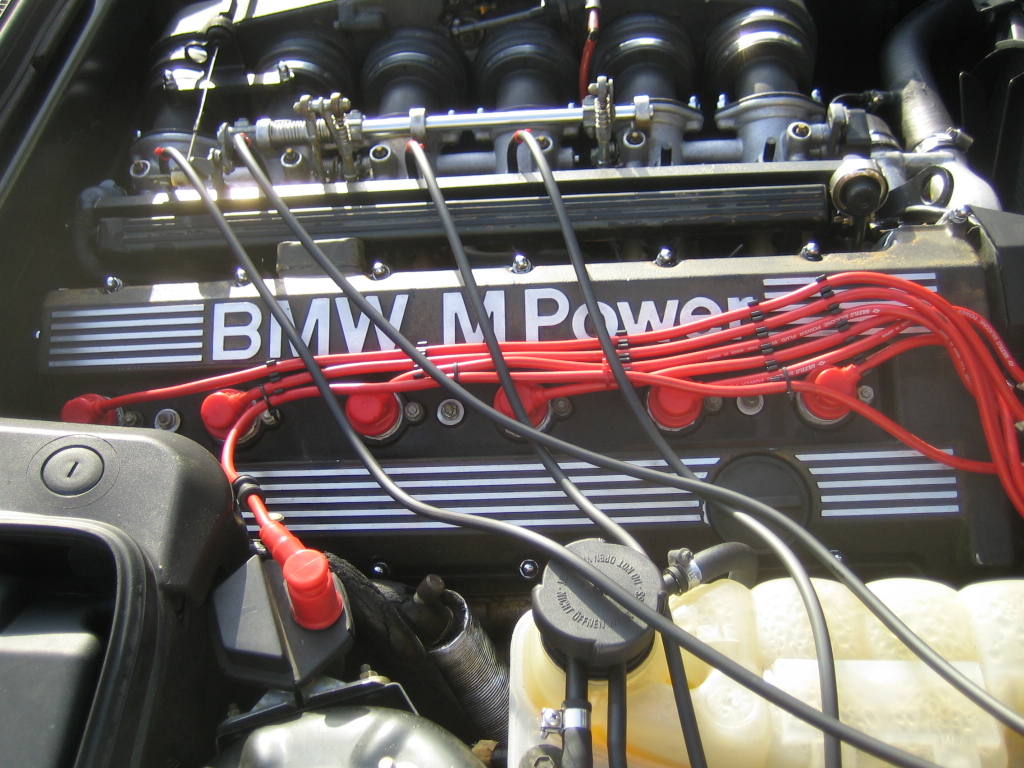
Decided to pull out the spark plugs and see what condition they were in before I go get the car emission tested.
I took my trusty 5/8" spark plug socket and proceeded to lower it down into the massive hole towards the plug when I felt some resistence. I quickly pulled back on my extention but the socket popped off and was stuck in the hole
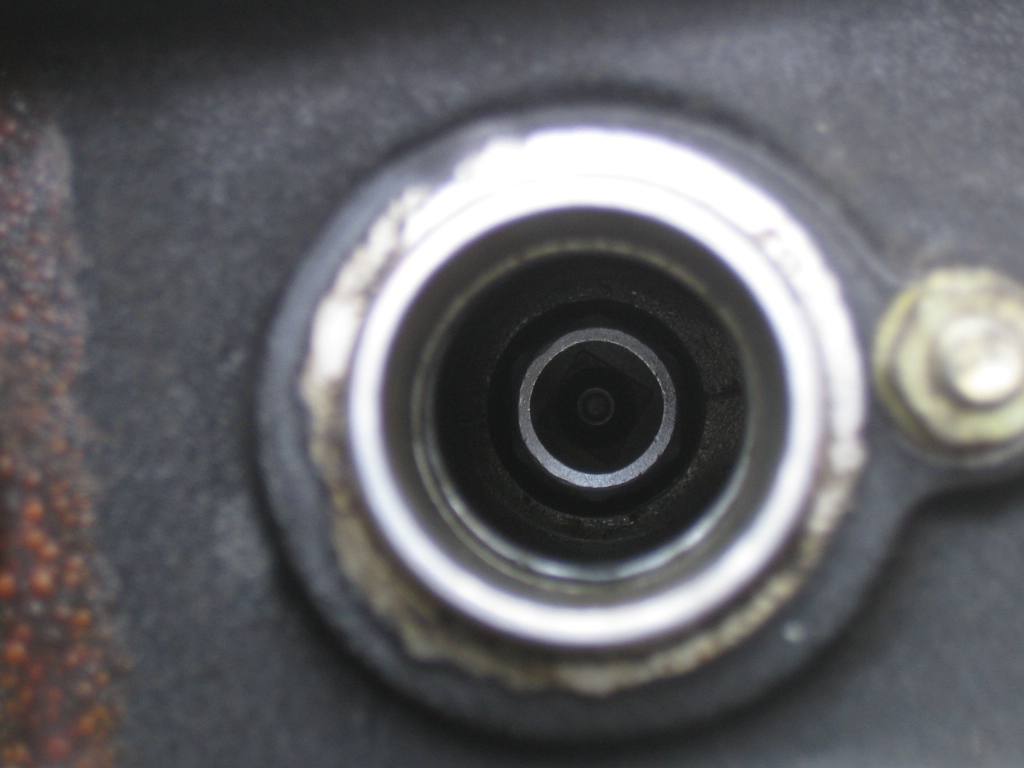
I tried to retrieve it with my extension but it was stuck enough to prevent it from being pulled out. I eventually got the socket out by twisting on the extension and pulling at the same time.
Since my socket doesn't work I called up my friend with an M3 and asked him if I could borrow his socket since the engine should use the same tool. He hands me a 11/16" Snap-On socket which he said would work and I was going to try it out once I pick up the new Bosch plugs I ordered.
So today I go see my cousin, picked up the plugs and I told him my story. He goes back to his shop and shows me the socket I should use, it's a 5/8" Snap-On socket and it fits over the plugs perfectly and I clue in now that the 11/16" one won't work since it is too big.
I head home, put the 'new' 5/8" socket on and sure enough it clears the walls and allows me to extract the spark plug.
So just how much of a difference are we talking about here? Here is my socket at 24.65mm
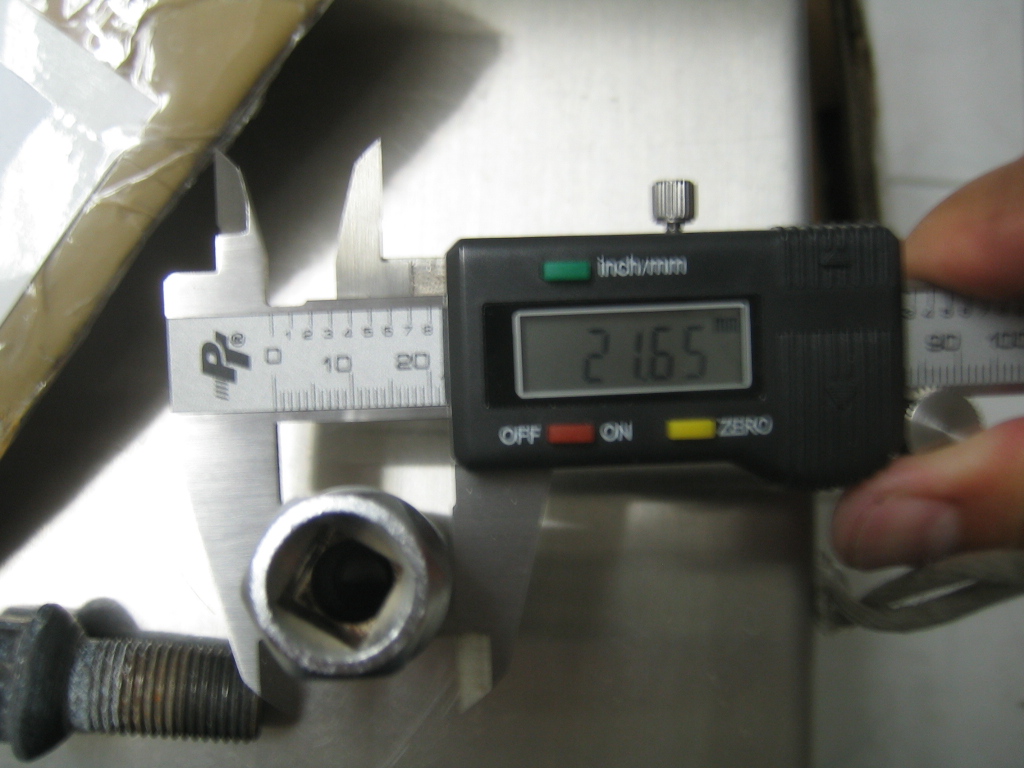
Here is the 5/8" Snap-On socket at 21.24mm
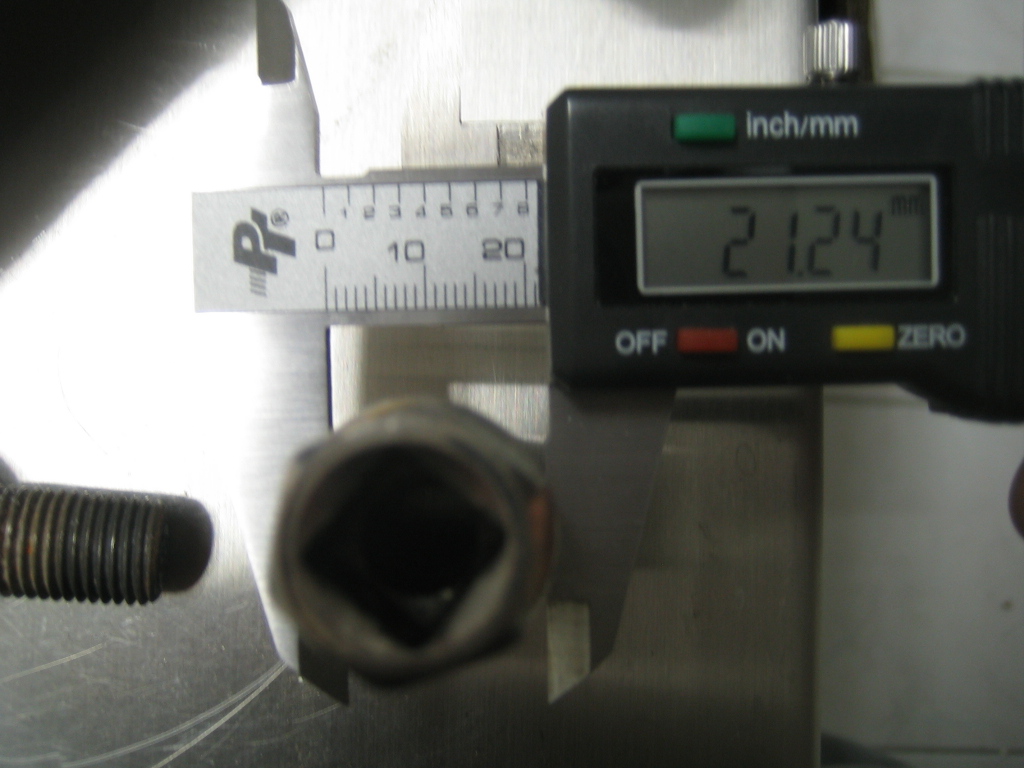
There is a difference of 0.41mm which is enough to prevent my socket from fitting in the hole.
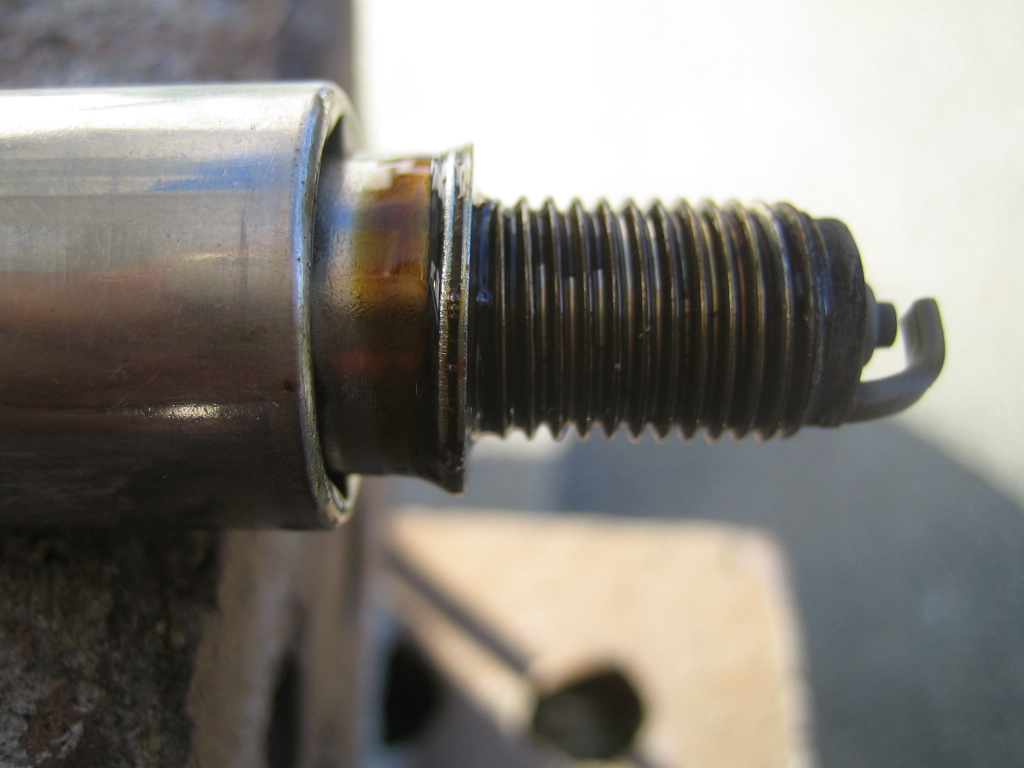
So here is plug #6 and as you can see there is a nice drip or brown oil on it. Spark plug tip looks good though
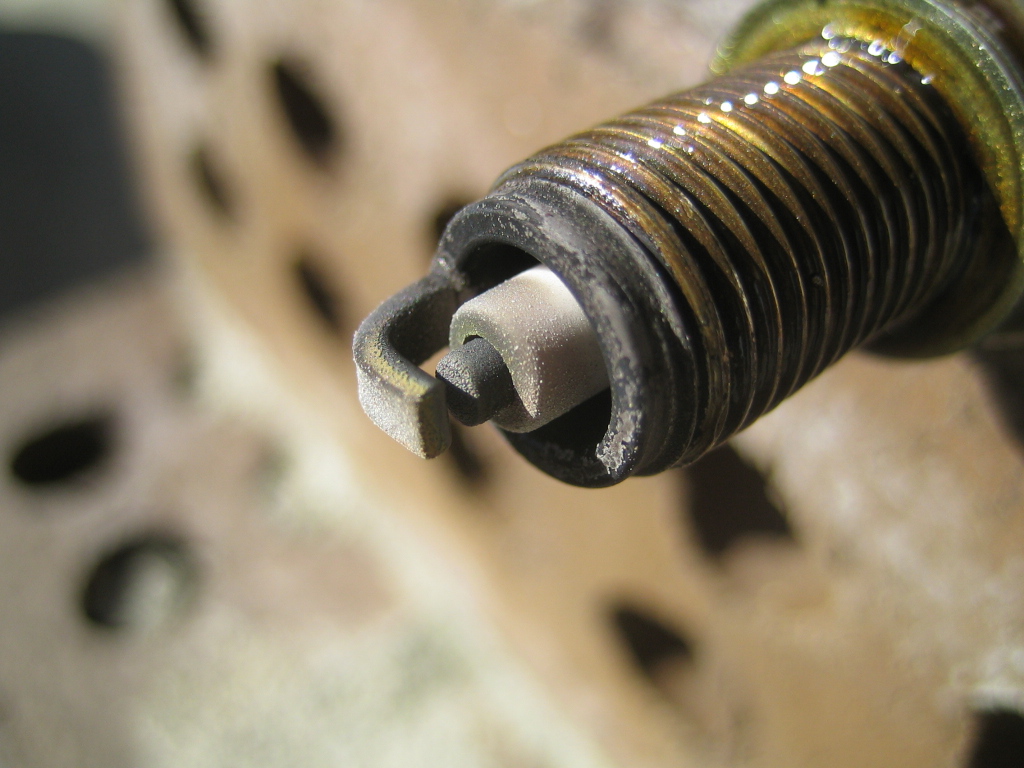
Plugs 1,2,3
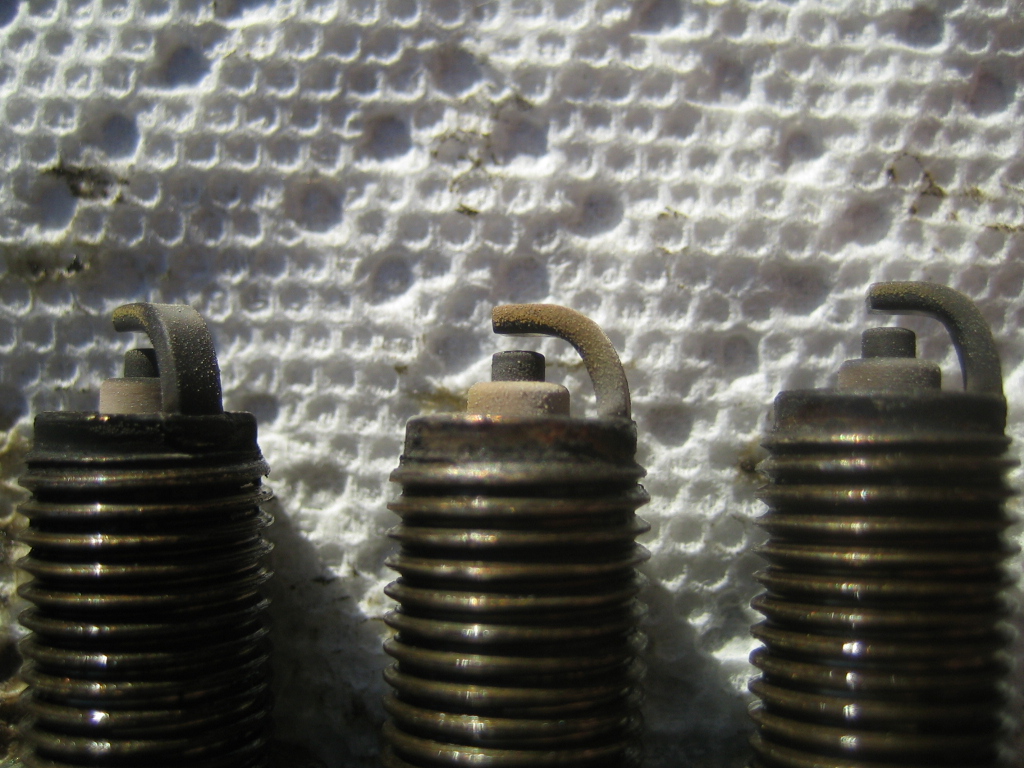
Plugs 4,5,6
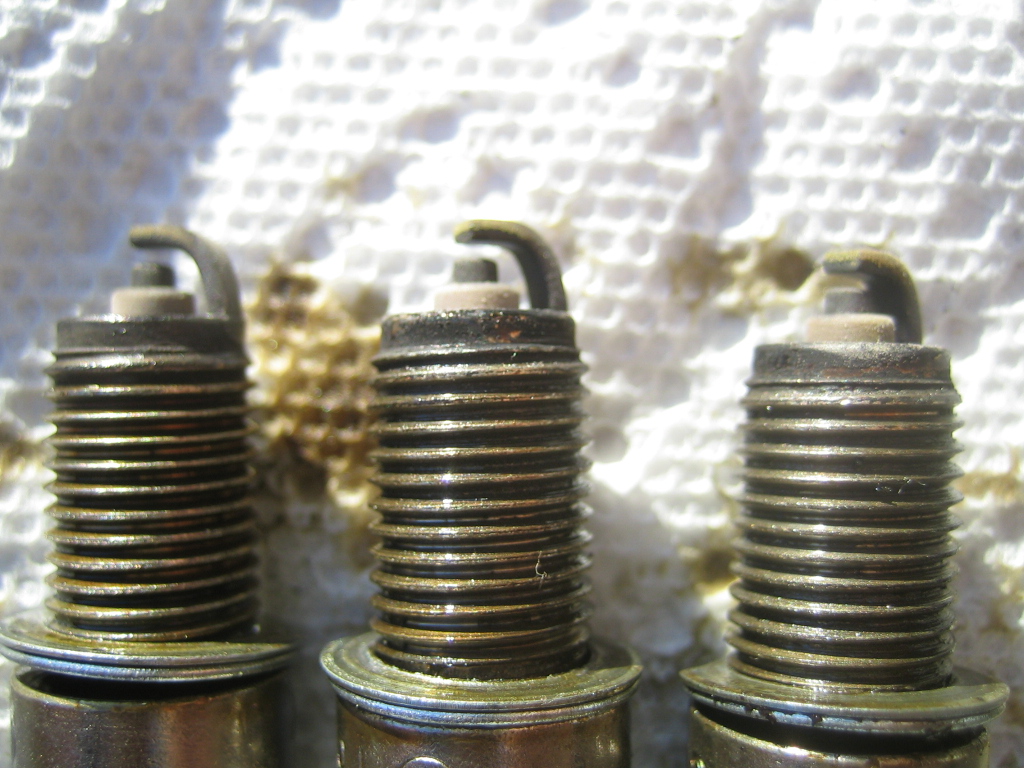
I measured the gap on the old plugs with a feeler gauge and they were around 0.68mm.
Measured the gap on all of the new plugs and they were all at 0.60mm so I put them in, started the car and what a difference new plugs make!
The car idles totally differently than before as it is much smoother and the engine is not jittering around like it used to. Took the car out for a quick spin and the throttle response is much better and the tach shows the idle to be a lower than before as well.
I found this thread about ground wire kits:

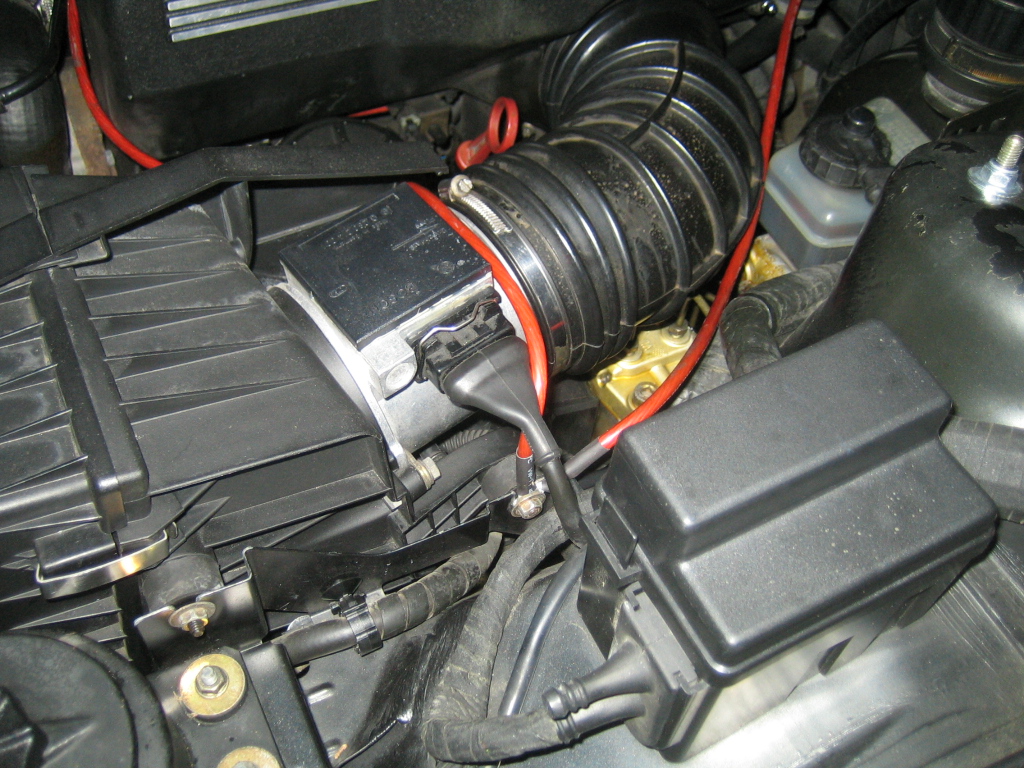
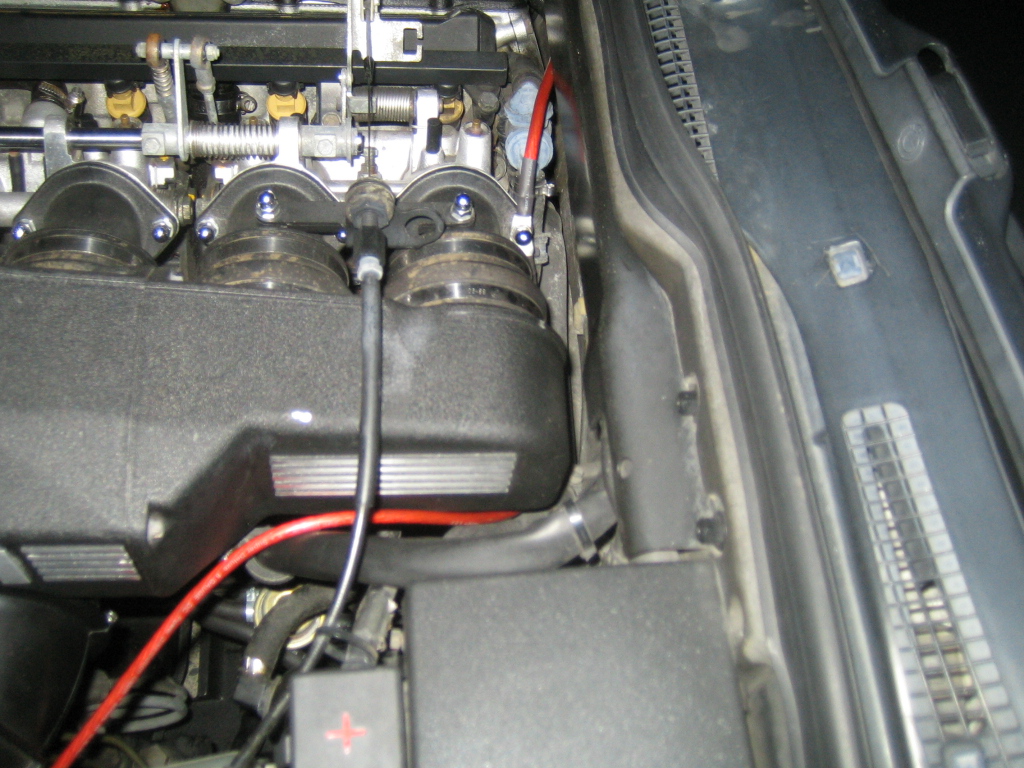
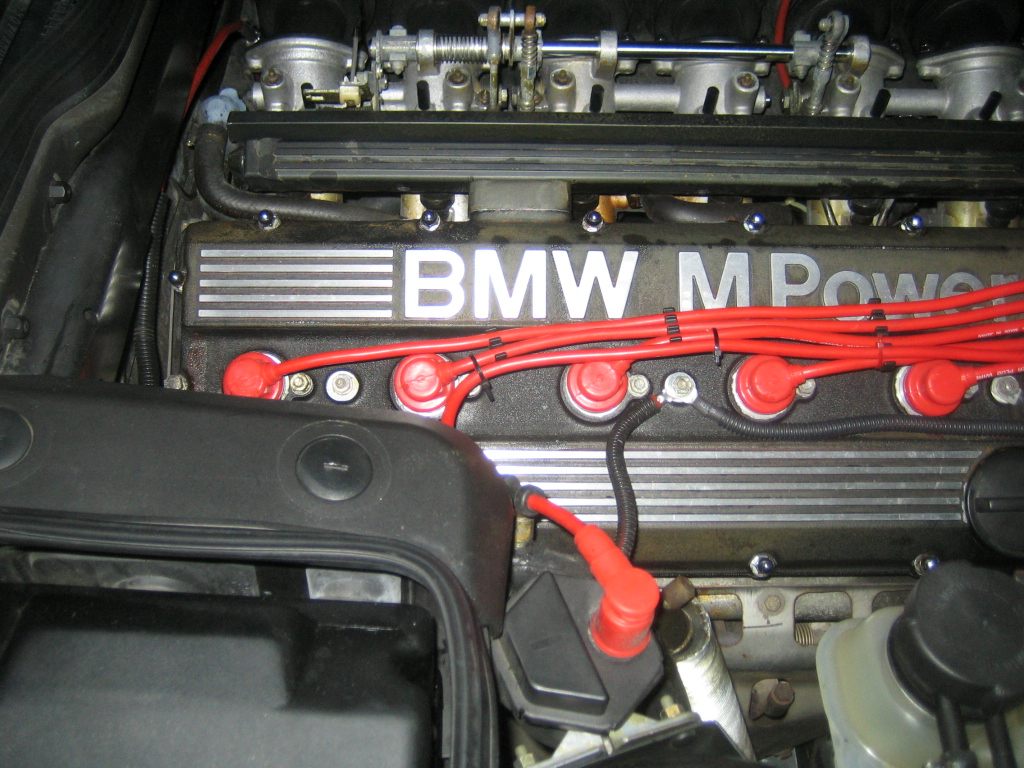
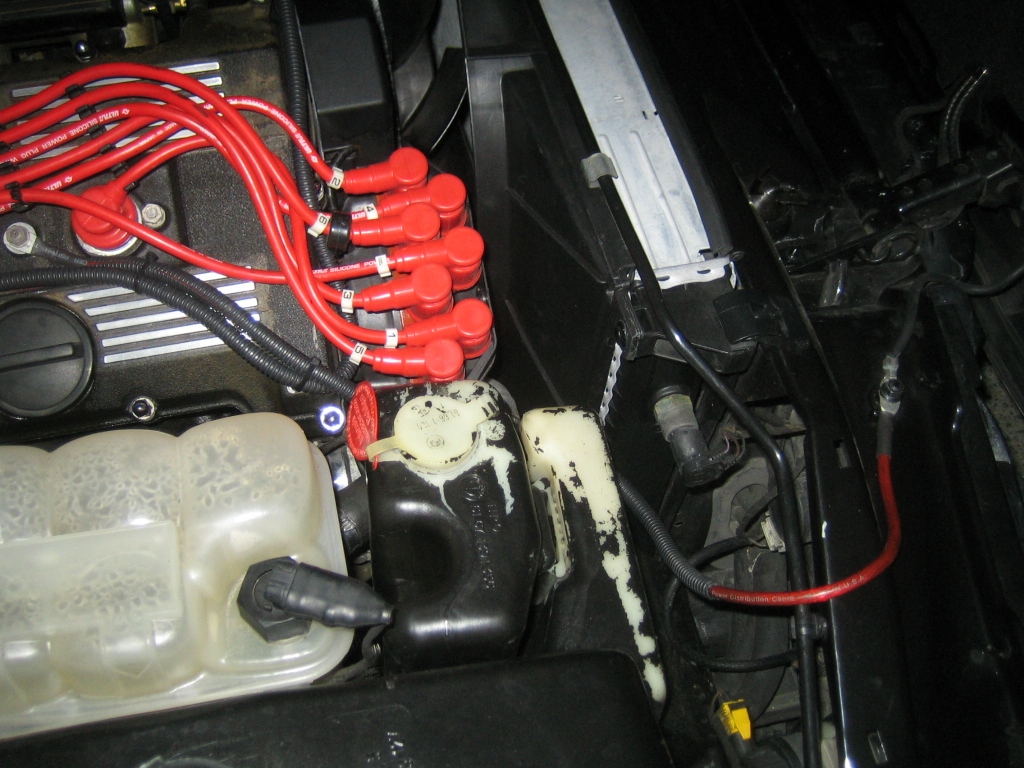
I had some left over 8AWG power cable from my last stereo installation so I bought a bunch of ring terminals and decided to see if installing a bunch of extra ground wires would have any effect or not. Worst case scenario I am out $15.00
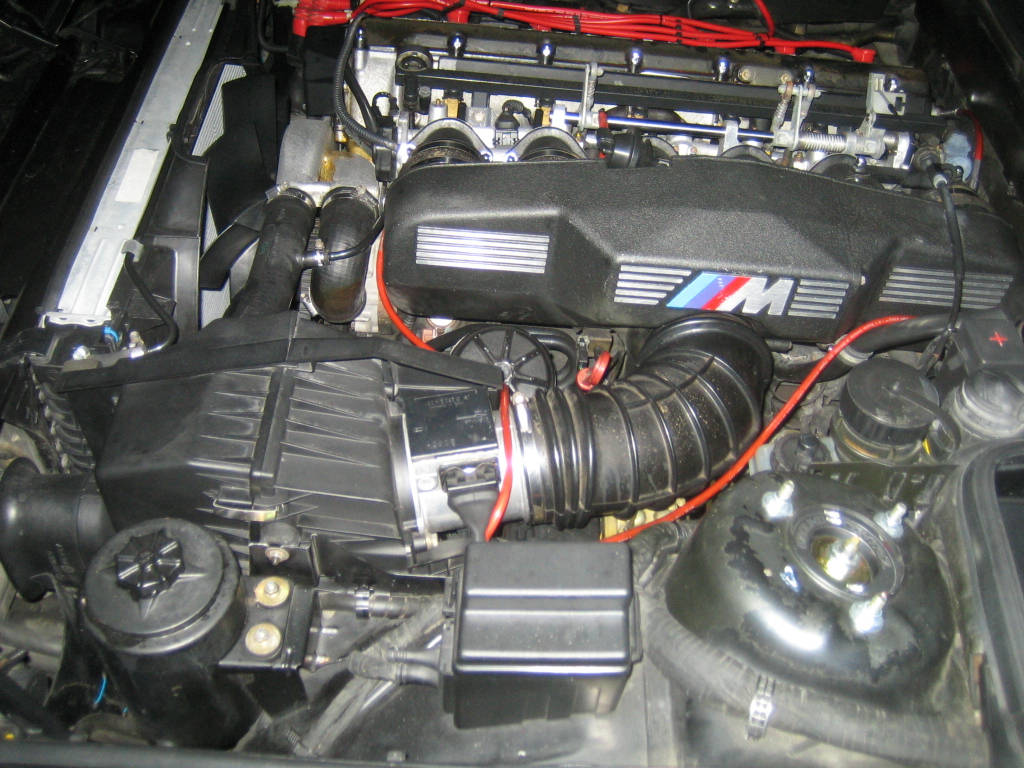
So following the instructions laid out in the thread I cut and crimps lengths of cable and daisy chained them to the valve cover, throttle bodies and couple of other locations. I did test all locations with a multimeter to make sure they were all currently grounded prior to attaching a cable.
I ended up adding 6 lengths of ground wire and when started the car and I was surprised to notice that the idle was even better than an hour ago when I just swapped in the new plugs. I took the car for a drive and I believe it does drive better than before, in fact the car drives, idles and sounds how I imagined an M5 would sound. I'm going to hold on to my old plugs to swap them in to show any doubters that there is a difference.
So is there any other benefit? I disconnected the battery to recet the OBC and see if there are any improvements in fuel economy and will report back on this.
 Last edited by MC Hammered; 04-25-2016, 10:12 PM.
Leave a comment:
-
oh that engine, that fucking engine!
jealous doesn't describe it..Leave a comment:
-
I took my car for a drive yesterday and the balancing of the throttle bodies did have an effect but I decided to redo the balancing again as I thought my process could be better as I did not compare all cylinders.
My original process was to balance cyl 1,2,3,4 and then use 1,2 as reference and balance 5,6 so
1,2,3,4
1,2,5,6
and then I left it at that assuming the setup was balanced.
So I took the M out for a drive to warm up the engine, hooked up the Carbtune and checked the settings.
With cylinders 1,2,3,4 I see that the readings were all slightly off so I balanced them all again to 22cmHg.
Then I measured cylinders 1,2,5,6 and adjusted all to 22cmHg.
I found that I was wrong to assume that they would be balanced. My oversight the first time is not understanding that adjusting one set of throttles would impact the vacuum of the others, I didn't think this would be the case but it is happening. Maybe my setup has a leak or something else needs to be replaced/adjusted, but when I measured 3,4,5,6 cylinders 3 & 4 were slightly off, so I adjusted them to 22cmHg.
Then I went back and checked 1,2,3,4 and needed to tweak 1,2 ever so slightly to match at 22cmHg.
I checked 1,2,5,6 and 3,4,5,6 and all readings were at 22cmHg.
I took the car out for a drive and the car drove even better than after the first adjustment. Throttle response was immediate and smooth vs. the jerky delivery of power the car initially exhibited prior to balancing.
Before balancing, when I was coasting in gear the car would have a tendency to lunge (feels like you stepped on the brakes hard for a split second) when the RPMs dropped to a certain point, so combined with the jerky acceleration make for a rough drive. These symptoms have been fixed and the car accelerates and coasts very smoothly now.
So I do suggest to everyone who is doing a throttle body balance to do the extra steps to make sure all of your throttles match up perfectly to get the best results.Leave a comment:
-
I pulled out and threw away a bunch of the factory foam sound insulation from the rear of the car and then found out later that it is no longer available to buy.
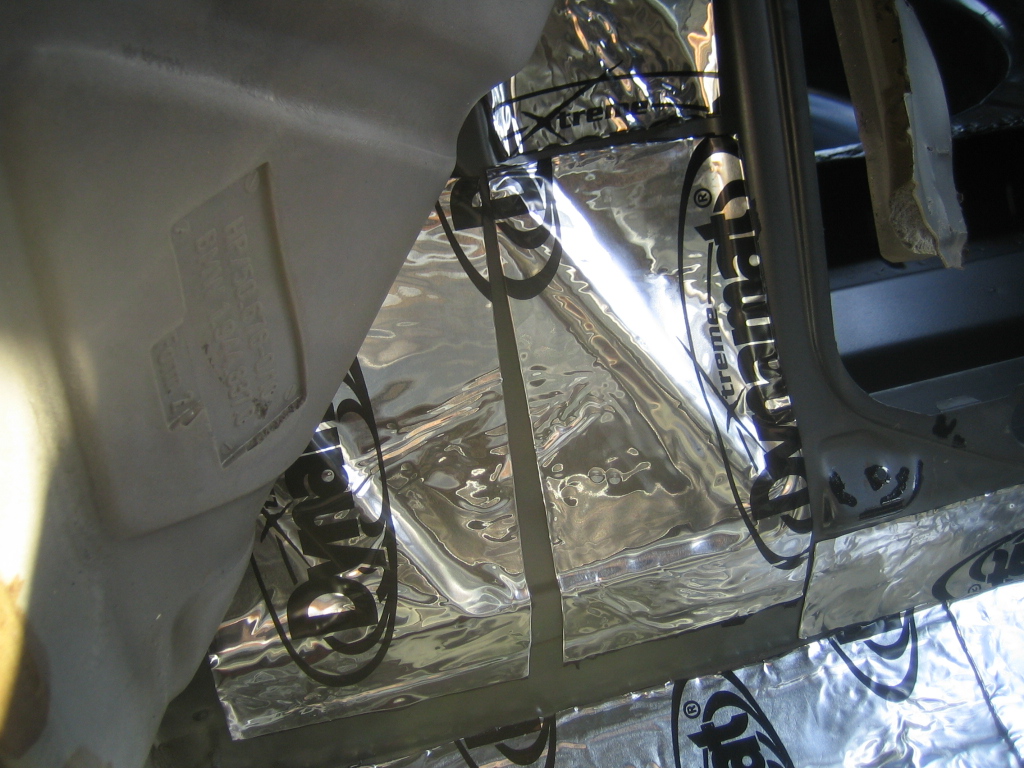
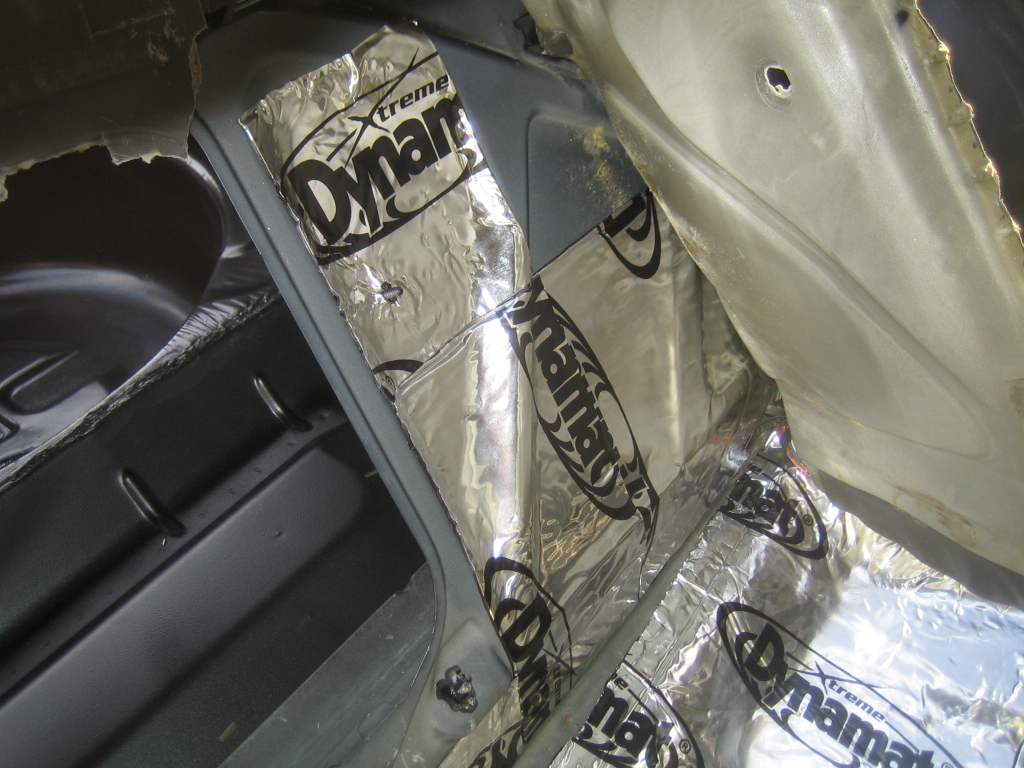
So for alternative solution I thought I would lay down some Dynamat instead. It was on sale for for $250 (It is a lot cheaper in the US but I didn't have time to wait) for 36sqft and this afternoon was nice and warm so I went at it.
A few things I realized at the end of doing this:
- Being OCD and laying down Dynamat is a bad combination
- Leaving Dynamat in the sun makes it soft and super sticky
- Cutting up Dynamat with scissors is a bad idea as the rough edges left over slices apart fingers very easily. Use a utility knife instead
- The Dynamat now is a hell of a lot easier to use than the original stuff I used 20 years ago that was as stiff as a tar shingle.
I cut up the large sheets into thirds and started placing down some large pieces
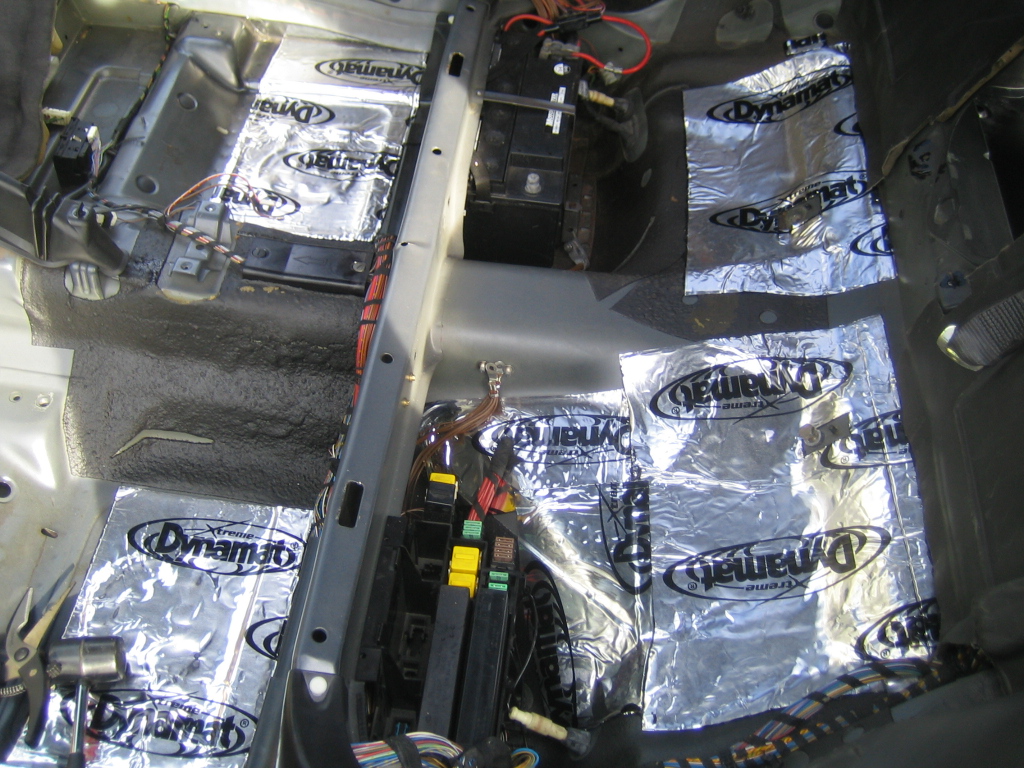
I decided it is easier to use a knife and slice up the thirds into strips and smaller pieces. It make placing the Dynamat easier on the curved surfaces.
Rear driver side done
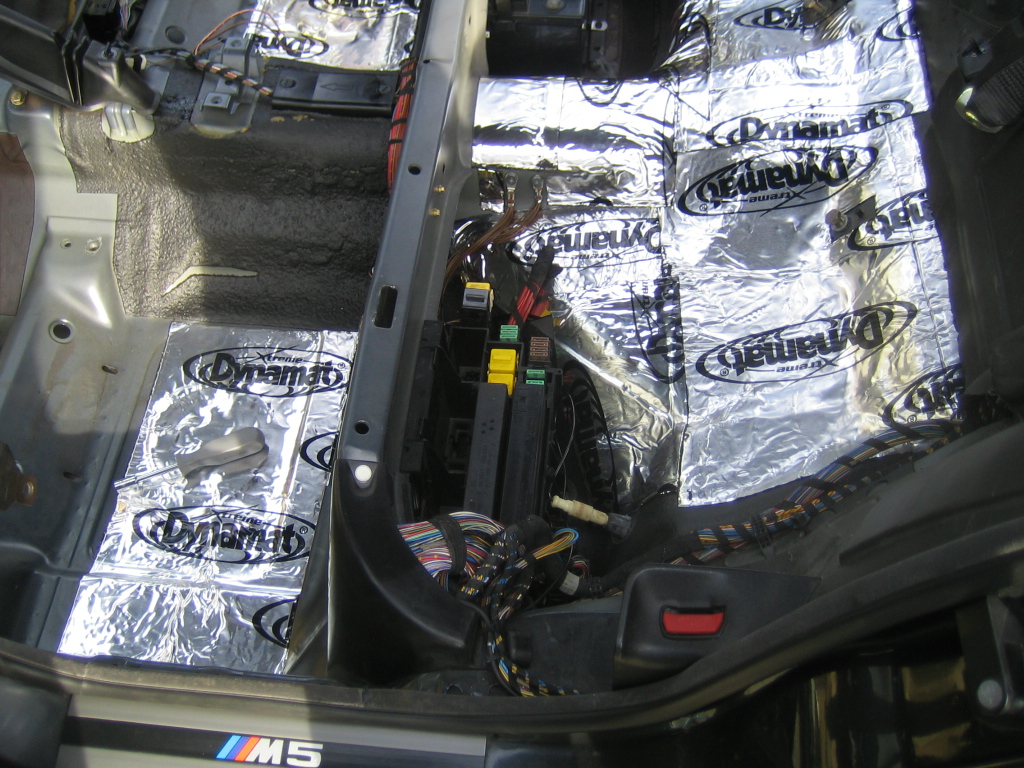
Rear passenger side done
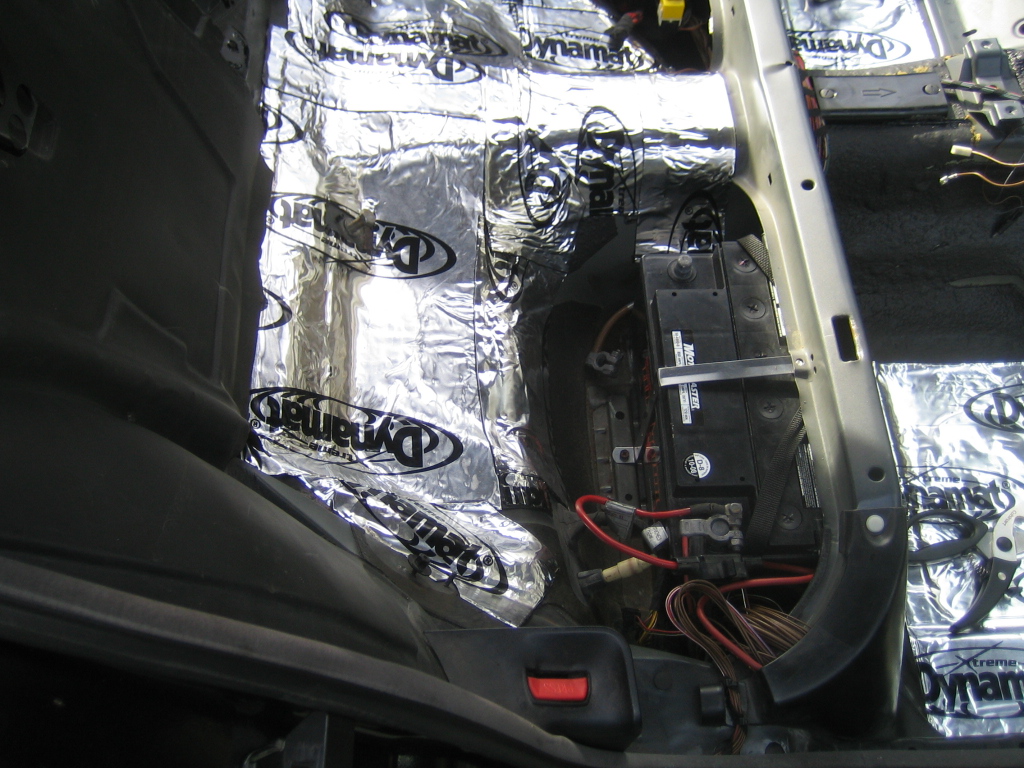
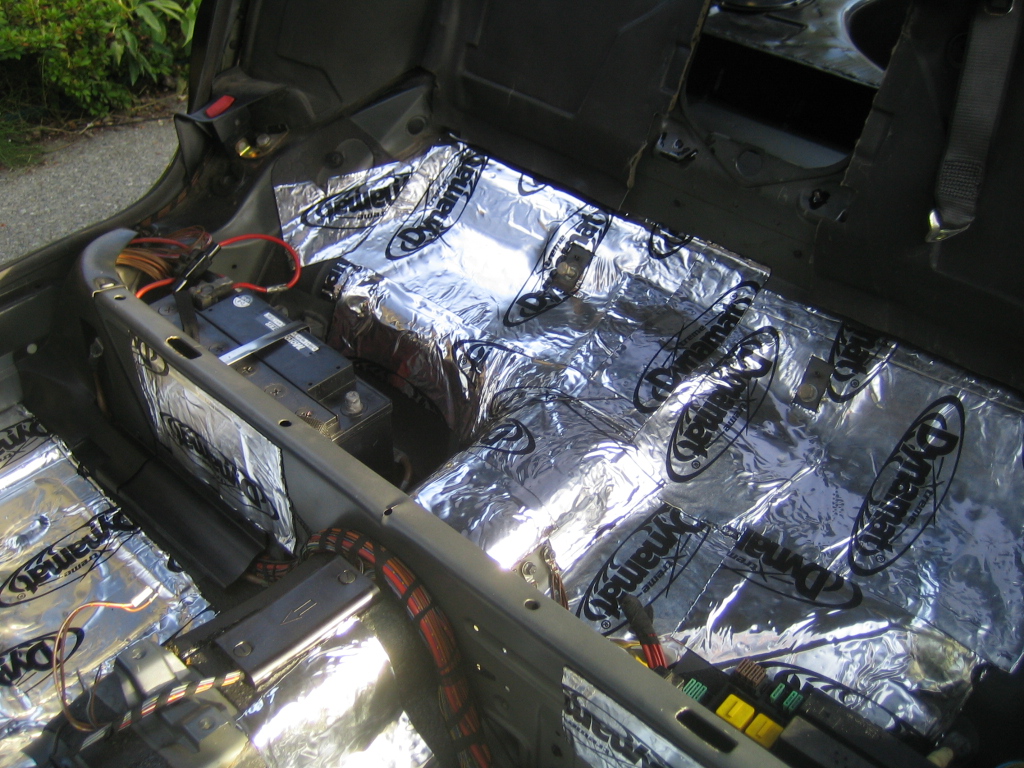
Seatback done as I am planning to put a sub in the trunk in the future
This fell down when I lifted up the foam insulation. I thought it may have been left by one of the original technicians but the year on the coin says otherwise. So how did it get stuck up there?

I was not going to bother pulling out the front carpet so I lifted it up as far as I could and placed down a few pieces.
Passenger side
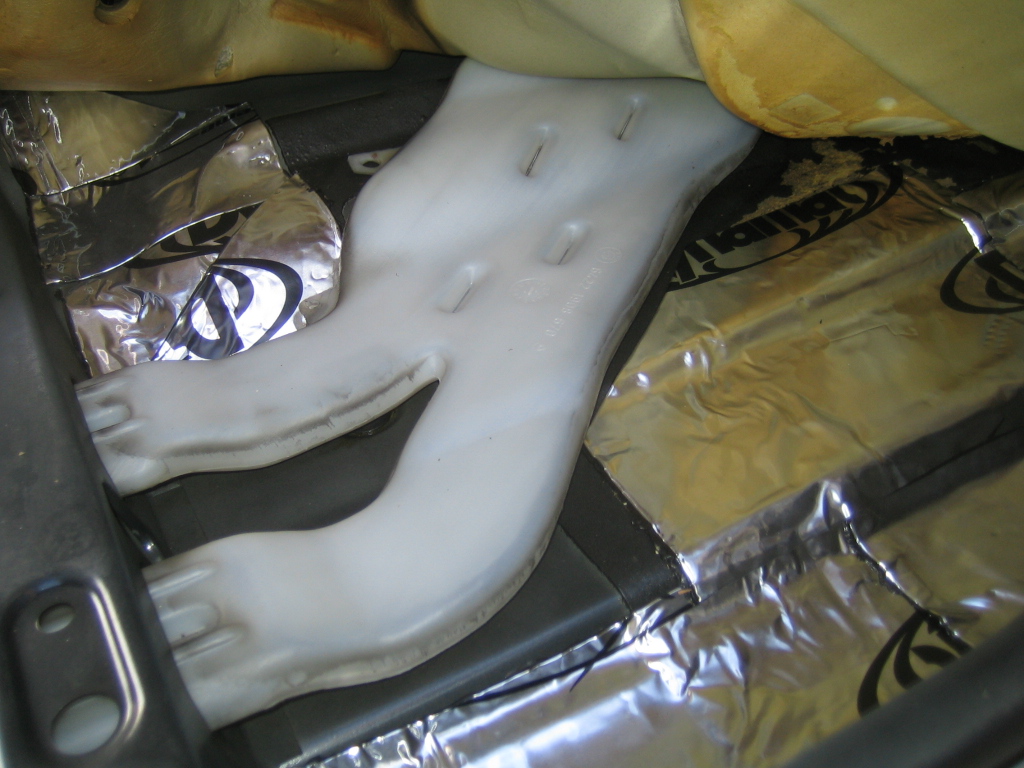
Driver side
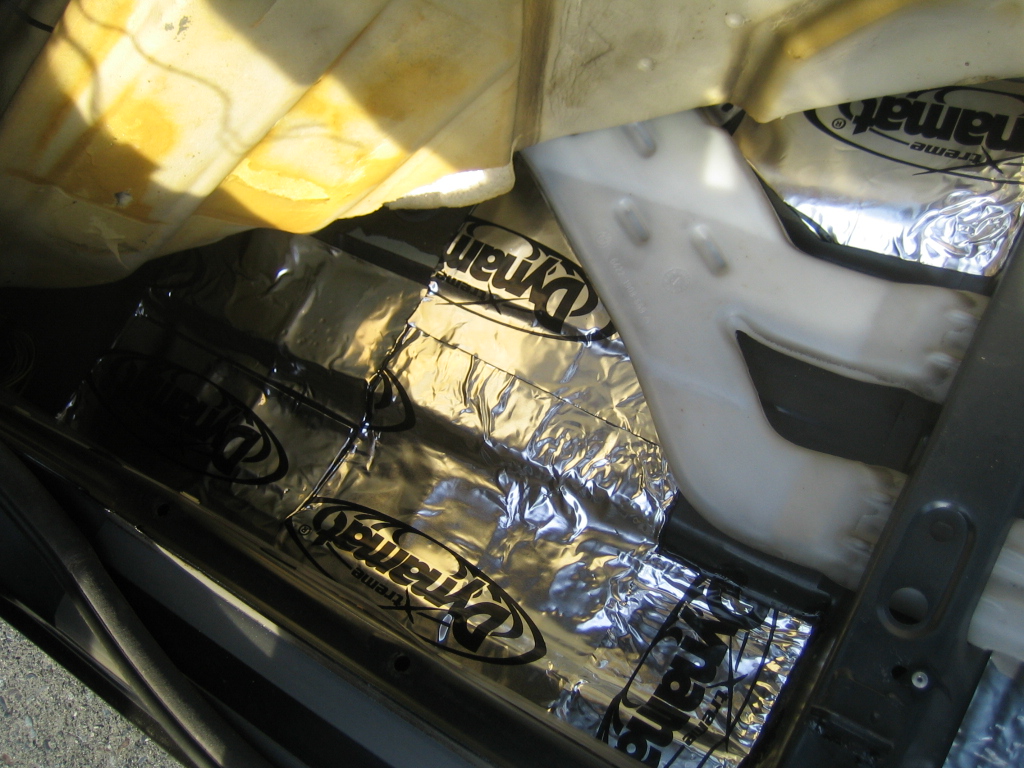
Rear footwells
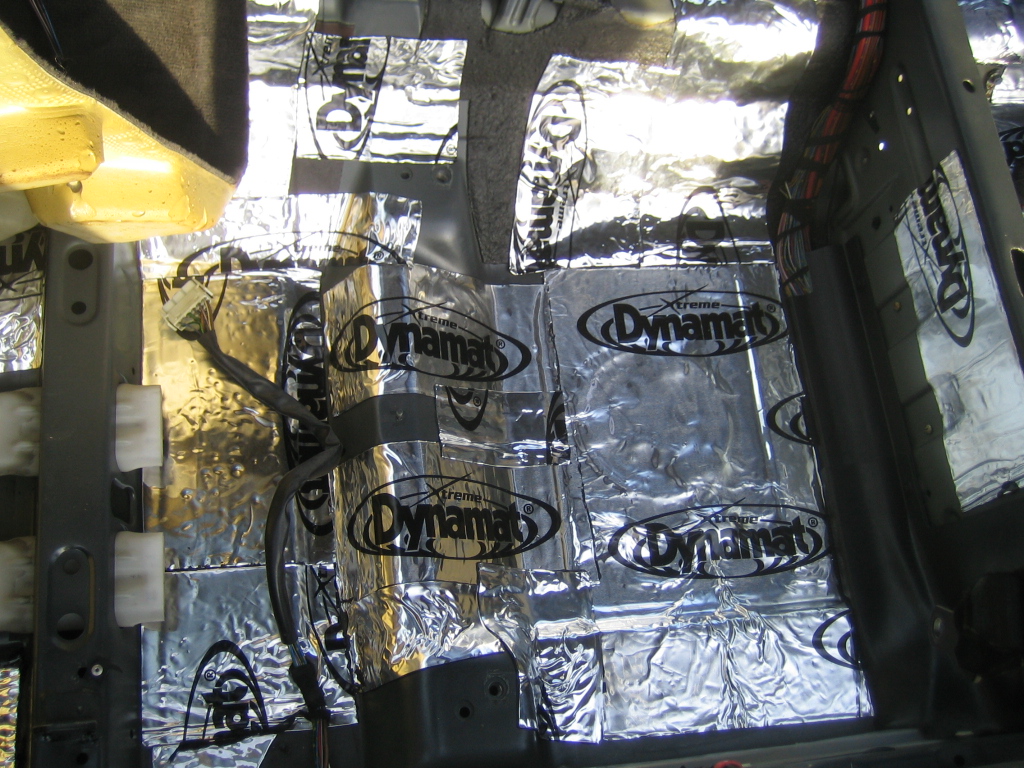
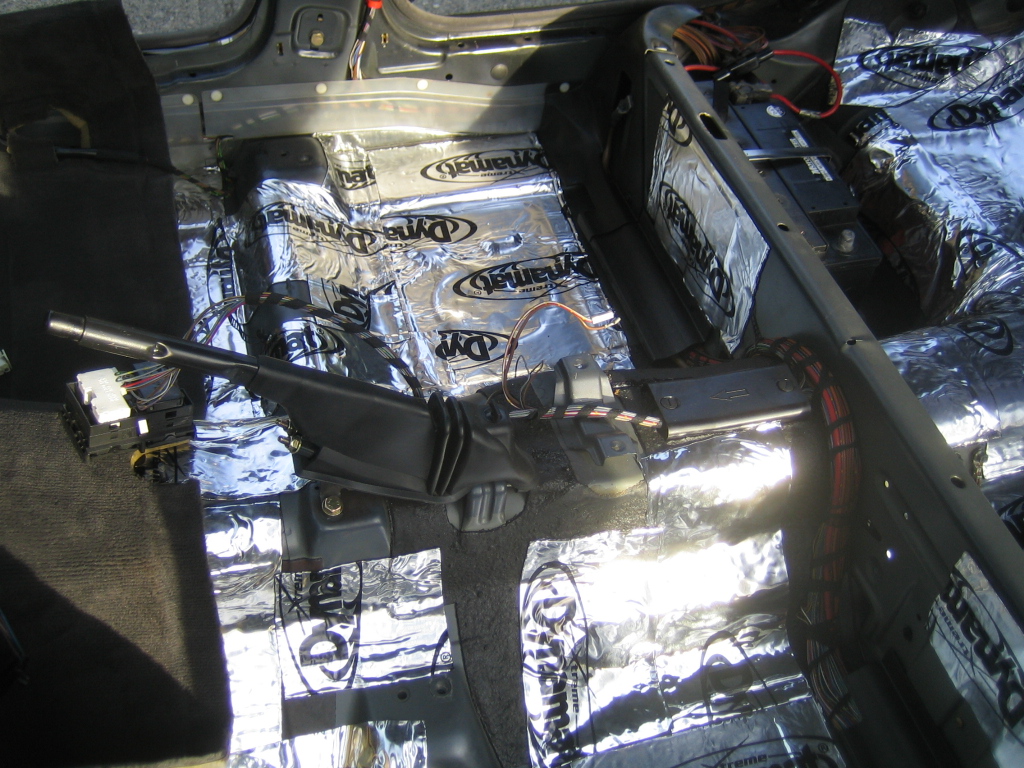
I wish the car was on Overhaulin so they could just coat the entire body with this stuff, but I'm not and I'm still trying to stay in budget. The box came with 9 sheets so for all the coverage you see in the I used 5 2/3 sheets or about 23sqft.
Putting the rear carpet back in... It's starting to look like a car again!
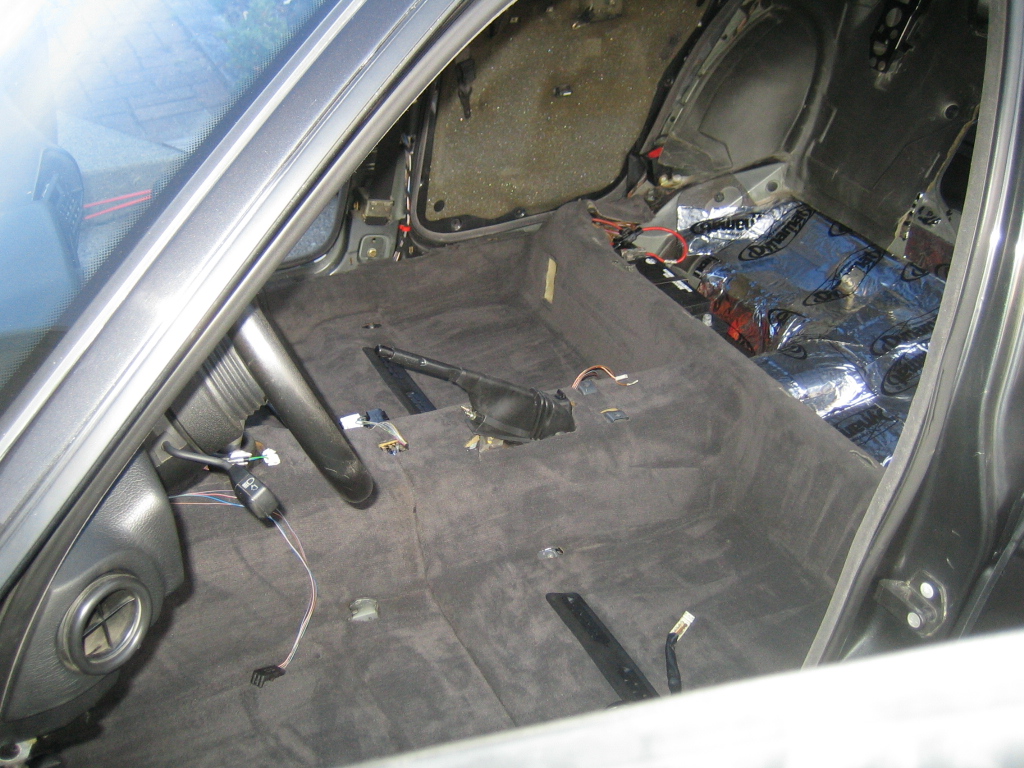
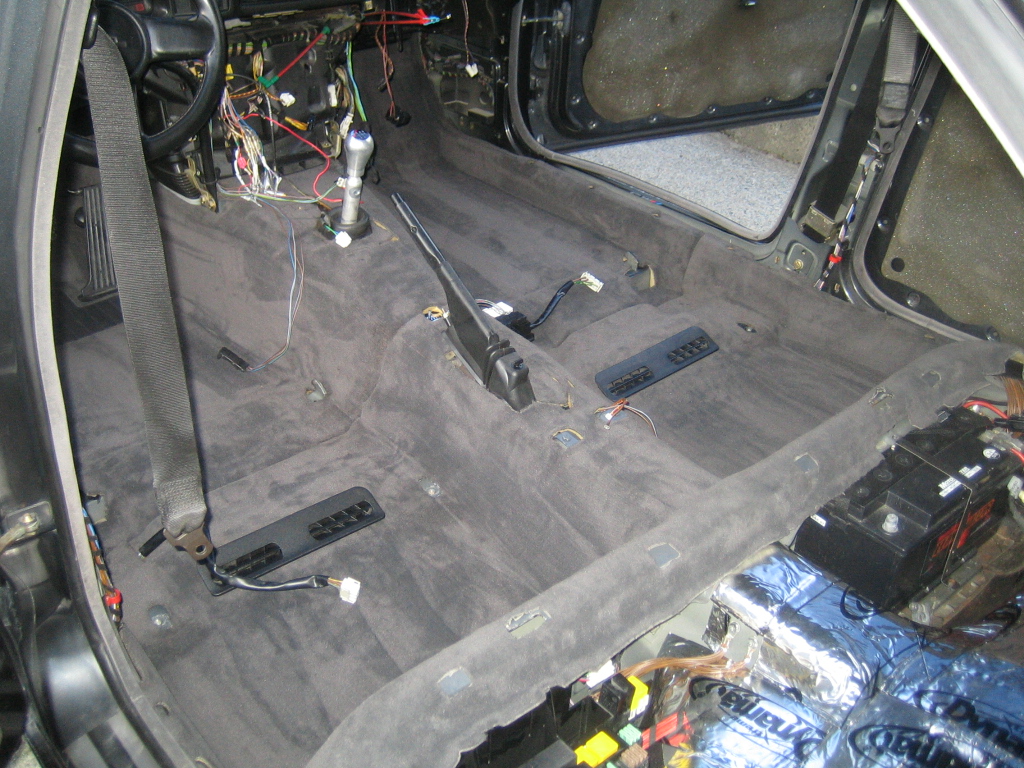 Last edited by MC Hammered; 04-25-2016, 10:11 PM.
Leave a comment:
-
I am sure he does after seeing what you and I have done to her and he compares it to other e30's in his stable.
Veronica should be completed in 3 more weeks, if I don't stand back and smile with pride with what I built then you can squawk those words in my ear again.Leave a comment:
-
now I hate you. TOLD YOU SO! Does Mike know how lucky she is and what a deal her got?Leave a comment:
-
-
The previous owner told me he balanced the throttle bodies, however, in the interest of learning ow to do this myself I purchased a Carbtune tool to help with this maintenance step.
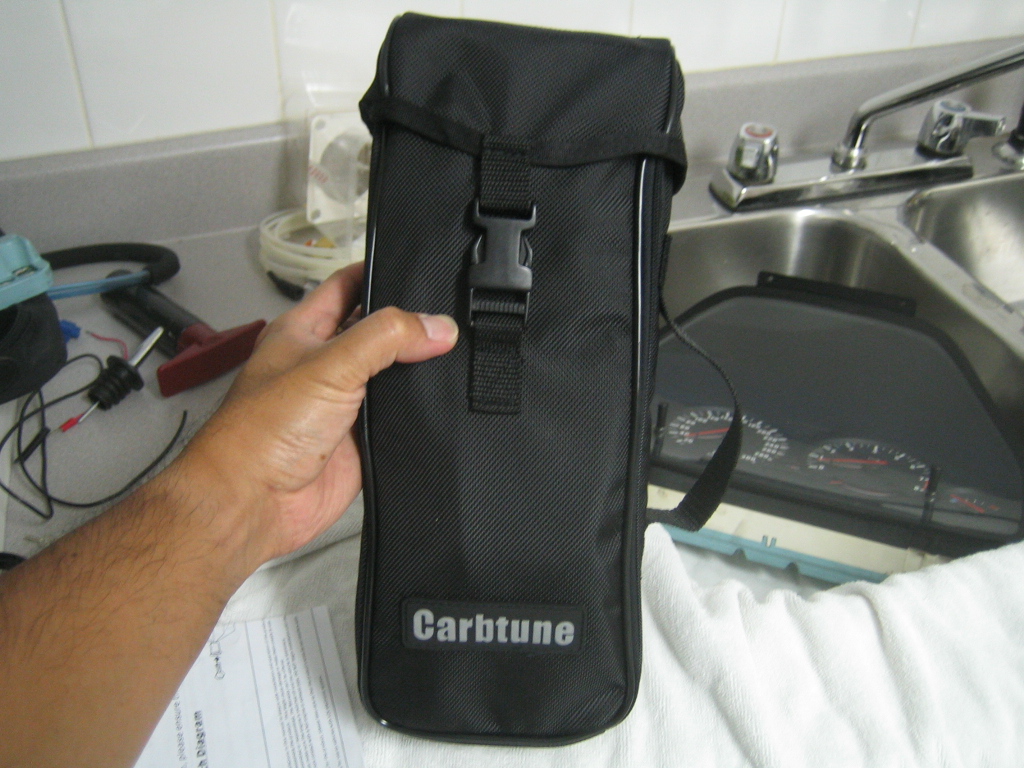
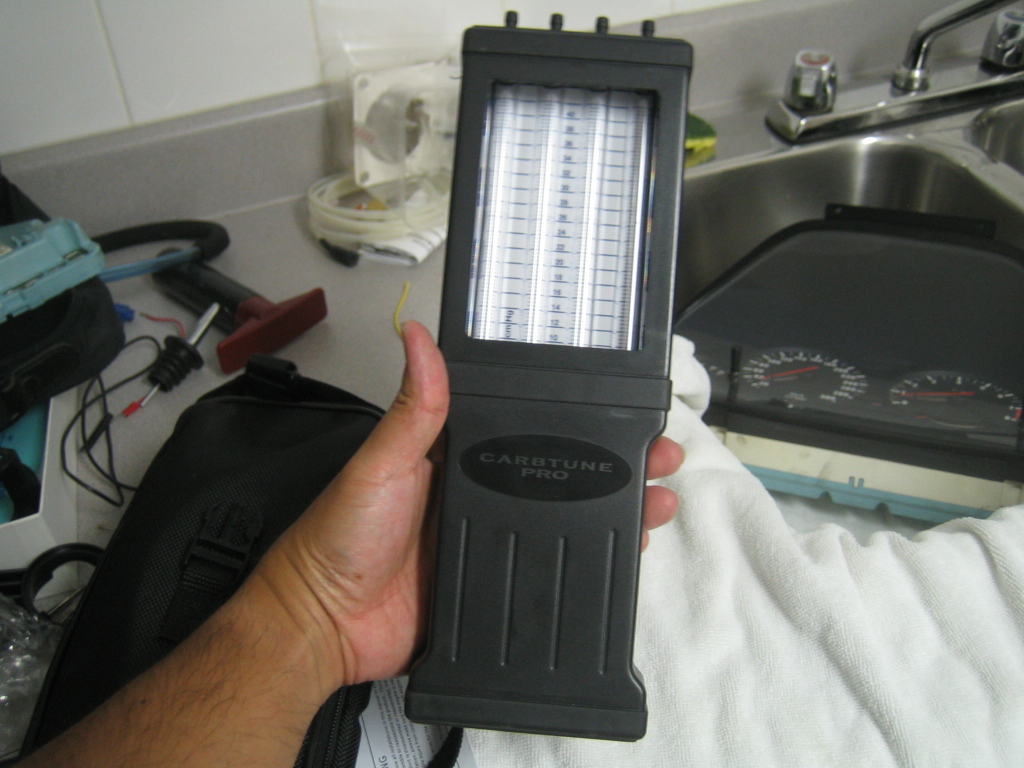
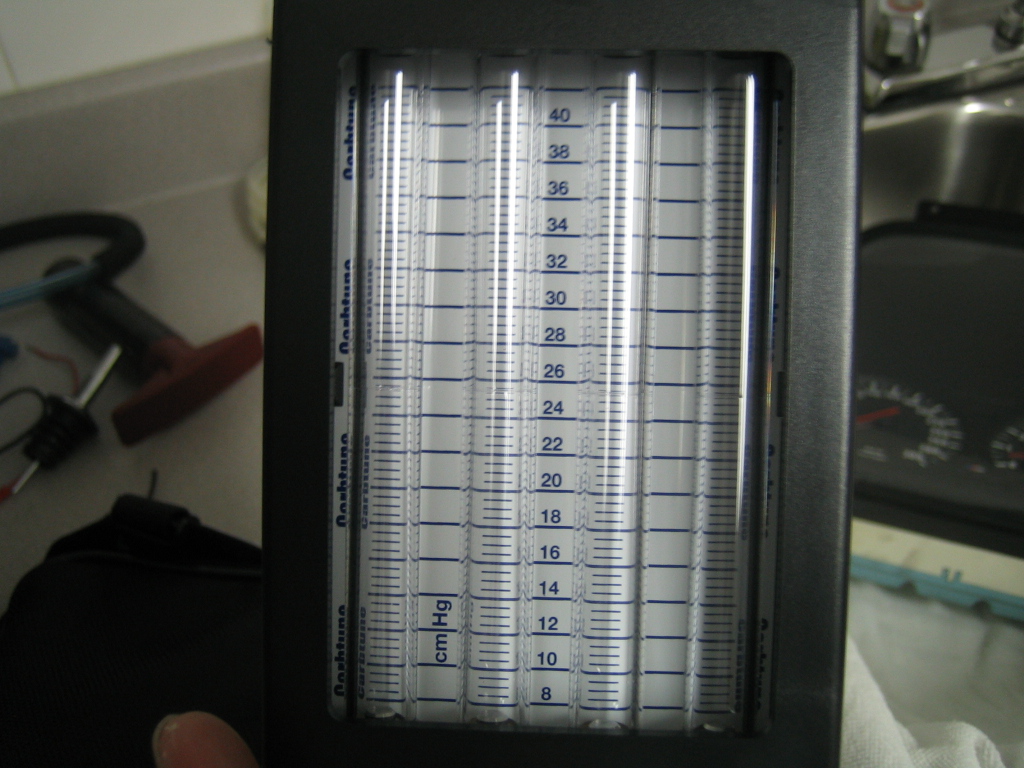
The Carbtune allows you to view 4 of the TBs at the same time which I think is a big bonus in doing this maintenance vs. doing each TB individually.
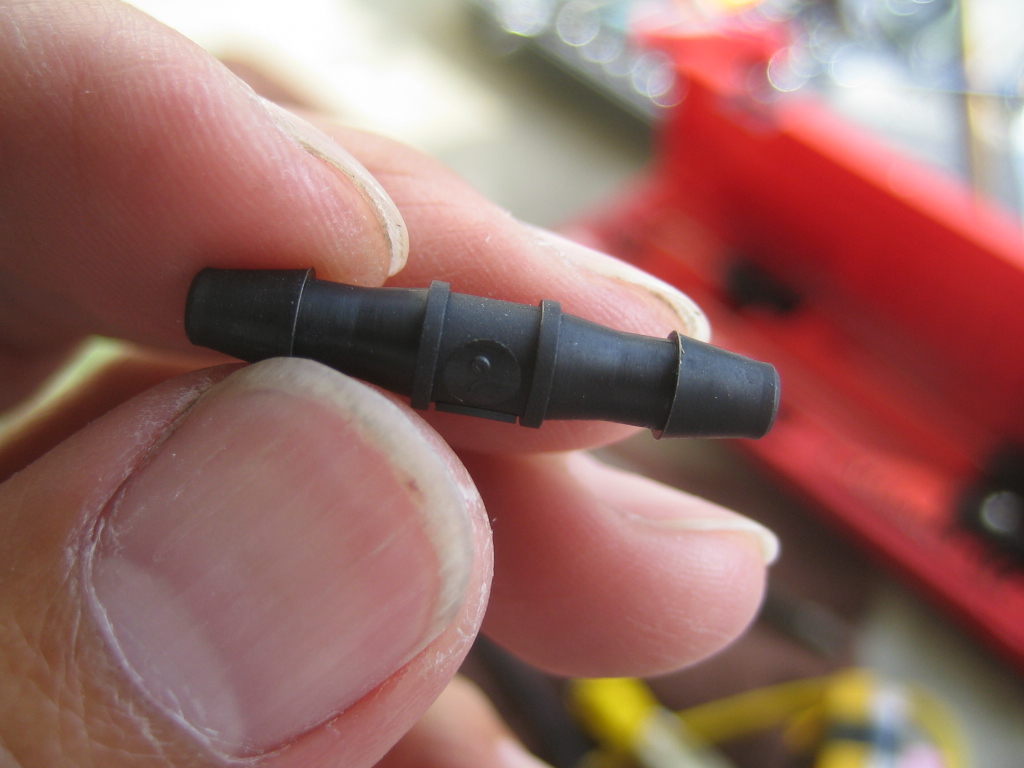
They include some small orifice tubing to make restrictors otherwise the rods bounce up and down too much to get a reading. Since I already designed an inline restrictor for the gauges I sell I chose to use that instead
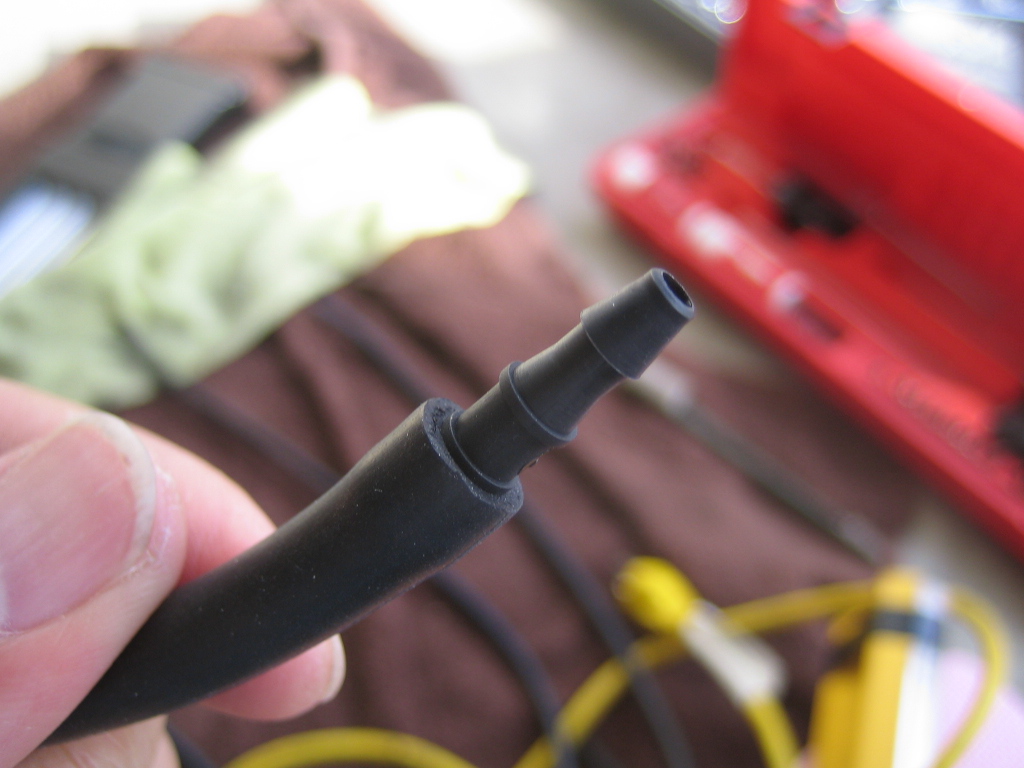
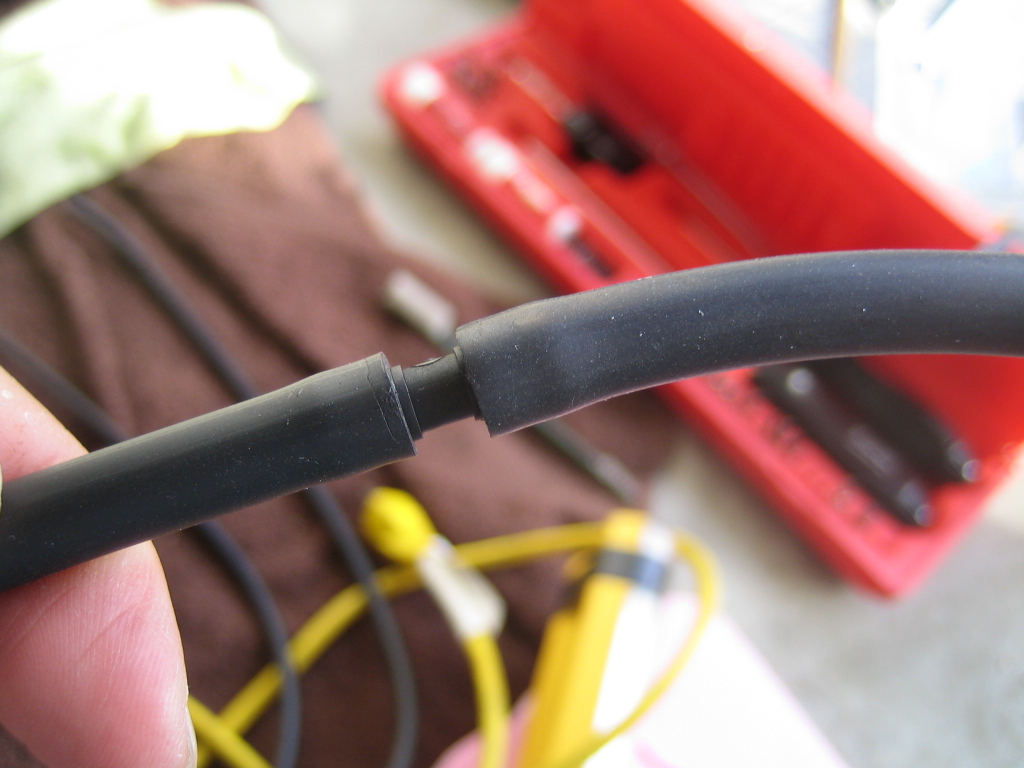
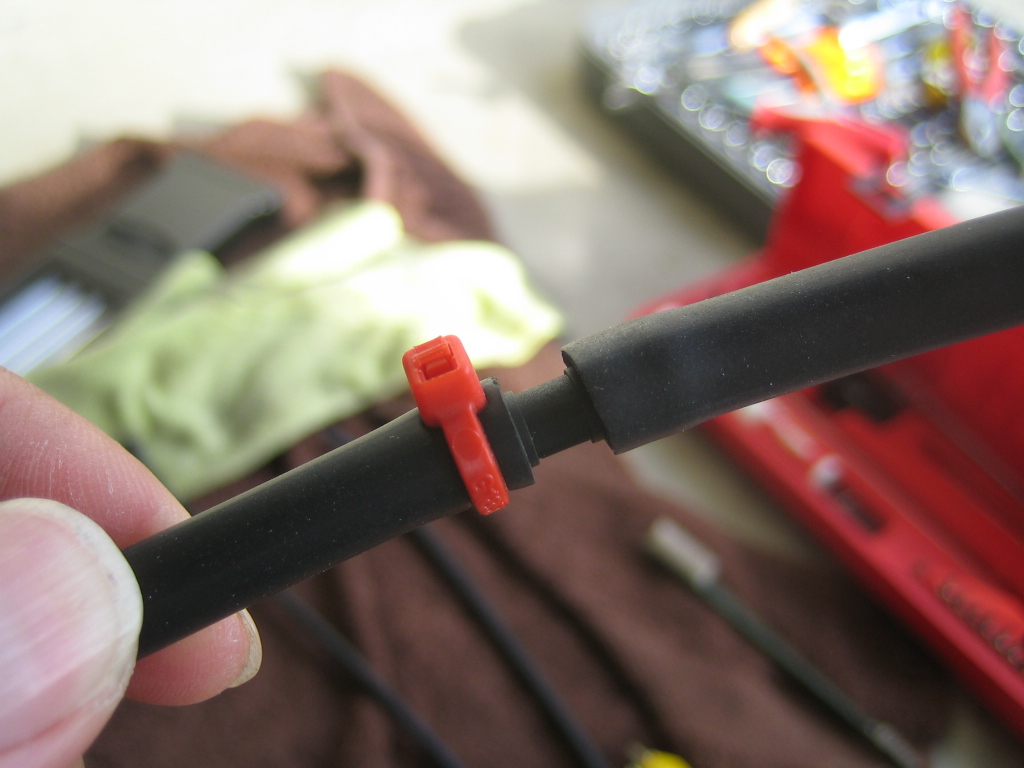
Plugs on the vacuum ports removed, lines plumbed in and connected to the Carbtune
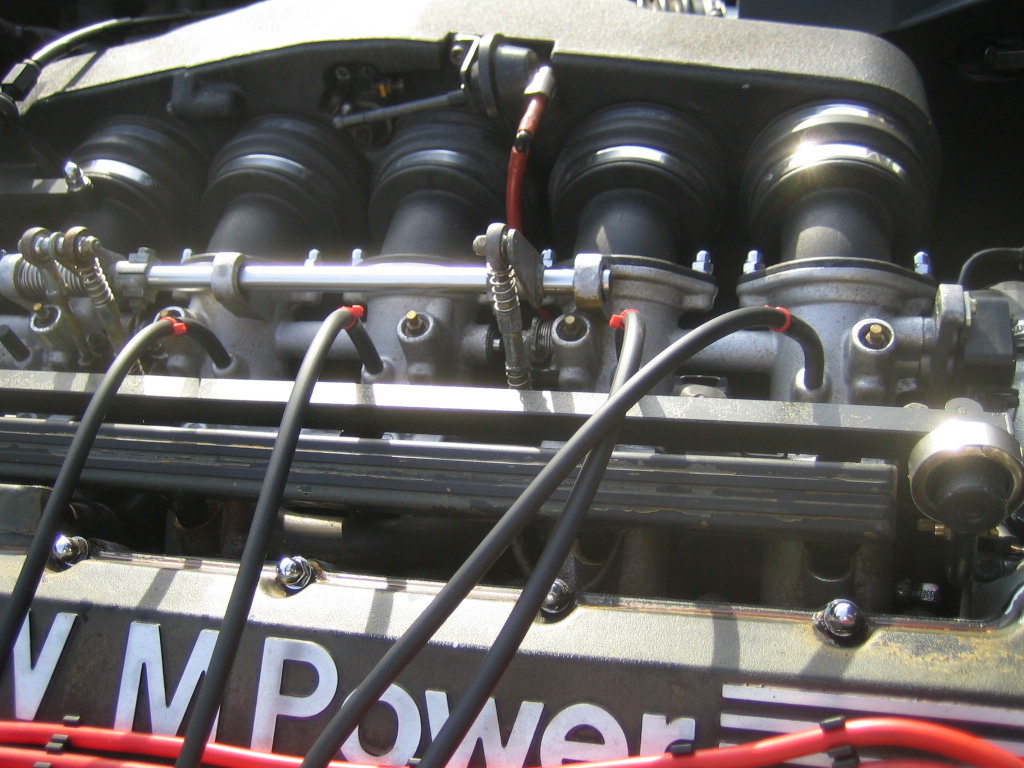
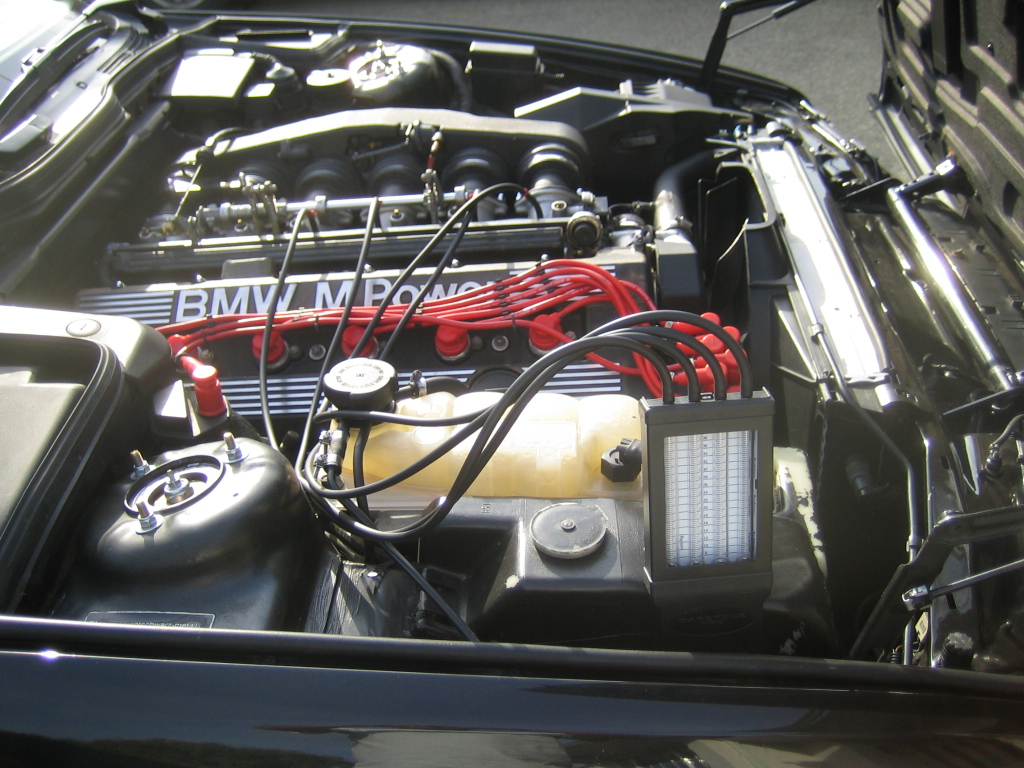
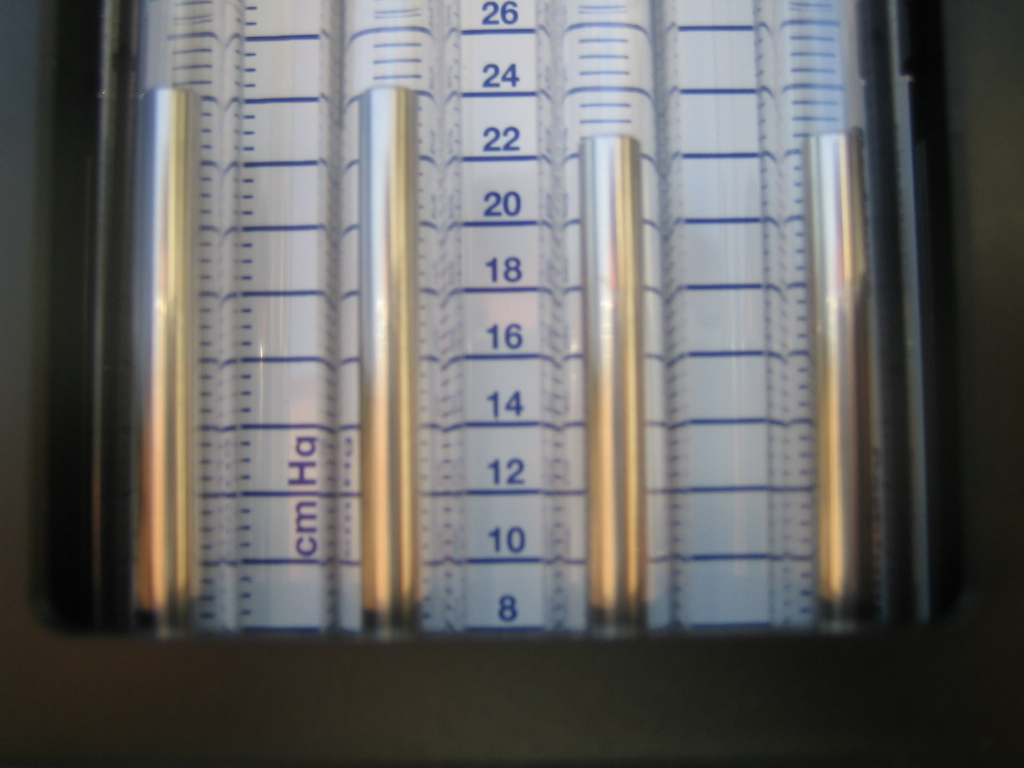
This is how the first 4 throttle bodies are adjusted. From left to right it is cylinders 4,3,2,1
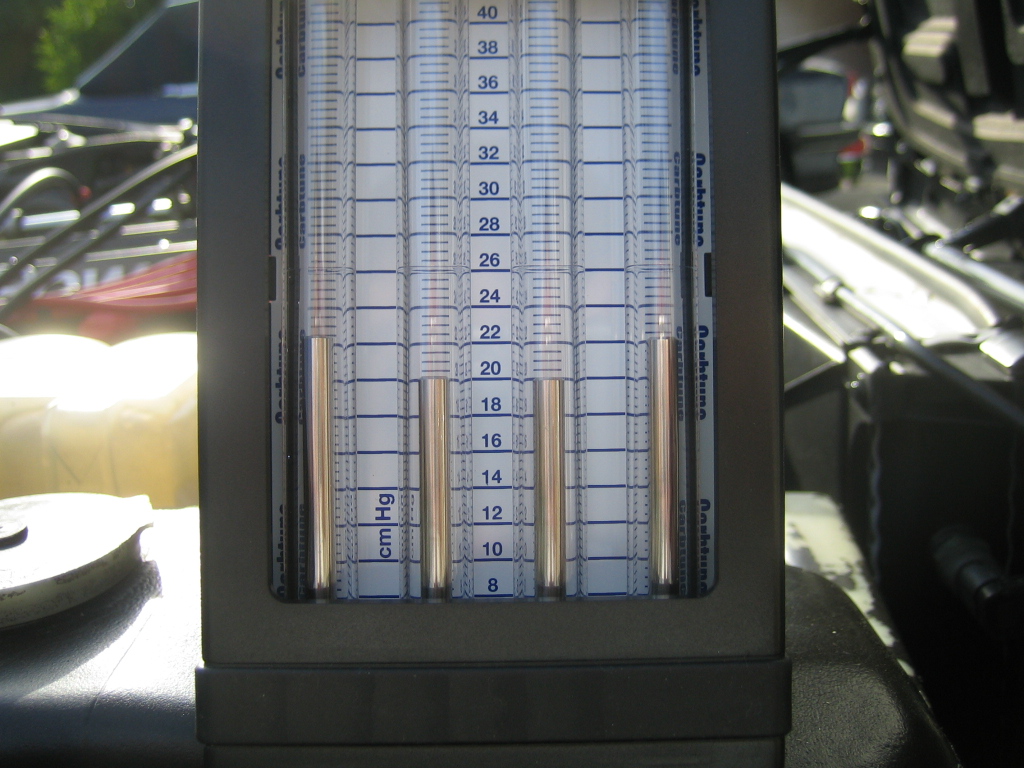
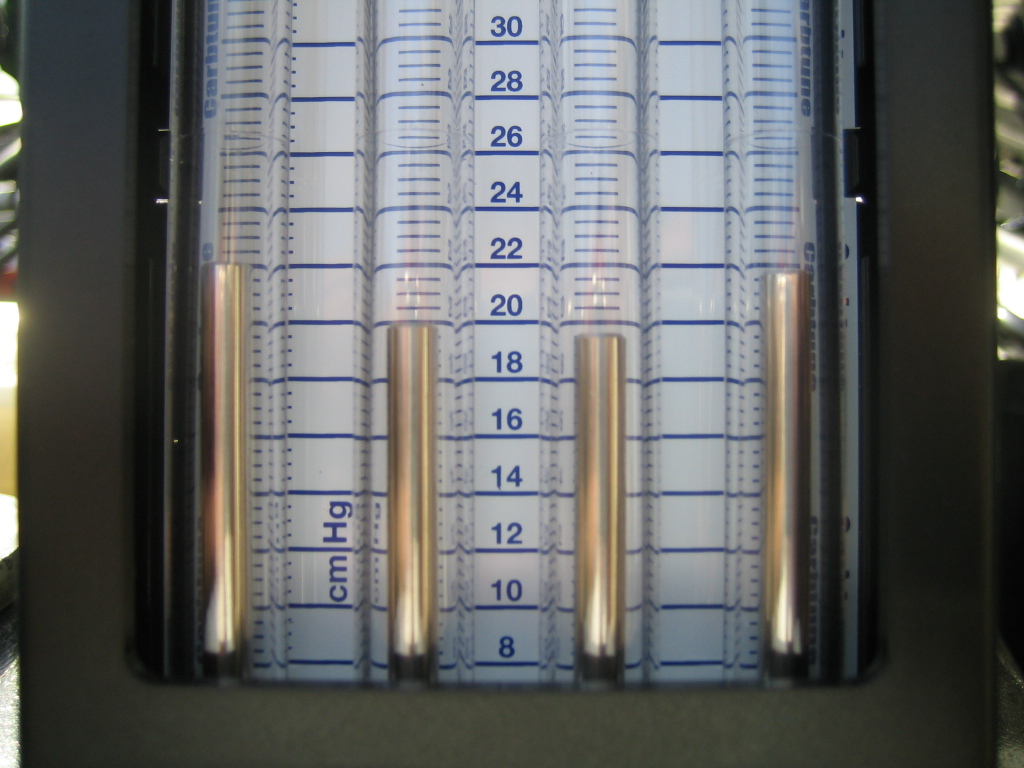
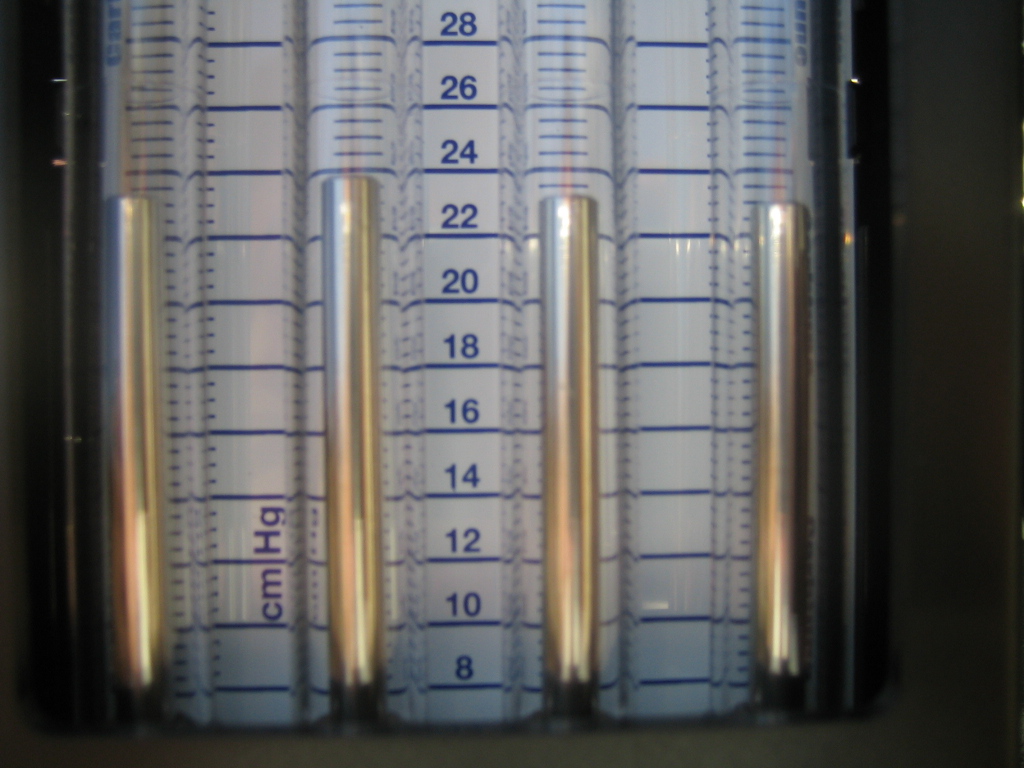
According to the BMW service manual the TB should be adjusted to 300mbar or 22.5cmHg so using a 7mm socket you tweak the adjusters to even out the readings. Turn left to reduce, turn right to increase.
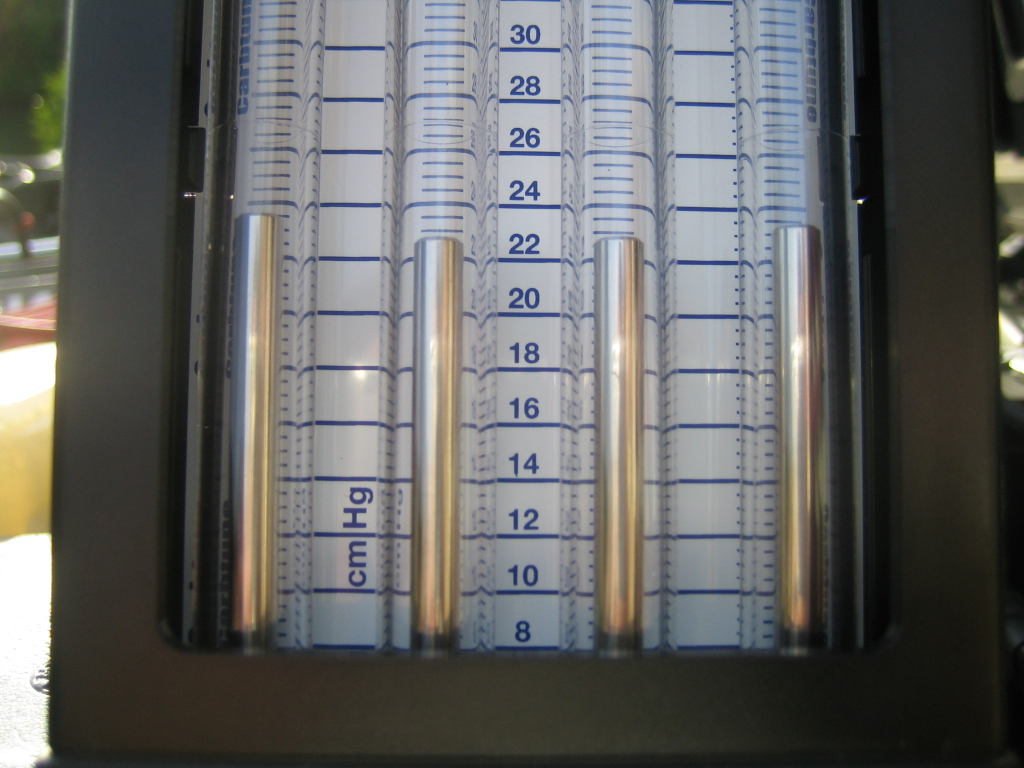
Plugs on cylinders 5 & 6 removed and put onto 1 & 2, lines from the carbtune plumbed in
So using cylinders 3 & 4 for reference we adjust 5 & 6. From left to right 4,3,6,5
After adjustment. The car does idle better and when I checked the tach the needle used to sit at 1000rpm, now it sits a bit below it.
 Last edited by MC Hammered; 04-25-2016, 10:10 PM.
Leave a comment:
-
Murphy's Law came into effect at this point of the project. I ordered the RO and PC first from Leatherique and decided to try the dye from Creative Options, but I never got a clear reply from Kevin to purchase it.
I decided NOT to start the leather restoration before I received the black dye I ordered from Leatherique instead as I was convinced that I would have to redye the seats. The plan was to restore the leather, strip the color off and redye them, but the seats cleaned up so well that I am not going to redye them anymore.
I guess not being able to order the black dye in the first attempt from Creative Options was a sign.
So I do have 32oz of "BMW black" dye and 8oz of Prepping Agent from Leatherique if you are interested in it. :D
I paid $130 for the hood pad from the stealership as I thought it would cost too much to ship me one from Gutenparts unless it was folded in half.Leave a comment:
-
Hey this is Analog from BFC with the 90 Euro M5. I love what you're doing! The in depth cleaning you did is very inspirational!
A couple questions if you don't mind..
Are you still going to dye the seats? Where did you get the product?
How much did that new hood pad run?
Thanks, I'll be watching this thread!Leave a comment:
-
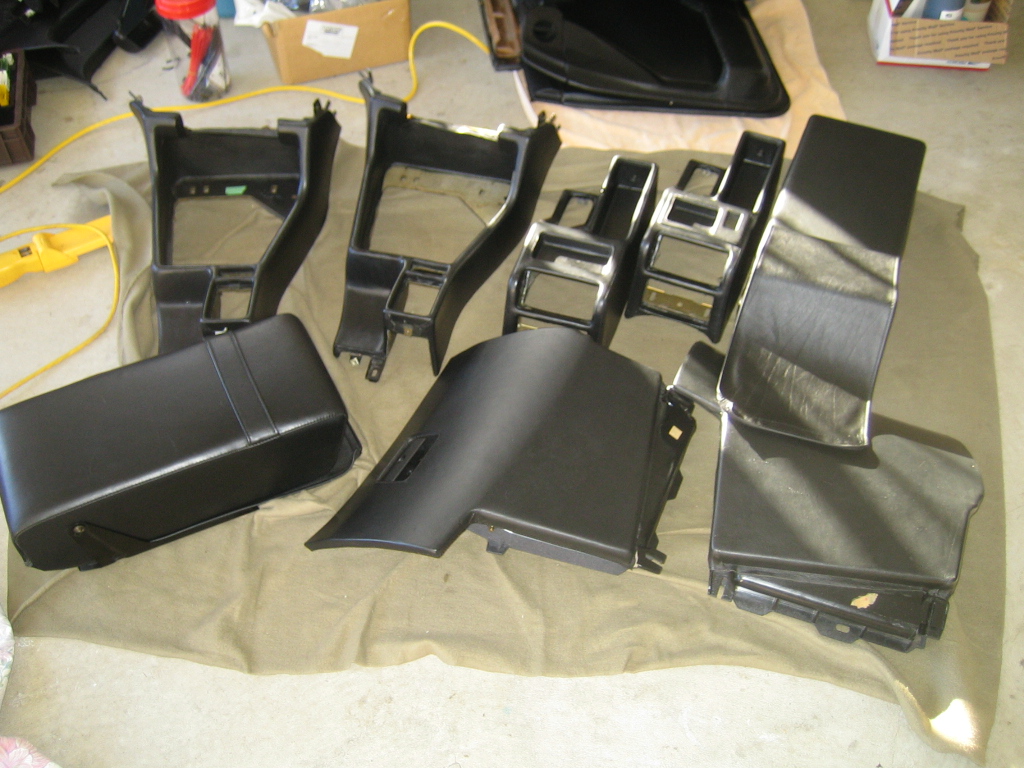
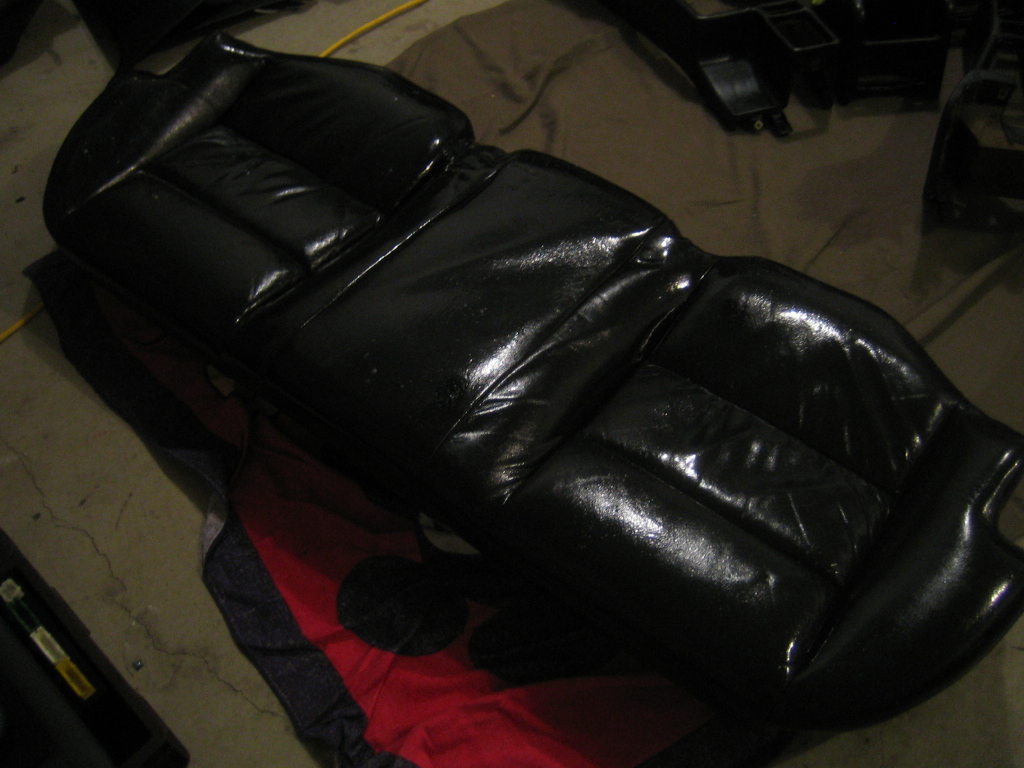
The leather seats and console pieces have been baking in the sun for a couple of days now to let the Rejuvinating Oil work into the leather
I sprayed Pristine Clean on the console pieces, wiped off the goop, buffed them up and the pieces look great
Here is the rear seat top with Prisitne Clean sprayed on it and I started wiping it off
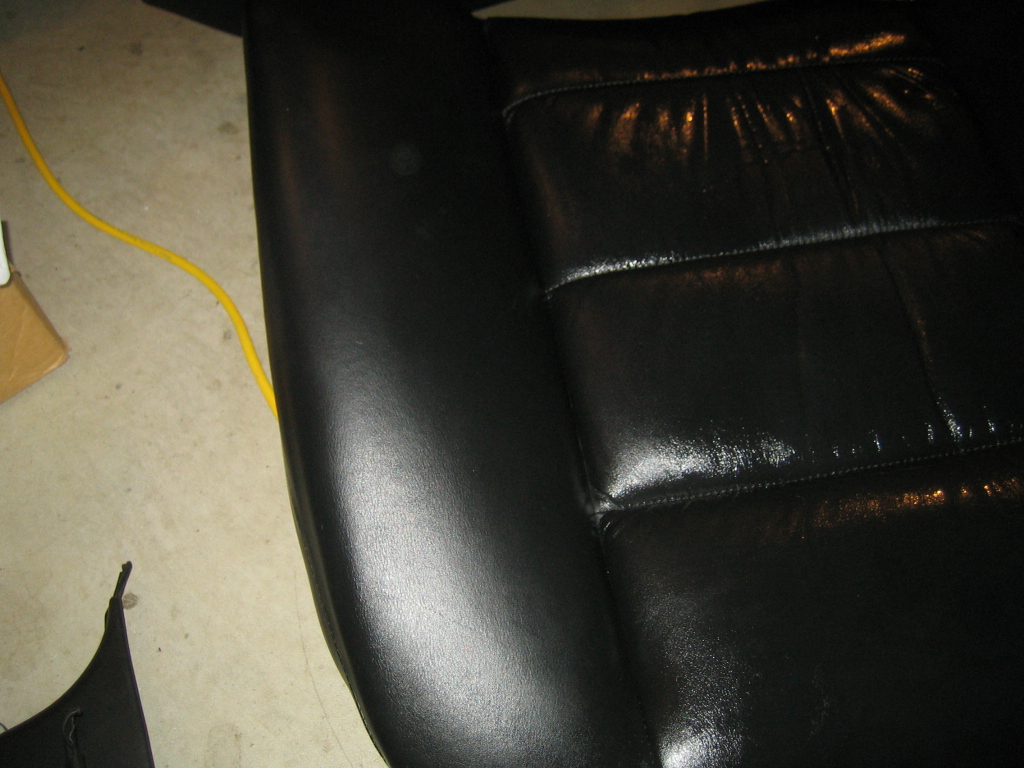
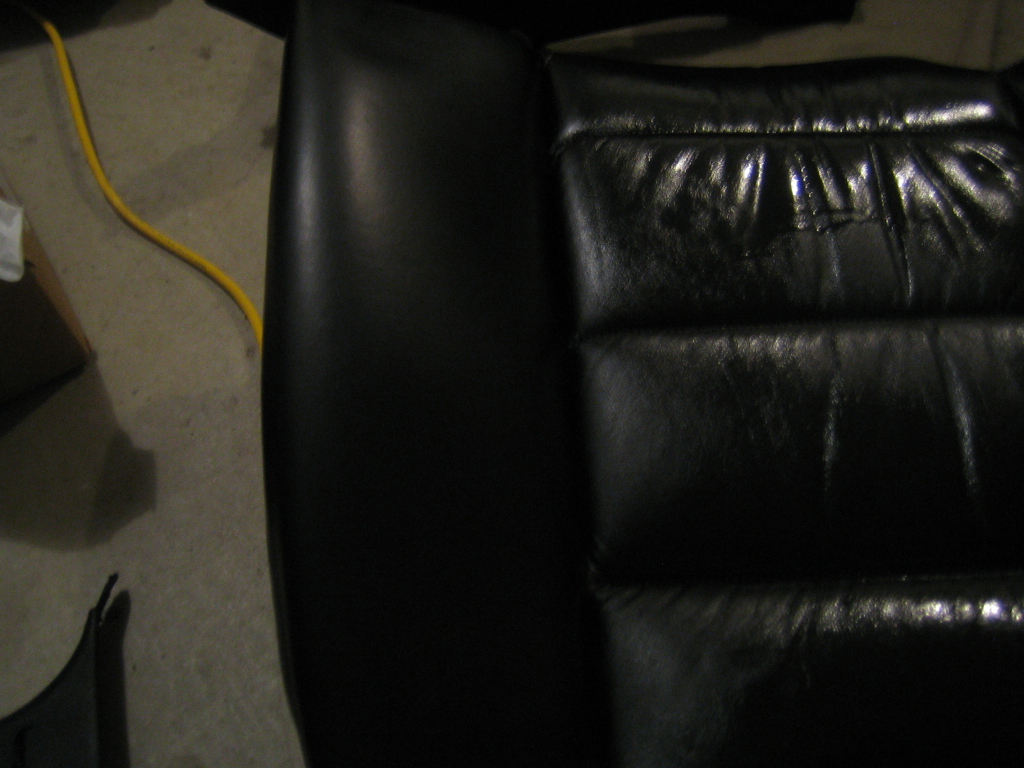
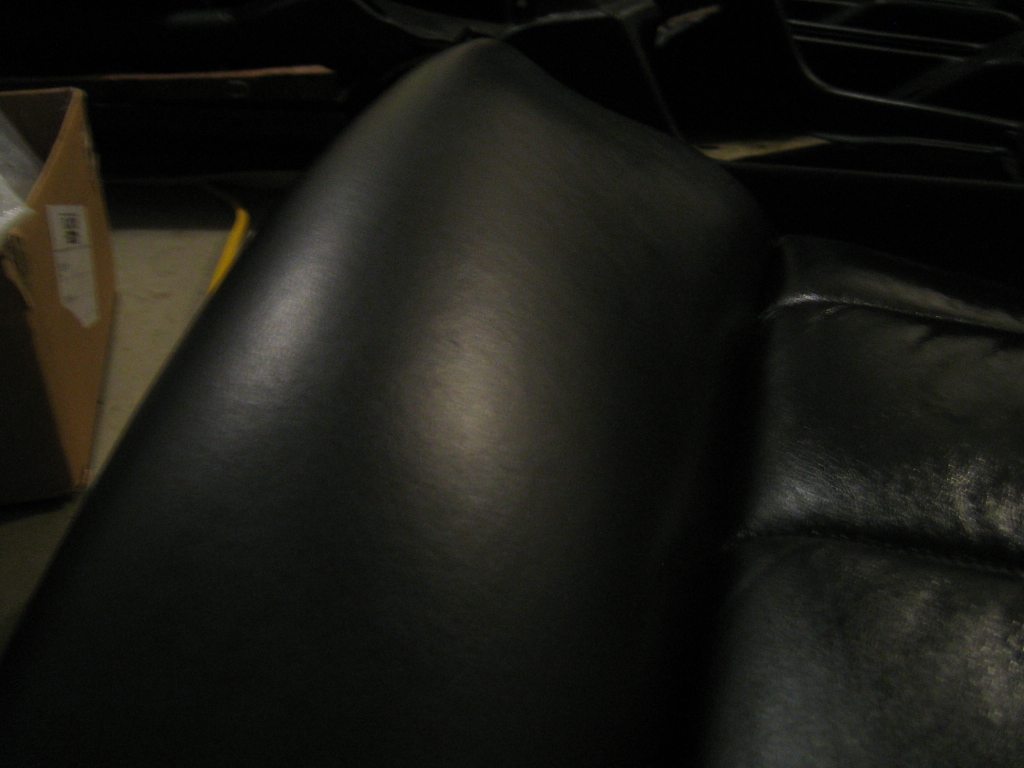
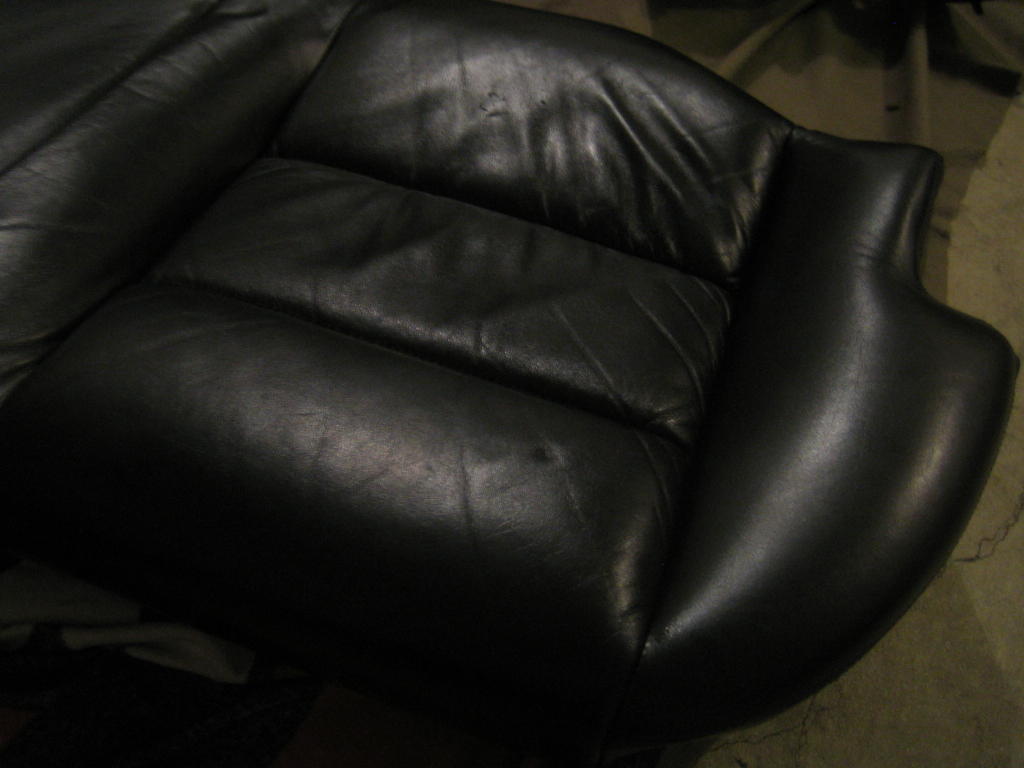
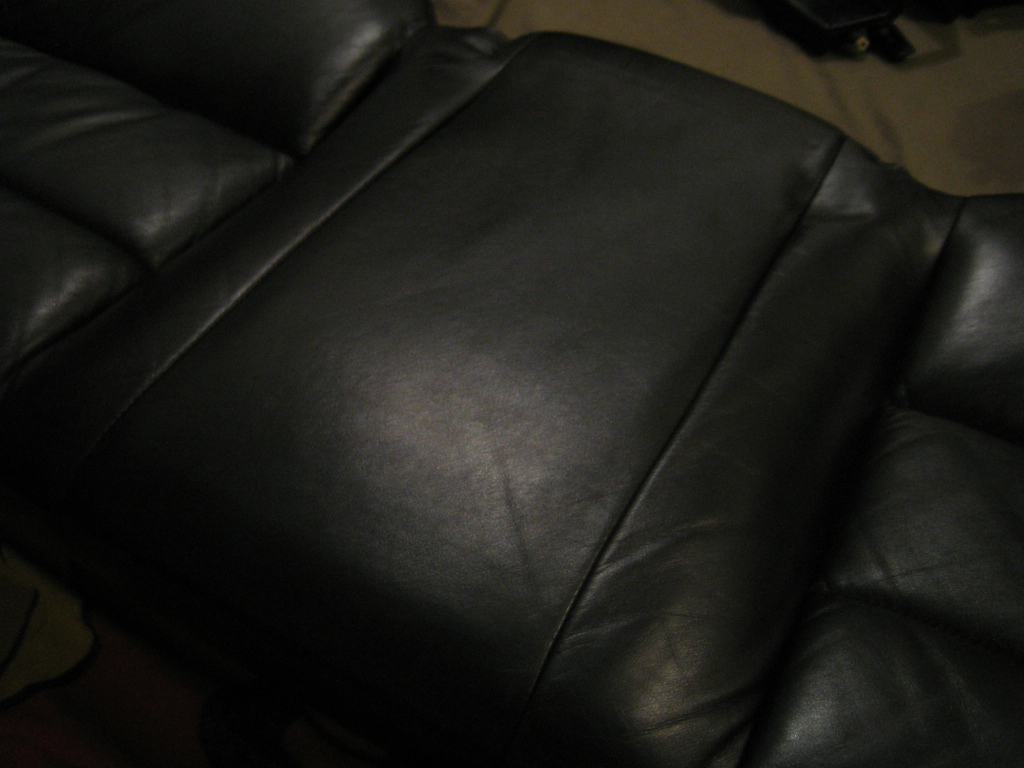
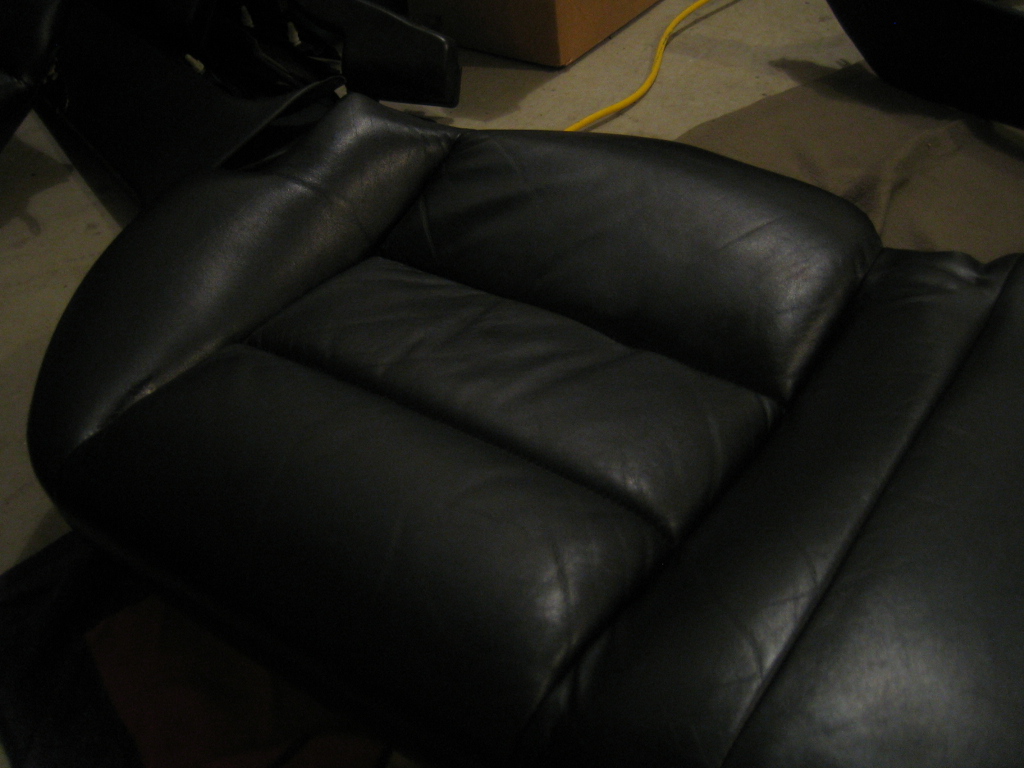
How it looks after buffing
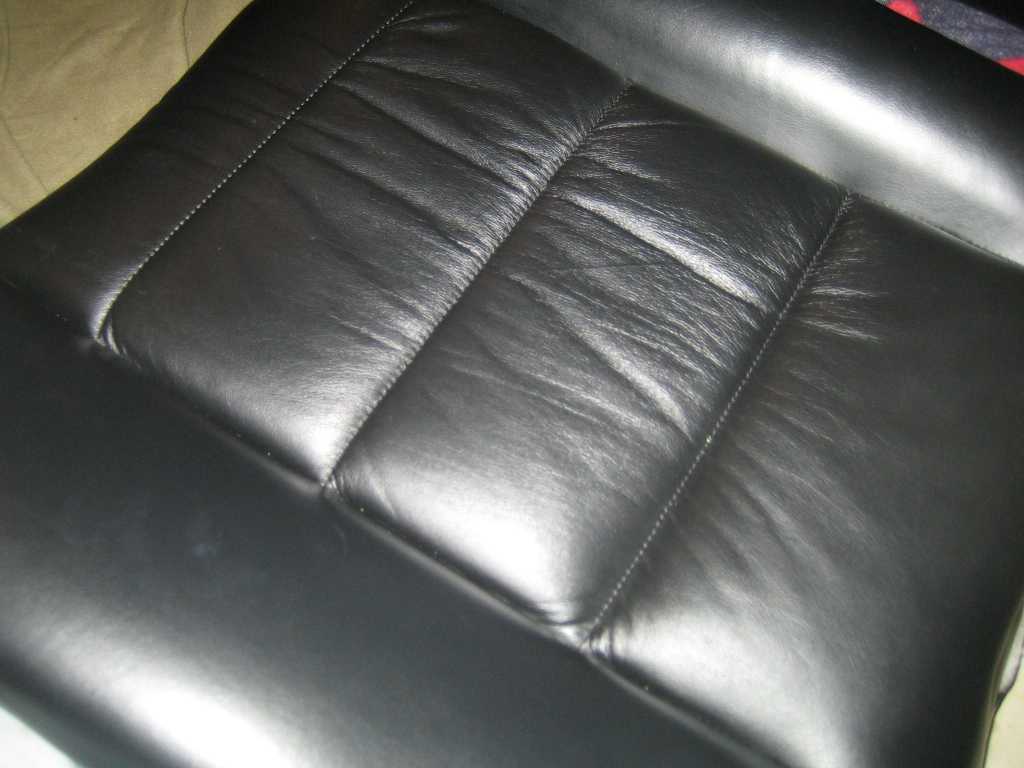

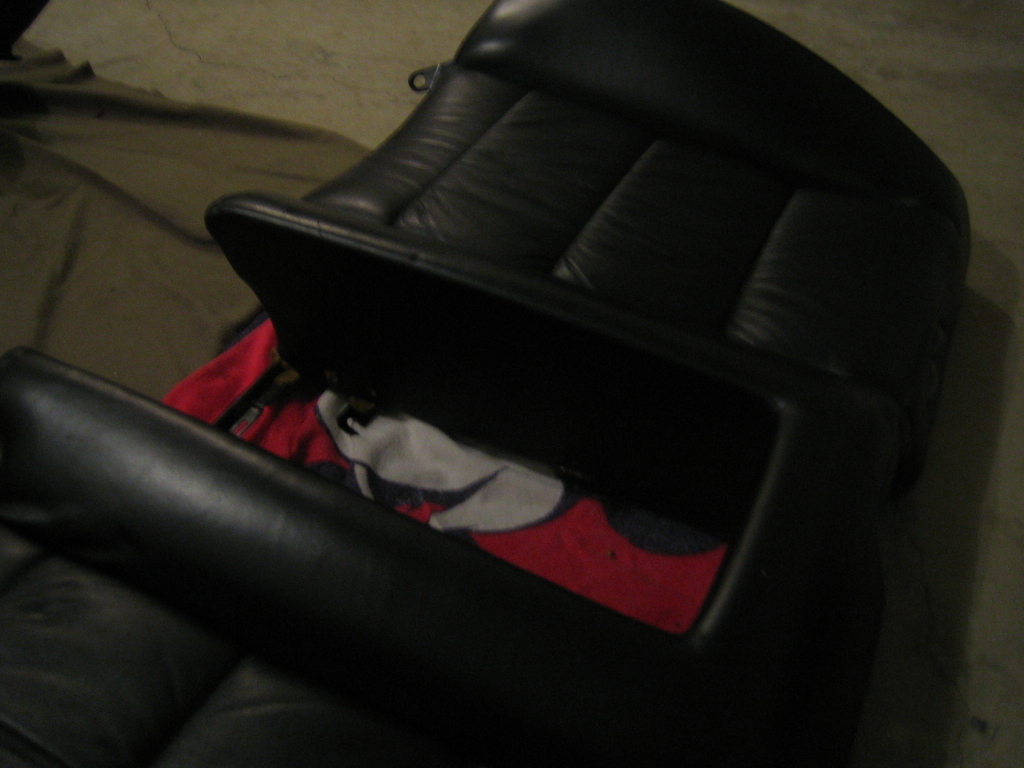
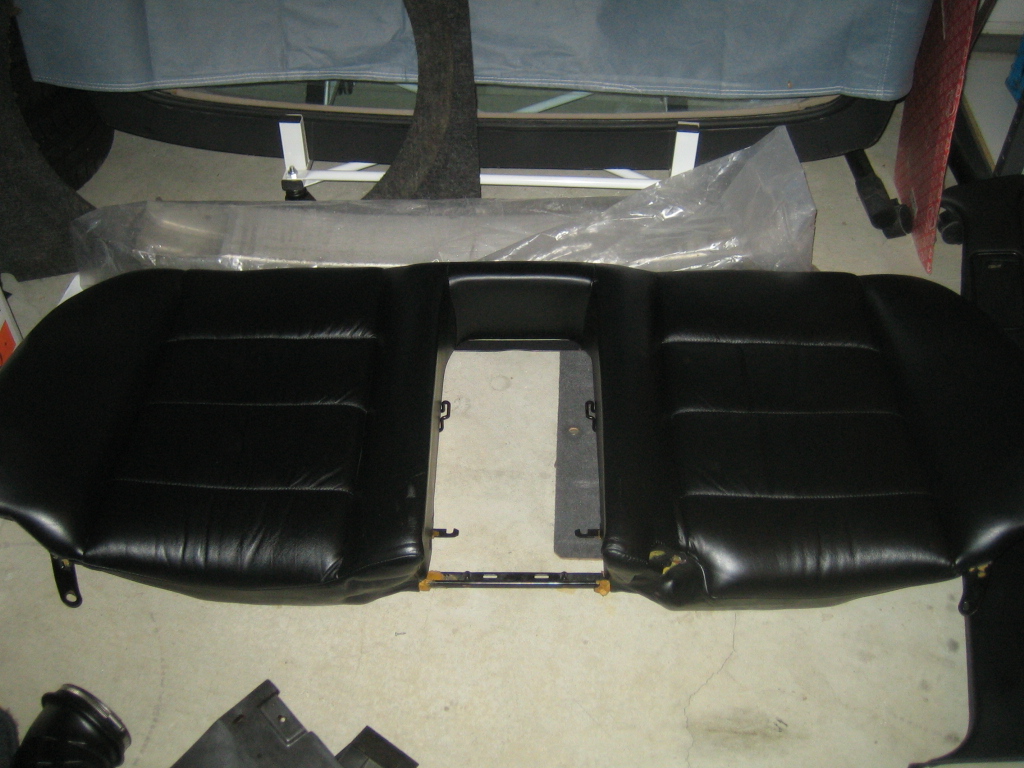
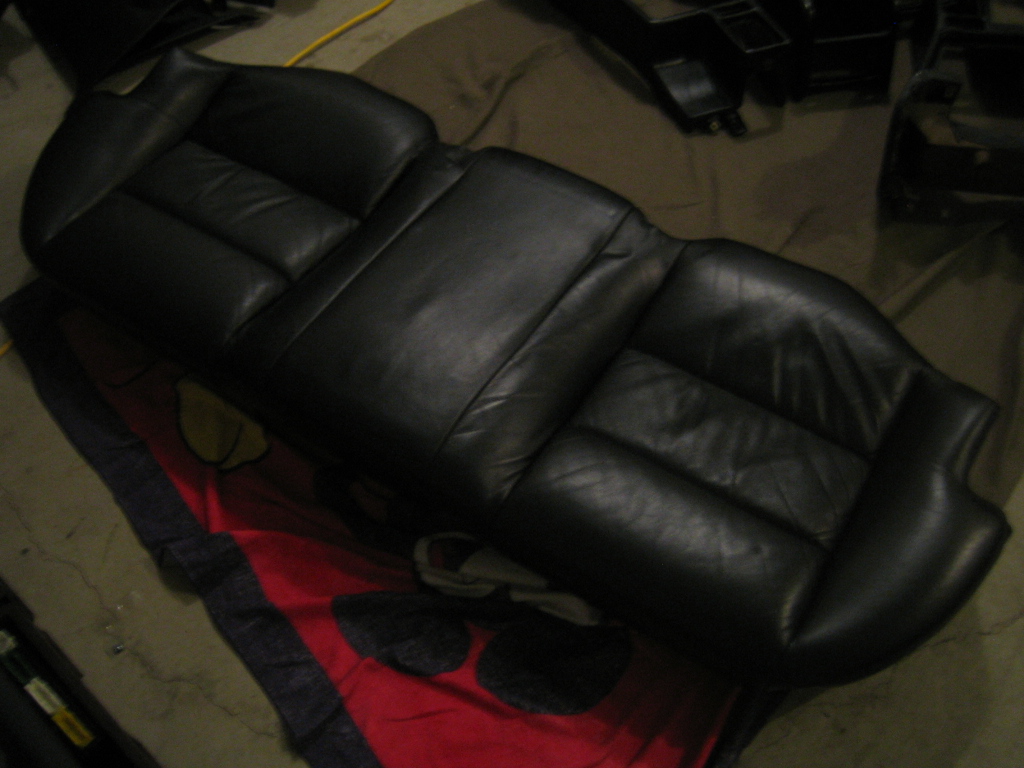
Rear seat bottom after pulling the plastic bags off. You can see the residue left from the Rejuvinating Oil
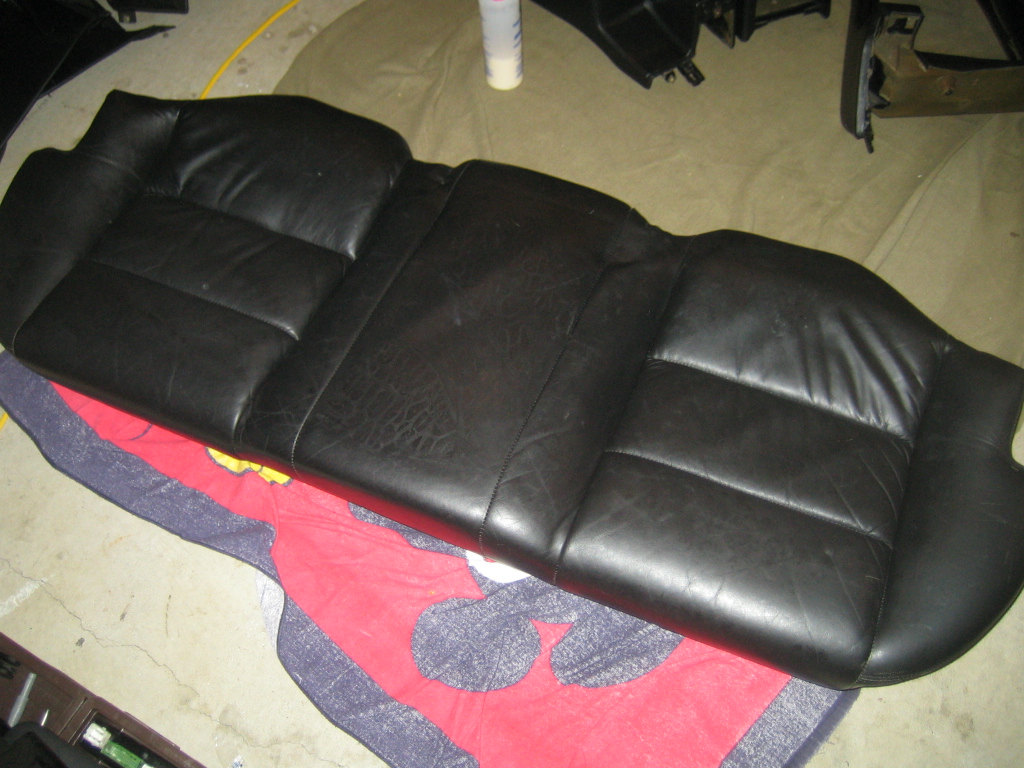
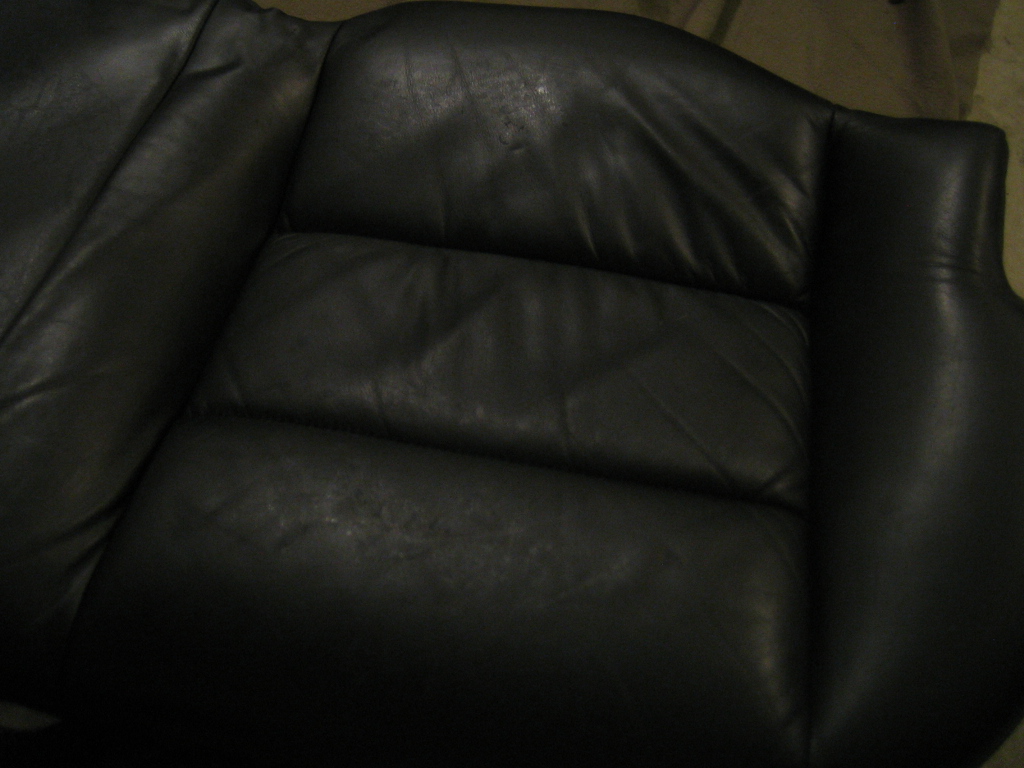

Spraying on the Pristine Clean
How it looks after wiping off the residue and buffing
 Last edited by MC Hammered; 04-25-2016, 10:08 PM.
Leave a comment:


Leave a comment: