Goodbye Nina... say hello to Veronica

Collapse
X
 
  • Time
  • Show
Clear All
new posts

  • MC Hammered
    replied
    Today we finish off wiping down the trunk and hit the driver side


    My OCD side went into full effect and I decided to clean the area under the trunk trim
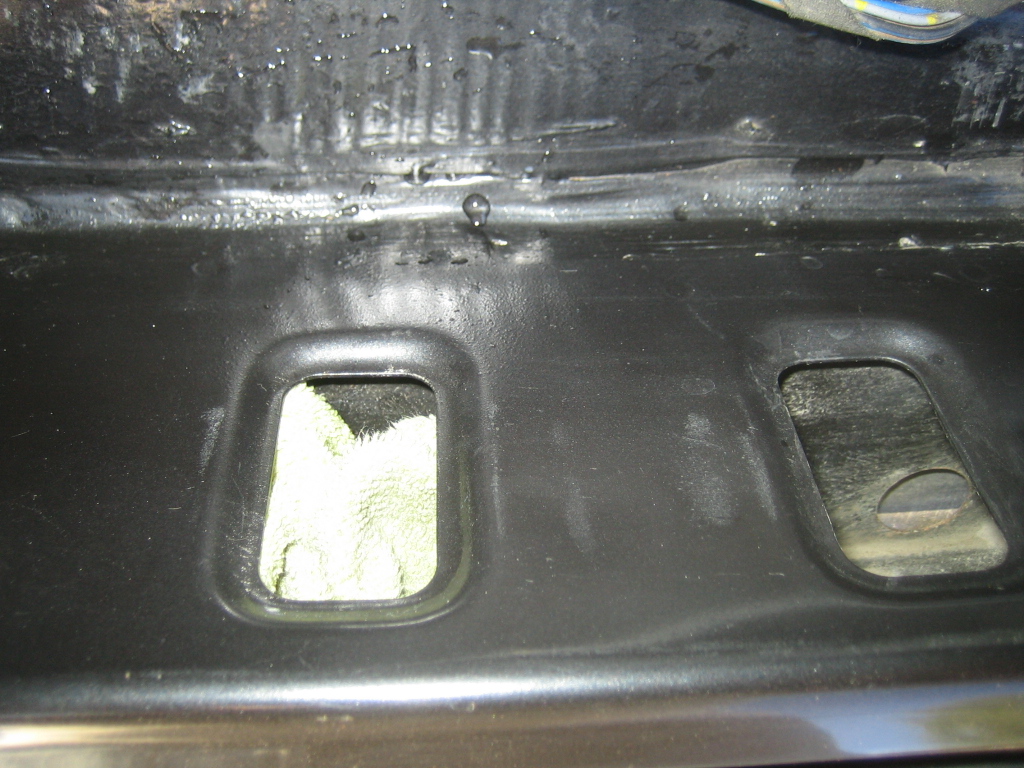


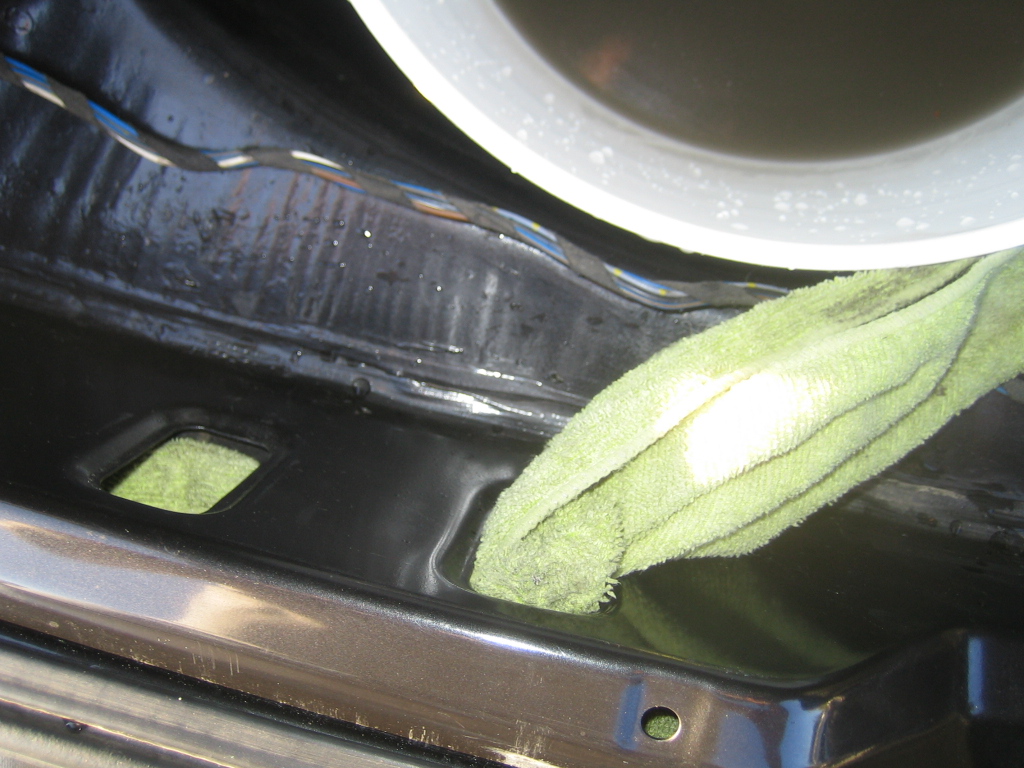
    And the bucket of water
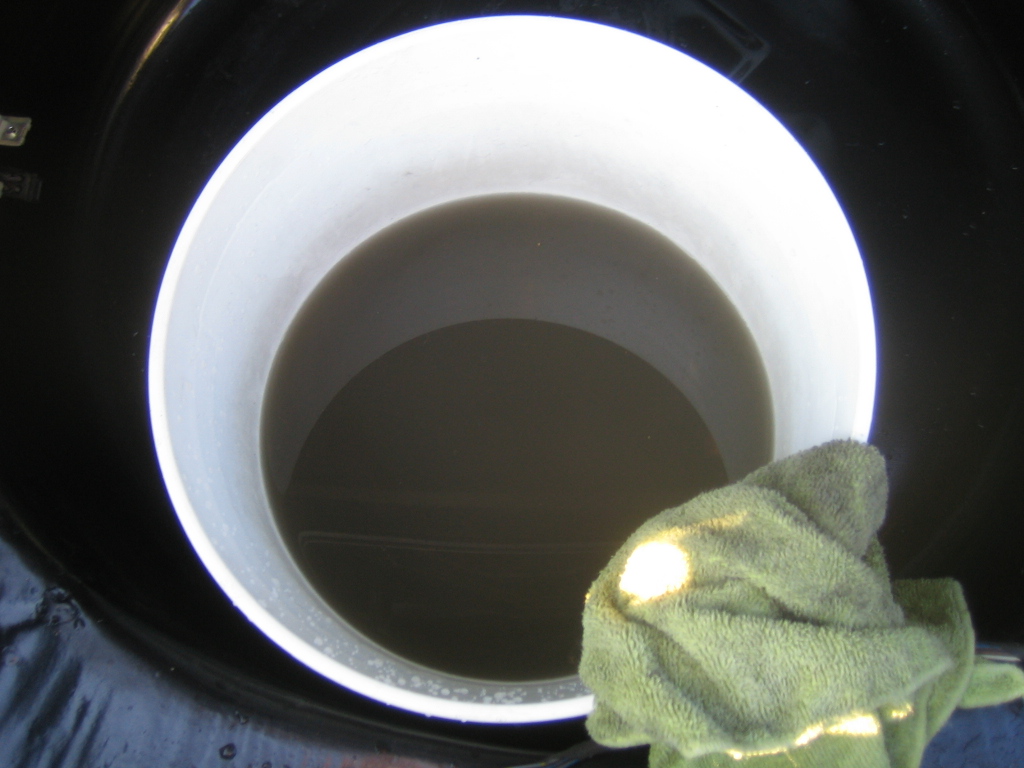


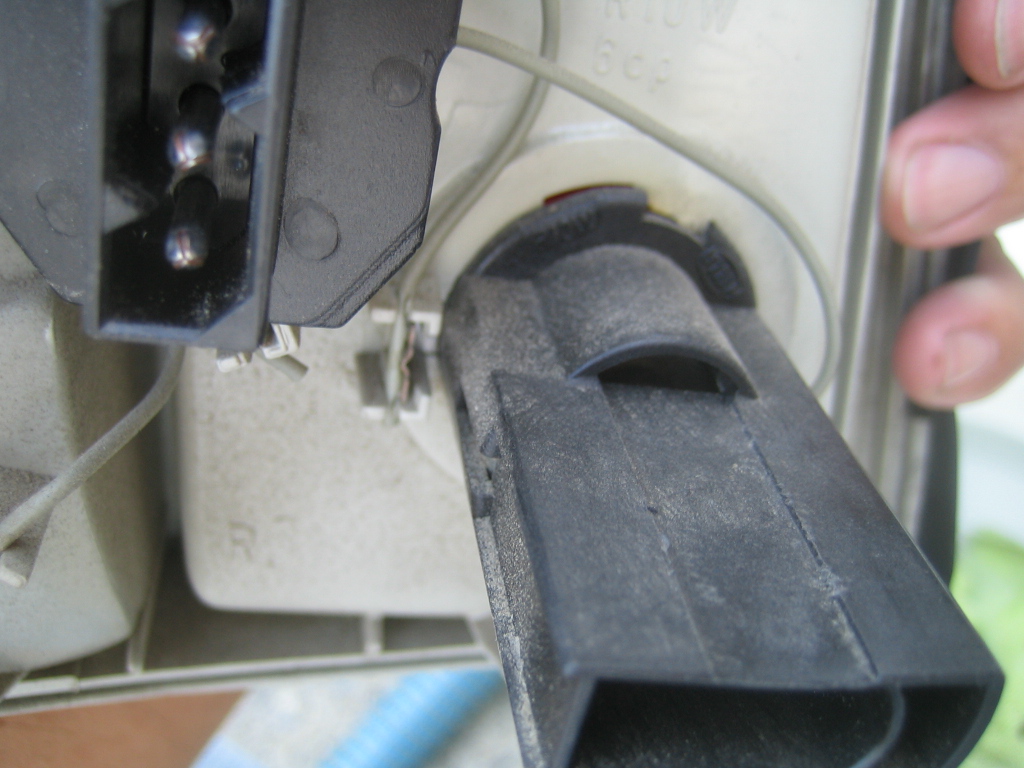
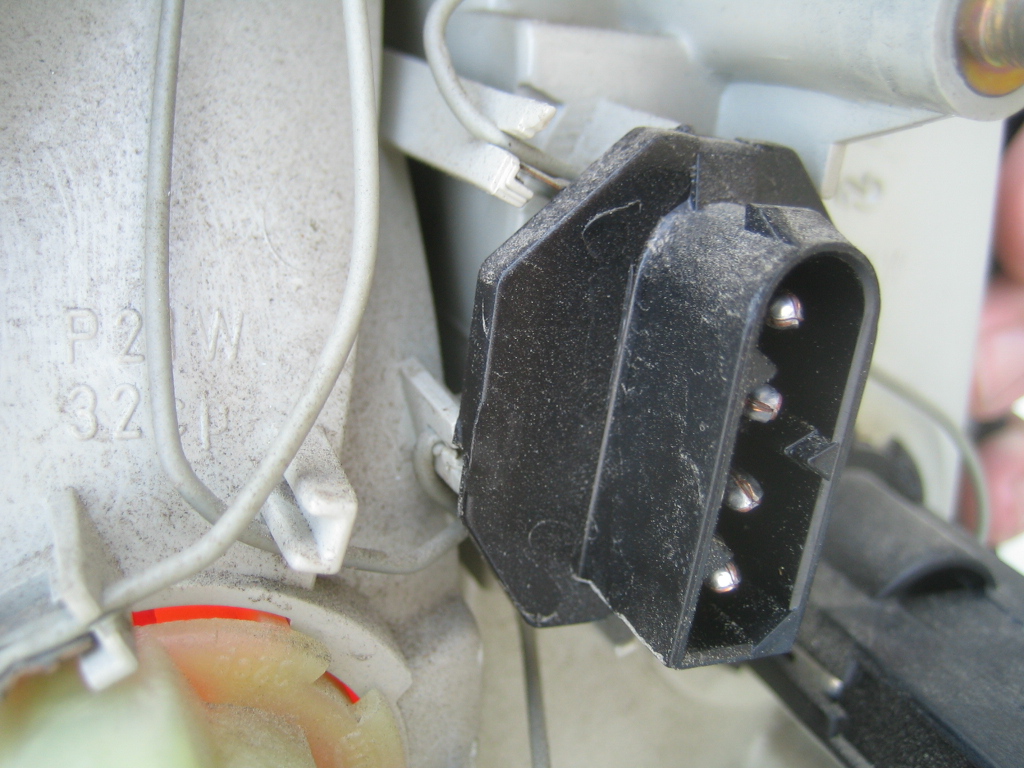
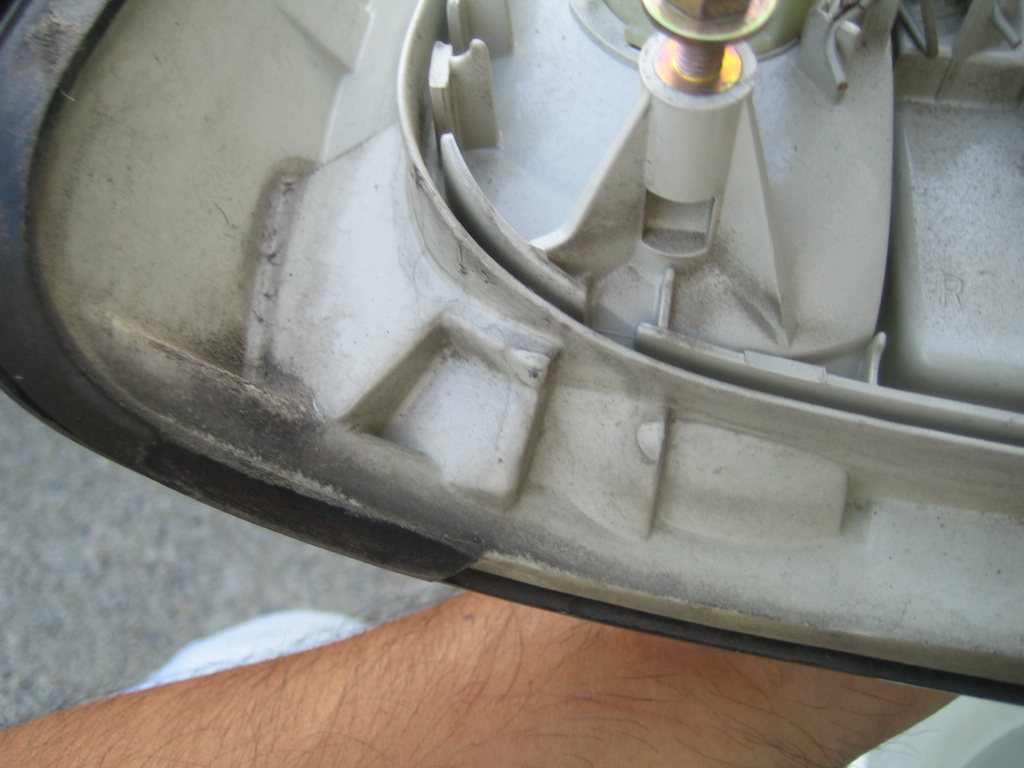
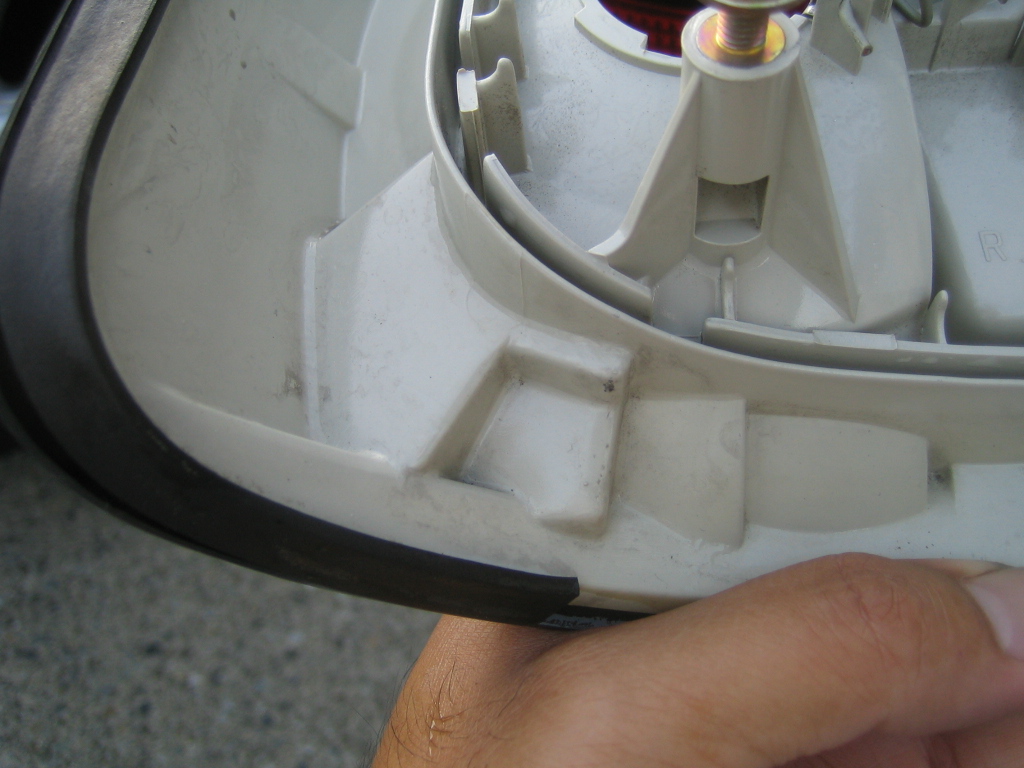
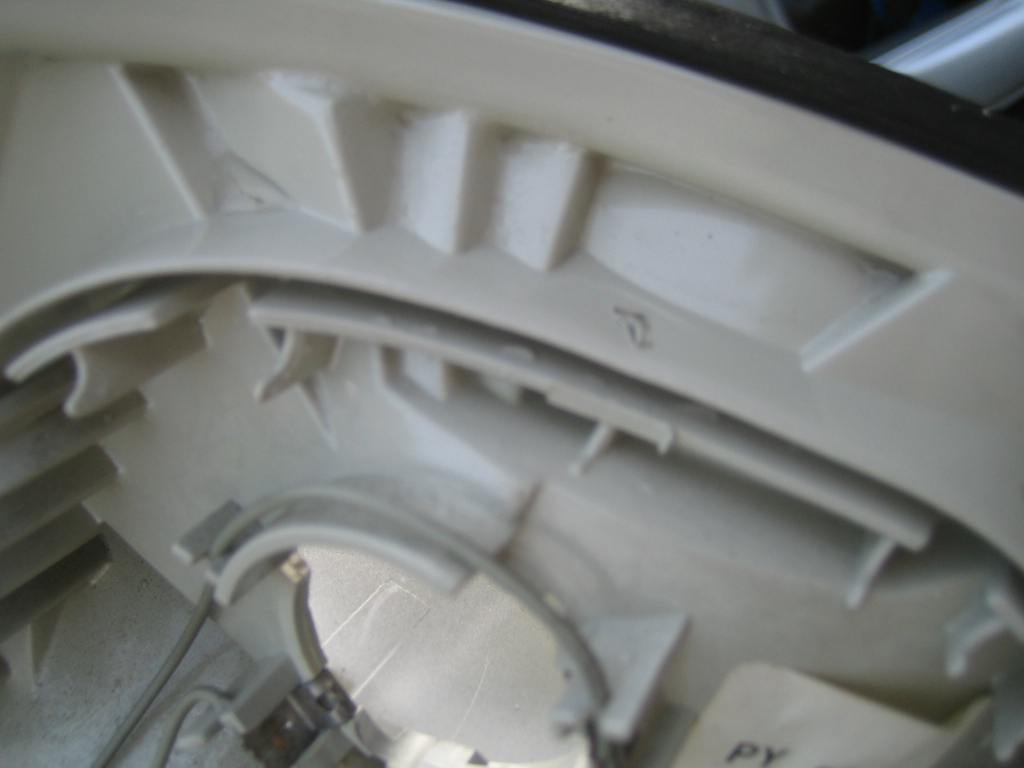
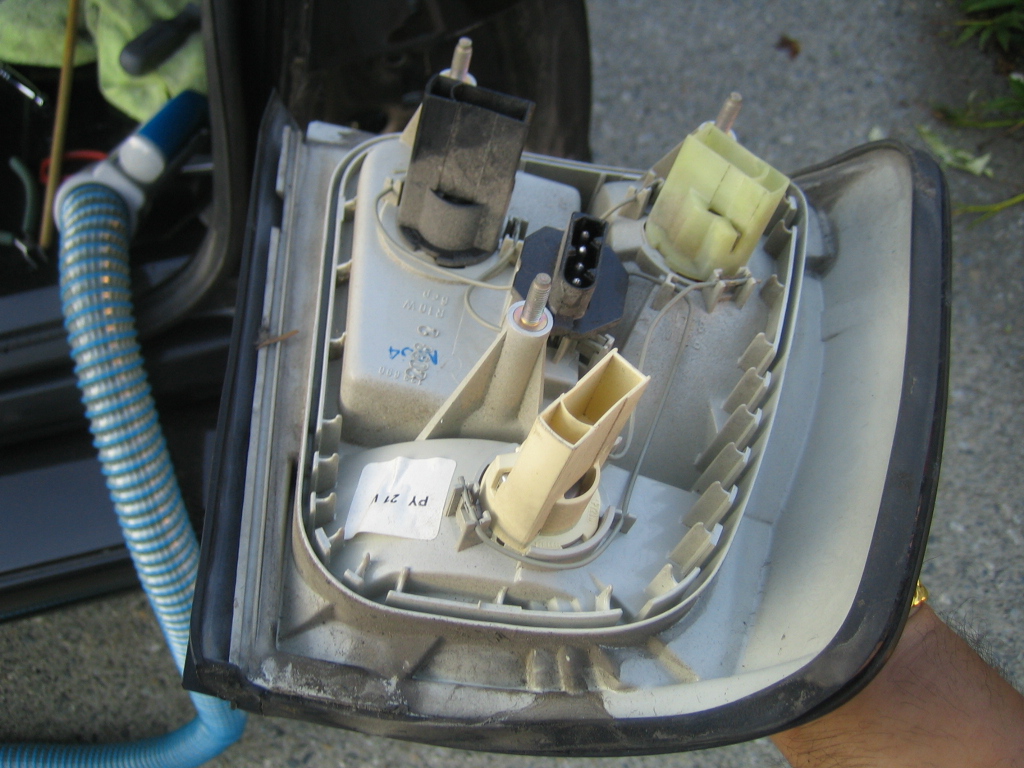
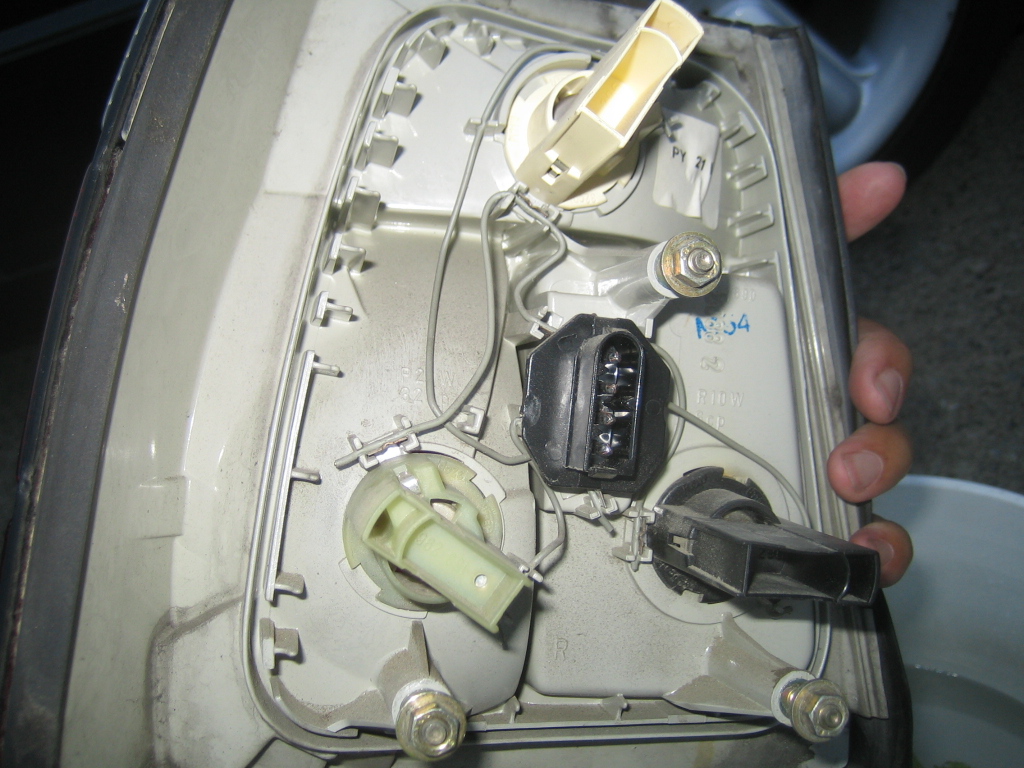
    Time to clean off the tail lights

    Before


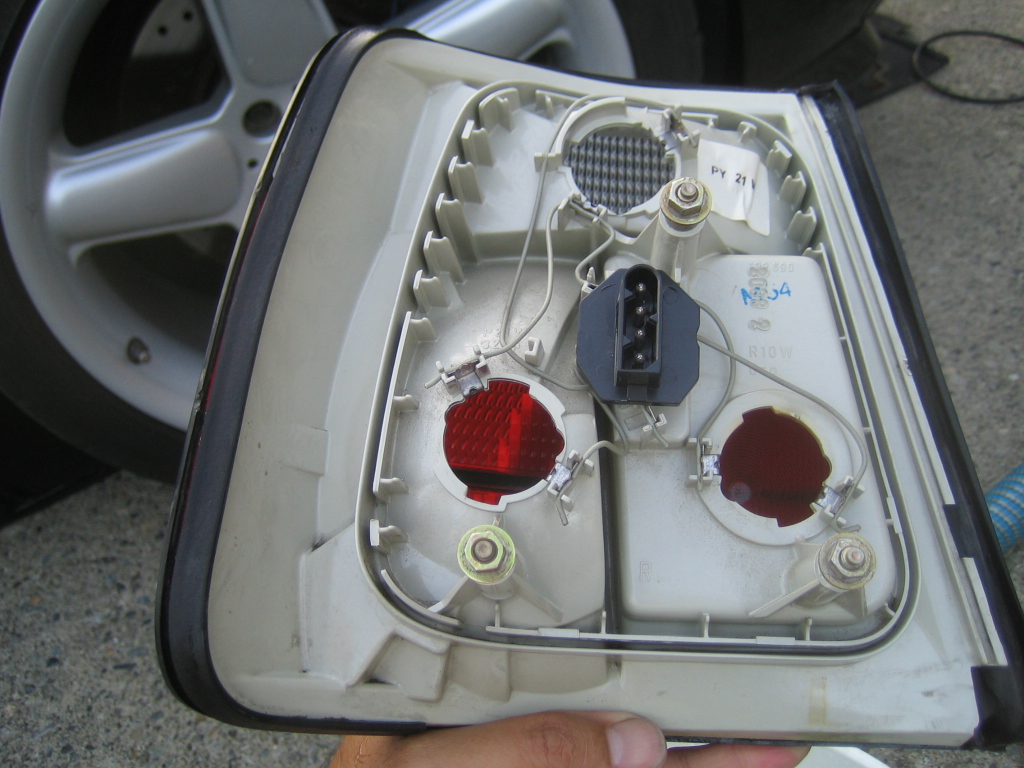
    After


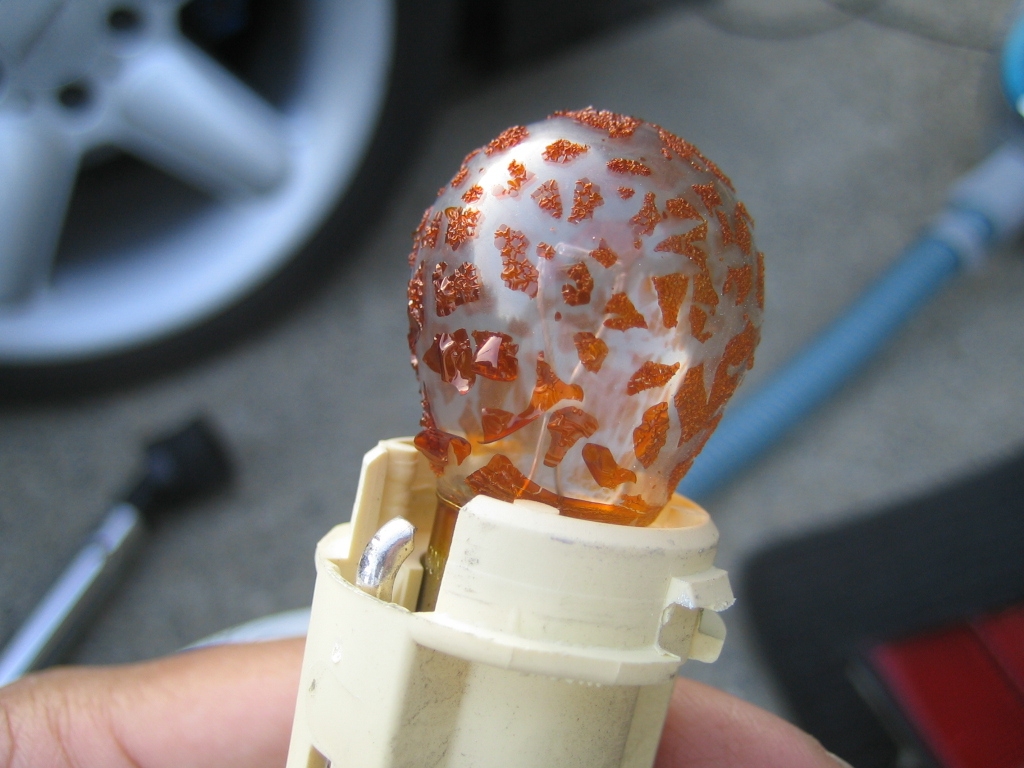
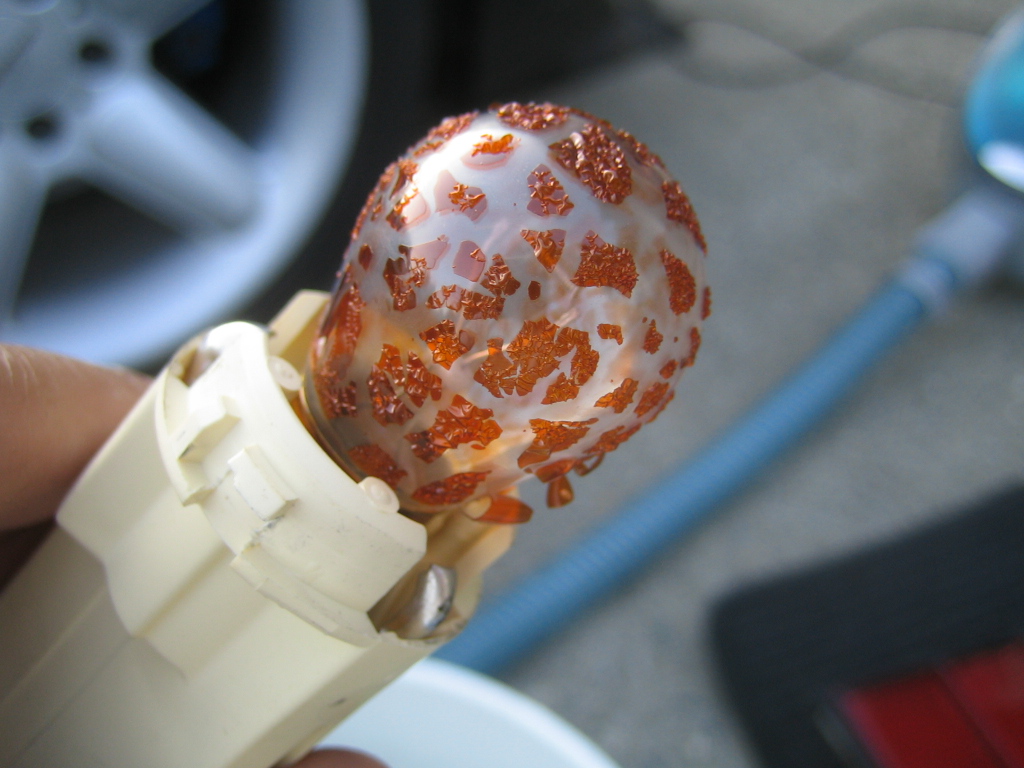
    Wonder how old this bulb is?


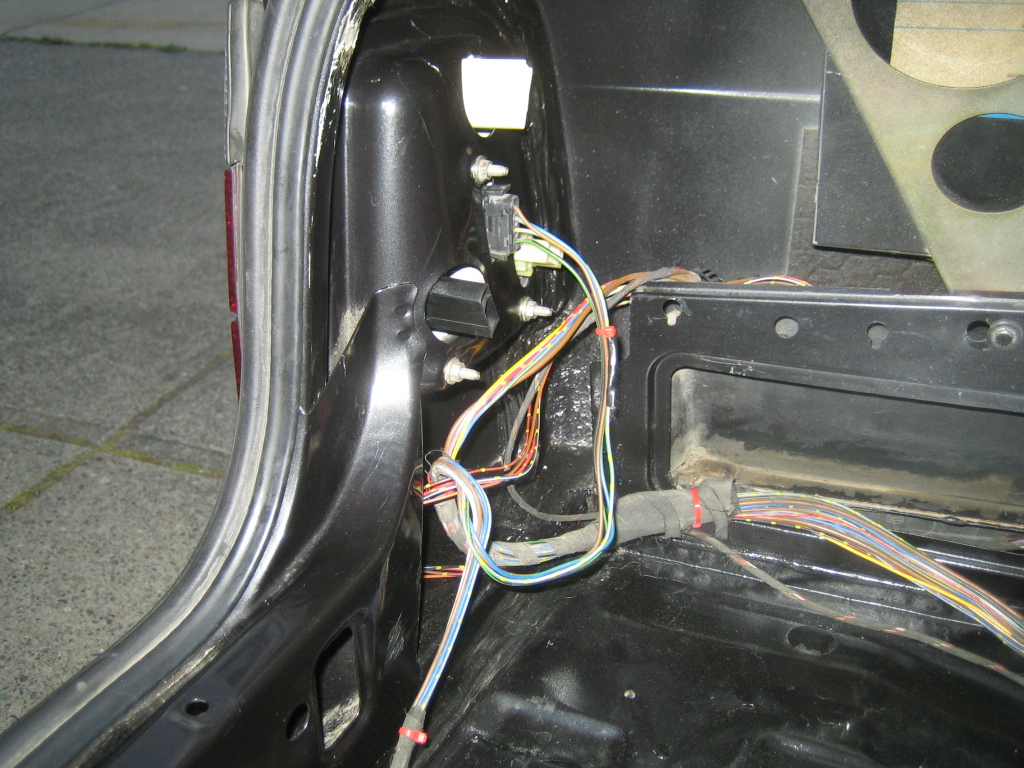
    Cleaning up the wiring and reinstalling the tail lights
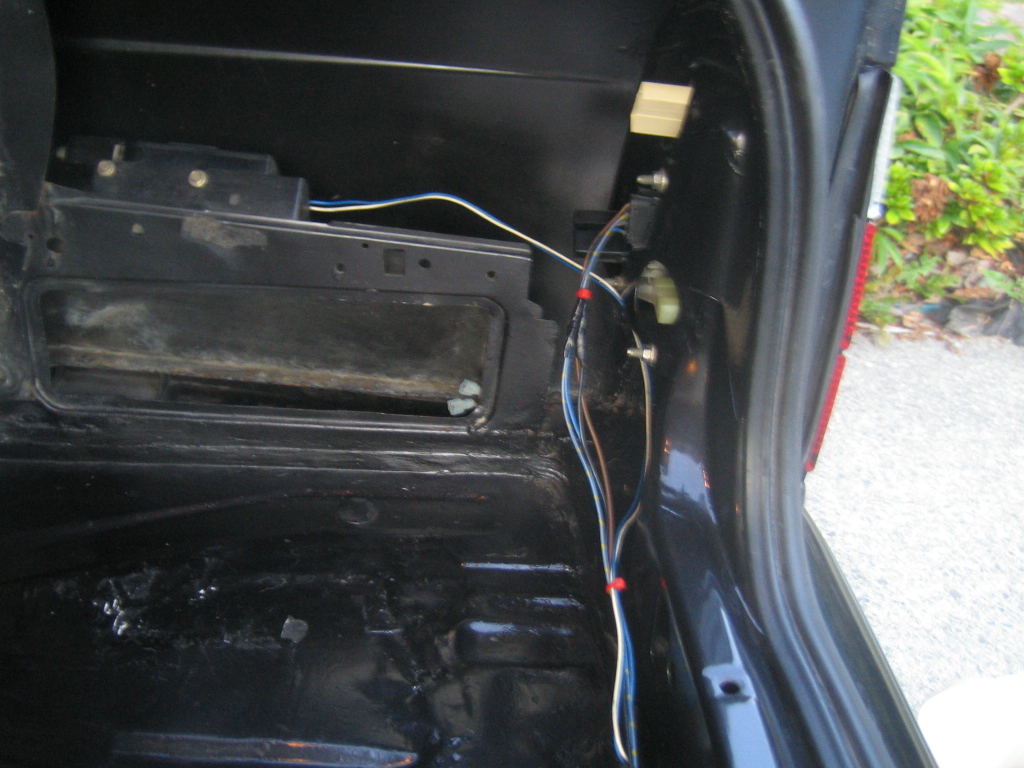


    How the trunk looked before
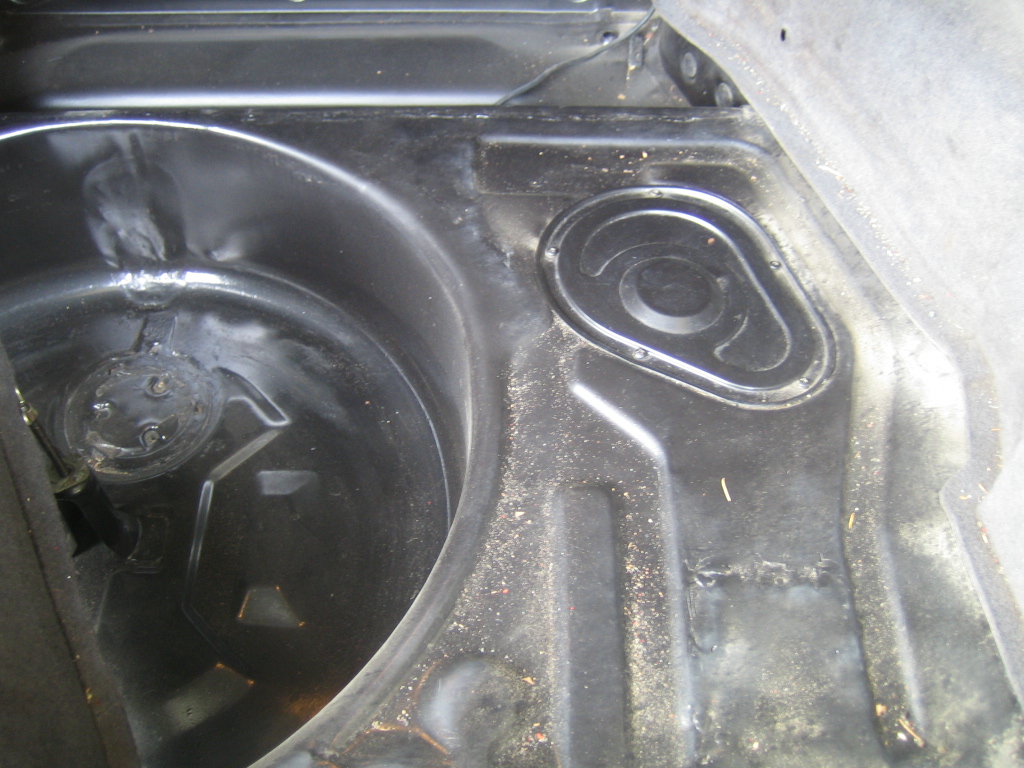


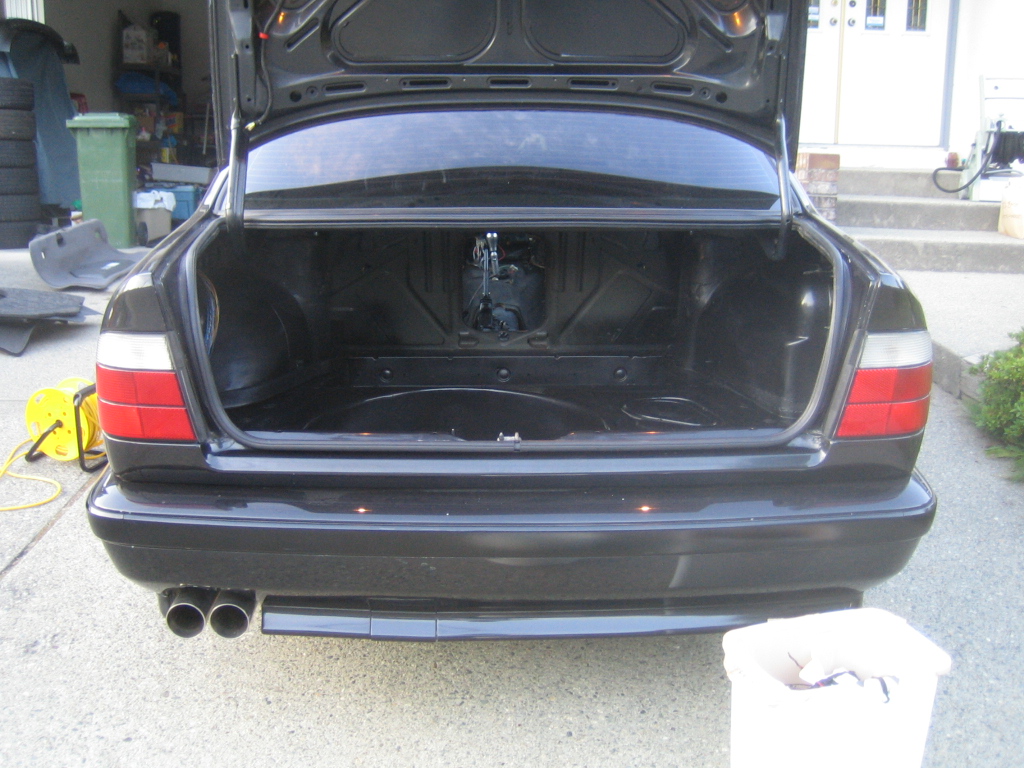
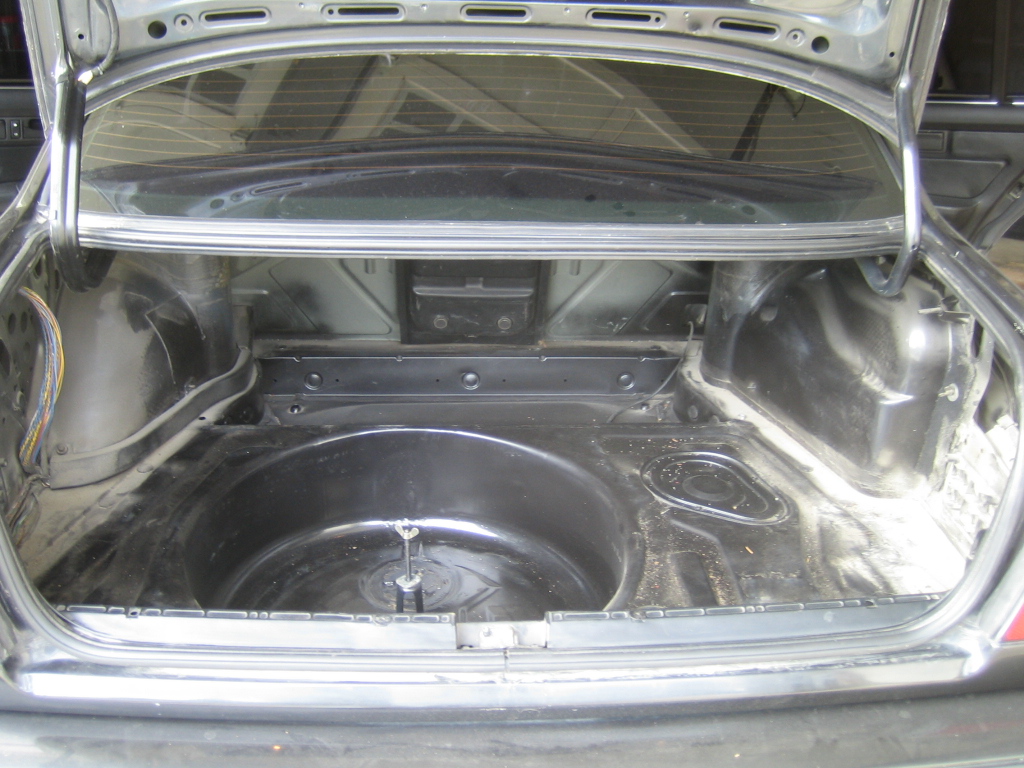
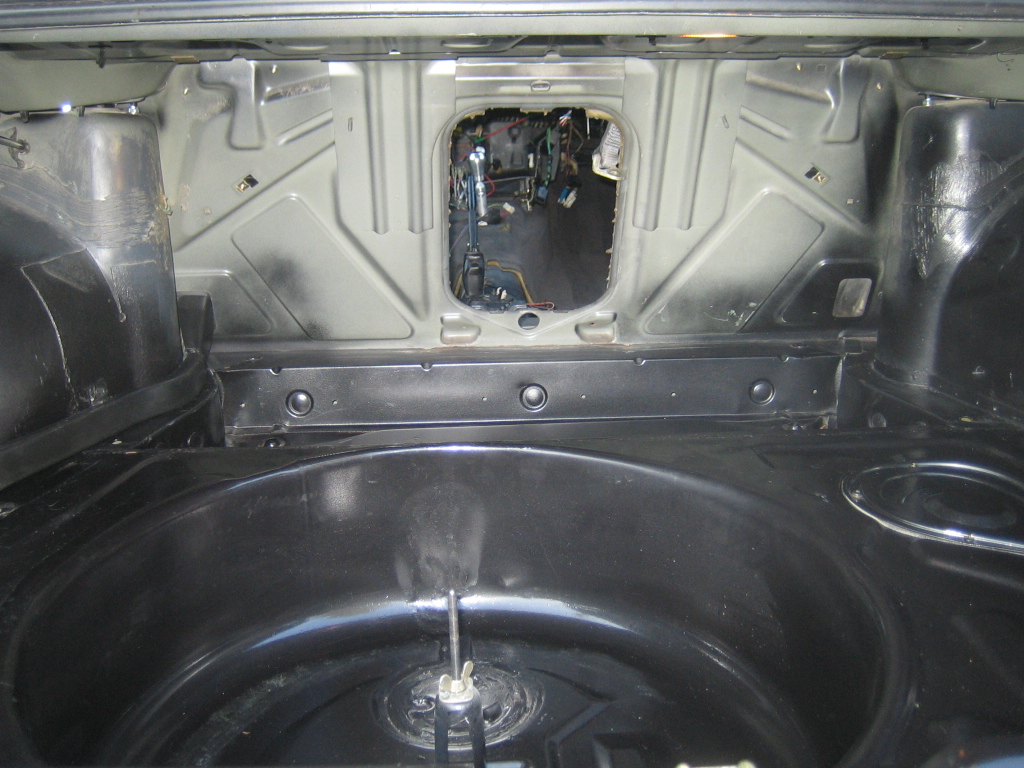
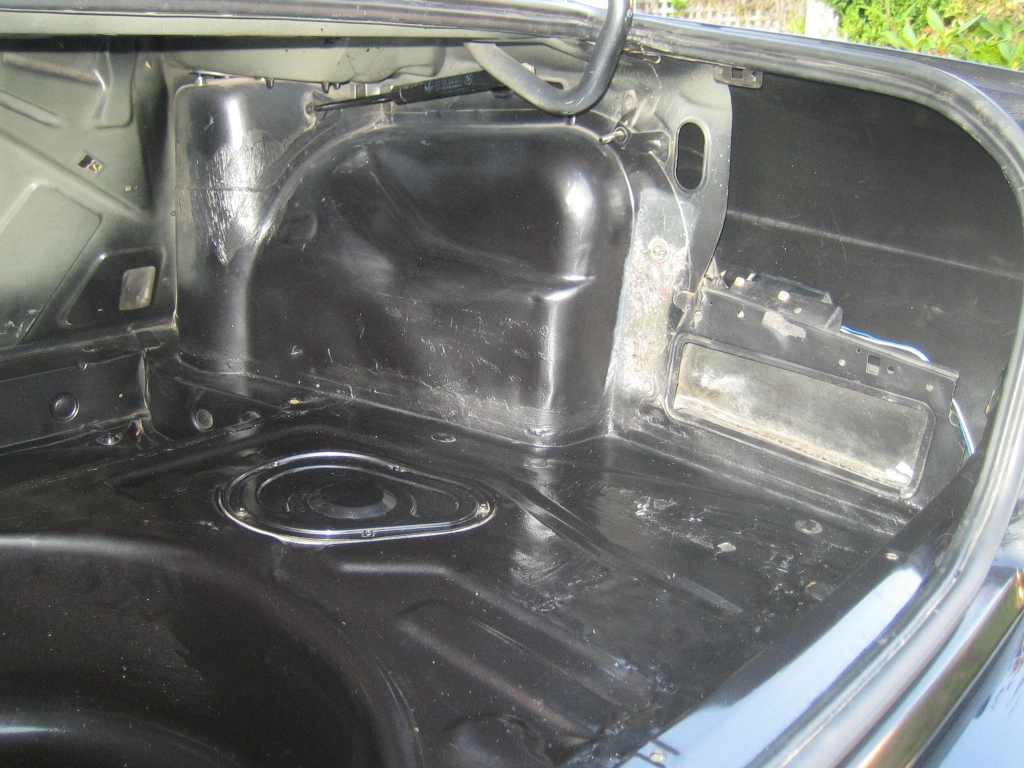
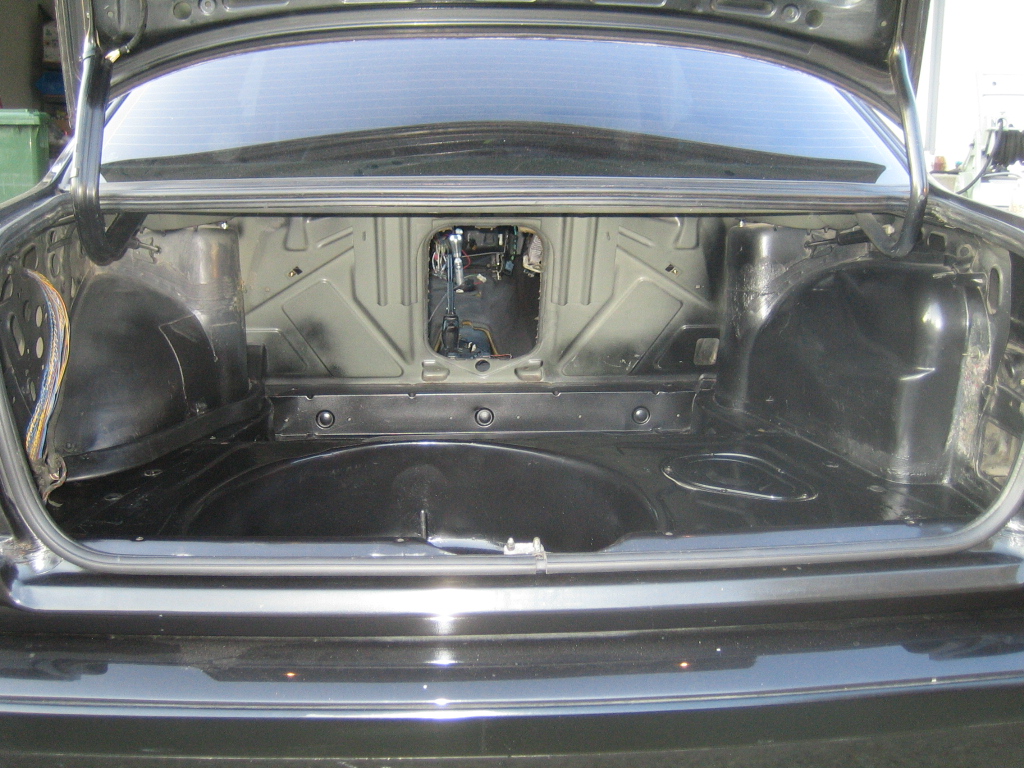
    Pics of the trunk as clean as I can get it


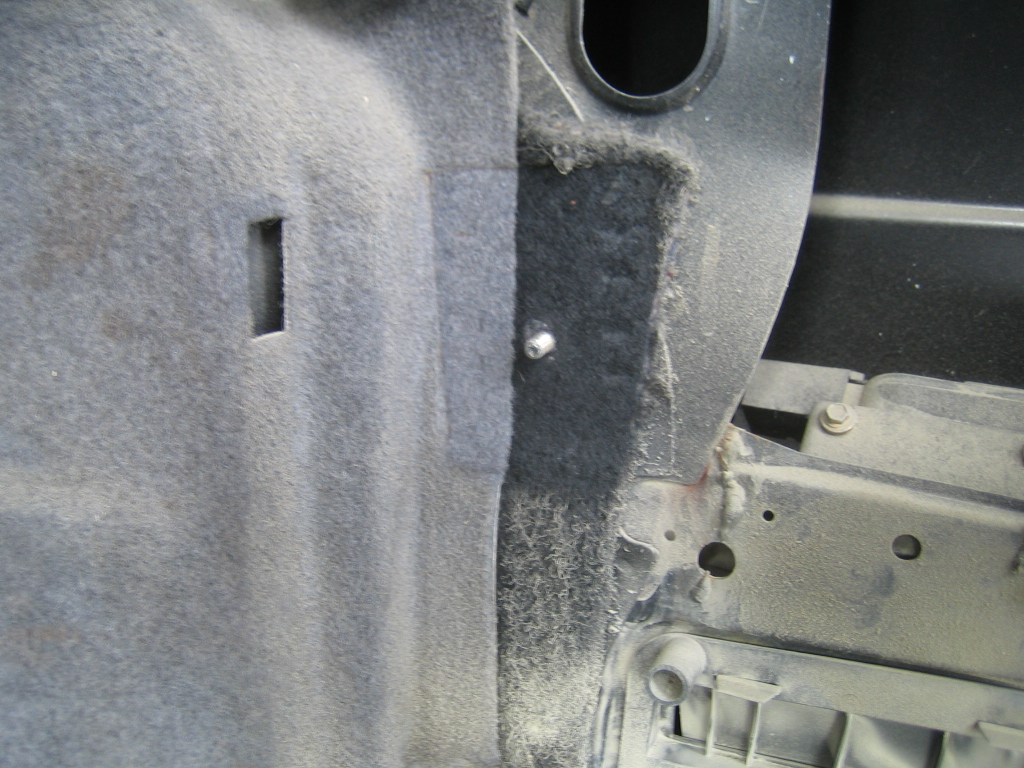
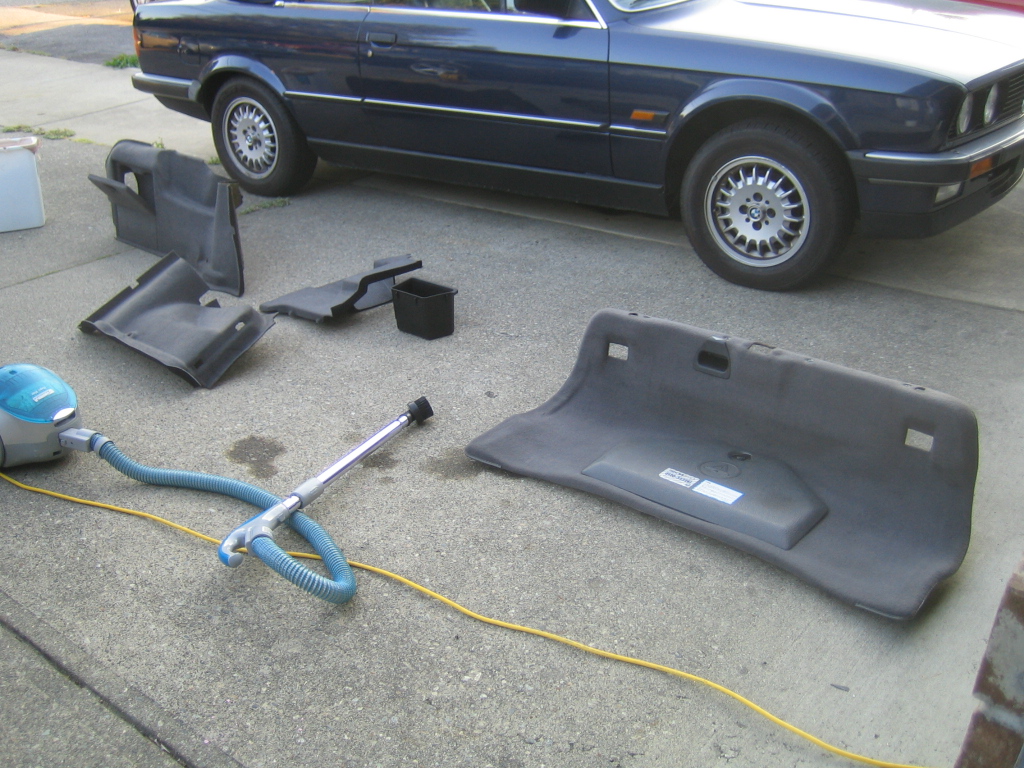
    Cleaning up the trunk trim pieces and reinstalling them
    Last edited by MC Hammered; 04-25-2016, 10:07 PM.

    Leave a comment:


  • MC Hammered
    replied
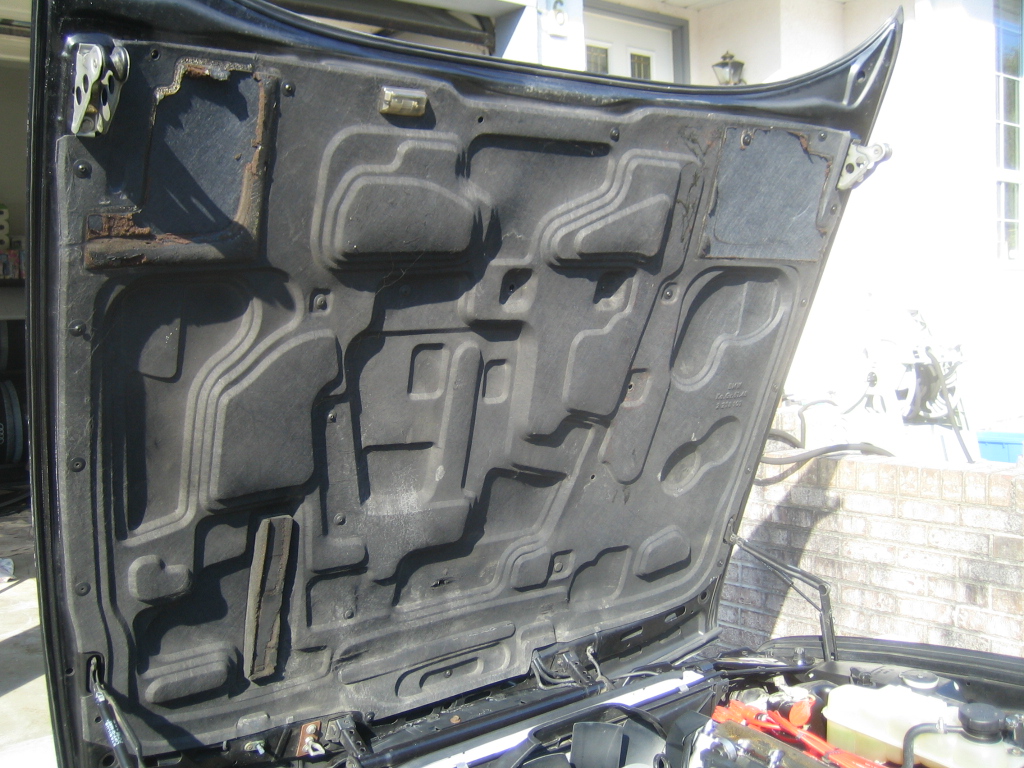
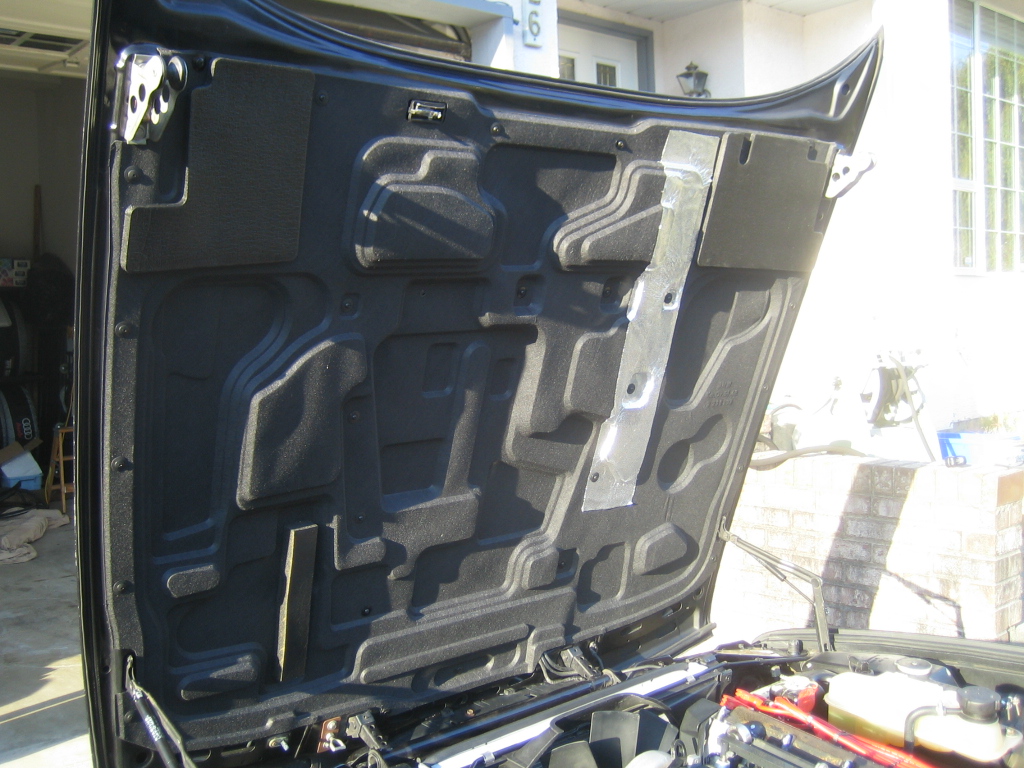
    Today we install the first new part on the car! It is a new under hood trunk trim panel.

    The old one


    The new one


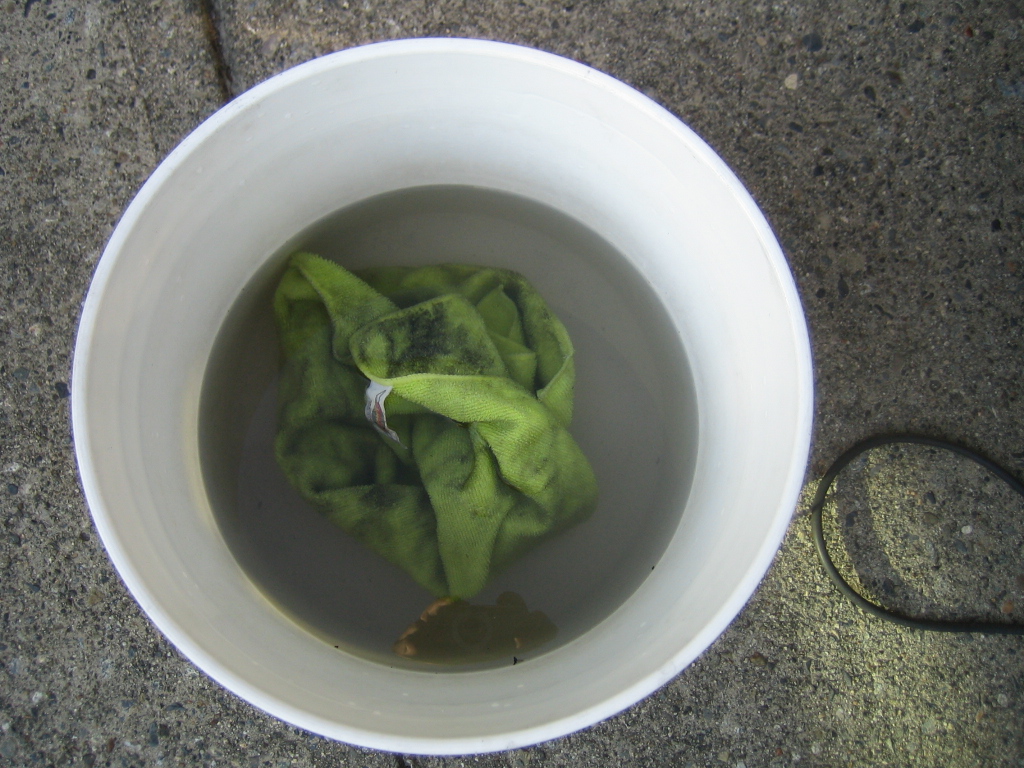
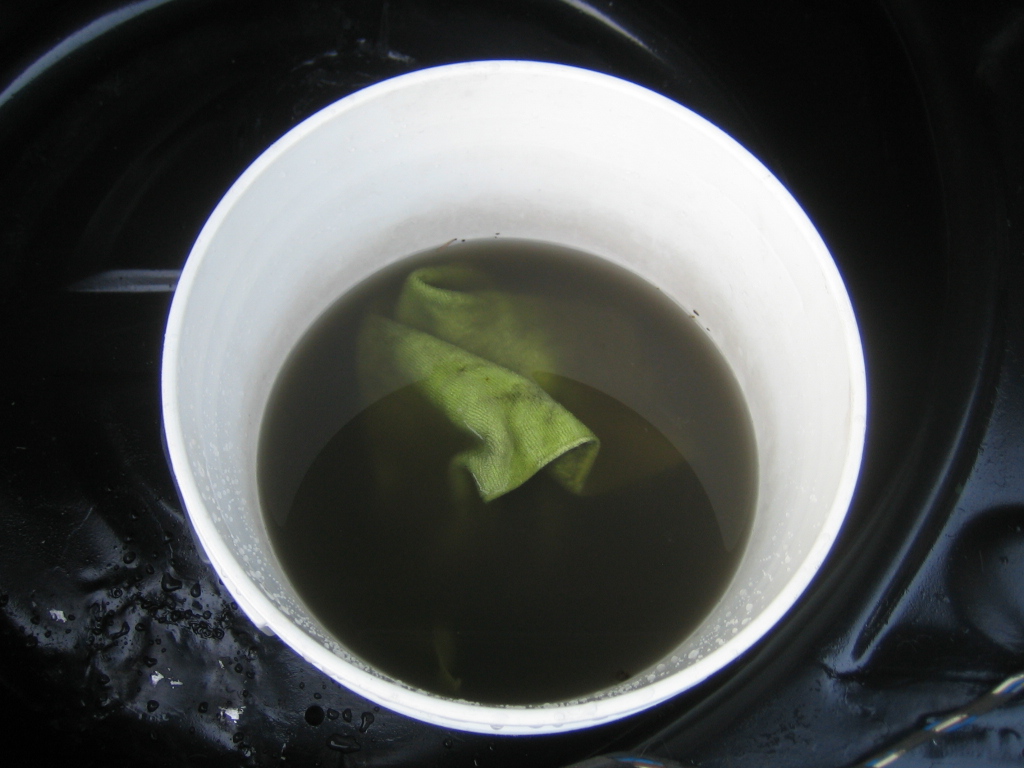
    The bucket of water after I wiped down the backside of the hood


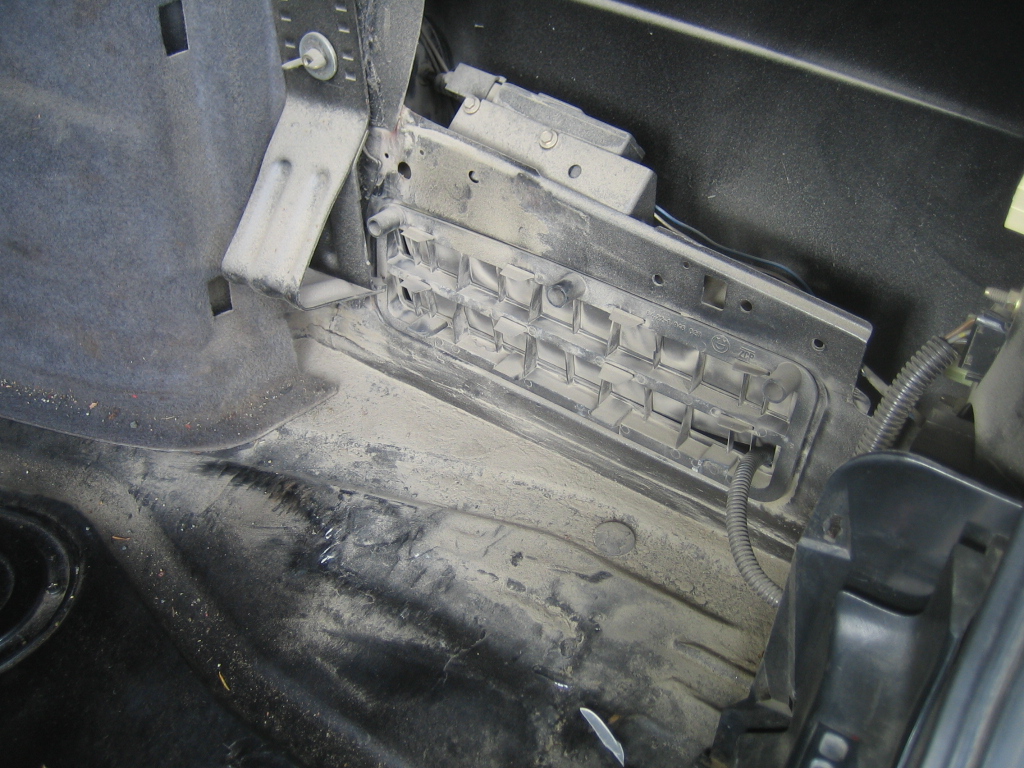
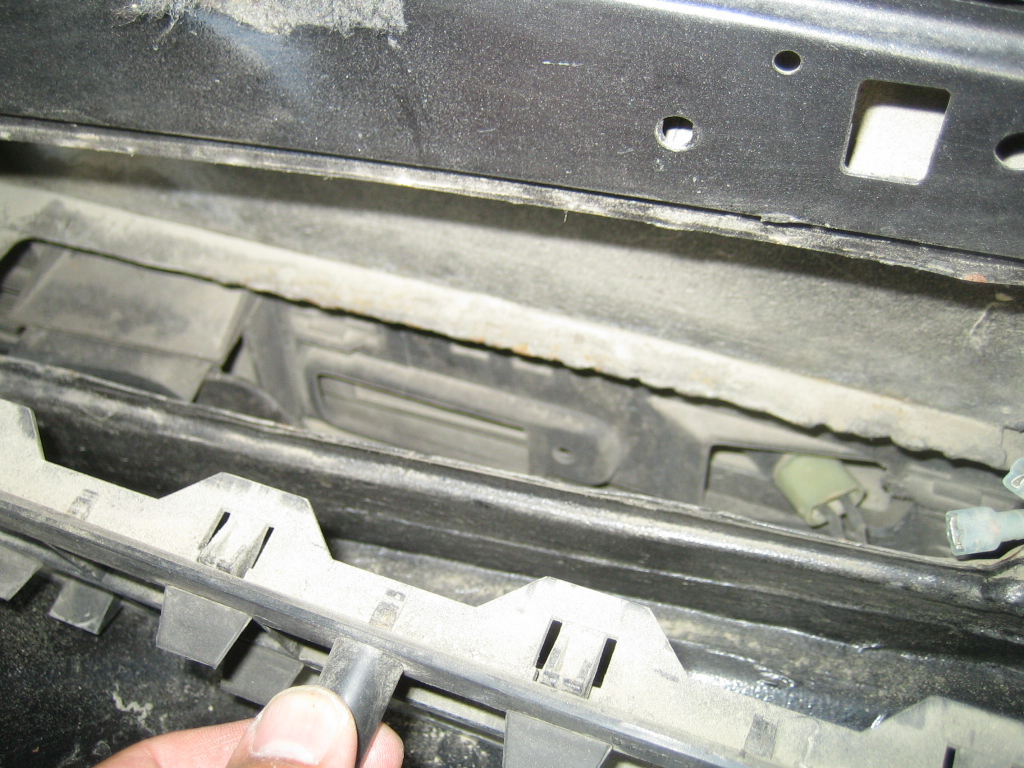
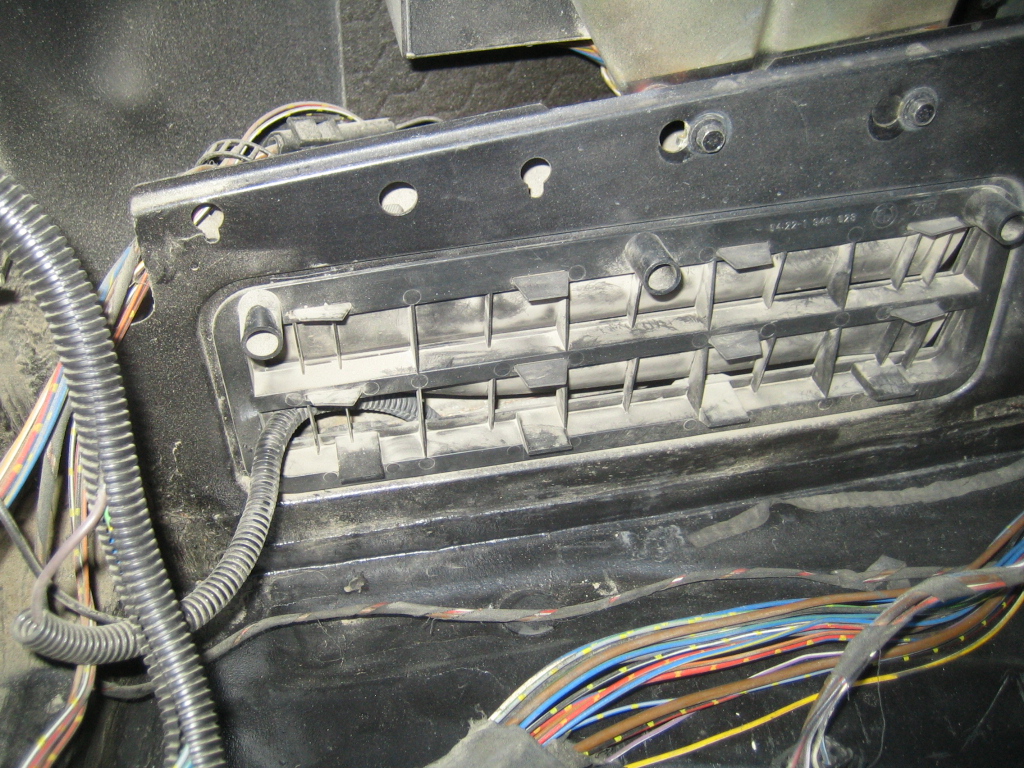
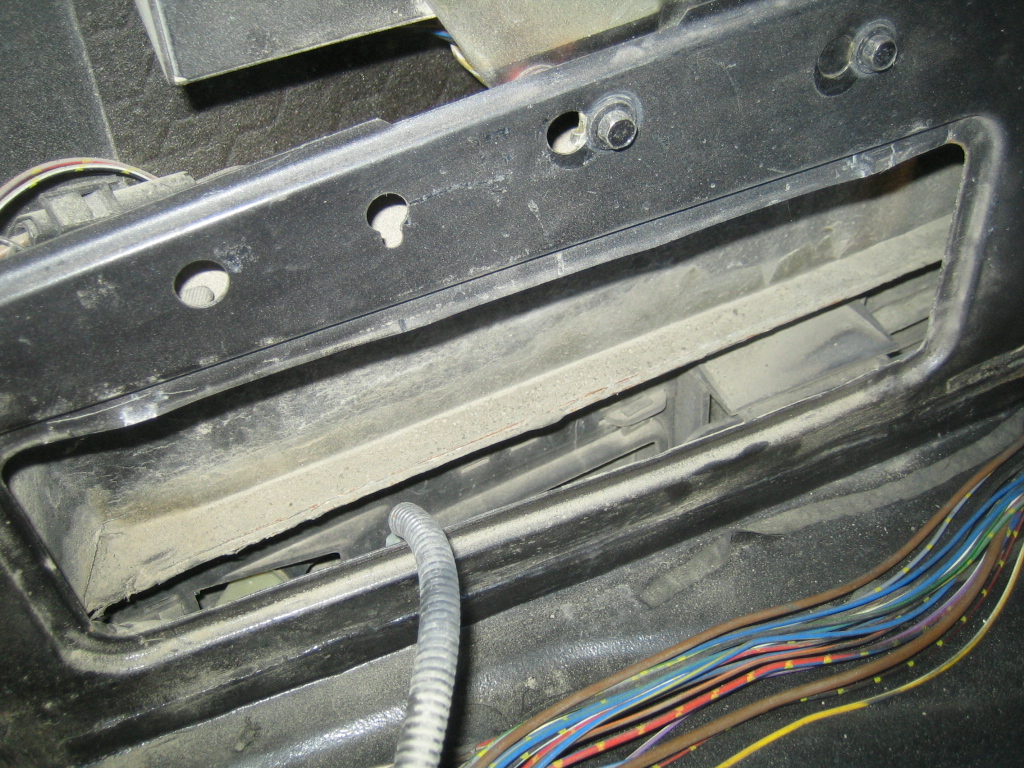
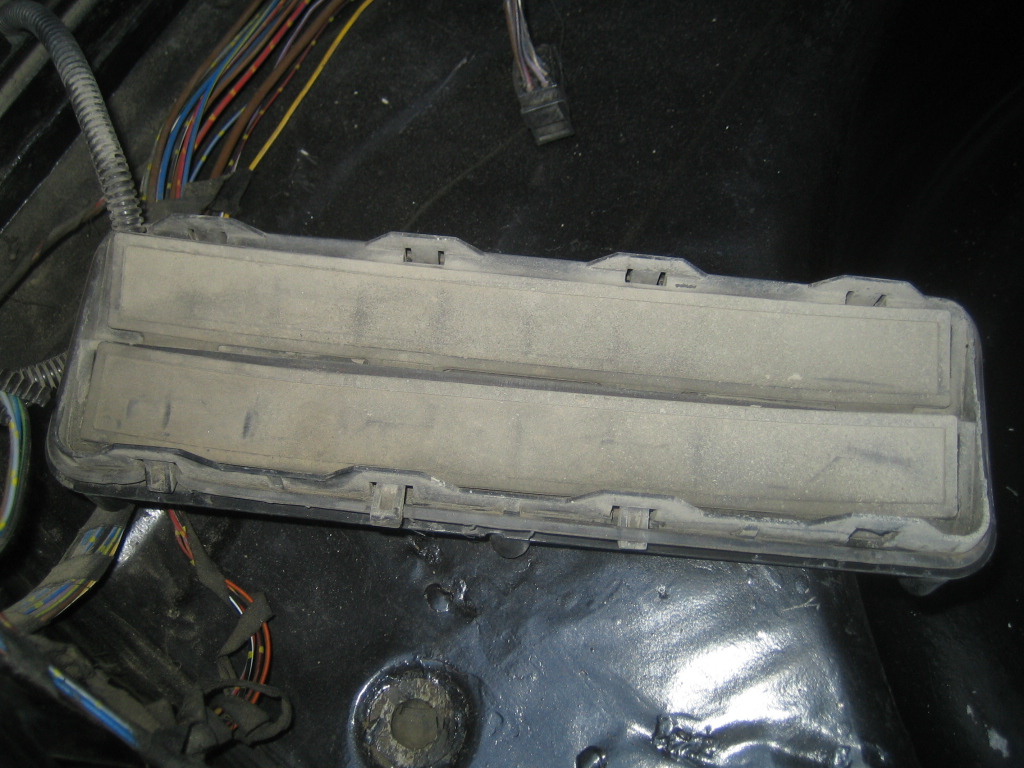
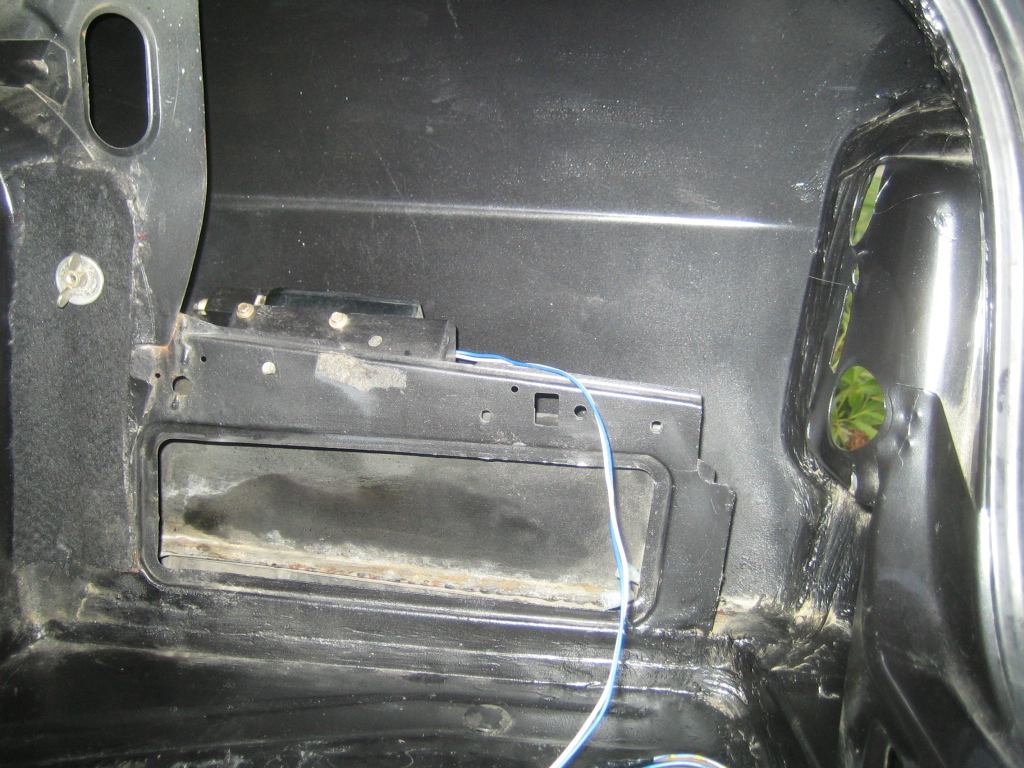
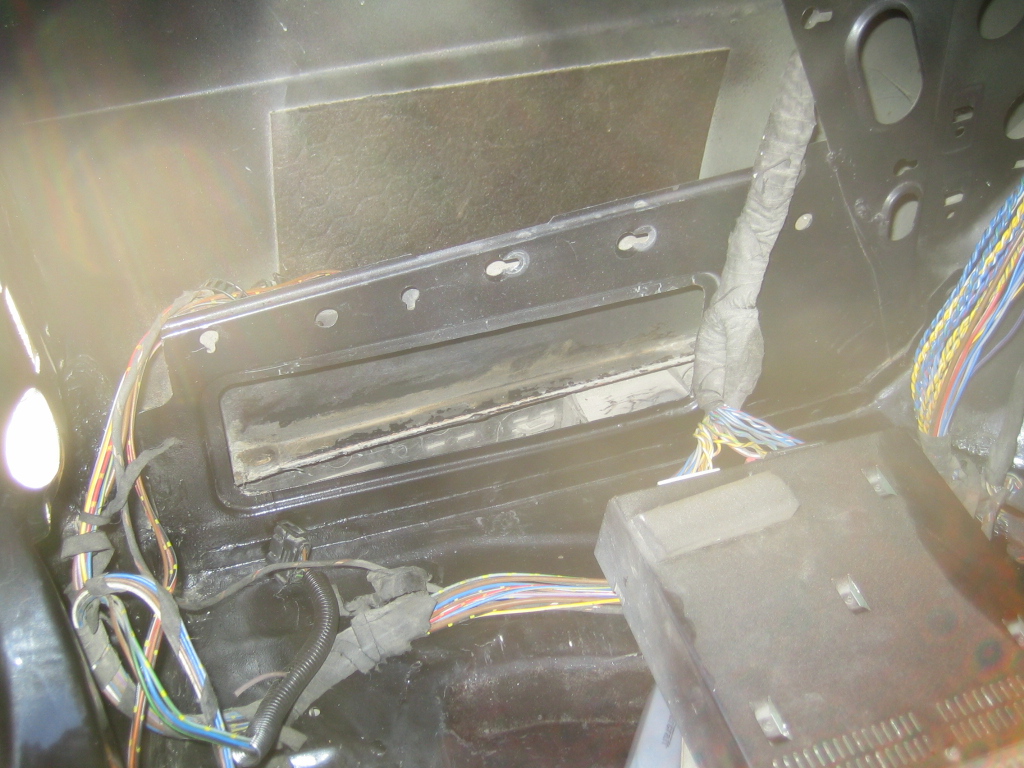
    The last part of the decontamination is finishing off the trunk. Instead of cleaning the vents I

    decide to just remove them and order new ones


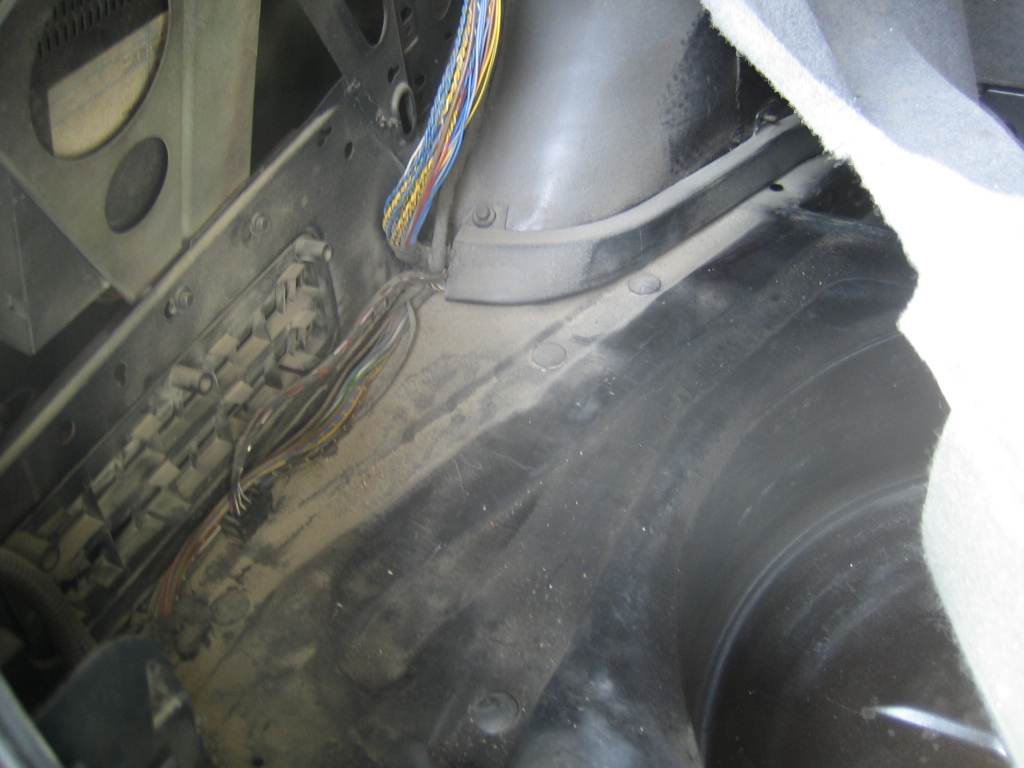
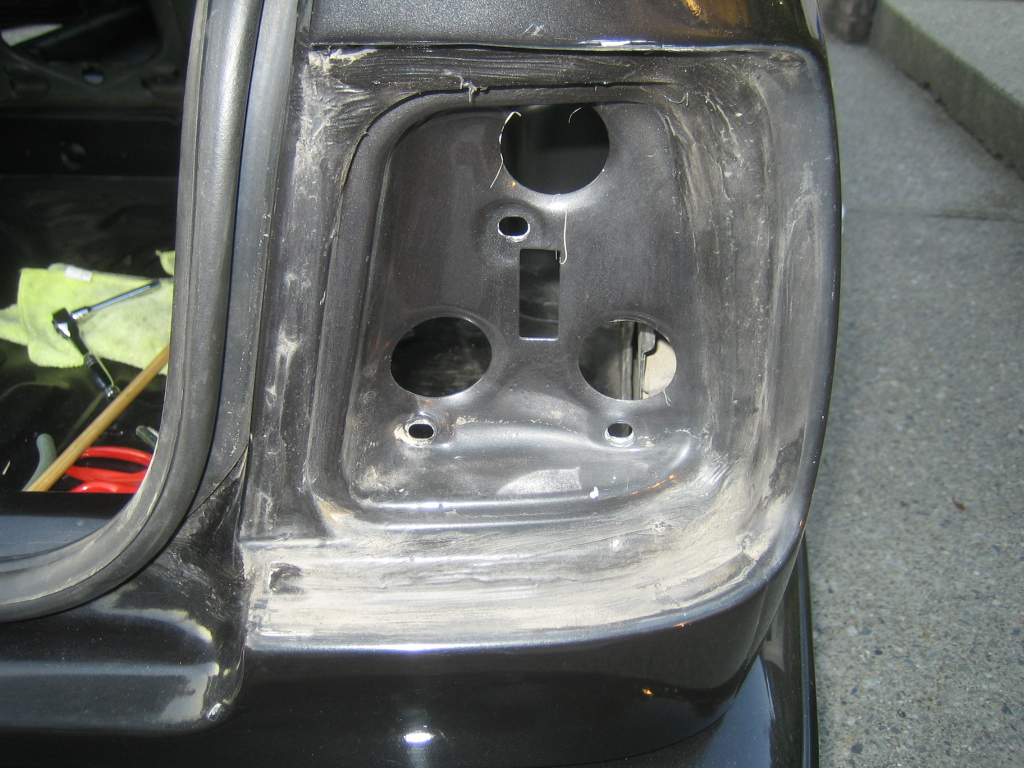
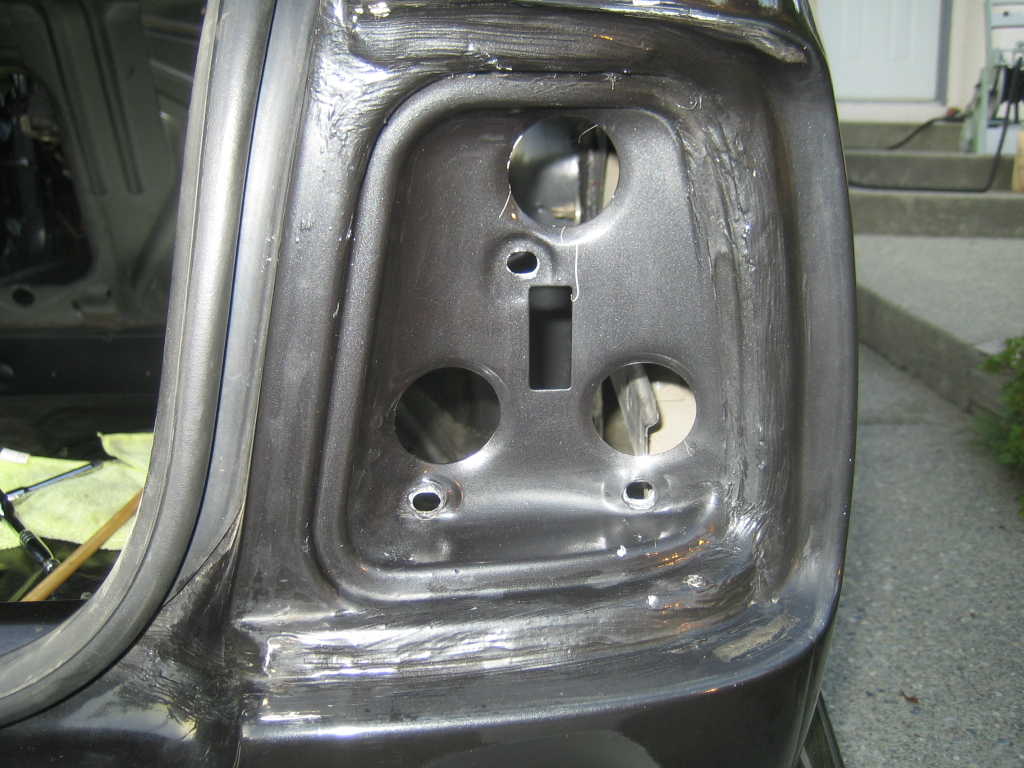
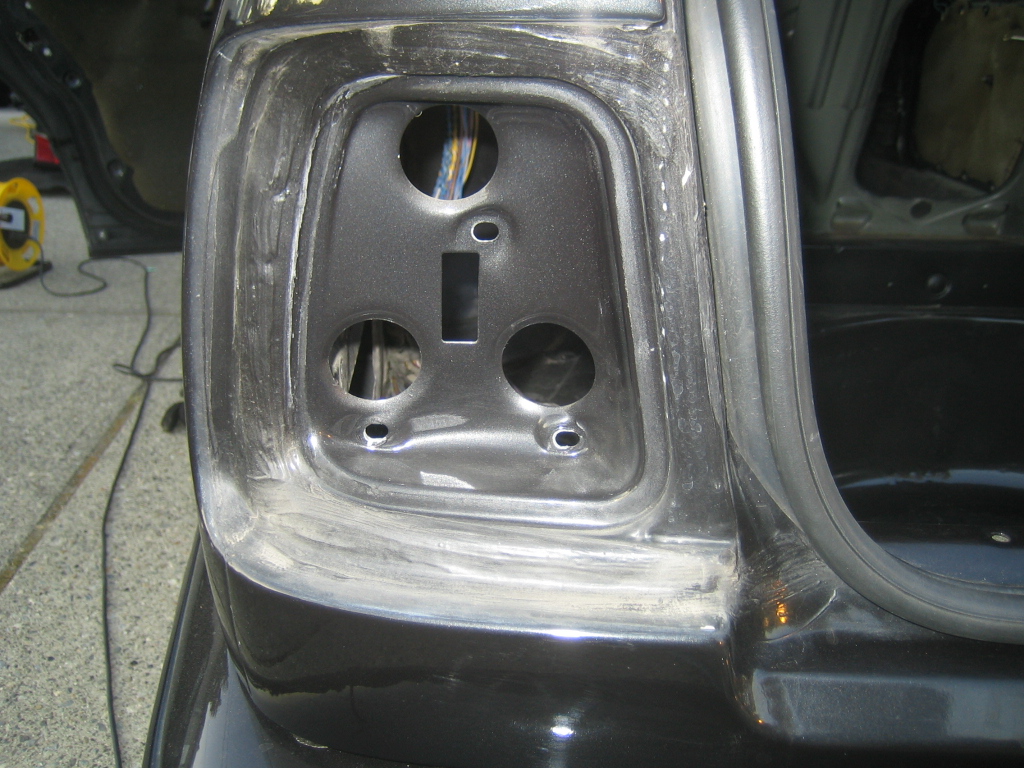
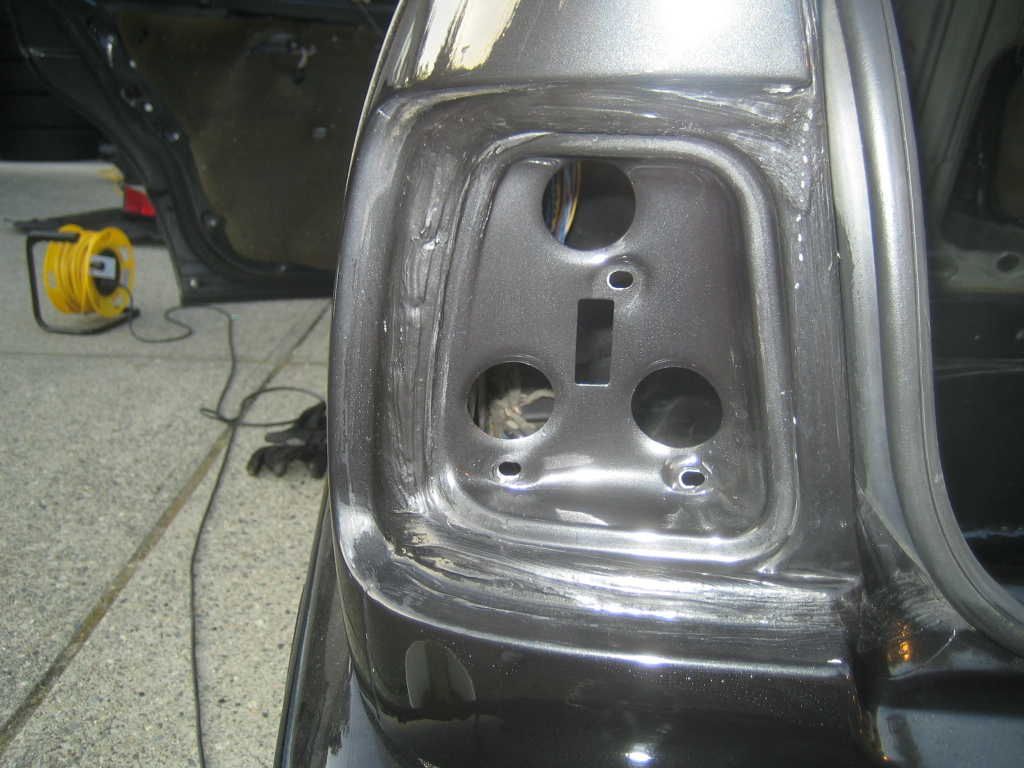
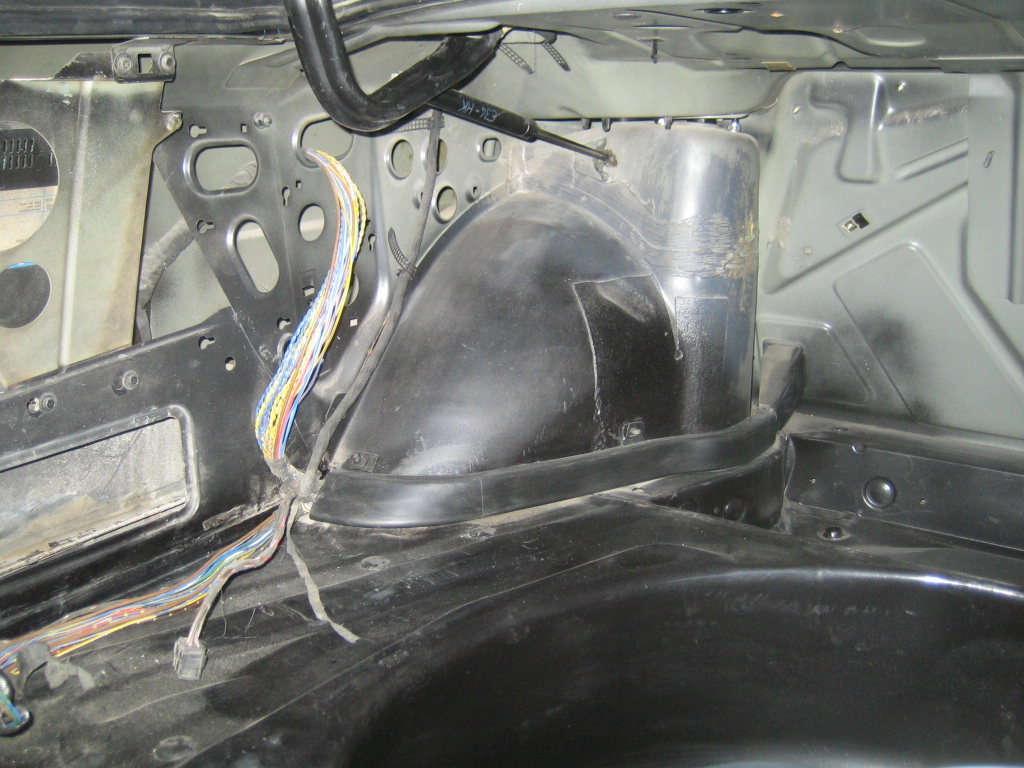
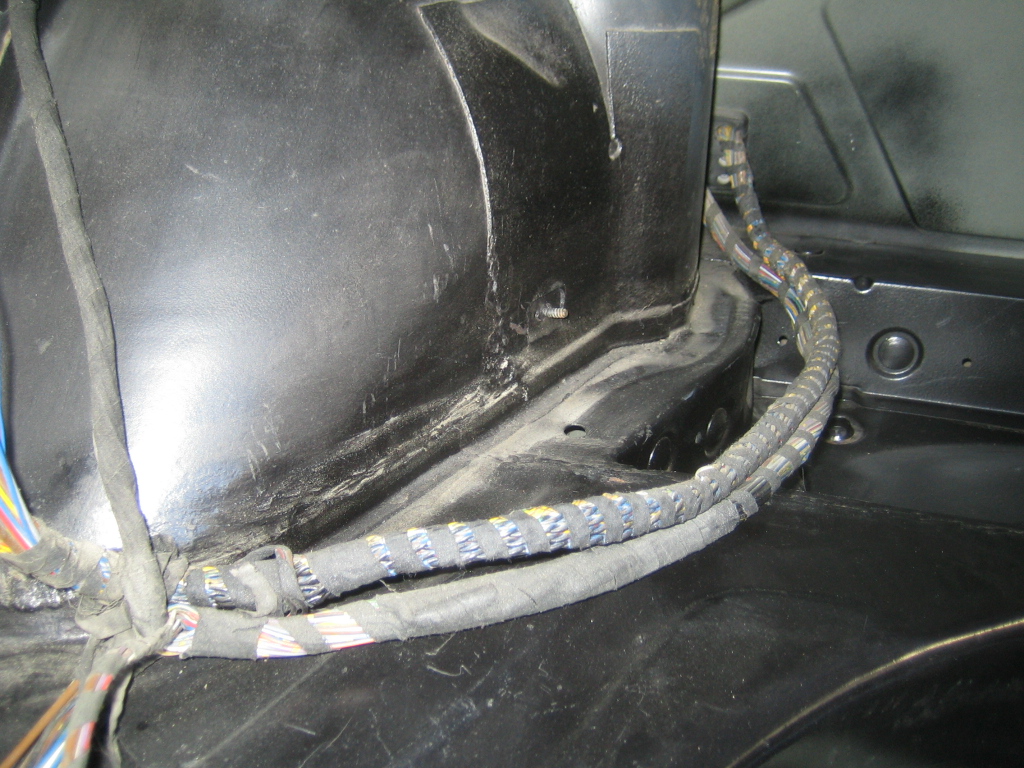
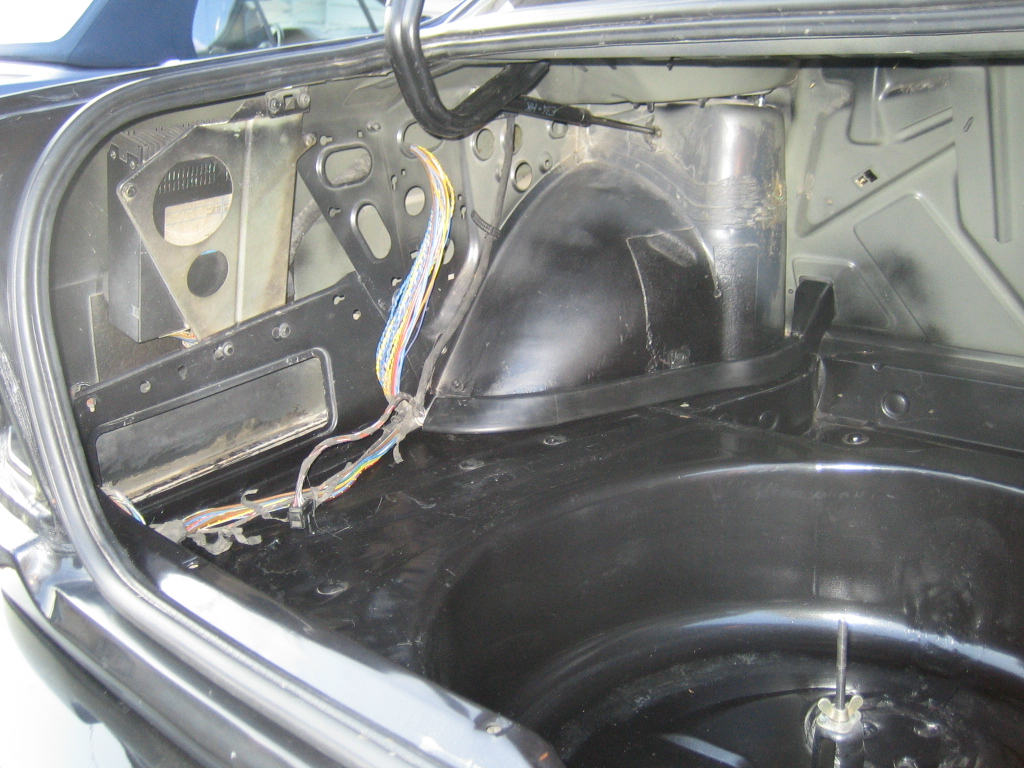
    I found a bunch of mystery wire and determined that it is going to the 3rd brake light and side

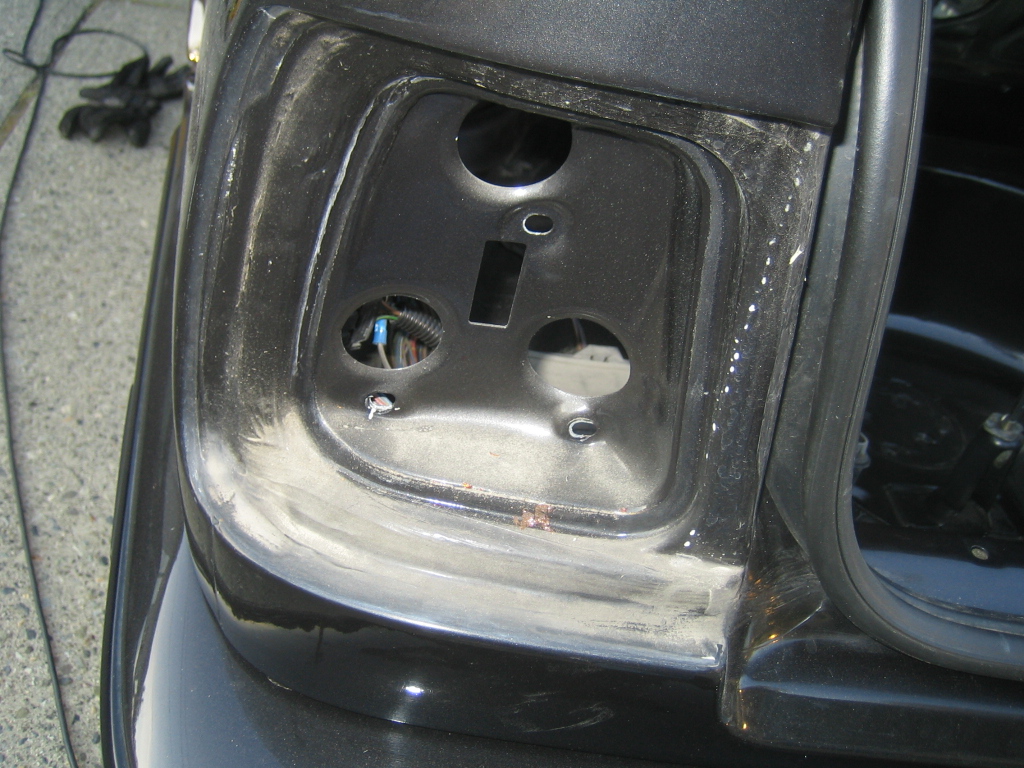
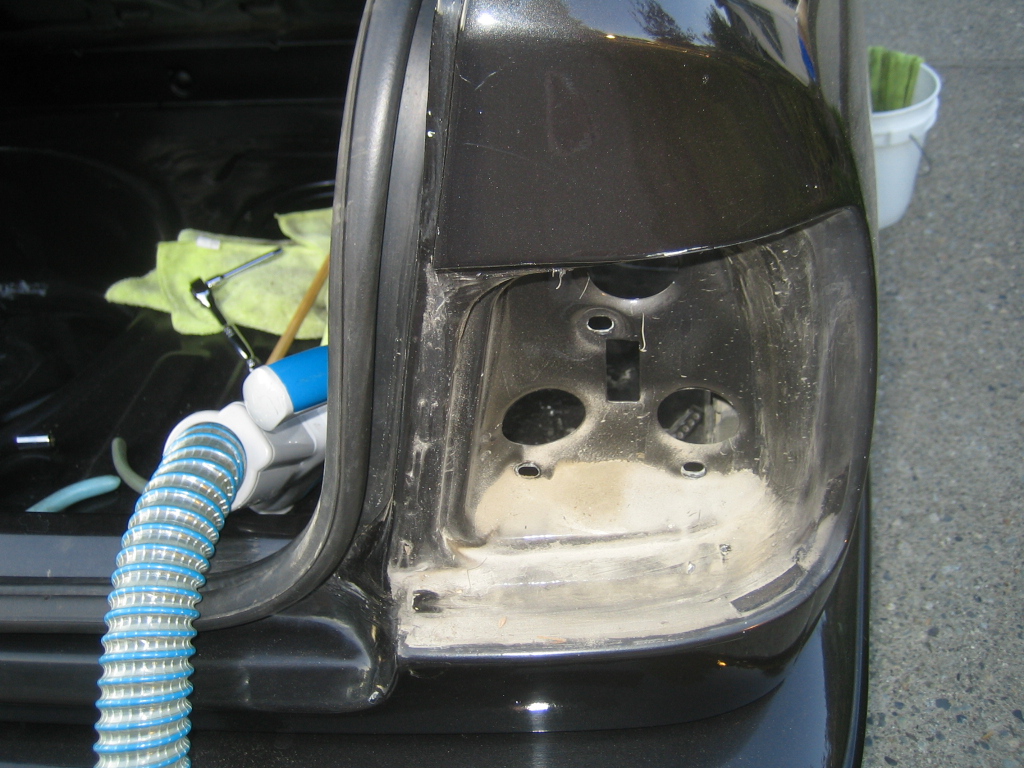
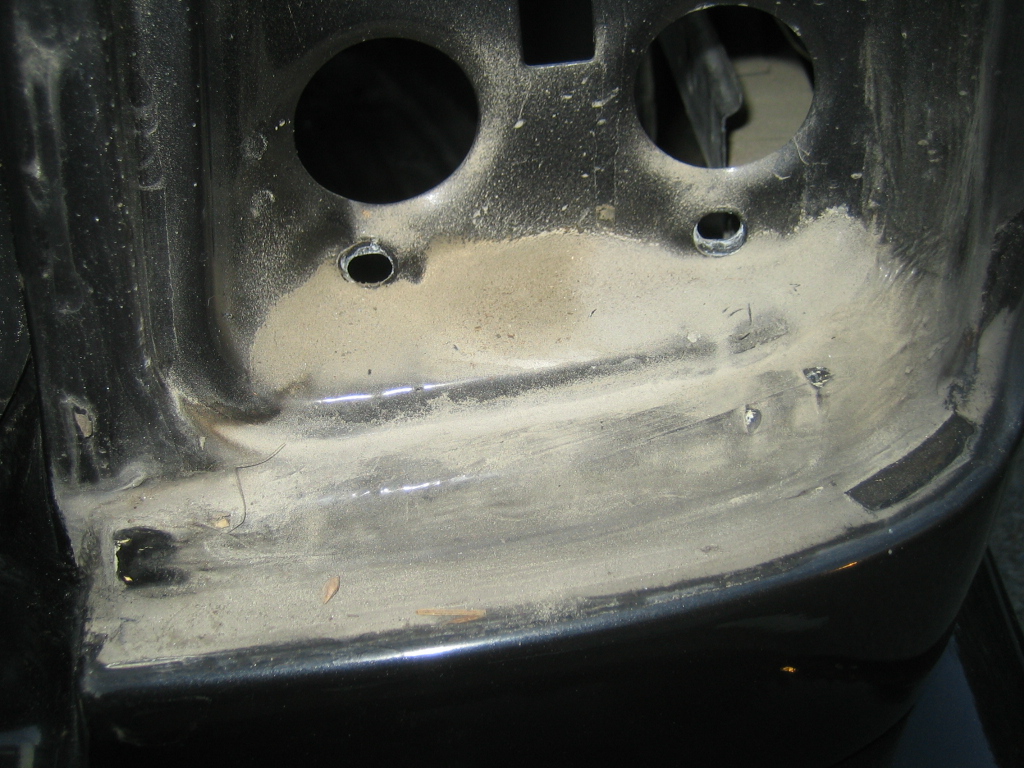
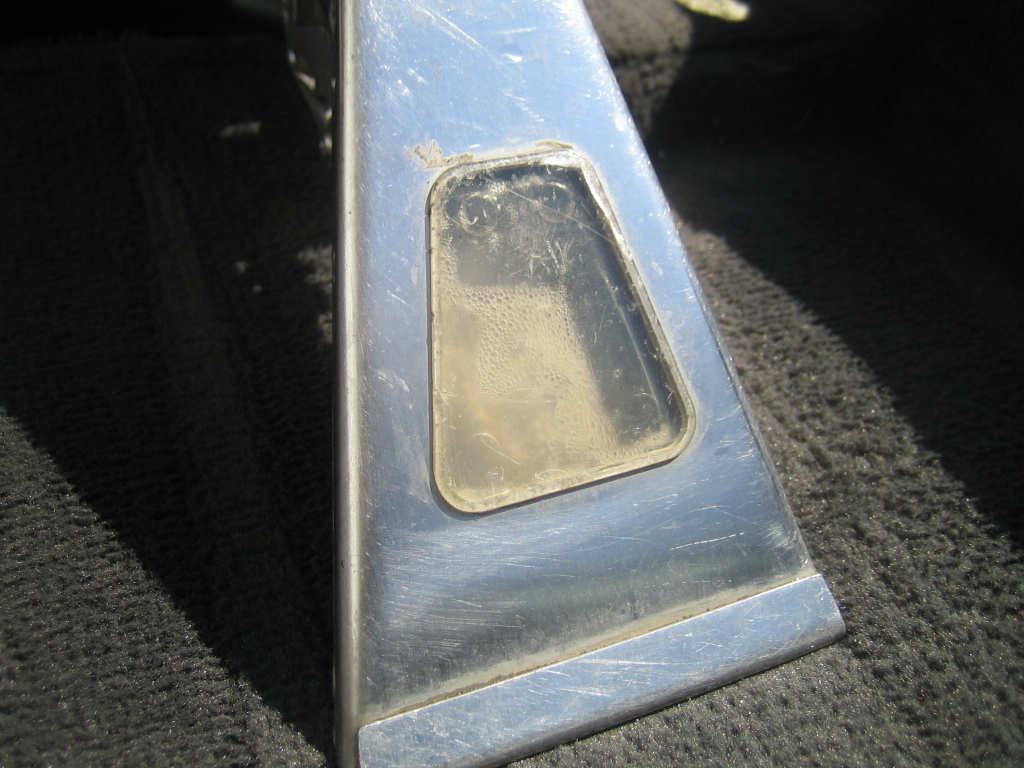
    markers. So while deleting all these wires I decided to pull out the rear tail lights and got a

    surprise

    Driver side


    Passenger side


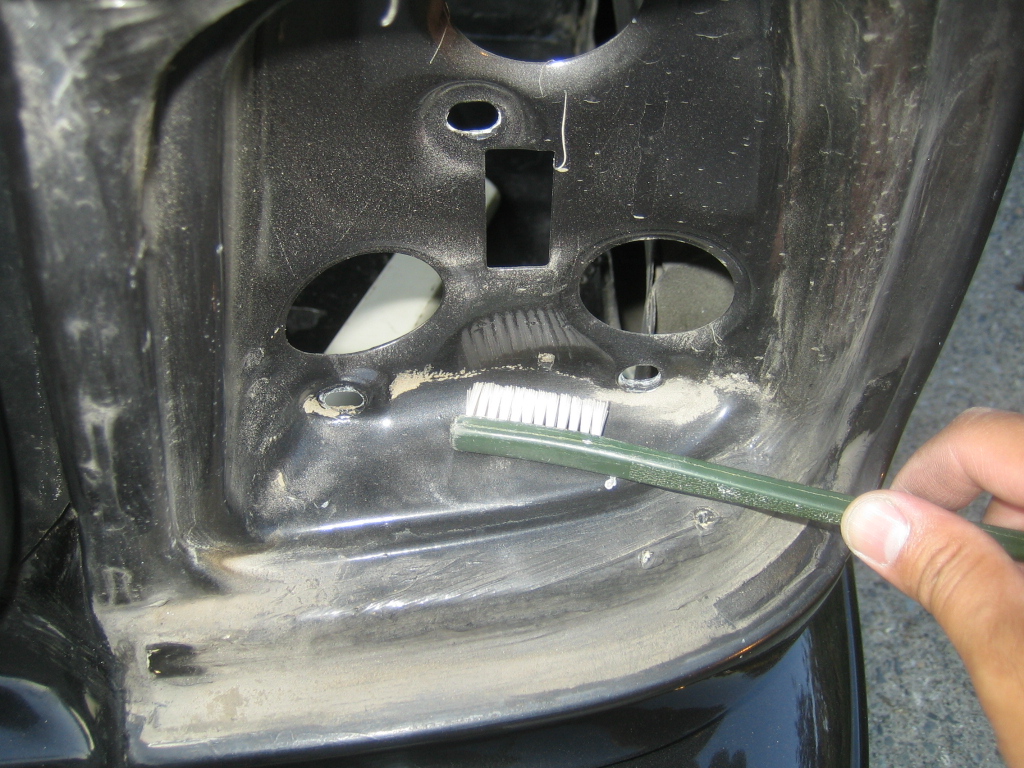
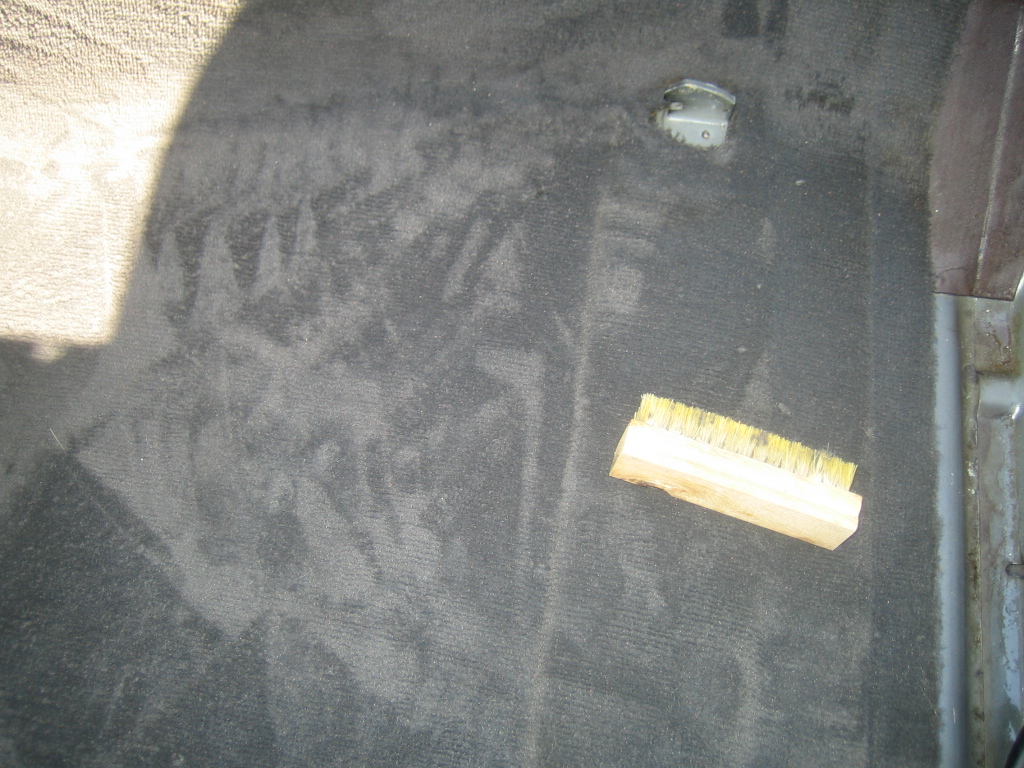
    Needed a bristle brush and vaccum to break up the dirt


    After wiping it all down with a cloth and water


    Now the driver side


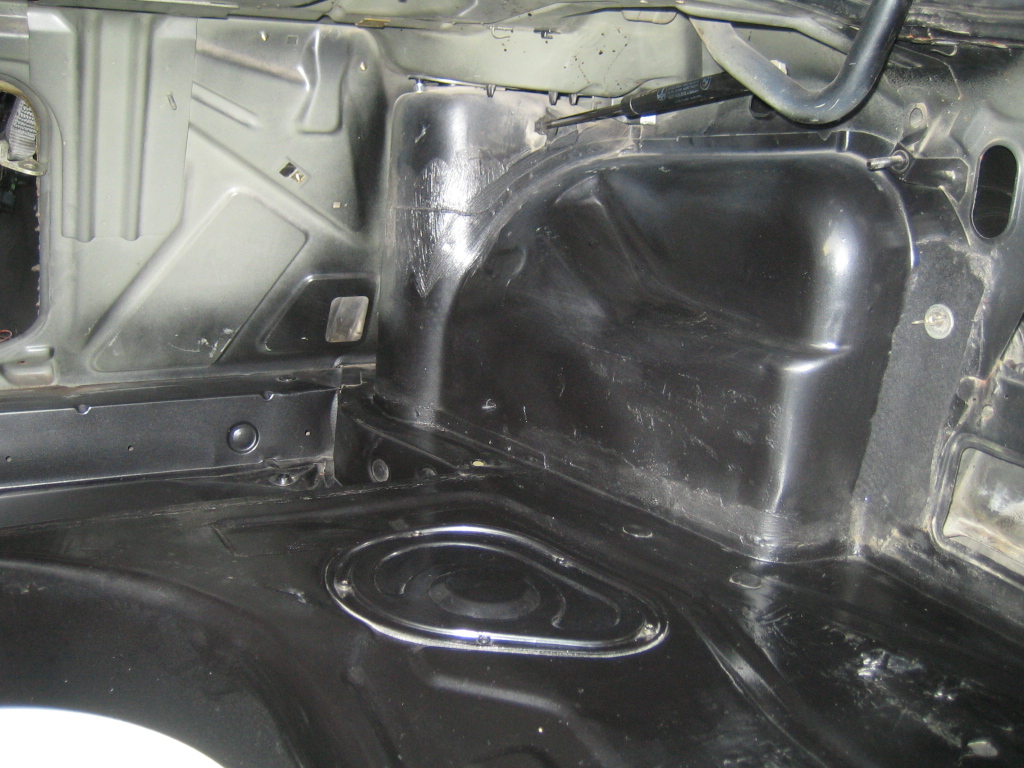
    Started wiping down the trunk


    Clean passenger side compared to driver side


    The bucket of water

    Last edited by MC Hammered; 04-25-2016, 10:07 PM.

    Leave a comment:


  • MC Hammered
    replied
    Originally posted by CHIF8008
    you are having way too much fun with this
    I wouldn't really call this part fun... driving the car is fun.

    So here is the rear parcel shelf the next day after it dried up


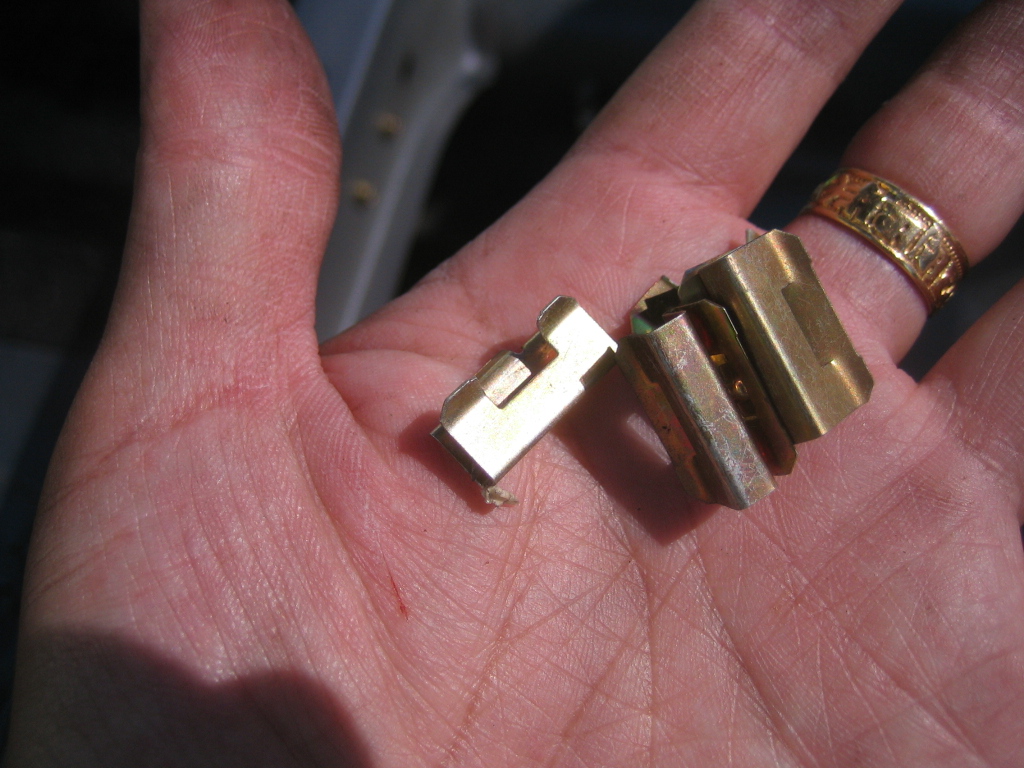
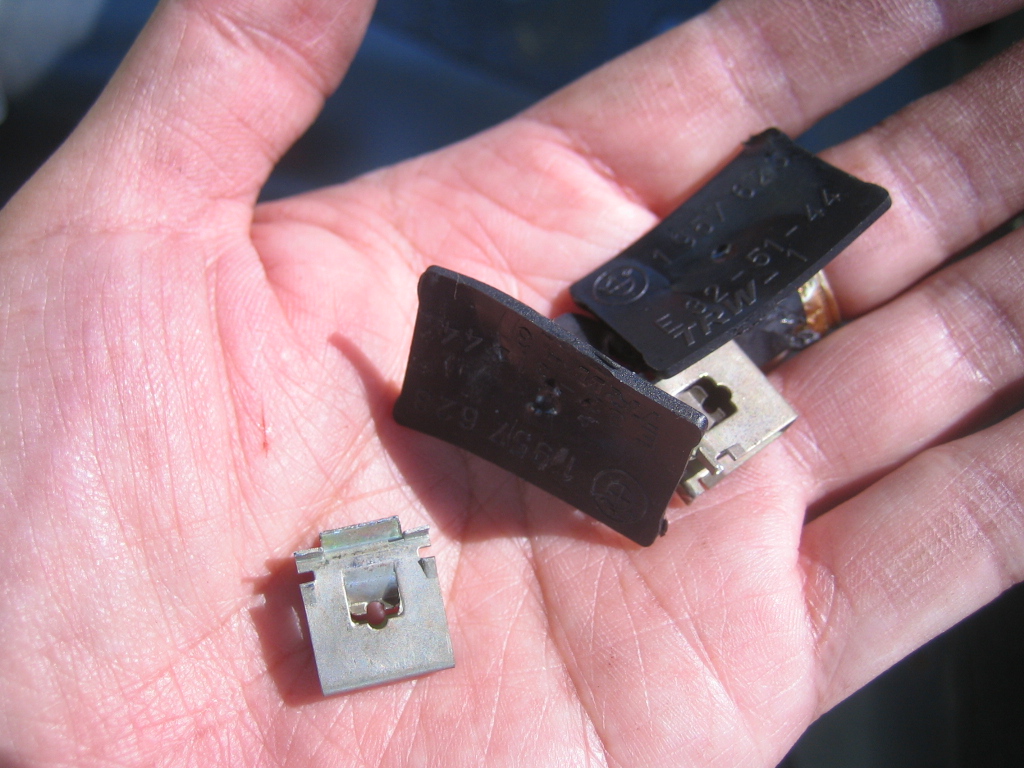
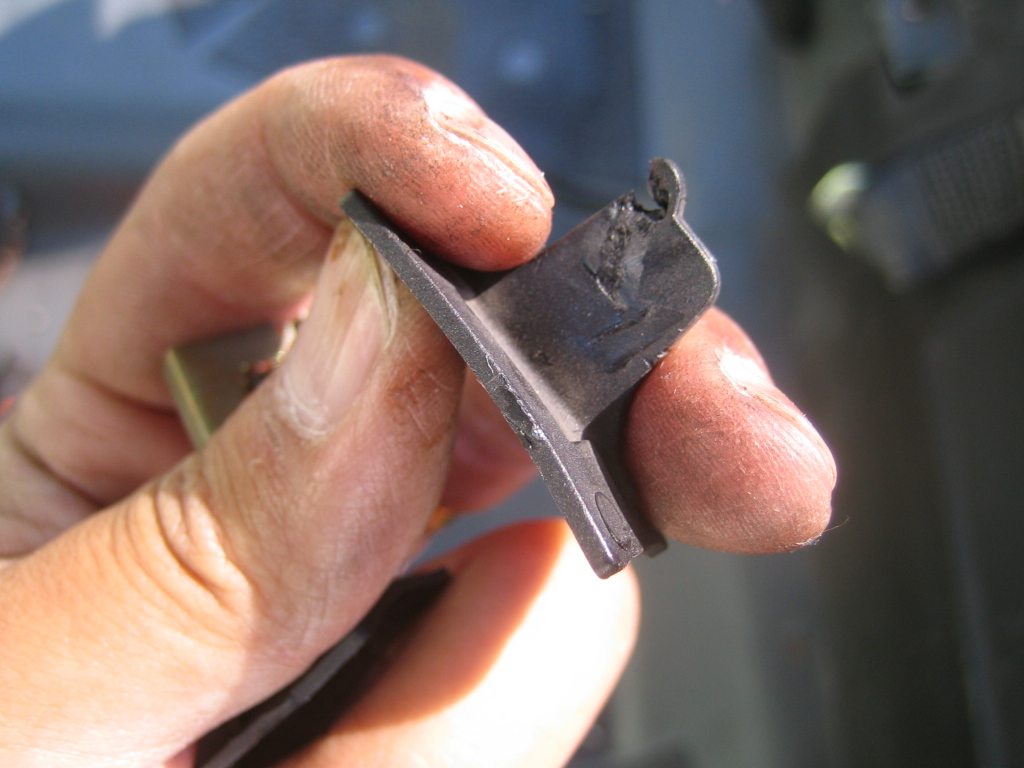
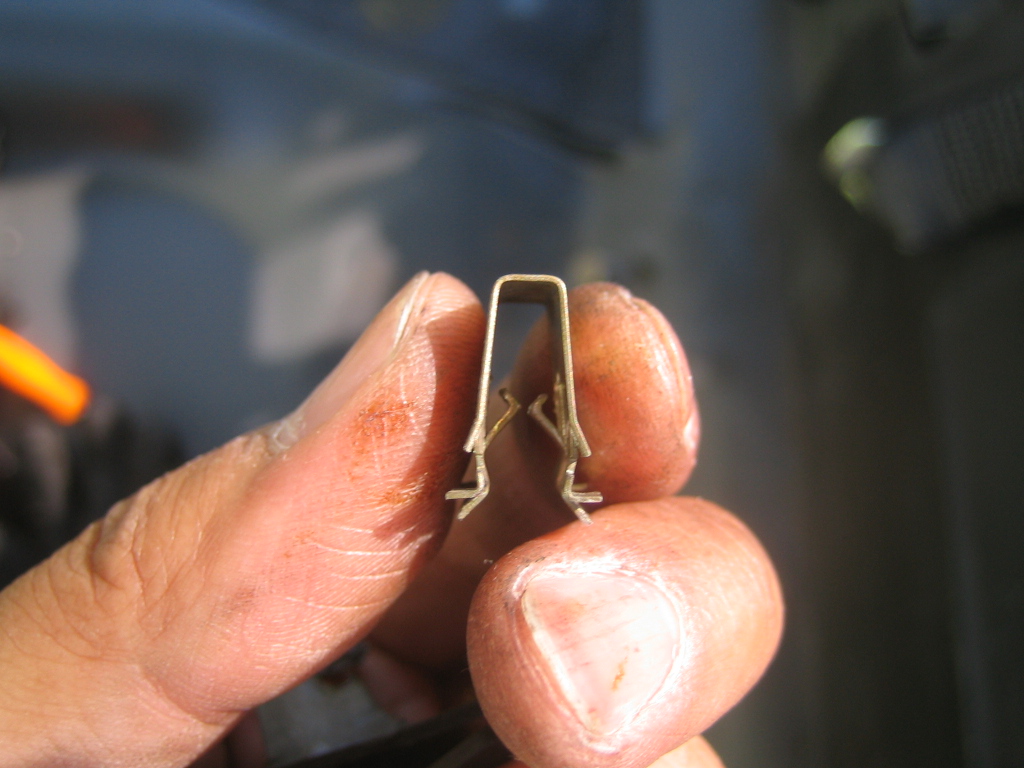
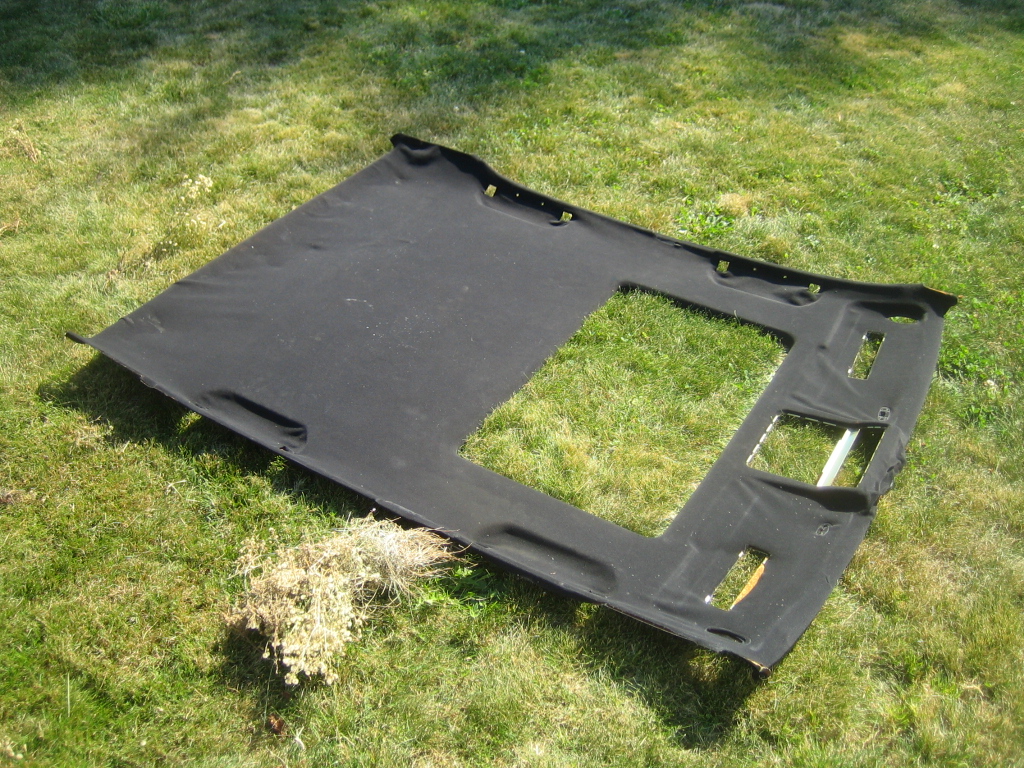
    Today we take the headliner out and it is a real PITA. Broke a bunch of clips that hold the headliner up around the sunroof


    And these 3 plastic tabs at the back were the most difficult to remove


    Why? Because the plastic tab is held in place by this crazy strong clip


    Headliner out


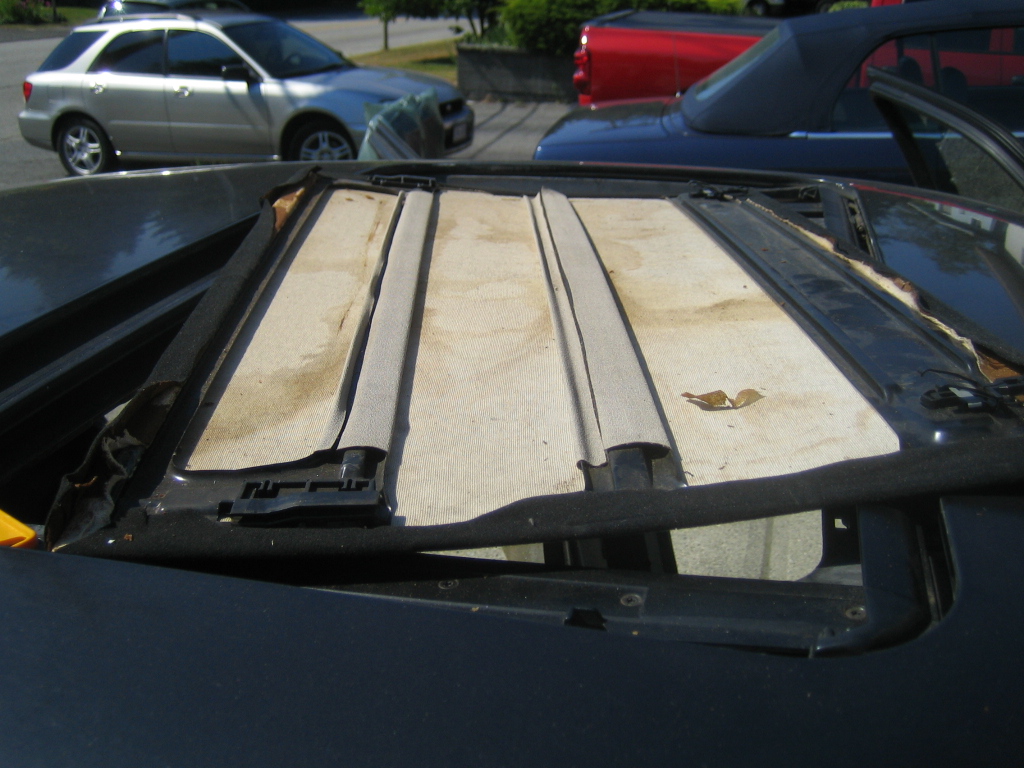
    Found a DIY and got the sunroof panel out no problem


    I ordered 4 yards of foam backed ultrasuede and adhesive to recover the headliner, sunroof panel, rear parcel trim piece and the A & C pillars. I will post up that part of the project when I receive the order.

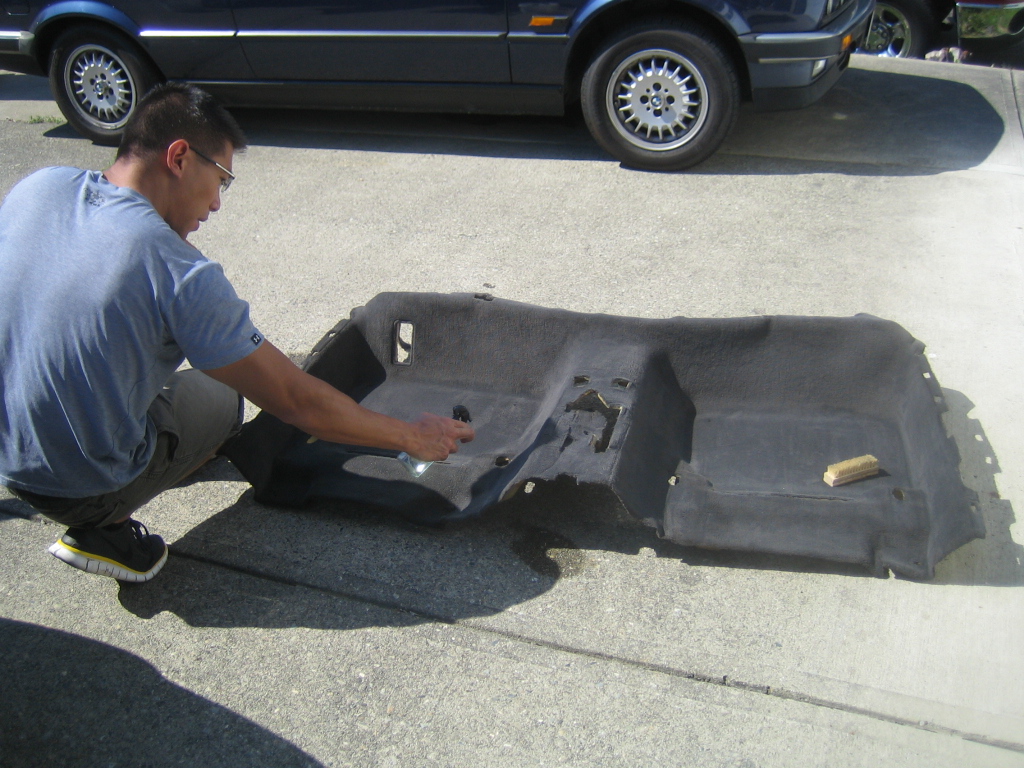
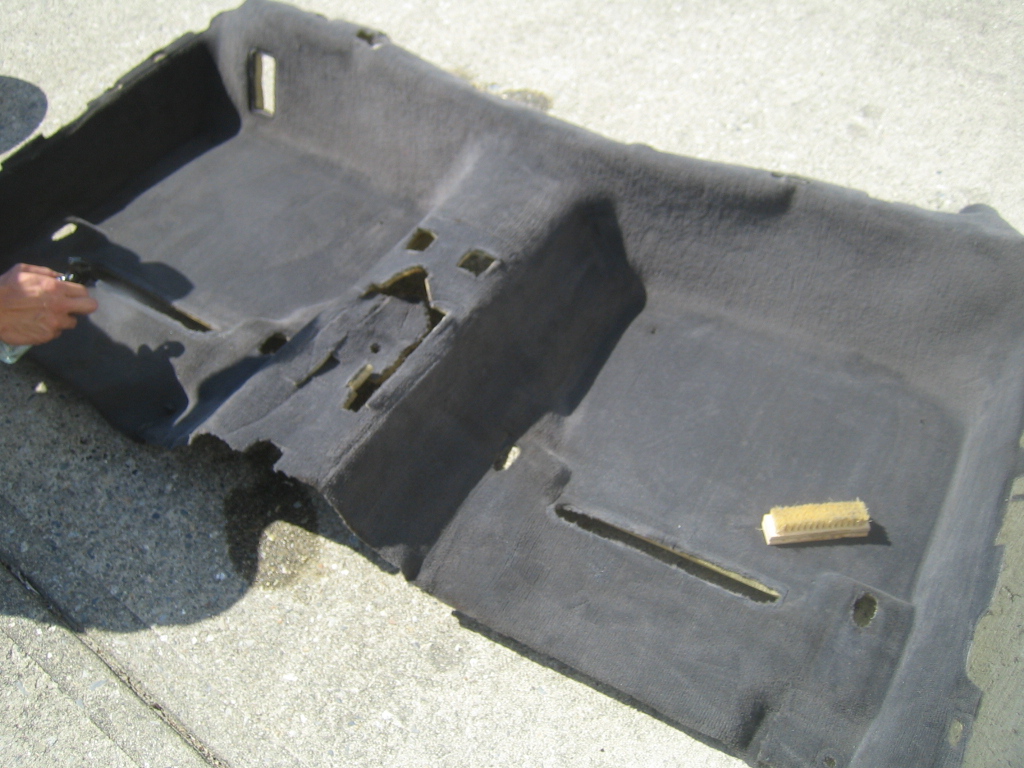
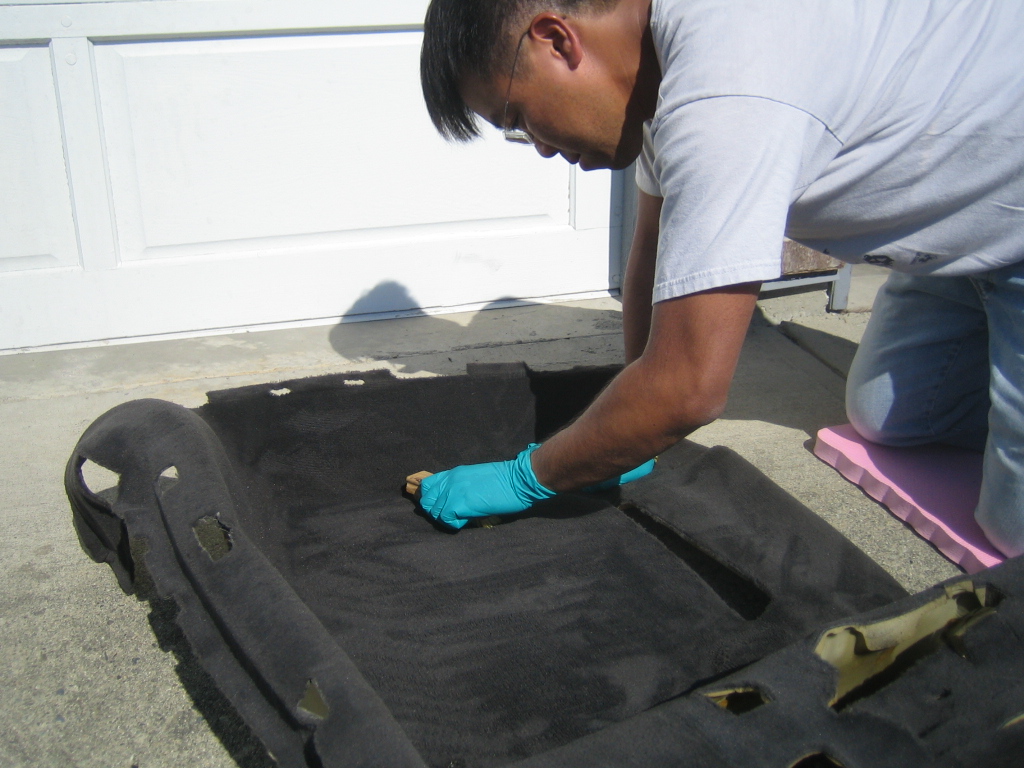
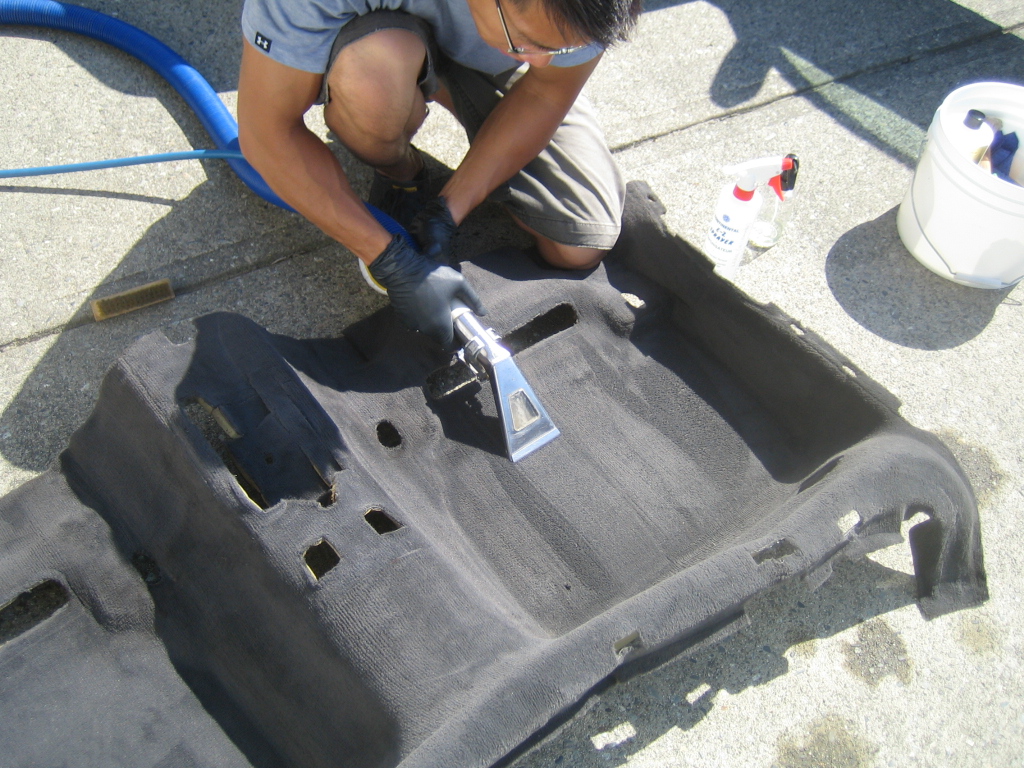
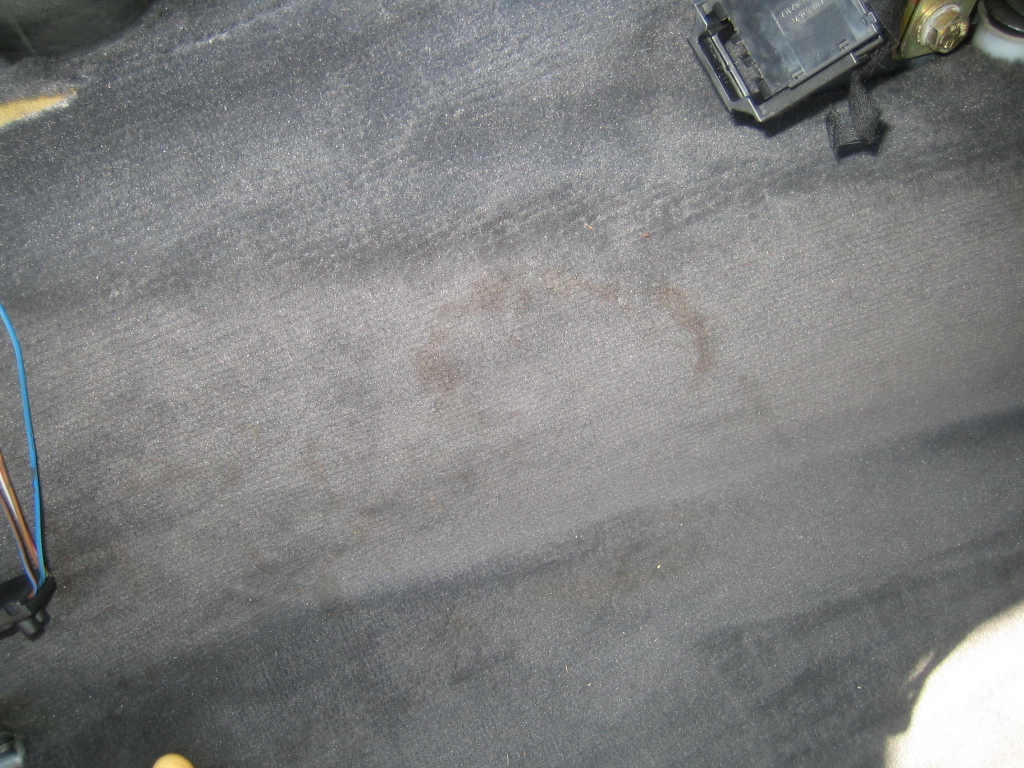
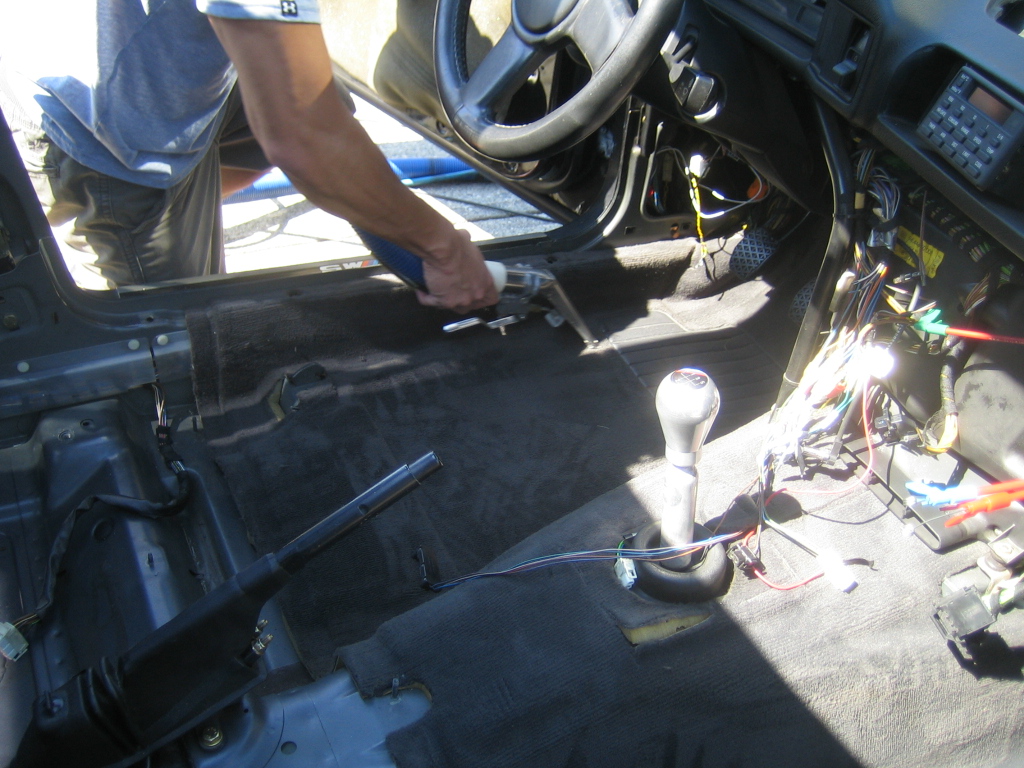
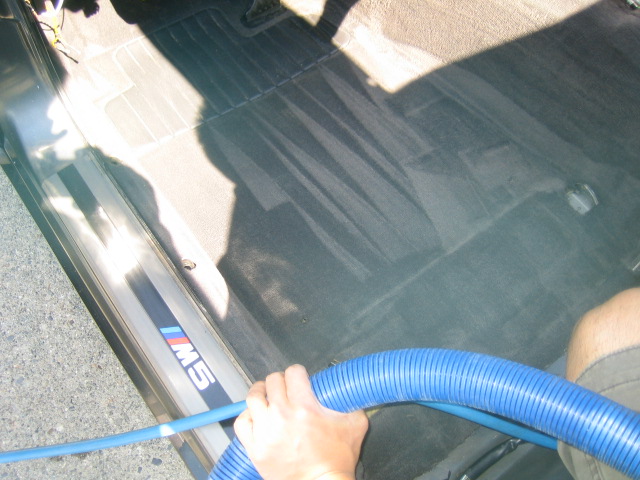
    My friend Terence brought over a industrial strength carpet cleaner to clean up the carpets. First we spray on some carpet cleaner and scrub away at the stains


    Hitting the carpet with the machine


    Pics of the stains on the other half of the carpet


    Hitting the stains on the driver side with cleaner, scrubbing away and then the machine


    Last edited by MC Hammered; 04-25-2016, 10:06 PM.

    Leave a comment:


  • Motorsports
    replied
    He really is, but I like what you doing .

    Leave a comment:


  • CHIF8008
    replied
    you are having way too much fun with this

    Leave a comment:


  • 88SuperETABD
    replied
    Please show seats pics!!!!!!!!!!!! Before/After shots :)

    Leave a comment:


  • AC Nico
    replied
    nice cars :up:

    i know those wheels on the vert ;)

    Leave a comment:


  • MC Hammered
    replied
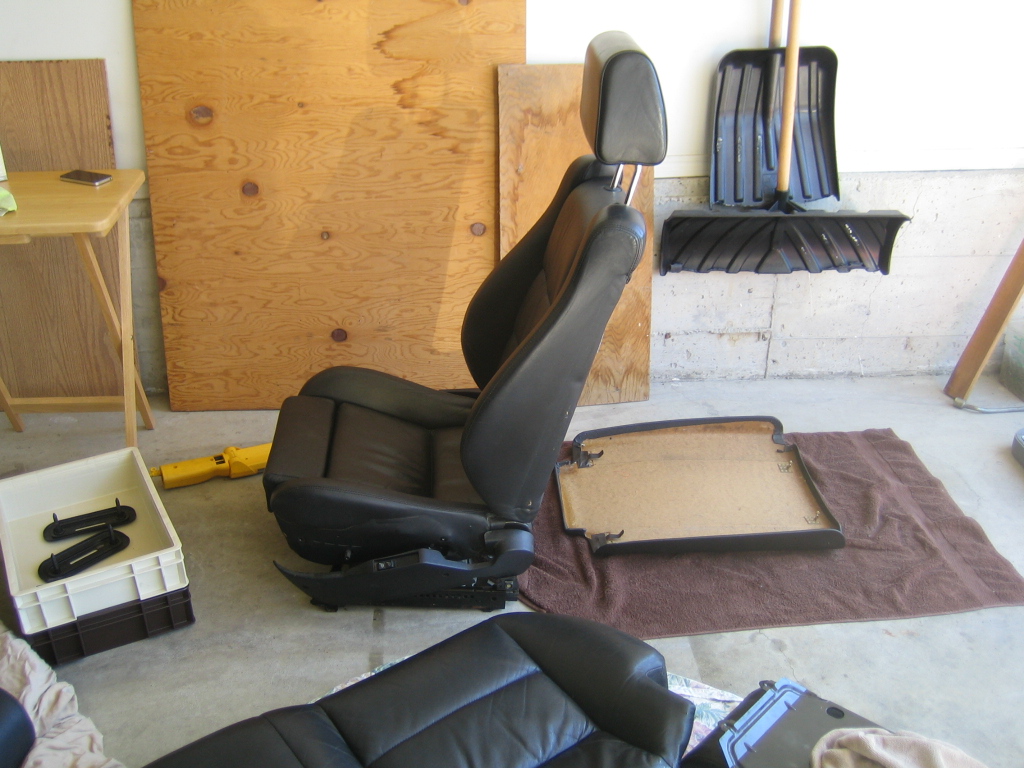
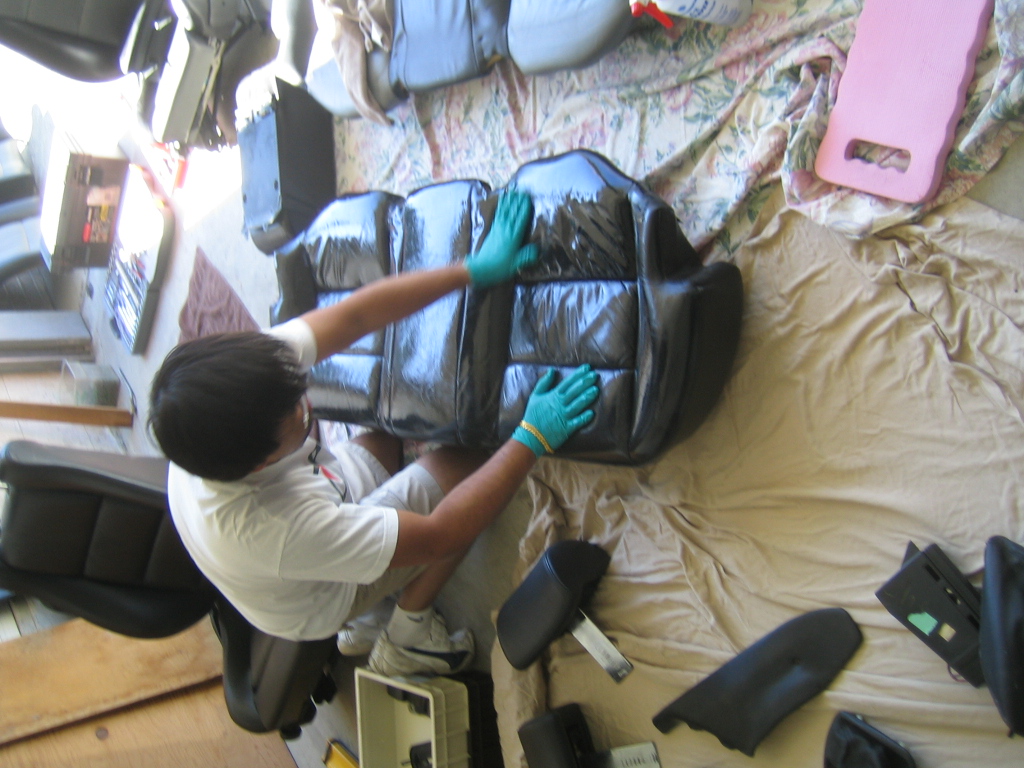
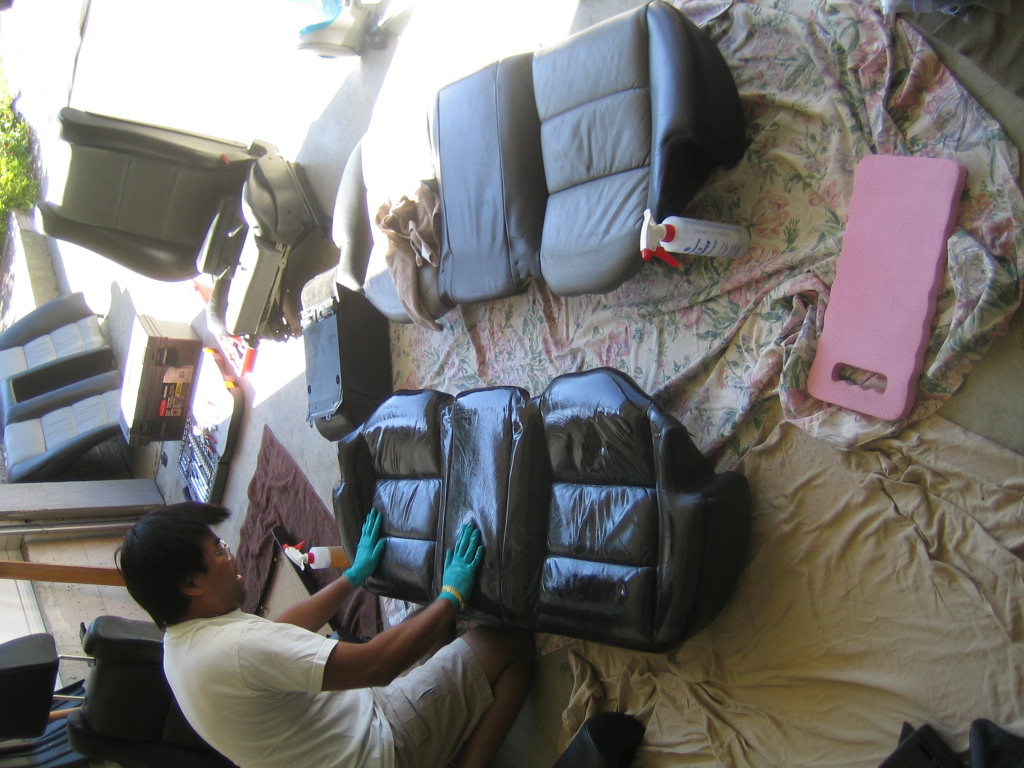
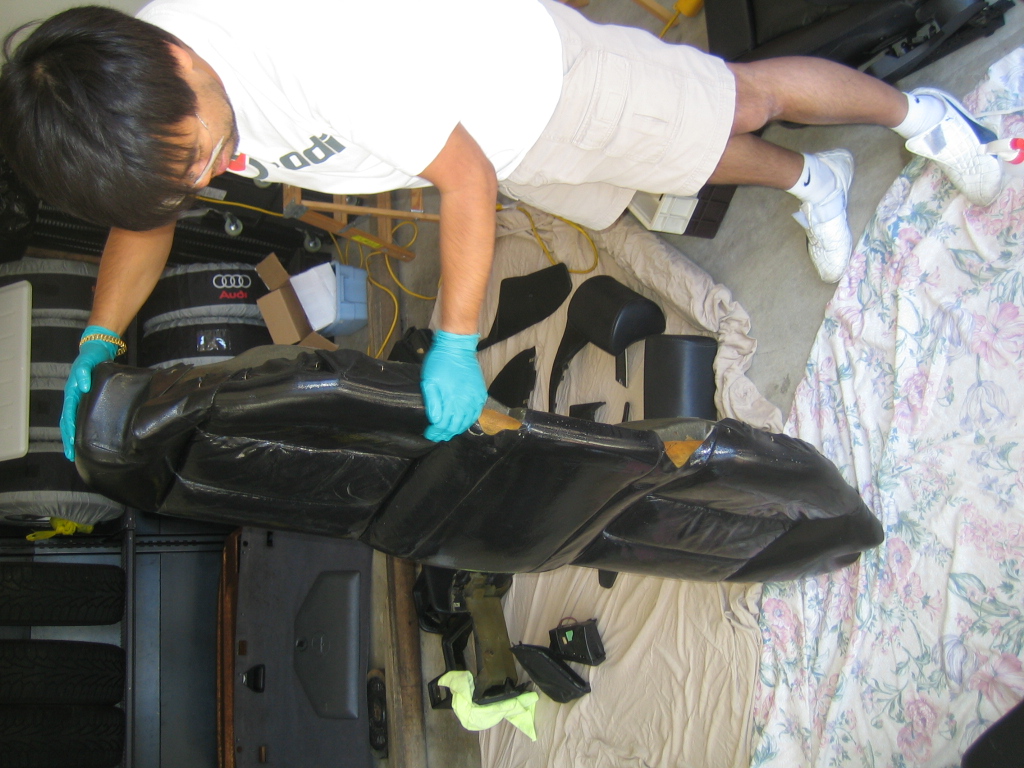
    Got the car back from the shop, pulled out the driver seat, cleaned with Lexol, smothered with Rejuvinating Oil, bagged and put out in the sun to bake.

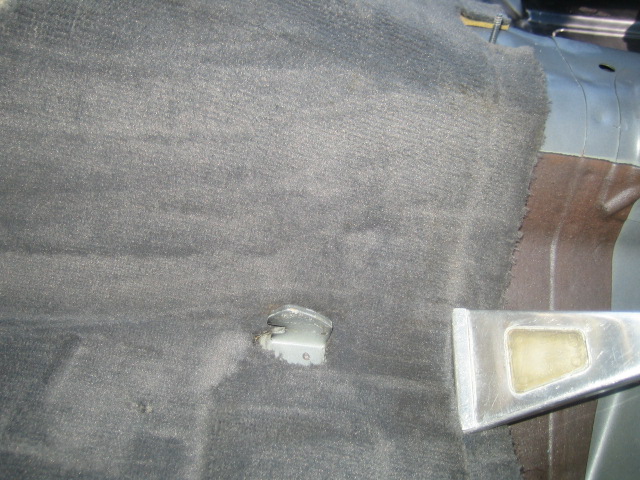
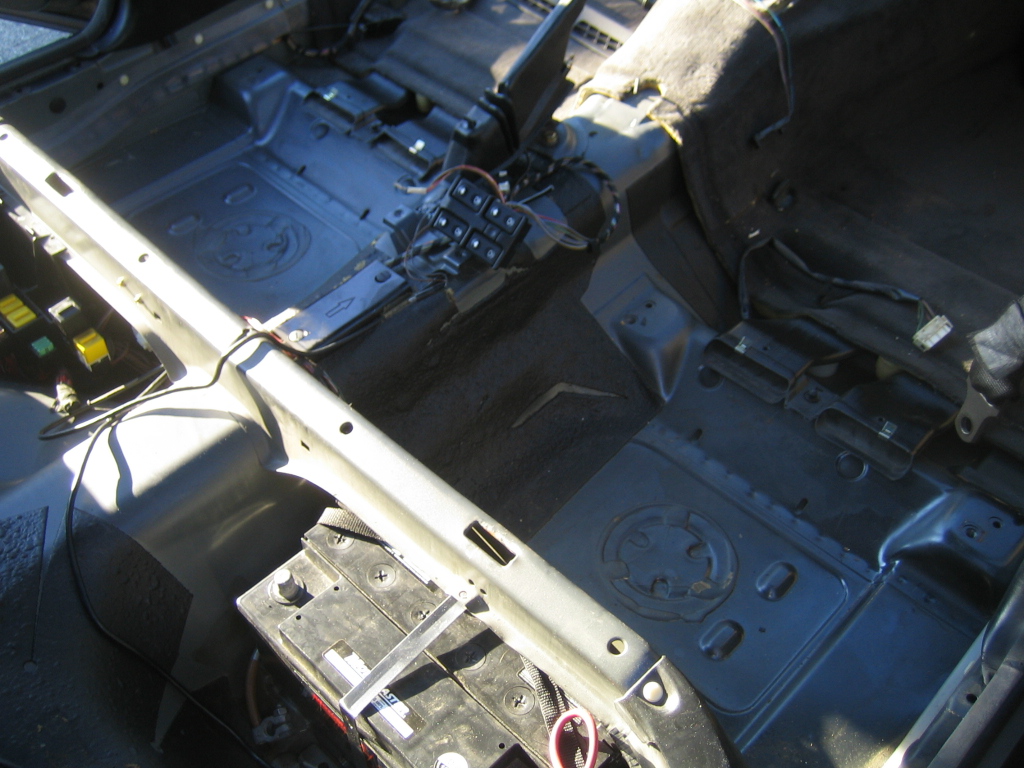
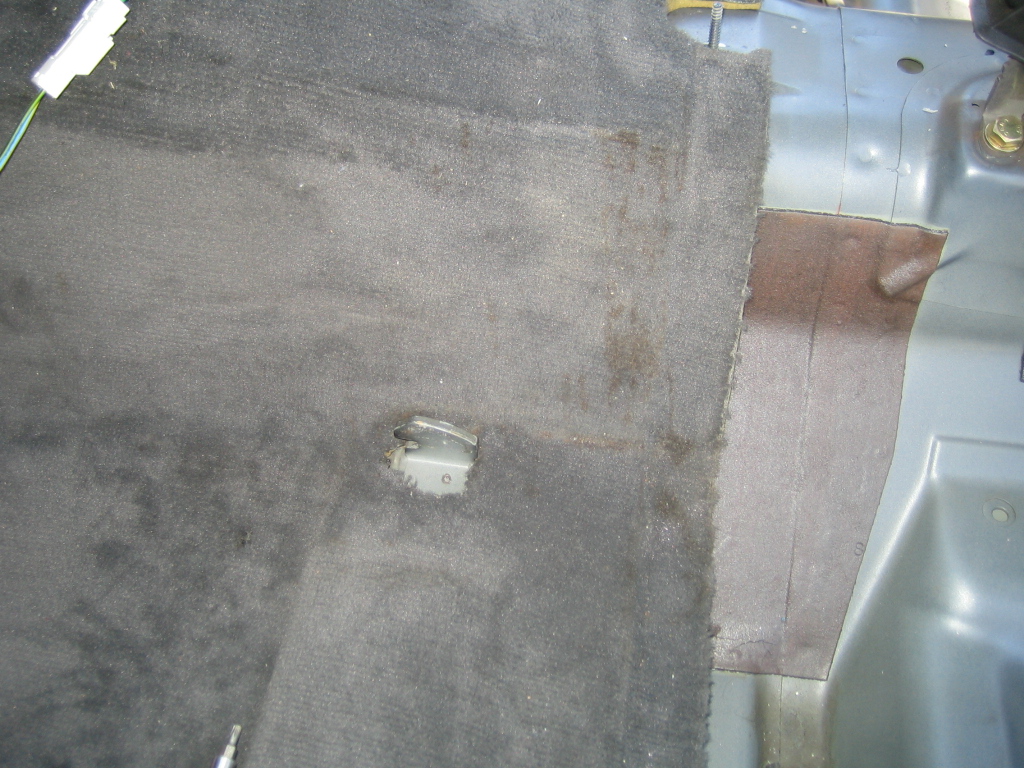
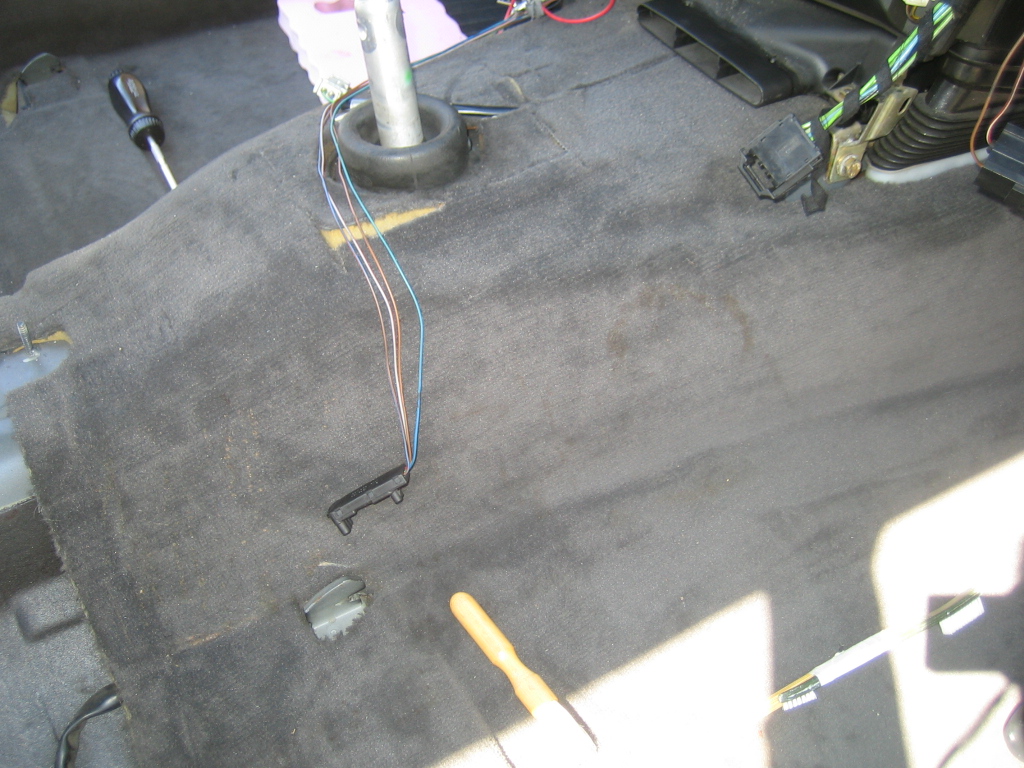
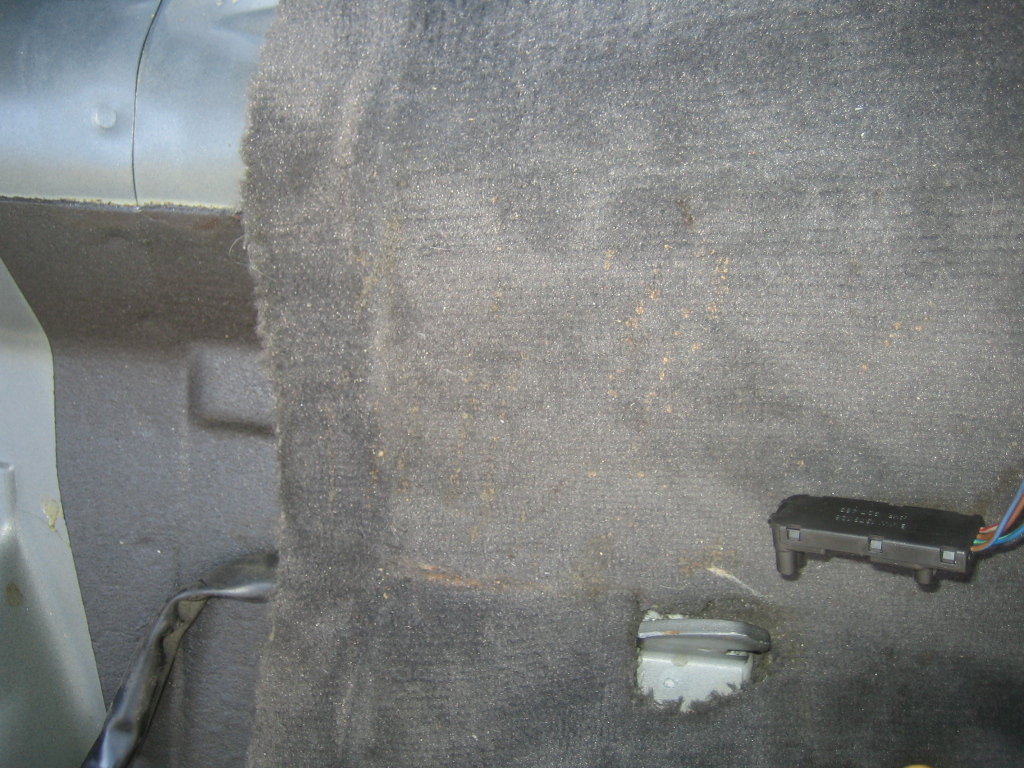
    With the whole interior out of the car I restarted the decontamination of the interior. I pulled up the rear carpet and found some surprises


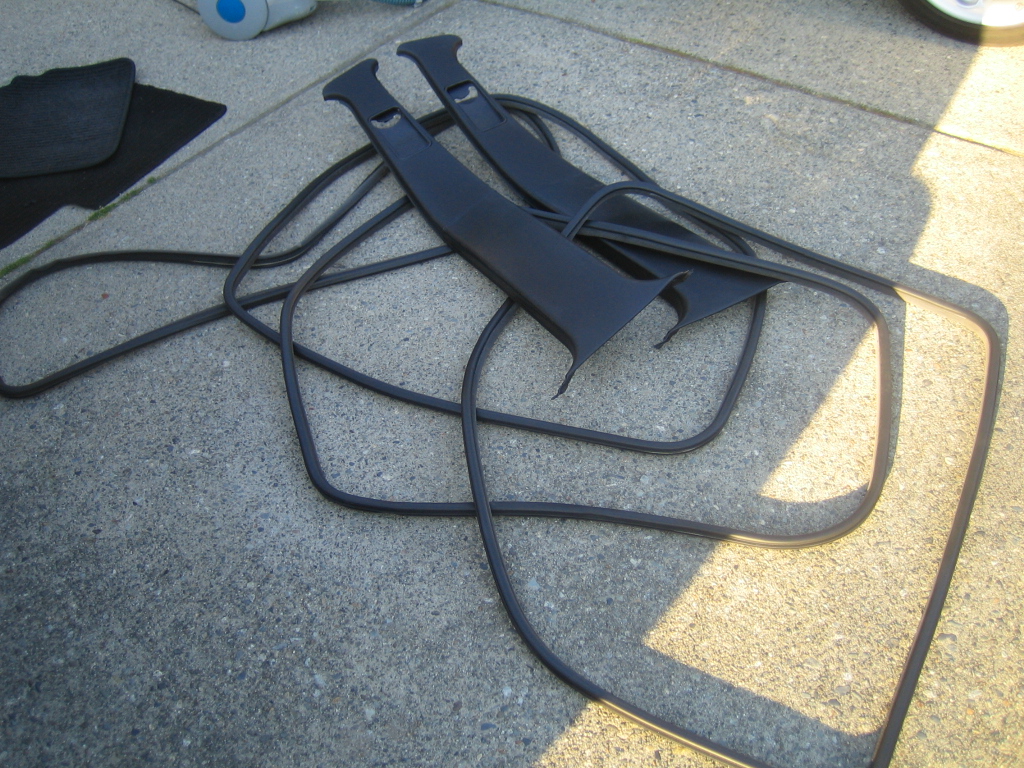
    In order to pull out the rear carpet to see what is hiding under it I had to remove the B pillar trim and door gaskets


    Rear carpet out


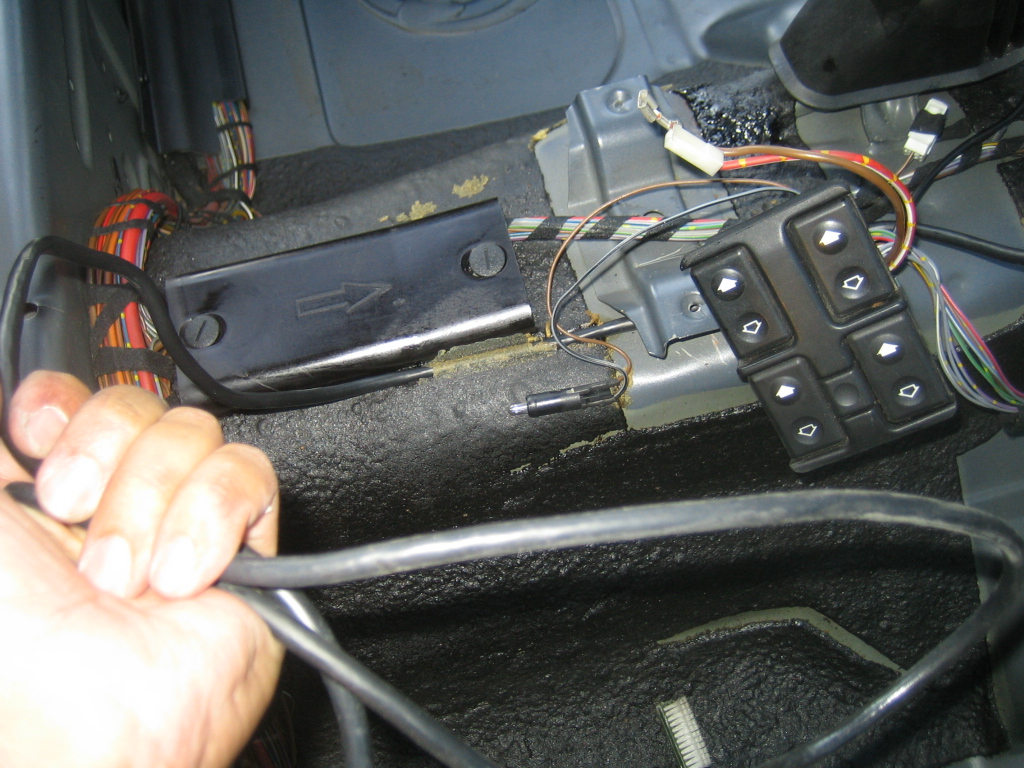
    Now I can finally remove this piece of left over wire that probably went to the OEM CD changer


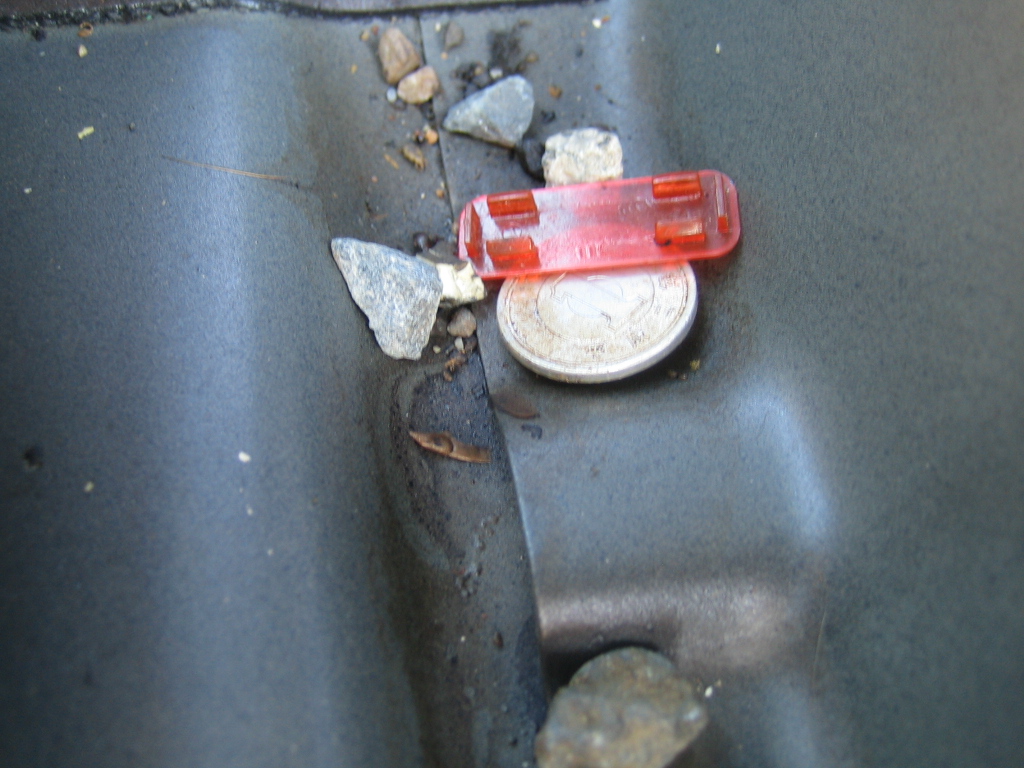
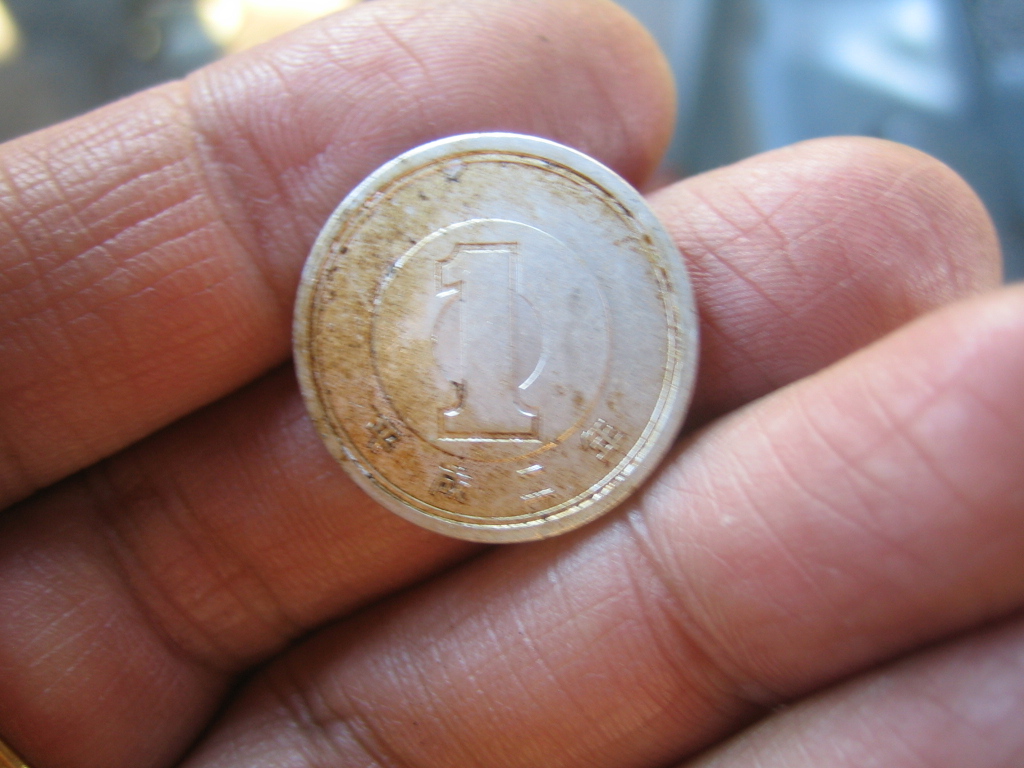
    While vacuuming under the carpet I finally broke something


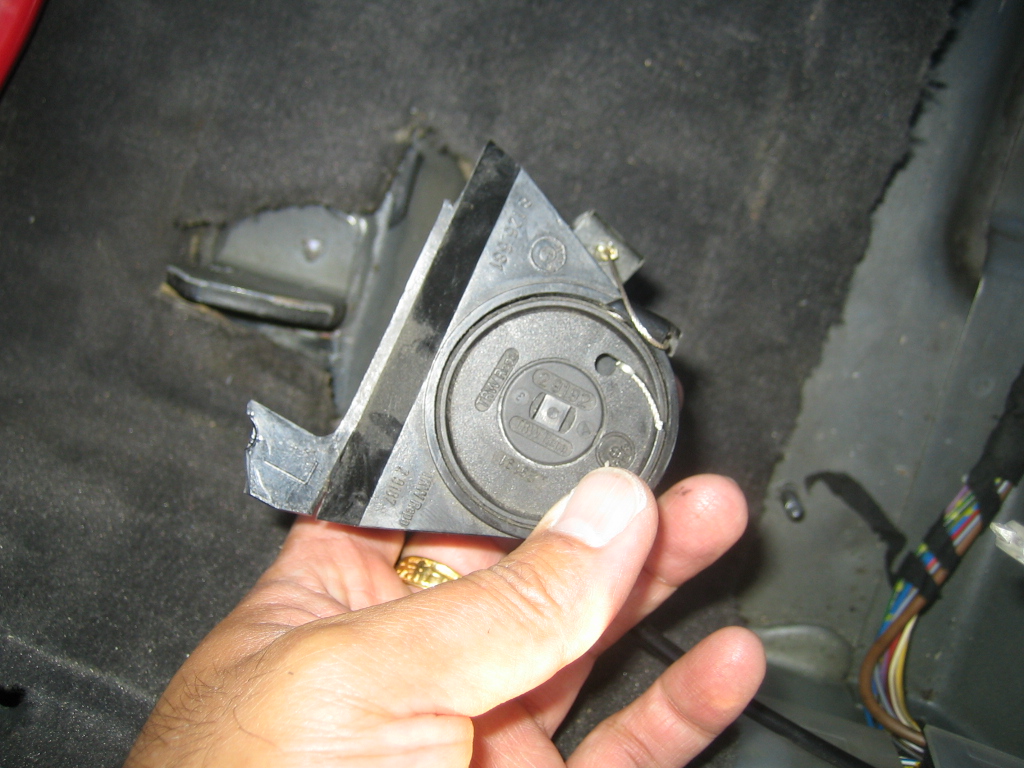
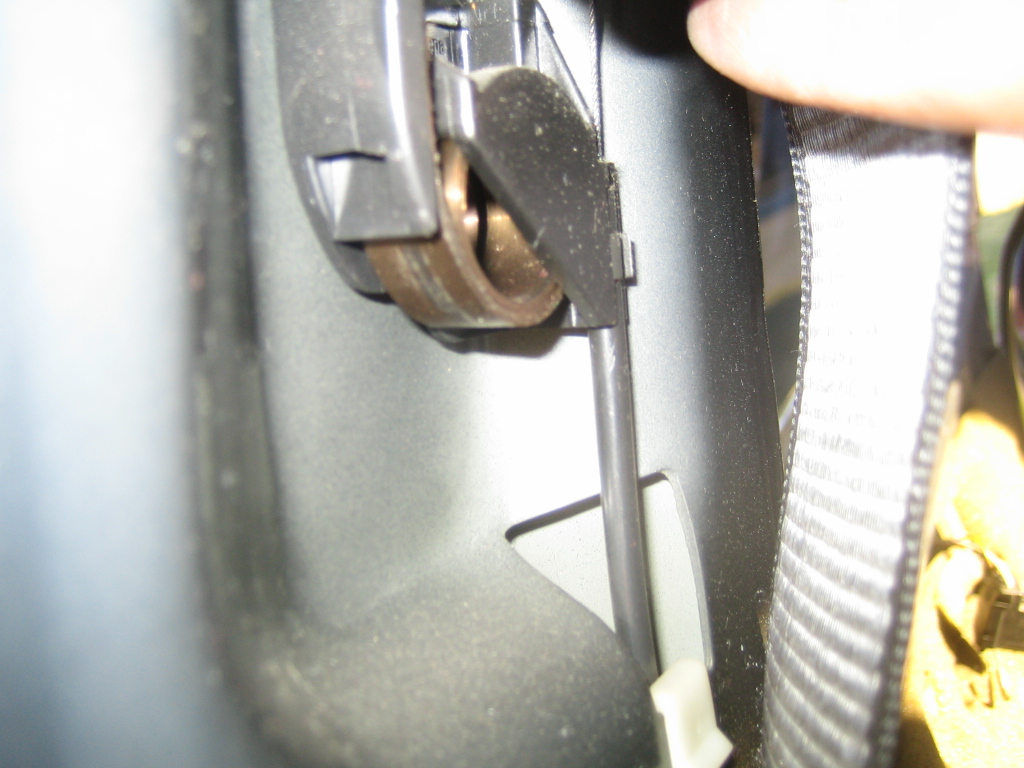
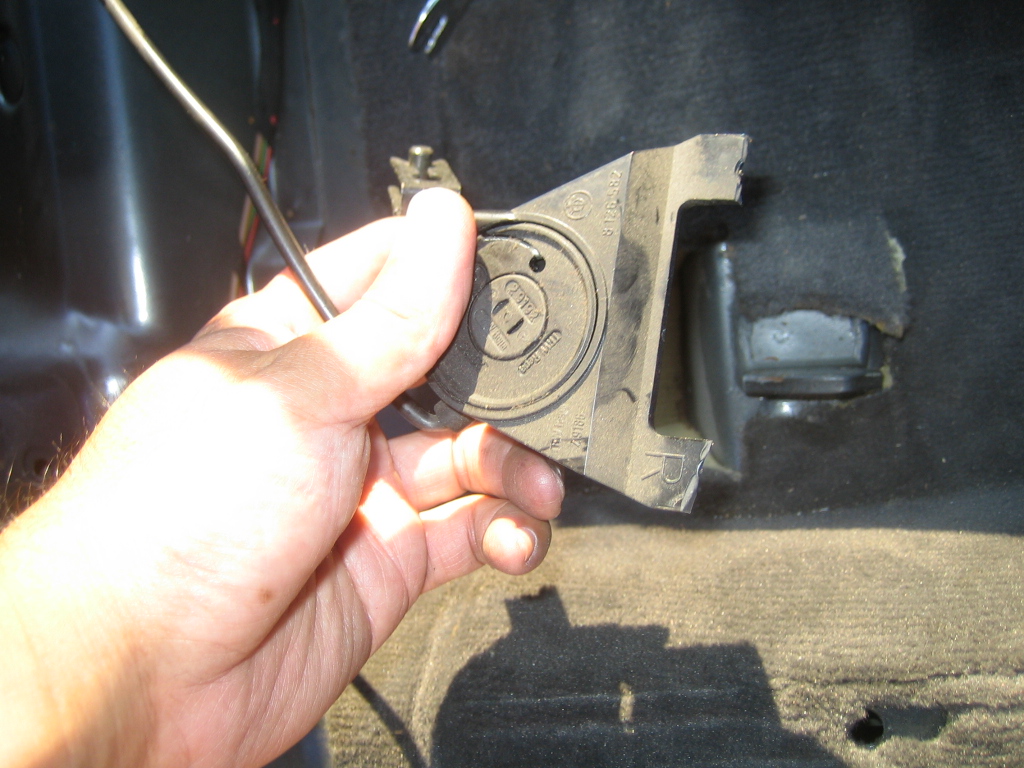
    Since I don't plan to replace the broken seatbelt adjuster I decided to just remove it entirely.

    So here is the other end of it attached to the seatbelt harness


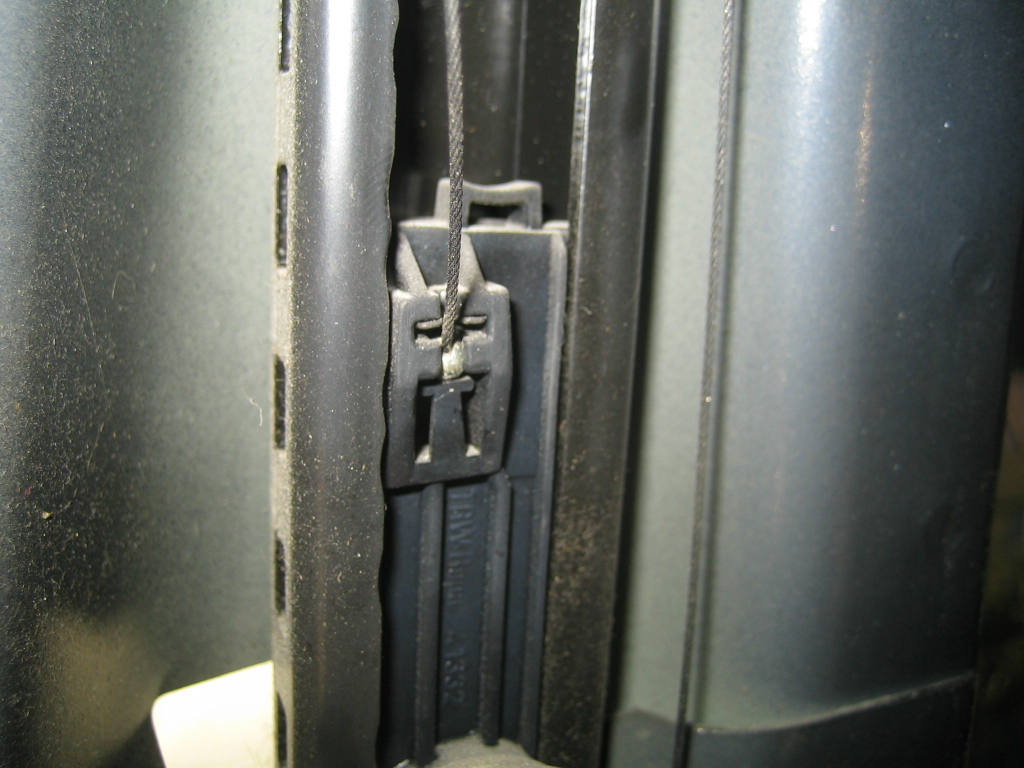
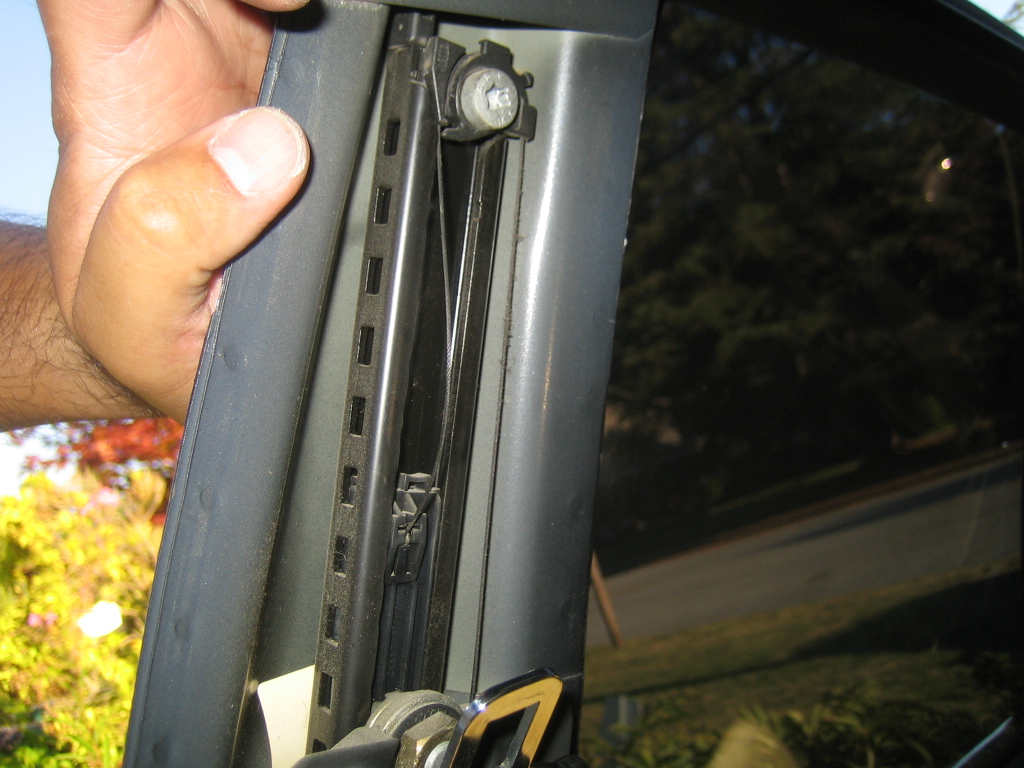
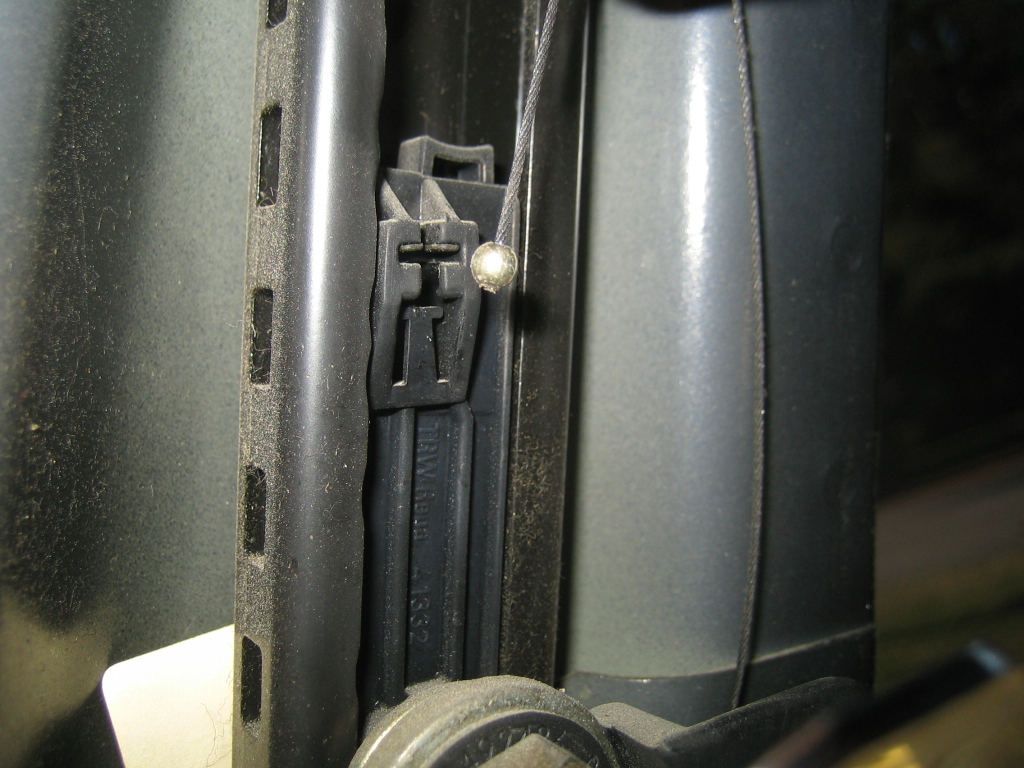
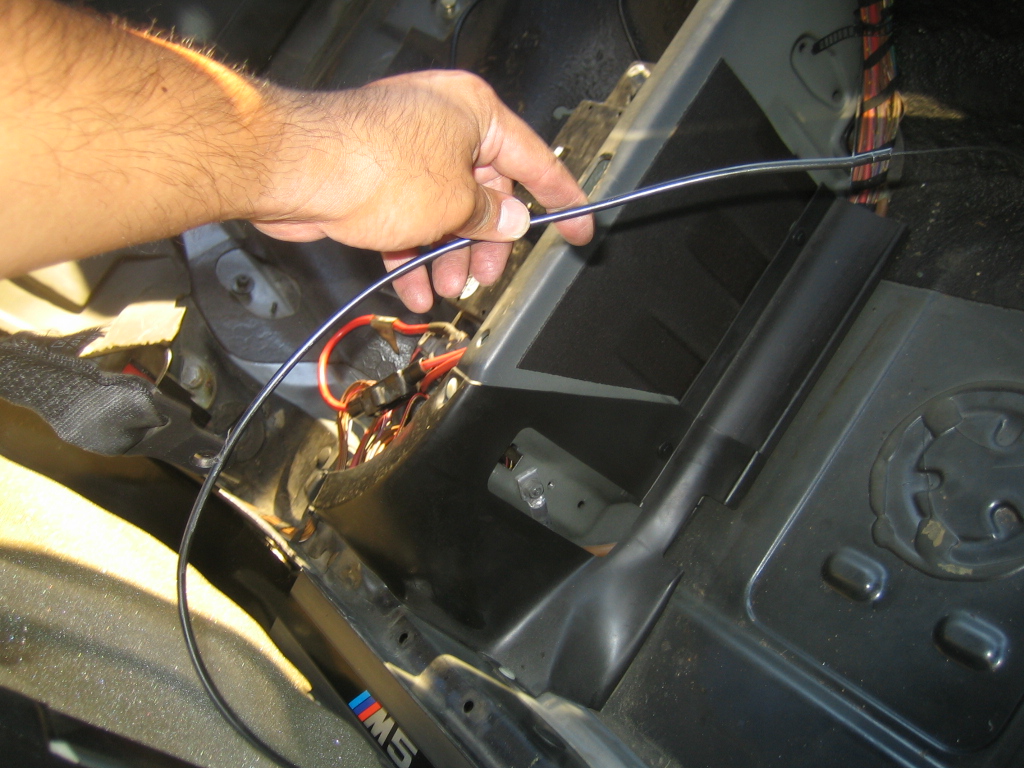
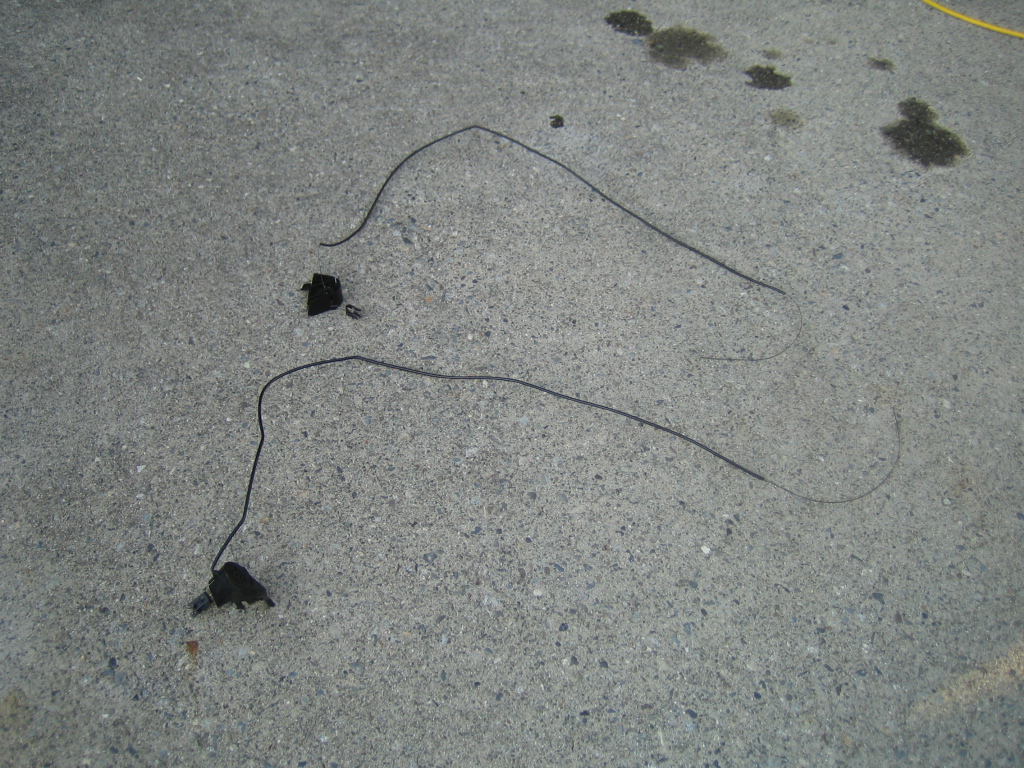
    The cable snakes down the B pillar to the adjuster


    Very simple process to remove, just push in the tab and pop out the ball


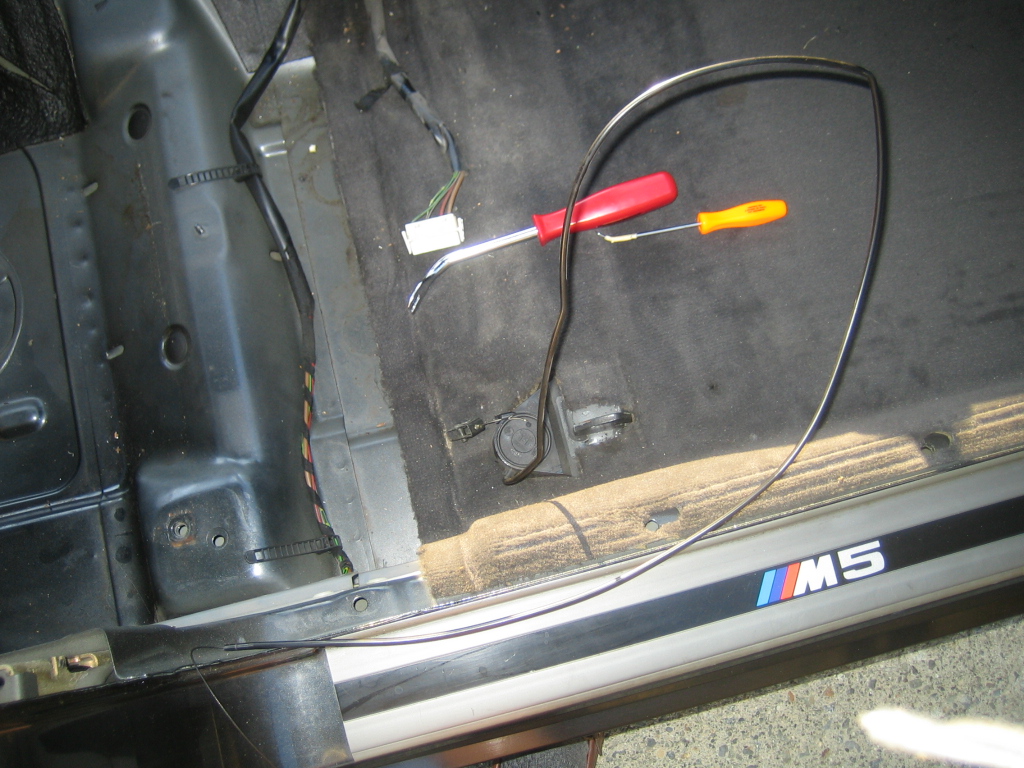
    Pull the cable out of the clips


    I yanked out the passenger side adjust to help keep the weight balance


    I guess I could try fishing with what was left over


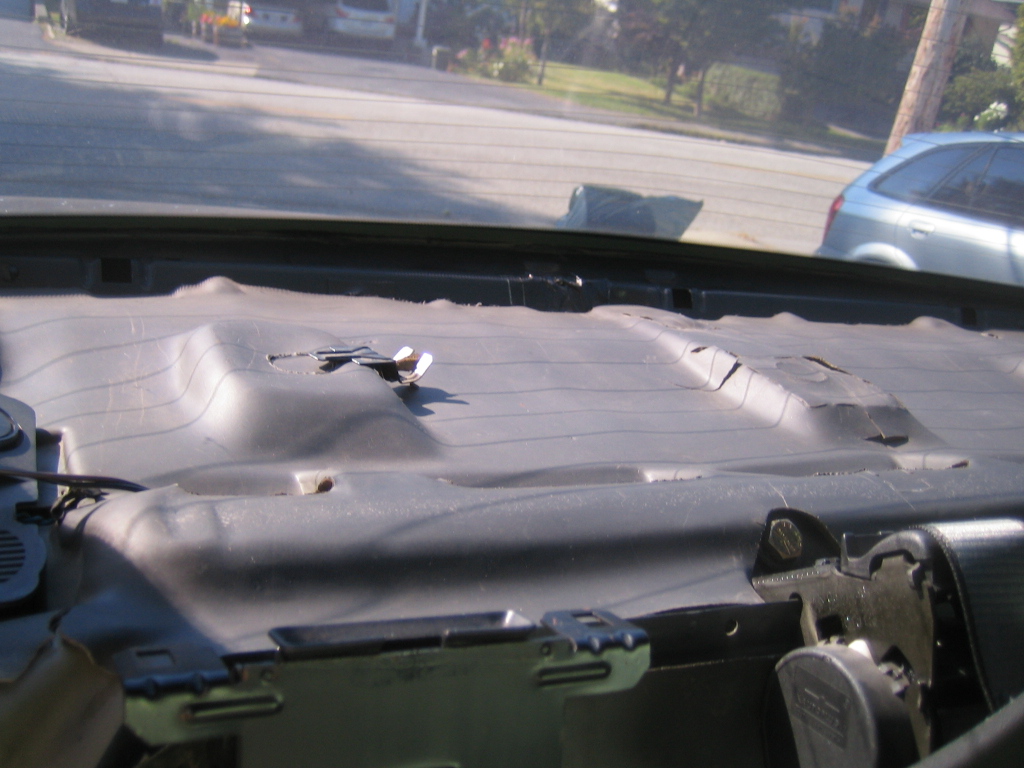
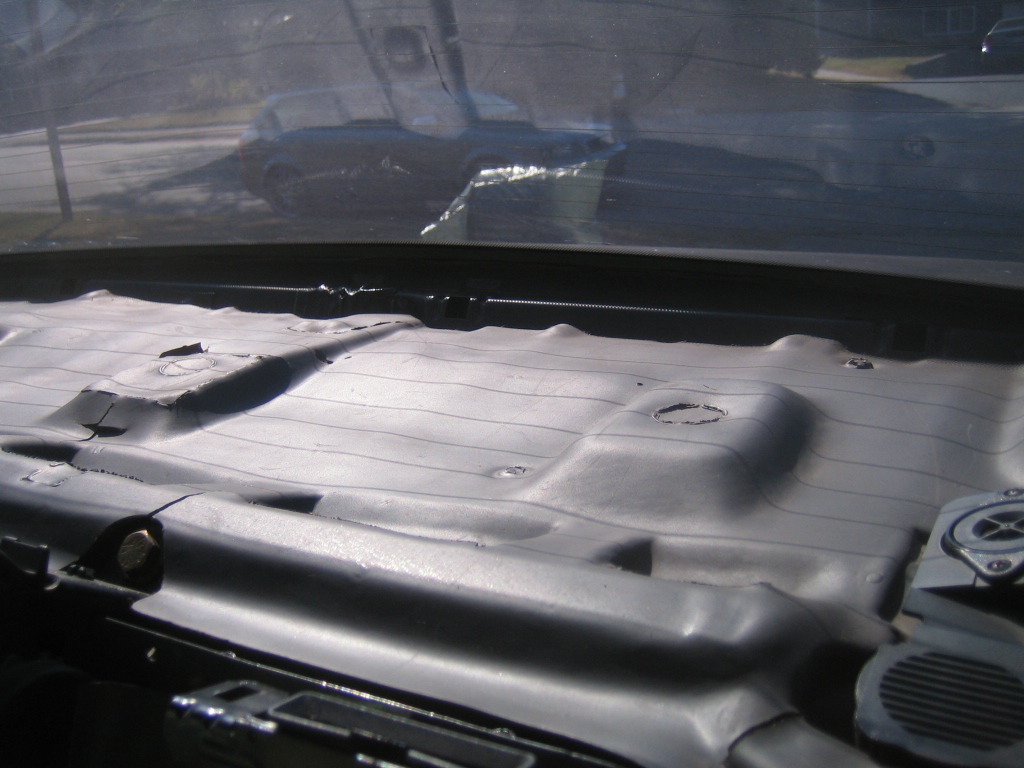
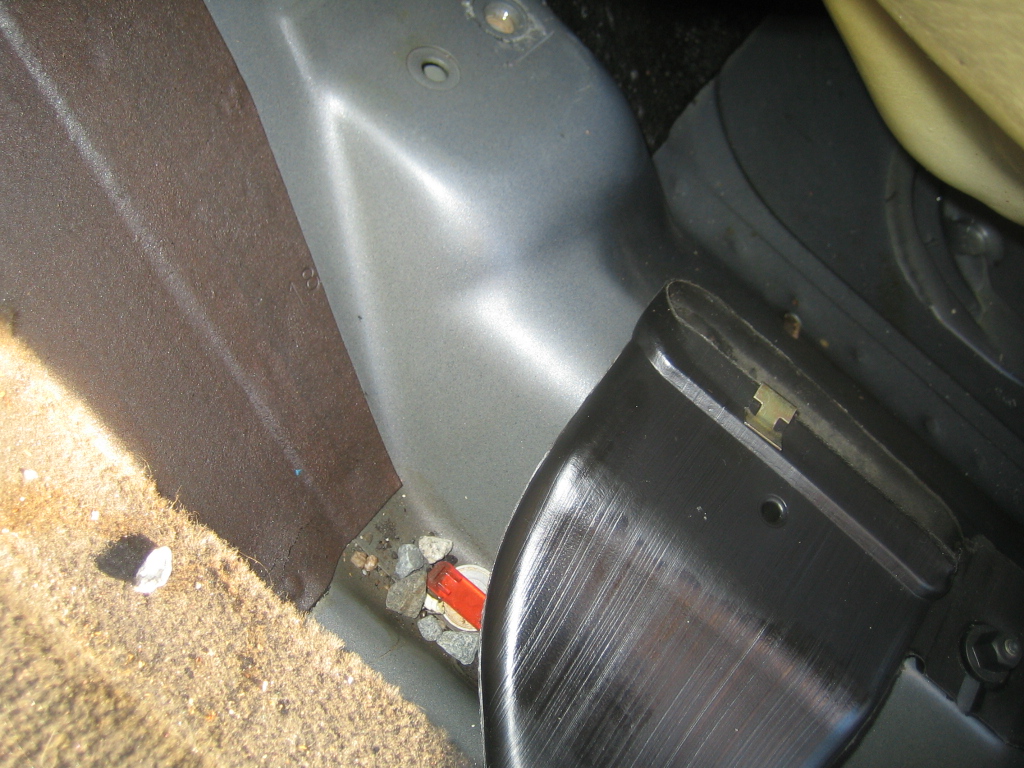
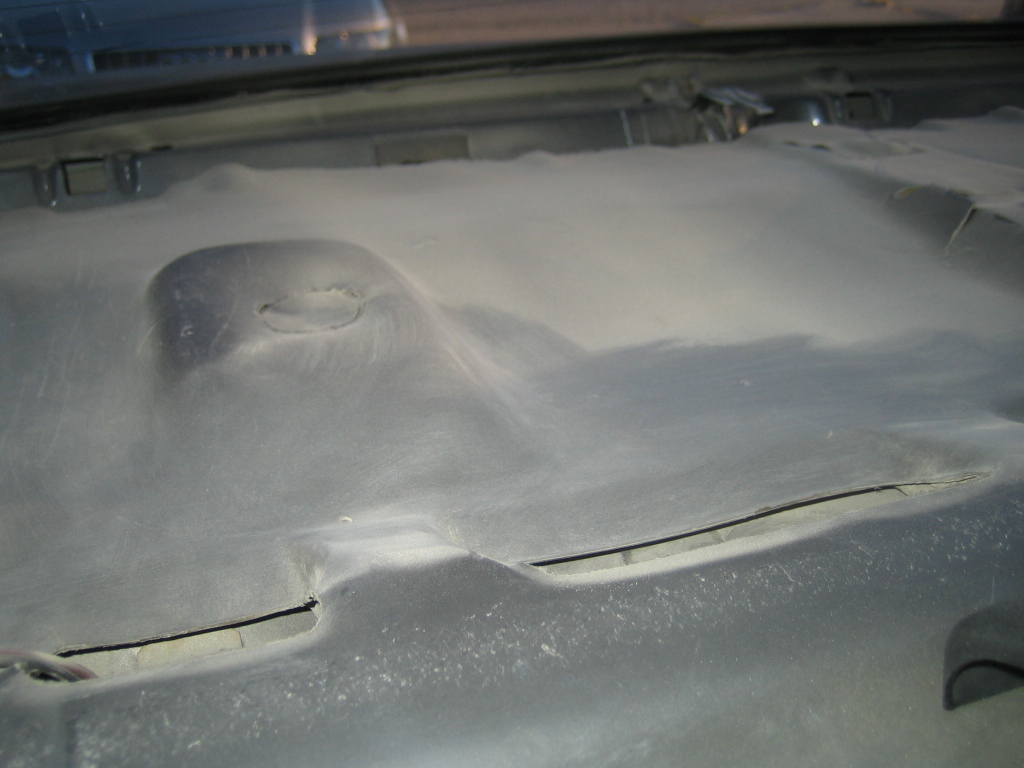
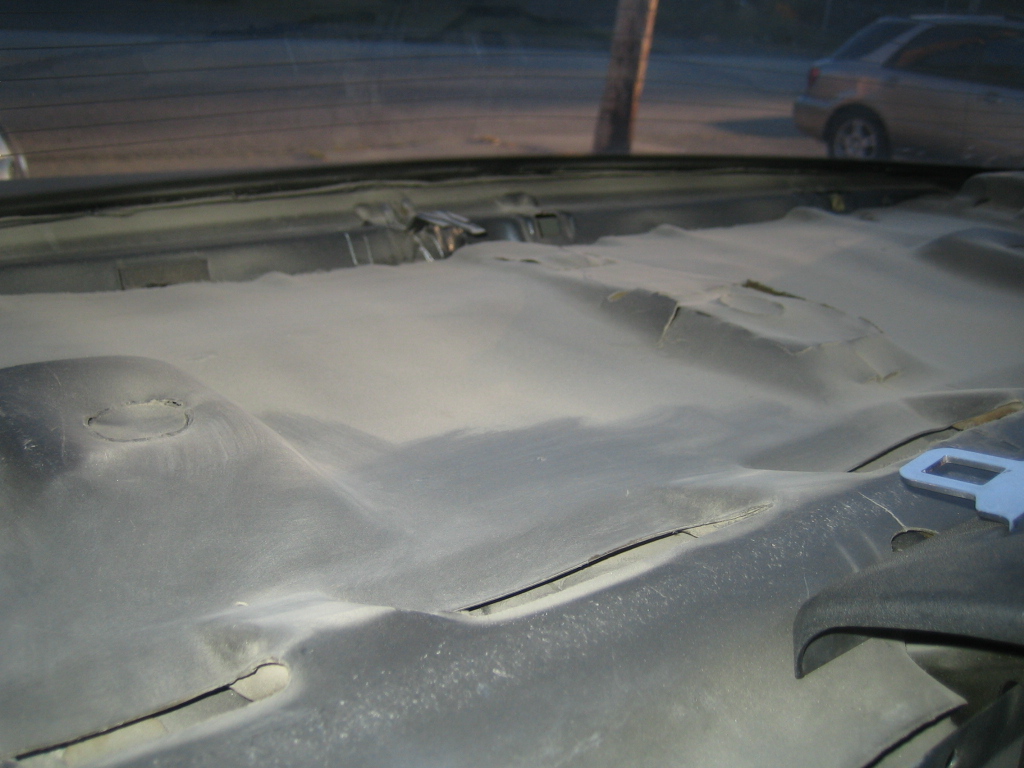
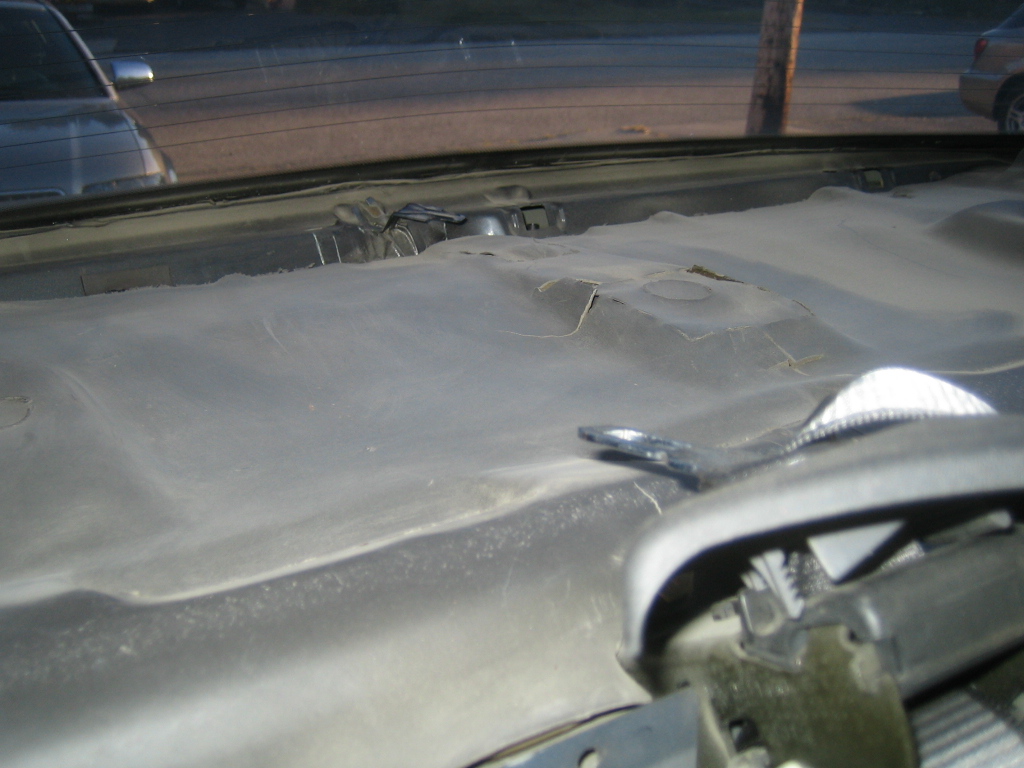
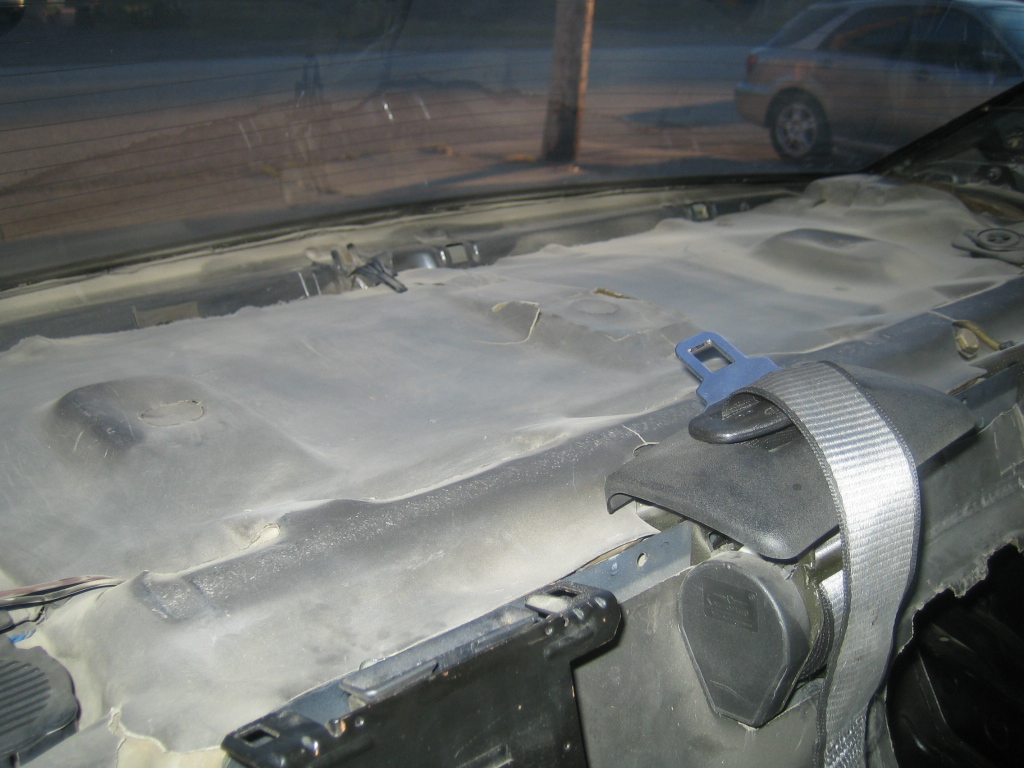
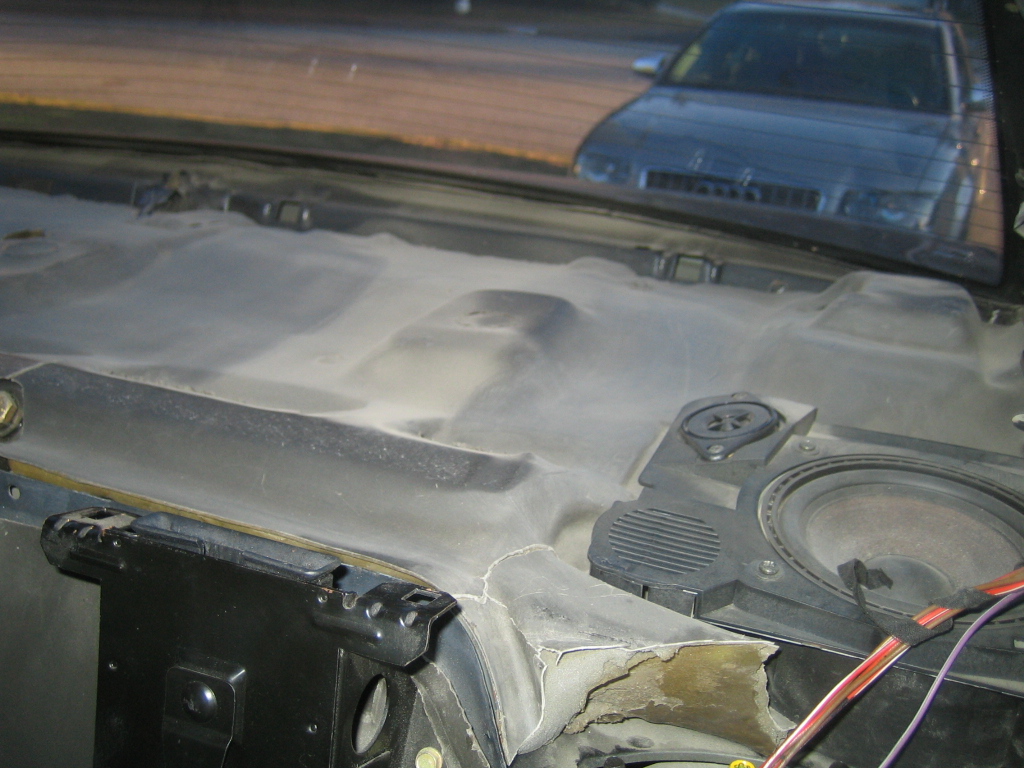
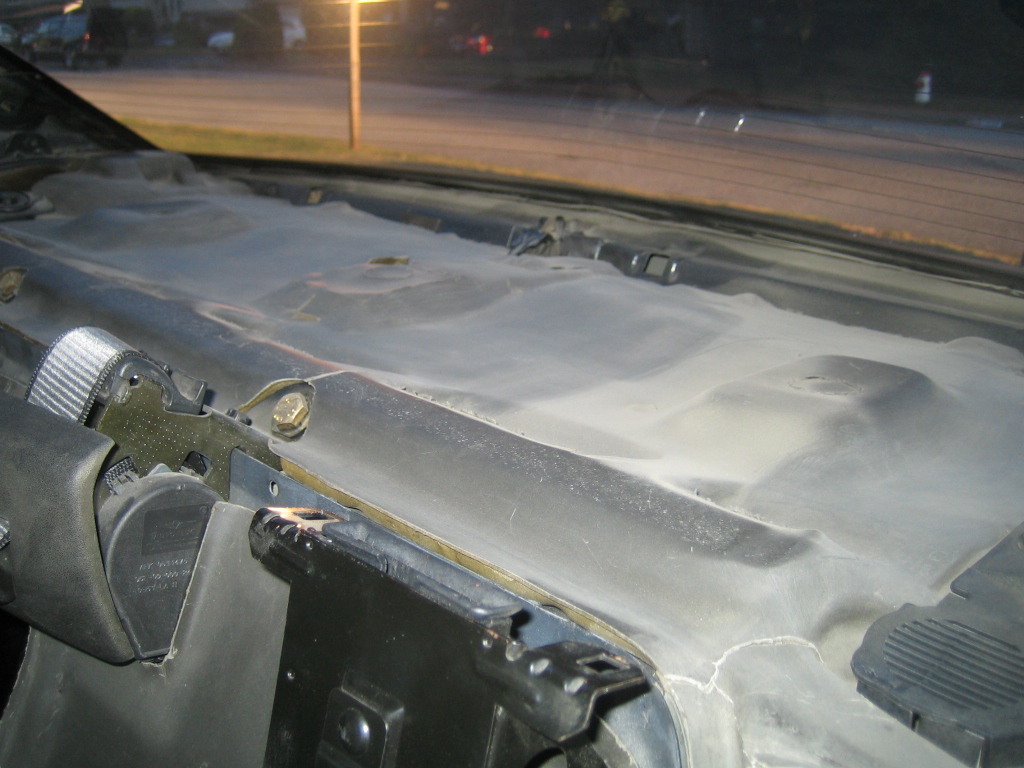
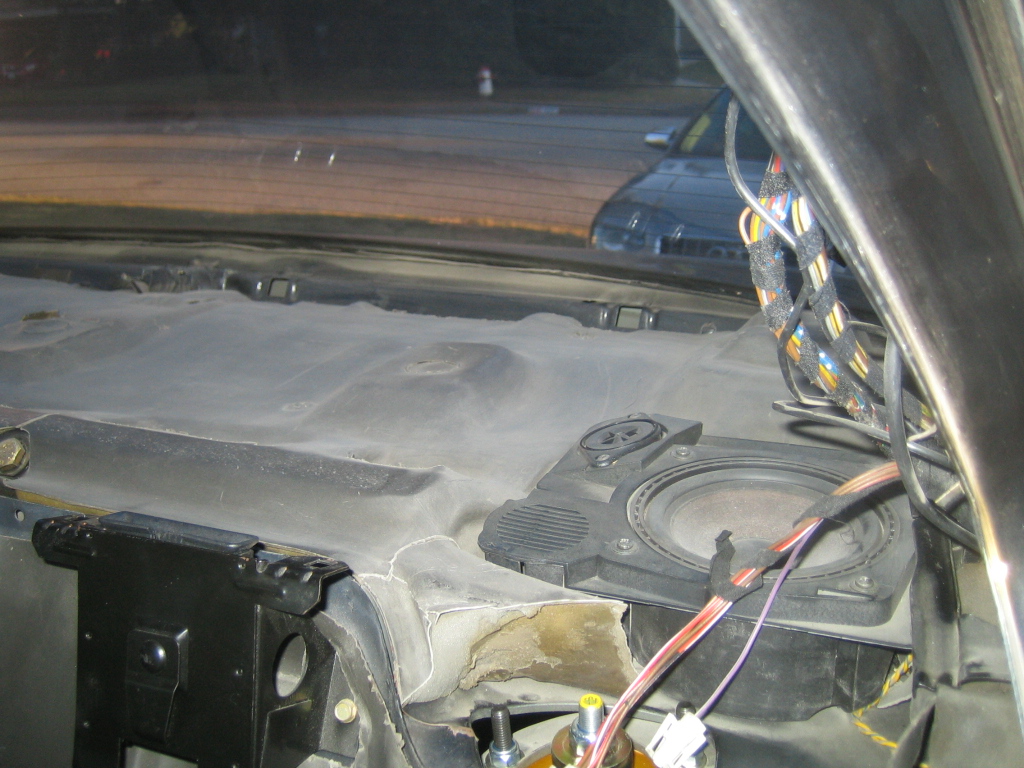
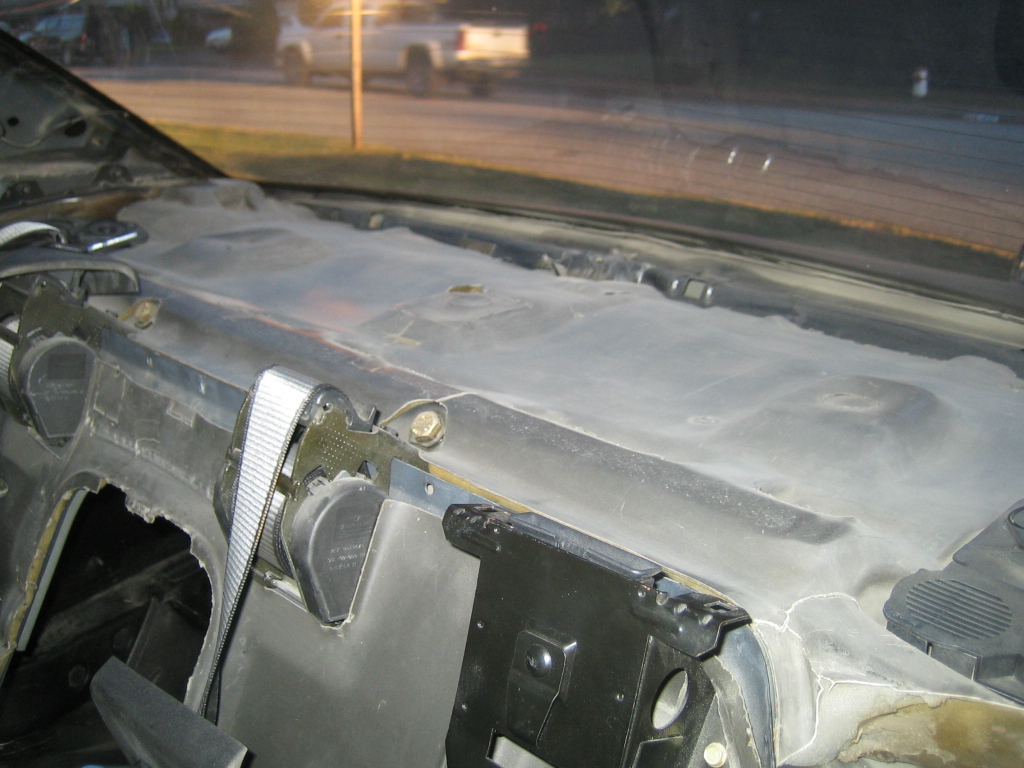
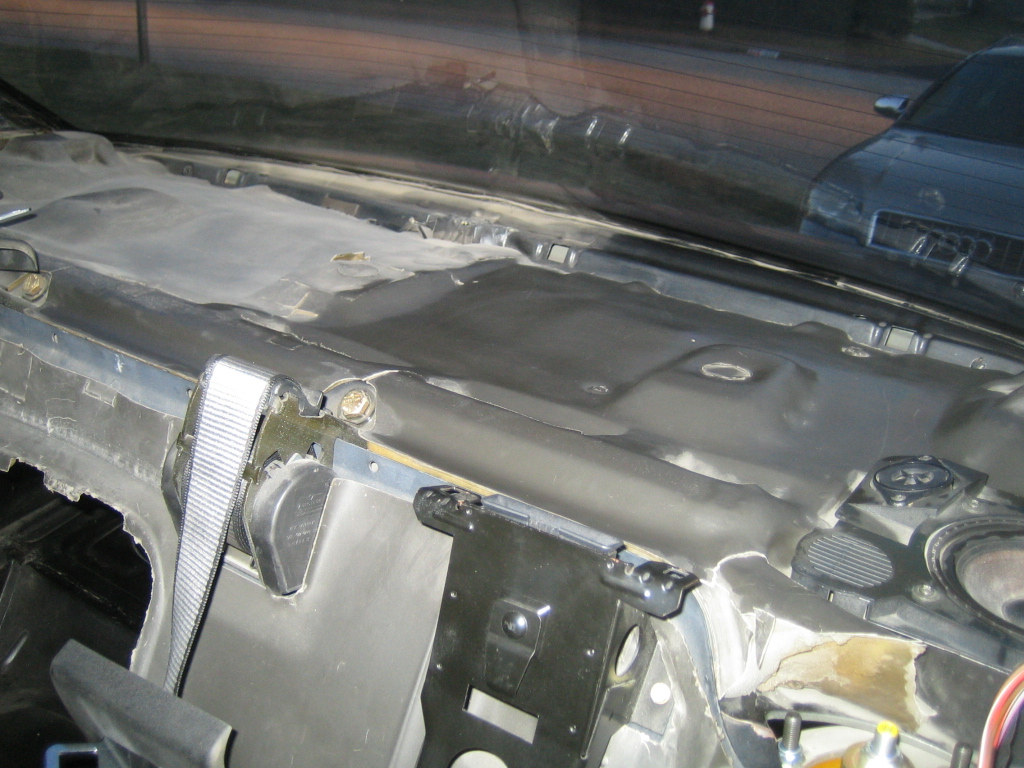
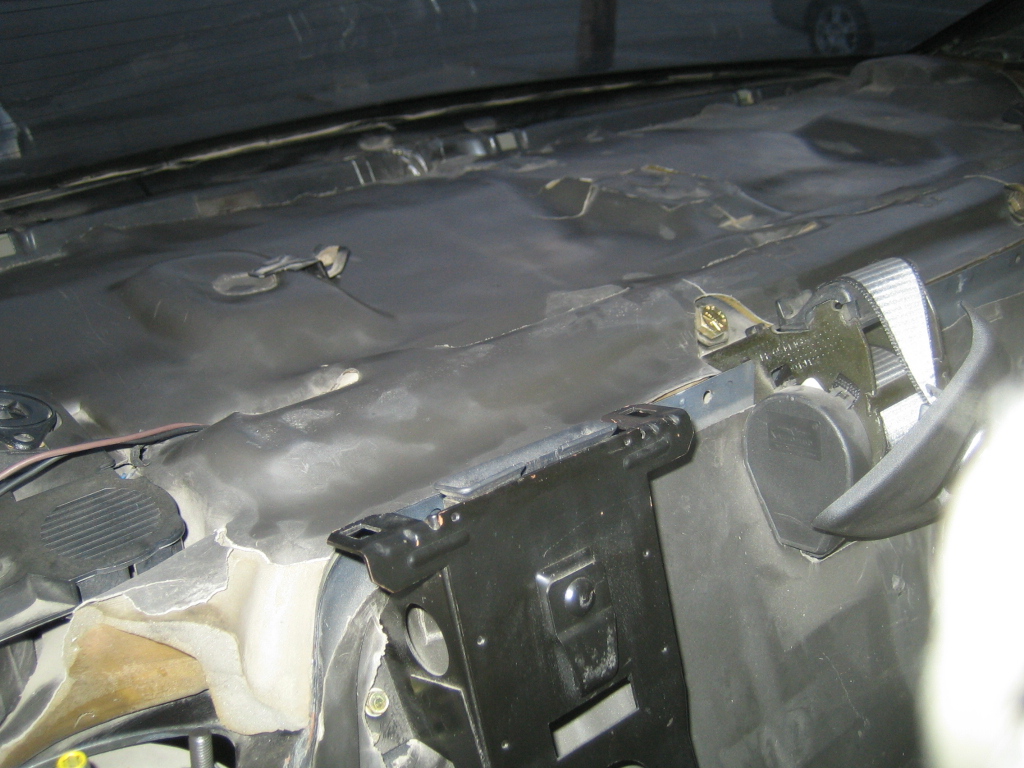
    I attack the rear parcel shelf with the vacuum and you can see just how much dust there is. Now think about how all that dust got there since the trim panel was sitting ABOVE it.


    One half done


    Almost done


    FINISHED


    Well not quite finished as you can see the light gray film of dust that the vacuum could not pick up. So time to break out the old fashioned way of cleaning this up... a cloth and a bucket of water.


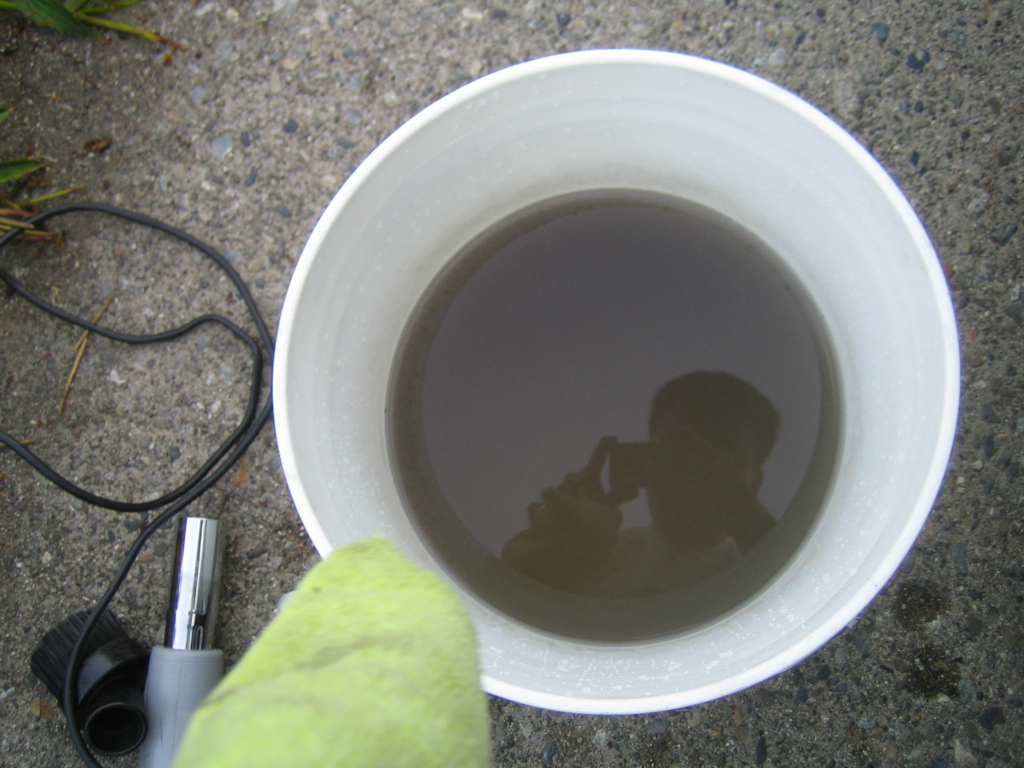
    Here is what the bucket of clear water looks like now.

    Last edited by MC Hammered; 04-25-2016, 10:06 PM.

    Leave a comment:


  • MC Hammered
    replied
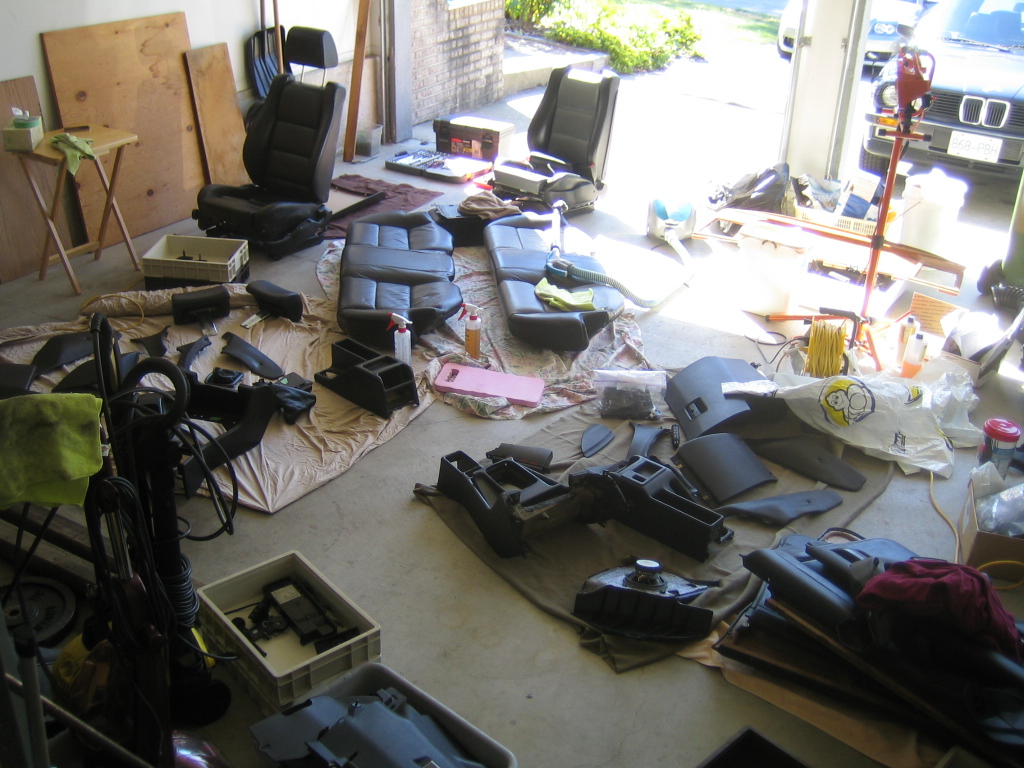
    While the car was at the shop getting the suspension installed I started working on restoring the interior.

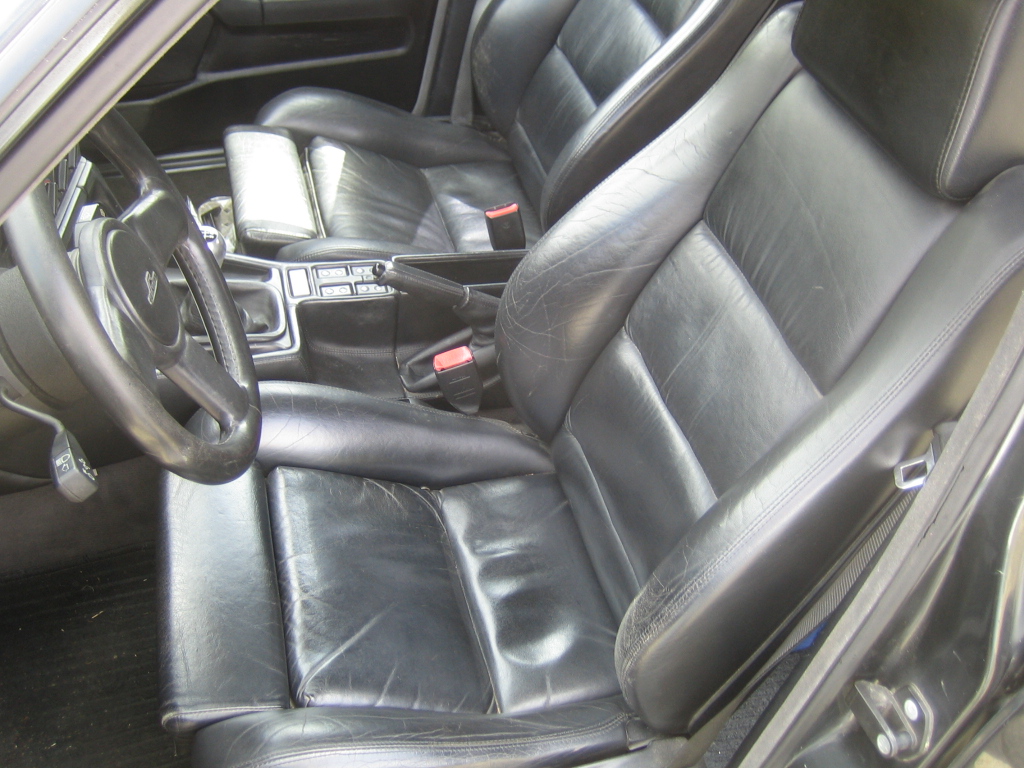
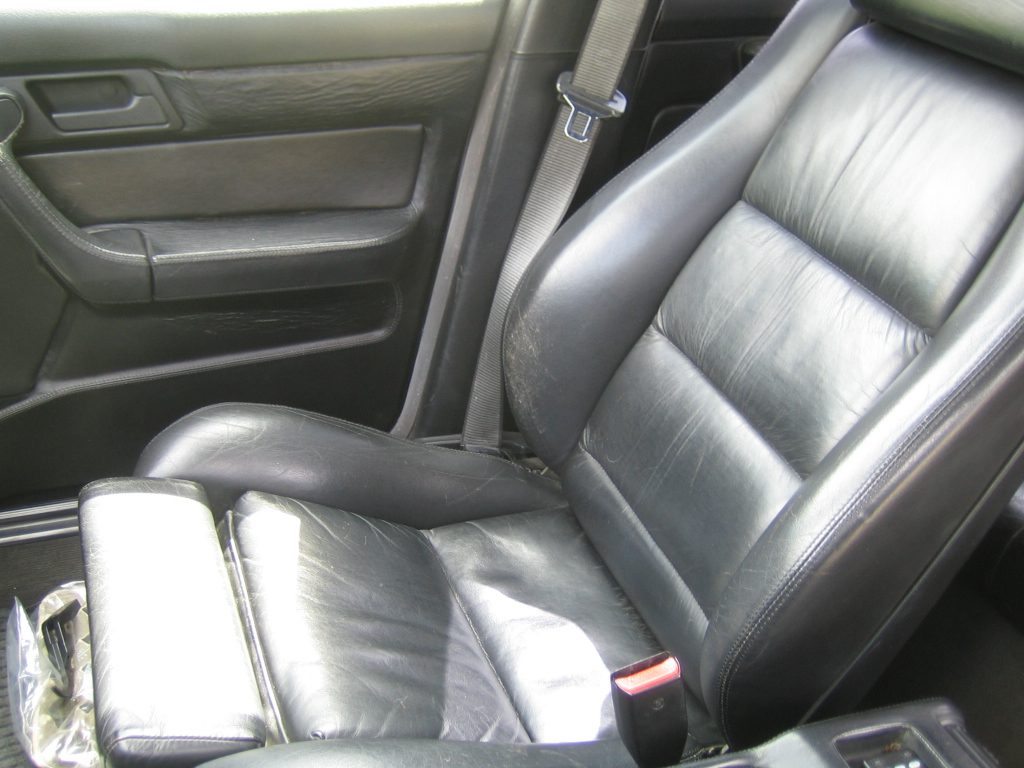
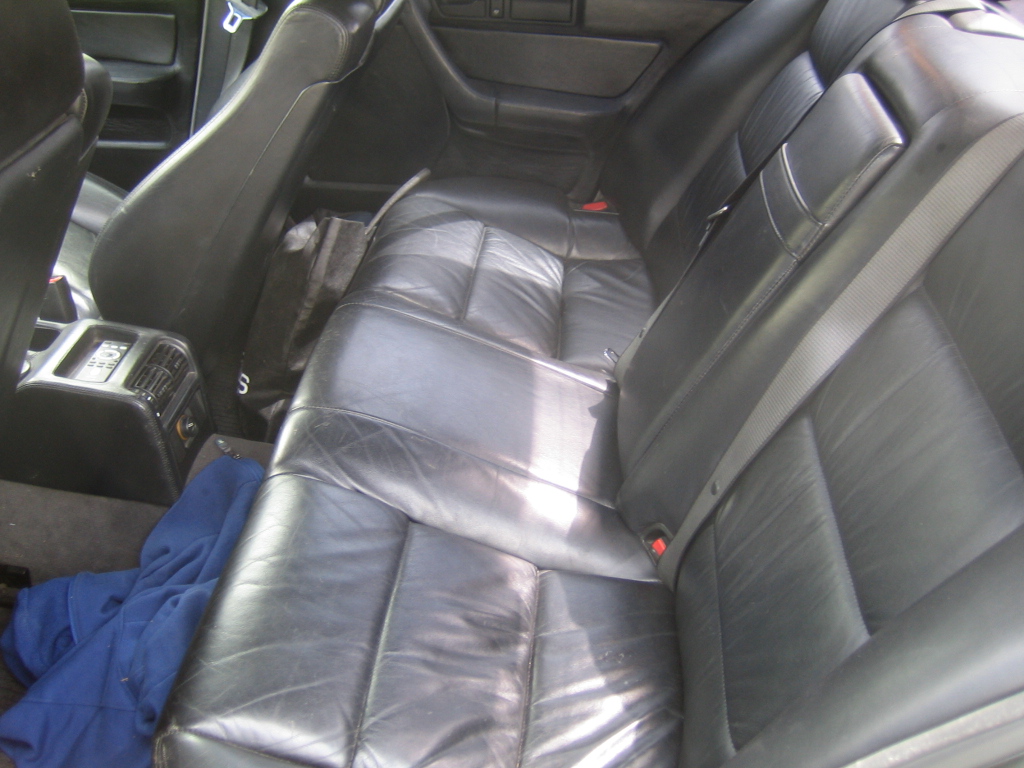
    Here are some before pics when I got the car


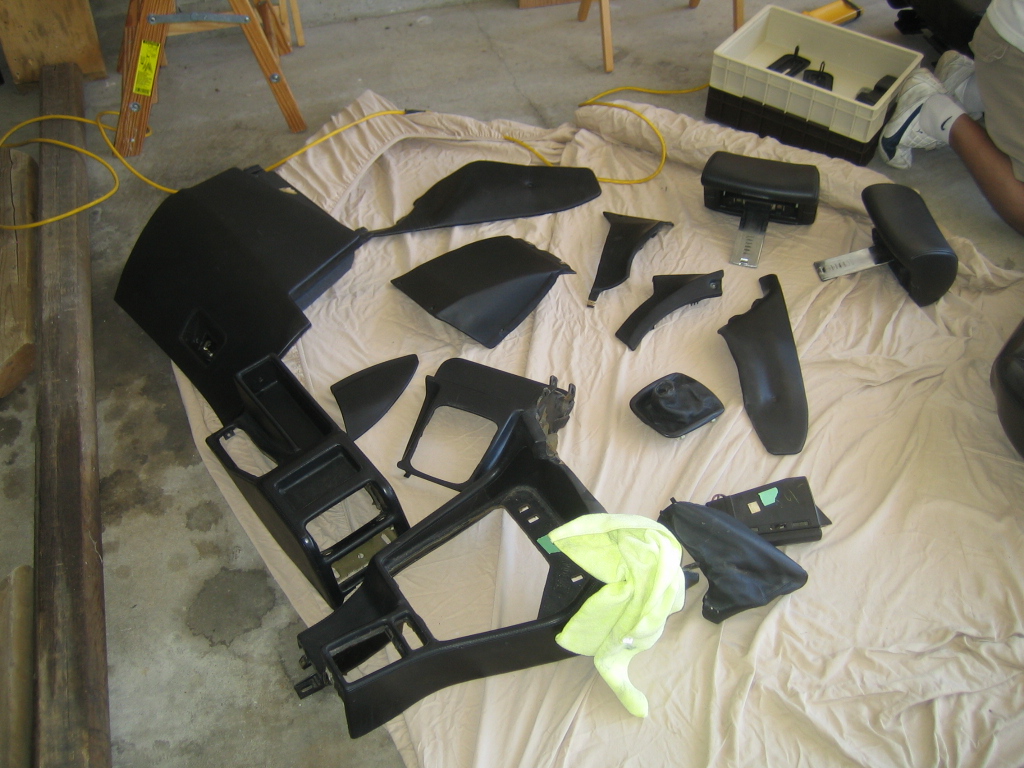
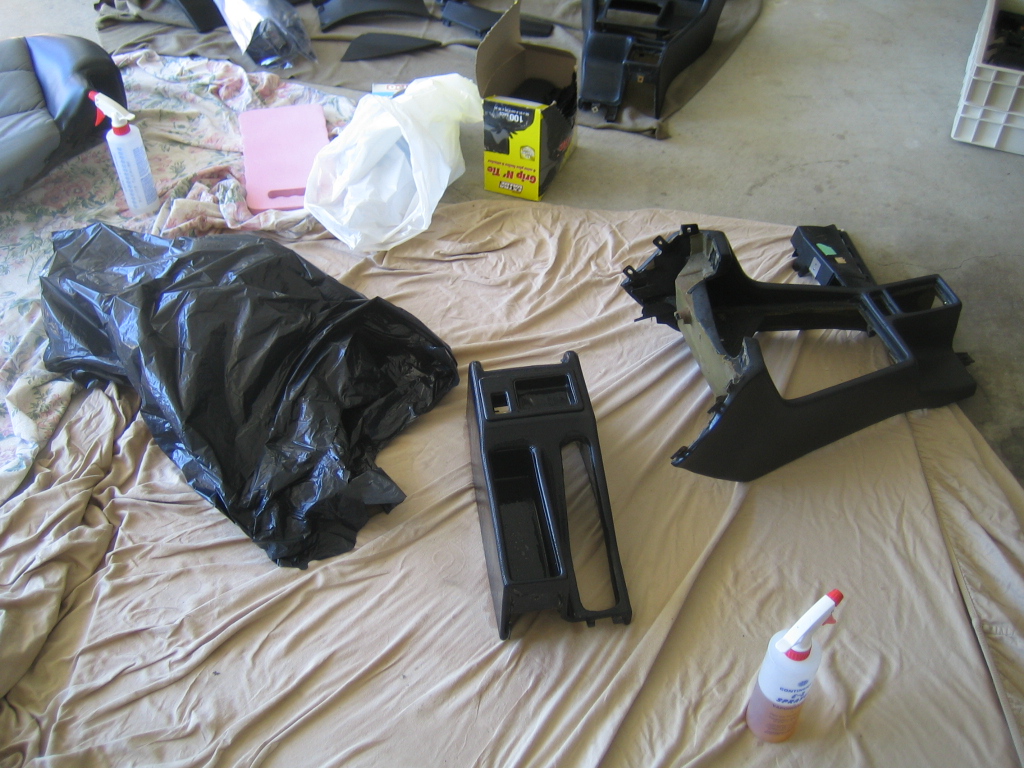
    I was lucky to find a second extended leather console setup, sorted out all the pieces and prepared to get the project going.


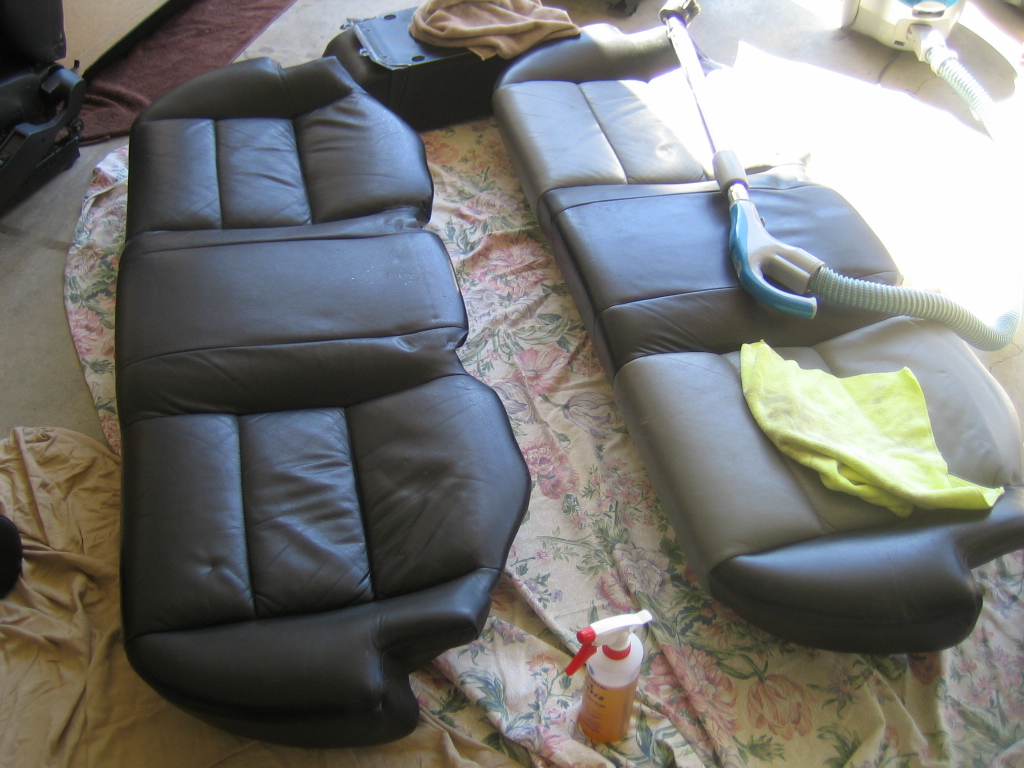
    Richinvan came over to help out and do his interior at the same time. So here I am vacuuming the rear seat bases and doing an initial cleaing with diluted Lexol cleaner.


    Prepping my passenger seat


    My center console puzzle


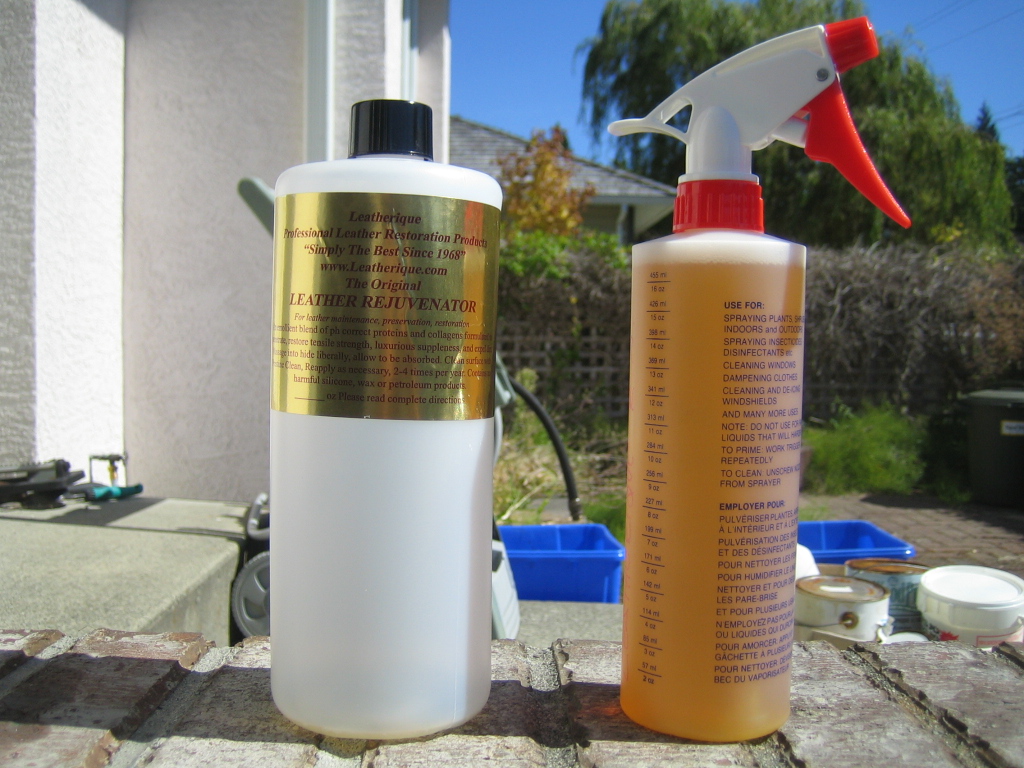
    I am going to use Leatherique products for this restoration project. I ordered 32oz of Rejuvinating Oil, 32oz of Pristine Clean, 32oz of BMW black dye and 8oz of Prepping agent.

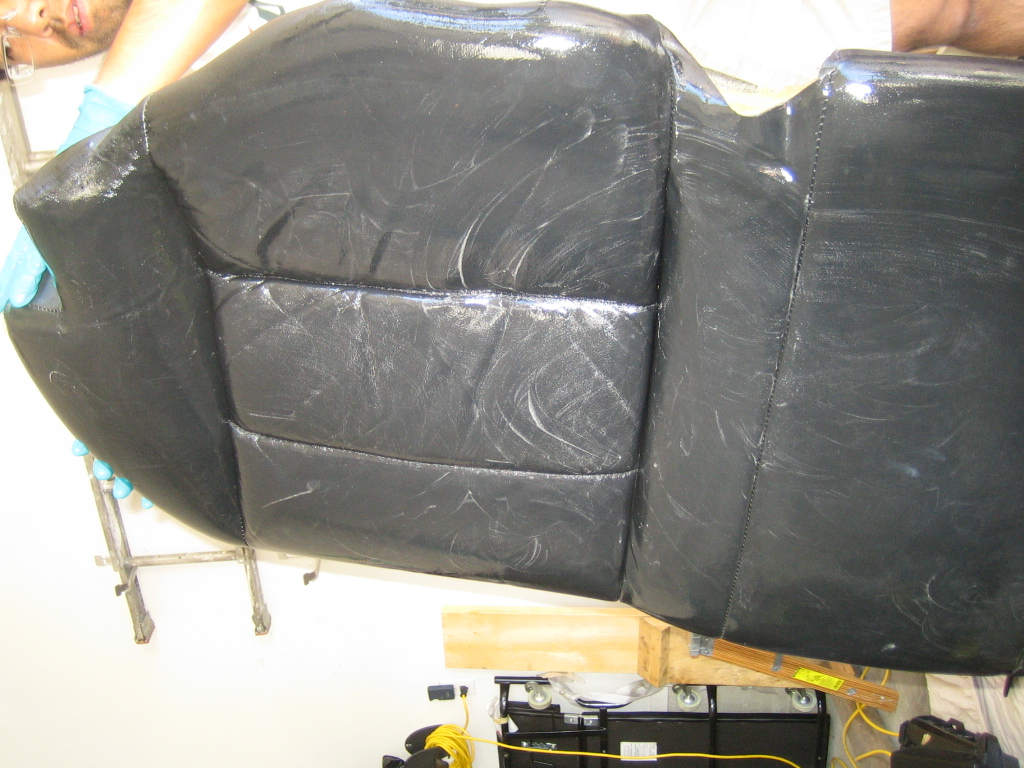
    I poured the Rejuvinating Oil into a spray bottle and started massaging it onto the rear seat base


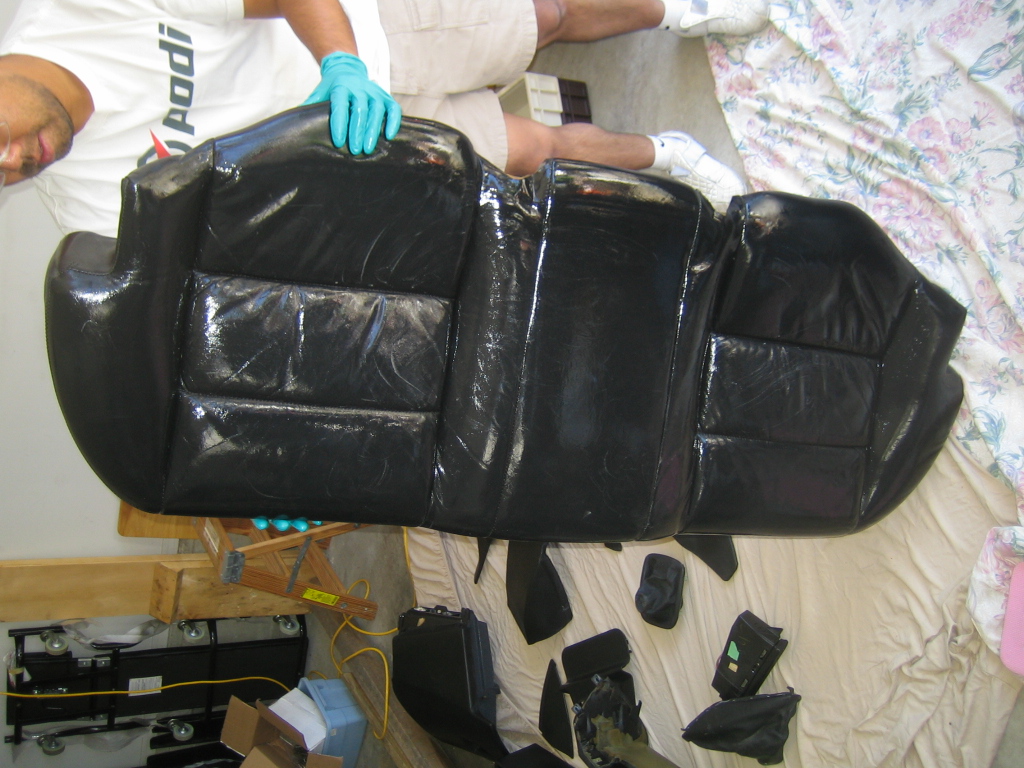
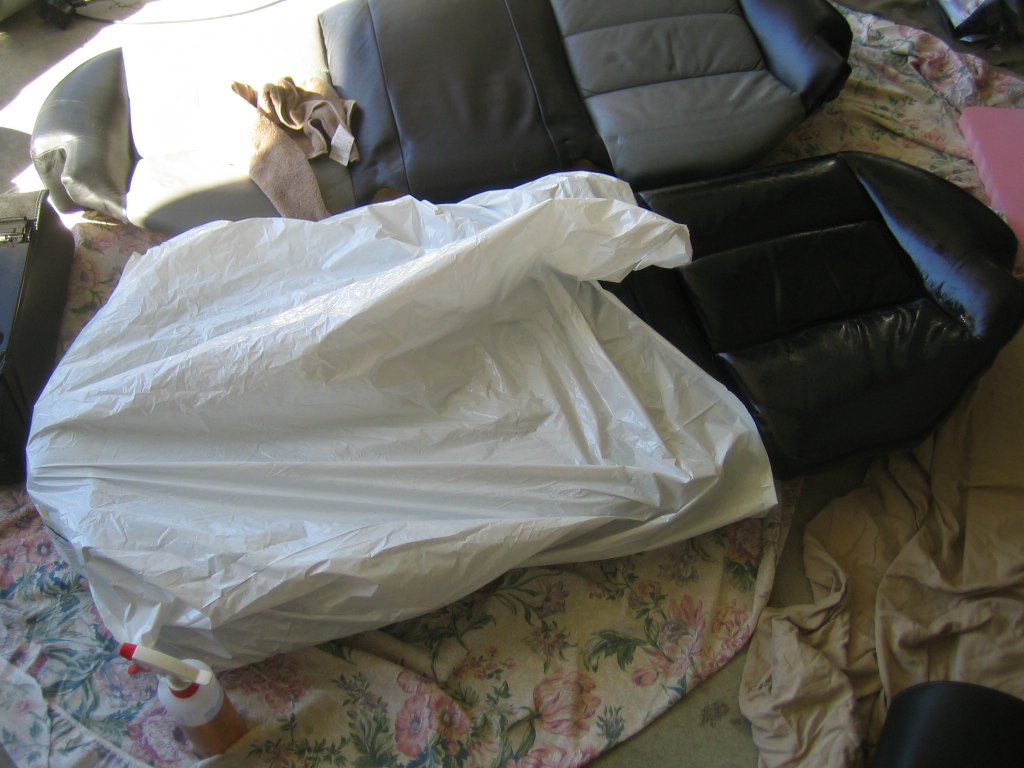
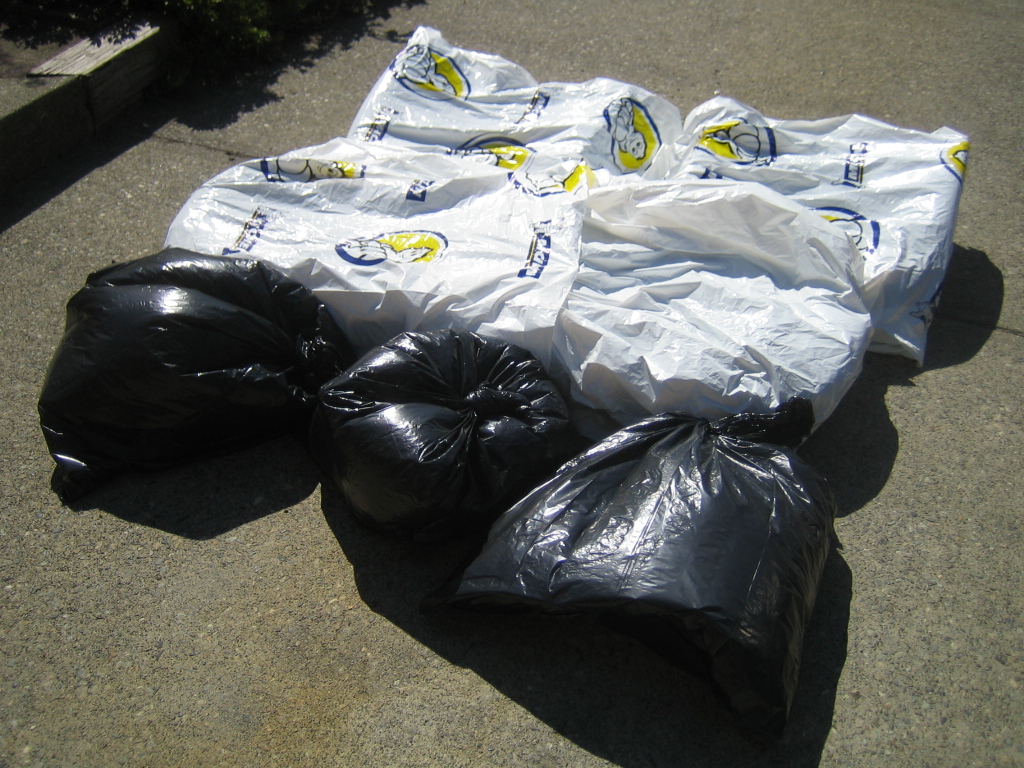
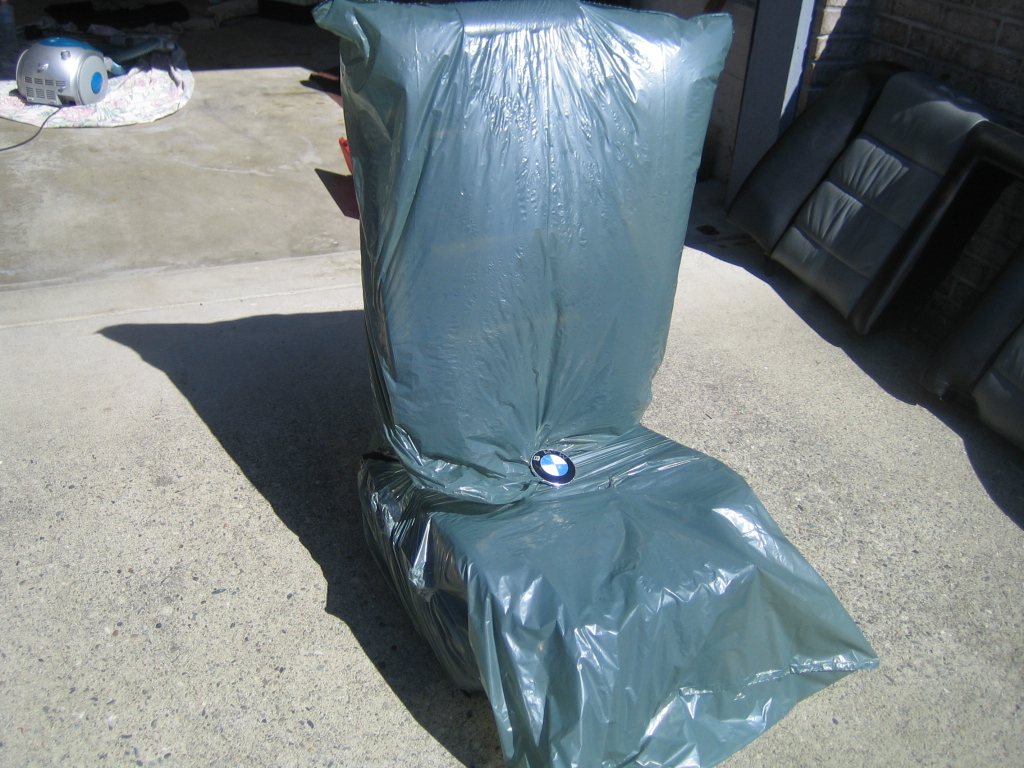
    I covered up the seat using 2 tire bags the create a sauna environment. I placed the seat outside in the sun and let the Rejuvinating Oil work into the leather.


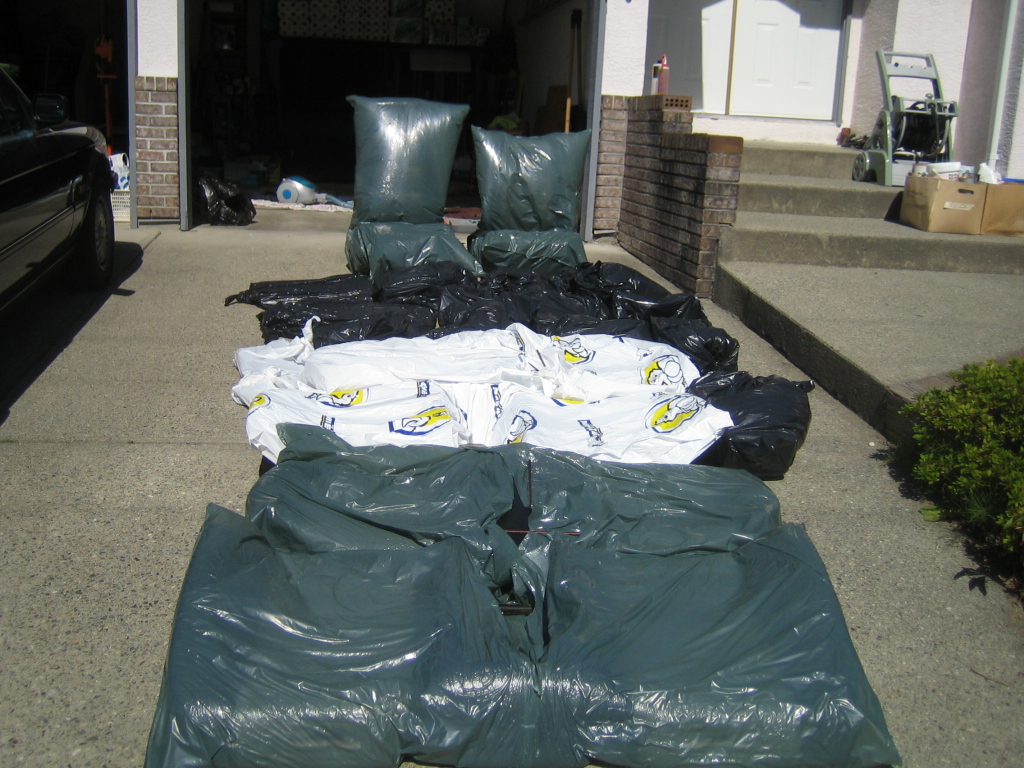
    After I completed putting the Rejuvinating Oil on the rear seat pieces I proceeded to work on the console pieces. I did an initial cleaning with diluted Lexol cleaner, massaged in the Rejuvinating Oil, bagged up the piece and let it bake in the sun


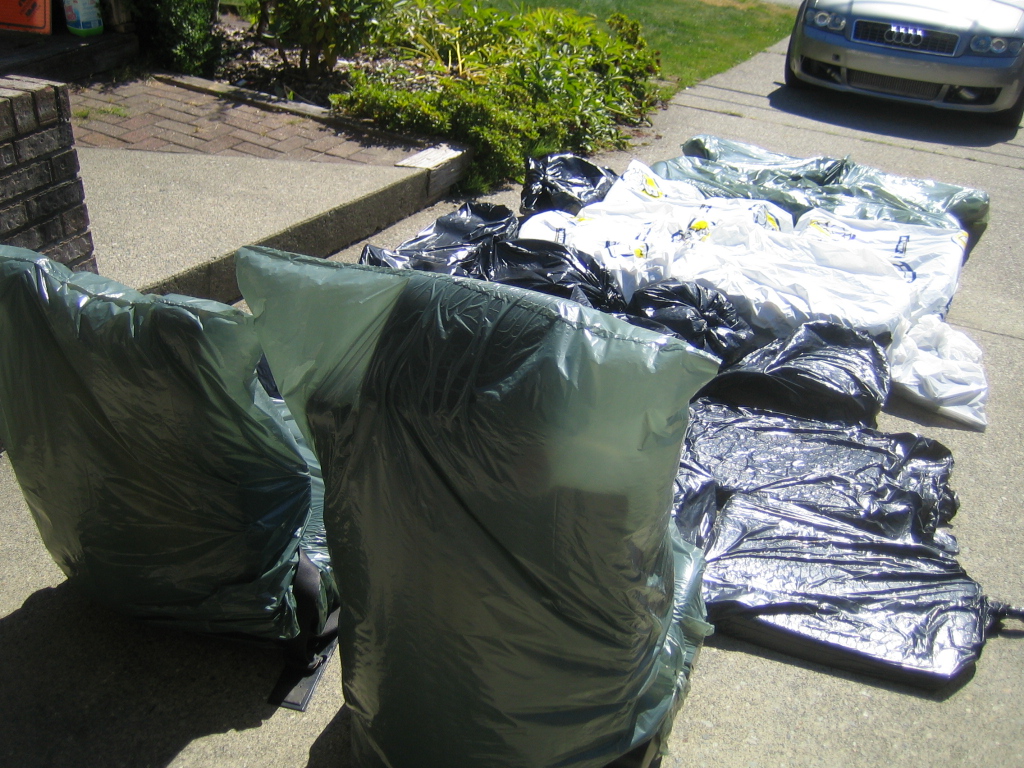
    Same process for the passenger side seat, bagged and ready to bake. Hans helped outto keep the bag from opening up due to wind


    So for all the of items pictured above I used only 16oz of Rejuvinating Oil and that included my dropping the spray bottle and wasting a couple of ounces on the floor


    So I baked all of the interior pieces in the sun for 2-3 days and gave the seats a new coat of Rejuvinating Oil on day 2.
    Last edited by MC Hammered; 04-25-2016, 10:05 PM.

    Leave a comment:


  • jamesthebikeguy
    replied
    Hello Veronica, not often you find a nice e34 m5 any more.

    This is one hell of an example.

    Leave a comment:


  • MC Hammered
    replied
    Originally posted by Gadea
    I see why you could not pass up on the M5, I mean, How could anybody??
    But....did you really, really have to let the e30 go? really? Not my business, but you have a bunch of cars on that driveway anyway. Couldn't afford one more?? and who's Stephanie? the audi??
    anyway, congrats! big time!
    Just because there are a bunch of cars in the driveway does not mean they are all mine. ;)

    If I were to keep the e30 I would have to have her resprayed and that was going to be a $4000 job to make it perfect. The vert was fun but it wasn't fast. To make it fast would cost more $$$ so I decided to build the M5 instead.

    Stephanie is the Audi and she is up for sale as well. 400hp to all 4 wheels if you want to get groceries home in a flash.

    Leave a comment:


  • cbouchez
    replied
    Awesome M5

    Leave a comment:


  • Gadea
    replied
    I see why you could not pass up on the M5, I mean, How could anybody??
    But....did you really, really have to let the e30 go? really? Not my business, but you have a bunch of cars on that driveway anyway. Couldn't afford one more?? and who's Stephanie? the audi??
    anyway, congrats! big time!

    Leave a comment:


  • kalib0y
    replied
    I like where this is going

    Leave a comment:


  • MC Hammered
    replied
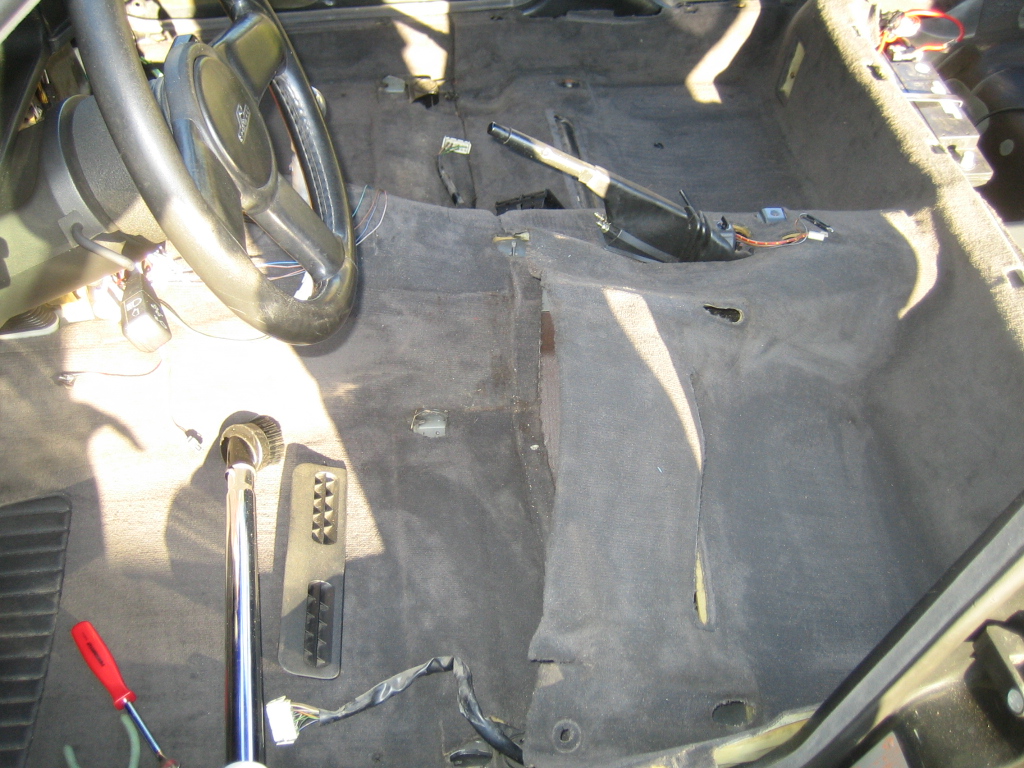
    I have taken out all of the interior to restore it and the timing couldn't have been better as parts started to arrive.

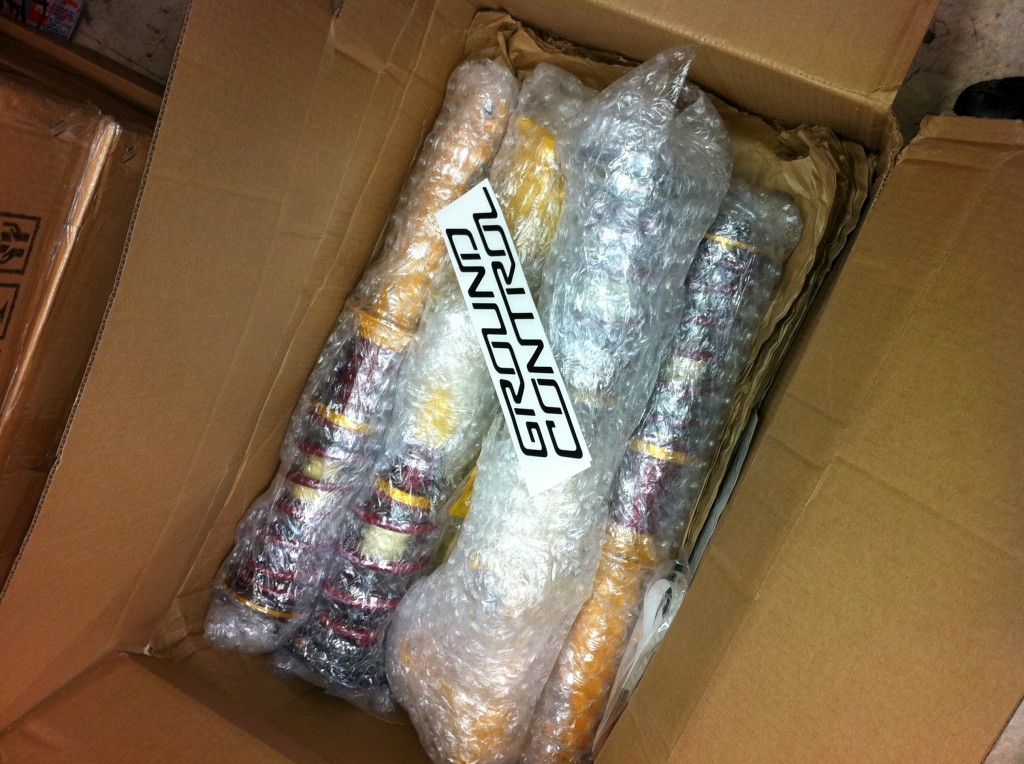
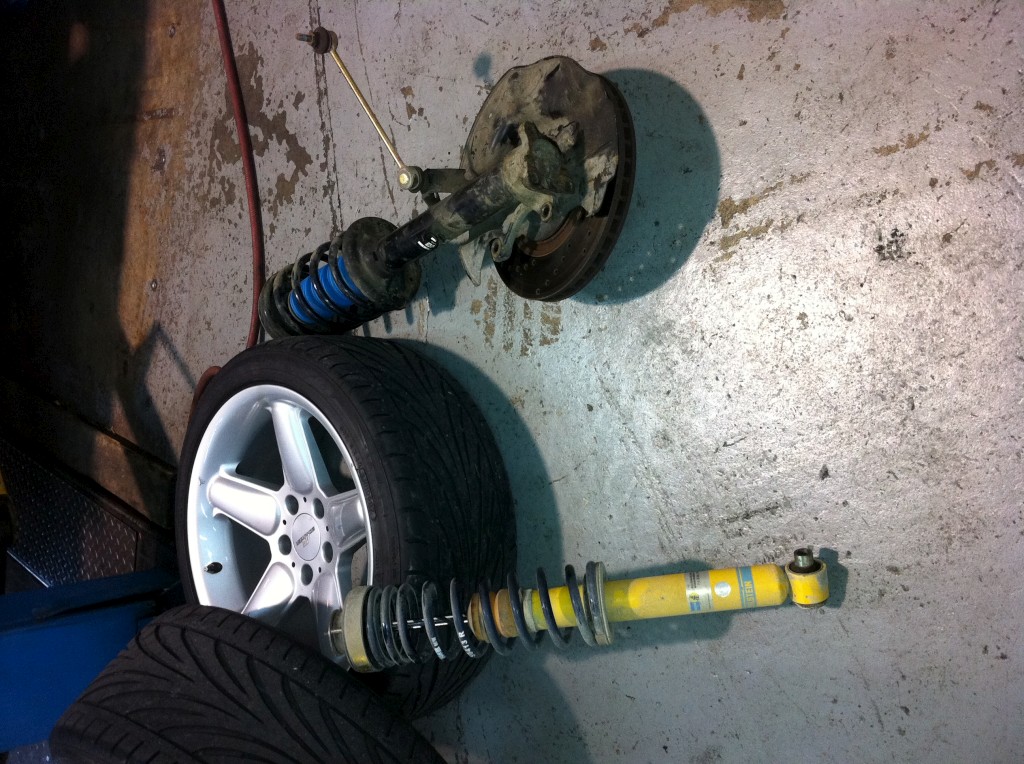
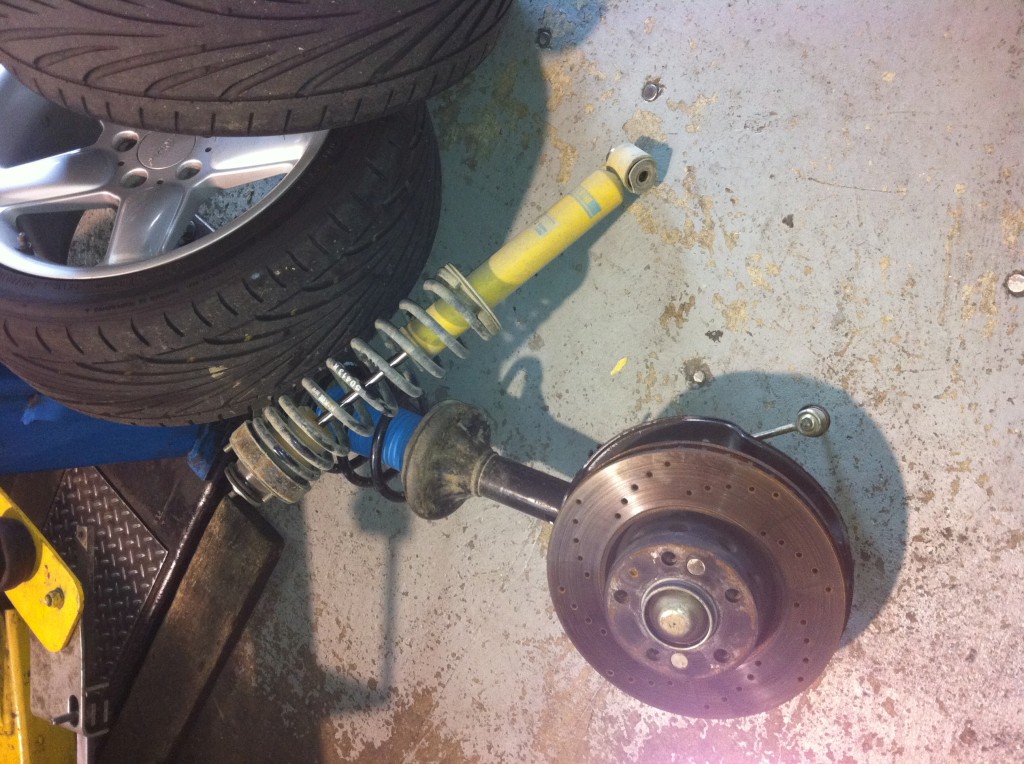
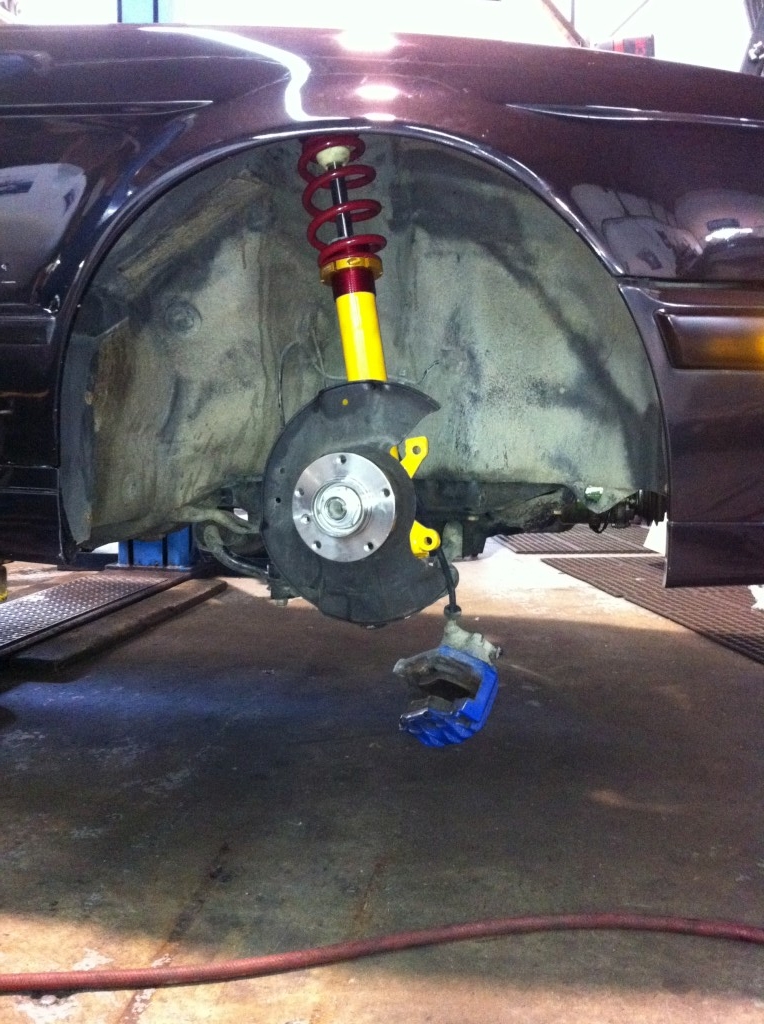
    I received a nice box of goodies from Ground Control


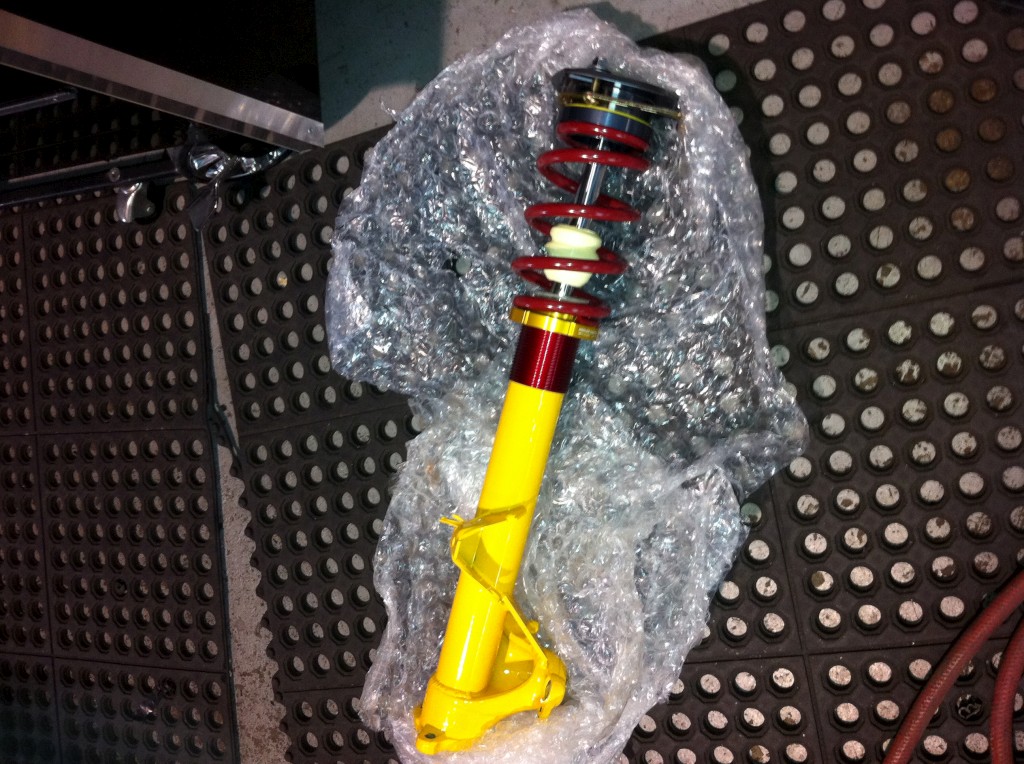
    I have to say that the Koni Yellow powdercoat sure looks nice!


    I don't understand why everyone says the Ground Control setup is so expensive. What I think a lot of you do not know is this... the price that is listed is not the price you will end up paying!

    Their website shows $1809.00 for the setup including camber plates, that is the quote I got. After speaking to them to figure out the spring rates, the final price shipped to my door was $1658.00.
    But you are going to say that is still a lot of money!

    OK... take off the following items:

    $55.00 shipping
    $299.00 for camber plates.
    $200.00 for the core charge for using their e34 strut housings, if I send back my stock struts they will refund this amount to me!

    So what does that leave us? $1104.00 for the assembled coilover setup that is shortened, powdercoated AND uses a Koni adjustable strut.

    I think it is a pretty good deal considering the other options out there cost 85% of this setup and are not nearly as nice.

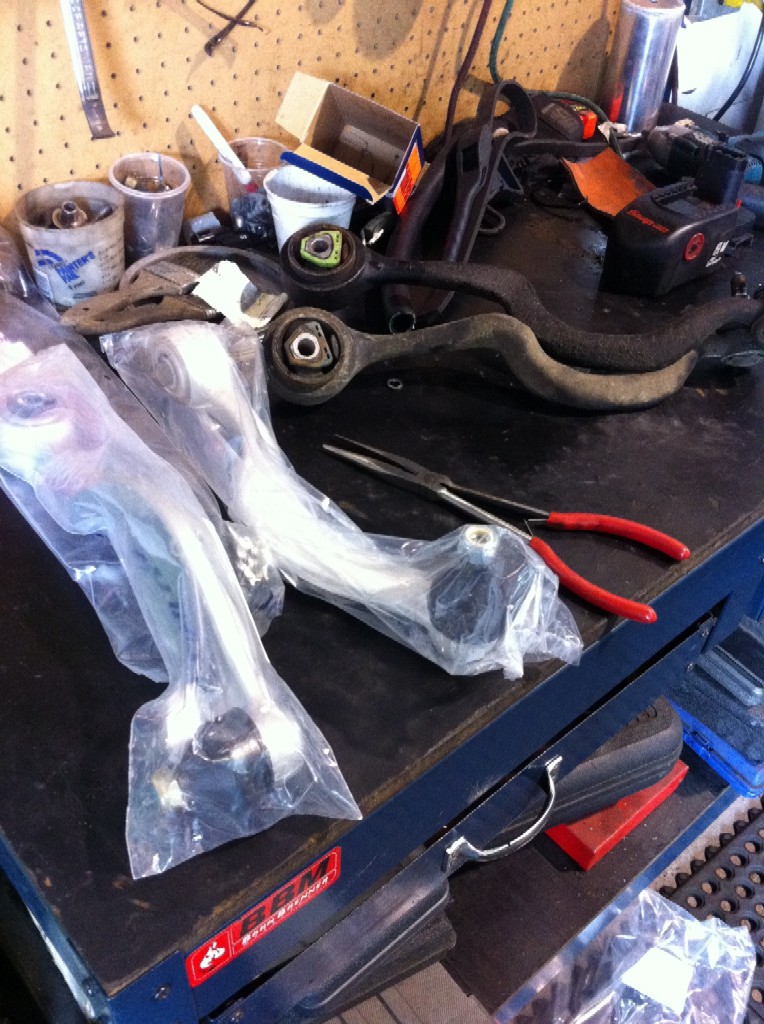
    Since the coilovers are going in I thought I might as well replace the rest of the pieces and bushings and reset the clock at zero.

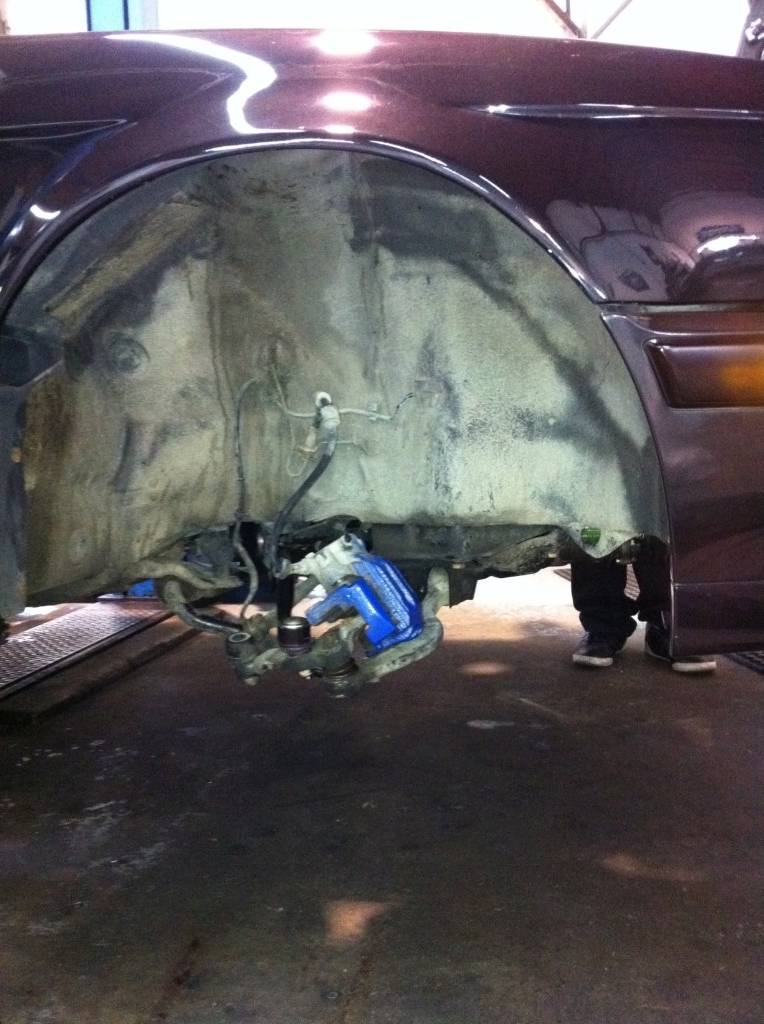
    So upper and lower control arms are going in while waiting for the new front wheel bearings


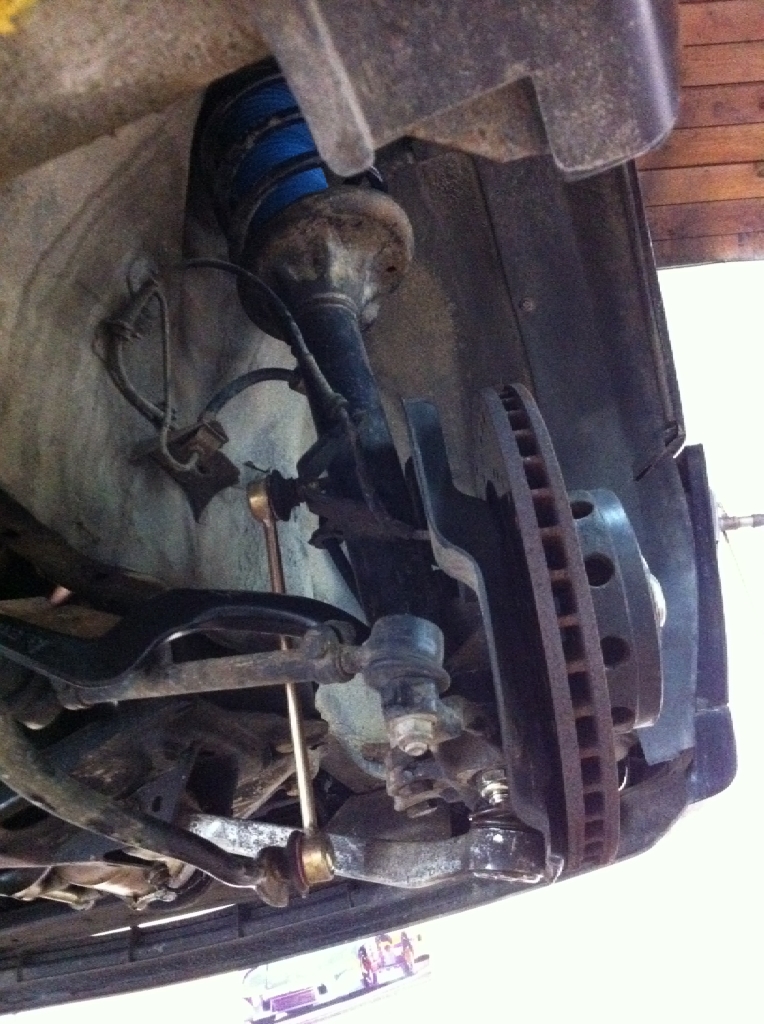
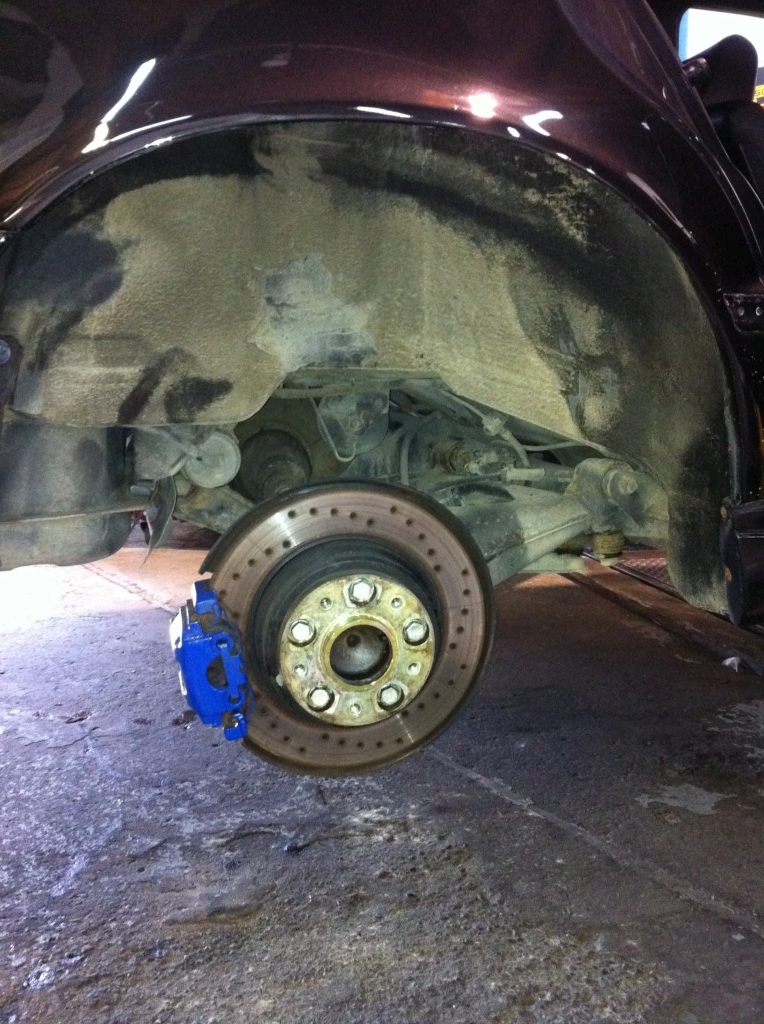
    Front and rear shocks & struts removed


    You can see the massive amount of dust that I will need to powerwash out when I get the car back


    One side done


    The installation of the Ground Control setup was very straight forward and once I get the interior back in and sound system installed I will have a wheel alignment and corner balance done.
    Last edited by MC Hammered; 04-25-2016, 10:04 PM.

    Leave a comment:

Working...