My E30 Rehabilitation! ft. Boost Noises

Collapse
X
 
  • Time
  • Show
Clear All
new posts

  • zwill23
    replied
    Updates 9/28/2016:

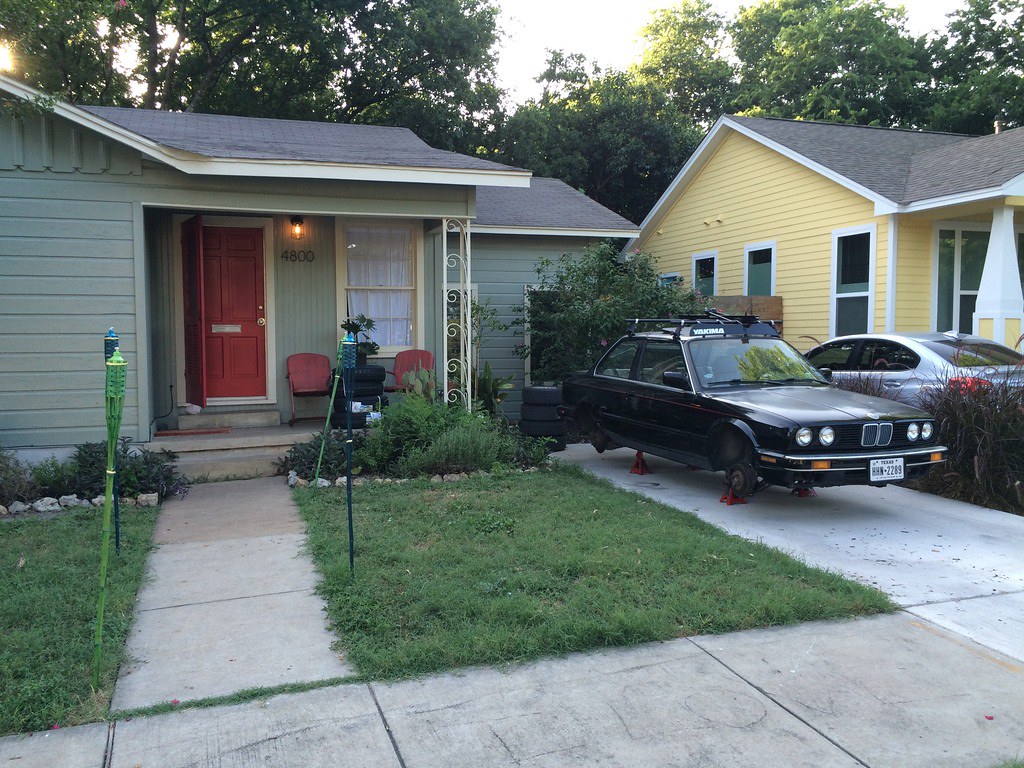
    A few end of the month updates!

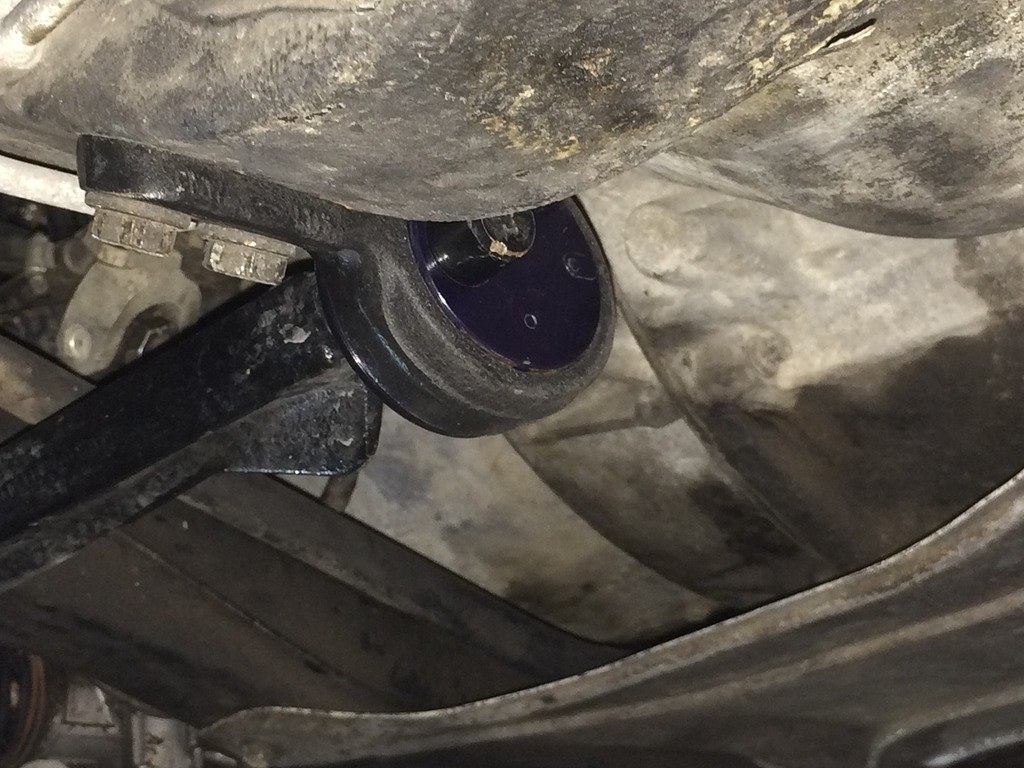
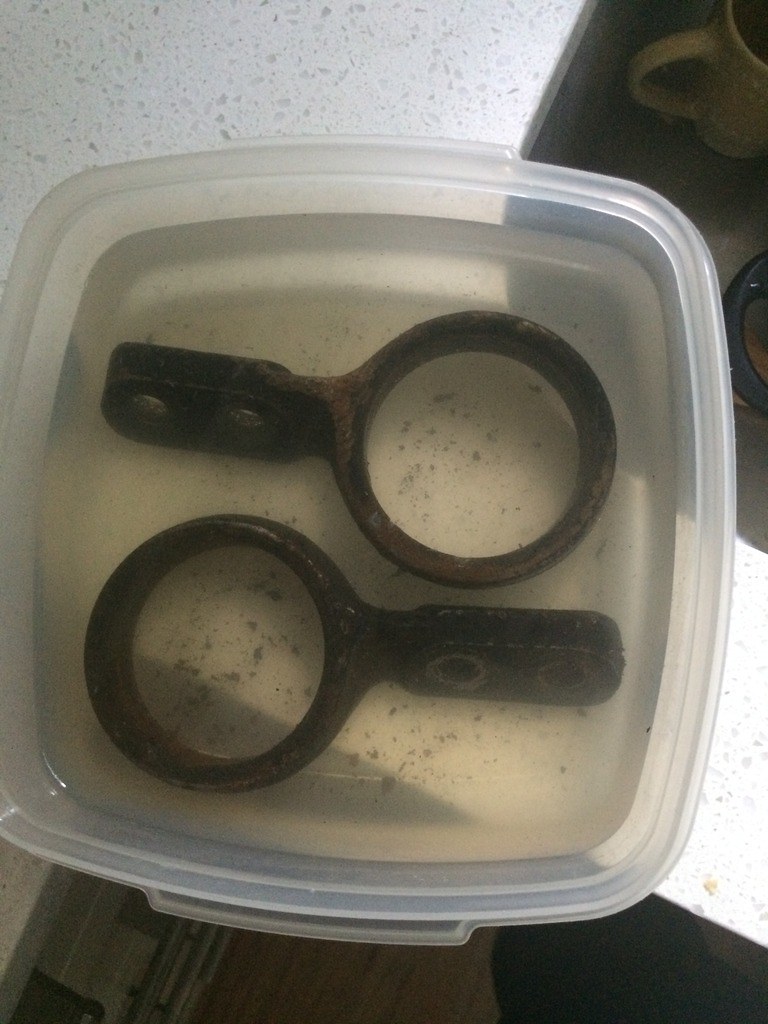
    I reinstalled my control arm offset bushings correctly this time, fortunately czkb and ak- noticed that I installed the bushing with the lip-side out before catastrophic failure occurred. :shock: After removing the lollipop and bushing I inspected them and the bushings looked to have held, but better safe than sorry. In the orientation I originally installed the bushings, they could have been pushed out had the control arm applied enough axial force against them... yikes.

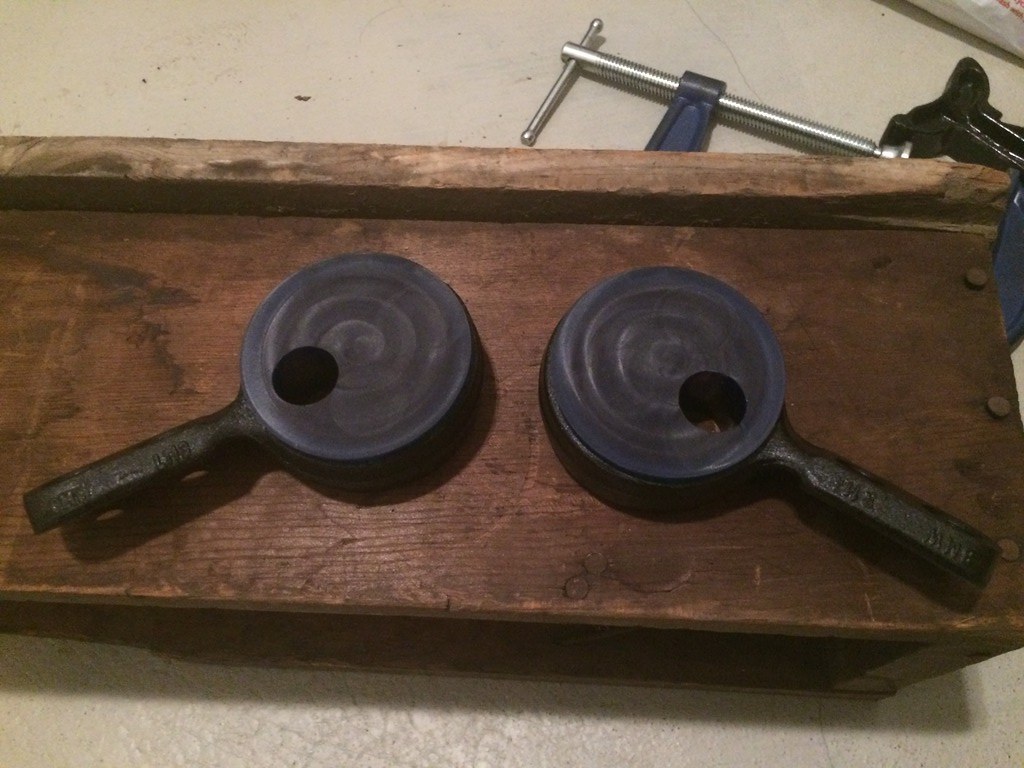
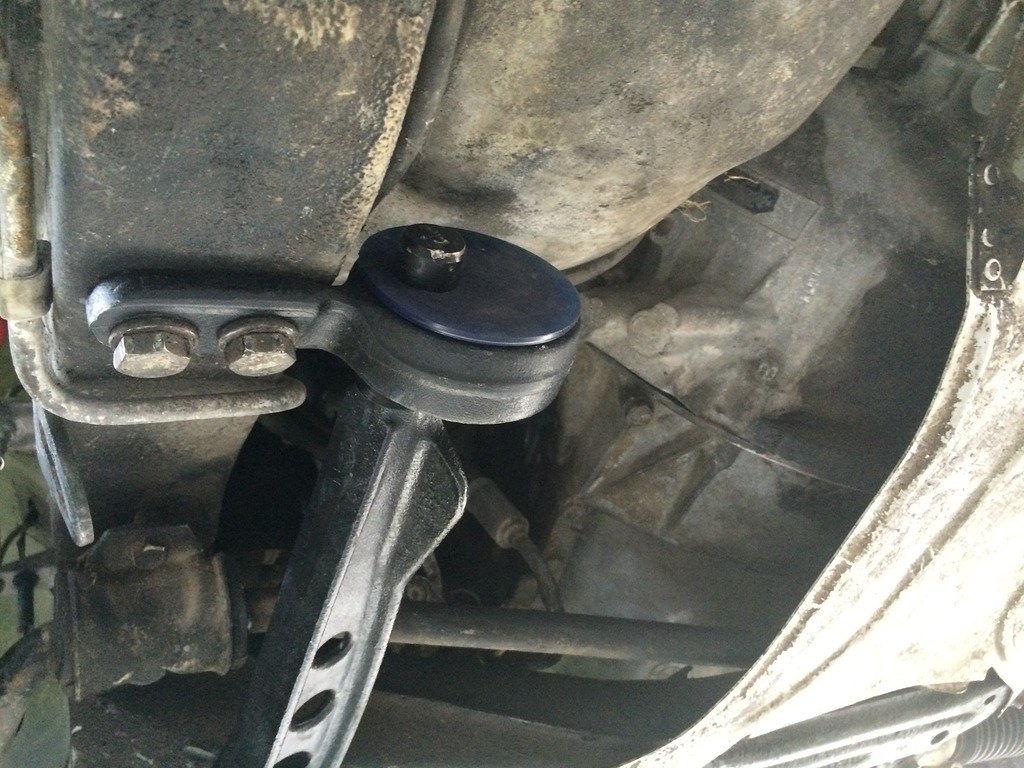
    Offset bushings reinstalled:


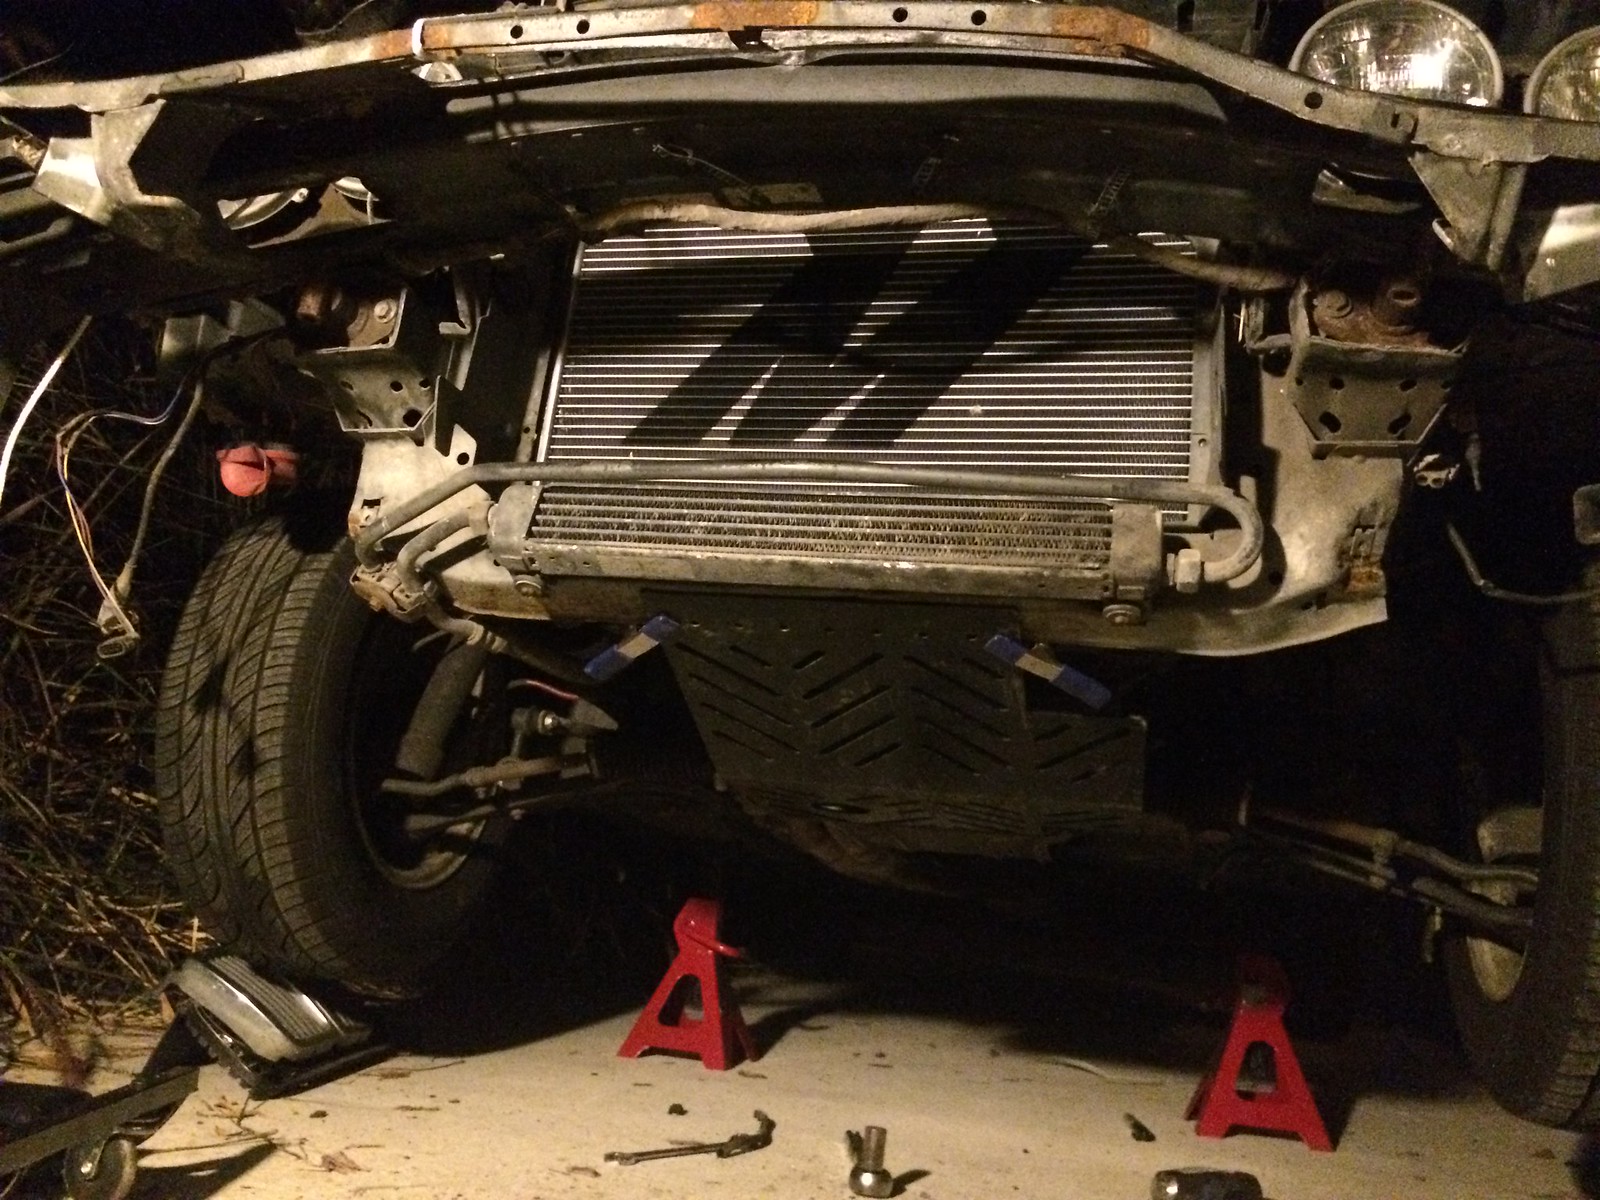
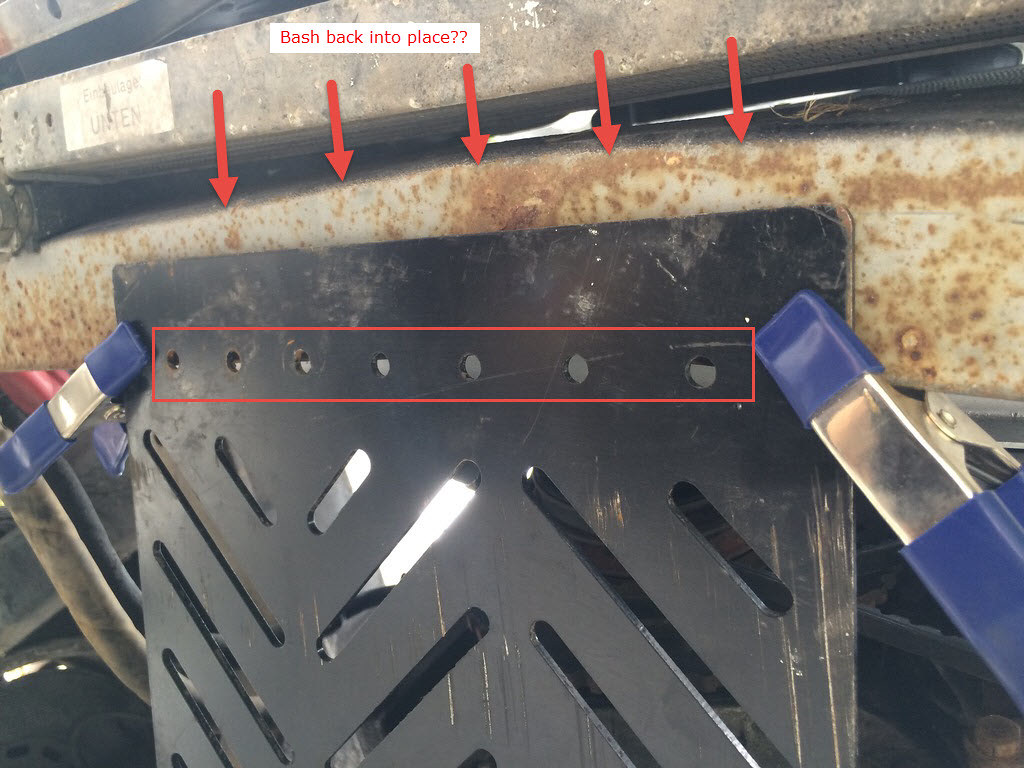
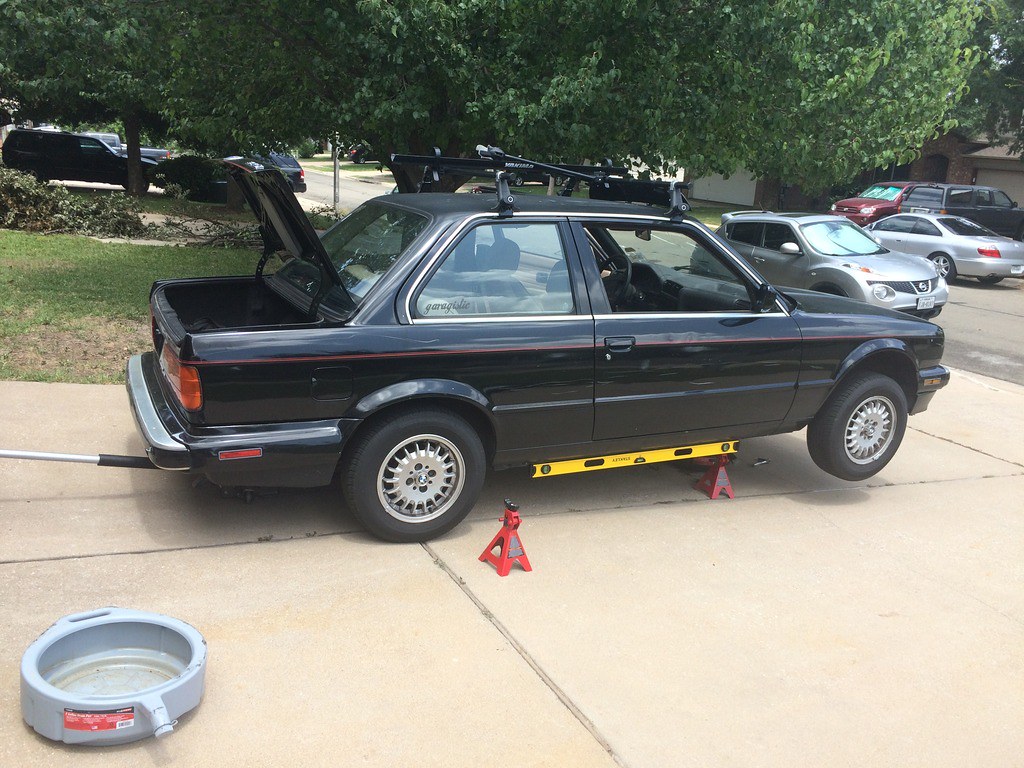
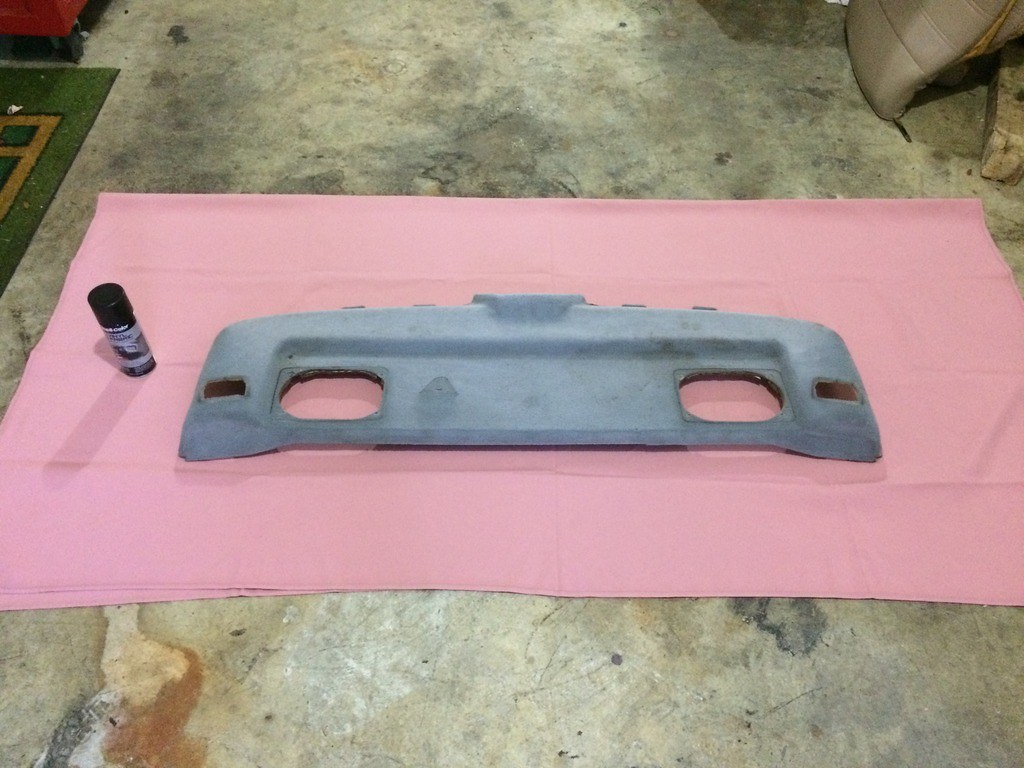
    I also finished up installing my race skids skid plate. I had to remove the front bumper and valence in order to beat my radiator support back into submission and drill the mounting holes for plate. After removing the valence it became apparent that I have a bit more front end damage than I once thought, and my valence is pretty butchered. Strangely enough the front radiator support needed to be pushed in rather than pulled out which you might expect from a front end accident. It is starting to become more obvious why I have metal bumpers grafted onto my late model.

    Once the radiator support was pushed back to a mountable location, I test fit the skid plate with a couple clamps and used a punch to mark the exact locations of each hole. After removing the skid plate I used a step drill for the mounting holes and it turned out great.

    Radiator support back where its suppose be, and test fitting the plate:


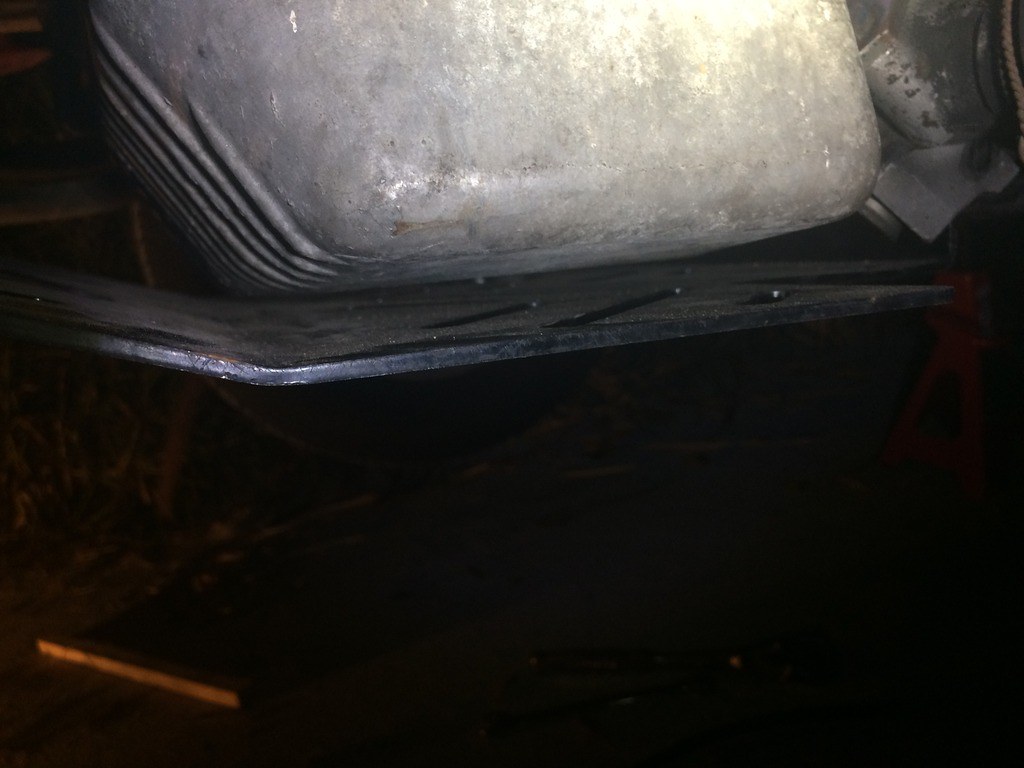
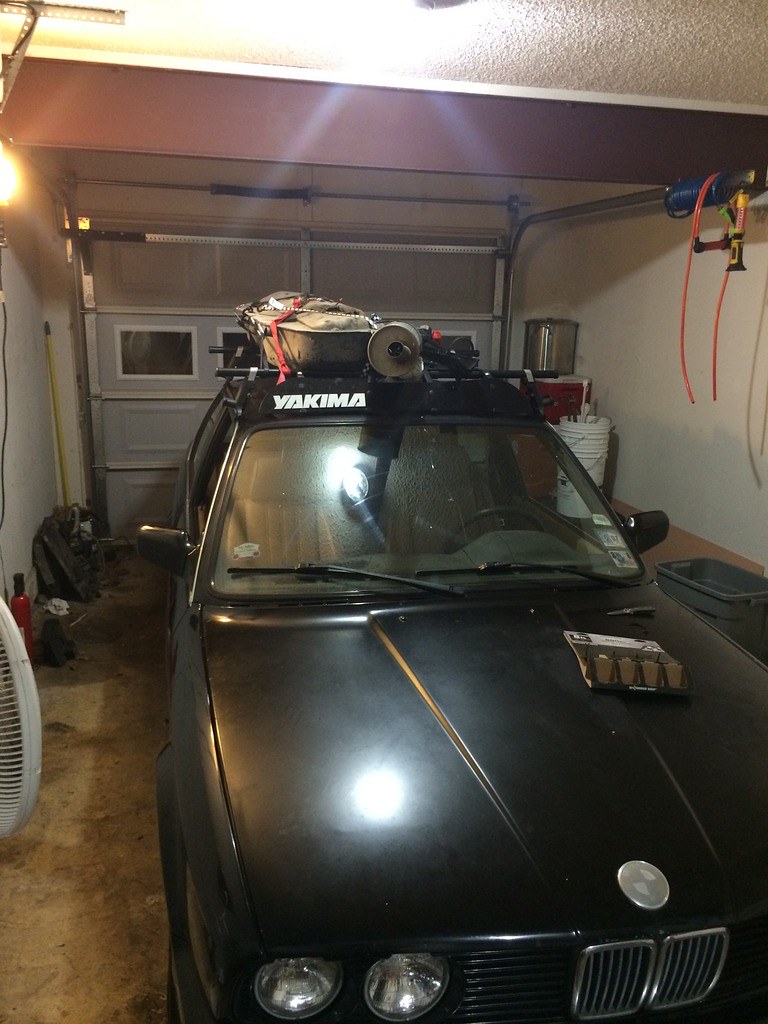
    Didn't have all the hardware in yet, but got the plate mounted up in its final resting spot:
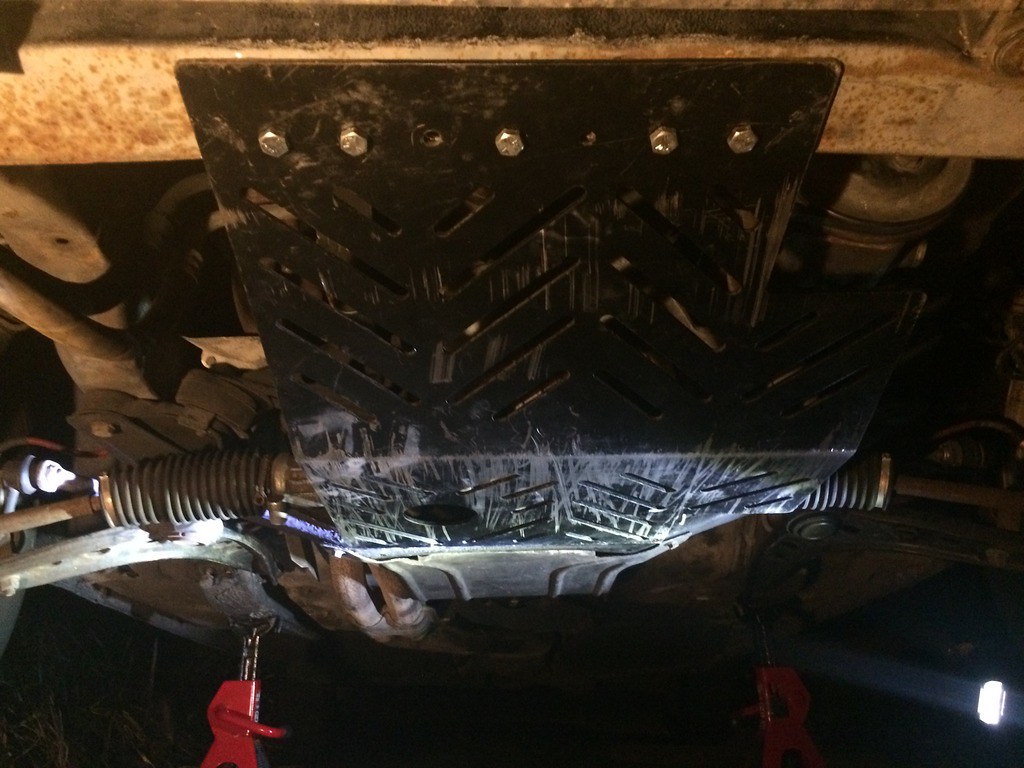
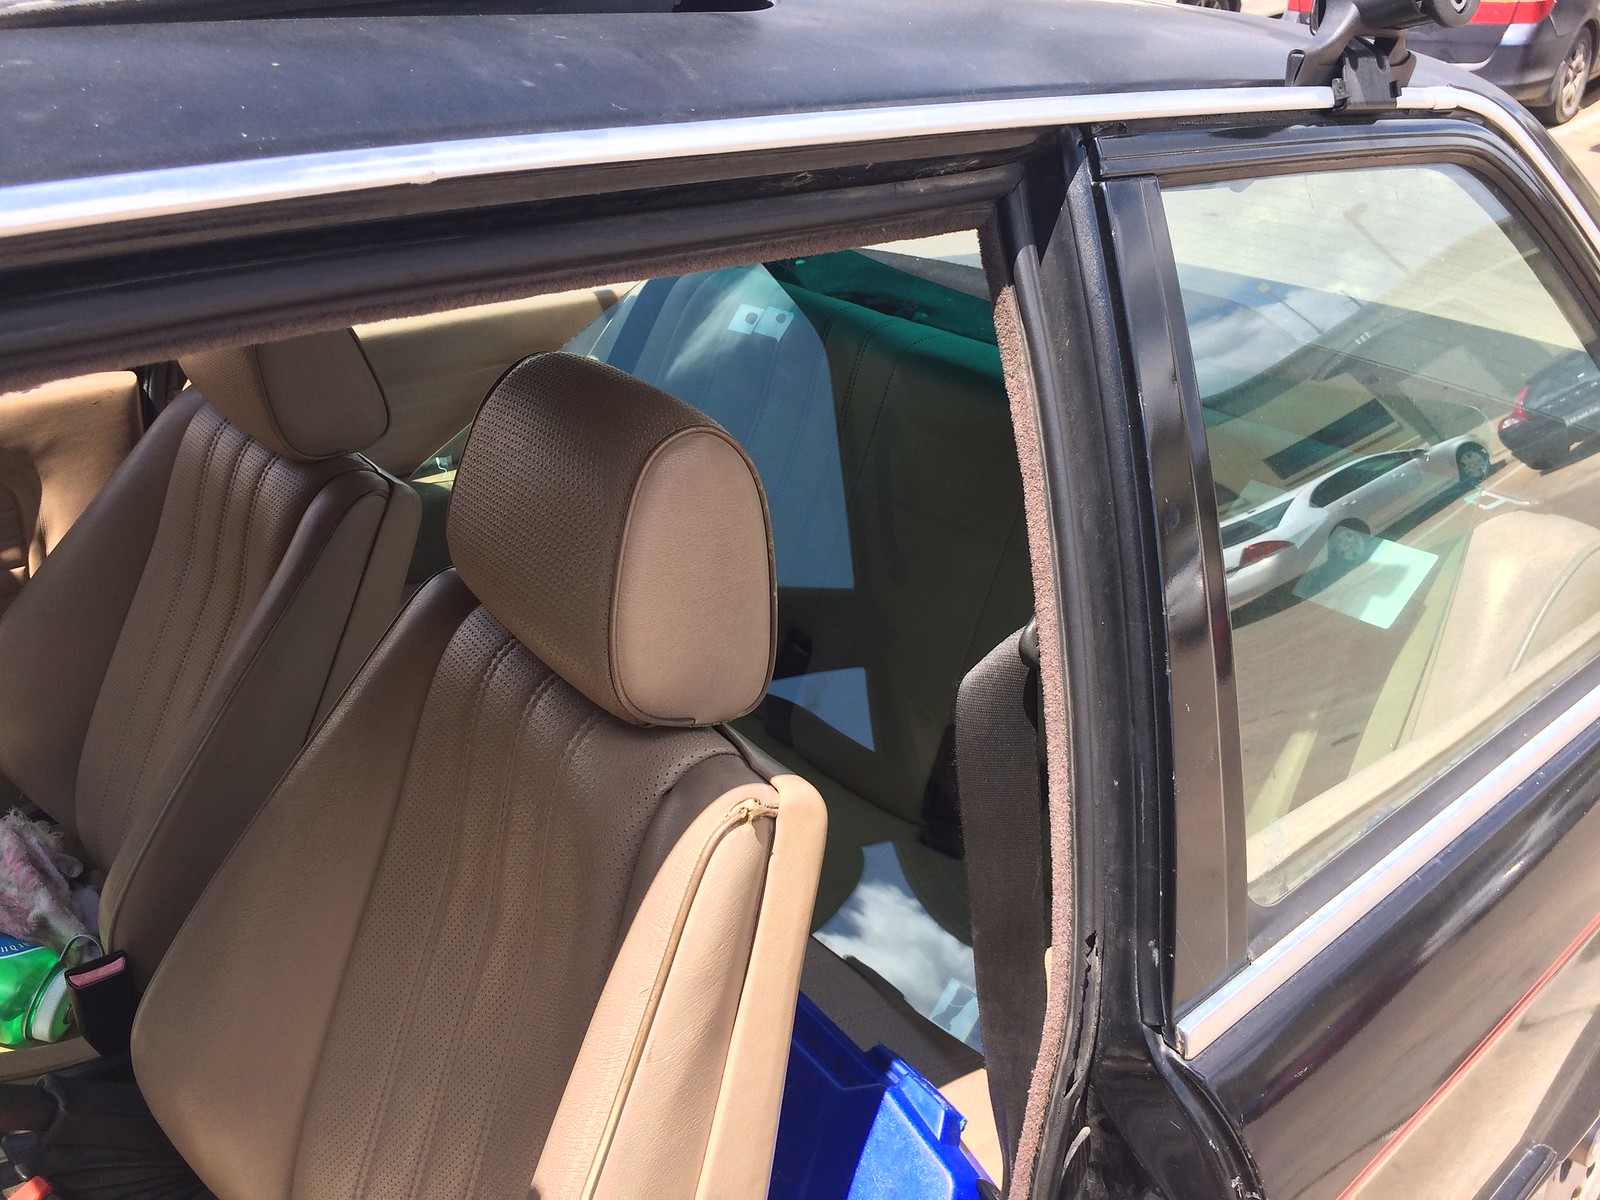


    Tight Squeeze!


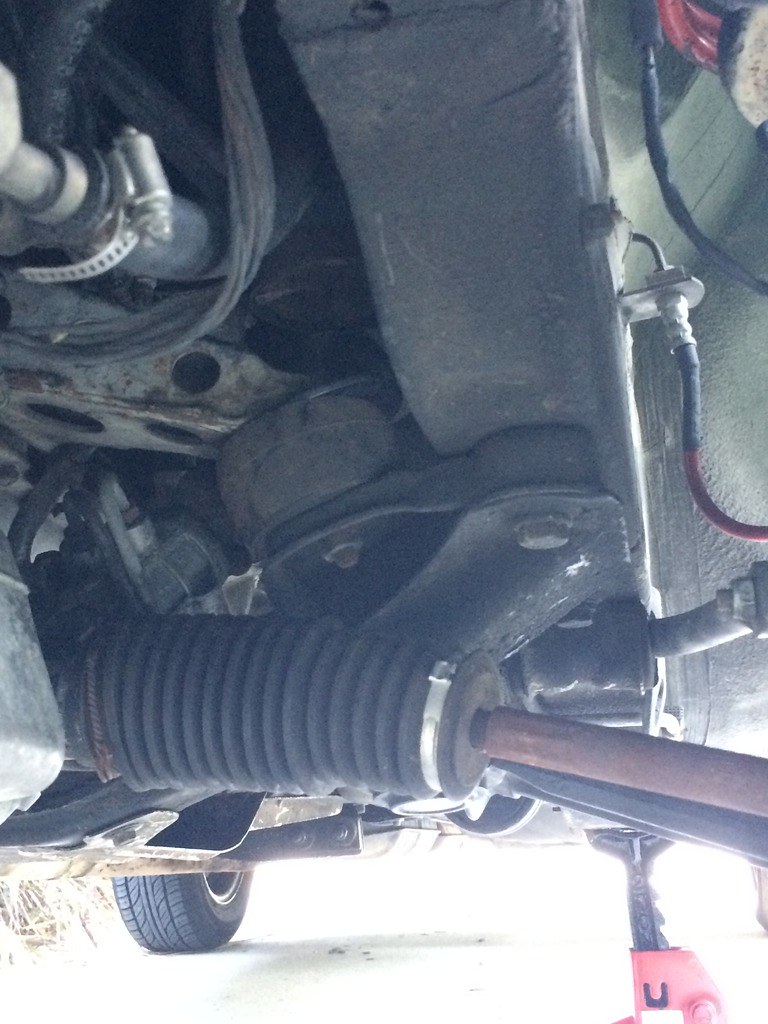
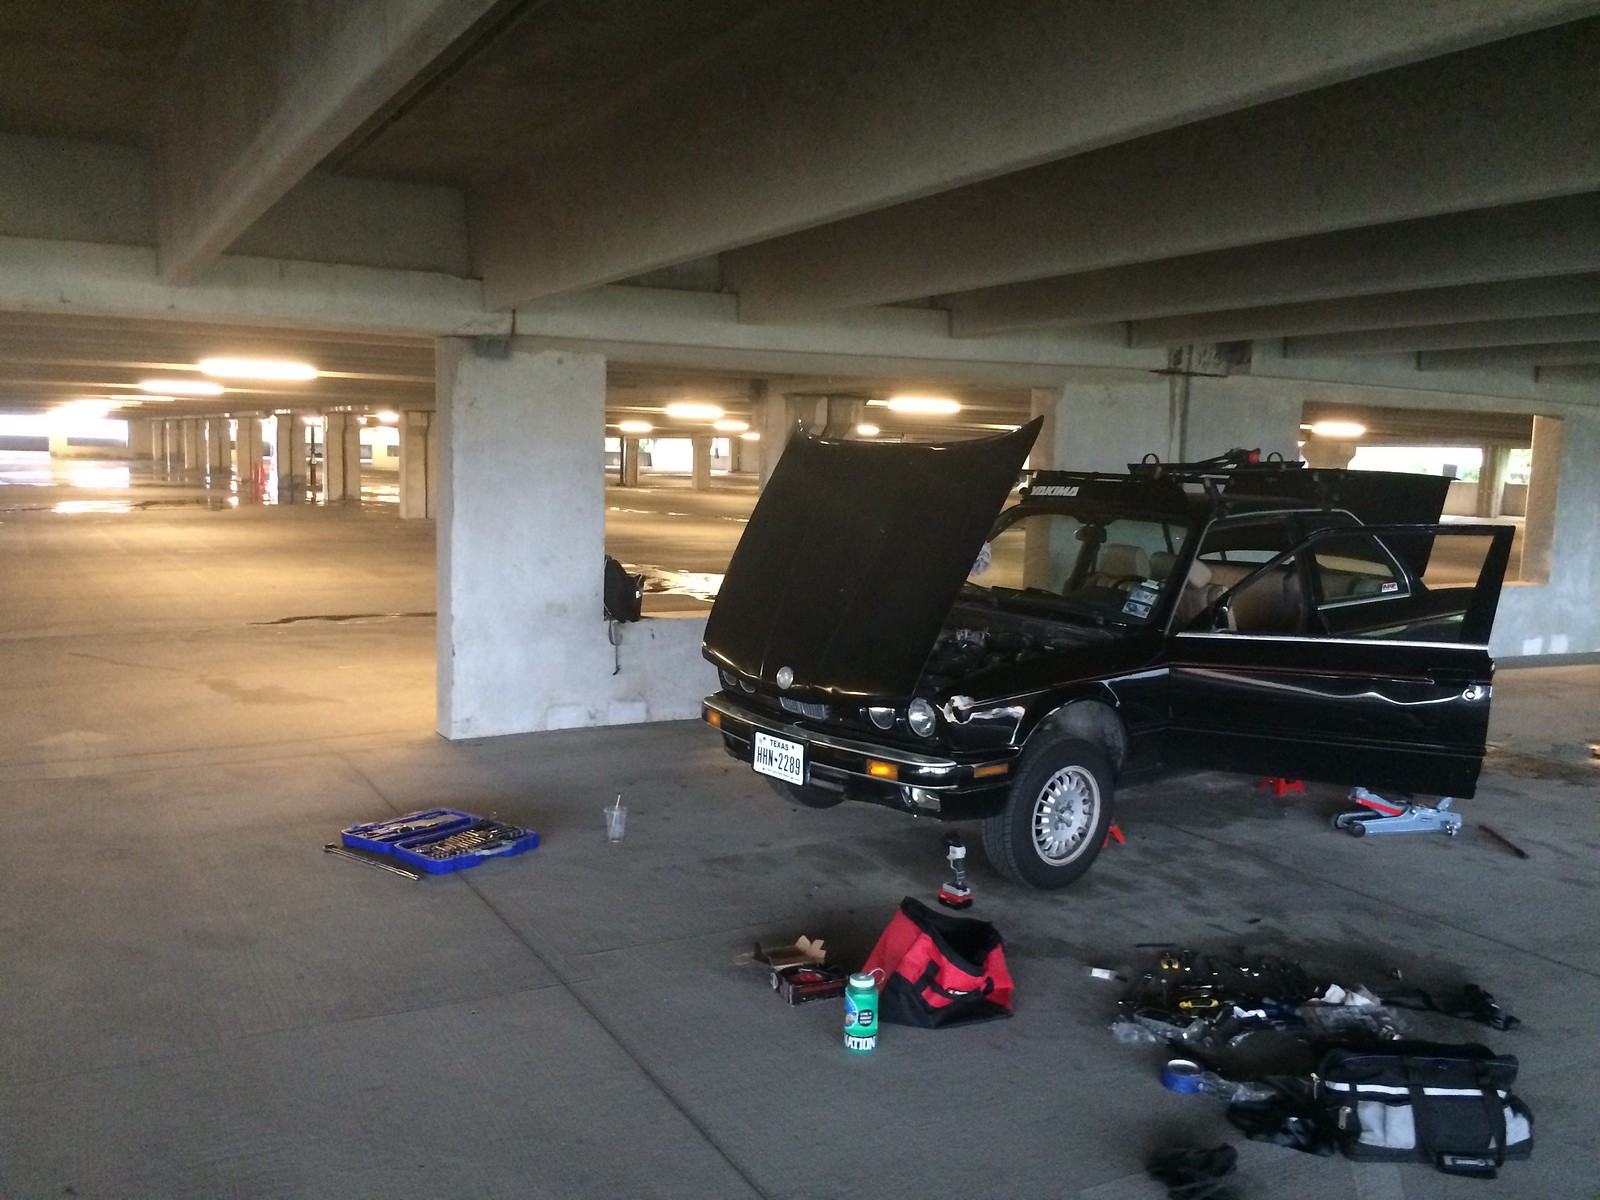
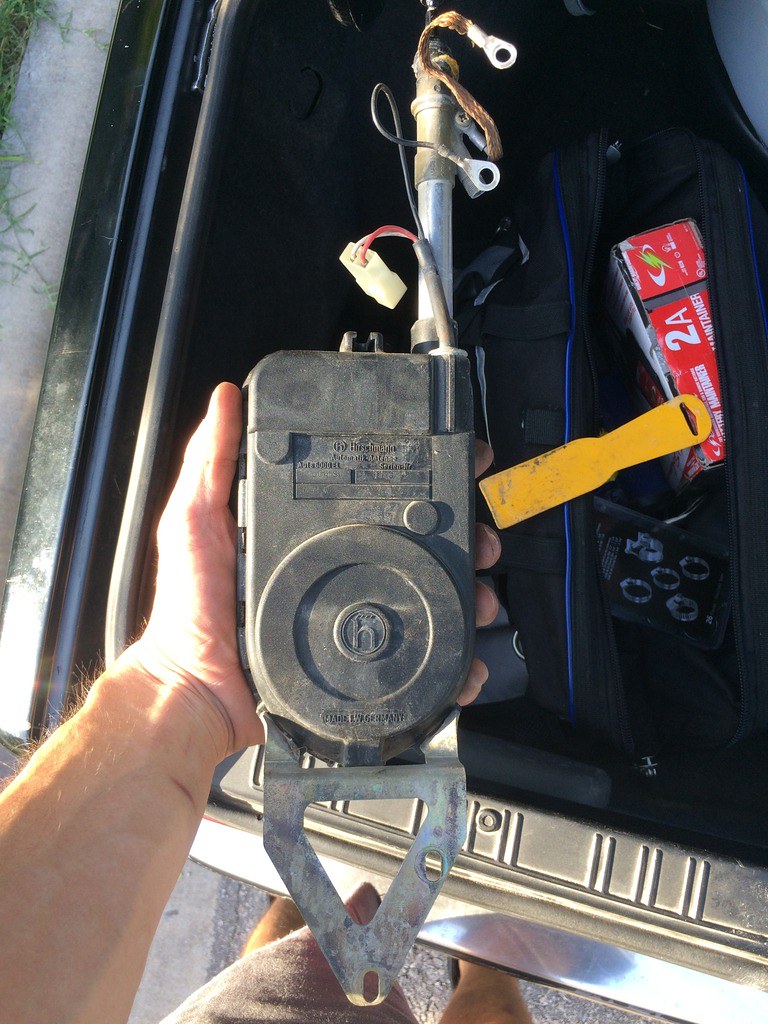
    While I had the car on jackstands I did a bit of inspection and wasn't thrilled with what I found. Looks like my output shaft seal on the transmission has turned into a pretty substantial leak so that is going to need to be addressed.

    Anyone have experience changing this seal out? I've read it's pretty hit or miss changing it, sometimes it seals correctly and other times it starts leaking again.

    Transmission Leak:


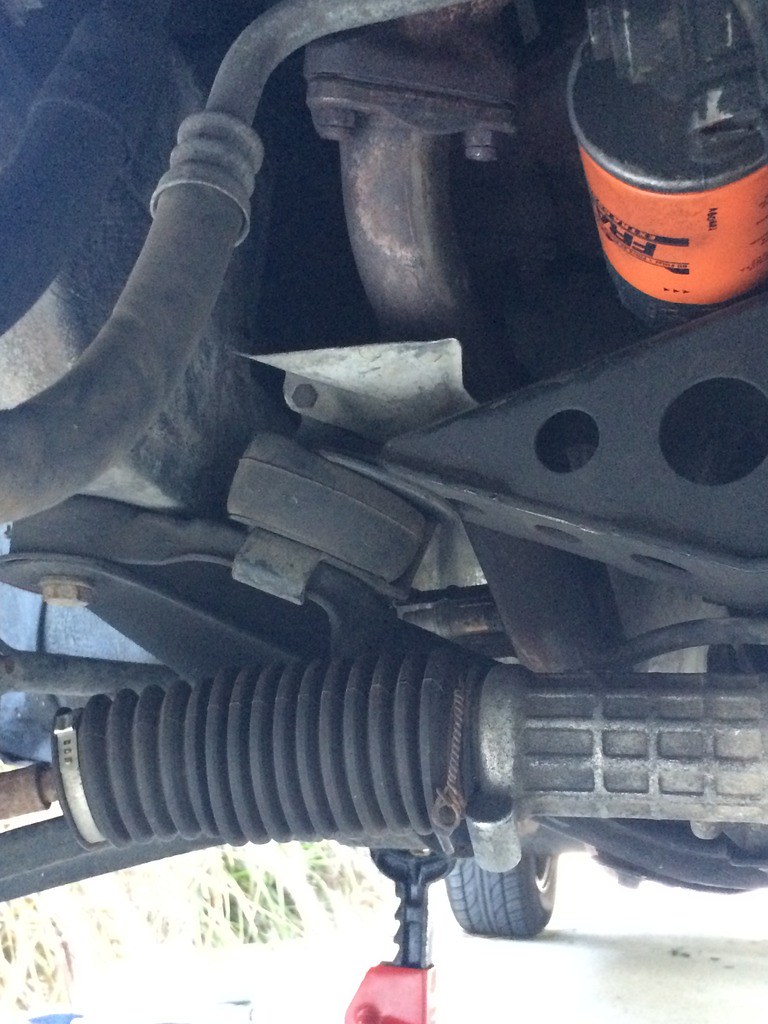
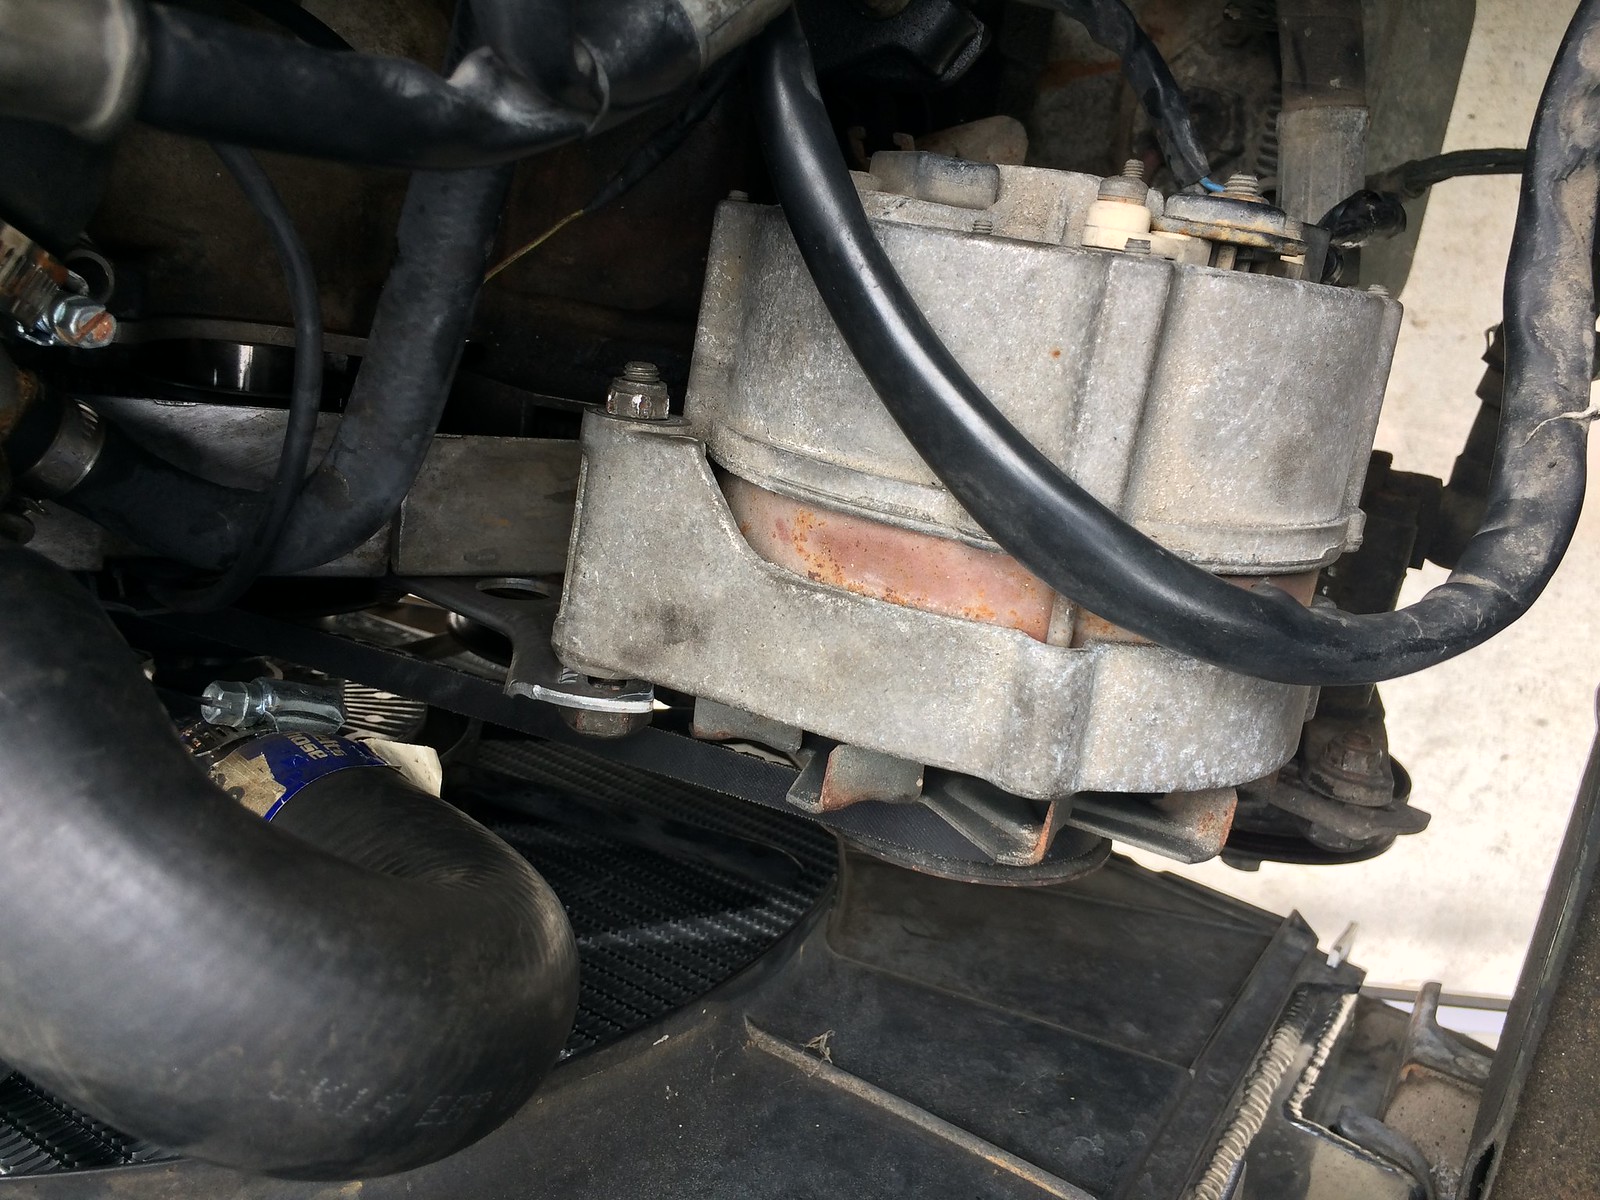
    I imagine soaking the mount in transmission fluid didn't help here, but looks like I blew one of my transmission mounts:


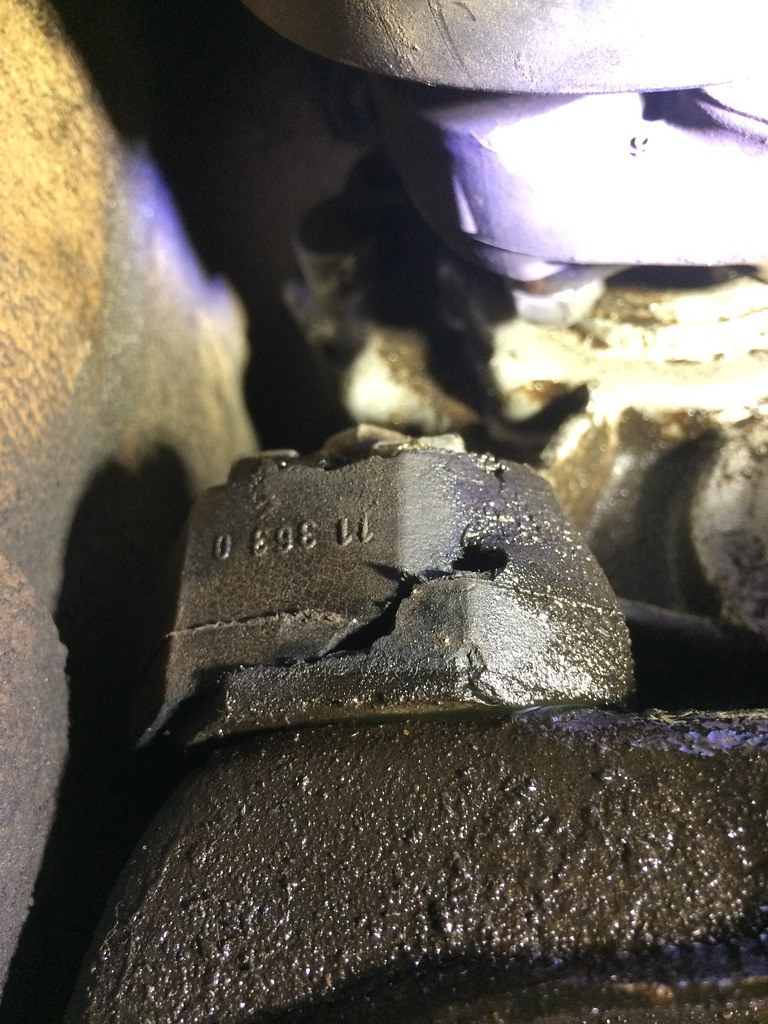
    Did I mention my engine mounts don't look great either?

    Time for a replacement I'd say:


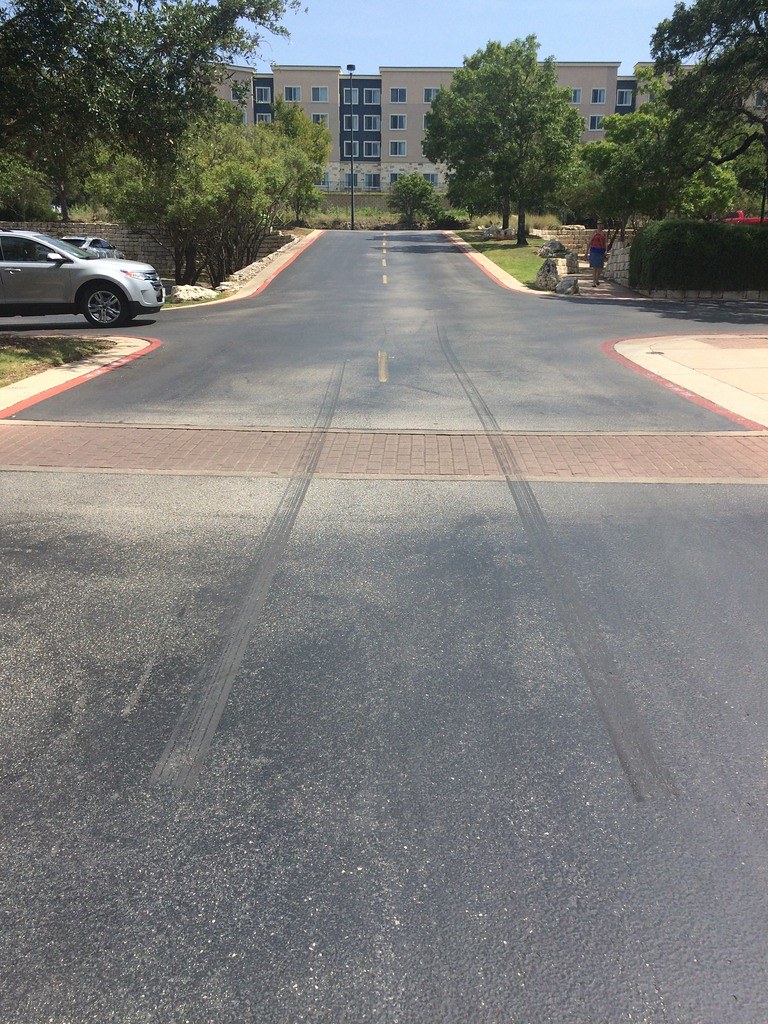
    Oh well, I'll get that all fixed soon enough. The better news is that she can still lay some rubber :devil:

    Foot slipped:


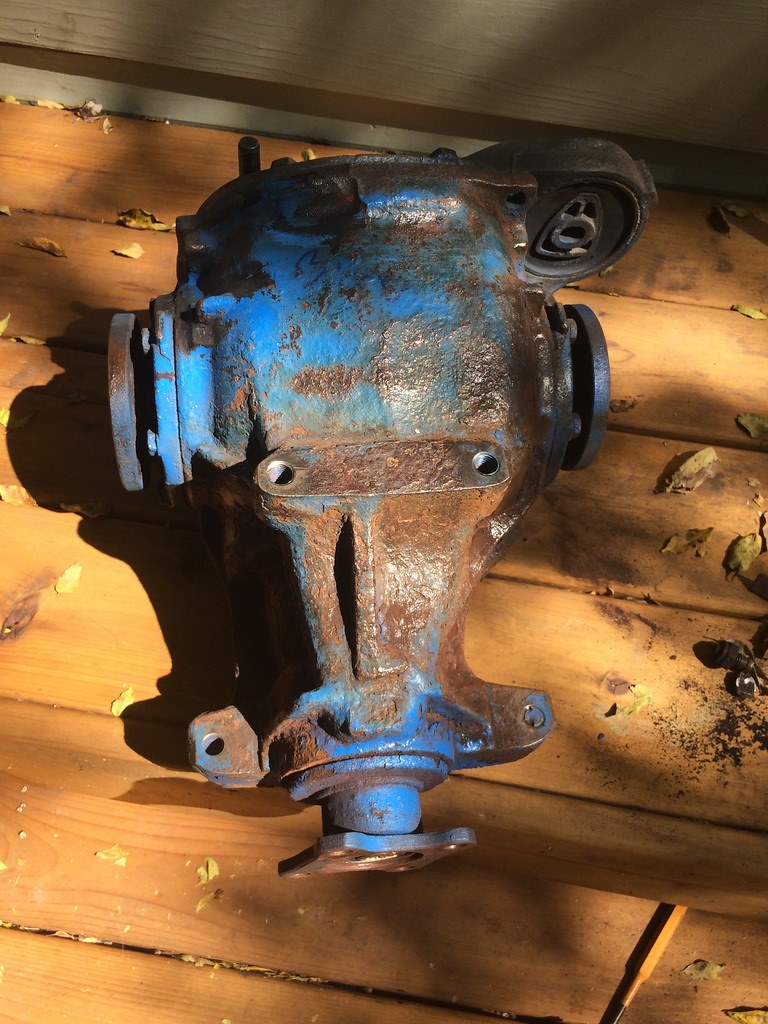
    Really excited about this, finally picked up a 3.73 LSD. But I'm pretty sure it's the ugliest diff in the world... no idea why you would paint this sucker blue... oh wait, maybe to hide all the rust before selling it . I got it at a good price so we'll see if my investment pays off.

    Planning to do an overall refresh, all new gaskets and seals (except the input flange) and a fresh coat of POR15 after using a wire wheel to remove as much of the paint and rust as possible.

    Very curious to see what the internals look like.

    Ugliest Diff in the world:


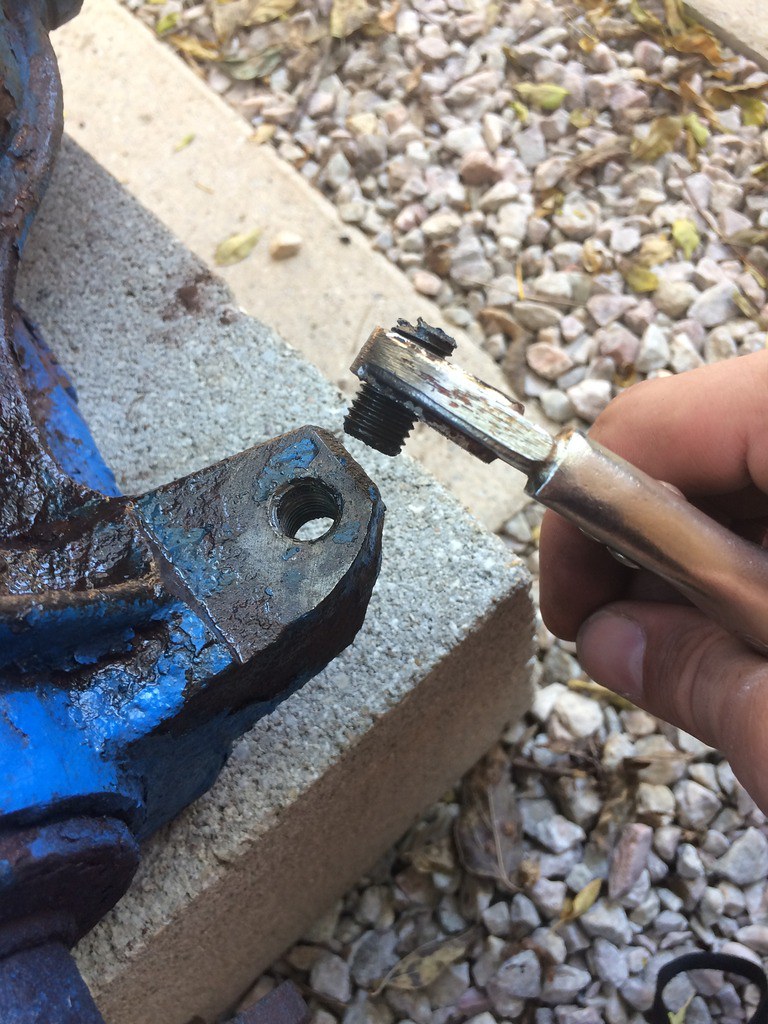
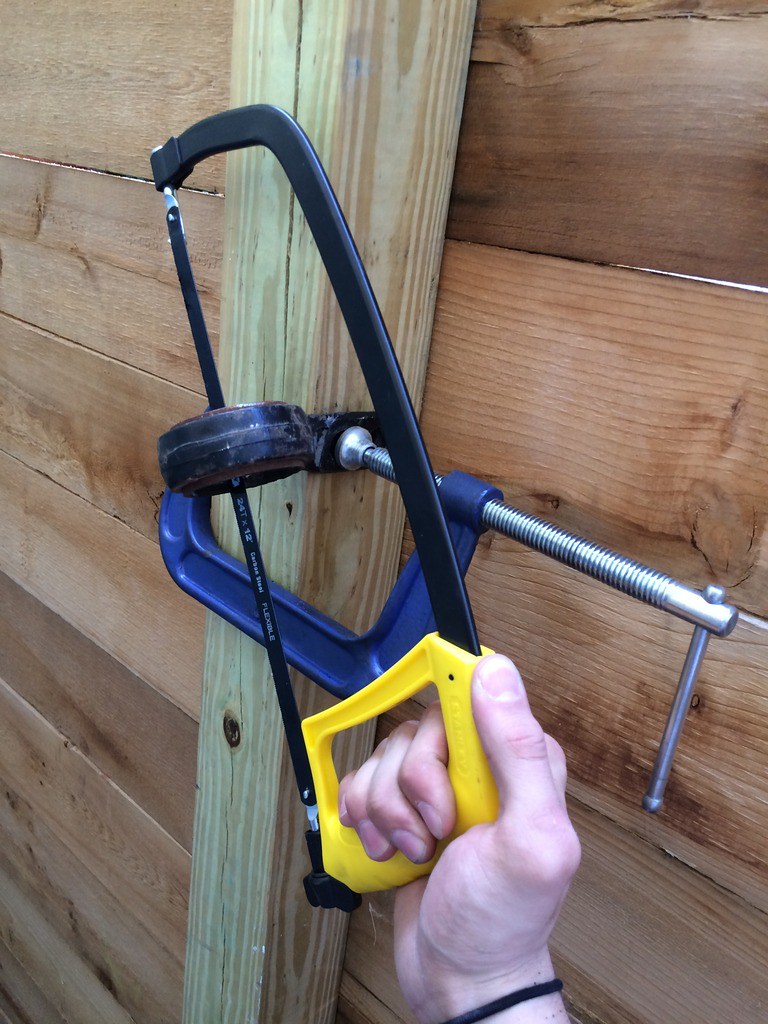
    PO managed to shear one of the bolt heads off, used a liberal amount of PB Blaster and a chisel to knock it loose again:


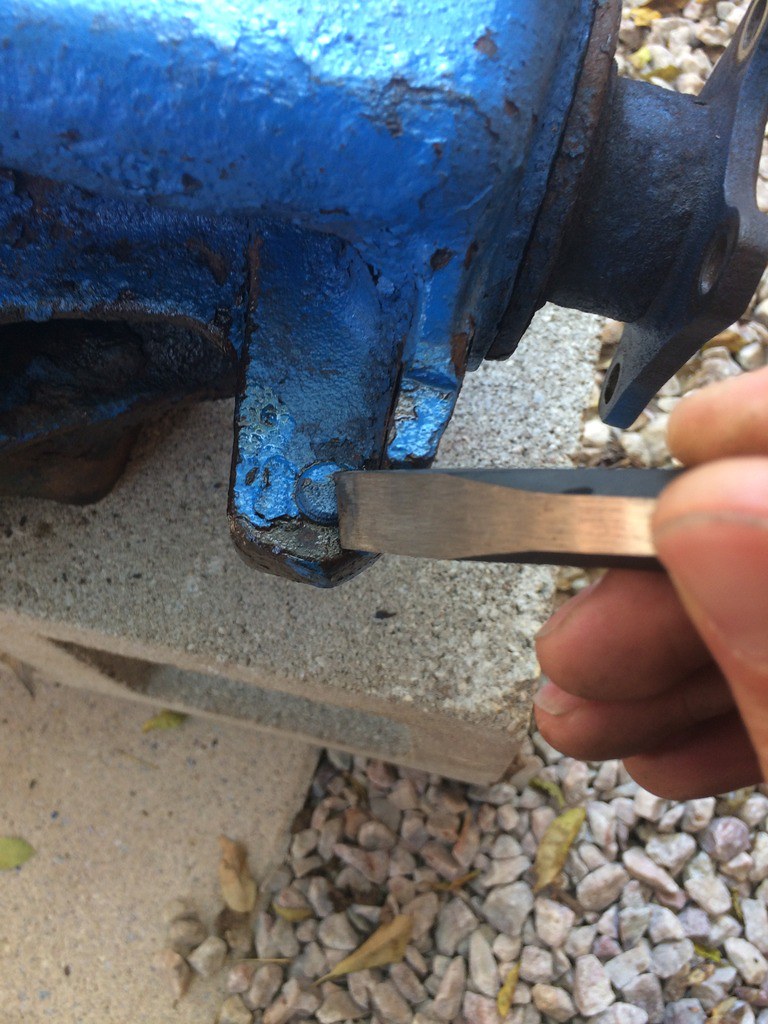
    Sheared bolt removed:


    Got to use my angle grinder to slice off the remaining driveshaft:


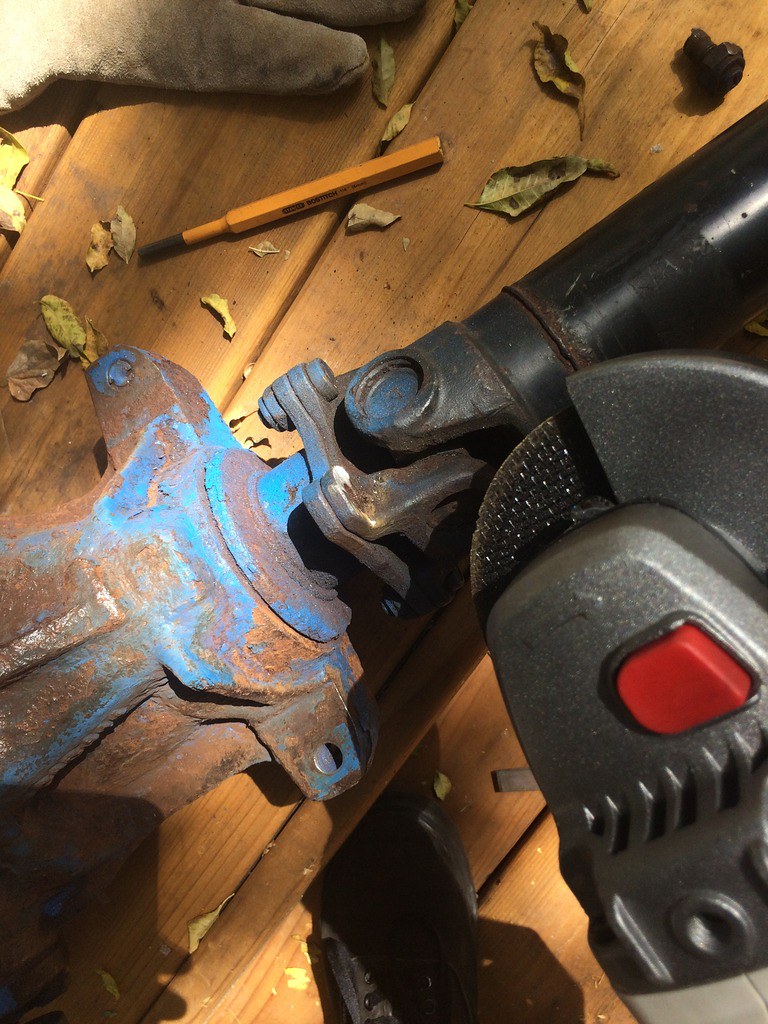
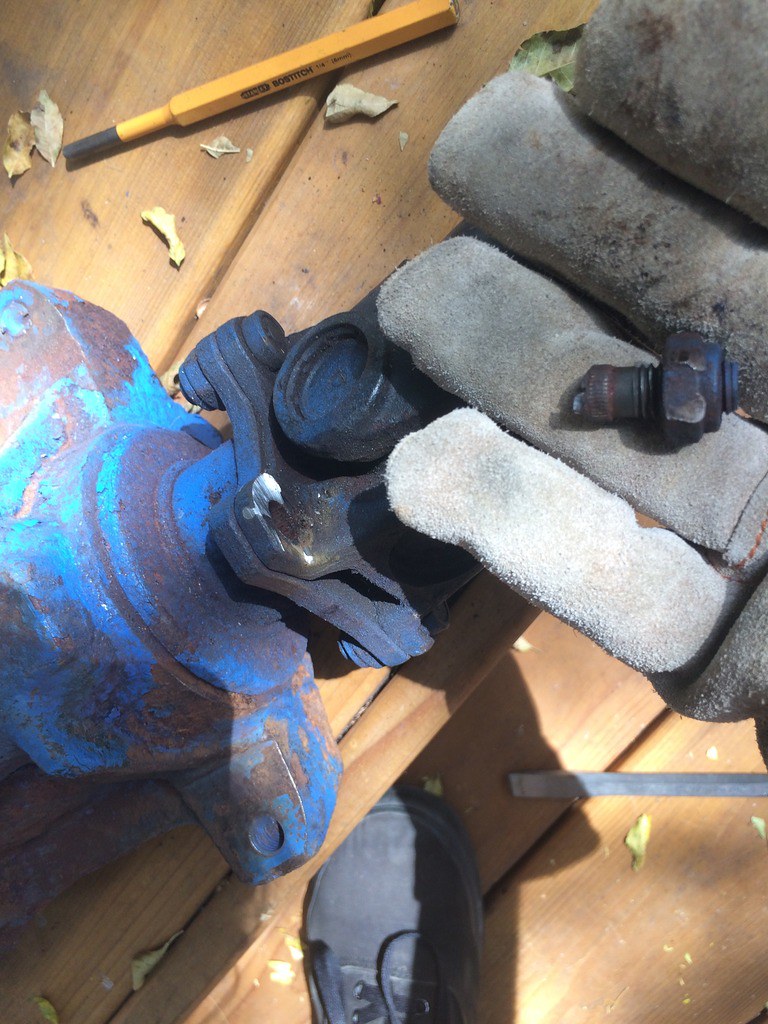
    The pumpkin's been freed!


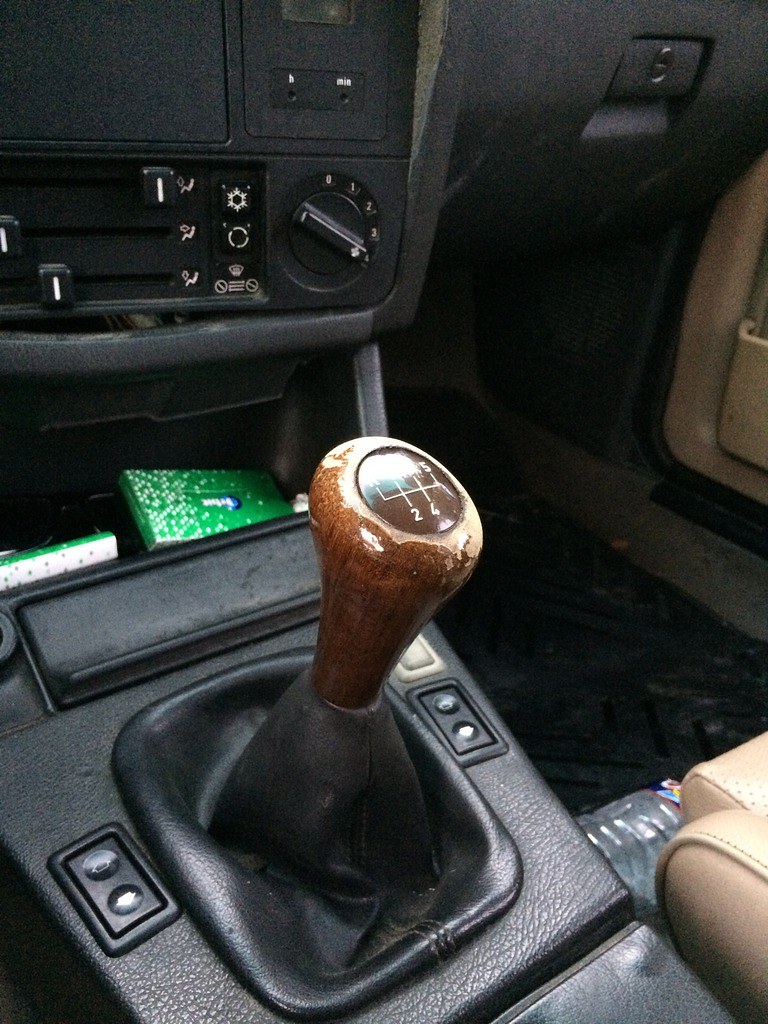
    Last but not least, picked up a wood grain shift knob. Not in the greatest condition, but I'm going to clean it up and I think it will turn out pretty nice. Maybe there is a wood nardie steering wheel in my future? I think it might compliment the tan interior well.

    Last edited by zwill23; 02-13-2019, 09:45 AM.

    Leave a comment:


  • zwill23
    replied
    Originally posted by czkb
    I think you pressed the bushings backward,
    the lip should be on the front of the lollipop,
    so when you have the arm push on them it does not fuck things up (push it out maybe).

    Maybe iam wrong? not sure...

    Well shit, yeah I definitely screwed that up. Glad to have another set of eyes here. I'll get that fixed ASAP.

    Thanks!
    Last edited by zwill23; 09-09-2016, 05:23 AM.

    Leave a comment:


  • ak-
    replied
    Originally posted by czkb
    I think you pressed the bushings backward,
    the lip should be on the front of the lollipop,
    so when you have the arm push on them it does not fuck things up (push it out maybe).

    Maybe iam wrong? not sure...

    You're correct


    OP you should probably fix that lol

    Leave a comment:


  • czkb
    replied
    I think you pressed the bushings backward,
    the lip should be on the front of the lollipop,
    so when you have the arm push on them it does not fuck things up (push it out maybe).

    Maybe iam wrong? not sure...

    Last edited by czkb; 09-08-2016, 09:46 PM. Reason: Typo

    Leave a comment:


  • kid8
    replied
    Looking good man! Looking forward to the next project. We'll sort out that skid plate too man.

    Leave a comment:


  • jeenyus
    replied
    if the fitment is off on the support, then "bashing it" back into place doesn't seem like an illogical idea. Better is better.

    Great progress.

    Leave a comment:


  • twiggletwaggle
    replied
    Looking good man!

    Leave a comment:


  • zwill23
    replied
    Updates 9/7/2016:

    Flash flood warnings weren't going to stop me from wrenching! :pimp:

    Took the car to the parking garage at work, installed my new coolant temperature sensor, adjusted my belts, and worked on removing my rusty windshield wiper fluid reservoir bracket. Happy to say my car is reading a check code 1444 after replacing the sensor and performing the stomp test.


    The alternator belt gave me more trouble than I'm willing to admit, adjusted it 3x before I realized it was just the wrong size belt. Whoopsss


    Windshield Replacement:

    I finally replaced the windshield! I was able to haggle a few different auto glass shops down from $180 to $90, since I was installing it myself. I ended up purchasing the glass from Auto Glass Solutions in Austin, which I highly recommend to anyone in the Austin area. They even gave me some tips on getting the glass installed.

    Picking up the windshield, secured it on the backseat as much as possible... still a nerve-racking trip. Sketchy lvl 100: :eeek:


    Onto the installation, huge thanks to Kid8 for giving me a hand and letting me use his garage!

    First step was removing the windshield wipers. Not totally necessary, but it made life easier having them out of the way.


    Next we removed the lockstrip clip located above the passenger side windshield wiper connection. I just used a flat tip screwdriver to pop the clip out, and used a plastic putty knife to start removing the lock strip.


    With the lock strip out, I applied a good amount of pressure at the top corner of the windshield from inside the car. Starting from the driver's side, and doing the same on the passenger side. The windshield popped out of the weather-stripping without too much fuss, and the old windshield was out! All in, this process took less than half an hour.


    Reinstalling the new windshield was pretty straightforward as well. After cleaning the weatherstripping and the recess for the lockstrip, we used the remaining soapy water to lubricate the weatherstrip and slide the new windshield in. We used the plastic puddy knives again to ensure the weatherstripping was seated properly around the window.

    The real PITA presented itself when we attempted to reinsert the lockstrip... puddy knives, soapy water, and 2 hours of cursing completed the installation. I highly recommend purchasing a lockstrip tool for this, we attempted to create a makeshift tool out of a coat-hanger, but it ended up doing more harm than good.

    New windshield! :D


    and a fresh badge to go with it!


    Grrrrrrrrrrrrr :devil:


    A little dirty in this pic, but I got my new glove box installed as well. I ended up tearing the old one out in a fit of frustration when the latch locked itself and I realized my car key wasn't the same... :hitler:


    I also picked up a Race Skids skid plate off Craigslist over the weekend, but unfortunately it seems I have more front end damage than I thought as the mounting holes don't line up on the radiator core support.

    Anyone run into a similar issue? It seems my options are knocking the radiator support back into place, or drilling new mounting holes in the skid plate. Given that the radiator support is already damaged, I don't feel too bad about deforming it back into place. It will need to be shifted back about 1/4" -> 1/2" for proper fitment.

    Last edited by zwill23; 02-13-2019, 09:41 AM.

    Leave a comment:


  • zwill23
    replied
    Updates 8/6/2016:

    So it has been a while since my last update, life has gotten pretty crazy lately so my build has slowed down quite a bit. I’ve managed to get a few things done over the past couple months, but for the most part I’ve just been enjoying the car. After nearly 8 months of wrenching, it feels great to be driving the damn thing. Not to mention the Texas heat in July and August is borderline unbearbable, and I've moved to a place without a garage so wrenching in the heat turns into a real chore. The E30 has been pretty much my daily for the past couple months and it hasn't flinched a beat. Great feeling, I really have given this car new life. :devil:

    The E30 turned into my workhorse during the move, purchasing the roofrack was a great decision.


    Parked at her new home, fixed gear and all.


    So with the move, the E30 has been moved out into the elements... with this some major leaks presented themselves in the trunk. I still need to replace the trunk seal, but deleting the antenna and plugging the hole was a small fix for a big problem. Very happy with the result, I'll be replacing the trunk seal as well in the near future.

    Antenna out:


    Antenna hole pugged:


    Installed some Garagistic poly offset control arm bushings, this turned out to be a bigger pain in the ass than I first anticipated. A table vice would have made this job miles easier, but I used what I had and got a little creative.

    Removing the old bushings:


    Pro-Tip - White vinegar is a great and cheap way to remove rust. White vingear contains acetic acid (CH3COOH) which naturally reacts with rust (FeOOH). Leave any rusty part submerged for a few hours and the rust will wipe right off.


    Gave the control arm lollipops a fresh coat of paint and pressed the poly offset bushings back in.


    Installed! I'll say I have noticed a difference with these new offset bushings, bumps in the front are now a bit more harsh, but steering feel is a lot more direct. Car is beginning to feel like a go-kart. Definitely a worthwhile upgrade for the money.


    Odometer Gear Install:

    This has been documented a hundred times, but this was a pretty satisfying fix as well. Finally a working odometer! The original odometer gears felt more like stale cookies than actual gears. One thing to note is that many people remove the steering wheel to remove the cluster, this is totally unnecessary. With a little finagling I got mine out without issue.

    Cluster out:


    Old gears:


    The very first mile on the working odometer! I believe it was stuck at 108,773 for nearly 10 years. Fortunately the car sat most of that time, so the mileage should be fairly accurate.


    I probably let this one go for too long, but I changed my transmission fluid. It was a little tricky finding a shallow enough allenkey socket and wrench combination to actually remove the drain plugs on the side of the transmission, but my buddy had some tools that did the trick.

    Making sure the car was level, my buddy’s driveway is at a serious angle… I didn't realize how bad it was until I noticed the front jackstands starting to lift off. This was VERY bad... I thought they settled out okay, but they begin to tilt as the day wore on. Lesson learned, that could have ended very badly.


    New tranny fluid in!


    Put the E30 on jackstands while I got new tires put on. I may have lowered my neighborhood's property values... but oh well ;)


    New tires have been one of the best purchases to date, feels like a new car.


    Anddddd another roofrack pic... who needs pickup when you have E30 :P

    Last edited by zwill23; 02-13-2019, 09:48 AM.

    Leave a comment:


  • zwill23
    replied
    Originally posted by Bggdnssnguy
    How hard is it to pull rear seats out? I need to wrap my seats in Mexican blankets so they don't look so rough. Plus the passenger rear panel will not seat correctly with the seat in.
    Very easy! To remove the seat bottom, you're going to want to pry up on the front of the seat. There are two large metal clips that secure it into place towards the front of the seat bottom. To remove the backside of the seat, there are two 10mm bolts, one located on the lower left and the other on the lower right hand side. The bolts are tucked away a bit behind the rear side panels. Once you remove the bolts pull up and seat back will pop right out. All in, the process should take about 10min.
    Last edited by zwill23; 09-02-2016, 01:32 PM.

    Leave a comment:


  • Bggdnssnguy
    replied
    How hard is it to pull rear seats out? I need to wrap my seats in Mexican blankets so they don't look so rough. Plus the passenger rear panel will not seat correctly with the seat in.

    Leave a comment:


  • zwill23
    replied
    Updates 5/31/2016:

    Just a few small updates from the memorial day weekend:

    Helped my buddy swap out his master cylinder, he was suffering from a hard pedal, so swapping in a new master with a smaller bore size reduced pedal effort and increased pedal travel.


    I also dyed my rear speaker deck black using Black Duplicolor Vinyl and Fabric spray, I was really impressed with how this turned out. It looks OEM, if I do say so myself. The only thing to keep in mind with this stuff is that it makes the cloth a bit stiff. You can combat this by scrubbing the cloth with a brush in between coats, but it will always be a bit stiffer than how it came from the factory.

    Overall my deck was in decent condition, one cigarette burn and a few stains:


    I put on 8 light coats, scrubbing in between, and ended up using about 1 1/2 cans of dye. The number of coats may have been a bit excessive, but hey, it turned out pretty good. :)

    After:


    Managed to scoop up the rear side panels I've been missing too:


    So here is what I have left to finish up the interior:
    • Find black speaker covers
    • Replace the dash (The Texas heat destroyed it, there is a reason why you haven't seen pics yet :p)
    • Replace heat / ac control unit
    • Recover sunroof panel
    • Replace / refinish window switch circuit breaker?
    • Maybe install radio? lol
    Last edited by zwill23; 07-16-2017, 04:29 PM.

    Leave a comment:


  • zwill23
    replied
    Originally posted by MoreMayhem
    Off topic, but I like your driveway. How often do you have to run the lawnmower over it?
    Haha, fortunately my landlord takes care of the driveway, but living in Texas you'd be surprised how slowly the grass actually grows. It's been like that for a couple months now.

    Leave a comment:


  • zwill23
    replied
    Originally posted by kid8
    Coming along nicely, man. I couldn't even keep up with you on the drive!!
    Hah! Well I think we both know it wouldn't have been very hard if you tried to keep up

    Leave a comment:


  • zwill23
    replied
    Originally posted by FireFight
    rehab builds are my favorite, seeing someone bring a car back to life is always fun to watch, I pulled a black 325is from a trailor park years back, didnt run due to a bad ECU, but after getting it running and cleaned up i ended up trading for a reallly clean e36 and sold that for a good grip.

    keep up the good work
    Thanks! There have been times that I questioned if I was sane for even picking the car up, this one was definitely destined for the scrap yard. It is very far from finished, but it is slowly but surely getting better. With the way prices have gone with E30s flipping it would probably yield a healthy profit, but with all the hours I put into it I don't think I could bring myself to do it.

    Leave a comment:

Working...