Announcement

Collapse
No announcement yet.

My E30 Rehabilitation! ft. Boost Noises

Collapse
X
 
  • Filter
  • Time
  • Show
Clear All
new posts

    Originally posted by vtechnik View Post
    As usual I'm really enjoying this build. It's been pretty inspiring for me and my e30, in fact I think I'm convinced I want one of those vent displays now. Nice job.
    That's great and thanks! I've been eyeing this gauge for a long time, it's a bit more expensive than some of the other gauge options but they have some steep discounts on Black Friday. If you decide to get one, that's the time to get it!

    Originally posted by kid8 View Post
    Looking good man, love the podi! I'll have to look into those orings for the sunroof vents myself!!
    Thanks dooder! ;) Those o-rings are a must

    Originally posted by MB07 View Post
    I love this thread. I just bought an 87 sedan with 230,000 miles and I'm taking note of all the things you replaced and making a grocery list of things to purchase.

    Question regarding your skid plate. Can you give dimensions on that? (Steal plate thickness, pipe size, plate dimensions, etc) I'm cheap and thinking I can build one similar. I love that it ties into the frame and is removable. Much more structural integrity than other I've seen online.
    Glad to hear it! I'm sure it might seem like a long list, but that goes for any 30yr old car. Fortunately, these cars are pretty fun / easy to work on. Crack a beer and enjoy it! :up:

    Sure, I'll see about getting some dimensions next time I'm under the car. But off the top of my head, I'd say the hoop bar is roughly 2.5" in diameter and the plate thickness is close to an 1/8" thick with two reinforcement ribs welded to it. The plate uses the steering rack bolts as the rear connection, so if you measure the distance between those bolts that's roughly the width of the plate. It then extends from the steering rack bolts, just short of the radiator support. So that would roughly be the length of the plate. As for the hoop bar width, that is just the distance between the frame rails.

    Originally posted by K-Bar View Post
    Inspirational! Keep up the hard work man, love how detailed you are. I always try and clean and lube everything I see whenever I work on my car. Makes it so much nicer when you crawl under next Time too haha. You do a great job of that
    Thanks!! It's a labor of love I suppose ;)

    Definitely a good practice to get into. I'm not as nitpicky as some, but it's very nice to work on parts that don't have 30 years of dirt, grit, and oil caked on them. I actually wish I did a better job of cleaning up parts when I first tore the car apart a couple years ago. I still find dead scorpions, spiders, and other critters from time to time!

    Comment


      Hey, I'm not sure if I missed it or not, but what size are the s.drives? I'm going to need tires for 15s soon and I like the look your's have. Also does it rub anywhere.. after the alignment that is?

      1988 ~ Lacey ~ 325iS

      Comment


        Originally posted by vtechnik View Post
        Hey, I'm not sure if I missed it or not, but what size are the s.drives? I'm going to need tires for 15s soon and I like the look your's have. Also does it rub anywhere.. after the alignment that is?
        They're 205/55R15, for the price point I'm very happy with them. They seem to last a long time and offer a fair amount grip in the dry and wet.

        I did have some rubbing in the rear, but my car does sit quite low and it only occurred on my driver's side. I believe most don't have rubbing issues with 205's so you're probably okay. In the off chance you do rub, it only requires a very minor fender roll to fix it.

        My fronts are okay though! No rubz.
        Last edited by zwill23; 04-30-2018, 01:18 PM.

        Comment


          Perfect! Thanks for getting back so quick. I'm going to be looking for a set now

          1988 ~ Lacey ~ 325iS

          Comment


            Originally posted by vtechnik View Post
            Perfect! Thanks for getting back so quick. I'm going to be looking for a set now
            Awesome! :devil:

            Comment


              Adventures of the Crusty Hole and Fuzzy Carpet

              Well R3v, it is starting to feel like the projects never stop. I was hoping to take some time off from wrenching and just enjoy the whip awhile, but mint black carpets don't show up everyday... thanks atxE30 ;)

              This actually turned out to be a blessing in disguise because I found a nasty little secret after pulling my grey carpet.

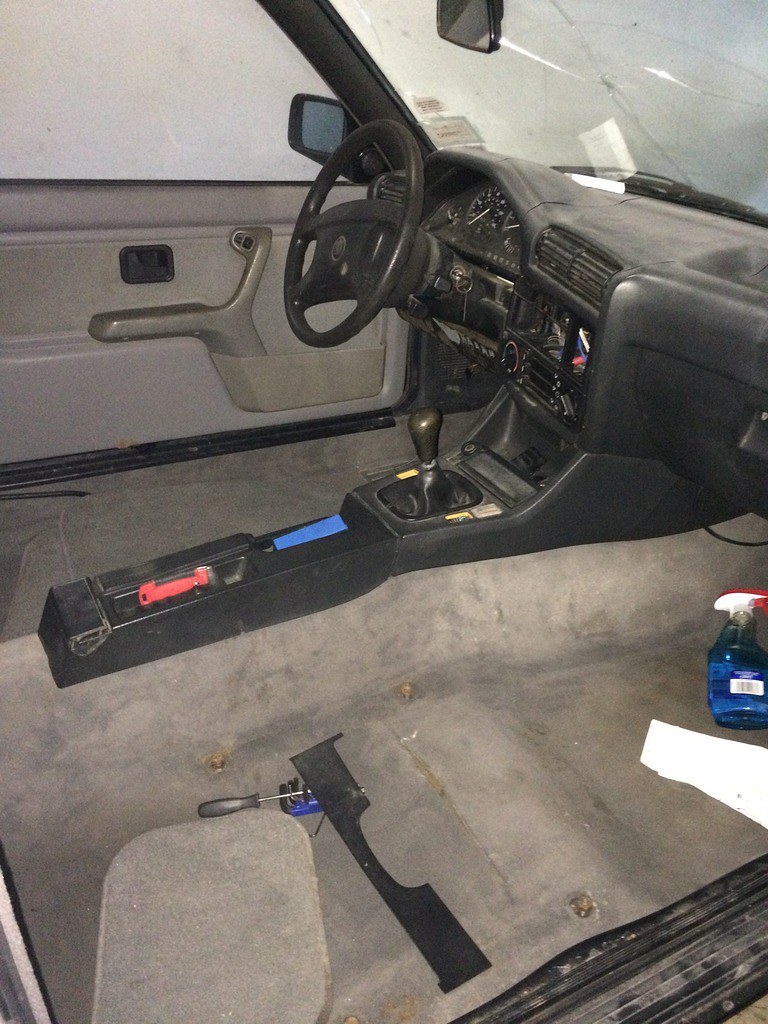
              Carpet Swap:

              I yanked my grey carpet out by gutting my interior, and using a razor blade to cut the carpet at the firewall and around the heatercore. It's a pretty straightforward process, the only "tricky" part I suppose is getting the carpet over the gas pedal. I just disconnected the pedal from the bracket and pulled the carpet over it.


              Nasty grey carpet:


              Fresh black carpet after some scrubbing:


              While cleaning up the bare interior, horror struck. One of the studs used to hold the heat shield around the exhaust rotted through and put a nice quarter sized rust hole through my passenger side floorboard. This was a definite "oh shit" moment, but I've seen much MUCH worse here on R3v.

              Fortunately, it was on an angled but flat surface making it easy enough to cut out and repair. I picked up some 22g weldable steel and went on my way.


              Wire wheeled and ground out to assess the damage:


              Slicin' up the floor:


              Craftin' up a patch:


              Patchin' it up:


              Weldin' it up:


              Paintin' it up (POR15 ftw):


              Like nothing ever happened! I used POR15 on the underside of the patch with 3M rubber undercoating to finish it off:


              With that little hiccup out of the way, I routed some RCA cables and a remote wire for my amp that I do not currently own:


              Carpet installed:


              Everything back together! The rust repair made this little project take a lot longer than anticipated, but it gave me the opportunity to rip around in the car with no interior for a week :devil: I already miss the way the M20 sounds without any sound deadening :(

              BUT, I'm super stoked on the carpet. It's in a lot better shape and compliments the interior so much better than the grey carpet did.

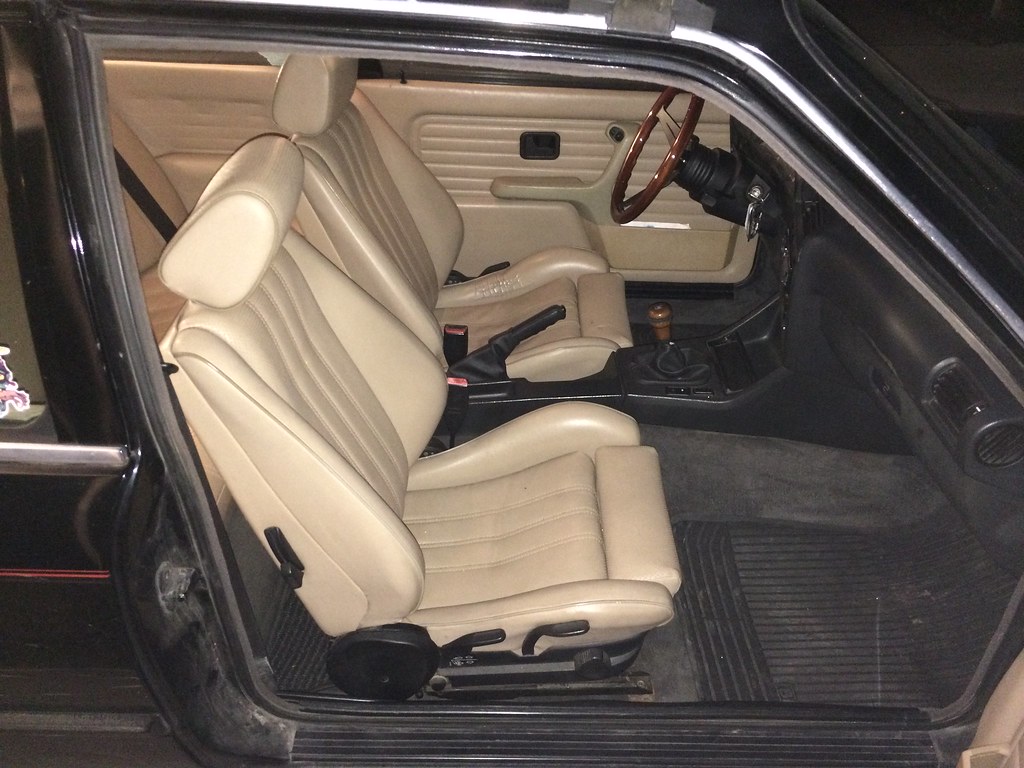
              Fun Fact: My interior is Frankensteined together from 15+ cars :rofl:

              Last edited by zwill23; 01-30-2018, 11:11 AM.

              Comment


                15+ cars?! That's insane and awesome at the same time lol.

                Comment


                  Front seats missing, along with other random interior bits:


                  to think it started like this... well done sir. :up:

                  1988 ~ Lacey ~ 325iS

                  Comment


                    Originally posted by kid8 View Post
                    15+ cars?! That's insane and awesome at the same time lol.
                    Right? After I got the carpet in I started counting all the cars I've pilfered parts from, including buttons and switches and things I believe I counted 17!

                    Originally posted by vtechnik View Post
                    to think it started like this... well done sir. :up:
                    Thank you!! Man, that picture really puts it in perspective... I had no idea what I was getting myself into
                    Last edited by zwill23; 02-23-2018, 01:46 PM.

                    Comment


                      Road Trips n Tunes

                      I recently planned my first major road trip with the E30 - blasting on down to New Orleans for some Mardi Gras debauchery :devil: My initial plan was to just fly down, but I decided I could put the money saved by driving toward some general maintenance items and I genuinely wanted to see how the car would do on a long trip.

                      In preparation, I changed out my spark plug wires and a couple of coolant hoses I felt were suspect, but beyond that I just aired up the tires and removed the roof rack. Armed with a set of jack stands, extra fluids, and my tool bag, my girlfriend and I embarked on our 1000 mile round trip from ATX to NOLA and back.


                      We of course had to stop for some gumbo and beer at Steamboat Bills along the way!


                      The whip suffered a cracked head light along the way, but beyond that no issues. The PODI was awesome for monitoring everything as the trip progressed, all temps and pressures held steady :up:


                      Then we had a weekend of giggles and over-indulgence:


                      With the weekend festivities over, we mounted our noble steed and tore ass back to Austin.

                      Stopped for food and drinks at a random brewery on the way back...

                      Left the bar and came out to a hoochie on the car


                      Overall, I am very impressed with how the car did during the trip. I cruised at 80-85mph the entire way while pushing about 3-3.5k rpms, which returned an average of 25mpg with a range of 300 miles per tank. My only complaint was that my radio had a hard time overcoming the wind noise without the speakers clipping, fortunately there is a solution for that ;)

                      Shortly after the trip I officially broke 125k miles, my first major "milestone" if you will :razz:


                      Post road trip I've just been buzzing around as usual.

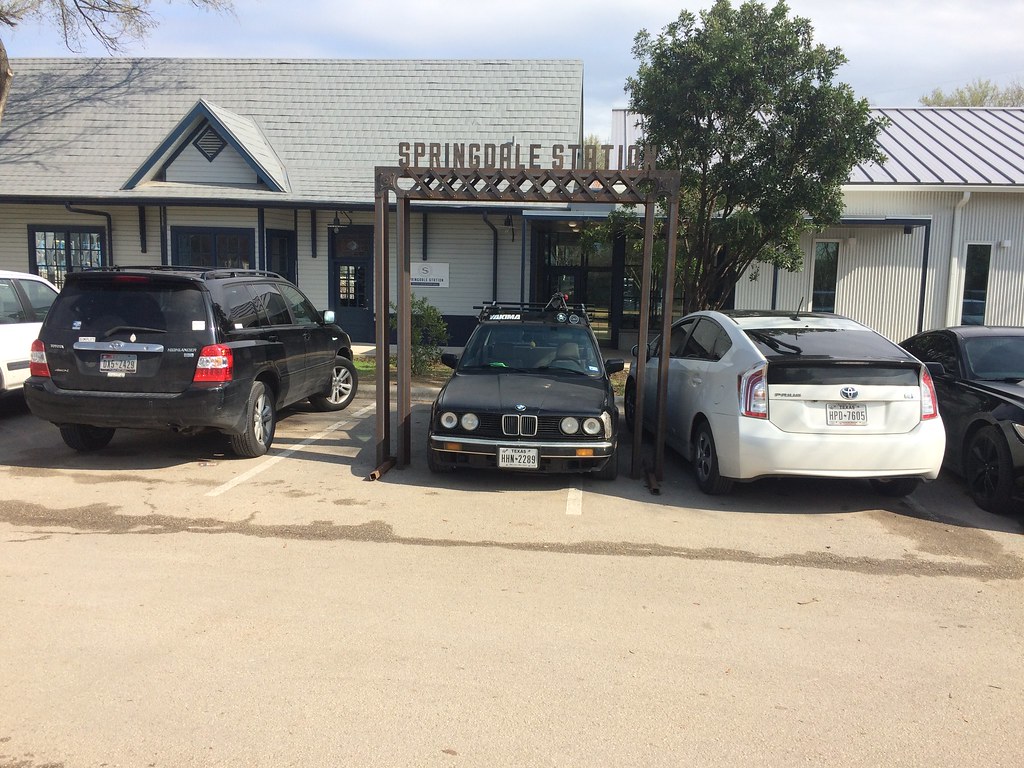
                      *Tiny beat up car parking only*


                      Well, at least I thought the car was tiny, until I drove around for a weekend in my mailman's MG :rofl: Driving one of these around makes me want to get a vintage car reallll bad. This thing was oozing with character, such a fun (albeit slow) driving experience.


                      Since I smell future road trips on the horizon, I decided it was time to do something about my dumpy sound system!

                      Amp and Rear Speaker Installation:

                      I chose to revamp my sound system with a Rockford Fosgate 250watt amp and a set of infinitiy kappas for the rear deck.

                      I had a few goals for the installation - retain stock-like appearance, avoid permanent modifications, choose an amp mounting location that is out of harms way, and commandeer Kid8's garage for the install :razz:

                      The first road block was installing the speakers in the stock speaker housing. The tweeter for the kappas interfere with housing grill, so I mounted the speakers below the housing. This works great, but I had to reverse the housing position on the rear deck so that the speakers have enough clearance. Not thrilled about that, but oh well. Only the purists will know right? ;)

                      Knocked the stock speaker retaining nuts out:


                      Wowza!


                      Next we went about mounting the amp. Kid8 suggested mounting it to the underside of the rear deck, which I think ended up being the smartest way to do it. No modifications needed, easy access, plenty of options to route the wiring, and the amp stays out of harms way.

                      Cut a piece of wood to size and wrapped it some cheap black carpet:


                      Using existing holes found in the rear deck, we added three bolts to secure the amp:


                      Test fit!


                      Amp bolted in and wired up:


                      Kid8 tucked the power wire and cleverly mounted the fuse holder to a cable cover stud:


                      Ground wire using factory amp ground and re-wrapped speaker wire bundle:


                      All tucked away!


                      Plenty of room for activities:


                      Very happy with how the install turned out and music sounds 1000x better.

                      The only issue I've noticed is that I have alternator whine coming through my speakers now, which I believe is caused by my ground location. Anyone using another location to ground their amp that eliminates alternator whine?
                      Last edited by zwill23; 02-28-2018, 11:15 AM.

                      Comment


                        That Podi is sweet! Someday I'll have to give Ruby one of those.

                        What did you use to keep the bushings from squeaking? Also, what way (other than fire) would you recommend for removing the rear subframe bushings? I'm having a doozy of a time trying to get them out with a C clamp

                        Comment


                          Thanks Levi!

                          I assume you mean rear trailing arm bushings? I actually gave up on poly RTABs. I dropped my subframe twice to relubricate the poly (I used anti-seize) and they started squeaking again after 3-5k miles or so. Race car parts require race car maintenance and all that... I recommend just using lemforder rubber RTABs.

                          I think the easiest way to remove the subframe bushings is using heat from a torch applied to the outside edge of the subframe. Keep applying heat until you hear the bushings crackling and then bop the top of the bushing with a hammer. It will fall right out. This technique still involves flames obviously, but it isn't messy and doesn't smell nearly as bad.

                          See here:


                          Or you could probably just drop it off at a shop and they could press it out for pretty cheap I bet. I found using a c-clamp to push out those subframe bushings was damn near impossible...

                          Originally posted by Levy3Poop View Post
                          That Podi is sweet! Someday I'll have to give Ruby one of those.

                          What did you use to keep the bushings from squeaking? Also, what way (other than fire) would you recommend for removing the rear subframe bushings? I'm having a doozy of a time trying to get them out with a C clamp

                          Comment


                            Originally posted by zwill23 View Post
                            Thanks Levi!

                            I assume you mean rear trailing arm bushings? I actually gave up on poly RTABs. I dropped my subframe twice to relubricate the poly (I used anti-seize) and they started squeaking again after 3-5k miles or so. Race car parts require race car maintenance and all that... I recommend just using lemforder rubber RTABs.

                            I think the easiest way to remove the subframe bushings is using heat from a torch applied to the outside edge of the subframe. Keep applying heat until you hear the bushings crackling and then bop the top of the bushing with a hammer. It will fall right out. This technique still involves flames obviously, but it isn't messy and doesn't smell nearly as bad.

                            See here:


                            Or you could probably just drop it off at a shop and they could press it out for pretty cheap I bet. I found using a c-clamp to push out those subframe bushings was damn near impossible...
                            Thanks for the advice. I'll call a few shops tomorrow and see how much they'd want to press out my bushings. I had seriously not even considered taking it to a shop haha

                            Sent from my SM-N910V using Tapatalk

                            Comment


                              Nice work man, way to save one from the grave.

                              Comment


                                Originally posted by Levy3Poop View Post
                                Thanks for the advice. I'll call a few shops tomorrow and see how much they'd want to press out my bushings. I had seriously not even considered taking it to a shop haha

                                Sent from my SM-N910V using Tapatalk
                                No problem! Hope it all works out :up:

                                Originally posted by coldweatherblue View Post
                                Nice work man, way to save one from the grave.
                                Thanks! Save'em all

                                Comment

                                Working...
                                X