-
-
Yep! Those white screws are the ones, they can be pretty difficult to twist as the threads are usually gummed up with 30 years of dirt and grit.
I was able to break them loose with a bit of effort just using my hands, but you can get a small stubby flat head in the back of the white thumb screw to break it loose as well.
Good luck! :up:
Edit: Here is a link that shows the thumb screws - https://www.bimmerforums.com/forum/s...s)-200-per-setComment
-
FML. Just sold my soul to the devil. It's been raining in NorCal and I couldn't take the leaking anymore!
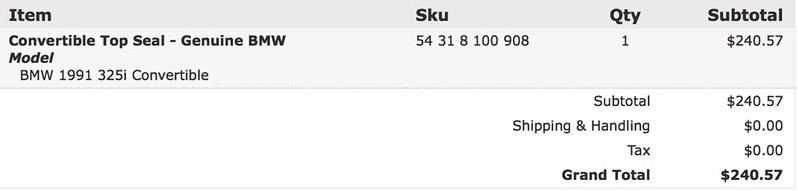
I had intended to purchase the seal from Pelican Parts, but strangely their price went from $260 to $406. So I decided to go with BAV.
Let's see if it helps.
 Screen Shot 2018-01-12 at 5.27.28 PM by lorenze torres, on Flickr
Comment
-
You bet ya! I figured, $240 ain’t so bad if I don’t have to deal with raining on the inside, wet and stinky carpets, and potentially rust on the floor pan. I definitely would have preferred to put that towards new suspension.... Le sigh.
I’ll be sure to document the install since I haven’t seen any diy’s.
Comment
-
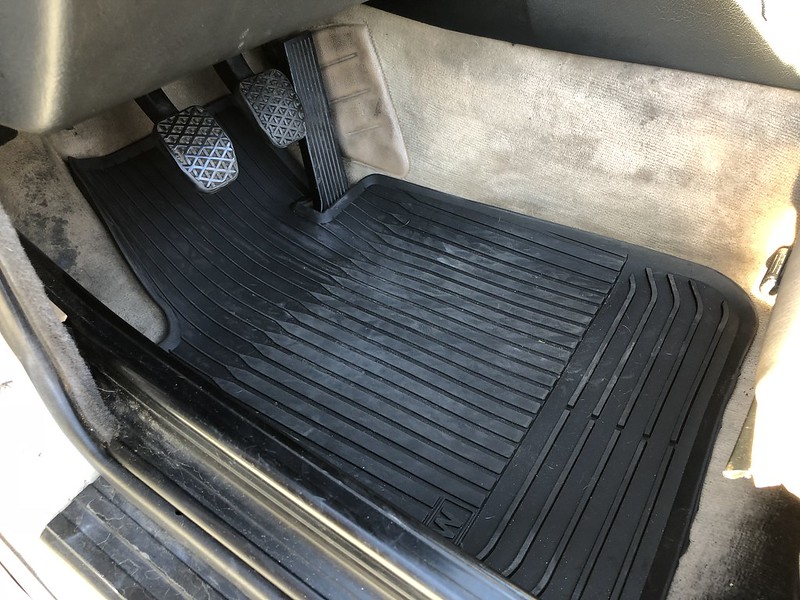
All weather floor mats
Nothing super crazy here, but wanted to share this. In efforts to try to save the carpet from stains and stench I wanted to find a good floor mat. 1 Series OEM floor mats work, 1 Series Weathertech floor liners don't. Kind of a shame, because I like how the floor liners fit, and how they cover the entire carpet.
I read a few threads where a 1 Series mat MIGHT fit but cabs apparently have a different floor pan than the coupe. For $50, I thought I would give it a try.
With a little cutting, I'm pleased to keep my car from smelling musky during this dreary NorCal weather we're experiencing.
COST:
BMW OEM 1 Series Floor Mats: $54.91
Mooneyes Rear Floor Mats: $36
Links:
BMW OEM 1 Series Floor Mats: https://www.turnermotorsport.com/p-3...5i-1m/?pdk=AgE
Mooneyes Rear Floor Mats: http://www.mooneyesusa.com/product-p/mp081bk.htm
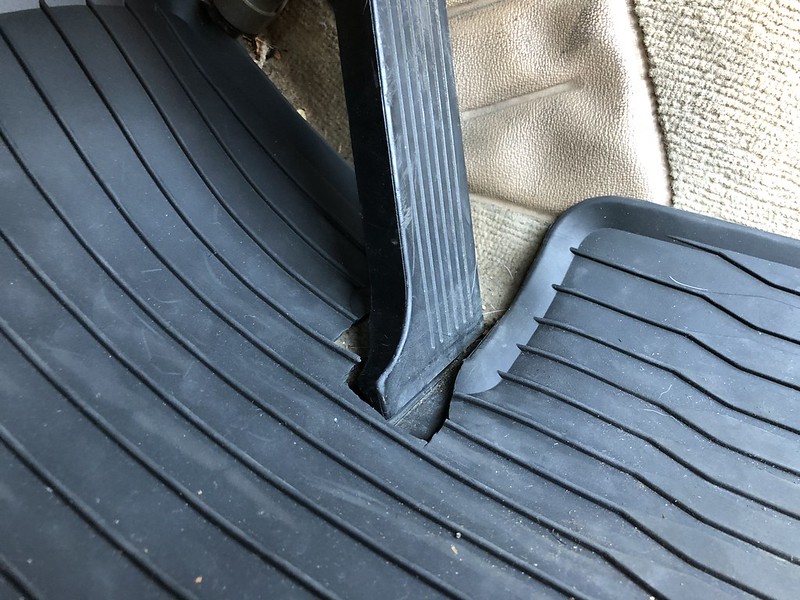
How it fit right out of the box. Not perfect but it will do with a little trimming and shimmy-ing.
 IMG_3845 by lorenze torres, on Flickr
 IMG_3847 by lorenze torres, on Flickr
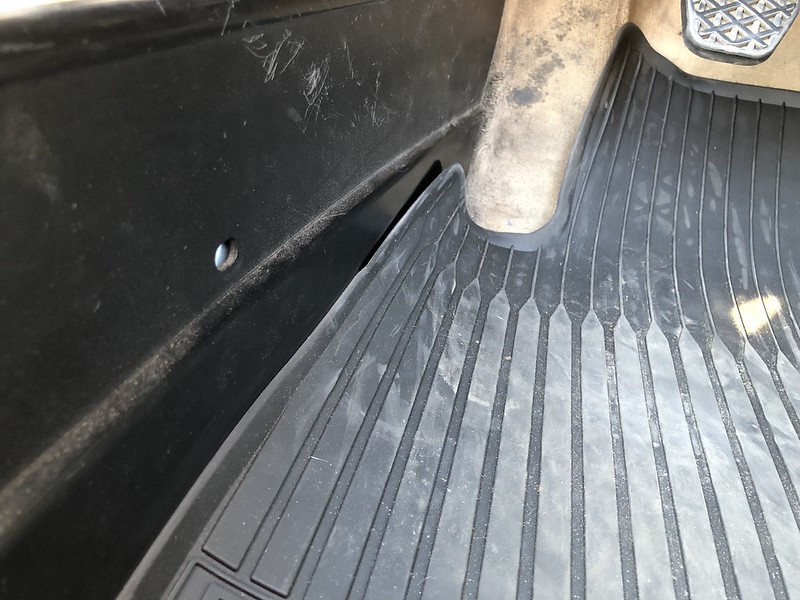
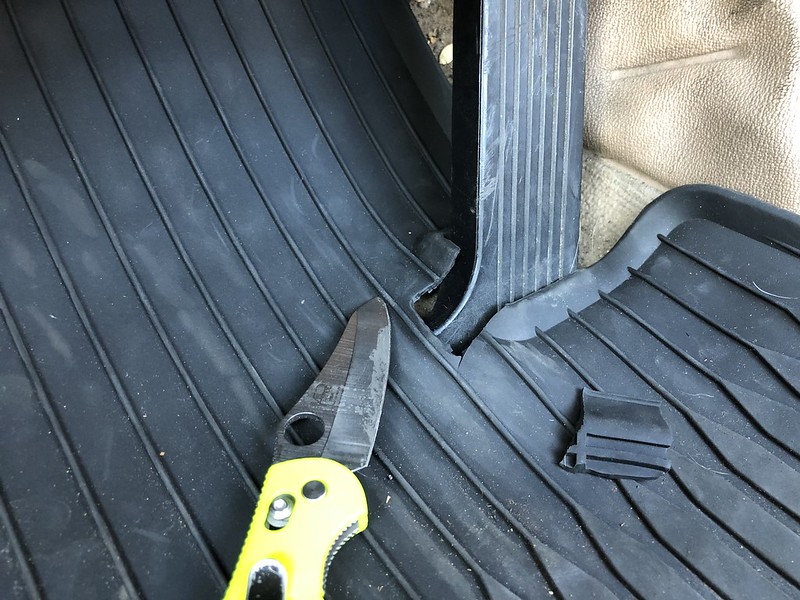
The left edge of the pedal was slightly covered by the mat. Though it didn't effect the movement, as a "just-in-case", I trimmed it anyways.
 IMG_3848 by lorenze torres, on Flickr
Peek-a-boo!
 IMG_3849 by lorenze torres, on Flickr
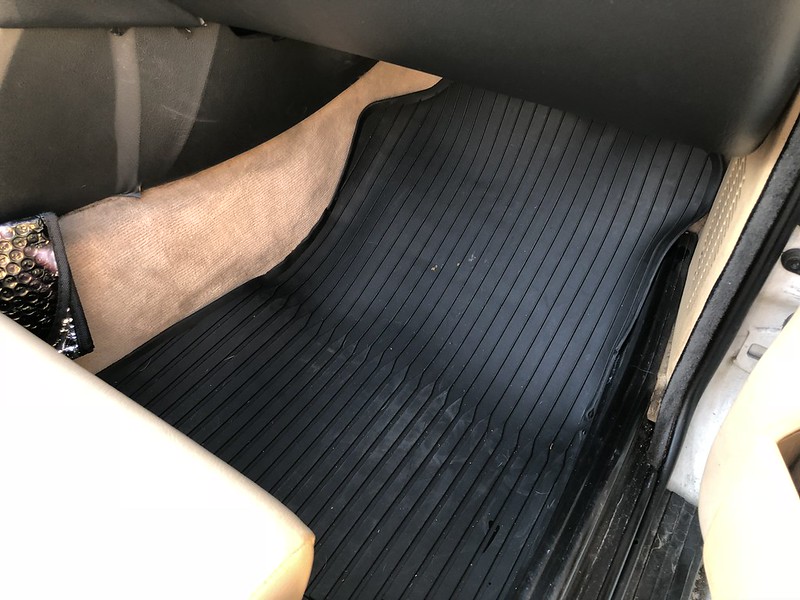
Here's a shot of the passenger side mat.
 IMG_3850 by lorenze torres, on Flickr
Love all things hot rod, especially Mooneyes. I couldn't resist.
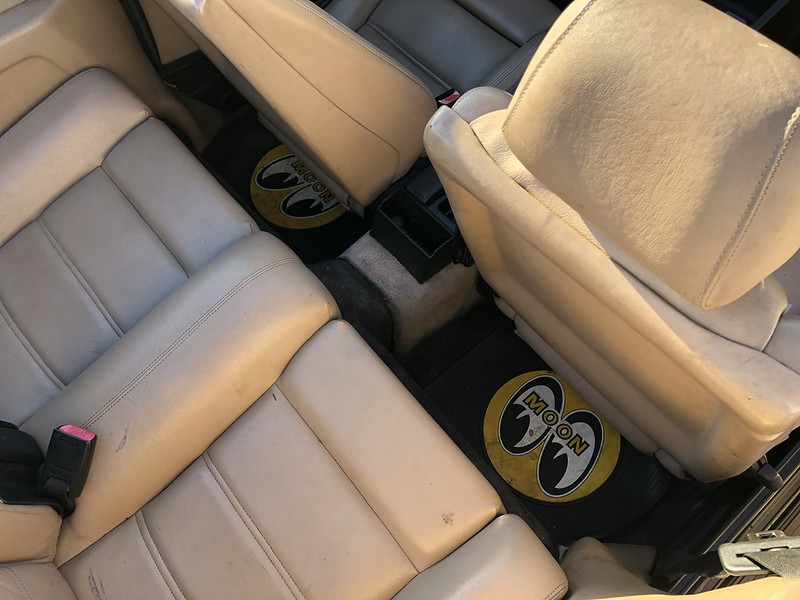
*BONUS*
Tangoed with a 964 on the twisties enroute to Driving While Awesome's Cars and Coffee on the coast. The quirky cab kept up, and gave the Porsche a run for it's money. If you're NorCal, you gotta check out their meets because it brings together the do-it-yourselfers, odd and quirky cars, and enthusiasts who actually drive the piss out their ride.
 [/url]
Last edited by LorenzeTorres; 01-25-2018, 09:01 PM.
[/url]
Last edited by LorenzeTorres; 01-25-2018, 09:01 PM.Comment
-
US Ellipsoid Headlight Adjustment
From my previous post, I shared with you guys how happy I was with my OEM headlights. The happiness didn't last long, because they were point just a tad too low. I thought I could live with it, but like the eczema I have I got this unstoppable itch/ annoyance where I needed to adjust it.
This post is to illustrate what I did to adjust them. I did a lot of searching and couldn't find an article specific to this job. Specifically ones with working photo links.
COST:
My patience
*PRO TIP*
Use a quarter to move the thumb tabs left or right. I found the large surface area of the quarter gave me enough leverage to twist and it was small enough to fit in the tight spaces. Or you can get fancy and copy the setup below.
 IMG_3869 by lorenze torres, on Flickr
Originally the headlights installed were pointed too low. This is where I started. The car was about 22 feet away from the wall.
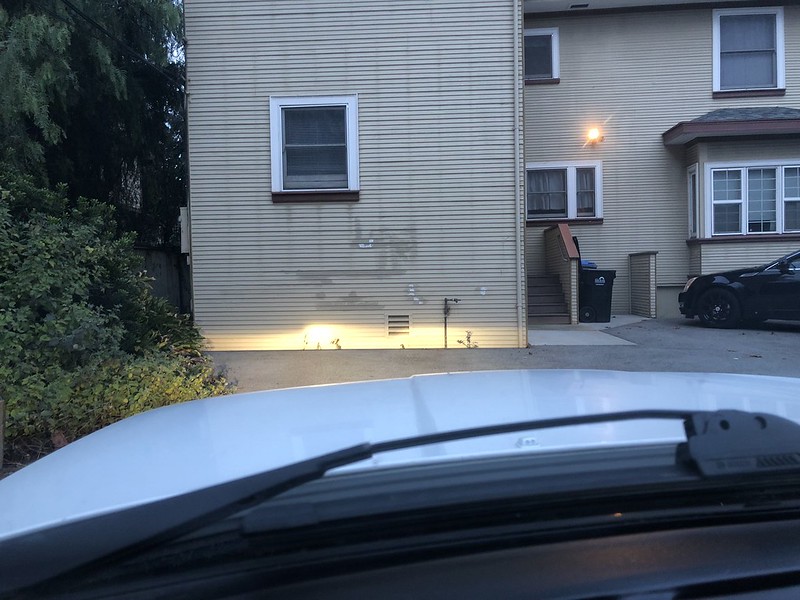 IMG_3856 by lorenze torres, on Flickr
I thought this was better. Went to get celebratory tacos and discovered this was pointed way too high. Some of the beam would scatter from the trees above.
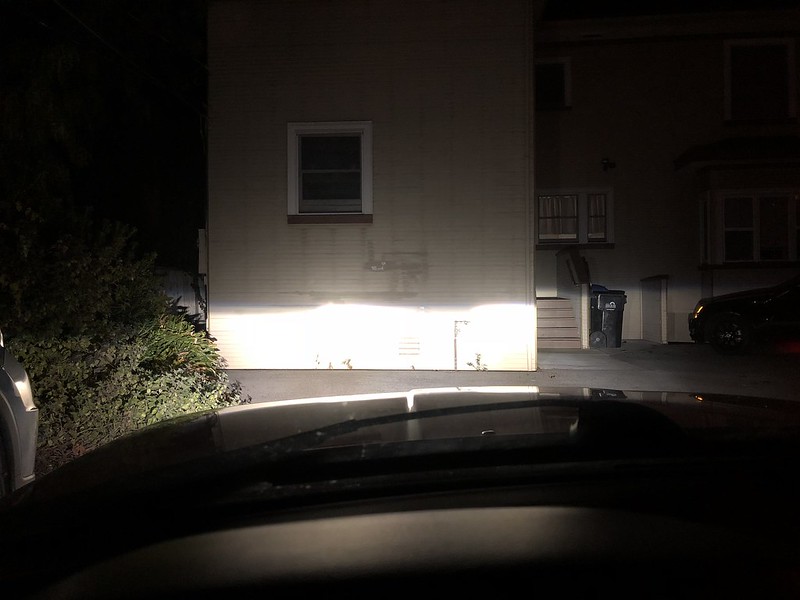 IMG_3858 by lorenze torres, on Flickr
Just right. After a little more adjustment, this was the sweet spot. The beam would sit no higher than the bottom of the side mirror of the car in front.
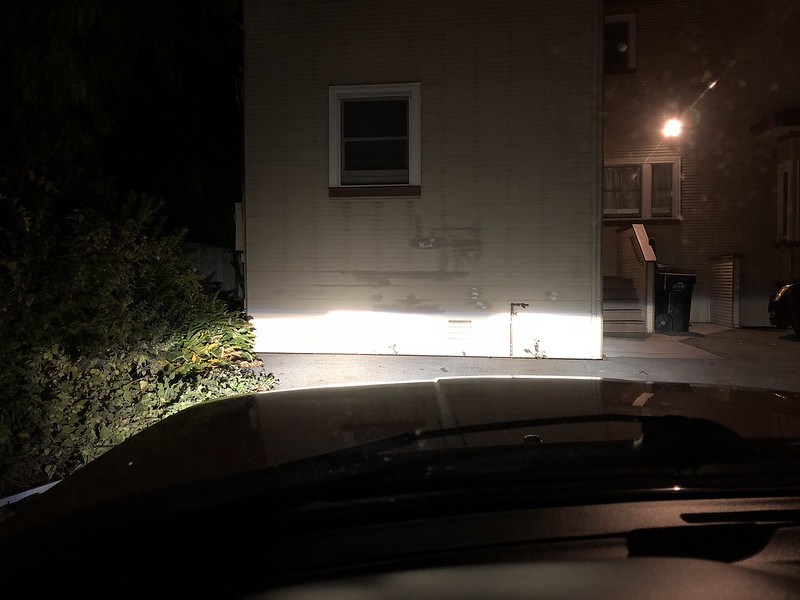 IMG_3872 by lorenze torres, on Flickr
Best way to go about this is to open the hood and pull off the plastic cover behind the headlights.
I used a flat head to pry the TWO clips to let the cover free.
Once they are pulled off, this is what you see.
The tab I'm pointing to adjust LEFT to RIGHT
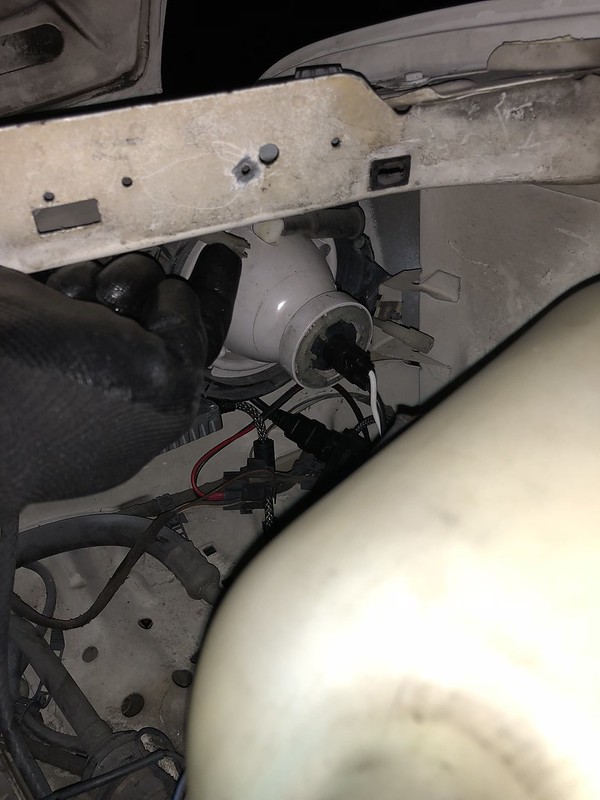 IMG_3868 by lorenze torres, on Flickr
TO ADJUST HEIGHT (UP AND DOWN)
RIGHT is UP
LEFT is DOWN
 IMG_3866 by lorenze torres, on Flickr
Last edited by LorenzeTorres; 01-25-2018, 09:21 PM.
IMG_3866 by lorenze torres, on Flickr
Last edited by LorenzeTorres; 01-25-2018, 09:21 PM.Comment
-
I aimed my Ellipsoids not long ago, and this thread helped me get the perfect height:
Sent from my SM-N910V using TapatalkComment
-
Nice vert! :DComment
-
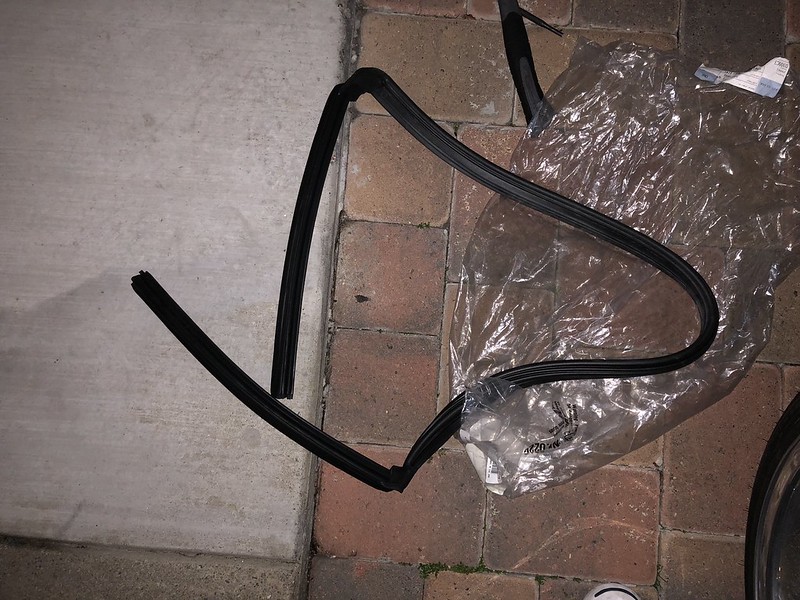
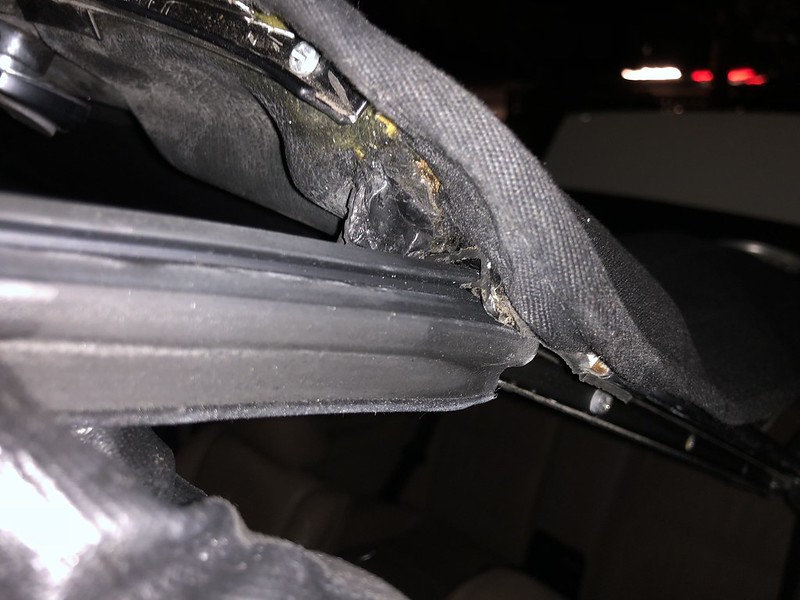
MAIN CONVERTIBLE SEAL
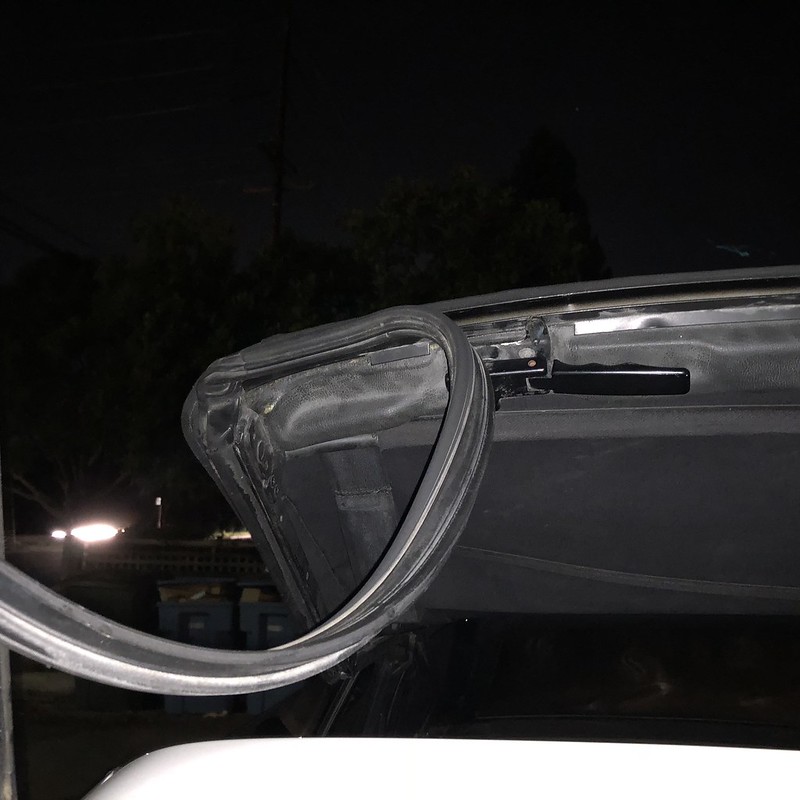
Contrary to popular belief, California isn't always sunny and warm. In fact, in Northern California, it's been the exact opposite the last couple weeks. In efforts to stop my leaking issue, I've been replacing the convertible seals piece by piece. The first time I ordered the wrong seals and got the middle ones. This time, I ordered the one I was supposed to get.... and it didn't fix the issue. My leak is coming from the corner of the door, where the little window meets the top. It also seems like my windows are not pressed up the seal and there's a small enough gap to let water through.
COST:
OEM Main Convertible Seal: $240.57
Links:
OEM Main Convertible Seal: https://www.bavauto.com/54-31-8-100-908
Old rotted seals. Saw that they were stamped with 89 on it.
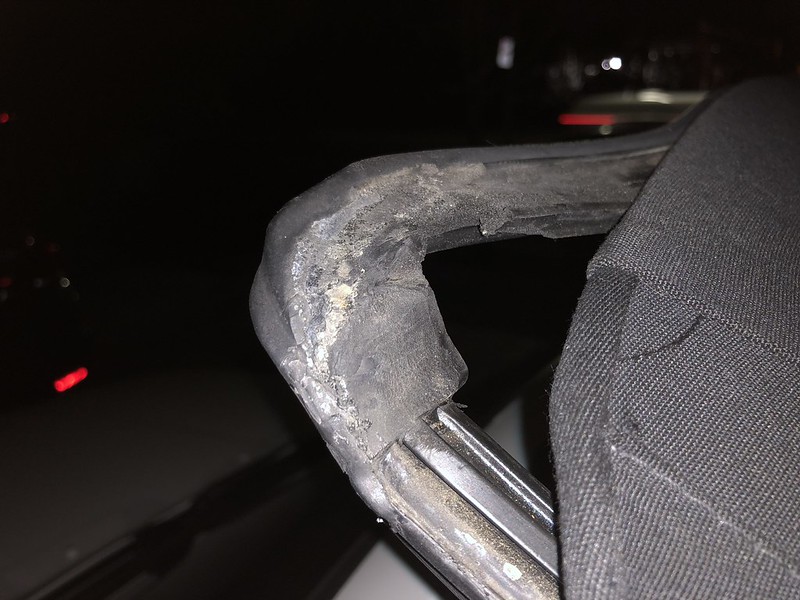 IMG_3911 by lorenze torres, on Flickr
I thought this could be the cause.
 IMG_3912 by lorenze torres, on Flickr
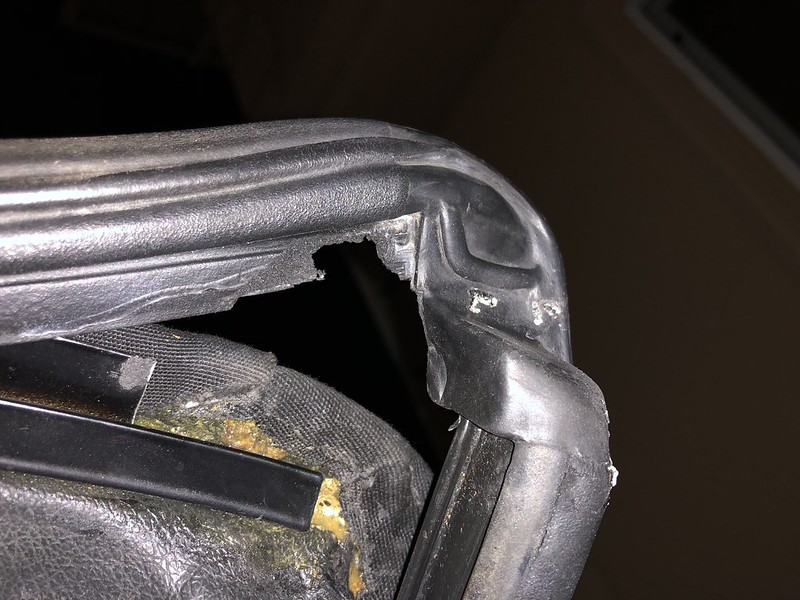
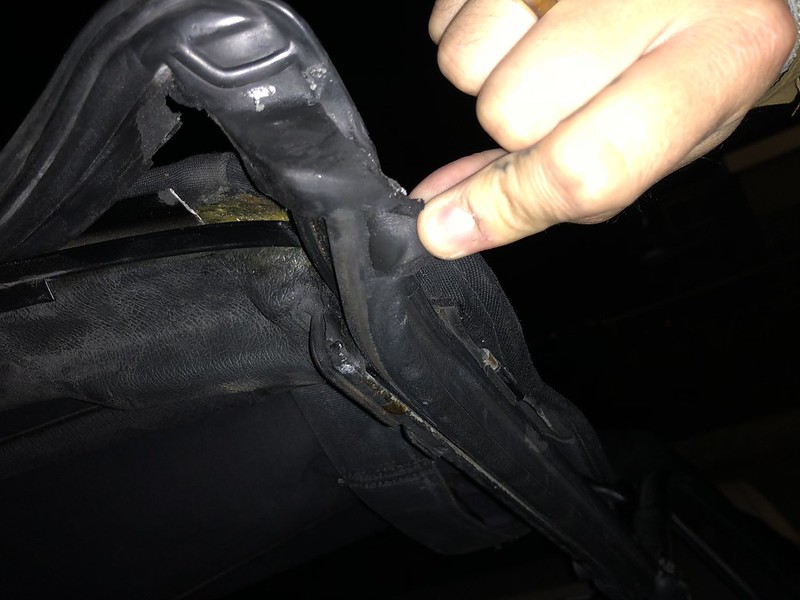 IMG_3913 by lorenze torres, on Flickr
More holes.
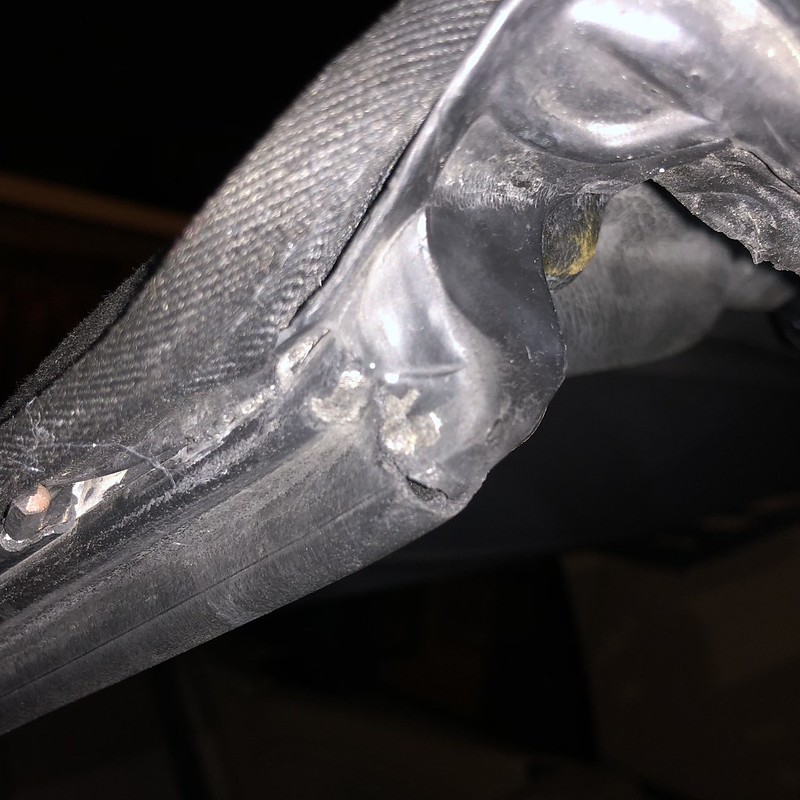 IMG_3916 by lorenze torres, on Flickr
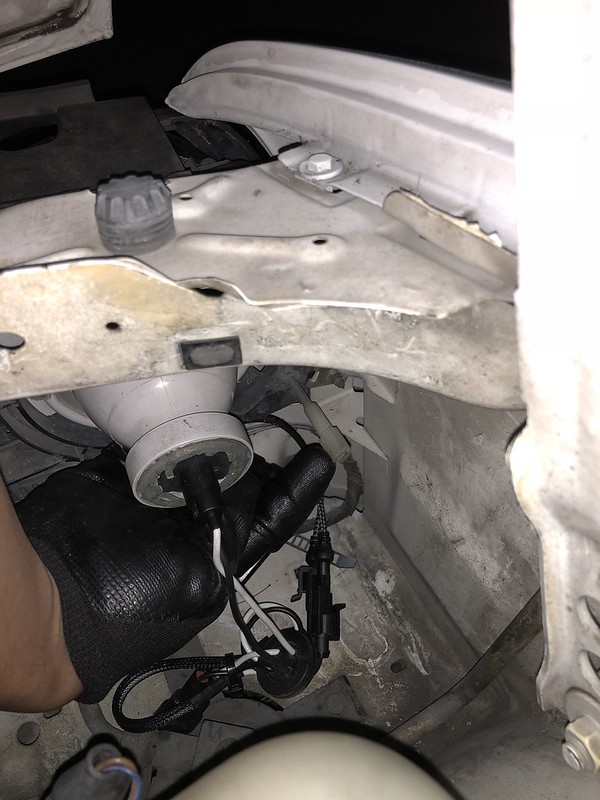
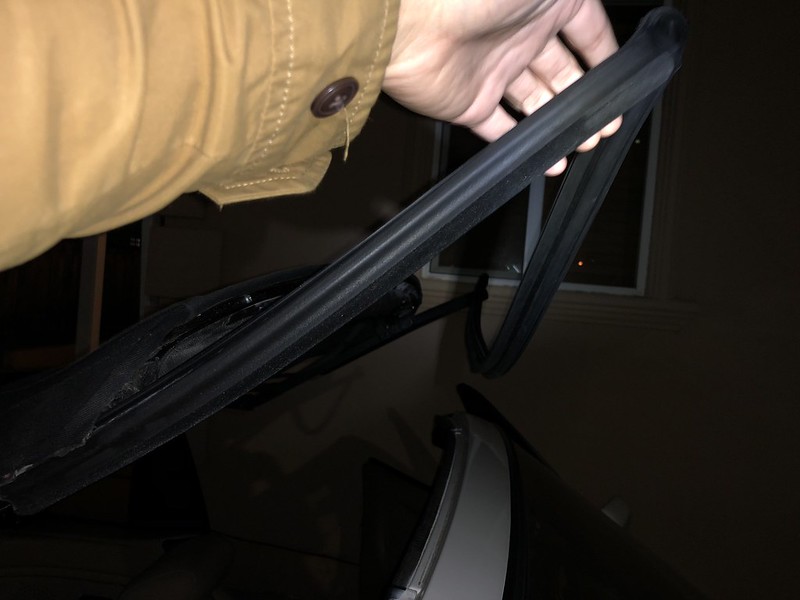
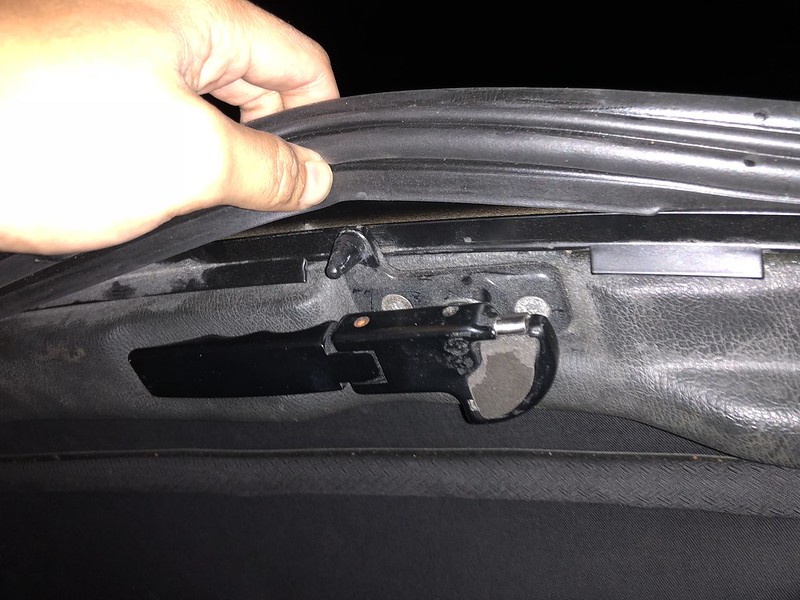
Removal: Slide/ pull it off and remove pins.
 IMG_3914 by lorenze torres, on Flickr
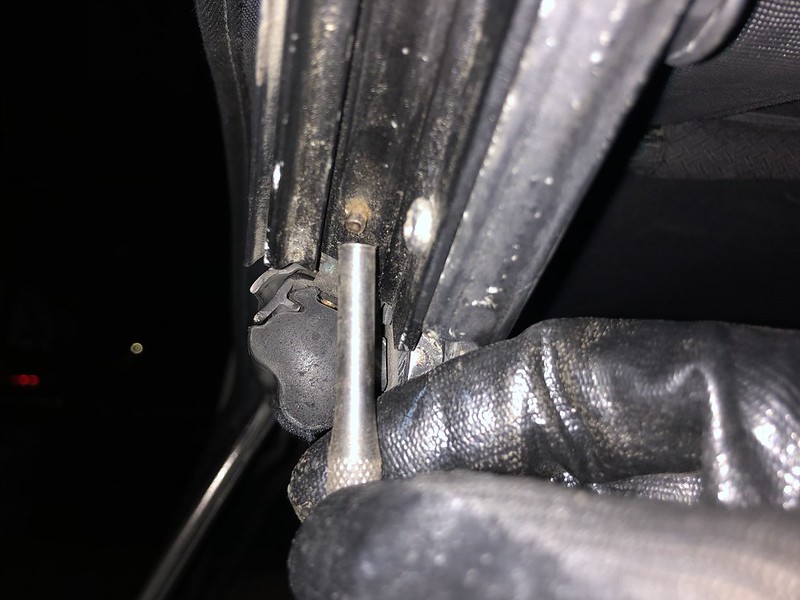 IMG_3917 by lorenze torres, on Flickr
Install was really easy. Like the previous seals, I had this one sitting in the freezer for 12 hours. Slipped right in, no issue.
 IMG_3918 by lorenze torres, on Flickr
 IMG_3919 by lorenze torres, on Flickr
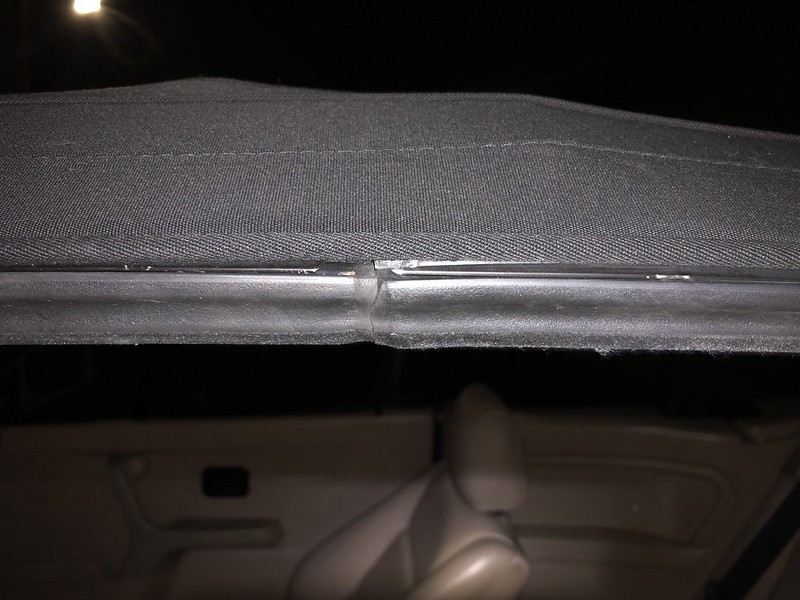
Slide both sides in before tucking the middle.
 IMG_3920 by lorenze torres, on Flickr
 IMG_3923 by lorenze torres, on Flickr
Nice and snug. No more gap.
 IMG_3924 by lorenze torres, on Flickr
The verdict......
 IMG_3931 by lorenze torres, on Flickr
Last edited by LorenzeTorres; 02-04-2018, 08:46 PM.
IMG_3931 by lorenze torres, on Flickr
Last edited by LorenzeTorres; 02-04-2018, 08:46 PM.Comment
-
 IMG_4027 by lorenze torres, on Flickr
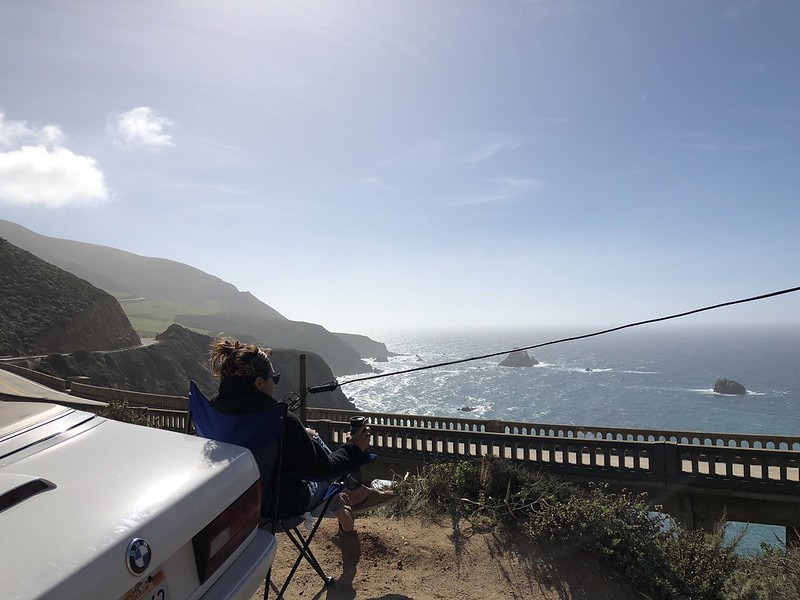
We were able to catch a break from the weather and we took advantage by glamping in Big Sur. But since my last post, things didn't quite go as smoothly leading up to the get away.
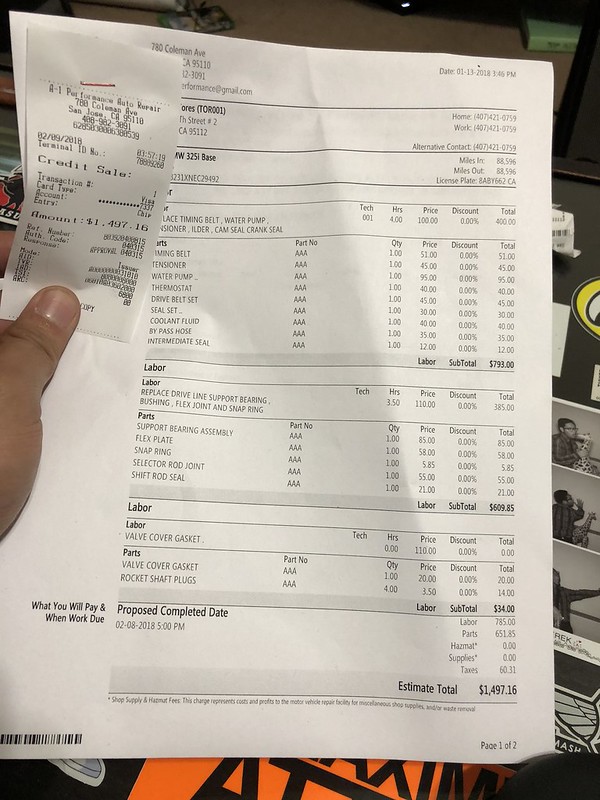
I had to take my car in because it had a cowbell sound coming from the middle of the car. CSB went bad. Took the car in and ended up doing all the things. I even had the shop put in the shifter rod adapter and DSSR. While they were at it, I had them do the timing belt, valve cover, and other goodies.
 IMG_4050 by lorenze torres, on Flickr
Among other things, I racked up a large bill and got a bunch of stuff done.
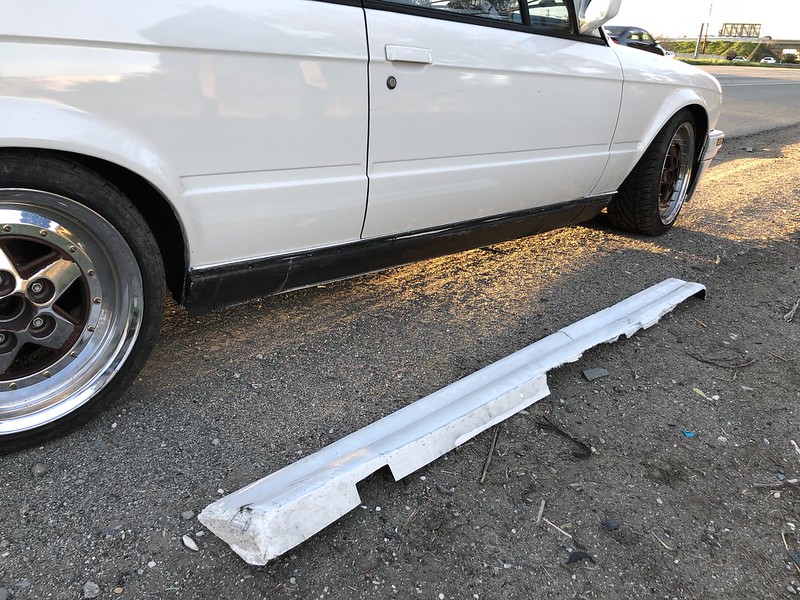
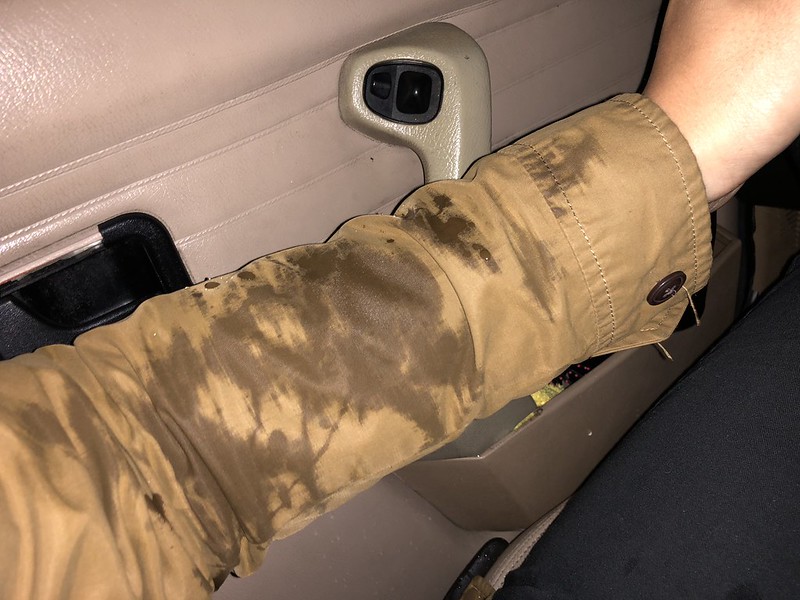
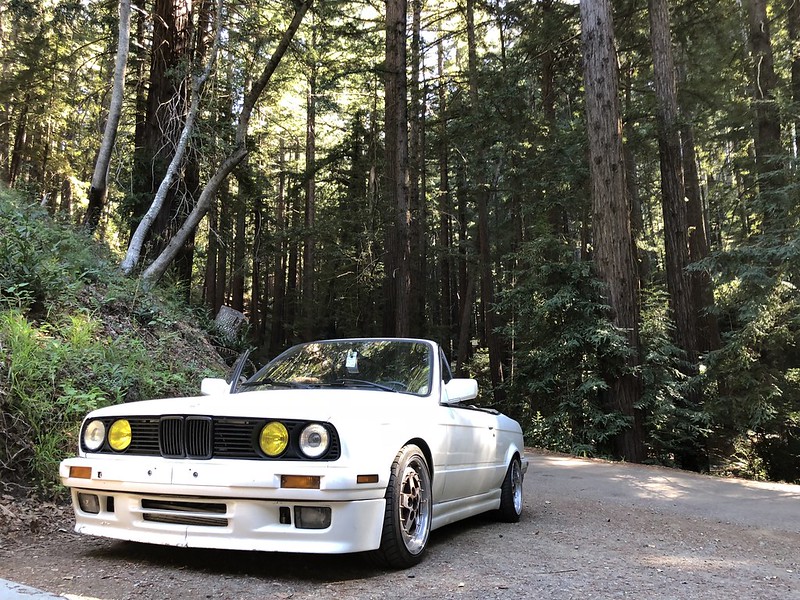
Long story short, car ran well. We enjoyed HWY 1, accidentally went off-roading, and had a side skirt blow off on the freeway.
 IMG_4047 by lorenze torres, on Flickr
In breaking my side skirt, I found out few things.
1) Hard to find side skirts for verts
2) My side skirts were Breyton reps
3) You can fit Taurus side skirts and make them look good.
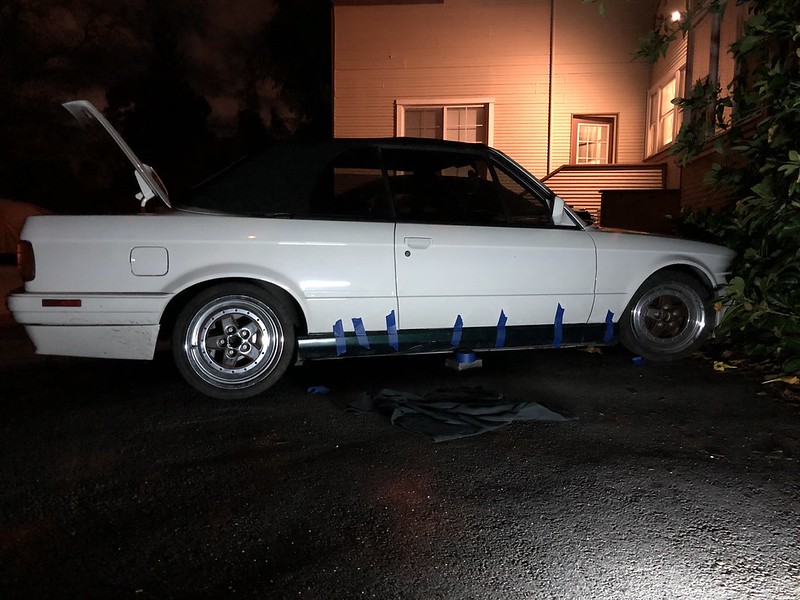 IMG_4048 by lorenze torres, on Flickr
 IMG_4049 by lorenze torres, on Flickr
 IMG_4046 by lorenze torres, on Flickr
End goal with skirts.Last edited by LorenzeTorres; 02-13-2018, 12:43 AM.Comment
-
Infinity Basslink Sub Install
Being that I spend quite a bit of time in my car, I wanted to make the interior experience as awesome as driving the car.
Due to the limited space, I wanted something compact that delivered wholesome sounds. Solution, Infinity Bass Link. Not sure why these got discontinued, but boy it sounds so good.
COST:
Infinity Basslink: Used for $80
Amp Wiring Kit: $70
Links:
Infinity Basslink: Craigslist
Amp Wiring Kit: Picked it up at Best Buy
Overall, install was easy. Took forever because it I'm very particular about the way things are installed. Don't want to go back in twice.
Everything you need right here!
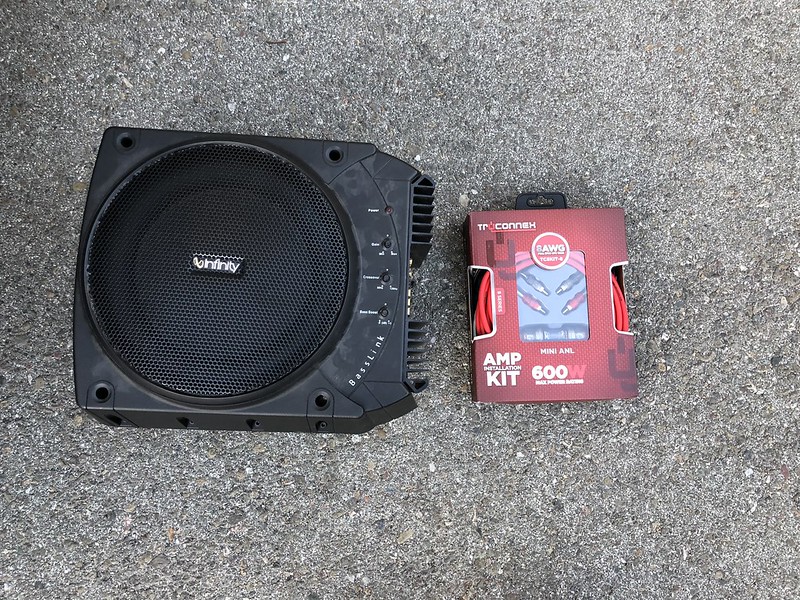 IMG_4141 by lorenze torres, on Flickr
Since I have a vert, I needed to remove the battery to gain access to the grommet. I cut a small hole to let the power cable run to the inside of the car.
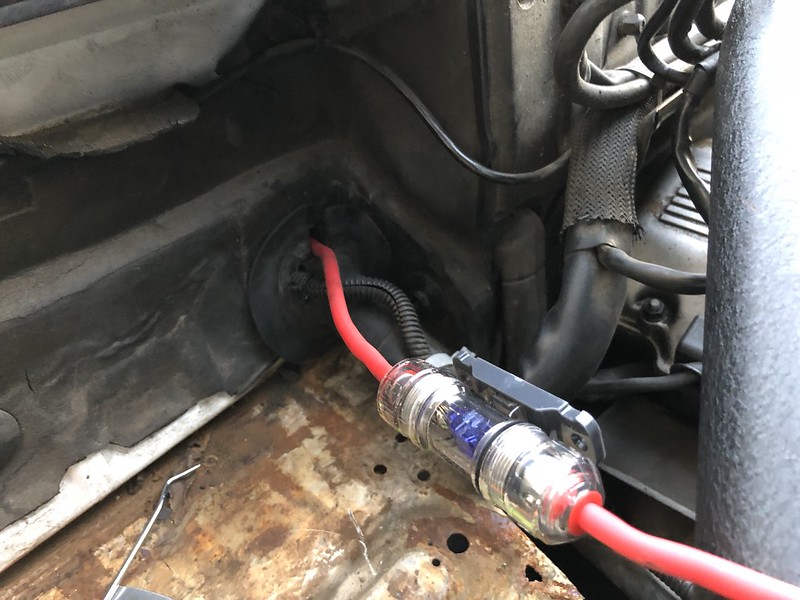 IMG_4144 by lorenze torres, on Flickr
The wire is then fed into the glove box. Which I routed towards the kicker panel on the passenger.
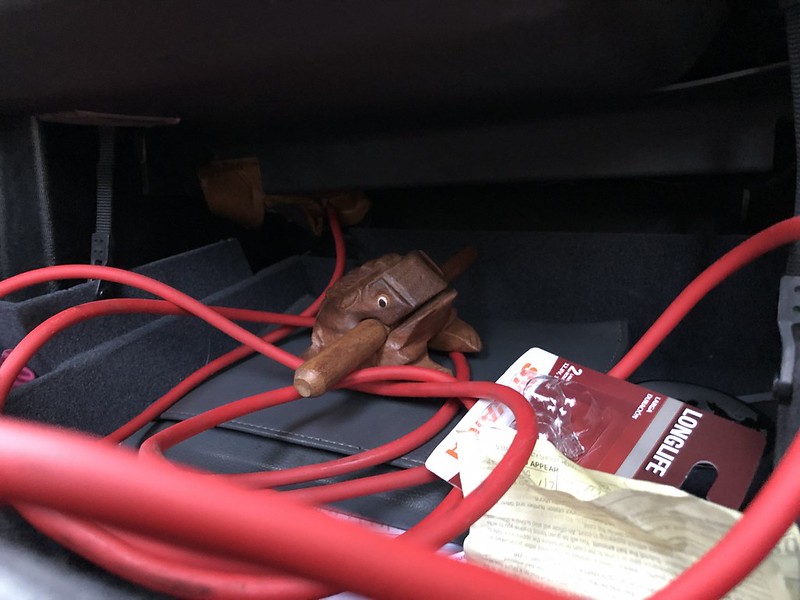 IMG_4145 by lorenze torres, on Flickr
For a clean install, I had to remove the plastic trim and the rear bottom cushion. I ran the wires down near the carpet.
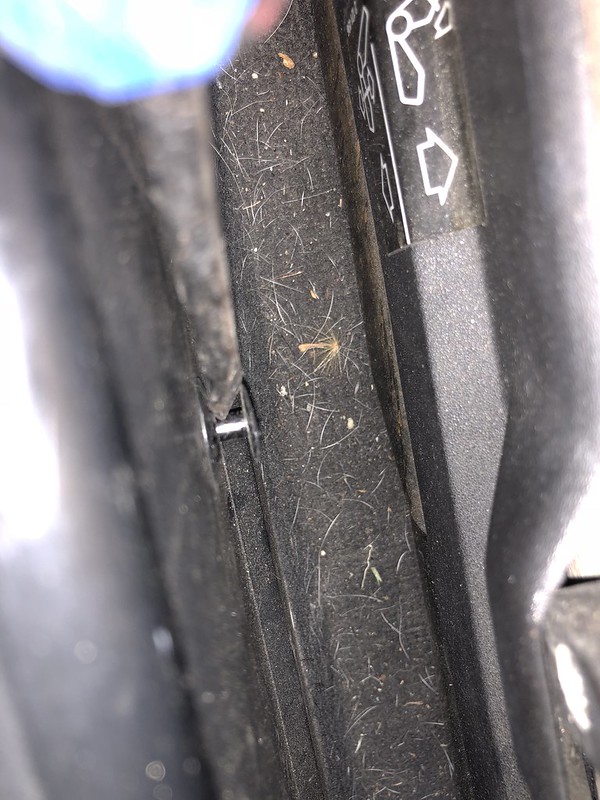 IMG_4148 by lorenze torres, on Flickr
Founds a small hole that lead to the trunk. Wired the rest behind the trunk carpet.
 IMG_4149 by lorenze torres, on Flickr
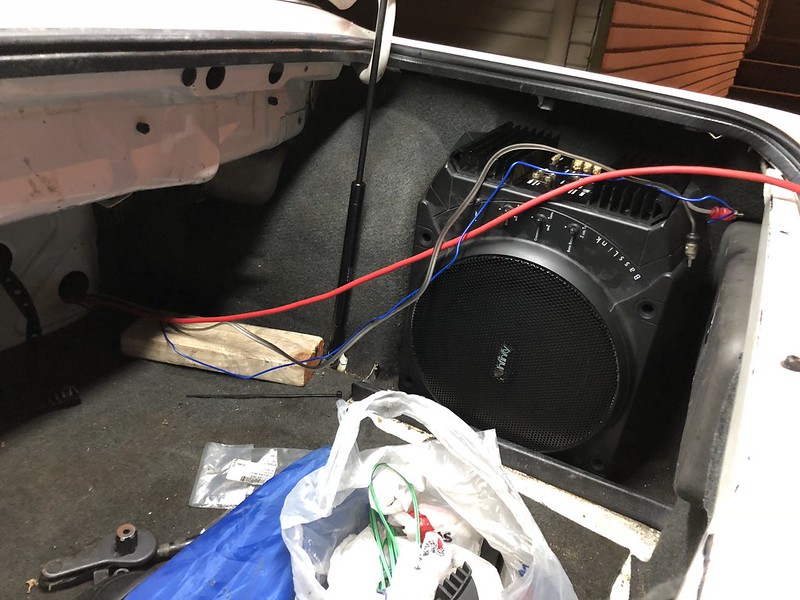
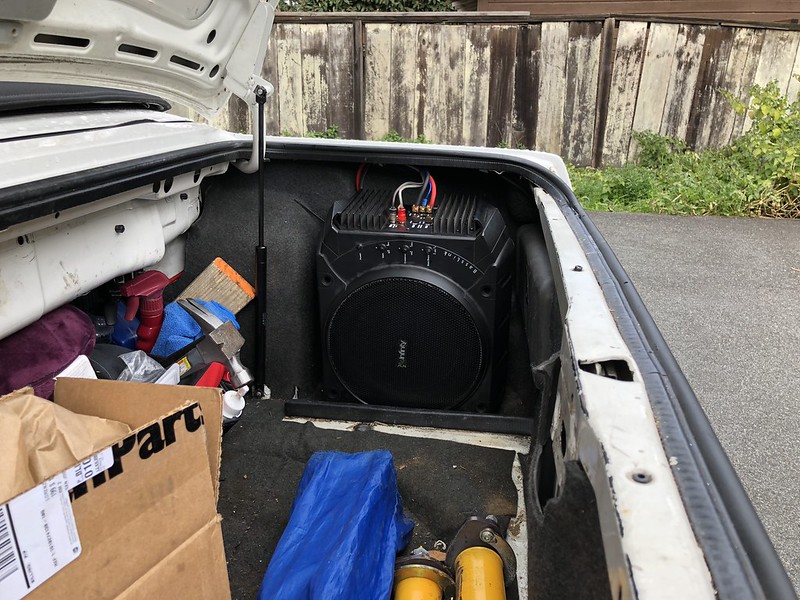
And BOOM! Now I have bass. What I didn't include was running the remote (blue wire) and the audio cables to the deck. I spliced into the remote wire on the deck's harness. This is important because it tells the sub when to turn on.
Also note, you need to find a bolt, sand some paint to connect the ground to. I used a taillight bolt close by to make the connection.
 IMG_4152 by lorenze torres, on Flickr
Last edited by LorenzeTorres; 02-28-2018, 03:34 PM.
IMG_4152 by lorenze torres, on Flickr
Last edited by LorenzeTorres; 02-28-2018, 03:34 PM.Comment
-
Good luck, I bit the bullet last year and bought this same seal for mine for $240 and it did not help at all on my leaks in the front corners. $.50 in weather stripping at the corners where all three things; top, windshield and door meet ended up stopping my corner leaks. It is nice to have a solid seal, where it meets the front windows, especially since the prices are only going to keep going up. So I am hoping it works for you. But if not there is always Home Depot!Thank god, R3V was getting boring since the ginger kid wrecked his car. - StoneaComment


Comment