89' 325is LS3 swap

Collapse
X
 
  • Time
  • Show
Clear All
new posts

  • jeds
    replied
    Good to hear positive feedback on the Wilwoods. I foresee much fussing with the manual brake setup to get everything playing nicely...

    I started in on the car this weekend.

    Modified the core support for radiator cap clearance and radiator overflow mounting. After I clearanced everything, I went back and put panel bond between the sections where spot welds were removed.


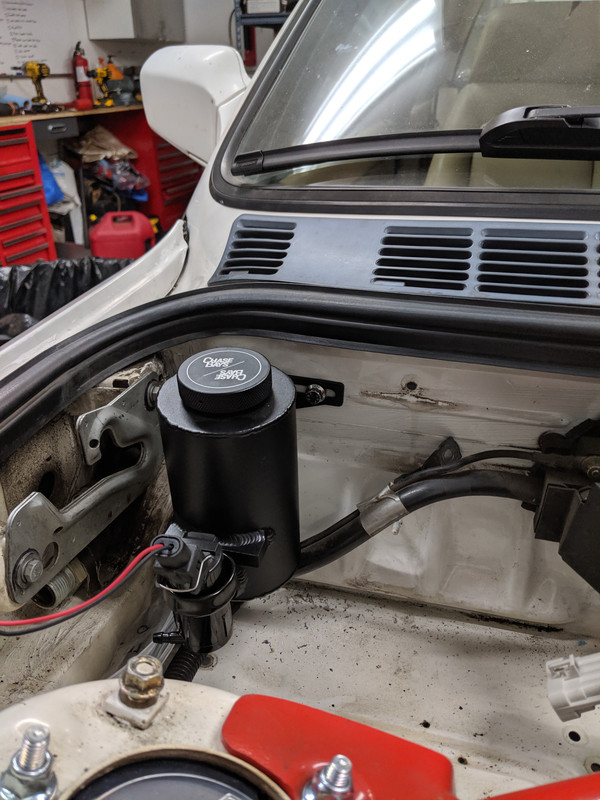
    Installed the washer fluid reservoir. Its pretty diminutive, but it should get me by. I'll just have to keep up on topping it off.


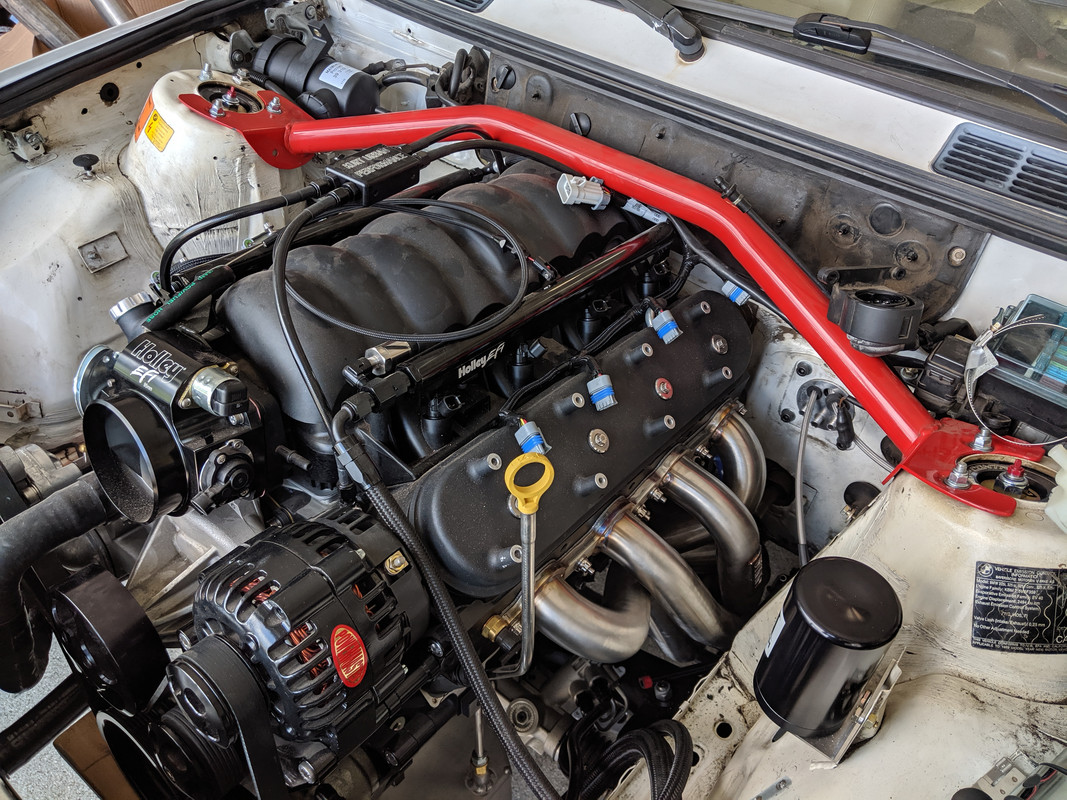
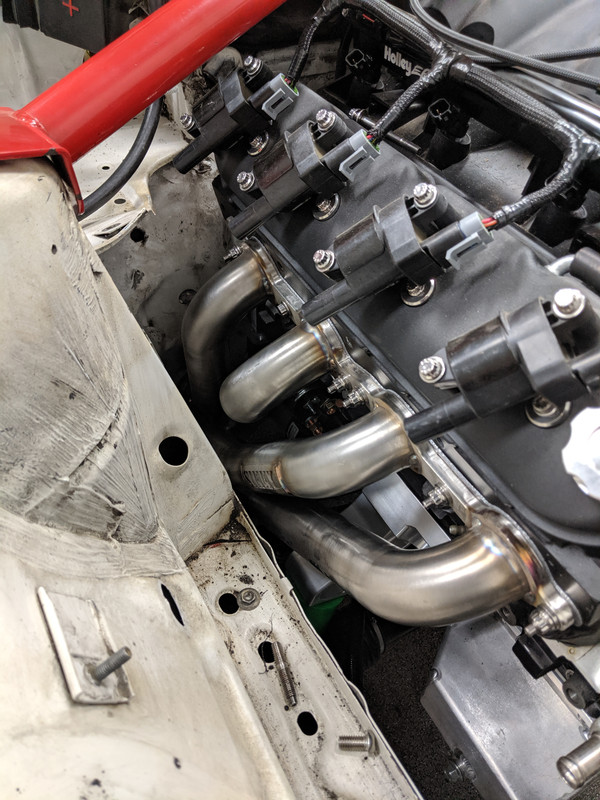
    Got the headers installed. In order to get them in, I had to balance the motor/trans assembly on a couple of jacks and pull out the motor mounts. This allowed me to rock everything side to side to get them in.


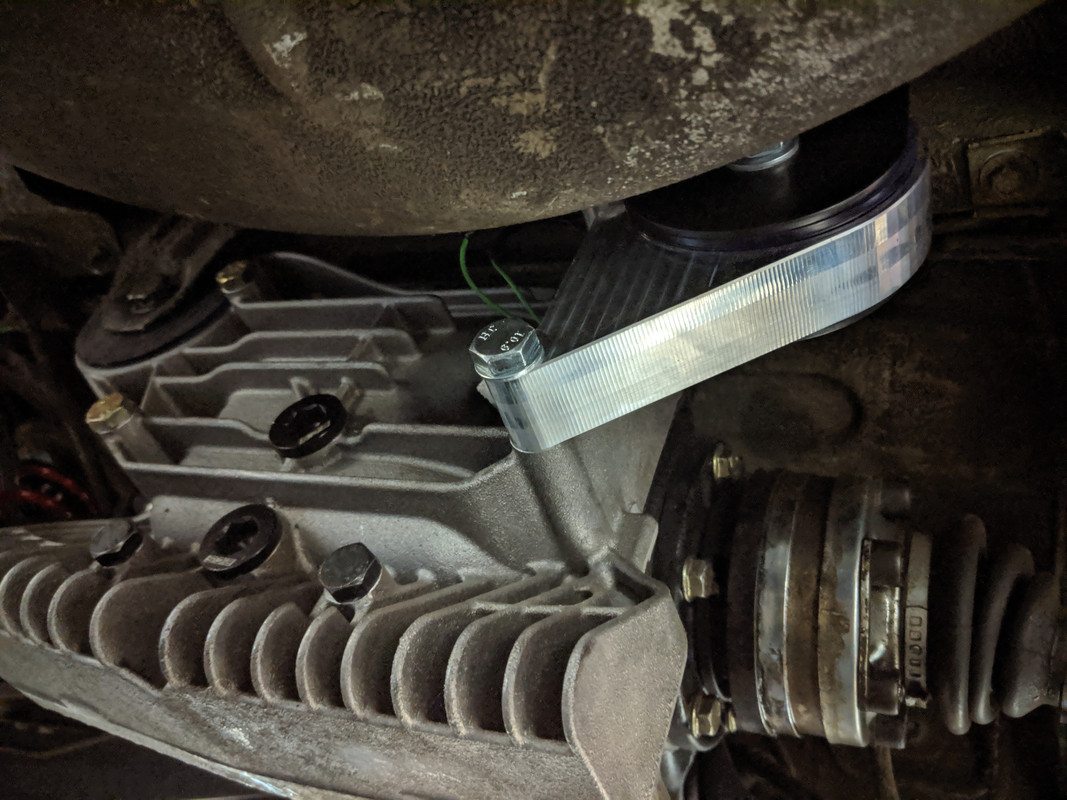
    I also installed the secondary diff mount. This turned out to be more annoying than I had anticipated. The clearance between the Z3 diff cover and the spare tire well didn't allow for removal of one of the diff cover bolts. I had to drop the diff to do the install. There was also little-to-no room for drill bit access. Oh well ... it's in and ready to go.
    Leave a comment:


  • dmanb2b
    replied
    Originally posted by Staszek
    Nice brakes!!

    I love my Wildwoods.
    Comments like these get me excited about the future ;>)

    Leave a comment:


  • Staszek
    replied
    Nice brakes!!

    I love my Wildwoods.

    Leave a comment:


  • Supadave
    replied
    Looks good man. Cant wait to hear this thing fire up.

    Leave a comment:


  • jeds
    replied
    I've been traveling non-stop for work, so progress has been pretty much at a stand still. I took half of July off, so hopefully some more progress can be made.

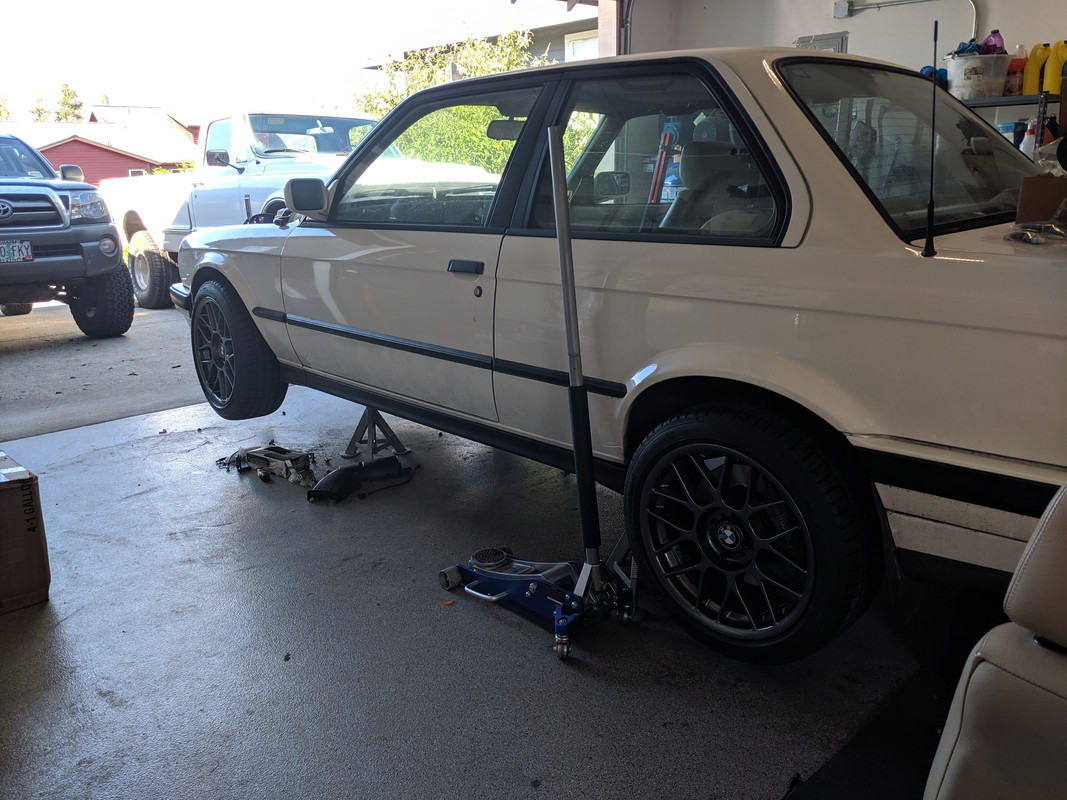
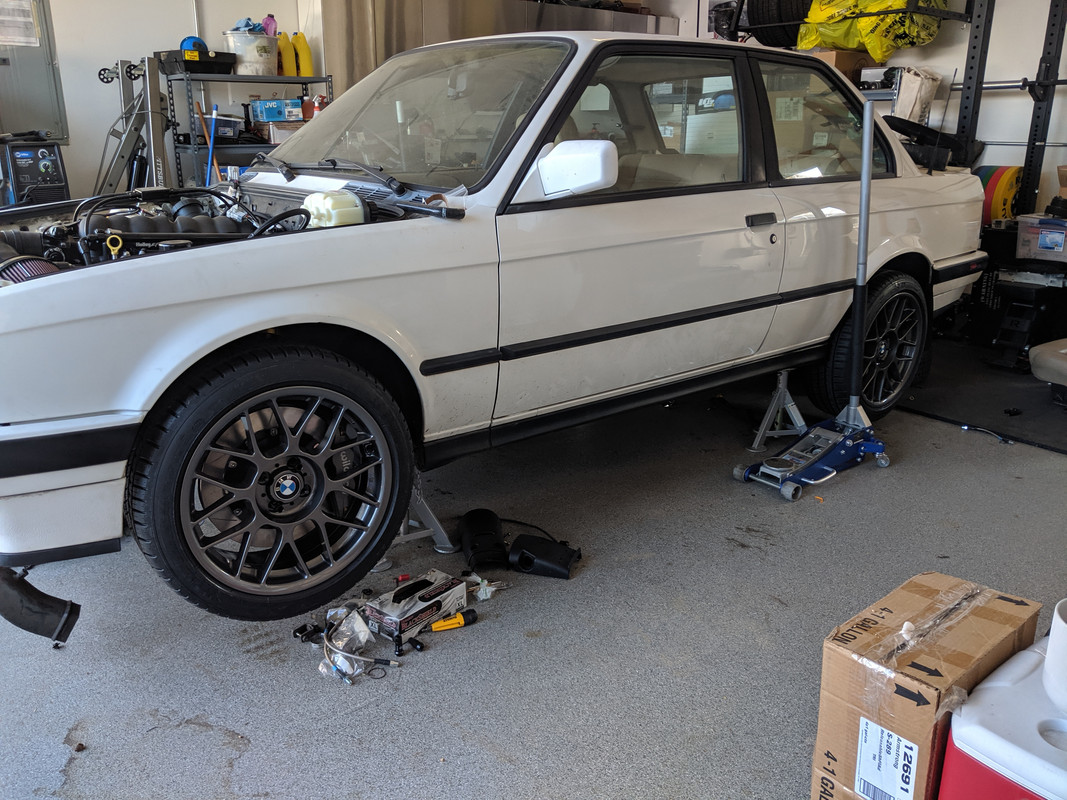
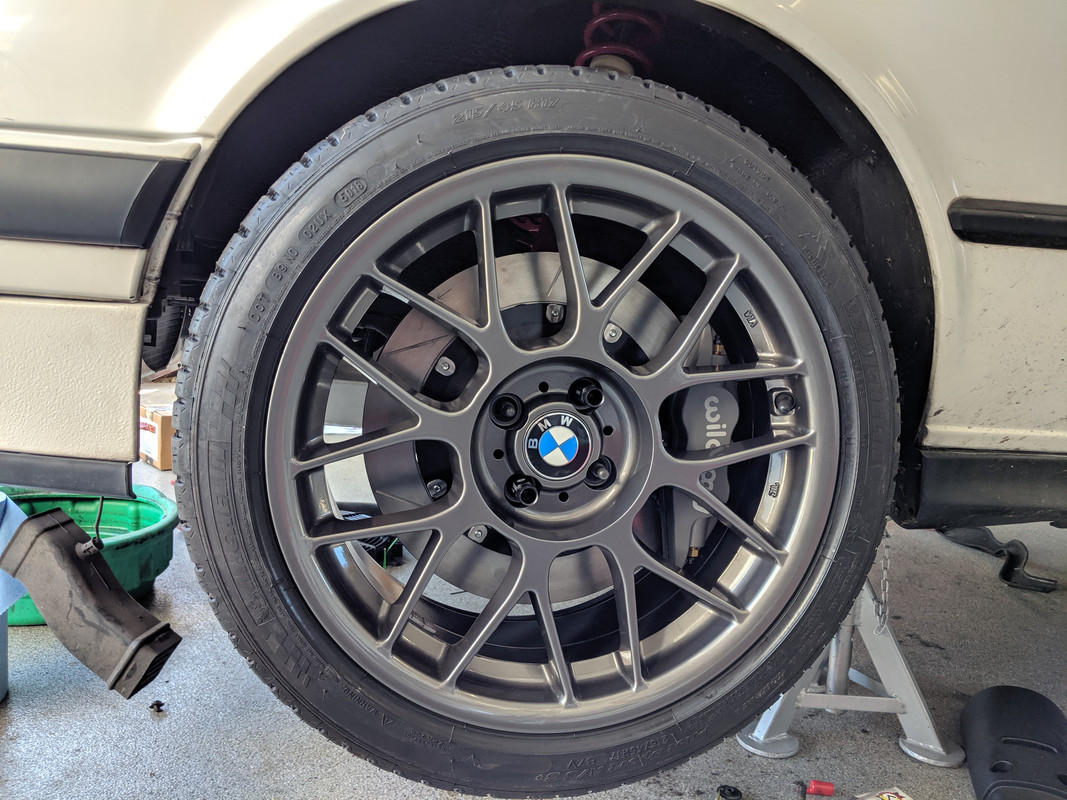
    I did get wheels and tires delivered and mounted. The Arc-8s cleared the brakes, but were almost touching the struts. I ended up with 8mm spacers in front. Everything looks like it should clear now...


    Leave a comment:


  • jeds
    replied
    They are the ceramic booted wires. I'm a little annoyed with how sloppy the long angled boots make the wire routing, but I'll run them for now.

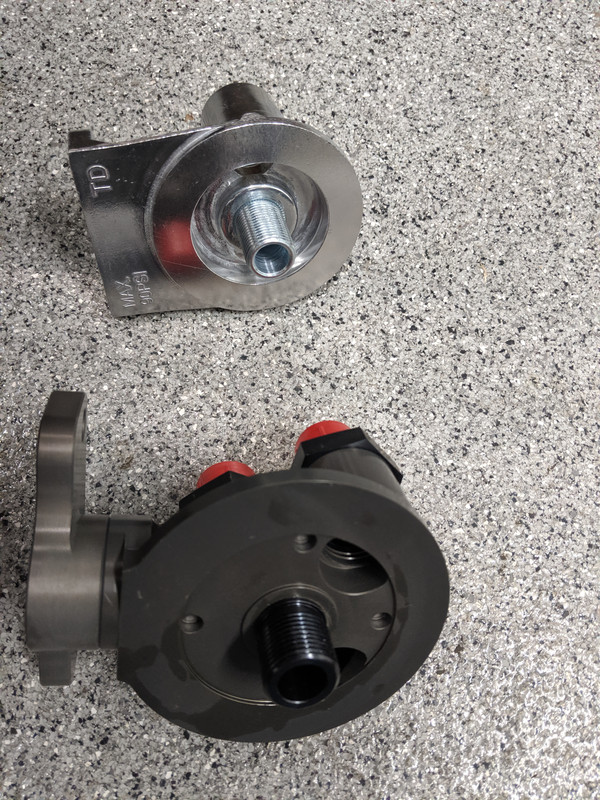
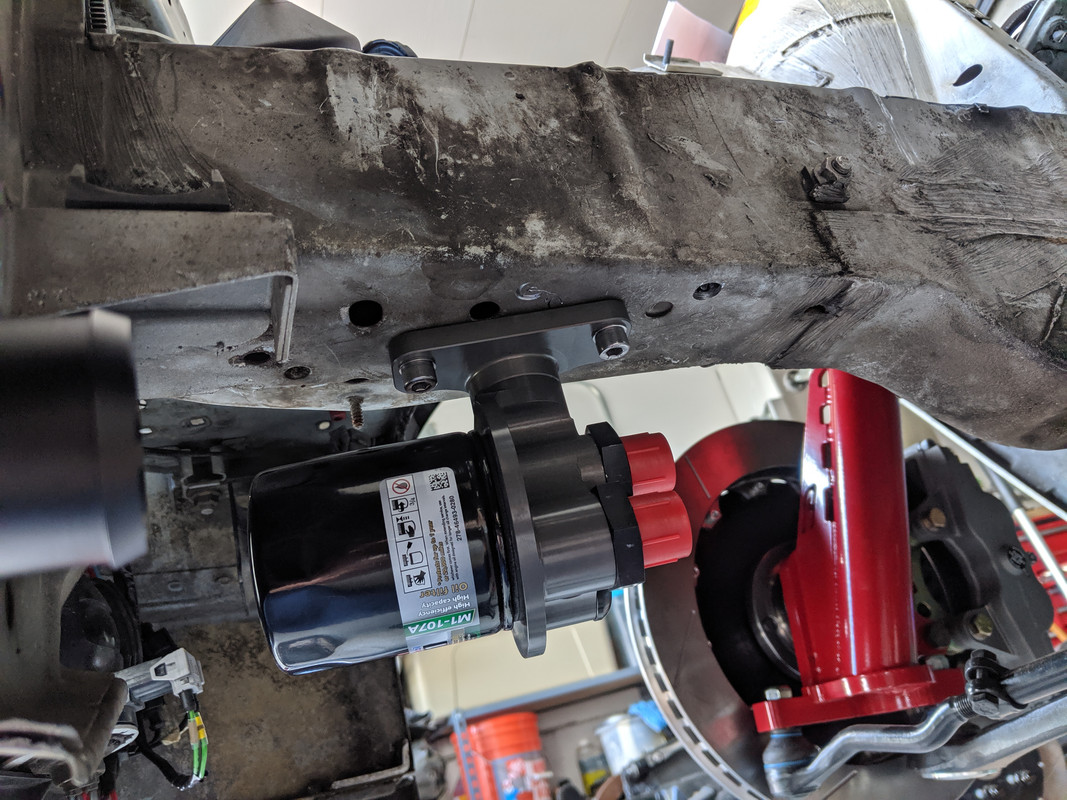
    The filter mounting came down to packaging. I wanted it out of sight and in a place where I could easily route hoses to. I also need to allow room for the headers to be placed. It was the most convenient spot I could find.
    Last edited by jeds; 05-28-2019, 06:12 PM.

    Leave a comment:


  • iansane
    replied
    Are you running those new accel ceramic booted wires? I picked a set of those up for my trans am, haven't put them on yet though.

    Your swap looks great, any reason you didn't mount the filter in a spot to keep it vertical?

    Leave a comment:


  • jeds
    replied
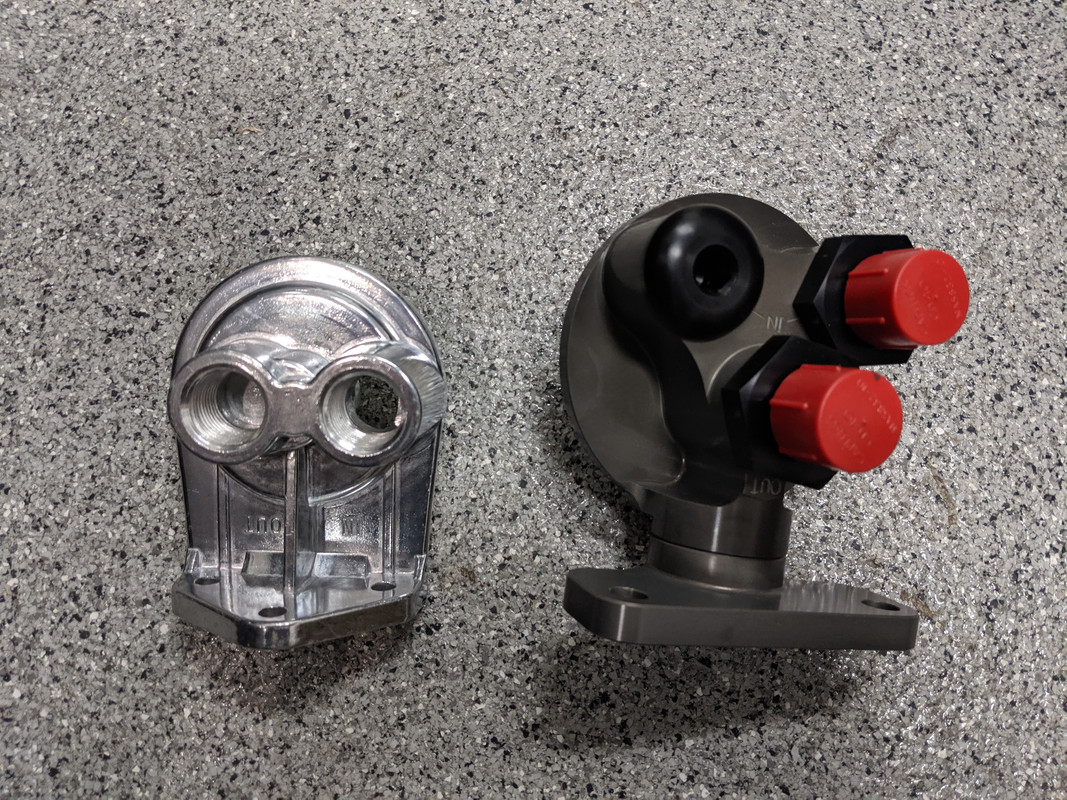
    The Sikky kit came with a remote mount oil filter setup, but it felt and looked a little cheap. I ended up getting a Peterson mount with a 360 degree swivel base to replace it. It's mount it up under the front frame rail right behind the front valance.


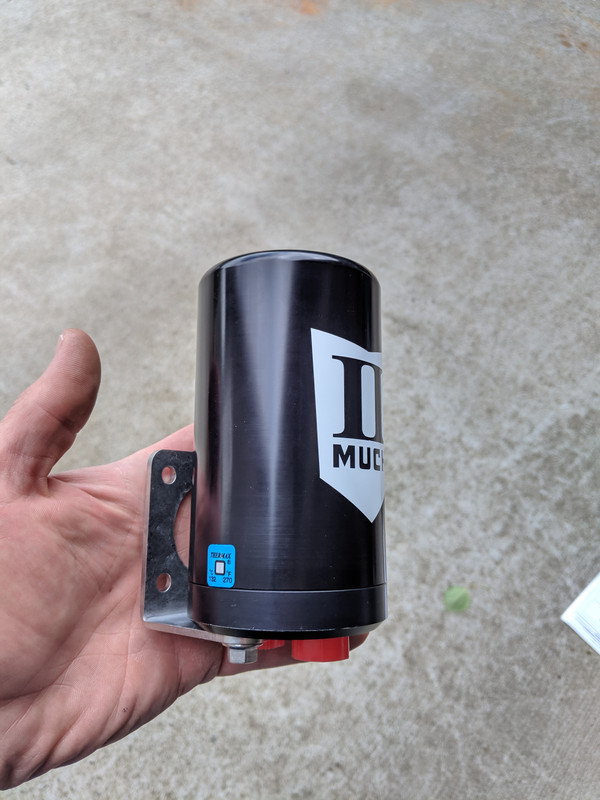
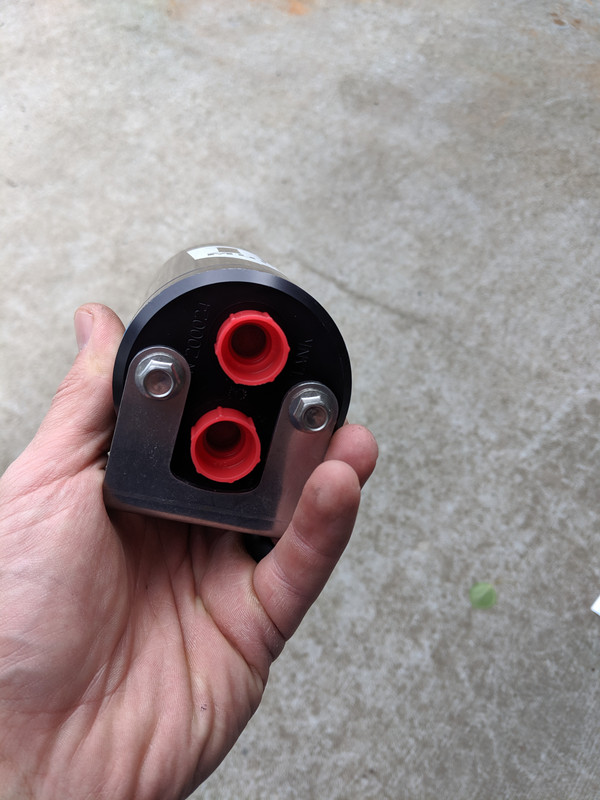
    Next item was the fuel vapor vent canister. The unit is from II Much. It has -6 port for the line from the fuel tank, and a -6 bronze filter for the vent side. There happened to be a vertical bracket where the fuel pump relay use to live, so I made a few holes and bolted it on. You can also see the chase bays power steering reservoir mounted in the stock location.


    Leave a comment:


  • ZekeTheSneak
    replied
    That oil separator is awesome. Nice find. My belief is all 24v swaps need some form of oil separator and that looks like a good option.

    Leave a comment:


  • KIRIEIW
    replied
    Looks like your doing things right, keep it up. Clean ride man.

    Leave a comment:


  • Anthony B
    replied
    Originally posted by jeds
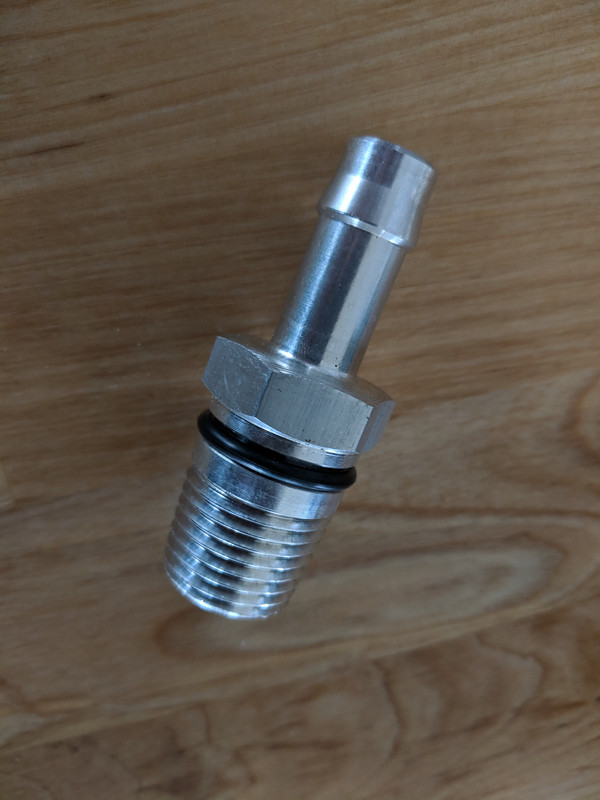
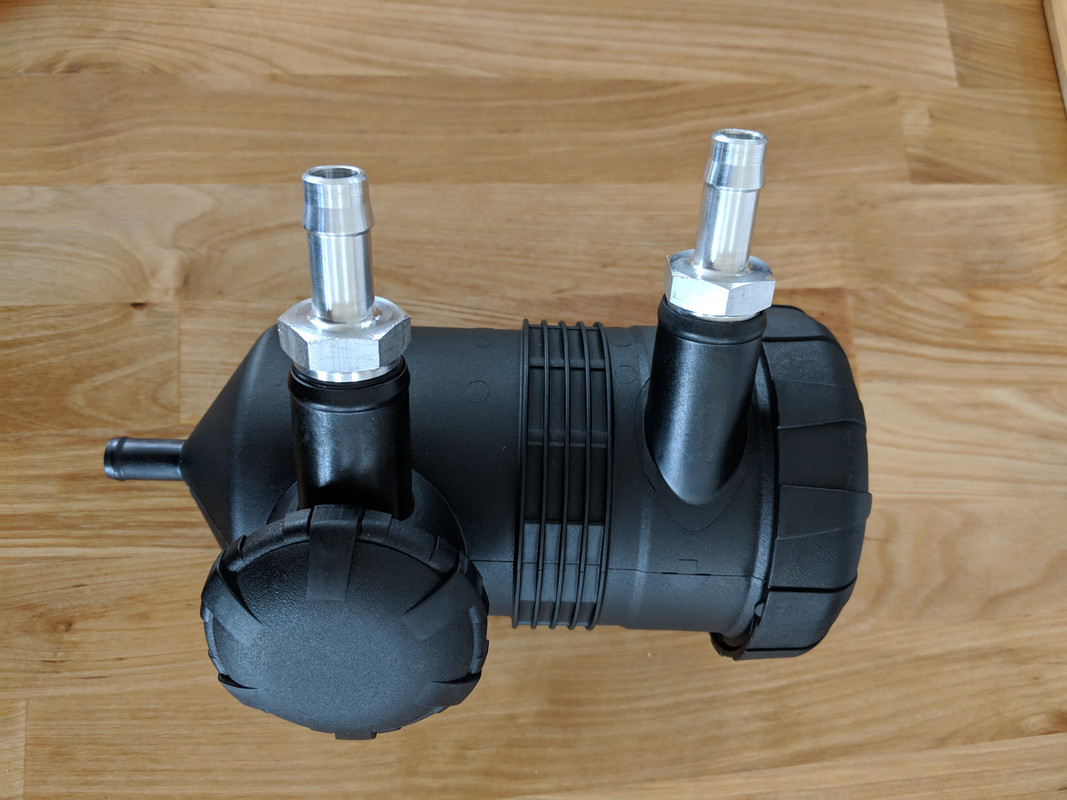
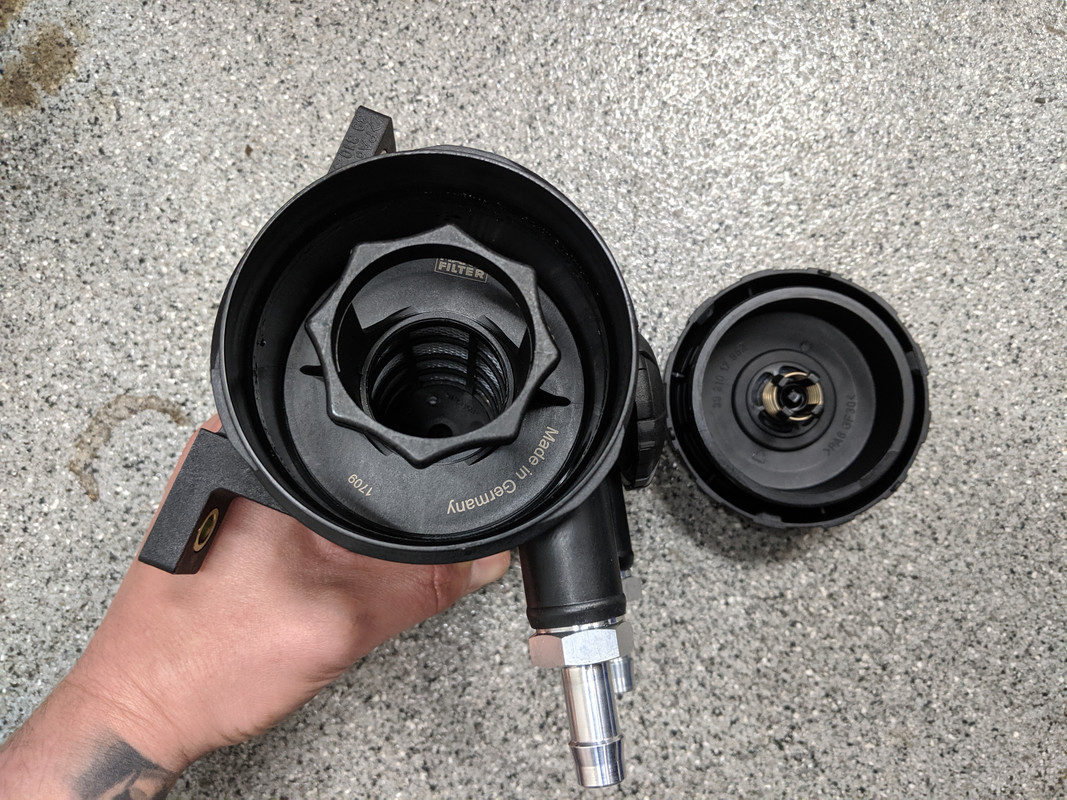
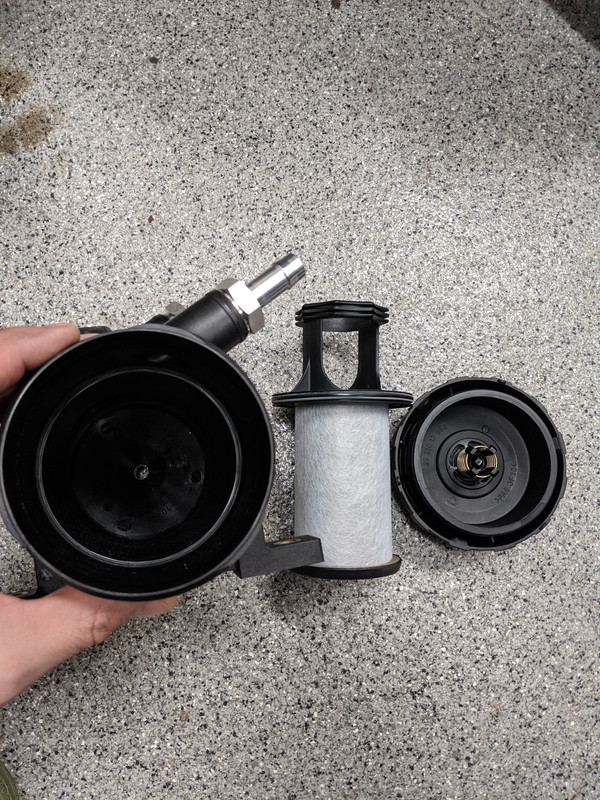
    I plan to run a PCV system on this motor. After searching around for a bit, it seems most of the aftermarket PCV filter/catch can systems aren't really setup to operate as a PCV should. I finally stumbled across the Mann Hummel ProVent 200. It's an OEM quality part with by-pass valve integrated into the cap, replaceable filter media, and a crank case pressure regulator valve. The one issue was that the inlet/outlet are huge (~1"). I ended up finding a company out of Australia that makes thread-in adapters with o-ring gaskets specifically for necking down the ports on this unit. They fit perfectly.

    Now I just need to pick a final spot and make a bracket. I plan to order a secondary catch can that I will route the bottom drain to just in case the amount of oil bypass is of any significant volume.
    Ahh those crafty Australians, the provent 200 is a really good bit of kit. They are almost a none negotiable to fit in common rail diesels to mitigate carbon buildup.

    Looking forward to seeing more progress

    Leave a comment:


  • jeds
    replied
    I've been traveling a lot for work, so progress is slow right now. Last time I worked on the car I got distracted and jumped on the front suspension and brakes.

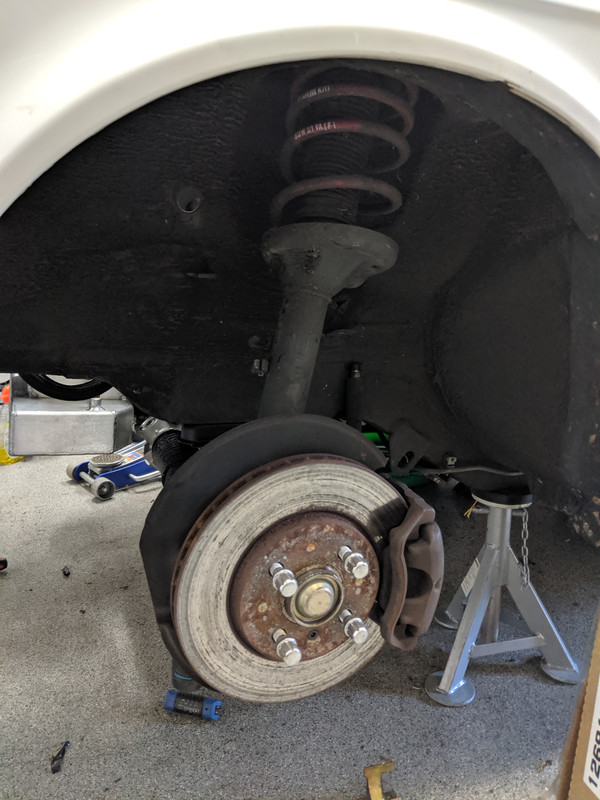
    GC fabricated strut coilovers, fresh hubs with long studs,Massive 332x32 kit, Wilwood slotted rotors with Superlite calipers (1.75" pistons front and 1.25" pistons rear)


    Hopefully I'll get a weekend soon to make some more progress.

    Leave a comment:


  • jeds
    replied
    I plan to run a PCV system on this motor. After searching around for a bit, it seems most of the aftermarket PCV filter/catch can systems aren't really setup to operate as a PCV should. I finally stumbled across the Mann Hummel ProVent 200. It's an OEM quality part with by-pass valve integrated into the cap, replaceable filter media, and a crank case pressure regulator valve. The one issue was that the inlet/outlet are huge (~1"). I ended up finding a company out of Australia that makes thread-in adapters with o-ring gaskets specifically for necking down the ports on this unit. They fit perfectly.

    Now I just need to pick a final spot and make a bracket. I plan to order a secondary catch can that I will route the bottom drain to just in case the amount of oil bypass is of any significant volume.


    Leave a comment:


  • jeds
    replied
    Originally posted by z28
    Nice, I was thinking of getting the same radiator and some hood pins. Please get some good pics of the hood pin setup. What kind of hoses are you gonna go with?
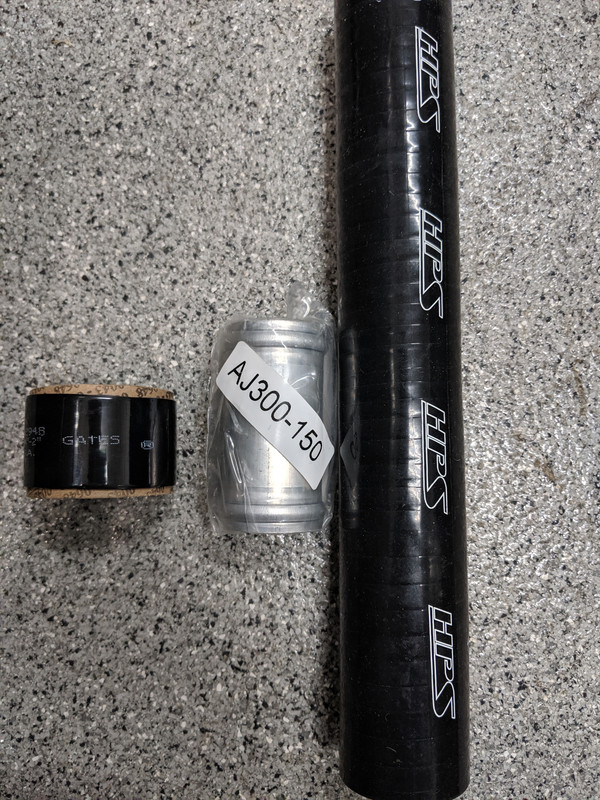
    I'm cobbling together my radiator hoses with HPS silicon bends, aluminum internal couplers, and Gates heat shrink clamps. It's been a bit of a pain, and they will probably end up being the worlds most expensive radiator hoses. I'm hoping they work out. I plan to have them completed this weekend.


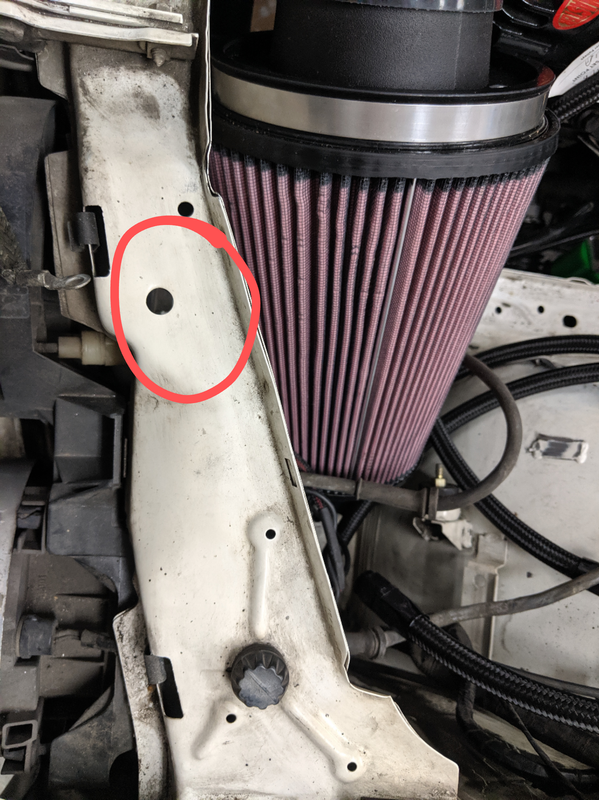
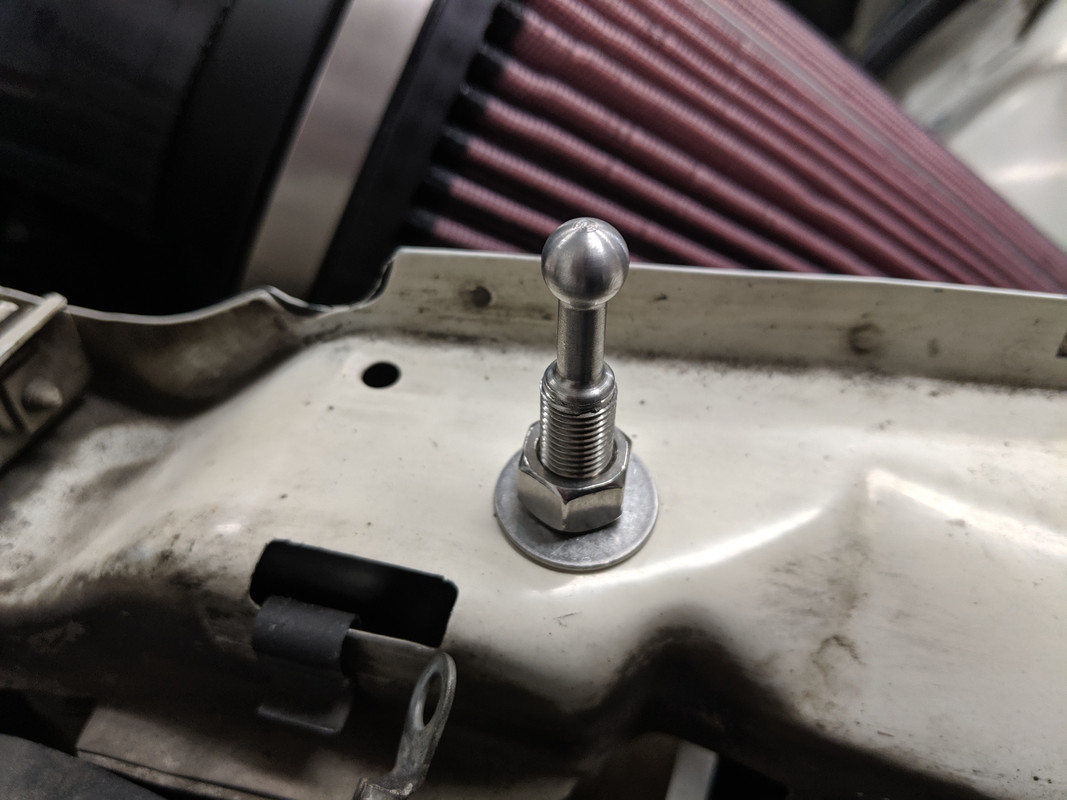
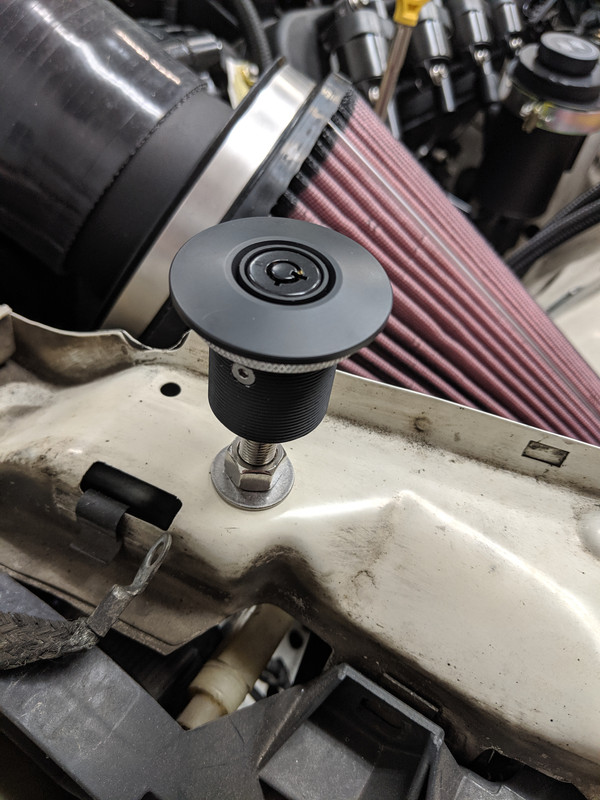
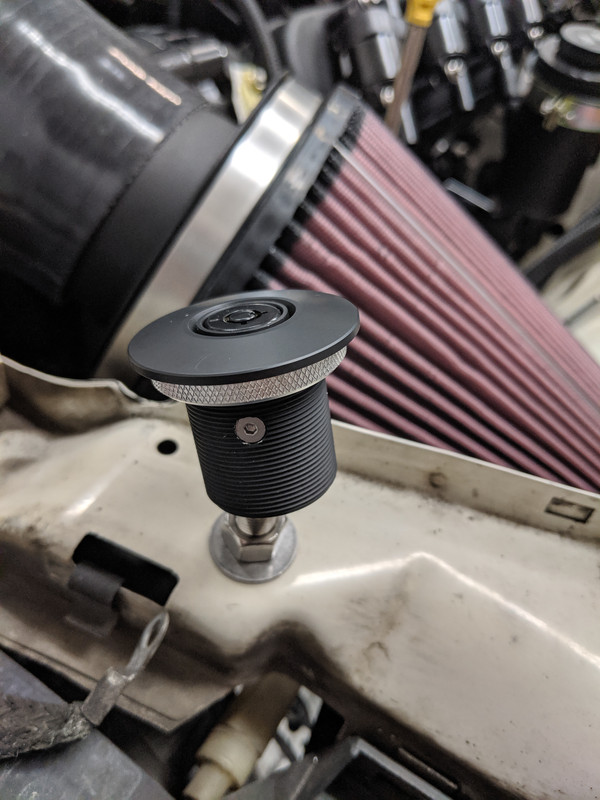
    I took a quick look at the hood pins and noticed an unused hole in the core support that is the perfect size for the bolt. Fingers crossed it doesn't land in a weird spot on the hood. I'm lazy, and not drilling a set of holes would make me very happy. Here are a few quick images. The last one showing how much articulation the ball and socket design allows on these hood pins.


    Leave a comment:


  • z28
    replied
    Originally posted by jeds
    That's the plan. I have a pair of Quick-Latch hood pins I hope will do the trick. I was going to use Aero catch, but the Quick-Latch setup seems a little more subtle.
    Nice, I was thinking of getting the same radiator and some hood pins. Please get some good pics of the hood pin setup. What kind of hoses are you gonna go with?

    Leave a comment:

Working...