
this build is real nice and clean. I like those wheels allot. driveshaft is tucked in there good and motor looks sick
-
I dig it! You're farther than I, but using some of the same parts so it helps a lot seeing some of the benefits and deficiencies of the items you chose, paired with your feedback! Looking 'friggin sweet!Leave a comment:
-
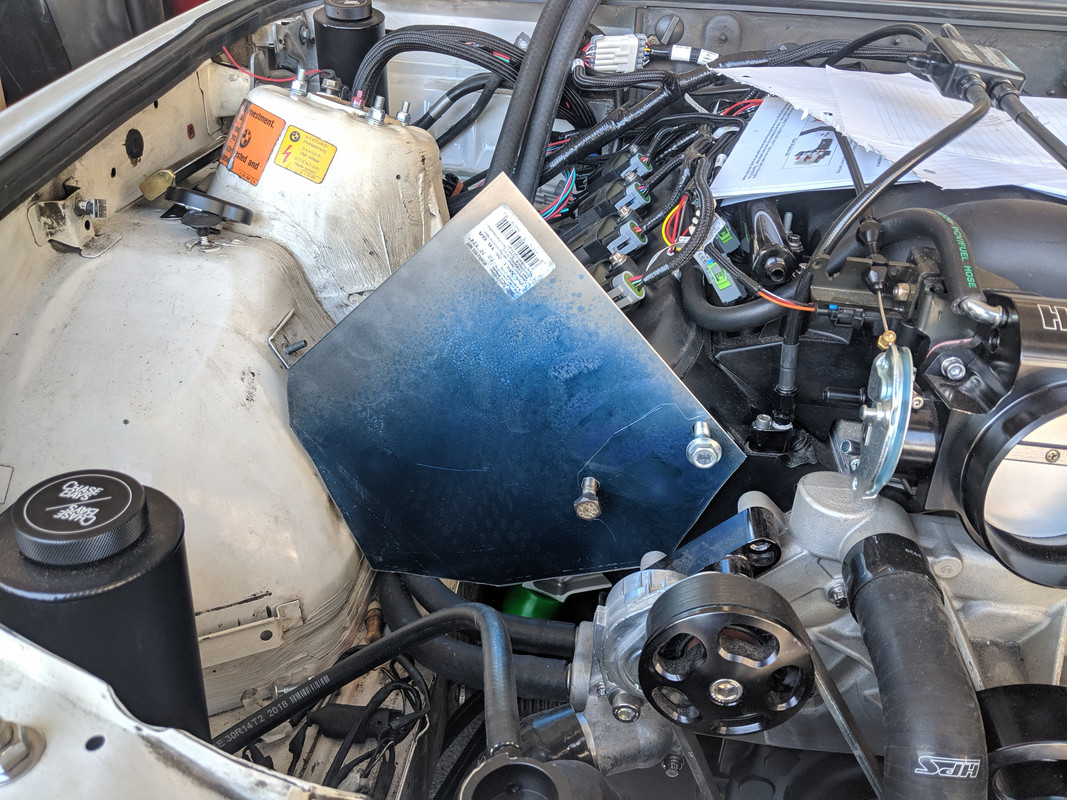
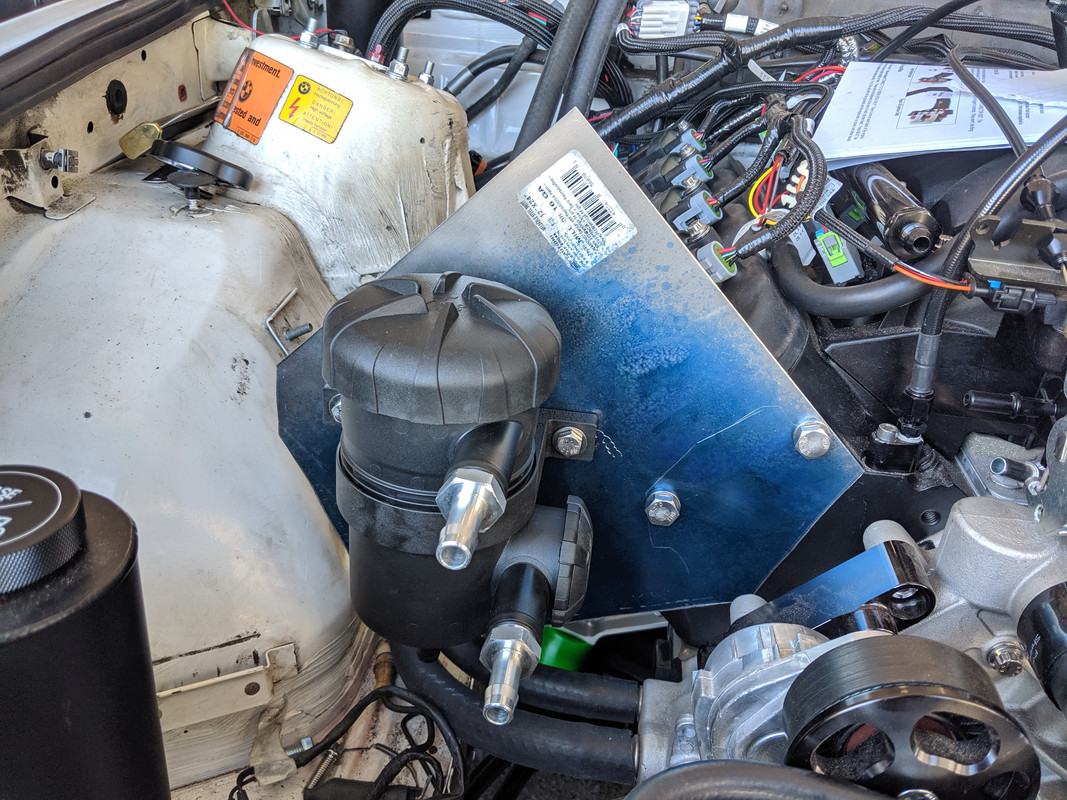
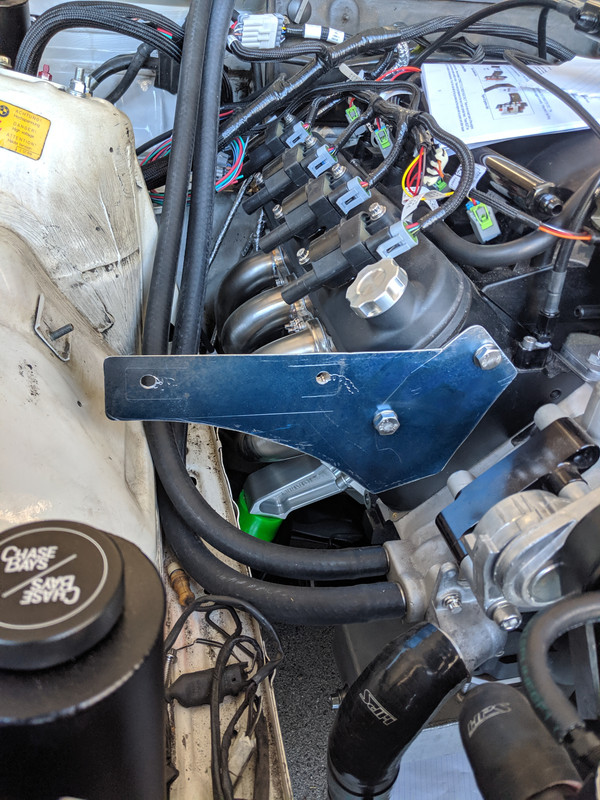
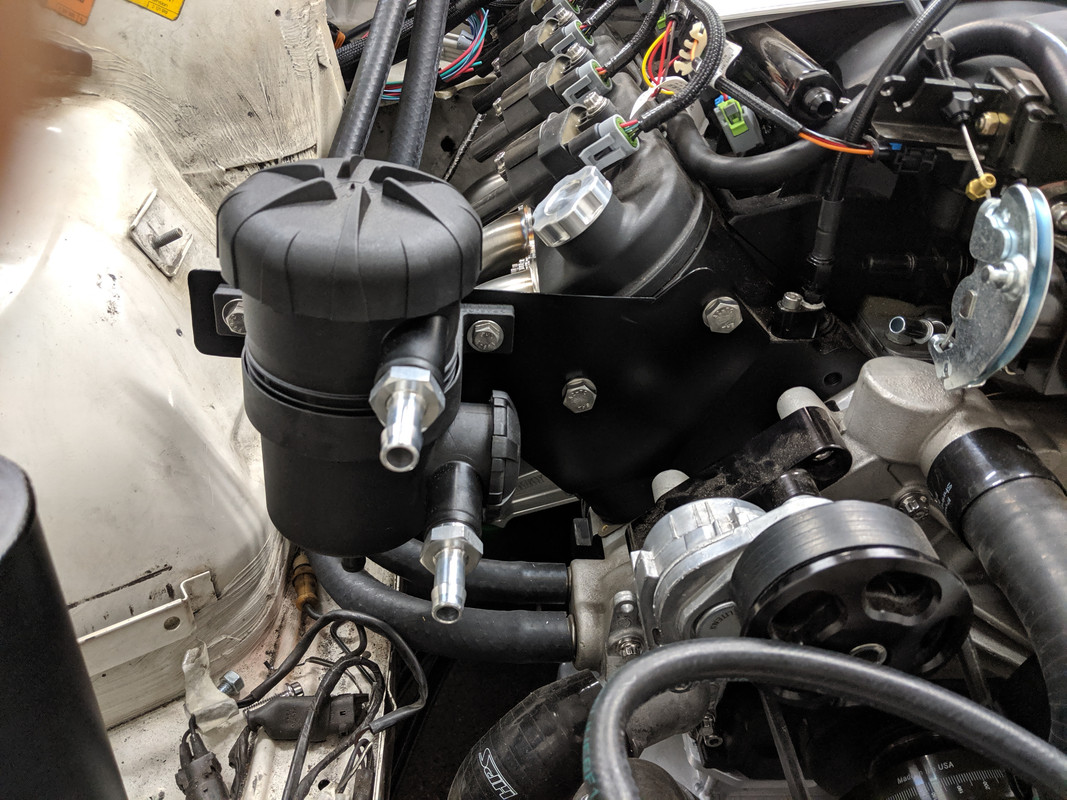
I have a long term plan to mount the pcv breather. I'll be getting a license for Creo through work soon. The plan is to design a nice solid mounting bracket that I'll either print or have machined. In the interim, I made a quick and dirty mount to keep things moving.
Leave a comment:
-
The under-intake version doesn't seem to work with the ls3 style intakes. Motion Race Works sells a side mount one that's marginally cleaner.
Leave a comment:
-
You could run the under intake one. It isn't that essential of a system. Just make sure the motor is bled wellLeave a comment:
-
Haha.
There aren't a lot of options. In order to function properly, it needs to be the highest point in the system. I could just not run it though...Leave a comment:
-
This build is too clean to leave it like that. That is something I would expect in my build lolLeave a comment:
-
Pretty much...
I still need to run a line from the junction block to the radiator fill neck port. It's not the prettiest thing...Leave a comment:
-
That's how it is. The mounting flange on the diff is offset to the passenger side.Leave a comment:
-
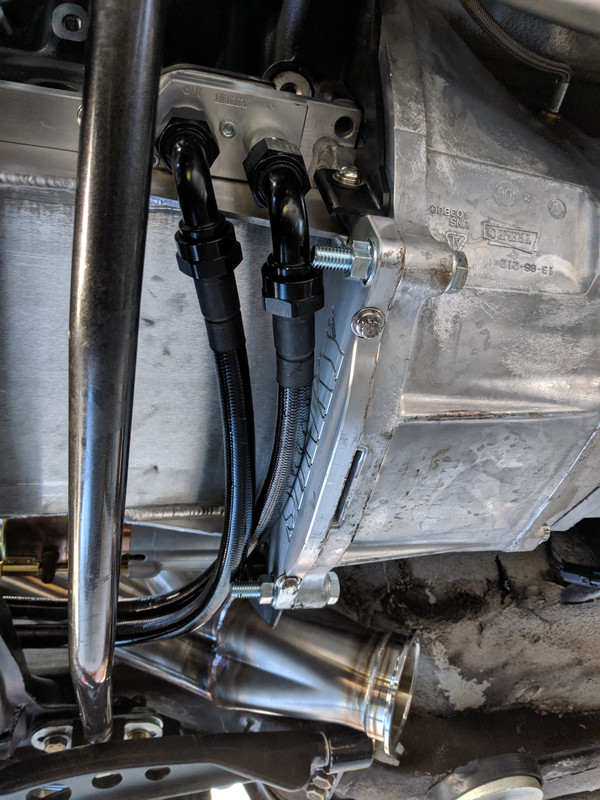
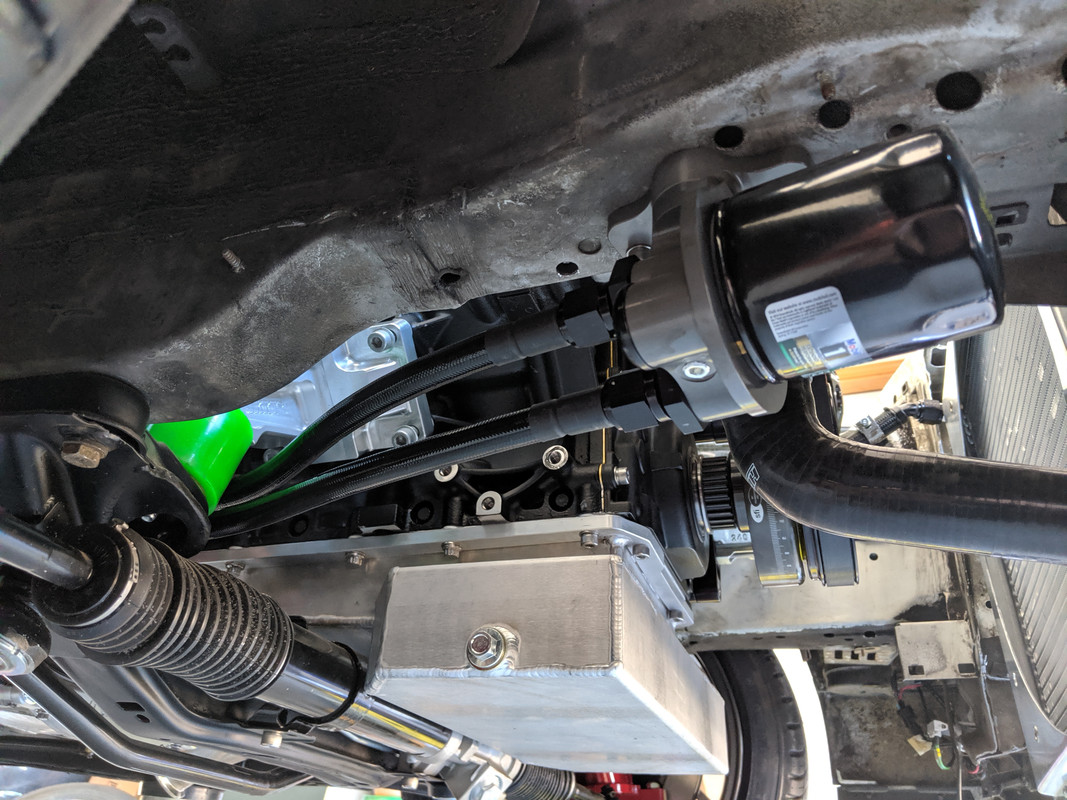
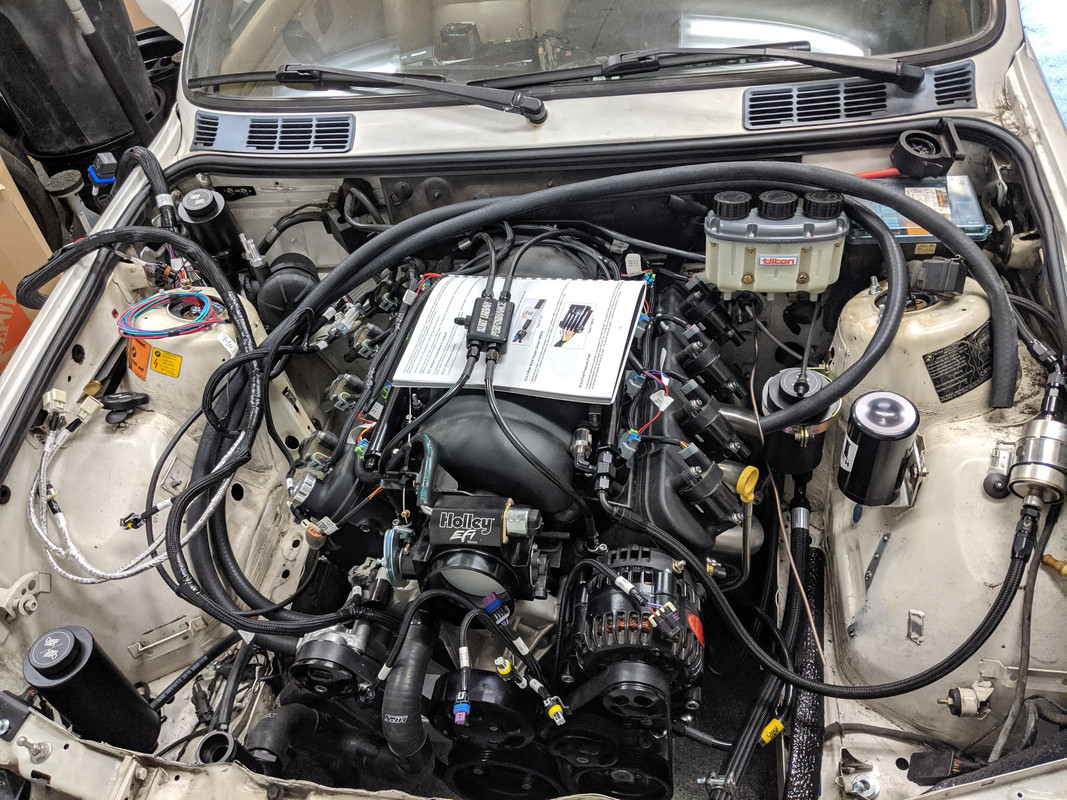
- oil lines ran
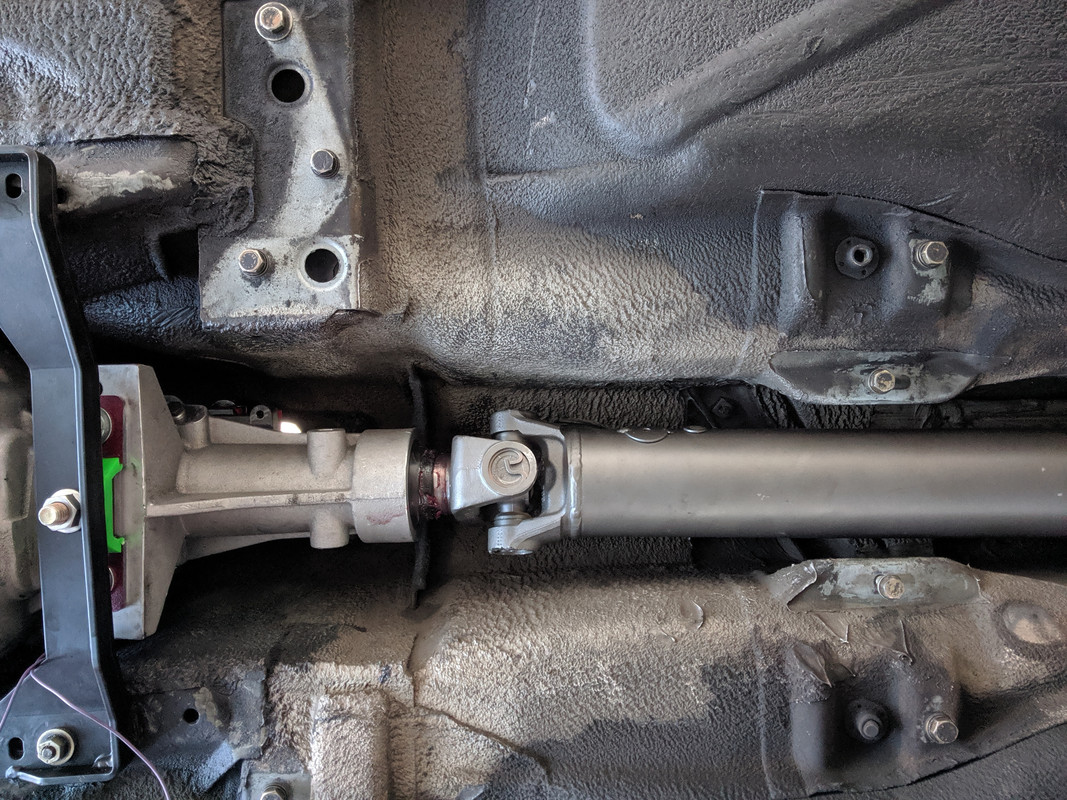
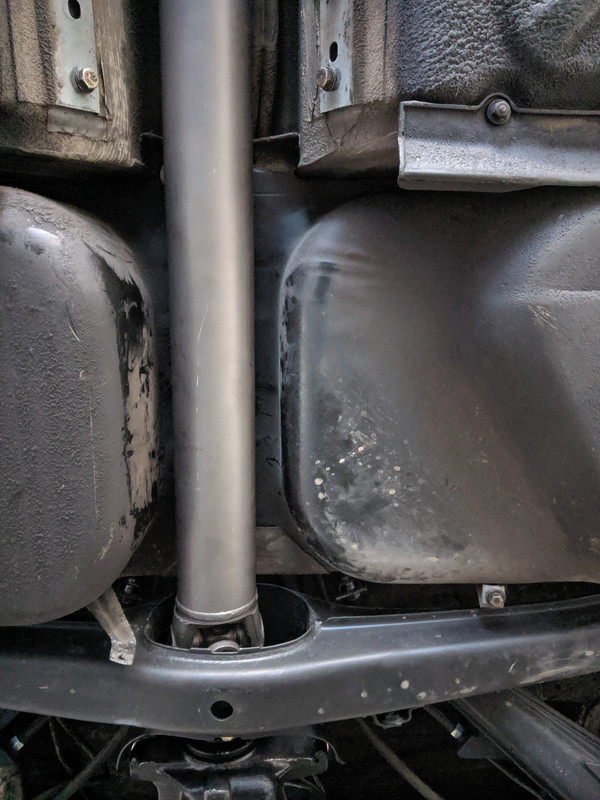
- driveshaft and diff spacers installed
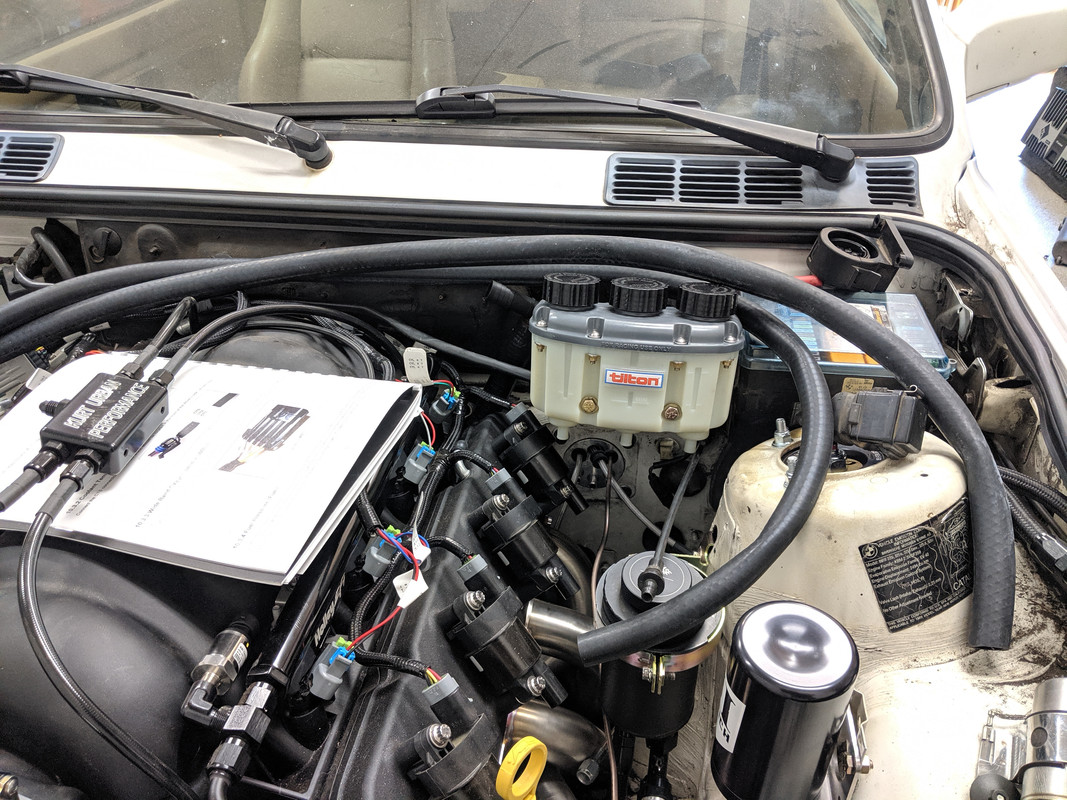
- brake reservoir mounted
- started trying to figure out engine harness routing
- installed (and removed) heater hose connections at the firewall. I wasn't happy with the interference with the engine, so I'll have to redo them.
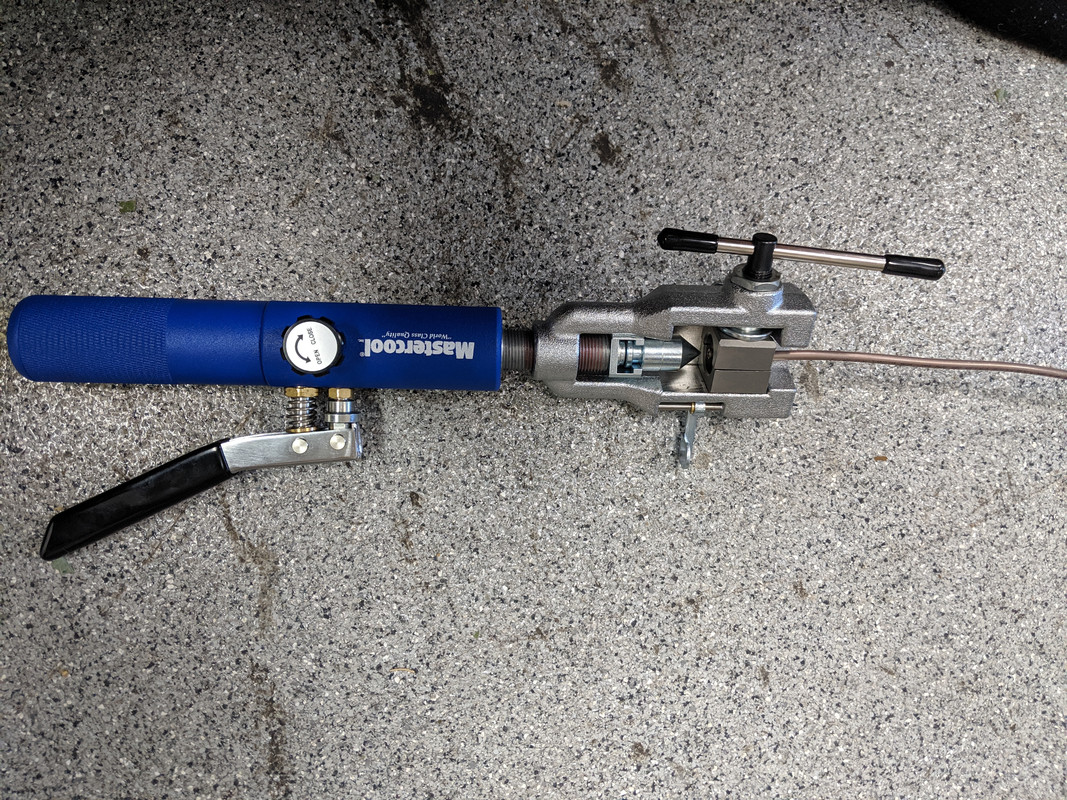
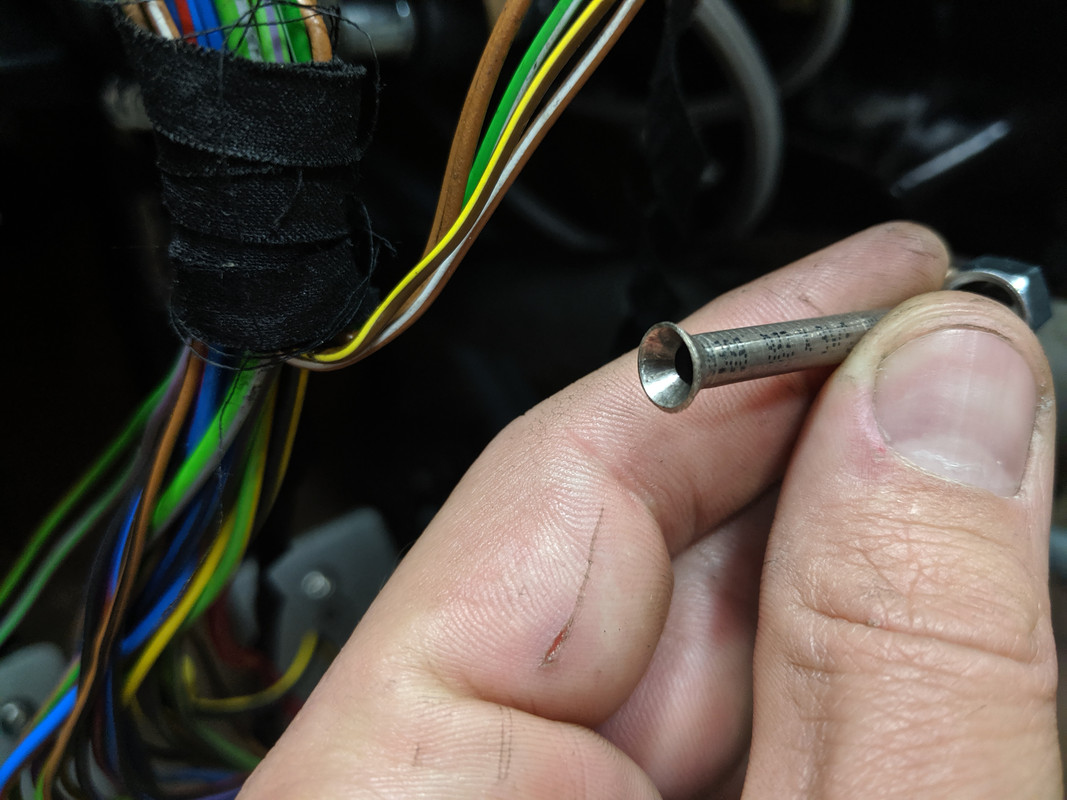
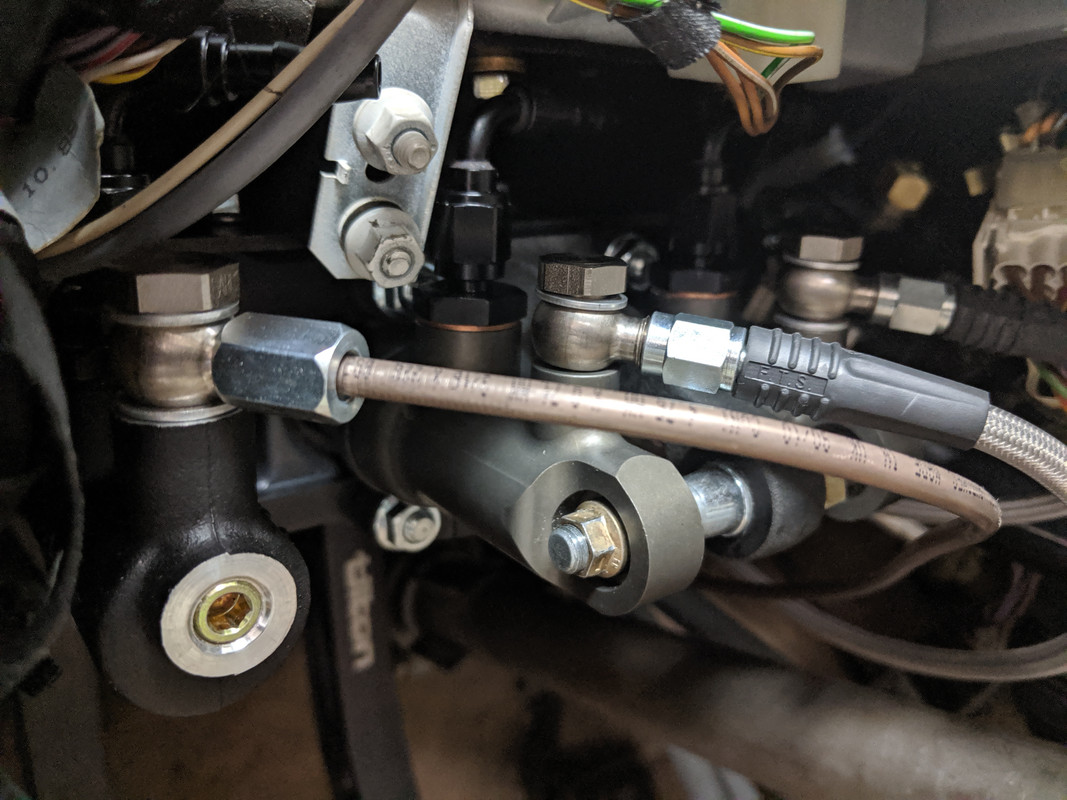
- decided to ditch the braided lines. I started making NiCopp hard-lines for the master cylinder connections. The Mastercool flare tool makes it easy.
Everything looks like a complete disaster, but hopefully things will start cleaning up soon.
Leave a comment:
-
Looks like it’s coming along nicely, I’m going to steal the chasebay washer mounting location I’m ordering one for mine shortlyLeave a comment:



Leave a comment: