
Whats up guys, thought i'd get a thread up here since i started lurking the board alot. Its copied from E30 Zone so some of it may not make sense in terms of what im saying:
Insta: @e30_cab_uk
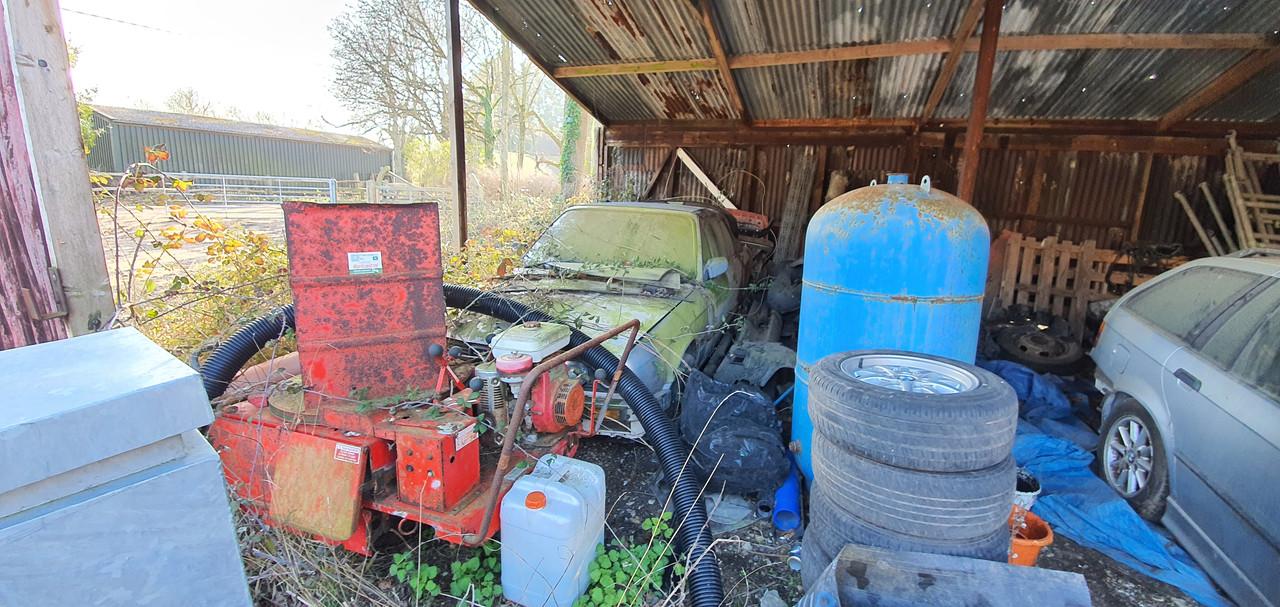
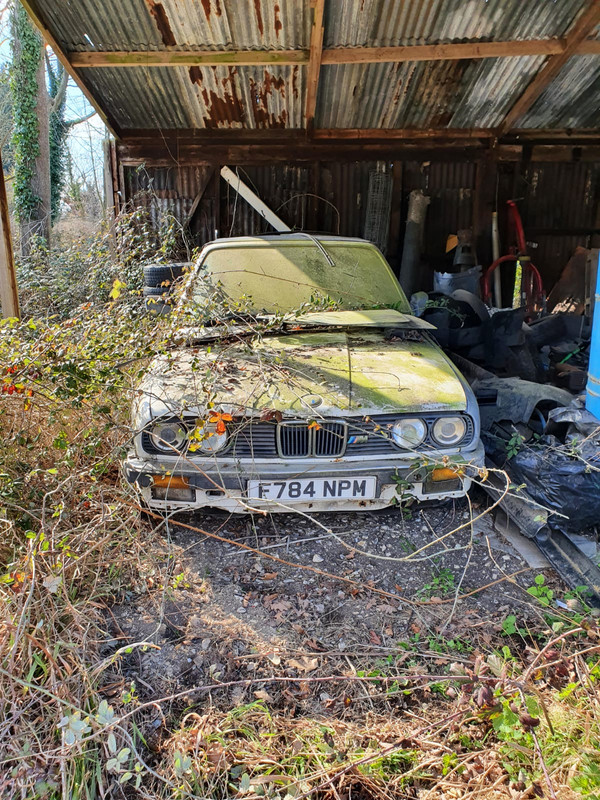
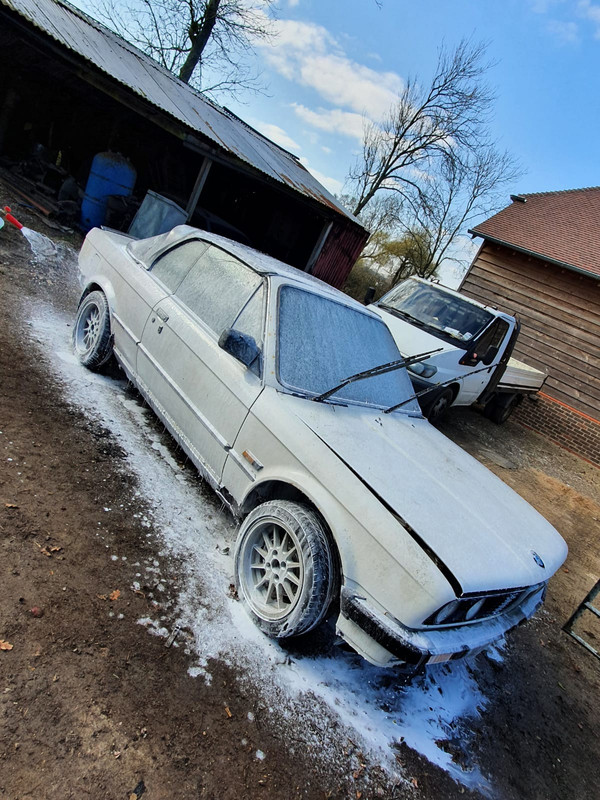
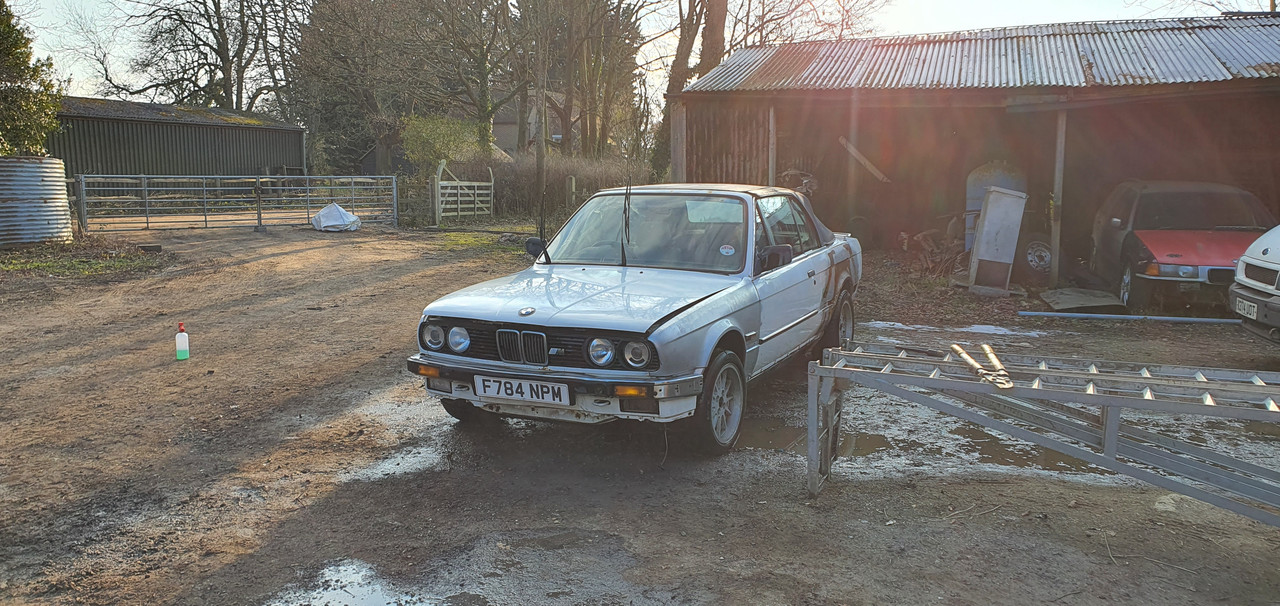
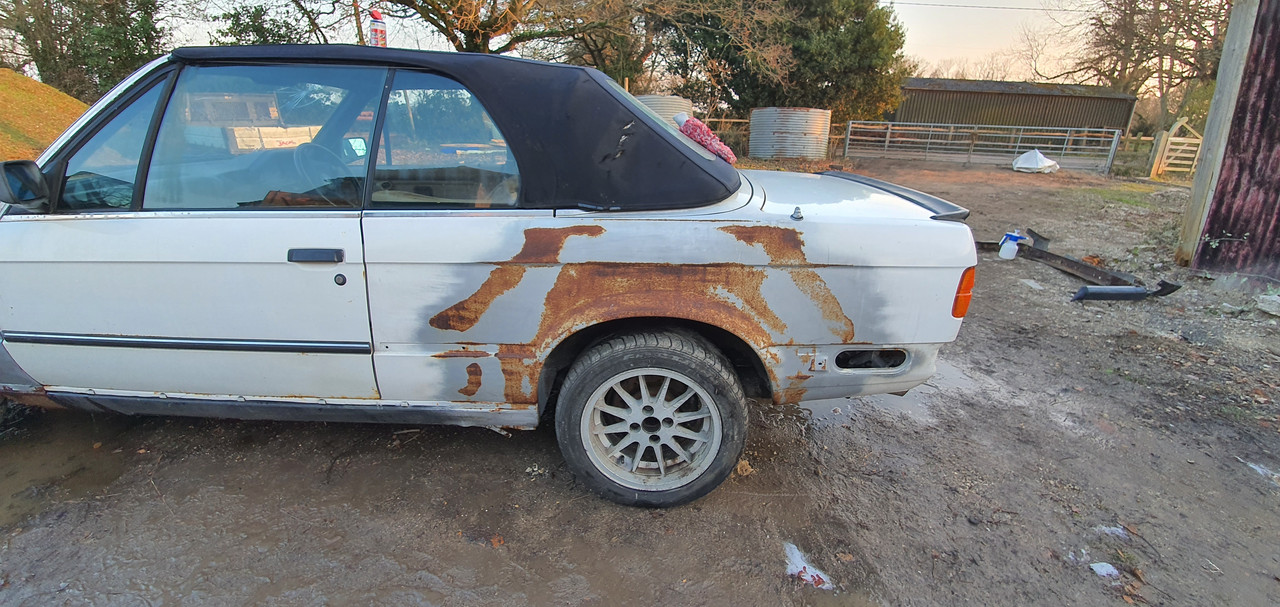
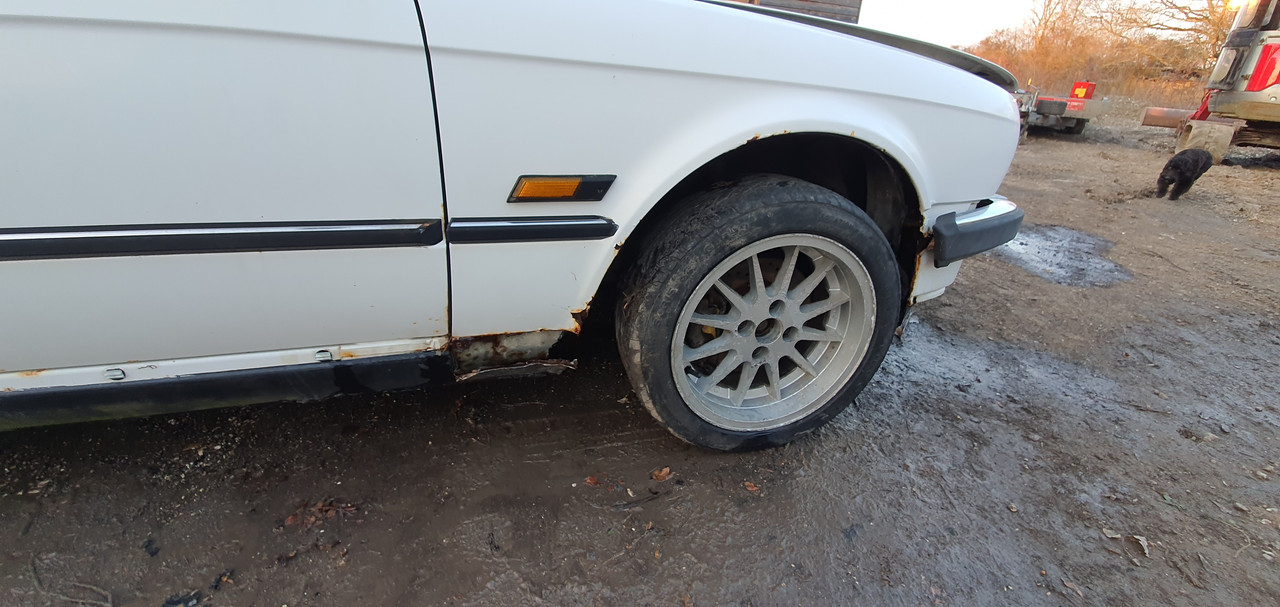
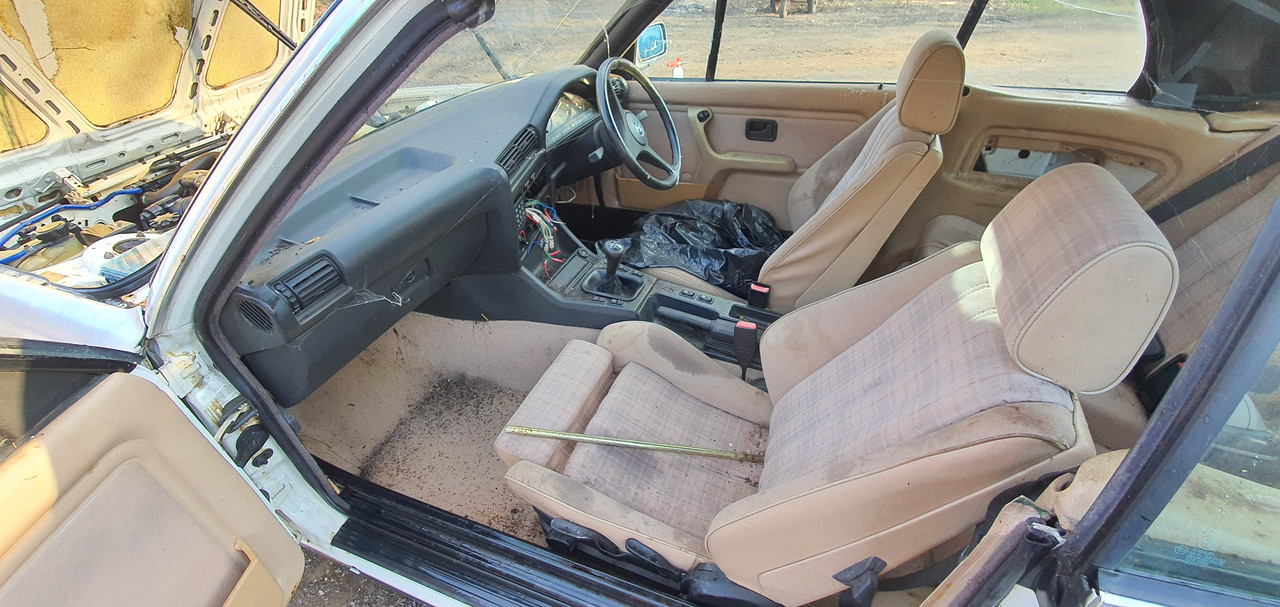
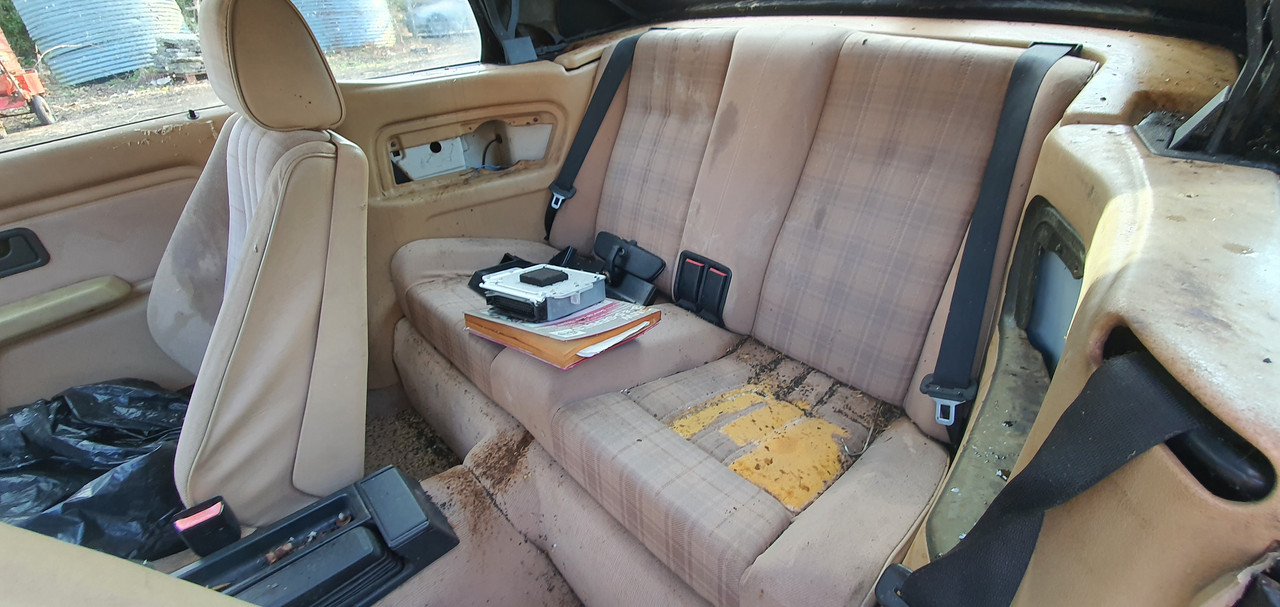
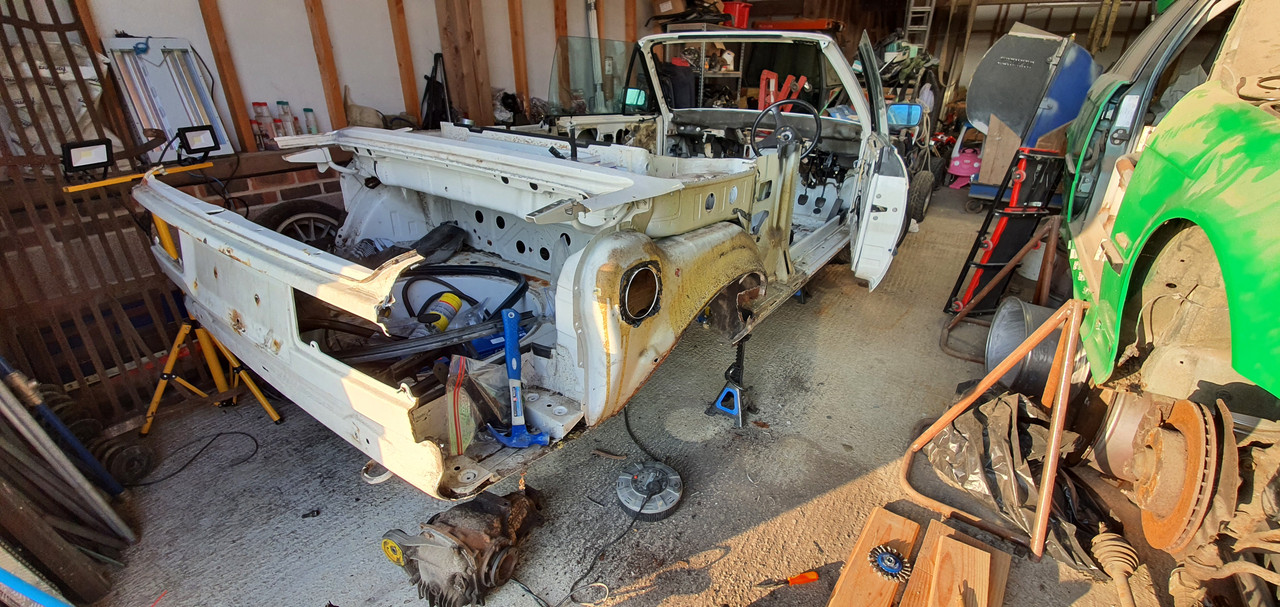
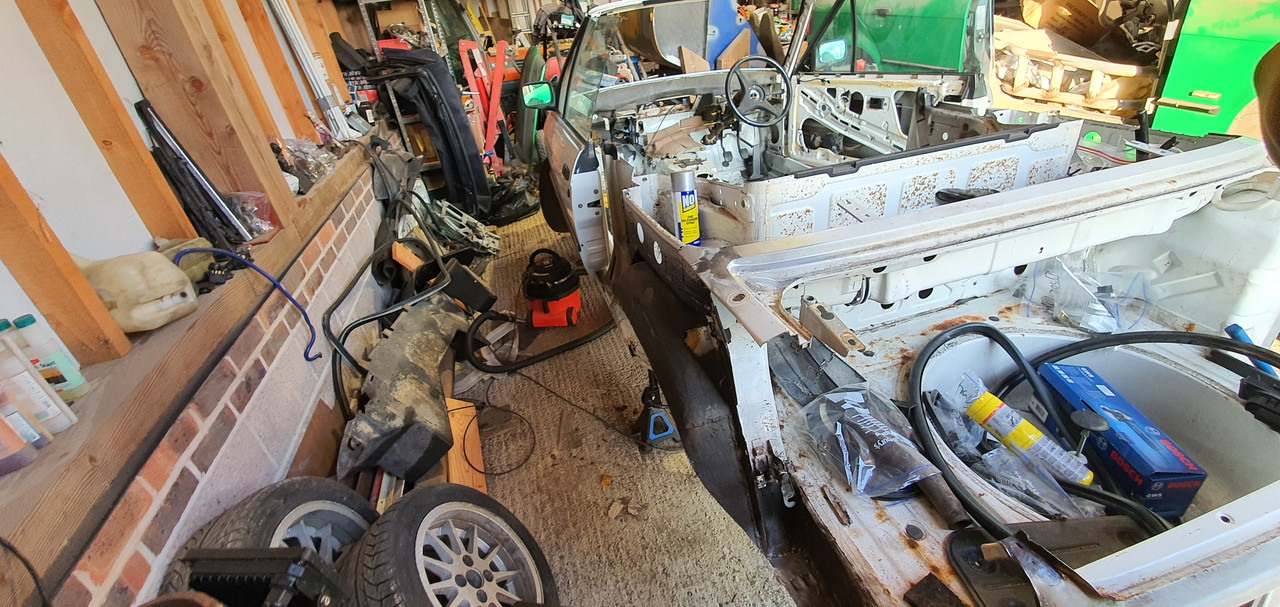
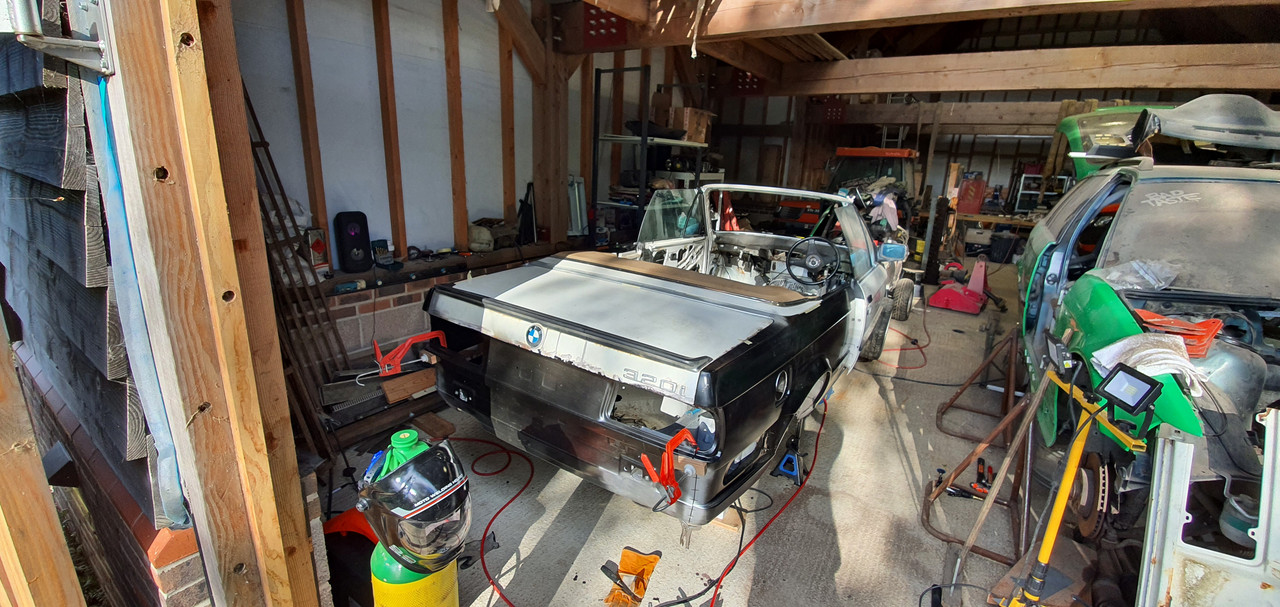
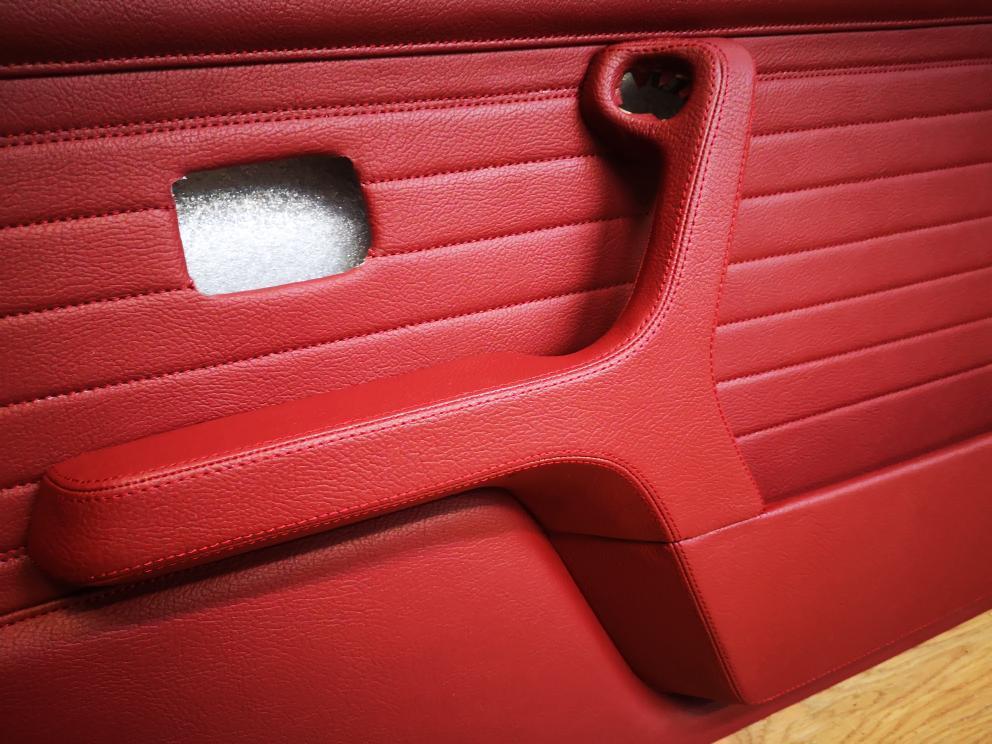
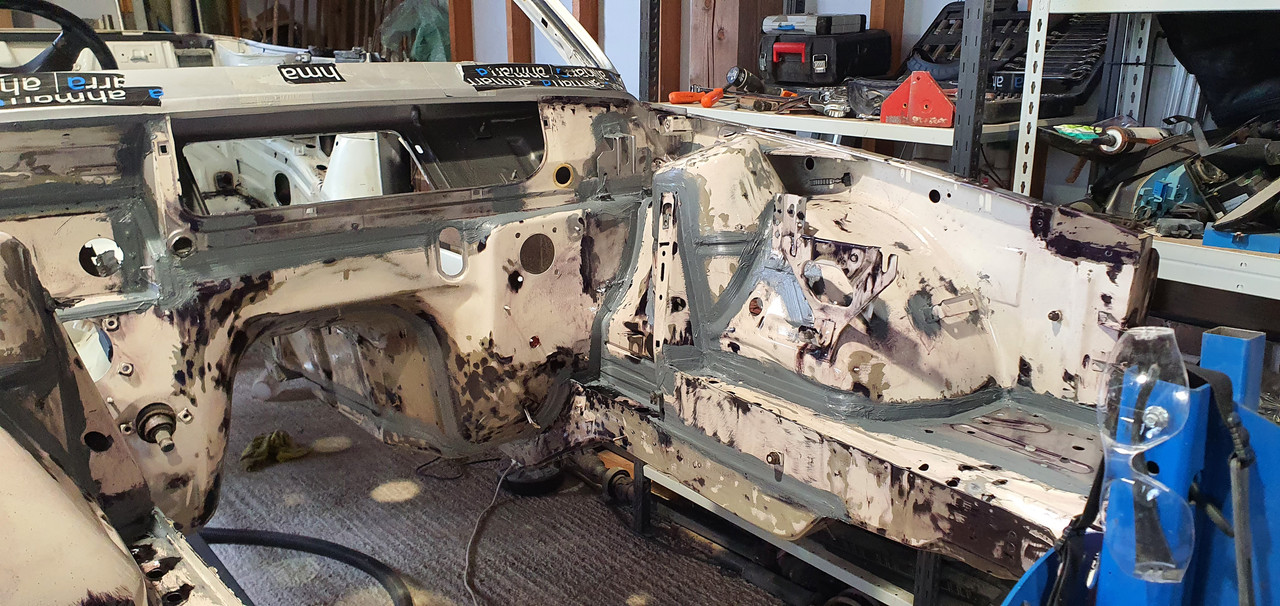
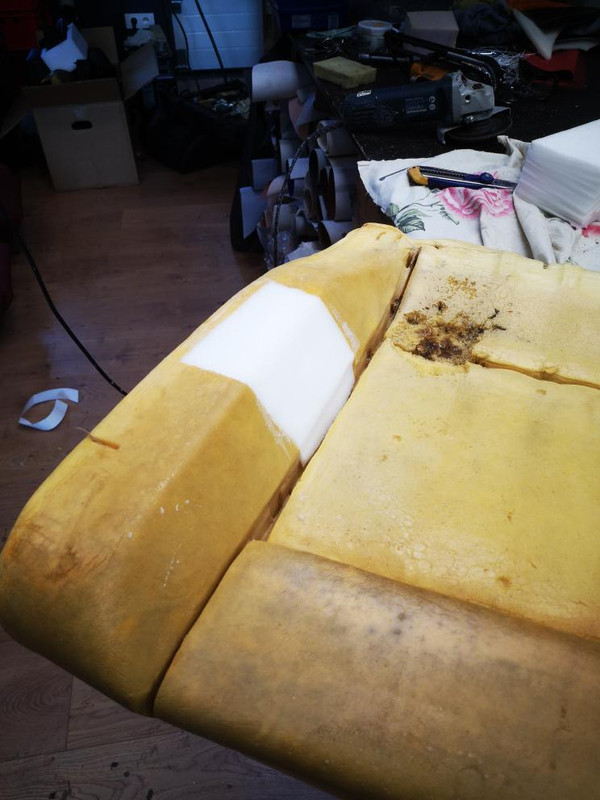
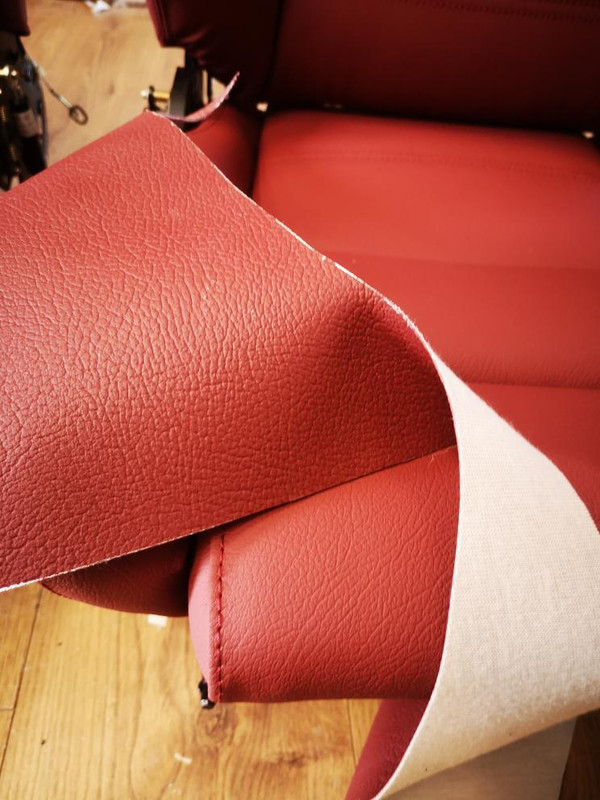
I've been working on this Cab at the weekends since ~March 2021. It belonged to my dad but was sat for 12 / 13 years, i asked him what he was doing with it as i was interested in a project and he said i could have it. The rear arches and rear panel were one of the biggest concerns, the arches had been repaired previously and the passenger side had a Touring Arch fitted to it. The interior was also wrecked by mice, as well as rust in lots of other typical places, this is how the car was:

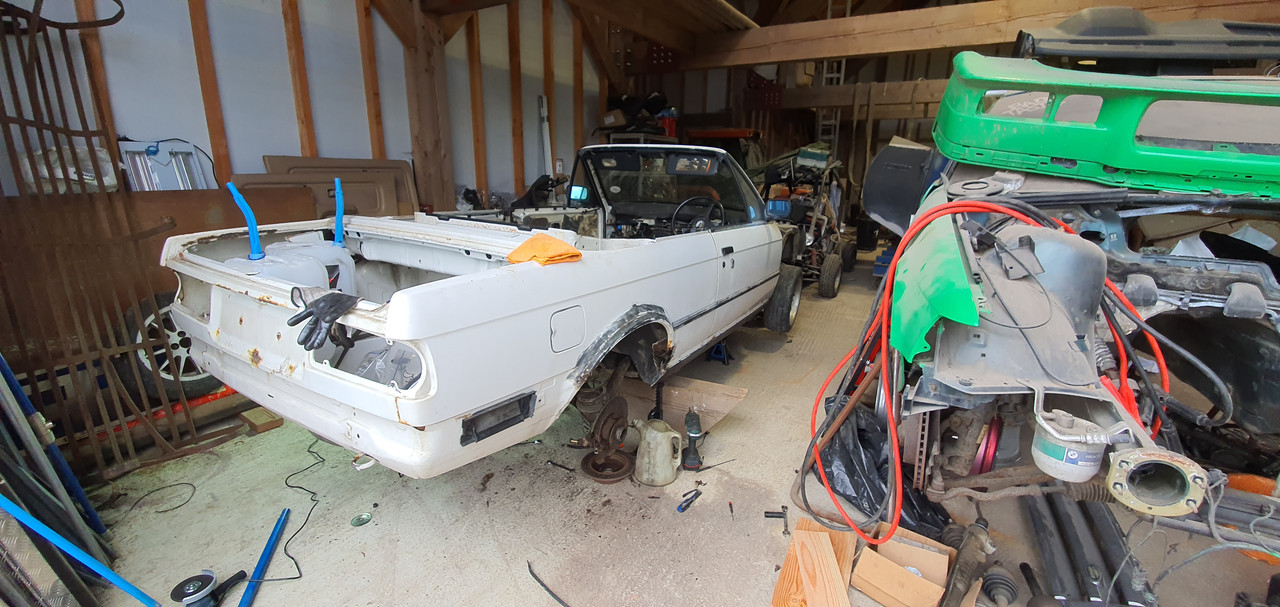
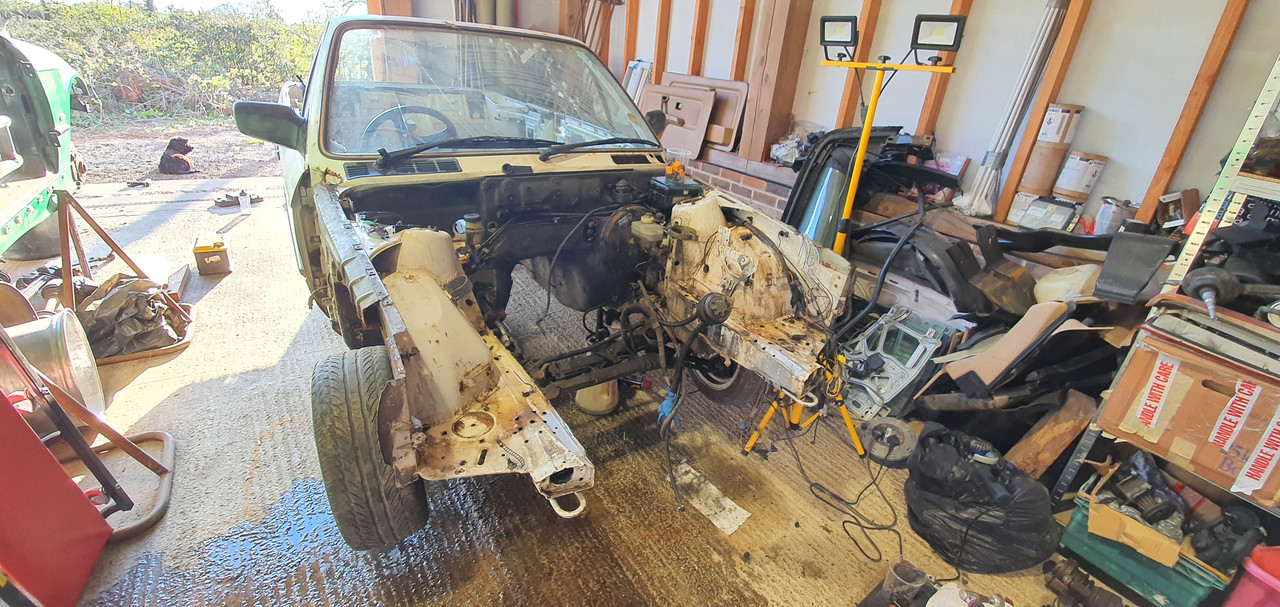
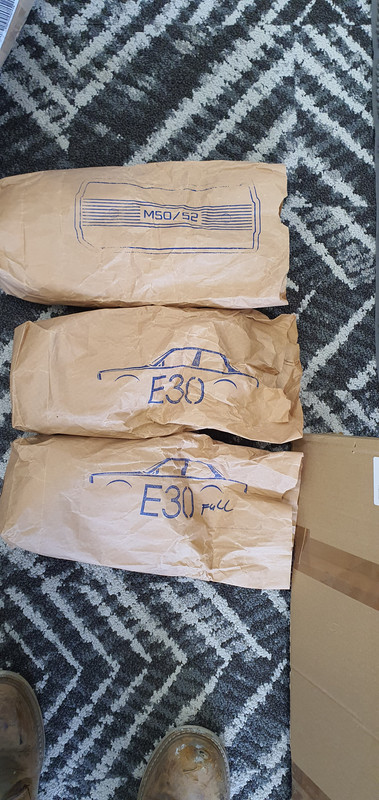
I got the car in the barn and begun the stripdown, i put in as much effort into labelling everything, jiffy bagging the bolts, taking lots of pictures etc.


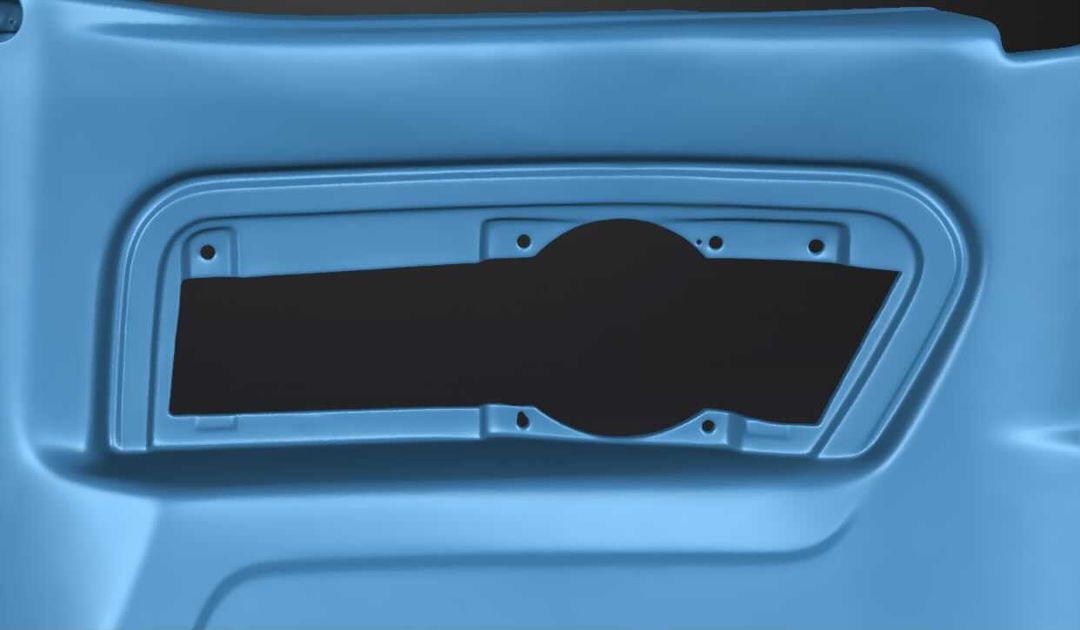
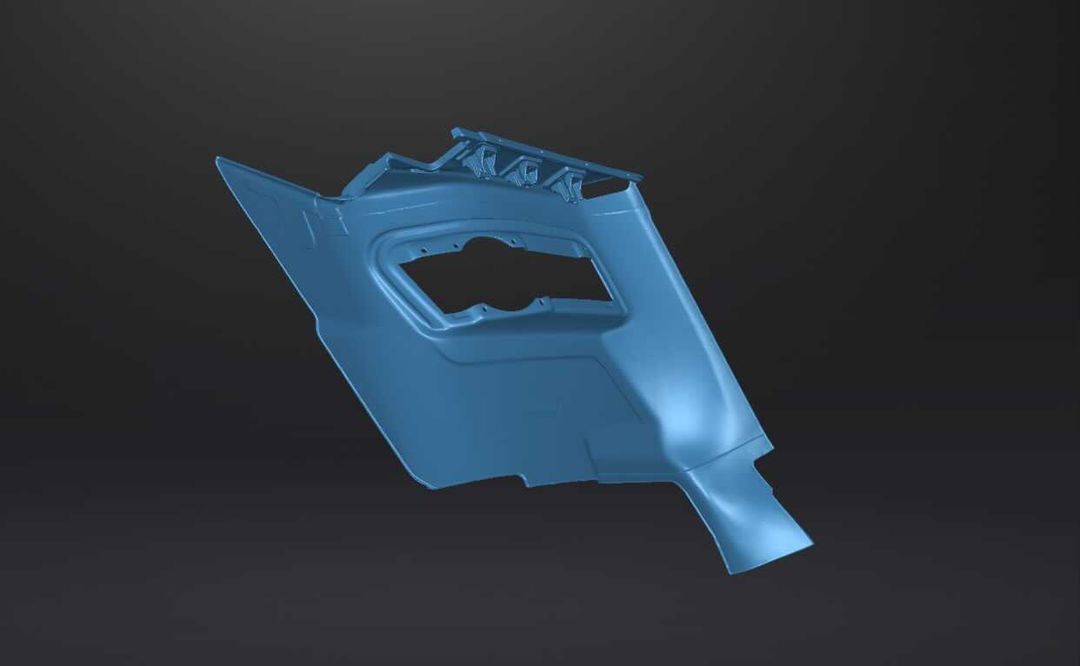
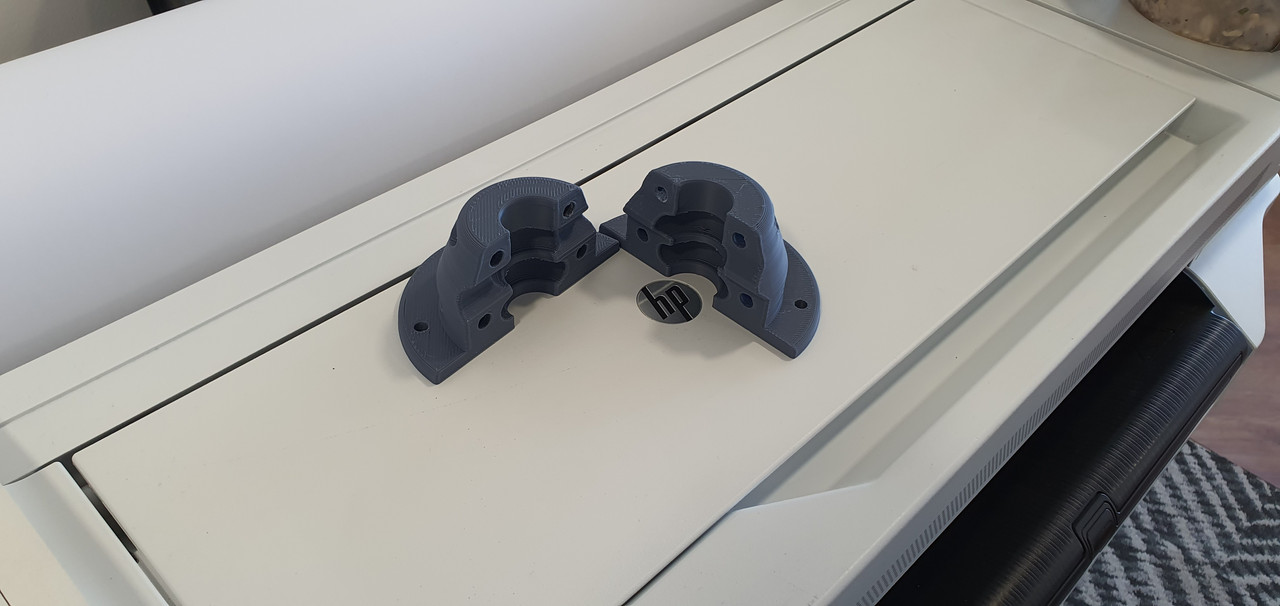
I removed the Radiator Support - it was pretty rotten and i had also planned to do the "removeable" mod to it when fitting the piece, i have the new piece but just have not worked my way round to it yet:

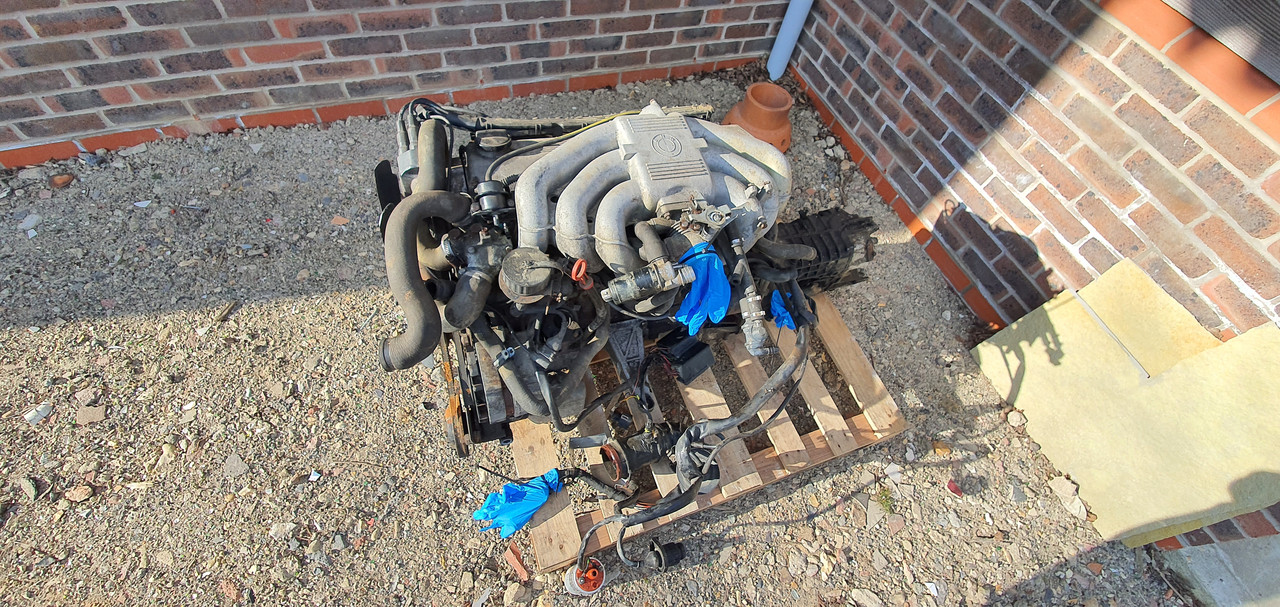
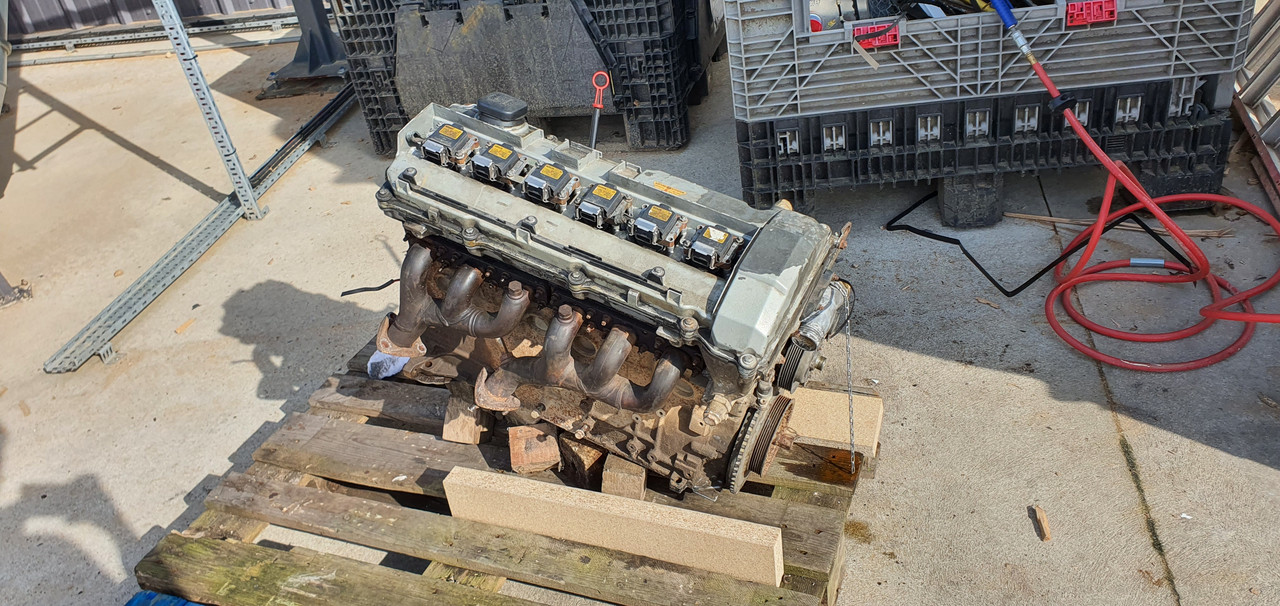
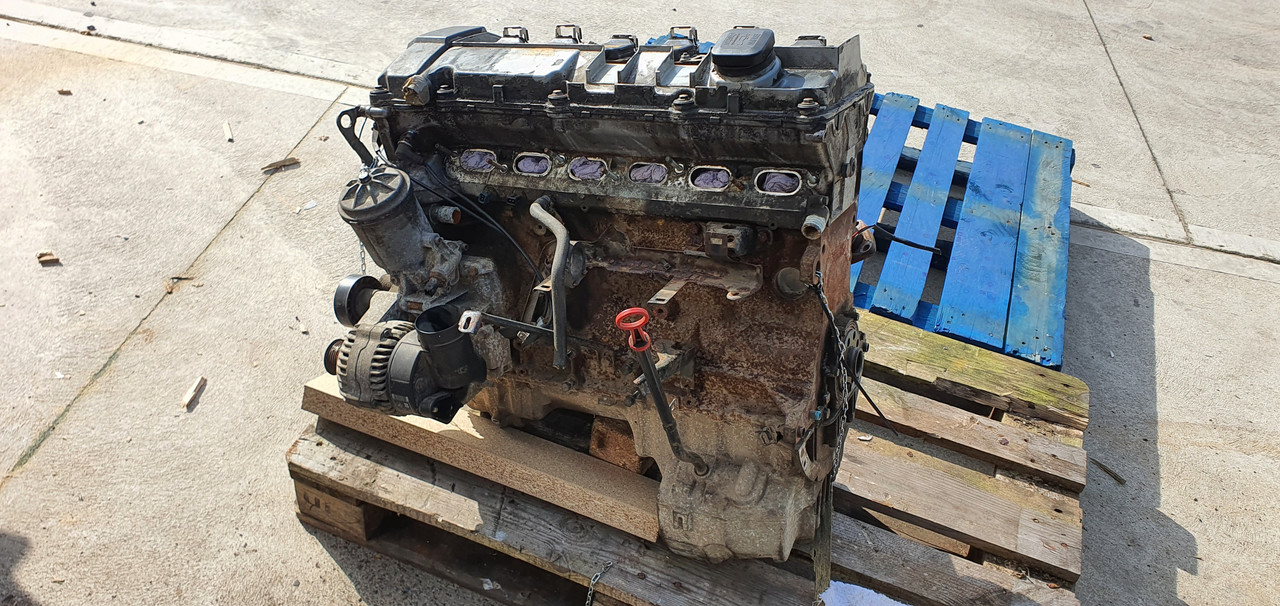
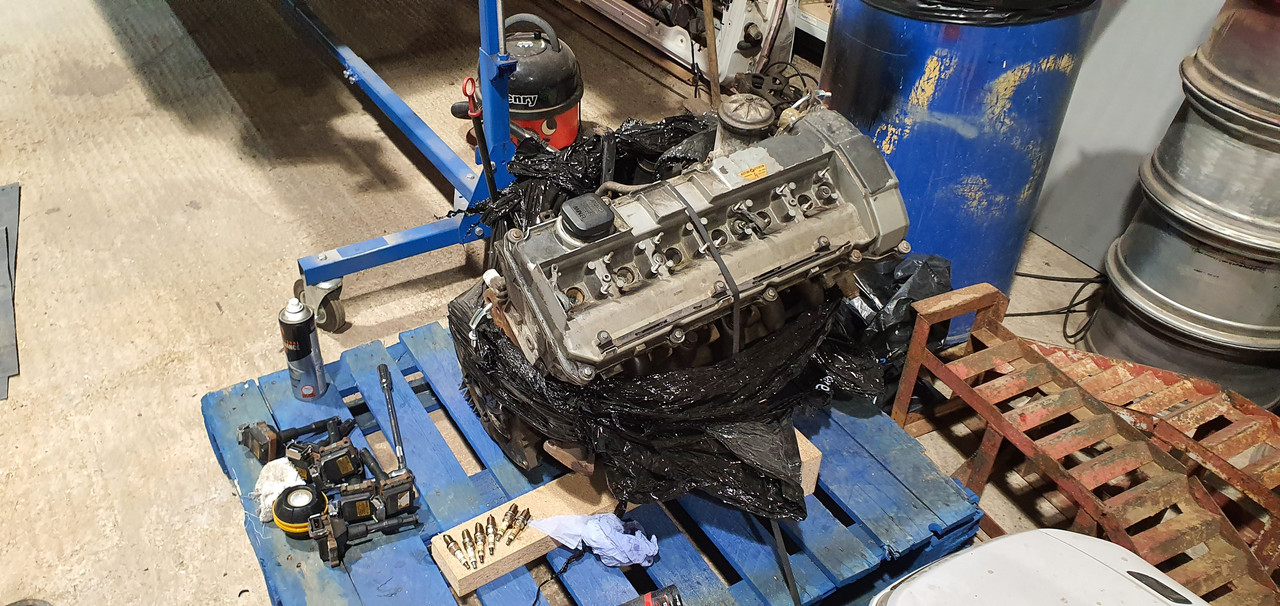
Engine out and later sold on ebay for ~£150. It ran fine and sounded good, with 73k Miles on it. My plan is to go M54B30 unless i can find a reasonably priced M52B28 (Doubtful).

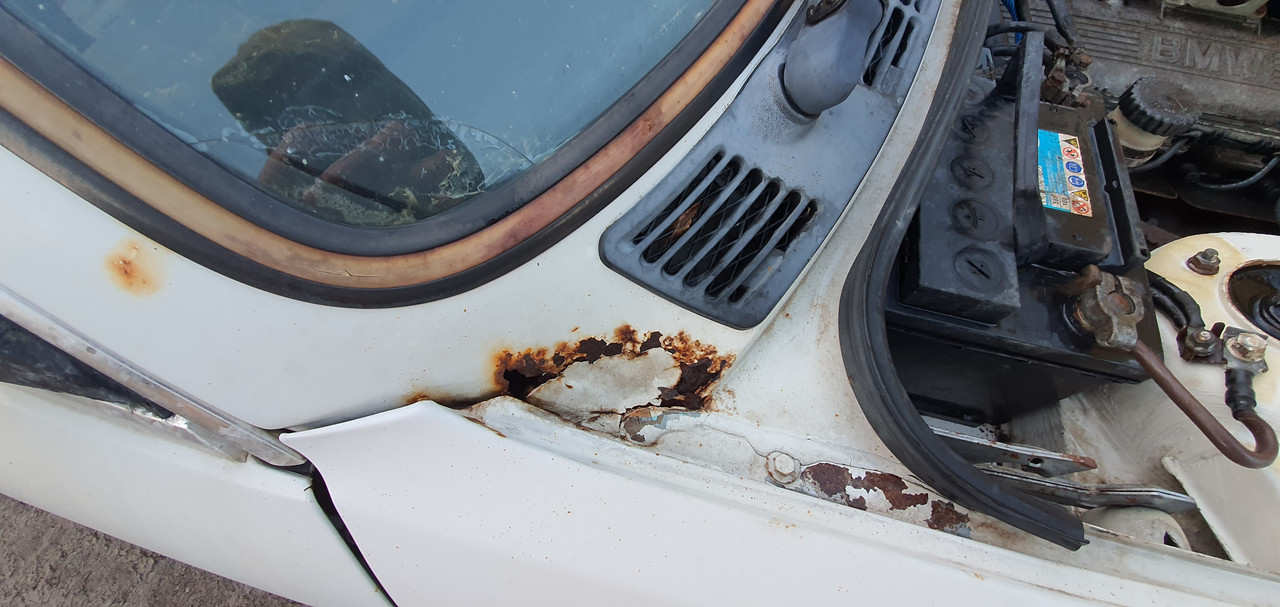
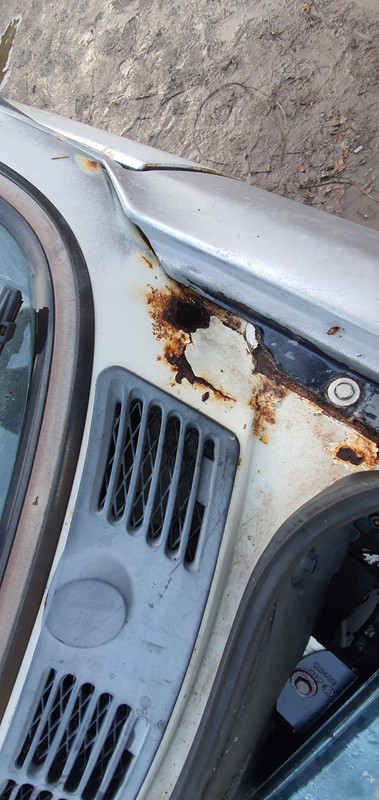
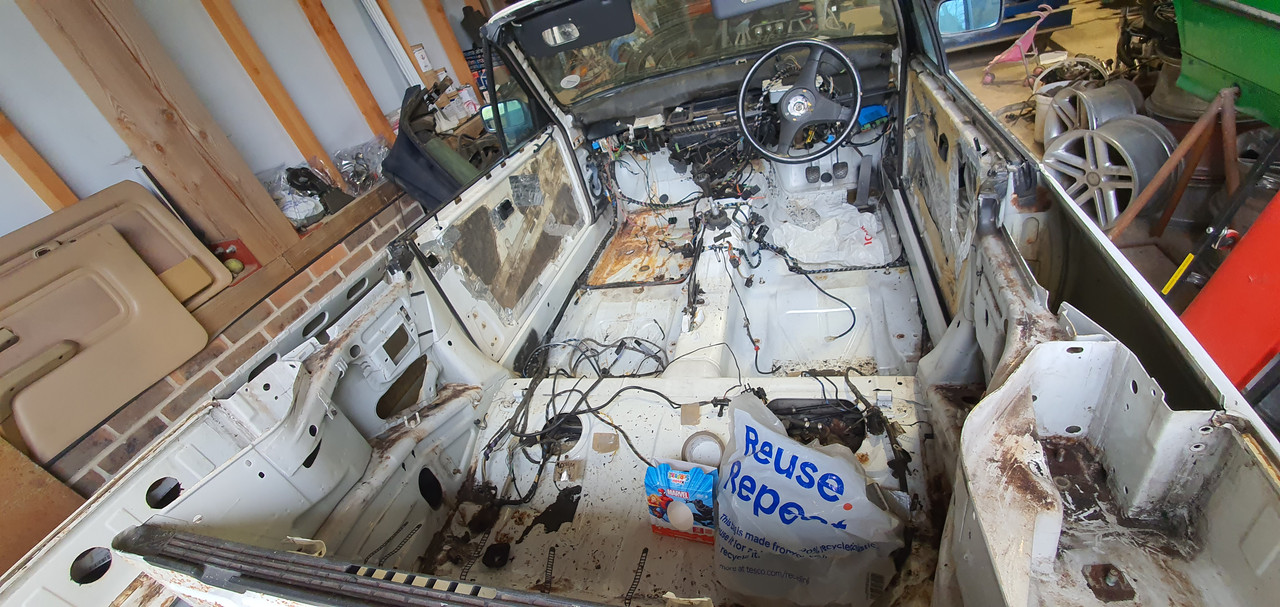
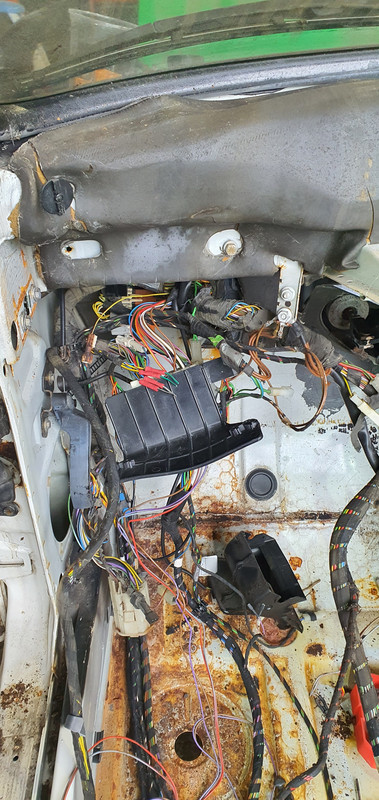
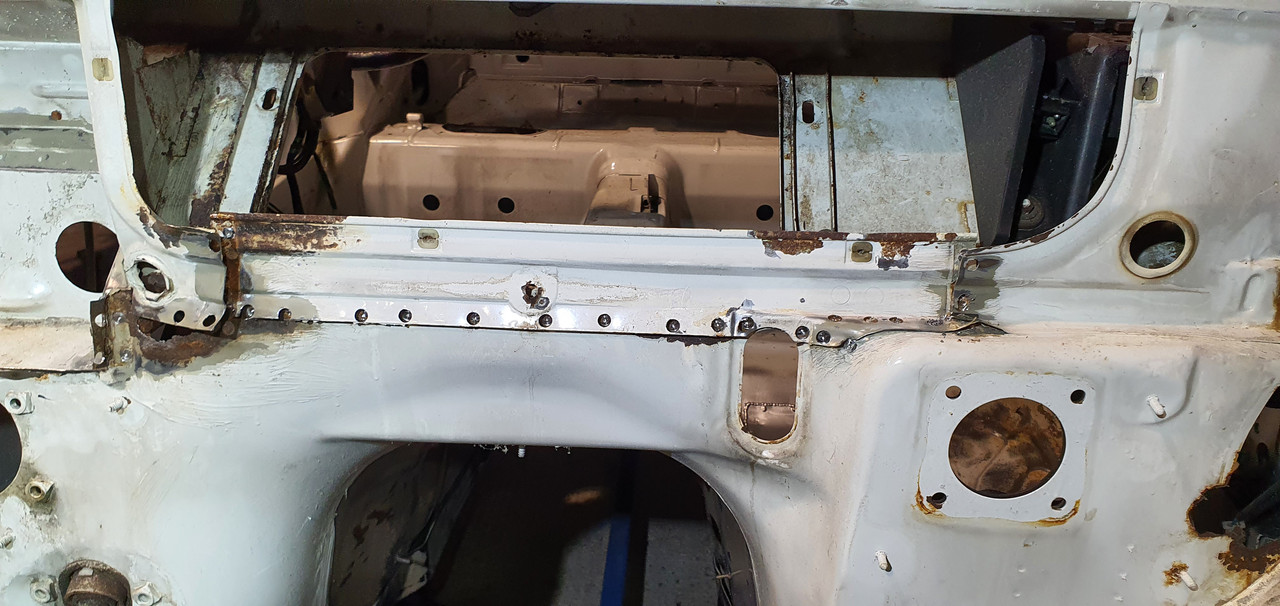
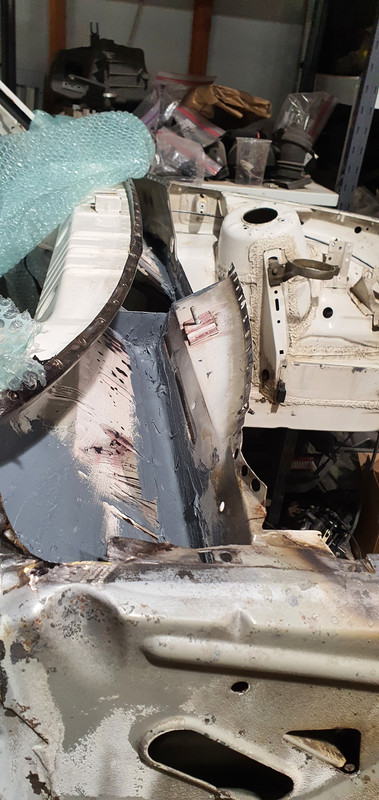
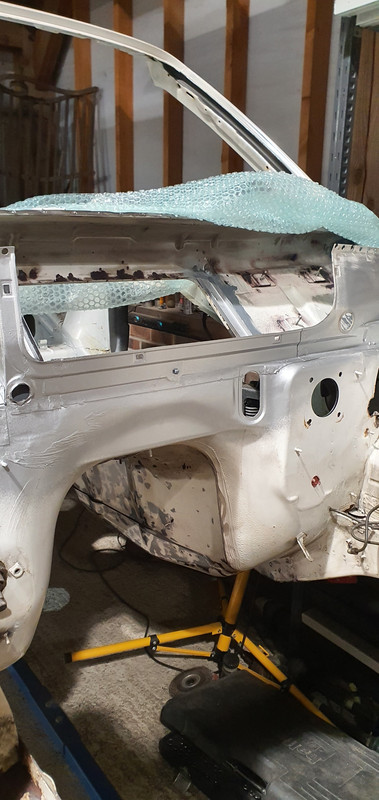
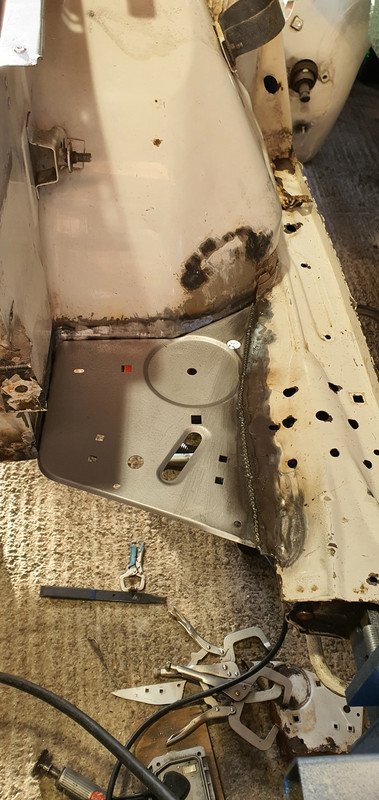
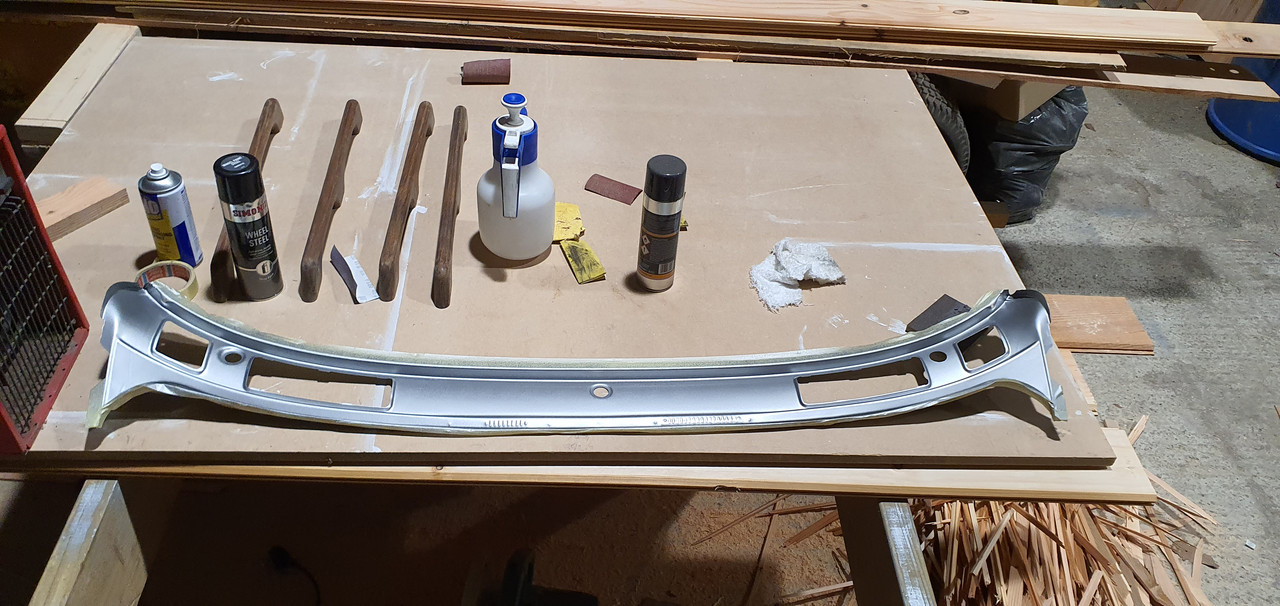
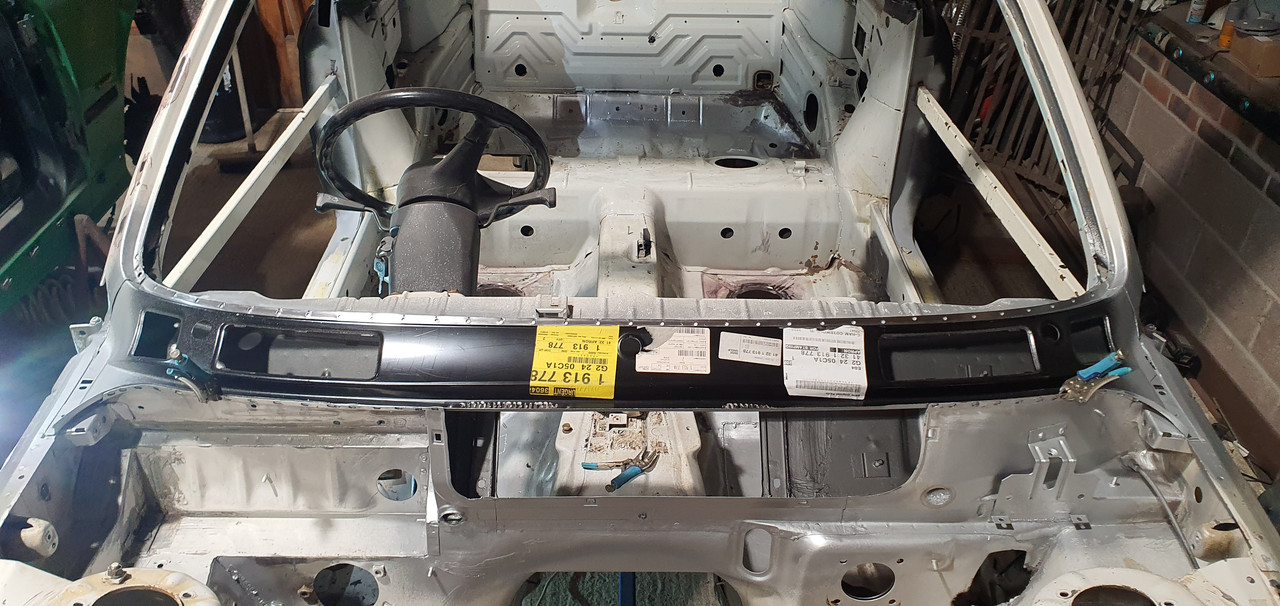
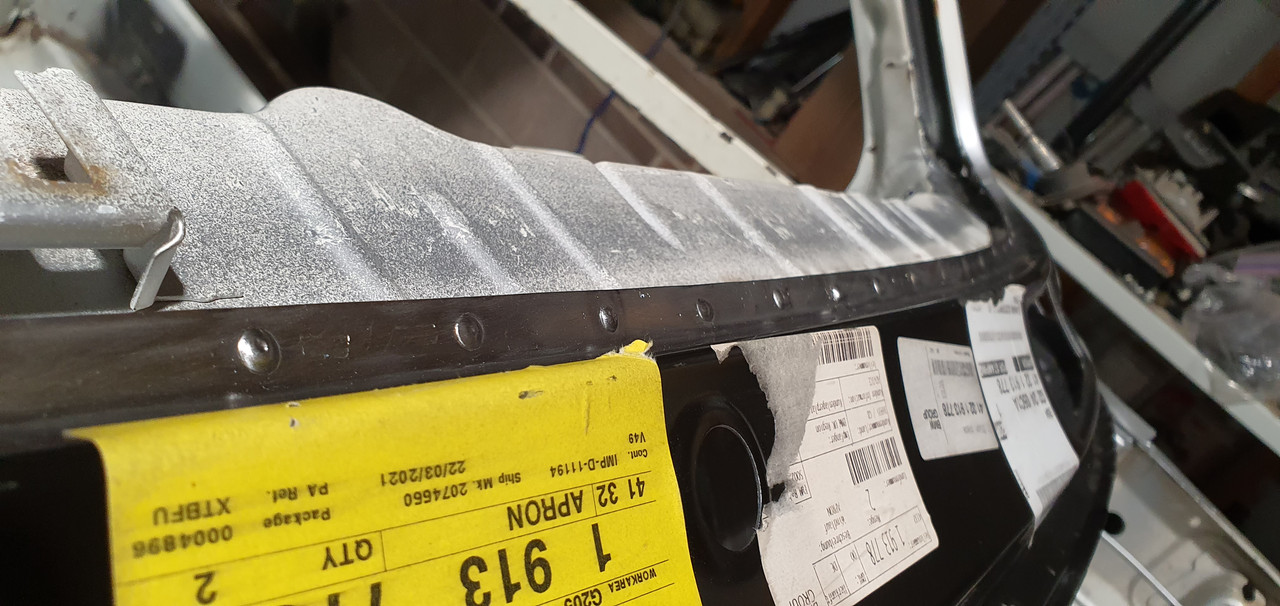
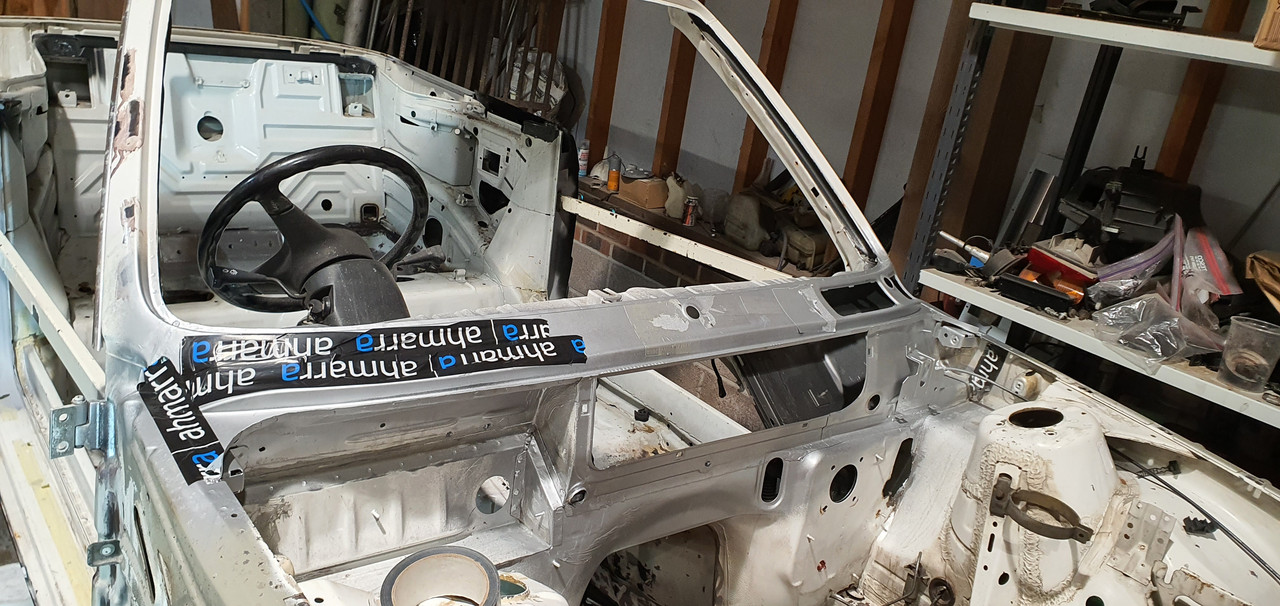
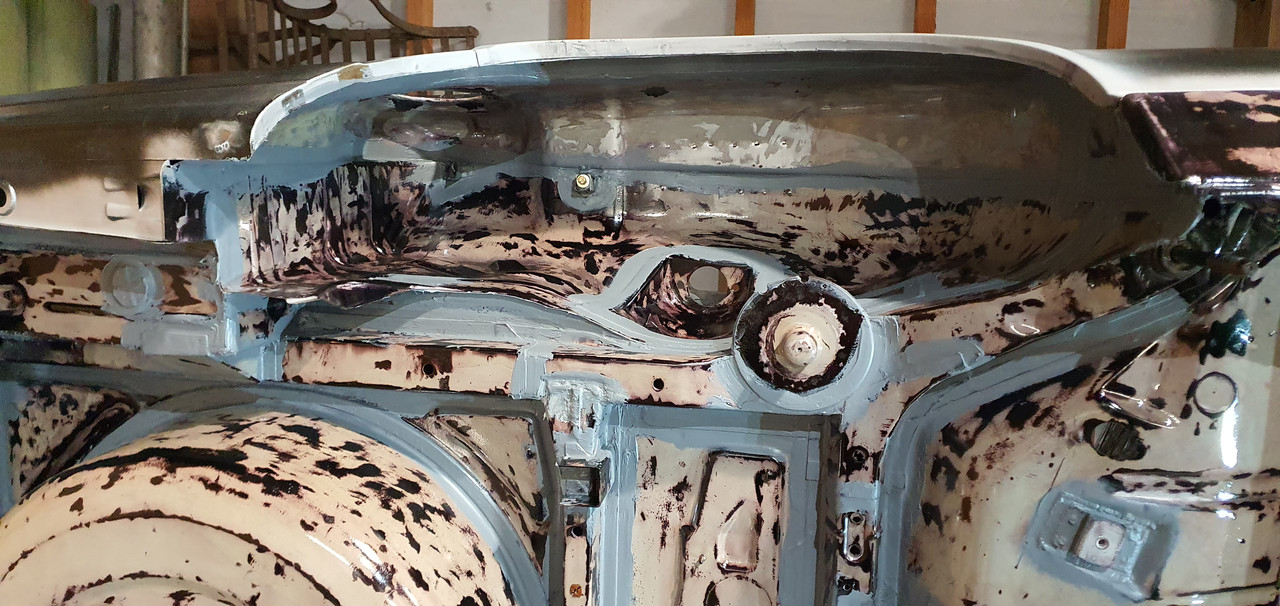
Once the engine was out i noticed that the Scuttle Drain was blocked and as a result the corrosion inside the void was quite bad, i have a whole new Scuttle Panel from Cotswold and this will be getting fitted shortly.
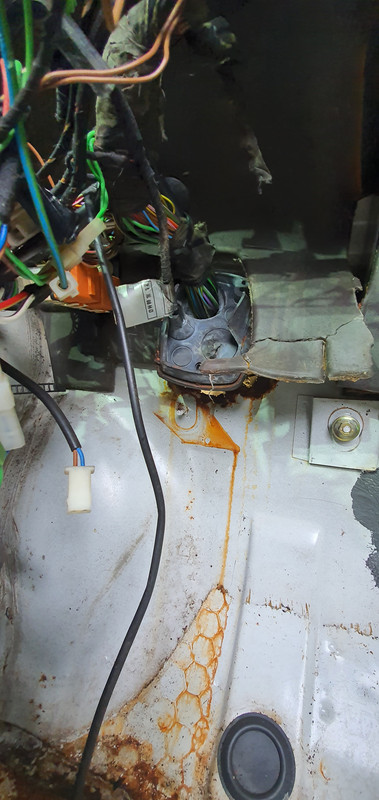
I also saw the corrosion around the Loom Grommet was quite bad, this was more apparent from inside the car, and as a result the passenger floor pan had a large amount of surface rust but also some bad rot in certain places.
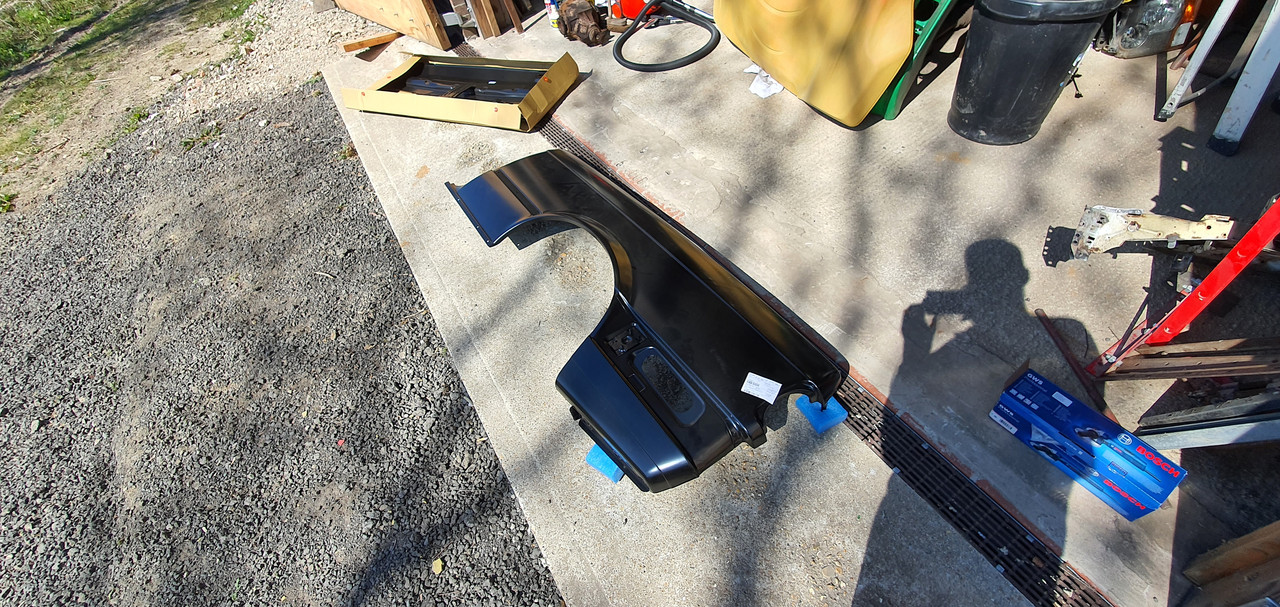
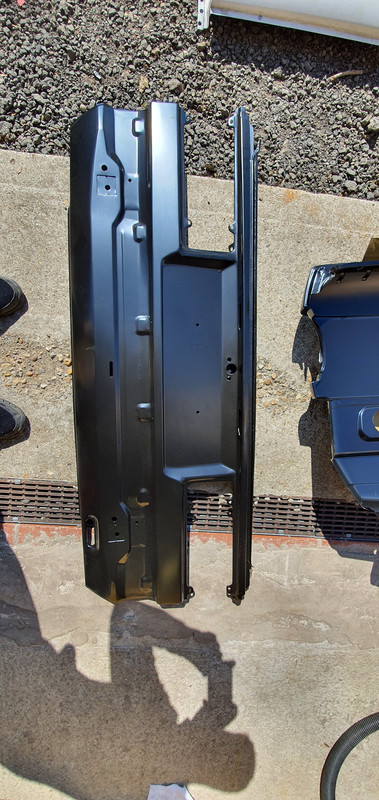
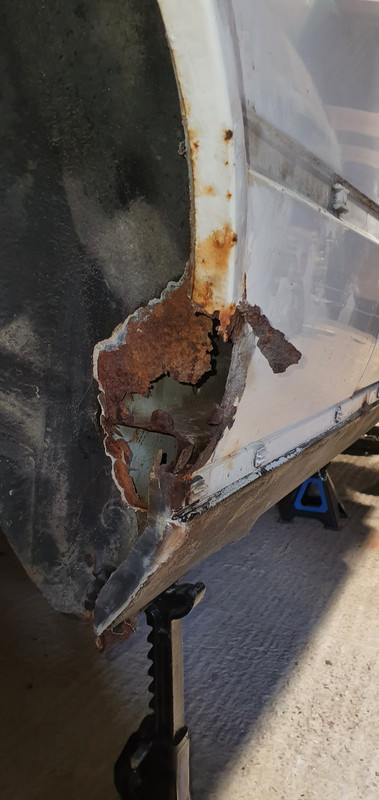
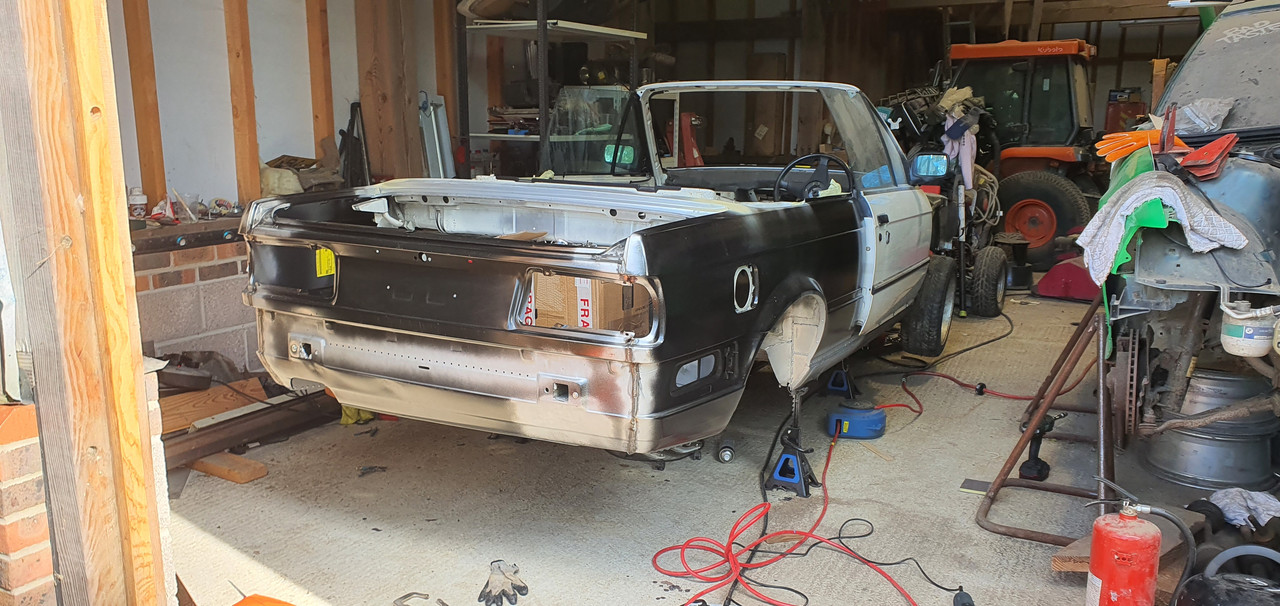
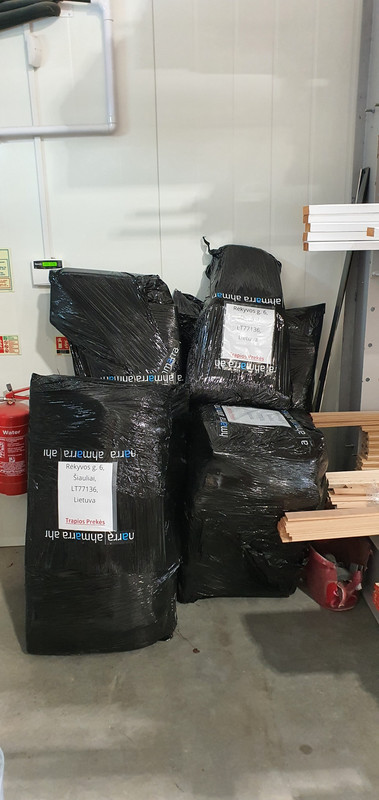
After the majority of the teardown was done i turned my attention to the rear of the car and its rust problem. I had always preferred Facelift cars and because of this i decided to do a Facelift conversion, i wanted to replace the entire Rear Quarters and Rear Panel. Cotswold had OEM Rear Quarters - Facelift Only (£839 for the Pair), so i ordered them and a new Facelift Rear Panel:
I then proceeded to start cutting:
Now a disclaimer, this is my first time doing any kind of Bodywork, Welding, Fabrication etc. I have always done mechanical work on my cars but never anything this deep, i had studied a lot of videos on do's and dont's etc. I decided to leave the Rear Panel on whilst i worked on the replacing the Inner Arch Lips and getting the Rear Quarters into place properly, so i had at least some kind of reference of where they should end up.
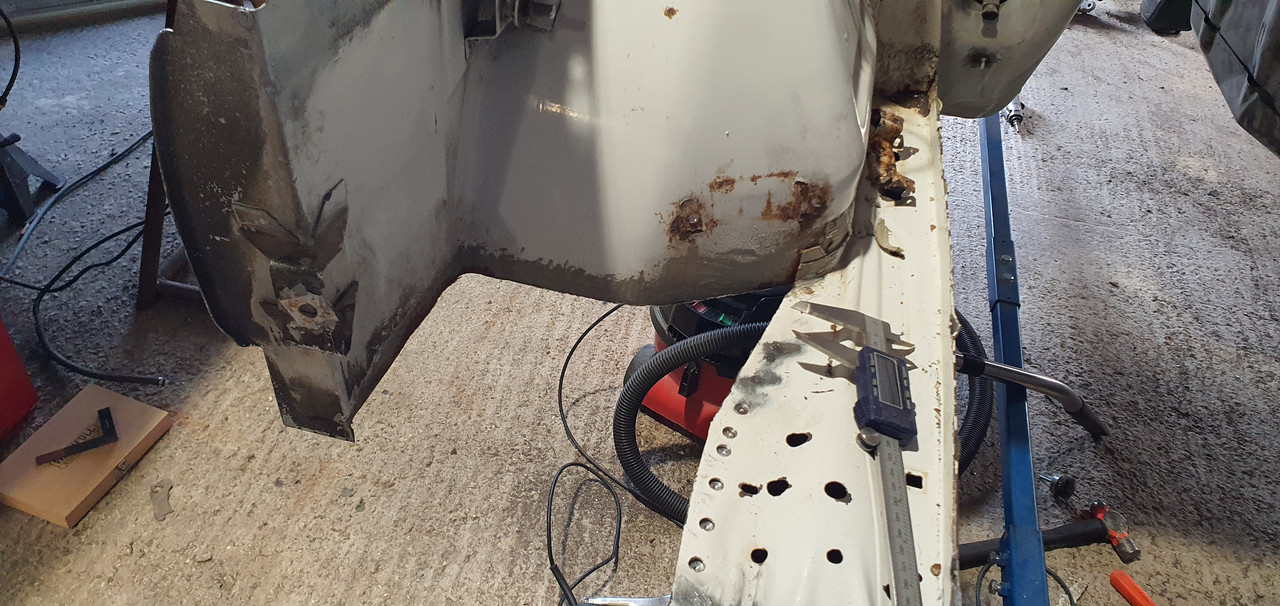
There was a lot of work cutting out small sections of Rust in the Wheel Wells and where they join the sills. The passenger side also had a large amount of the inner arch already replaced, which i needed to re-do.
The process of re-working the inner arches and lips was something that took me many many weekends, a lot of double measuring, checking fitment etc. A steep learning curve but rewarding, if i were to re-do them now, then i would probably make a slightly better job of it, i am however still pleased with the outcome i got. Its also worth mentioning that its pretty much impossible to find any Cabriolet specific Body panels, the replacement inner arch lips were advertised as Cabriolet, but when i received them it was pretty clear that they were Coupe or Touring, so i had to cut and modify these to fit.
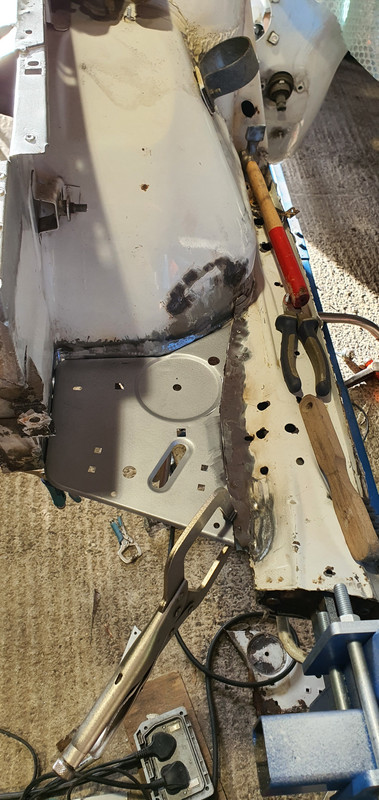
Unfortunately i did not get many pictures of this process as it was time consuming enough as it was, there was a lot of corrosion in the Drivers Side Inner Wheel Arch from the fuel Pipe Cover, Vapour Tank mounting points etc.
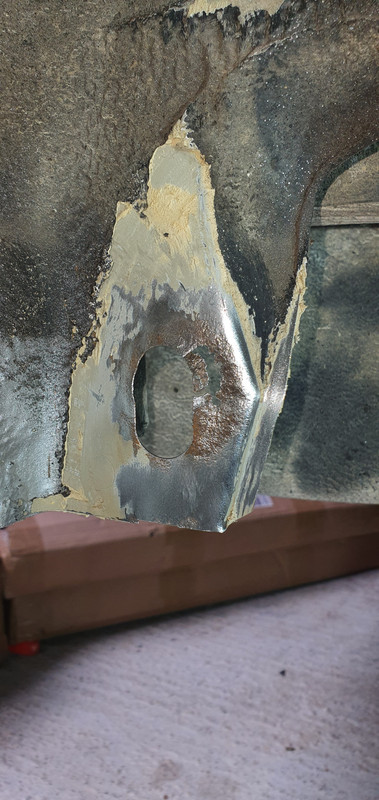
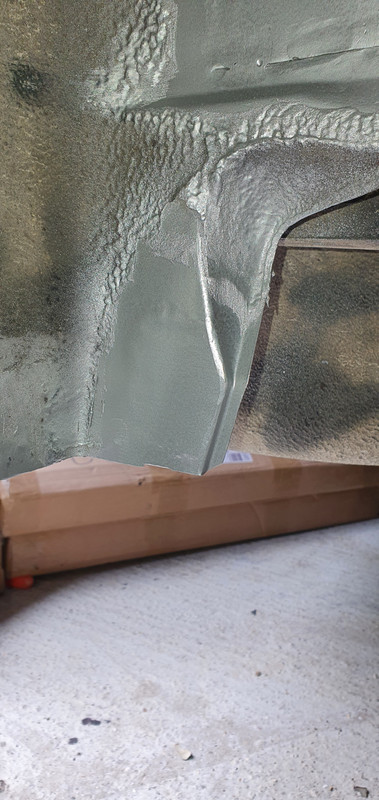
Drivers side inner Arch & Lip done (Really sorry for the terrible pictures, just using what i have).
I then painted and sealed the Inner Arches in a generic gun metal grey (I will be painting the car Donnington Grey)
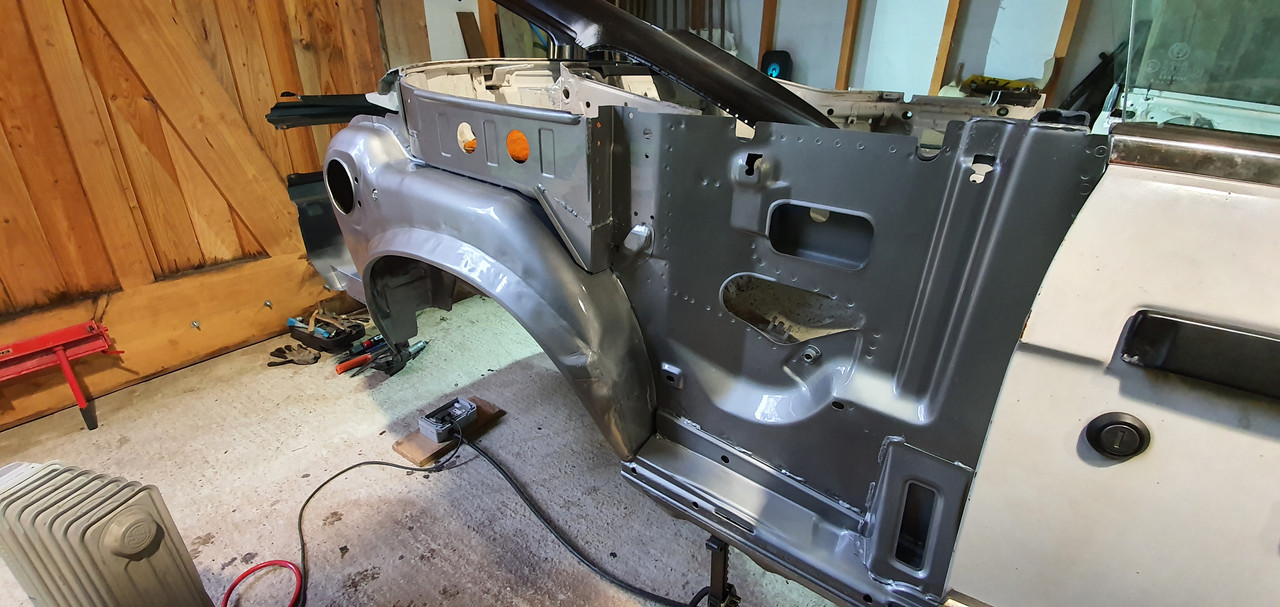
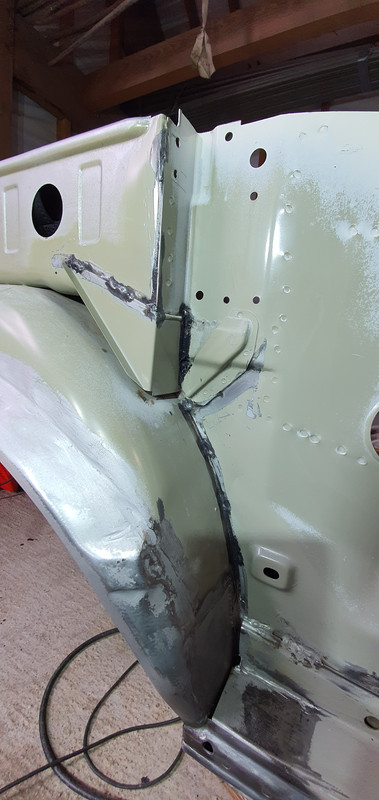
One of the unforeseen problems of doing an entire facelift conversion, was that the boot floor on a facelift must sit ~100mm Lower, because of this i had to create some extension pieces to bridge the gap. My welding has much improved since this.

I began dry fitting the Rear Quarters properly and doing final / more precise cuts on the body where they would meet.
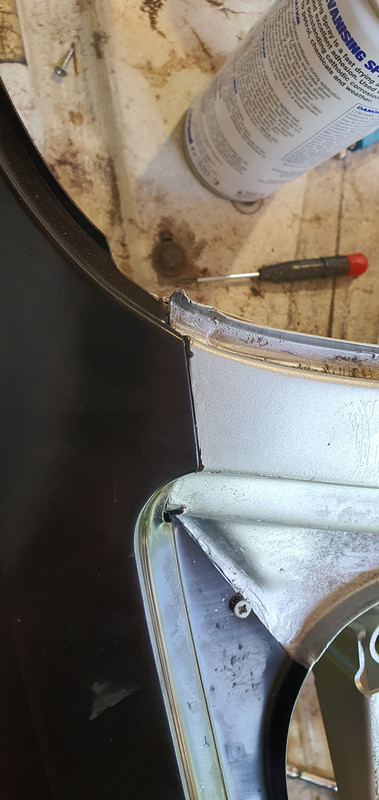
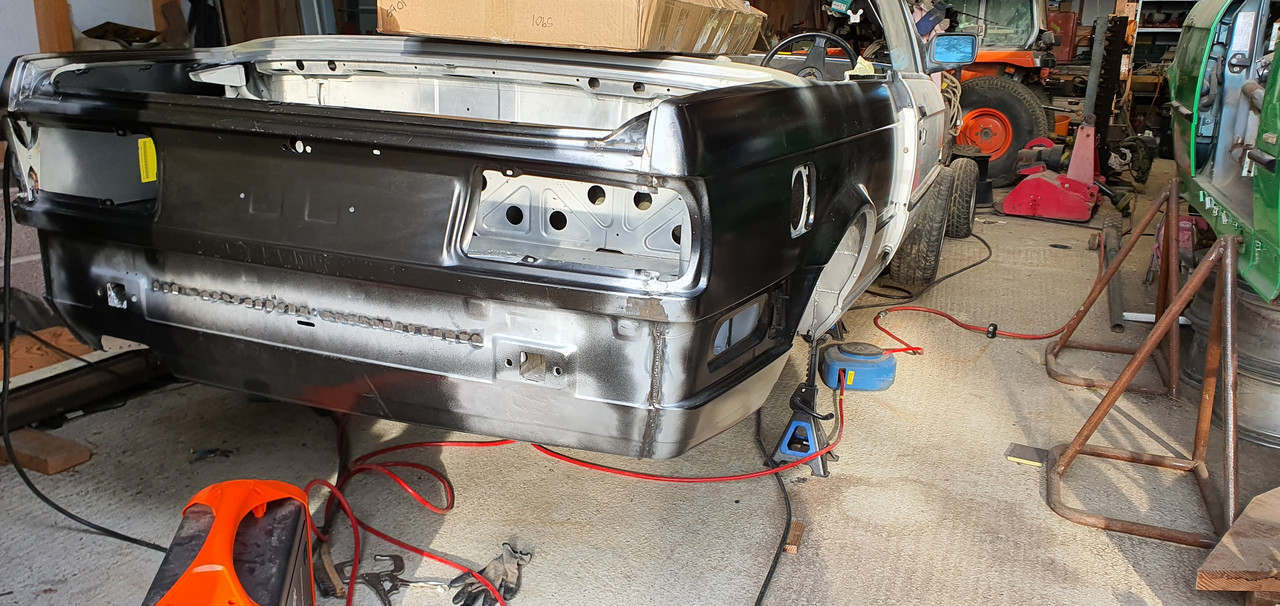
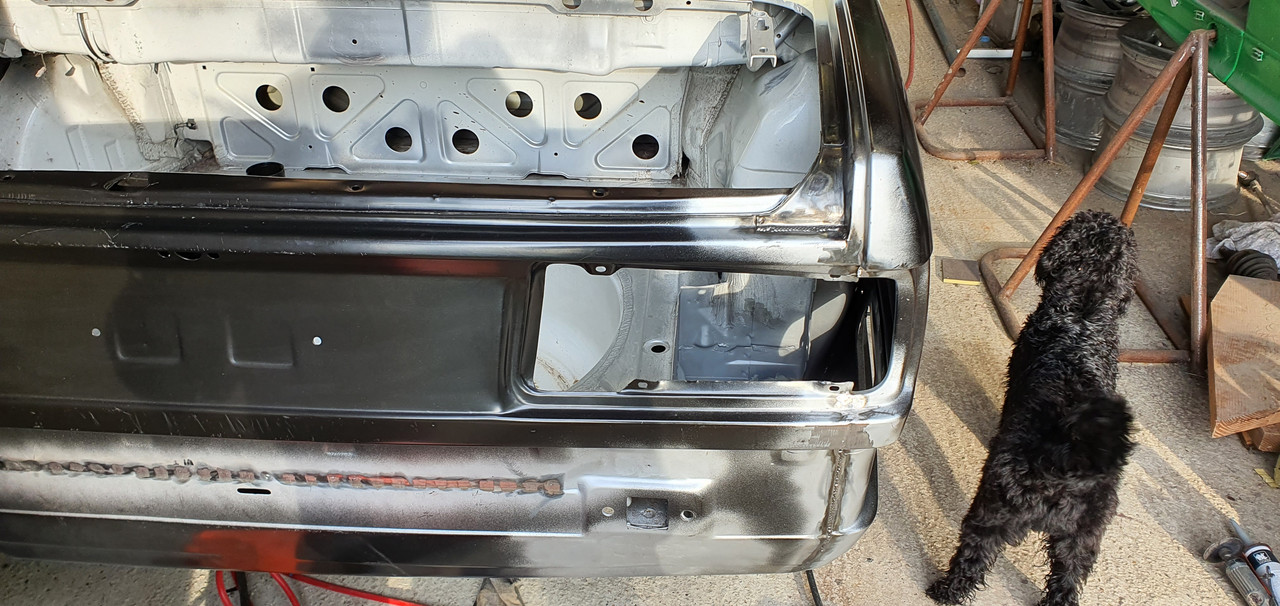
This was quite a tedious process, especially on the end where the Quarter Panel meets with the doors, these (and most other joints) are braised from factory and it took a long time to remove the braise and tidy the joint enough so that it could be welded without contamination.
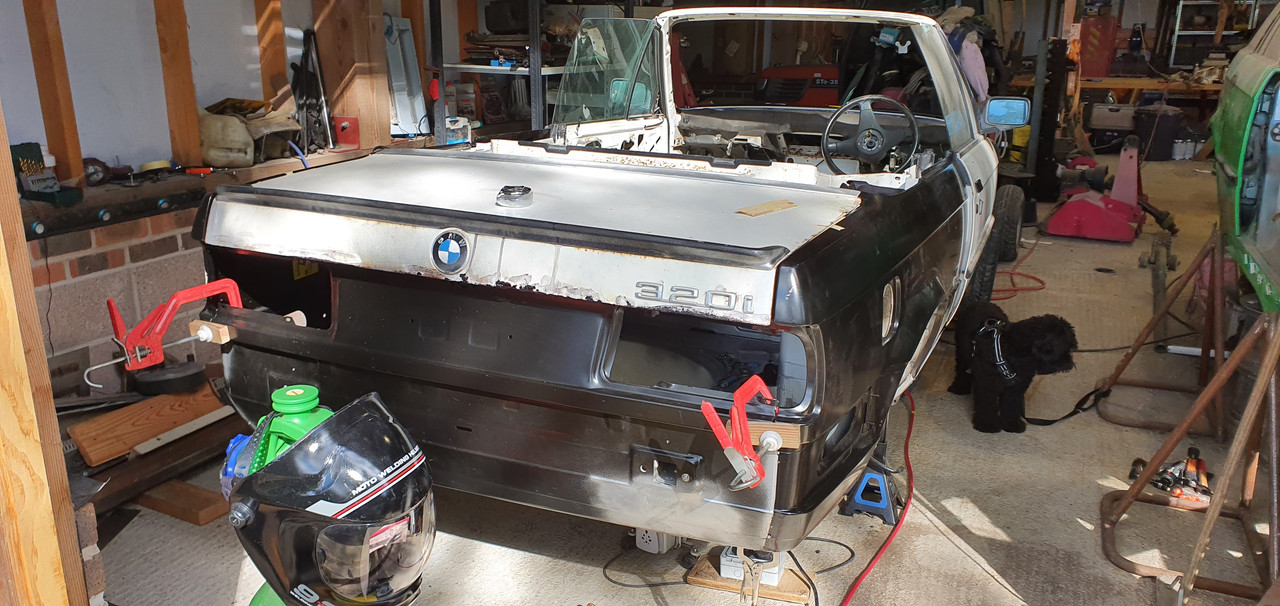
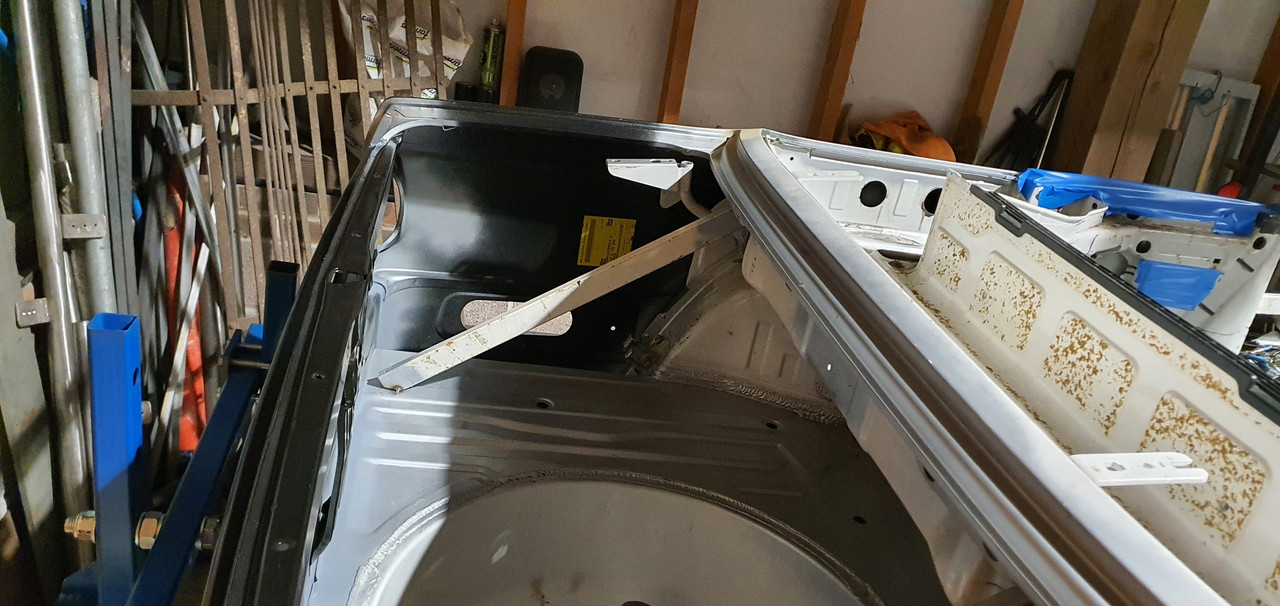
Once i was happy i removed the rear panel and dry assembled the rear end with the boot and also the roof cover / hatch so check all the gaps. An old guy across the road gave me a tip of using self tapping screws to lock in the panels in places, this gave you a fixed position to go back to and also really helped hold the panels in place. The Panels surprisingly did not need much tweaking, though i was disappointed with the quality of the rear panel from Schmiedmann, some of its contours did not match the OEM Rear Quarters particularly well around the rear lights and will require some work with filler to make it look perfect.
I then spent a LOT of weekends, triple checking everything, doing small bits of work i thought was easier with the panels off, before finally taking the plunge and welding the panels on - i did not braze them like from factory, i did seek advice on this and although it is not the original way of doing it, was told the risk of cracks etc were very low.
Now that i had the Rear End back on, i wanted to get the car on a Rotisserie i bought what felt like a very very long time ago. This was from a company called Ade Foreman Light engineering, its the heaviest duty one he offers on wheels rated for ~1300kg. I braced the door shuts, boot, and front where the crossmember would have been.
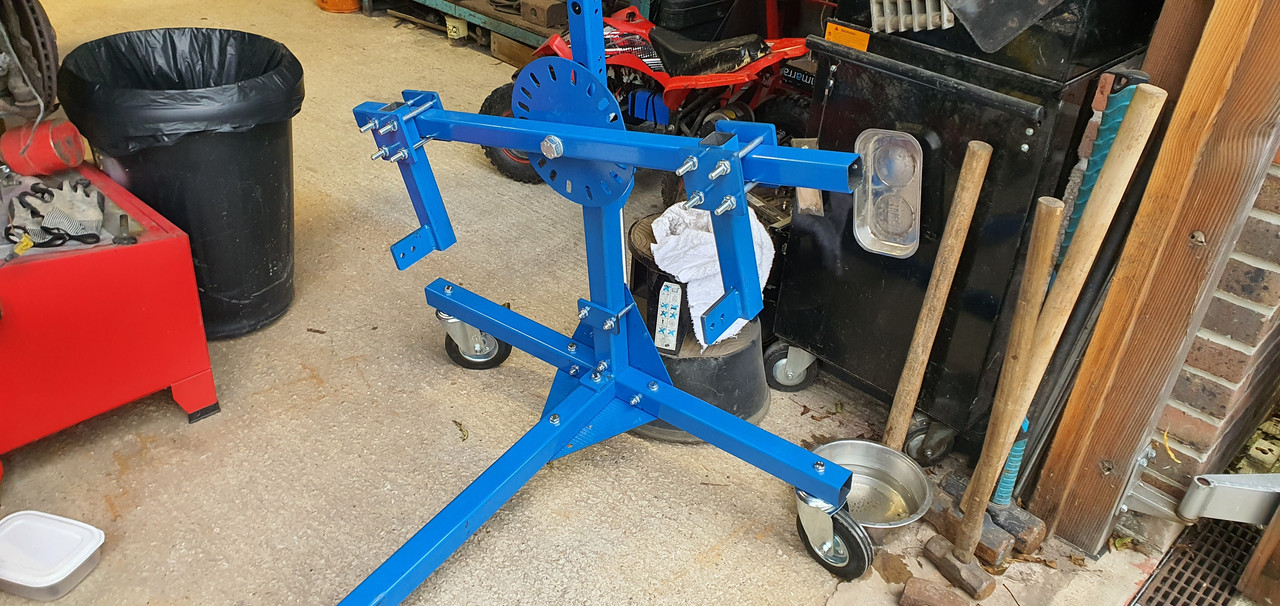
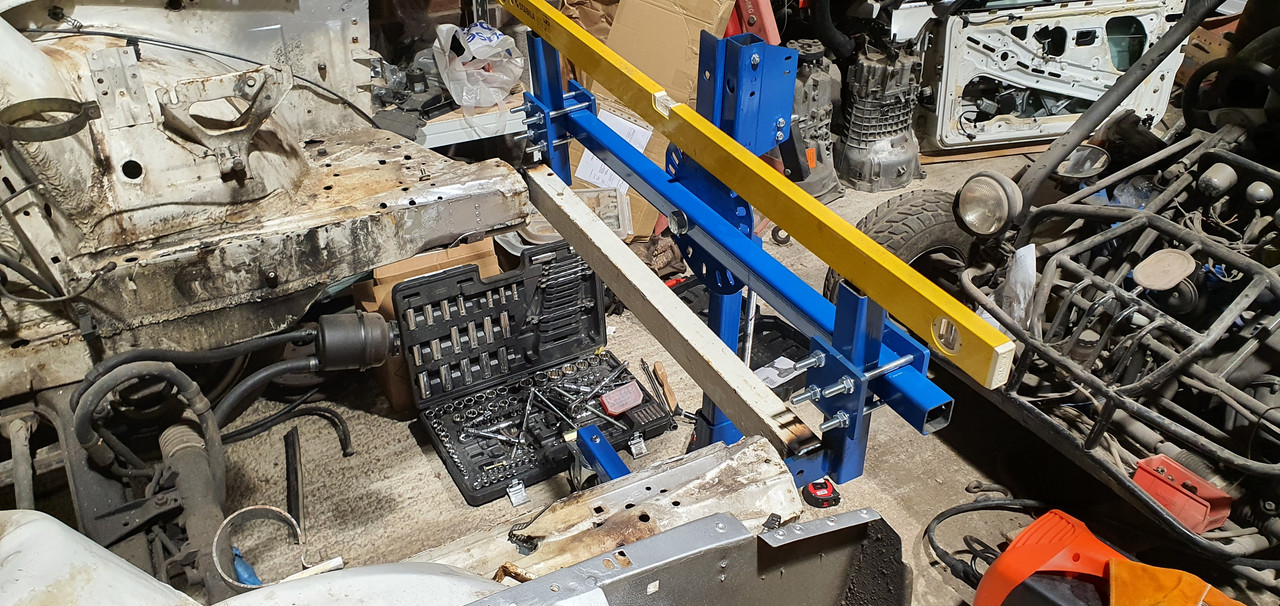
Mounted using the Bumper / Rail Positions:
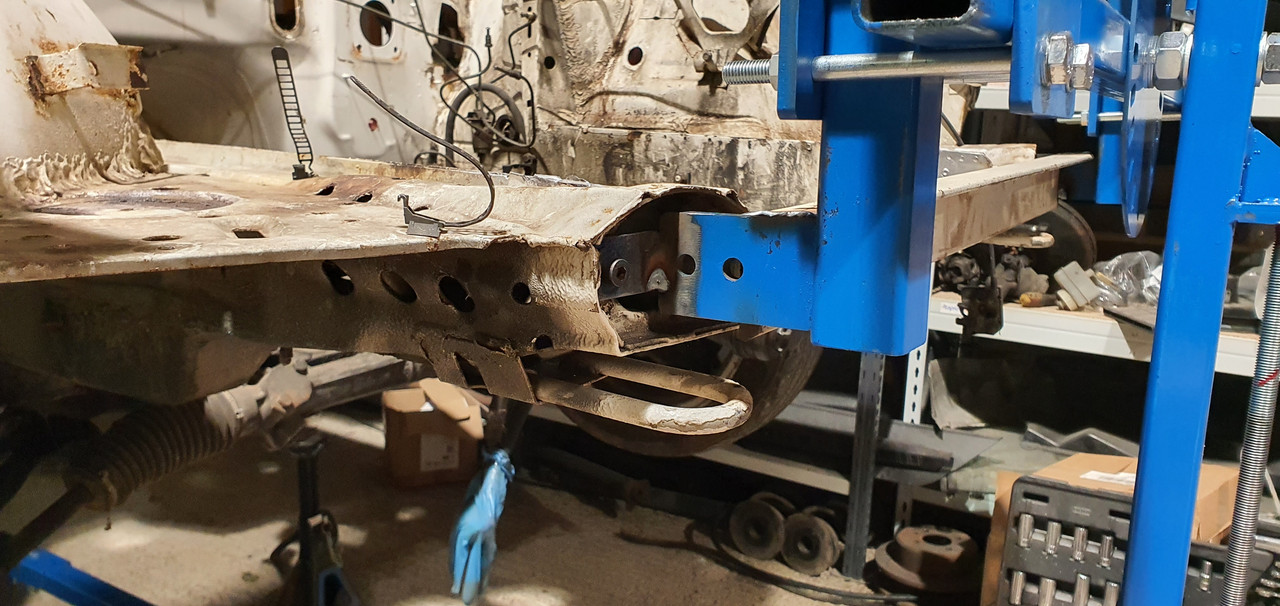
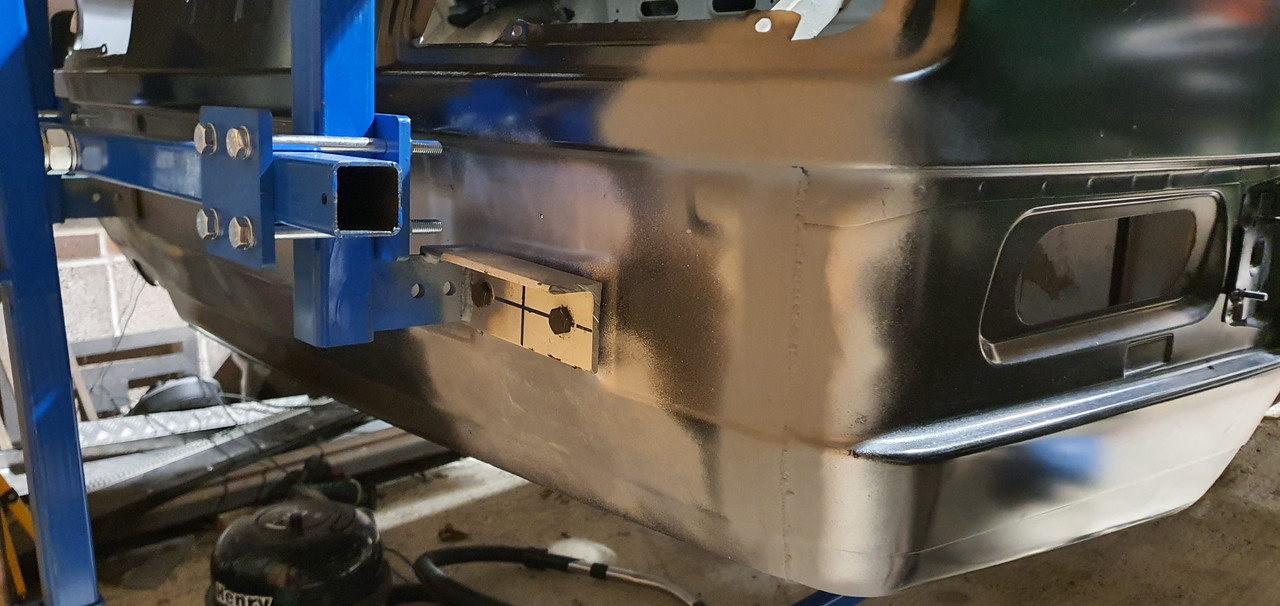
Pretty happy with the Jig, from memory it was ~£375 delivered, it has some flex when moving it around or doing pretty hard work on the car, but worth its weight in gold.
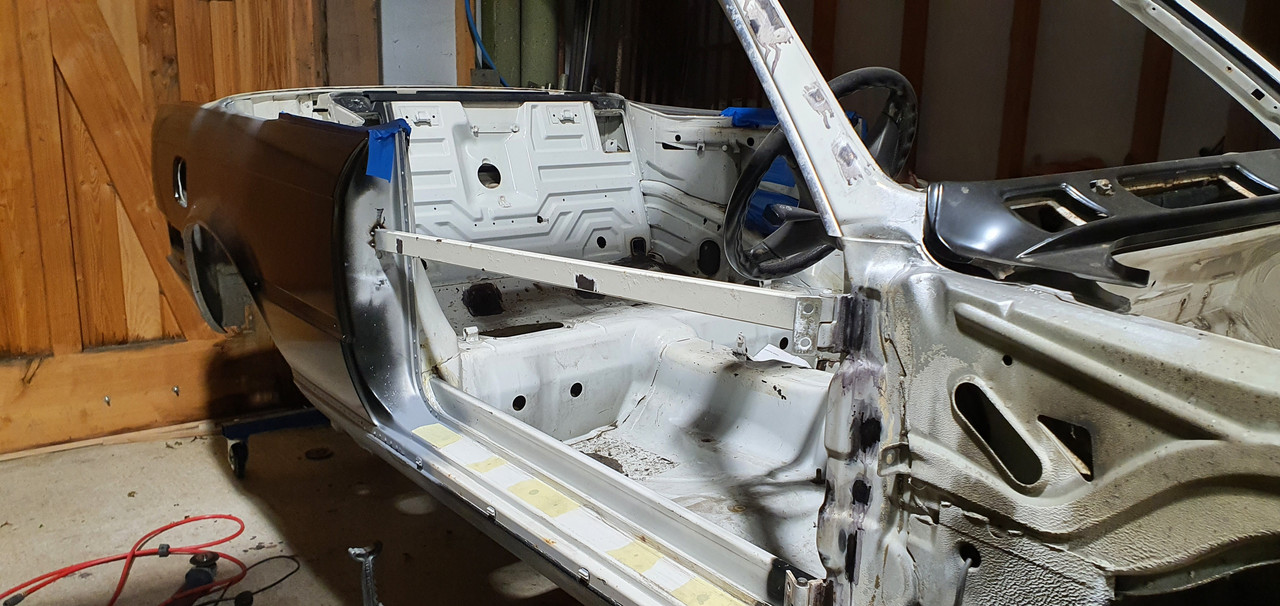
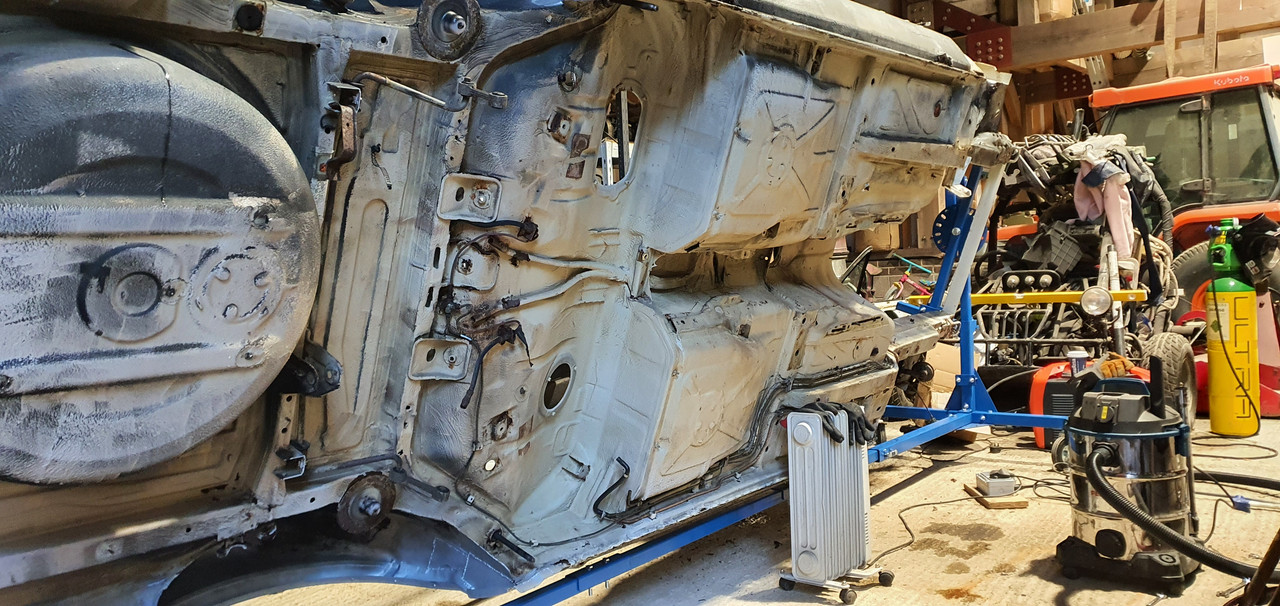
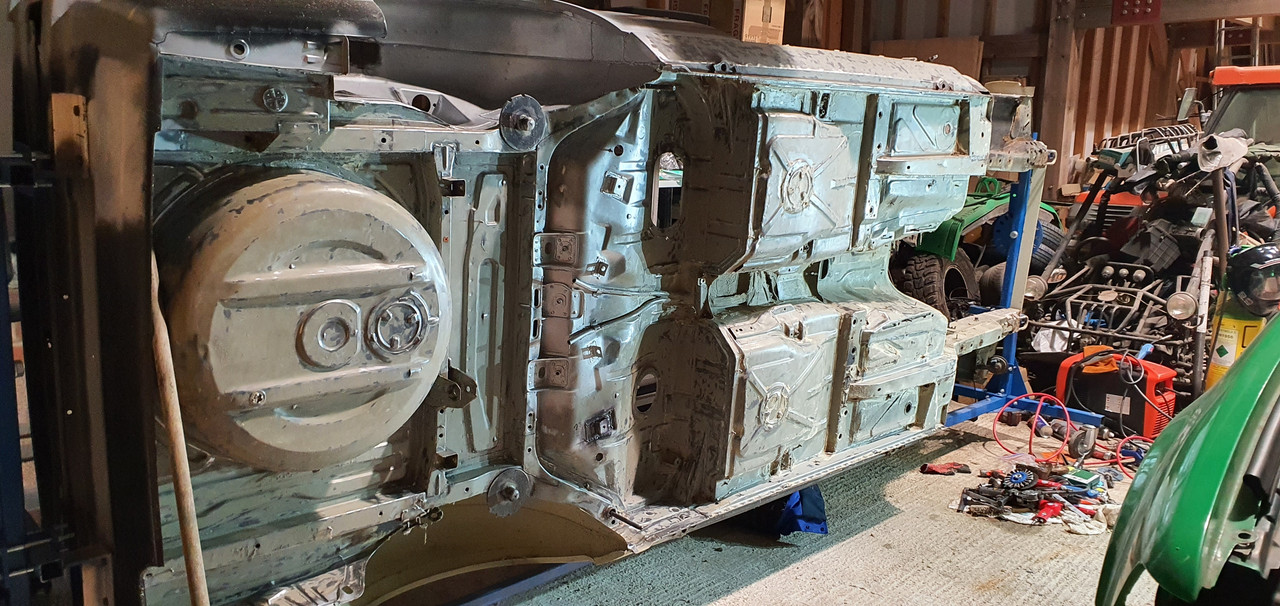
I then wheeled the car out to the doors and used our Karcher Steam Wash to totally remove any remaining Mice leftovers, and also strip of as much wax oil and other shit from the bottom of the car / engine bay as i could:

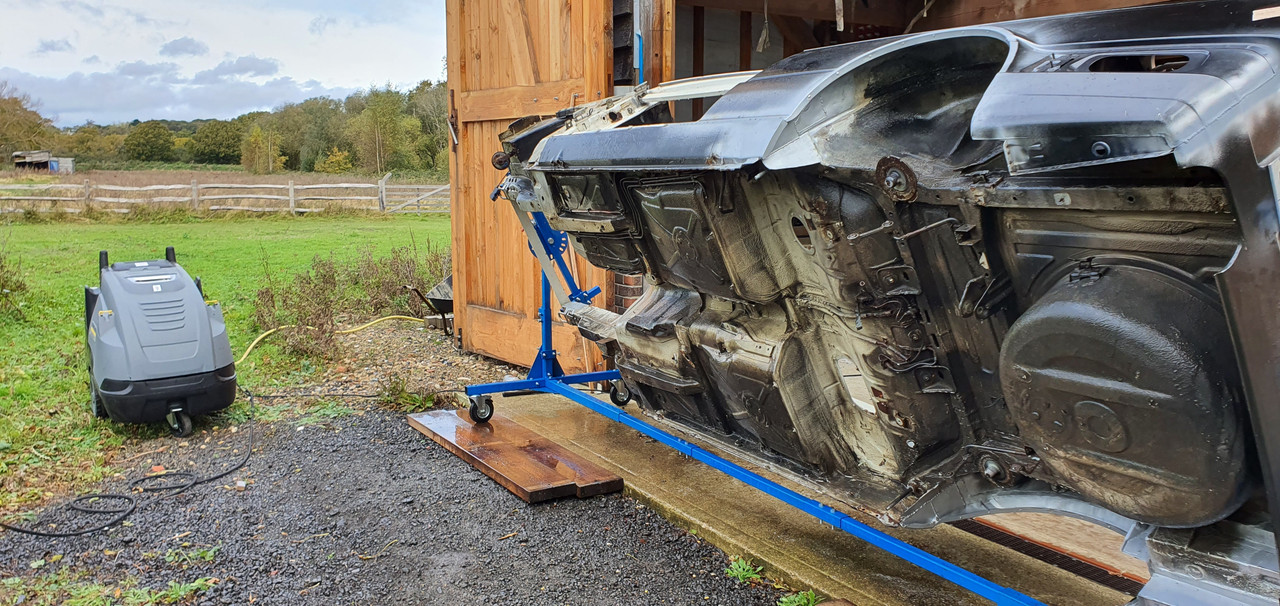
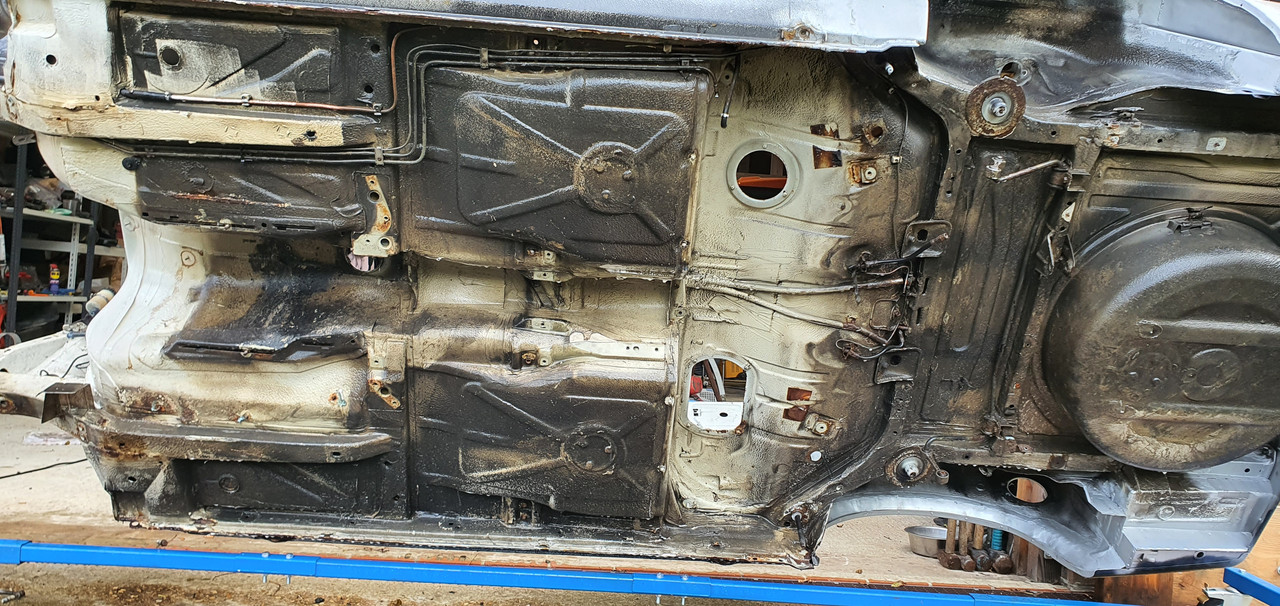
End Result:
I then stripped off any of the remaining under car bits, fuel lines, brake lines etc.
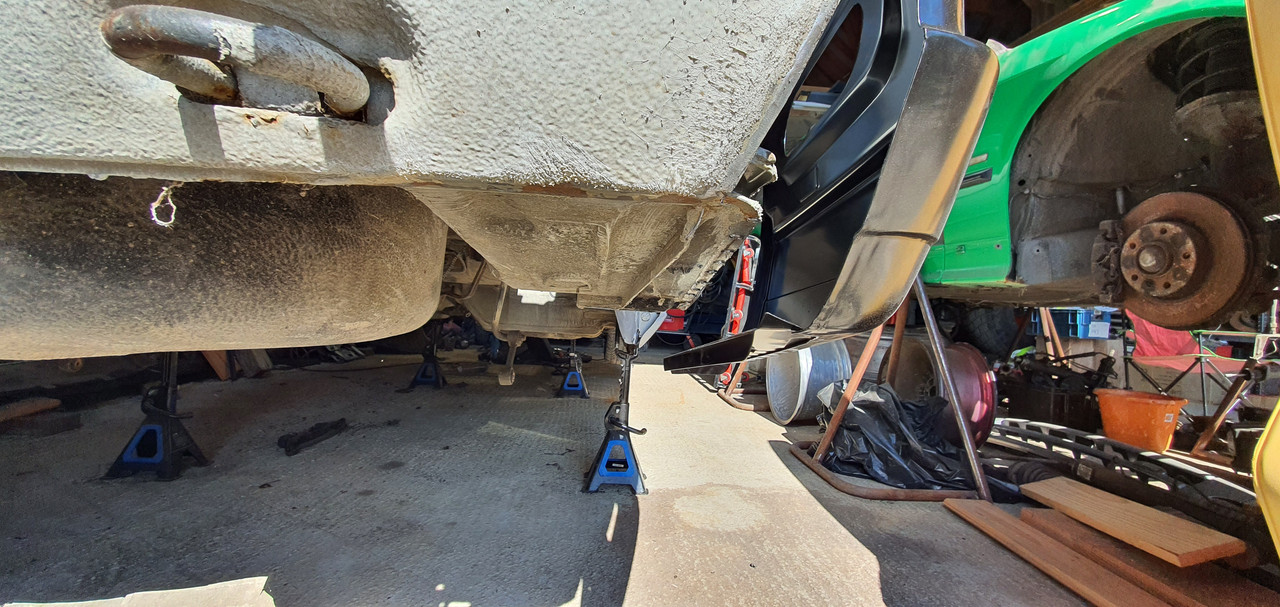
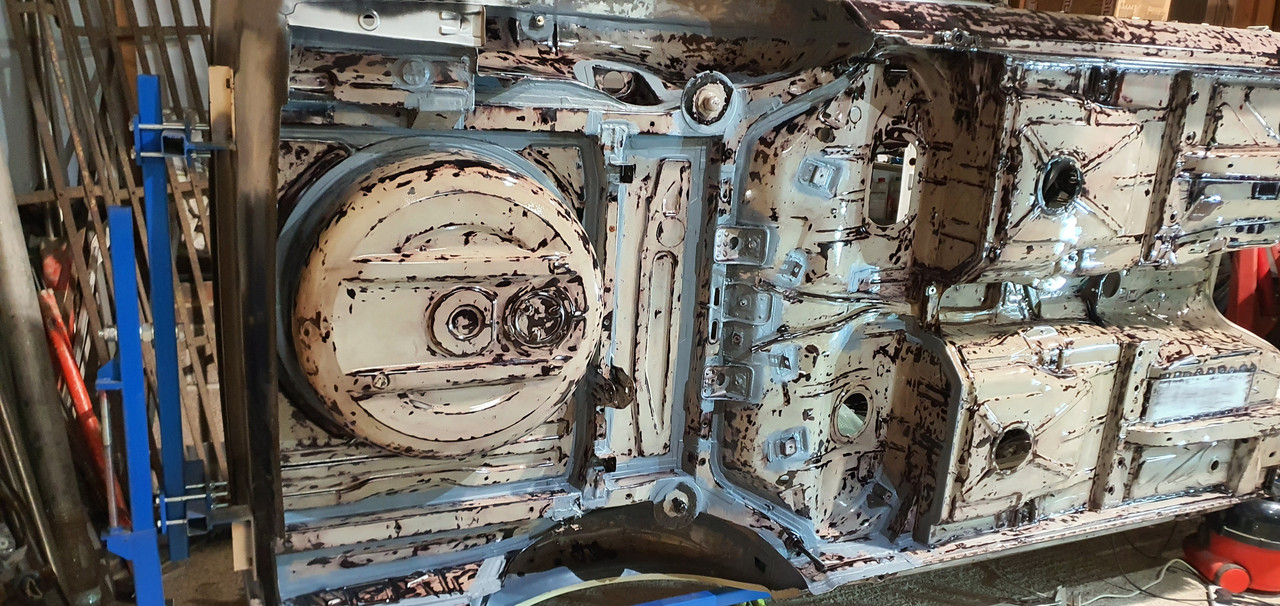
Now was the time to start the tedious process of removing all of the underseal, i got about 90% done in one day with a an angle grinder and large wire wheel, it then took about another day or two to remove all of the underseal from all the tight corners / areas. Originally i was not going to remove all of the underseal, however i am glad i did as it revealed many many places of corrosion that had not yet visibly come through the sealer. Some of these places had originated from inside the car where i can only assume heavy amounts of Mice Pee were and started corroding.
The worst areas of rust on the underside were:
- Rear Seat / Seatbelt Brackets.
- Rear Tank Brackets.
- Rear Brake Line Mounts.
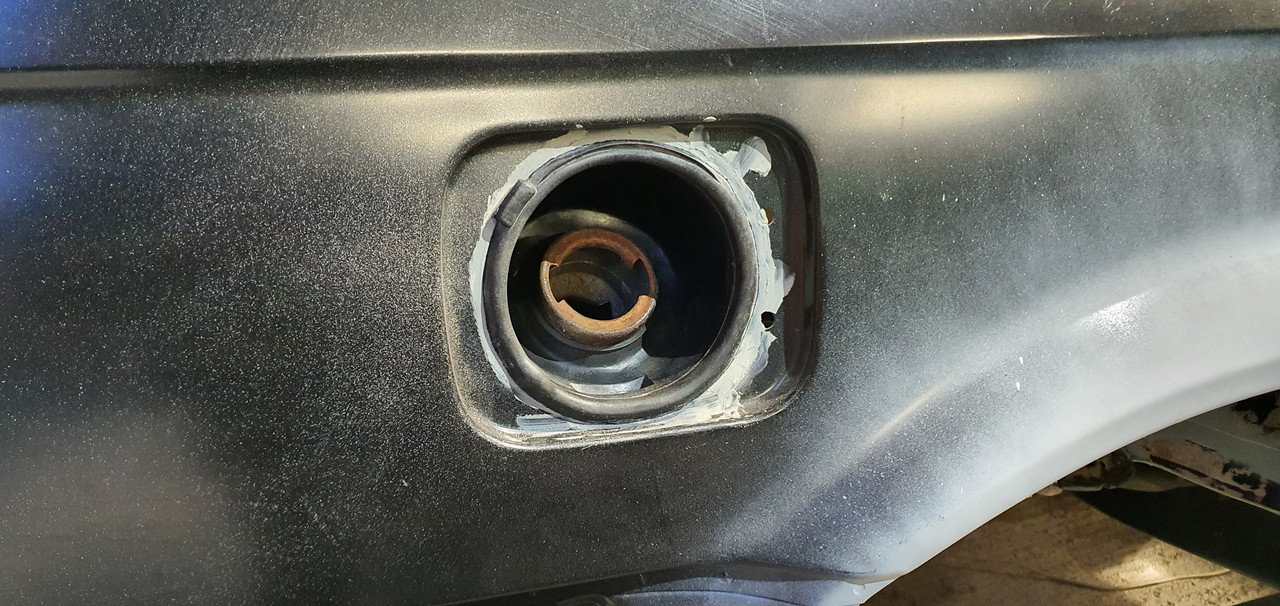
- Tube that carries Fuel Tank hoses from Filler Cap.
- Passenger footwell areas.
- Drivers footwell areas (both footwells were bad behind where the sliding nuts are for the gearbox).
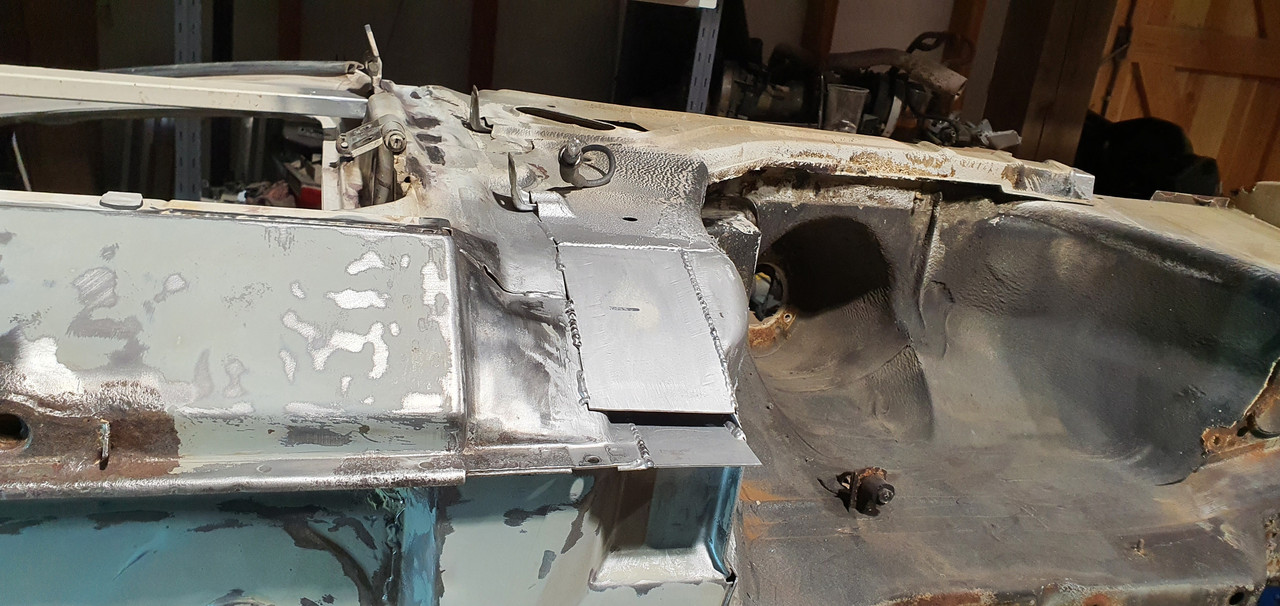
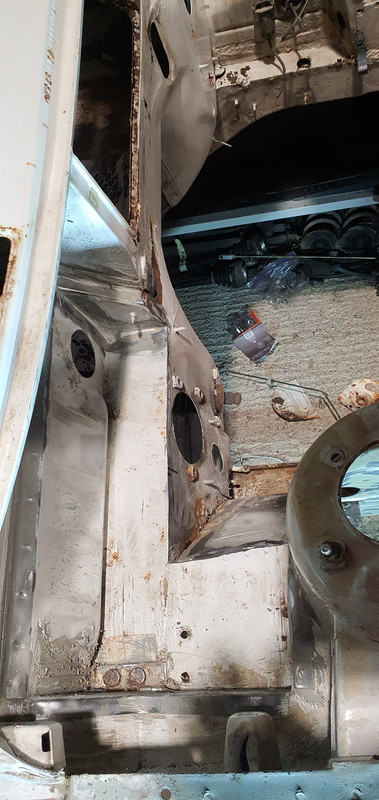
- Drivers side Footwell / Jacking Point / Front Arch Area where all 3 panels meet.
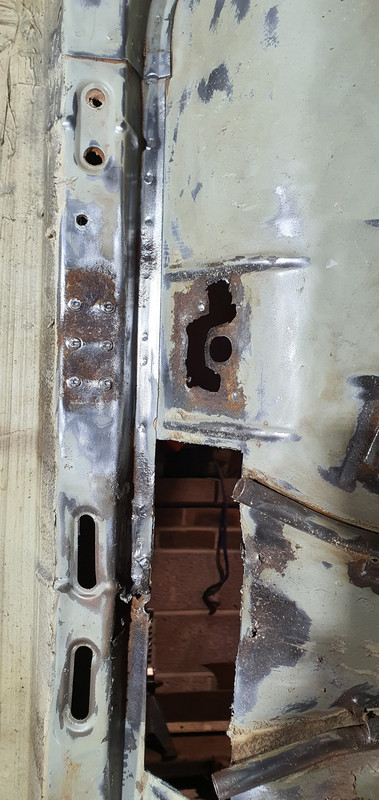
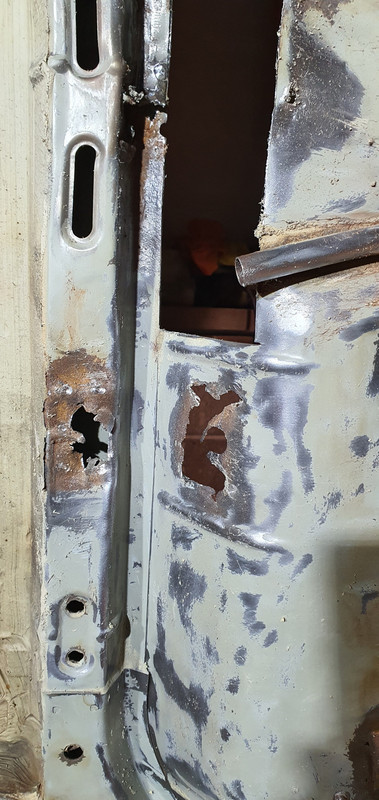
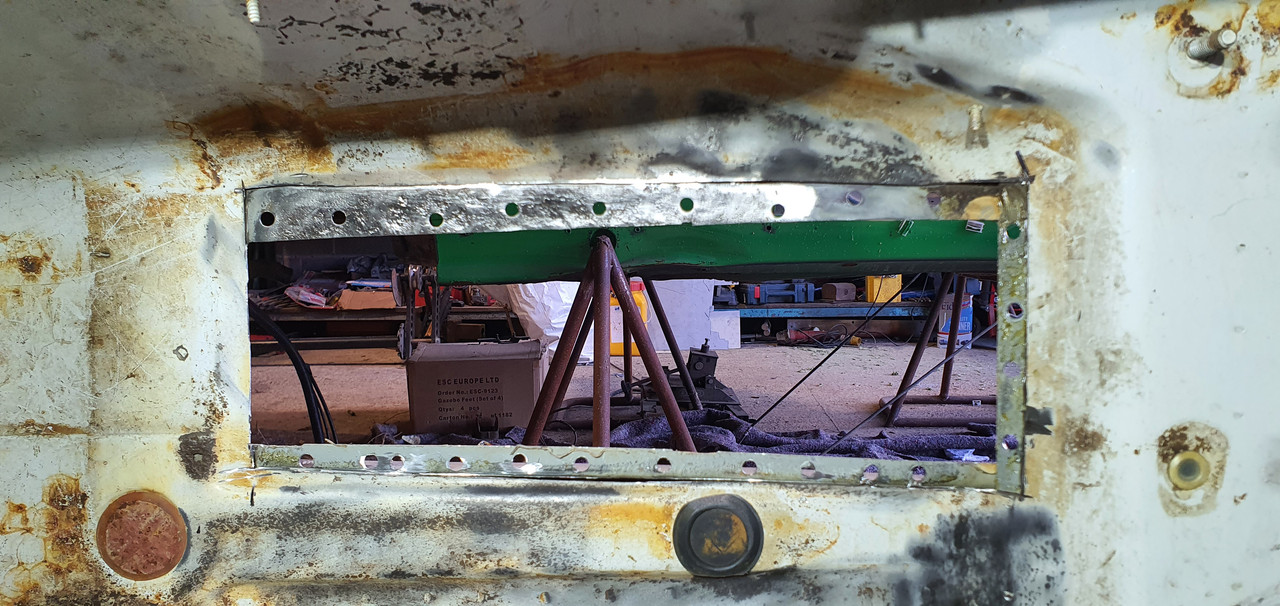
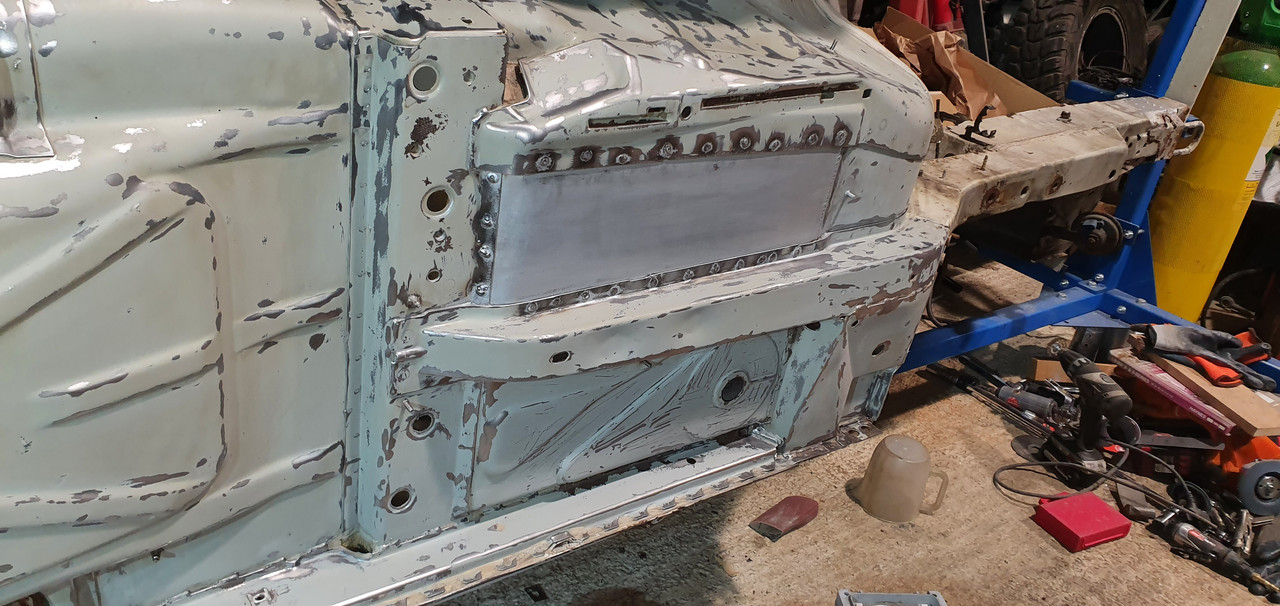
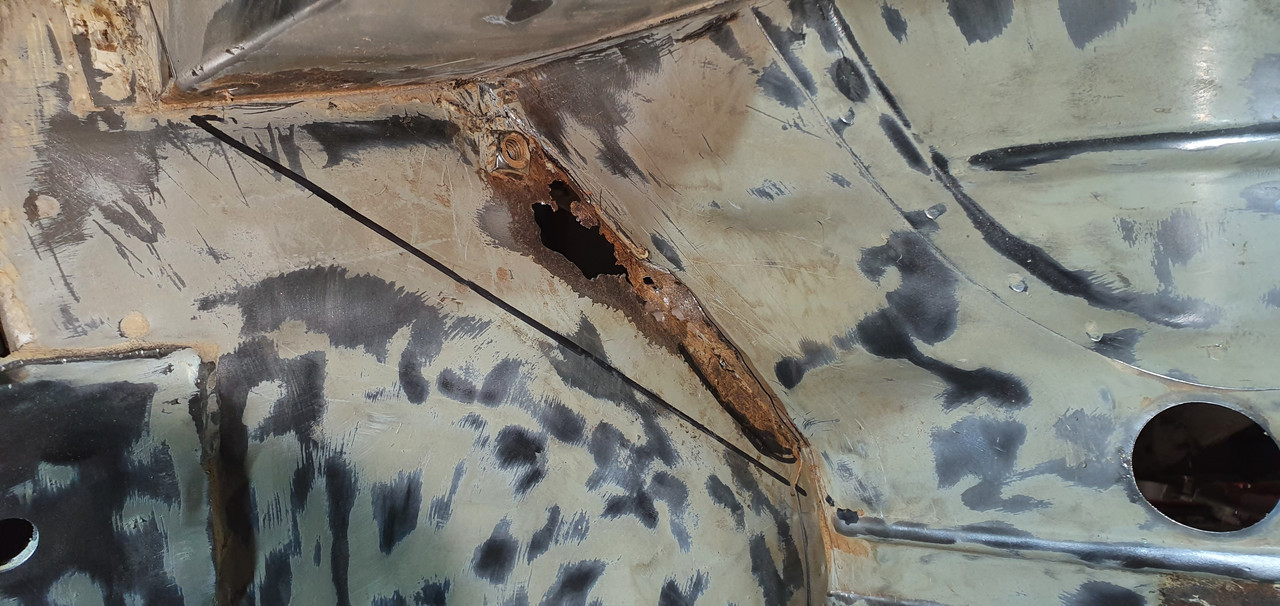
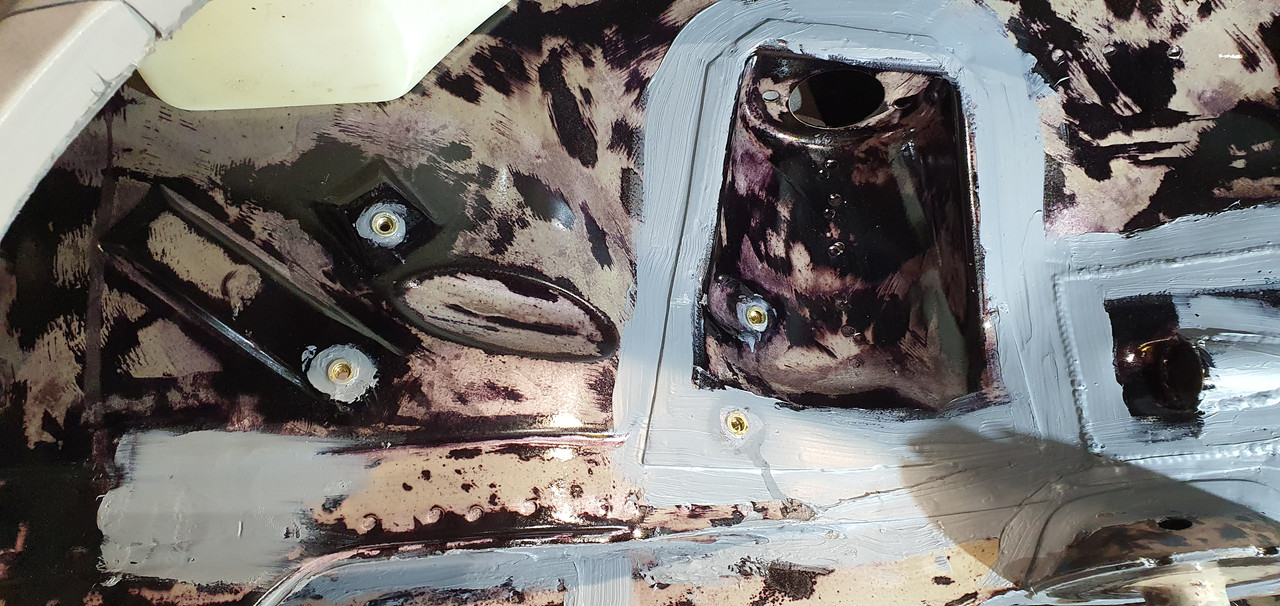
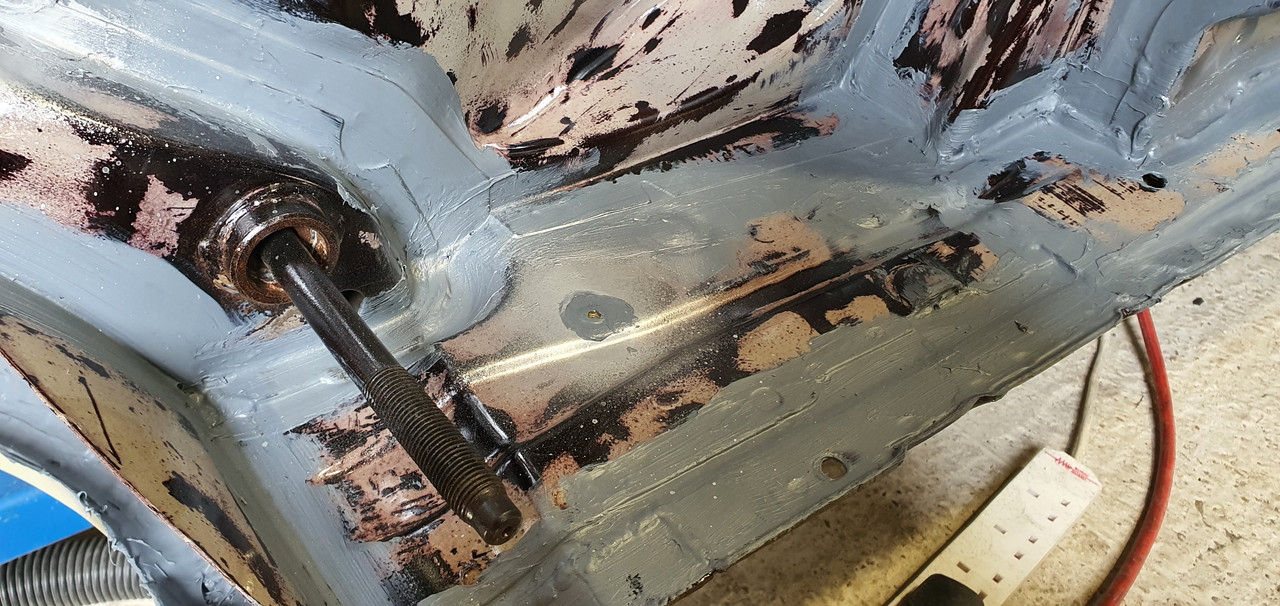
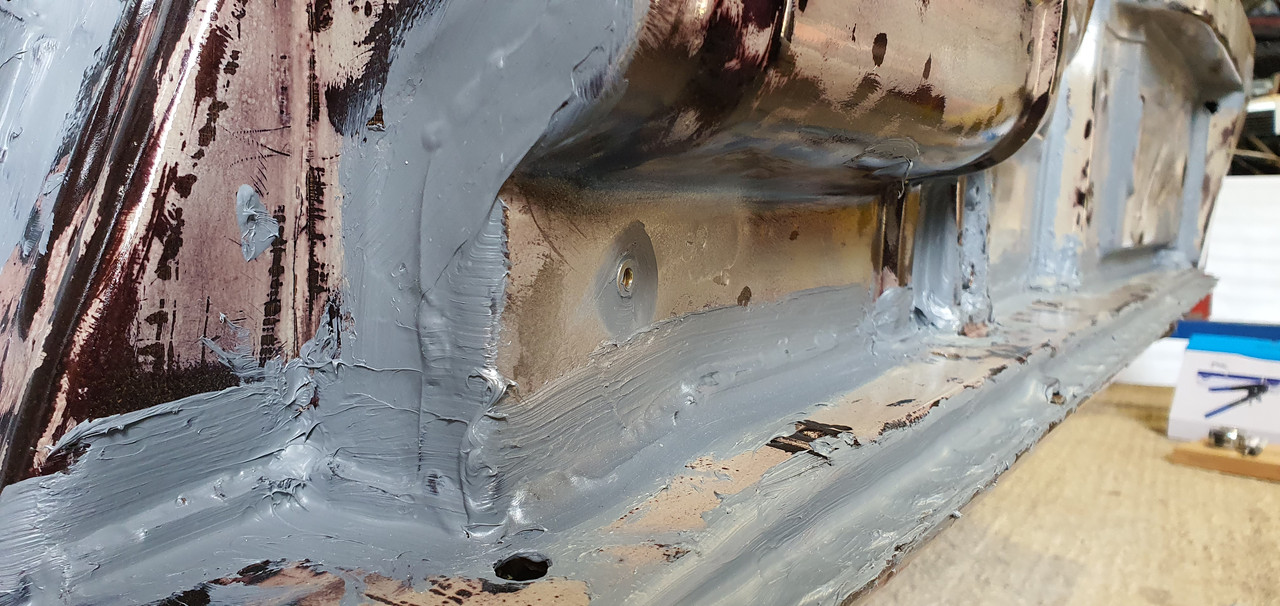
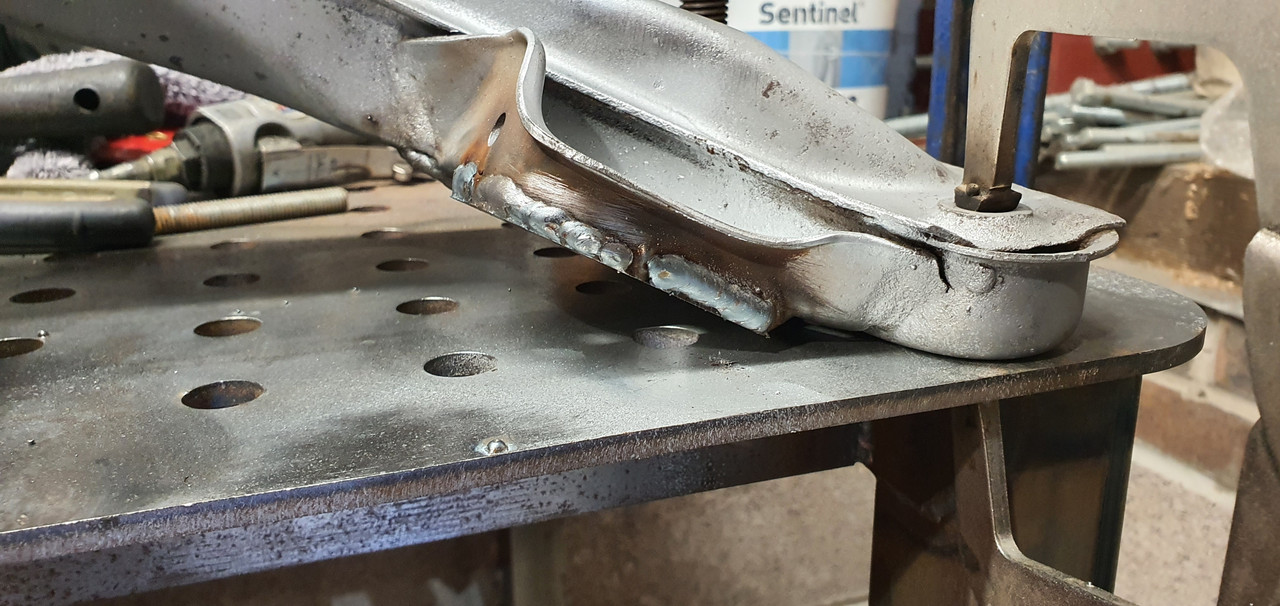
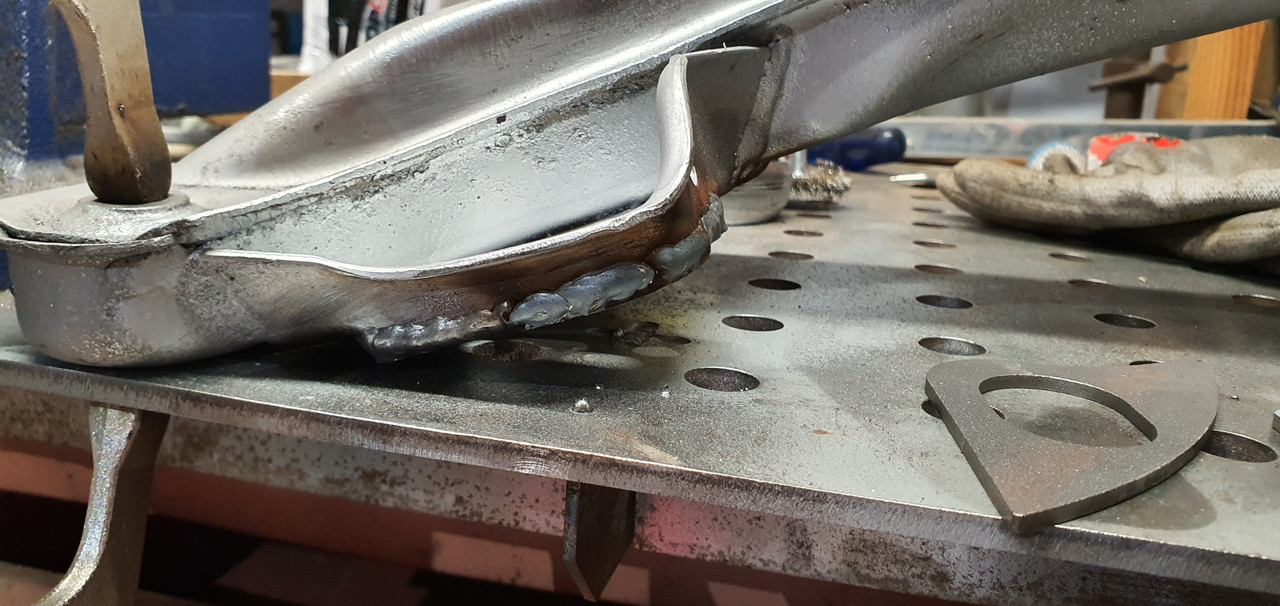
These were the areas i deemed necessary of cutting out and replacing, the rest was only surface rust and i concluded it was acceptable to let Dinnitrol RC900 deal with it. Pictures in no particular order of Rust Repairs to the bottom (Yes i know my welding does not look particularly great / perfectly penetrated):
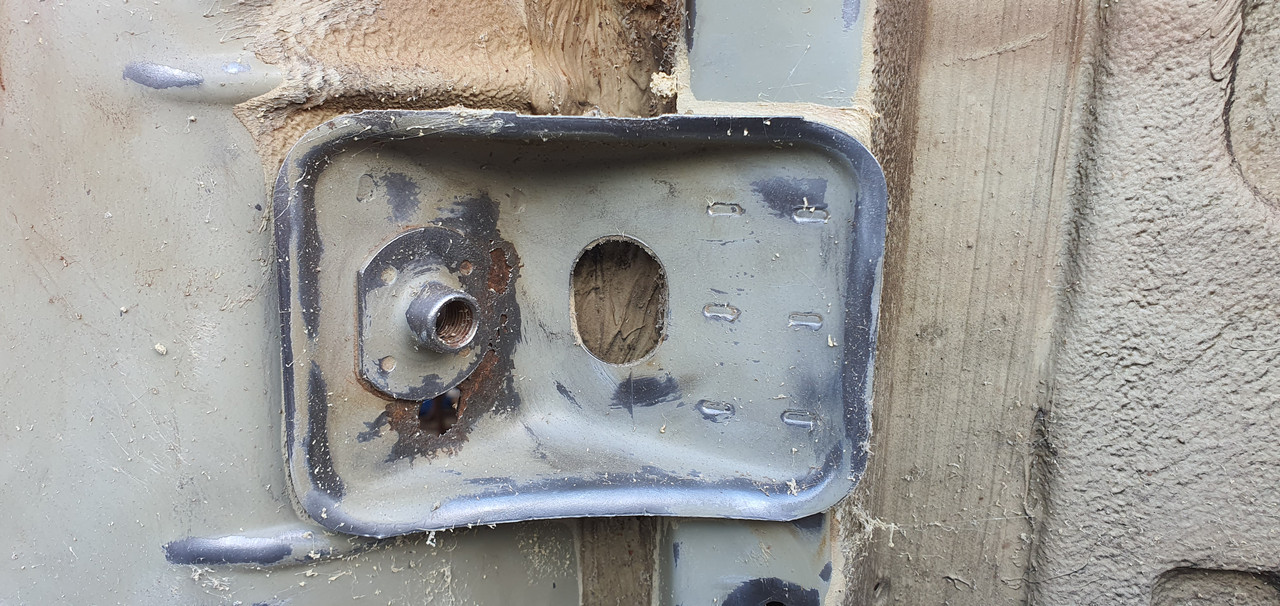
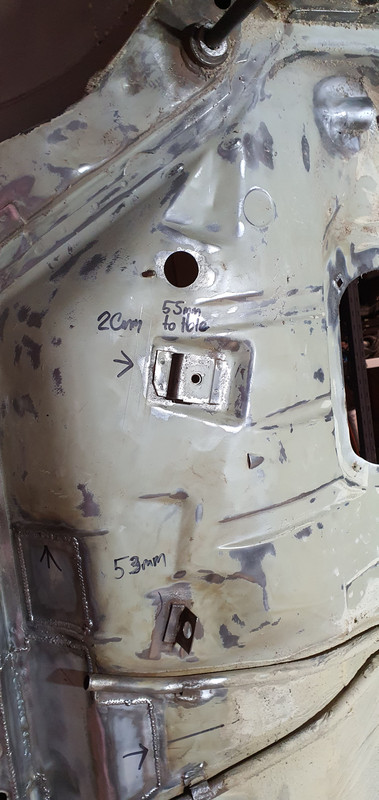

Checking Fuel Tank Mount Positions:

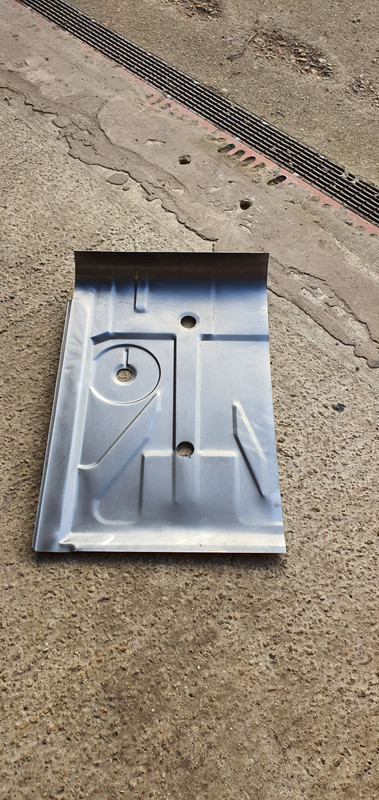
Front Sections, I had a Passenger Panel from Valcas which in the end i decided not to use. This is for sale if anyone is interested £100
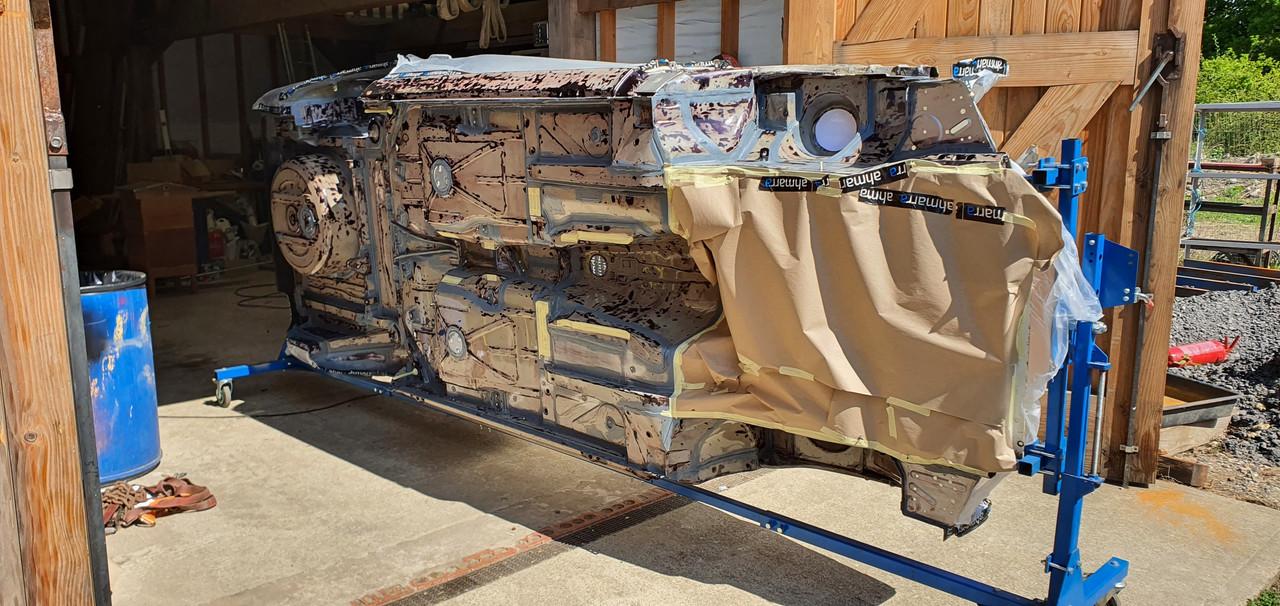
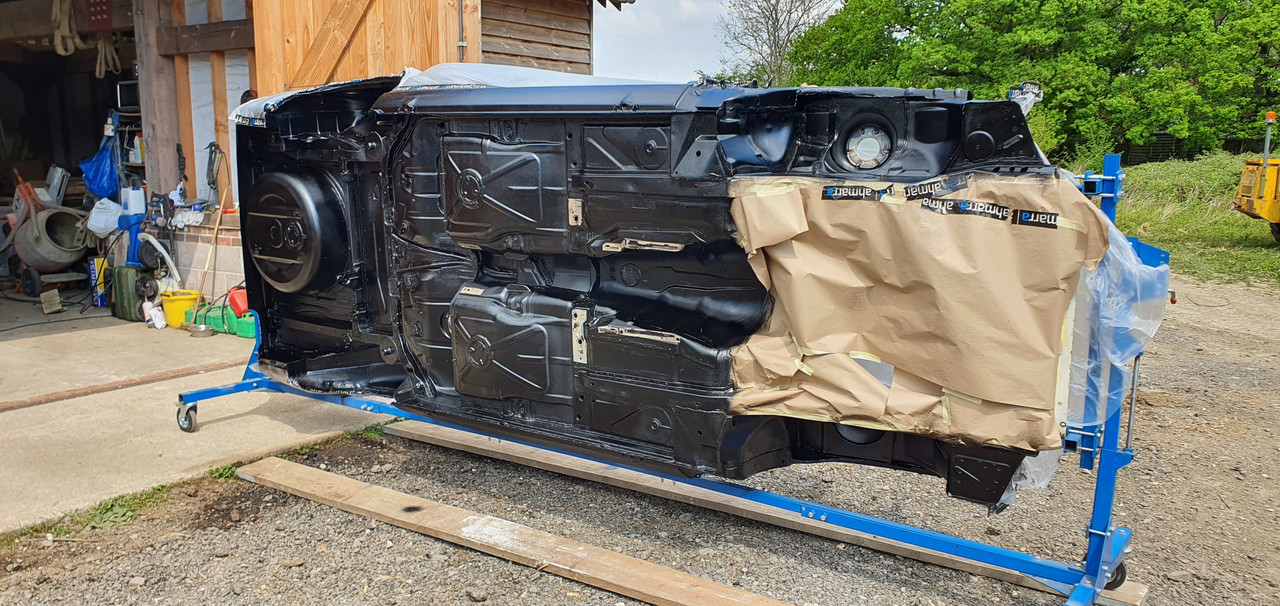
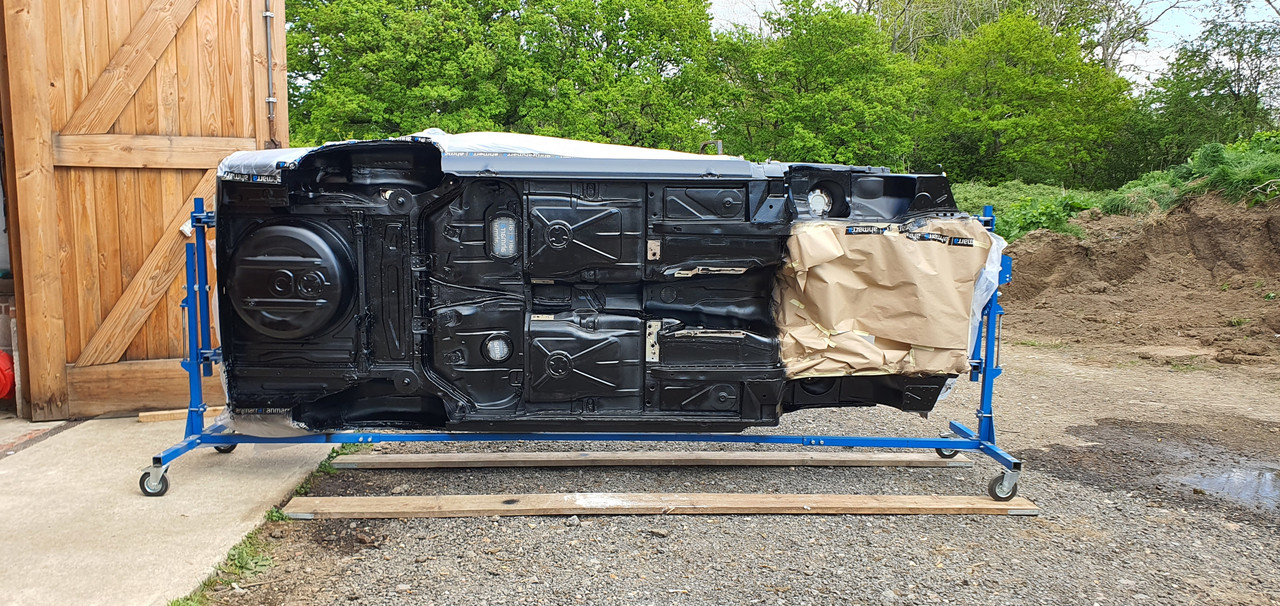
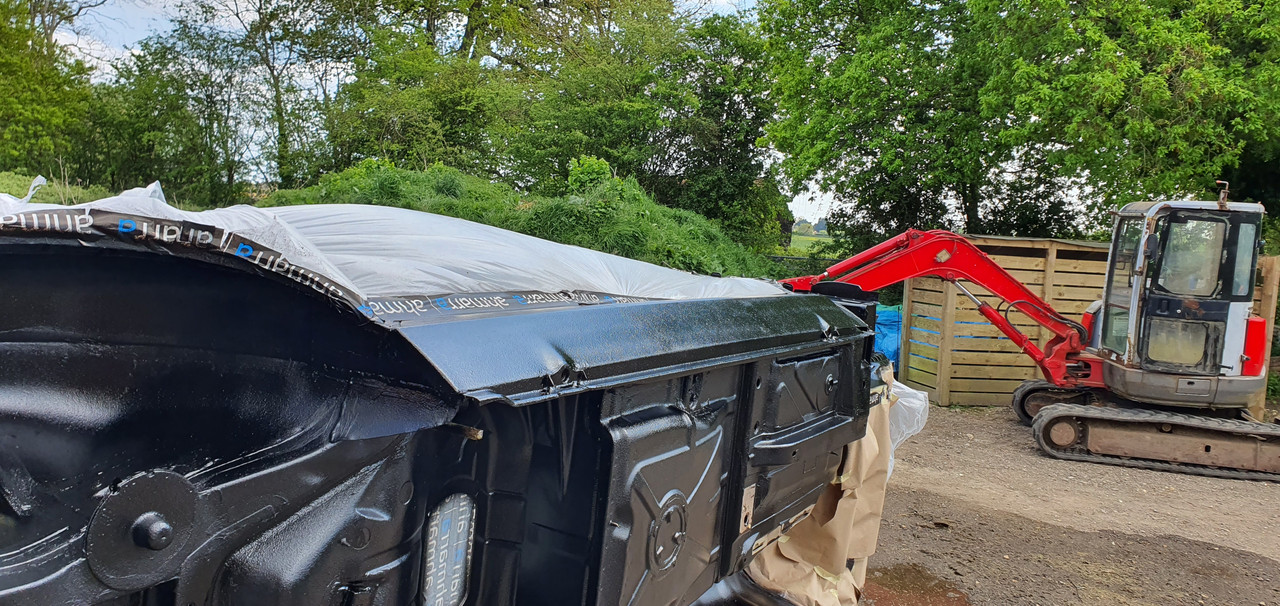
Various other bits were done and then i spent a long long time prepping the bottom to do a first coat of Dinitrol RC900, i first saw this product being used by Driftworks on their V10 E46 M3 restoration, i thought it looked really good and decided it was a good product to use in this situation.
This was only done last weekend, and i need to do another coat, it seems to have penetrated extremely well. Slightly counter intuitive to spray on, it doesnt feel right as visually it appears to be clear coat.
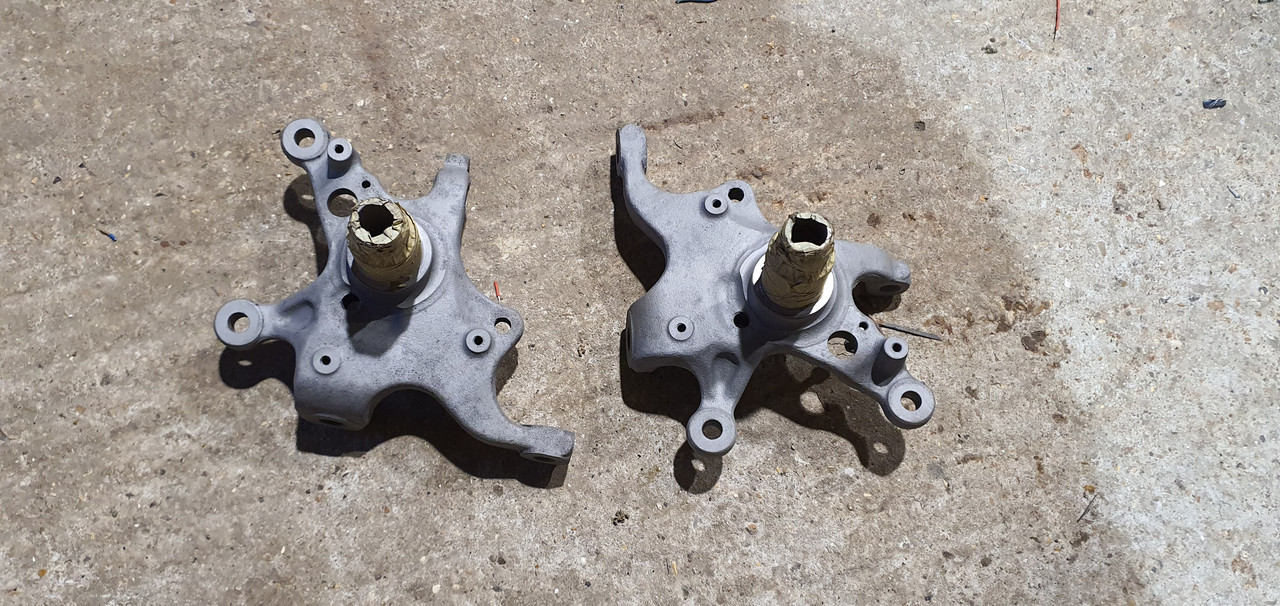
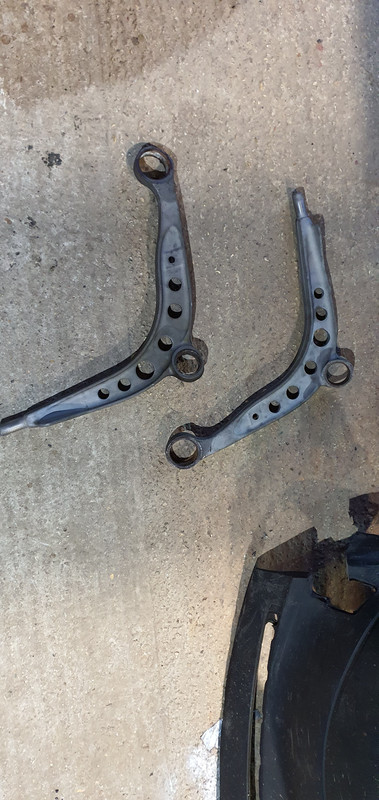
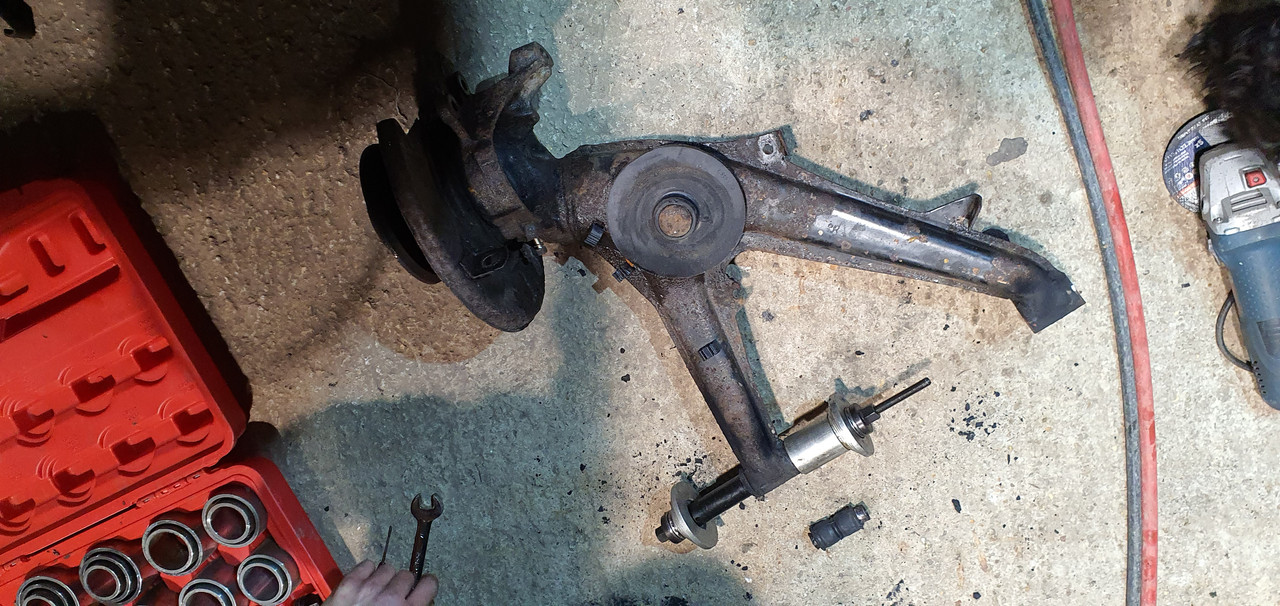
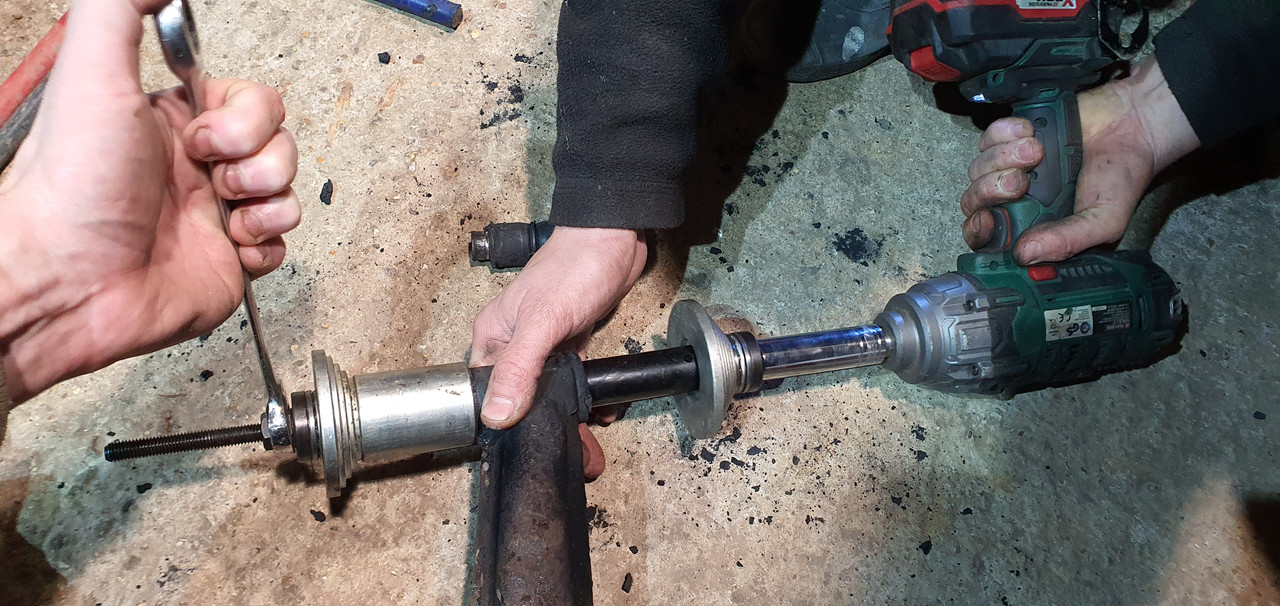
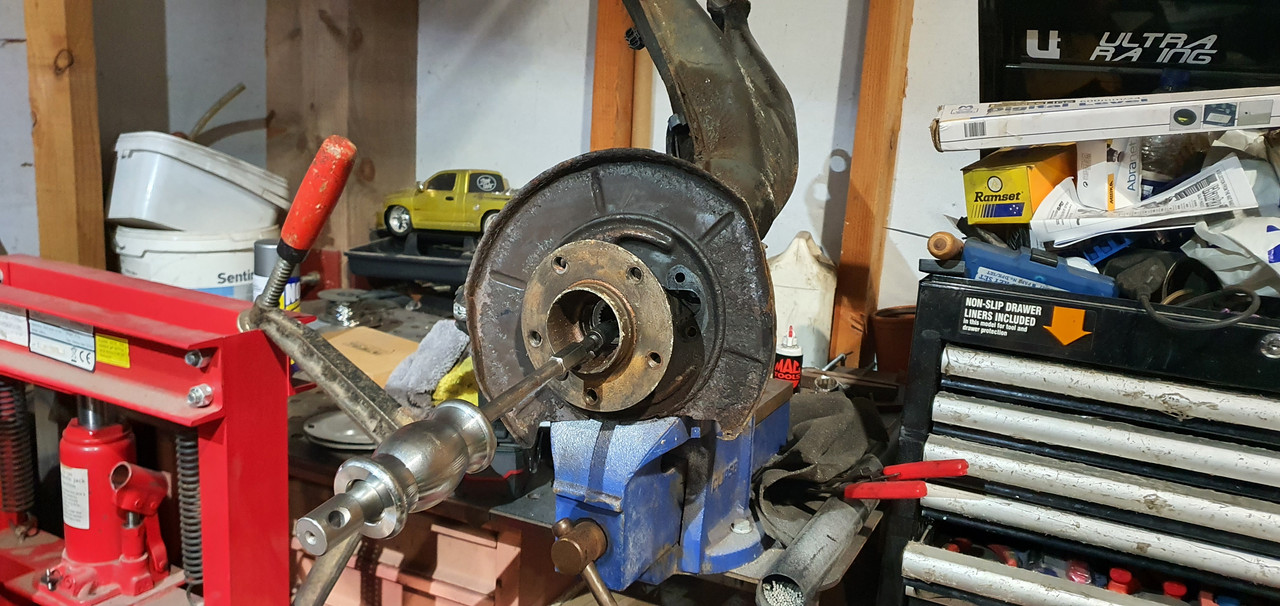
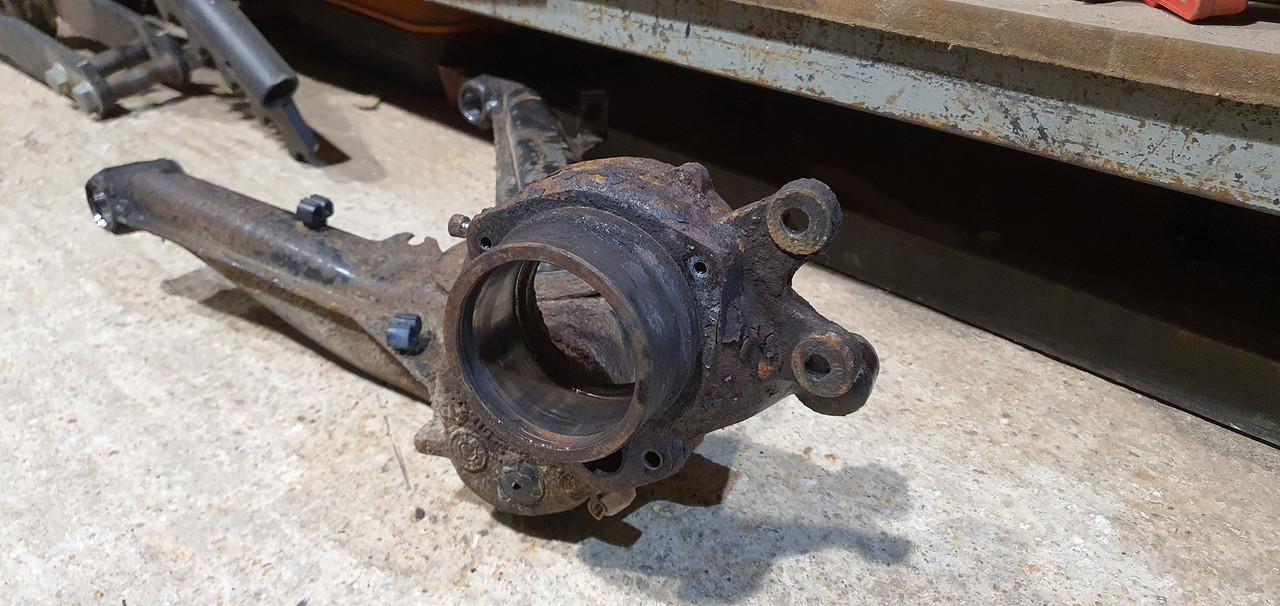
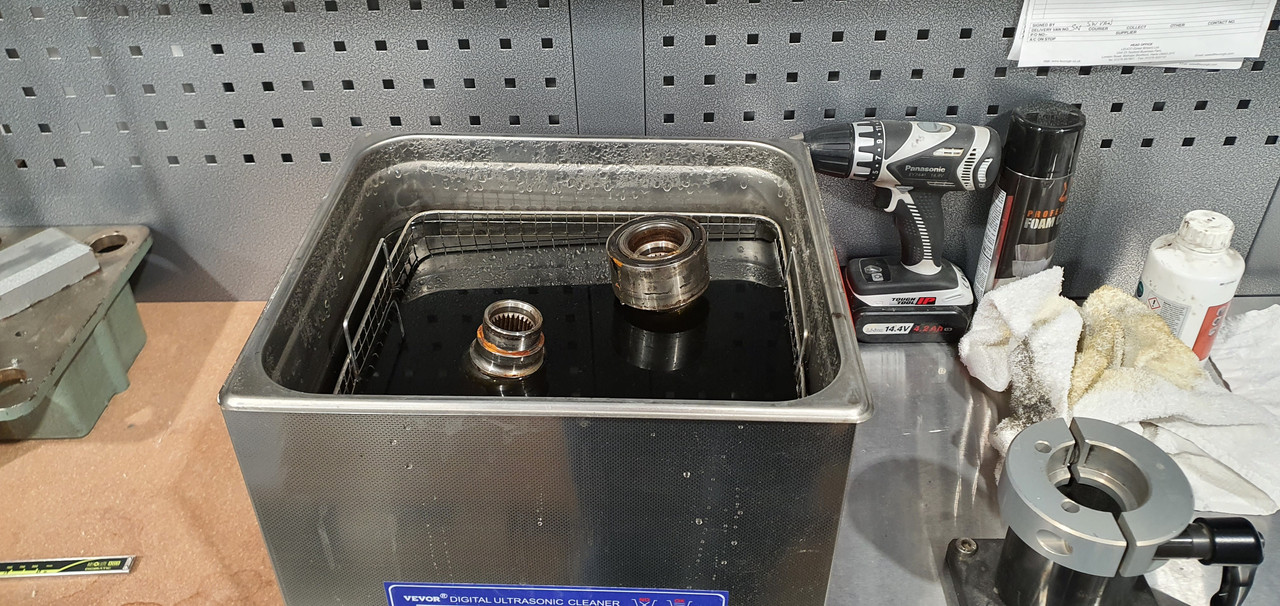
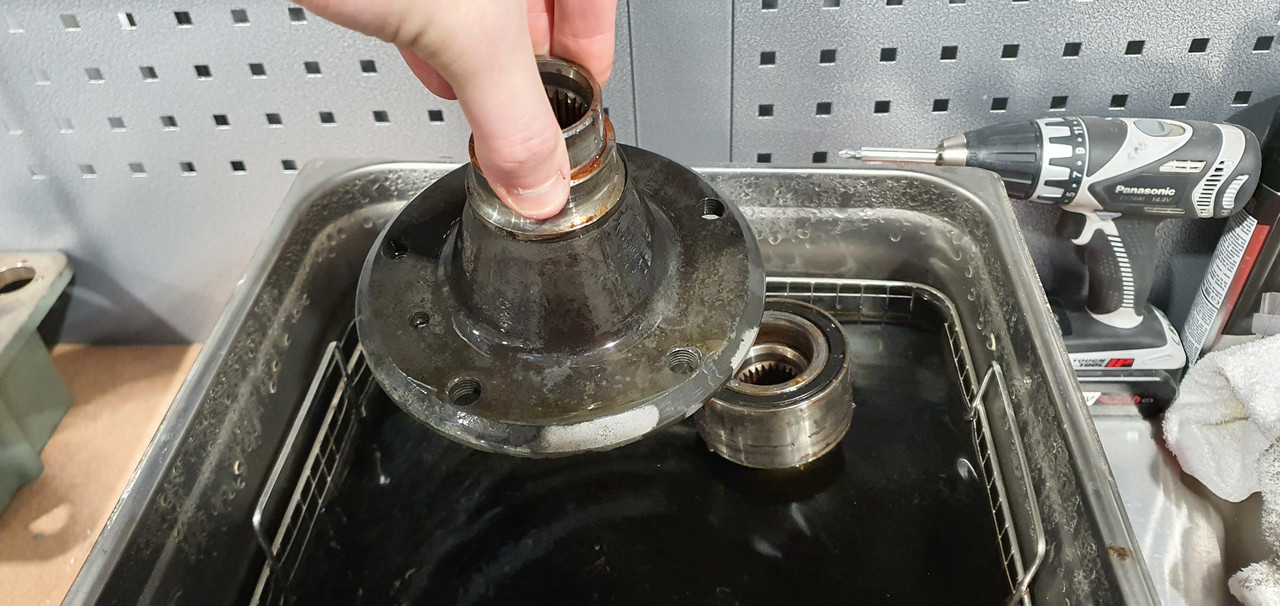
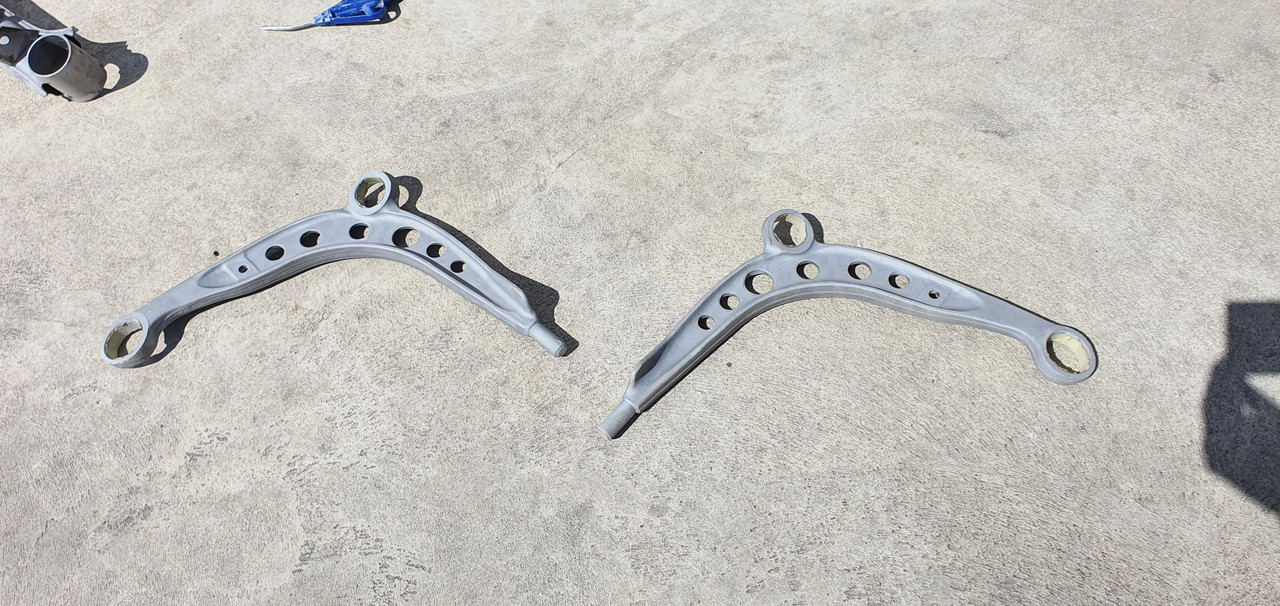
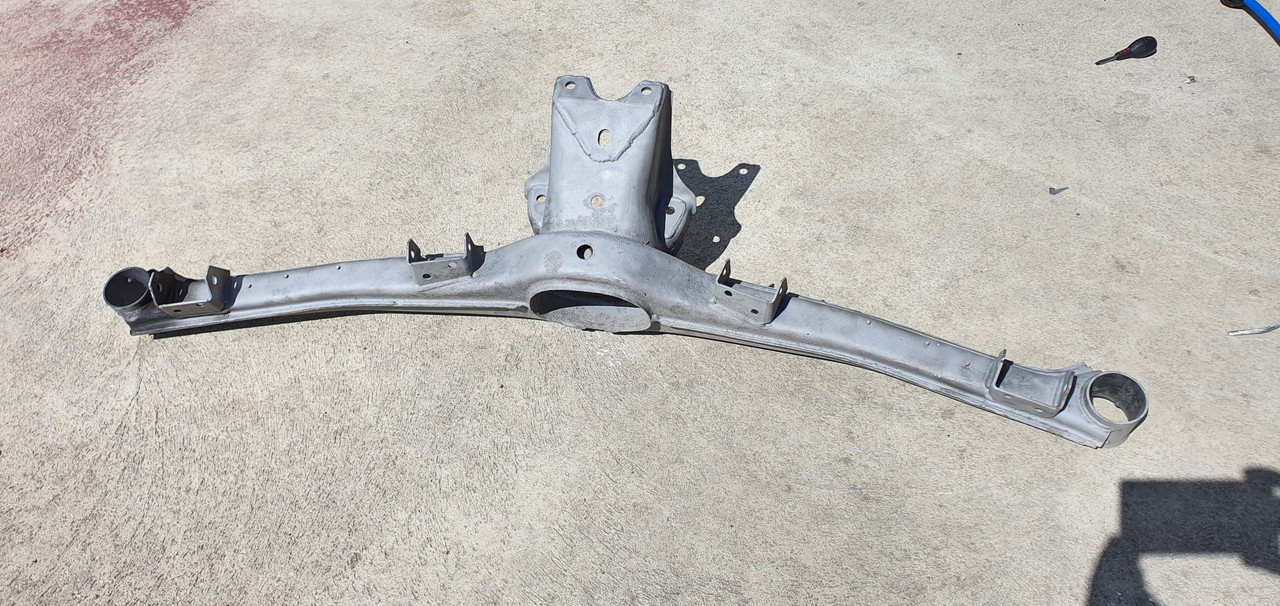
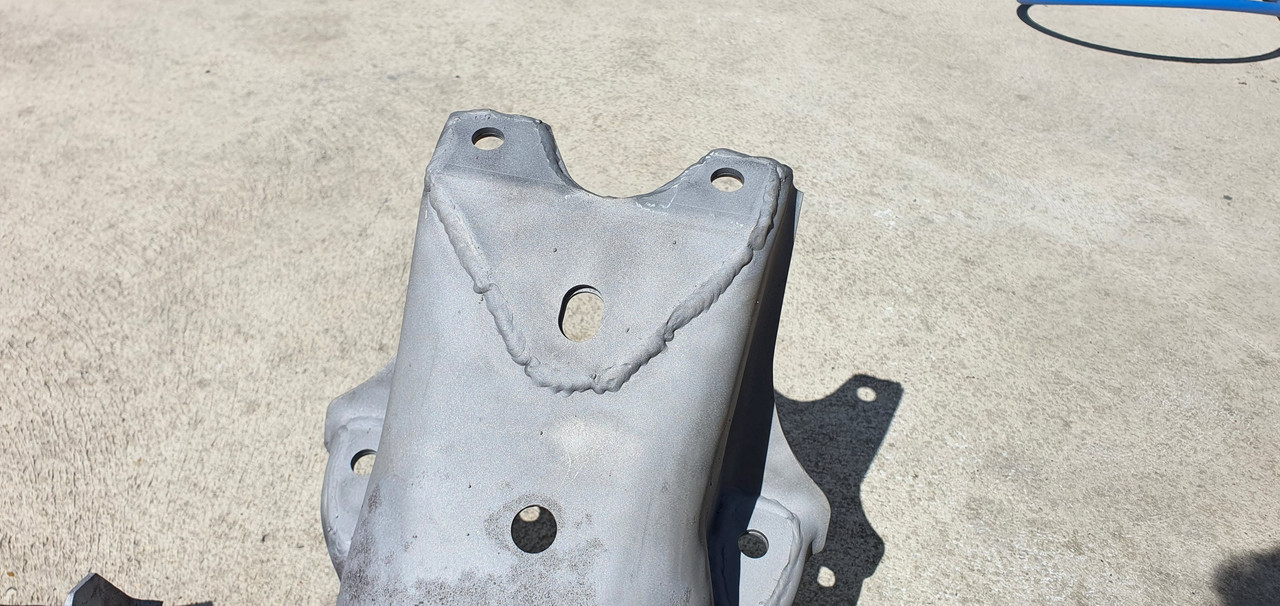
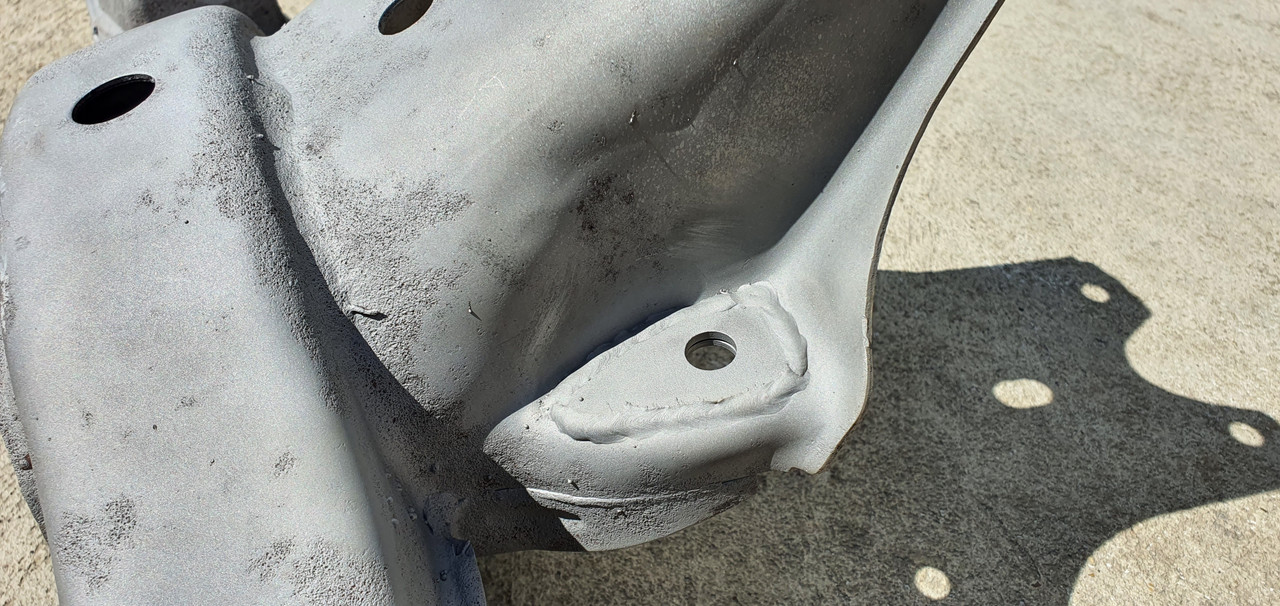
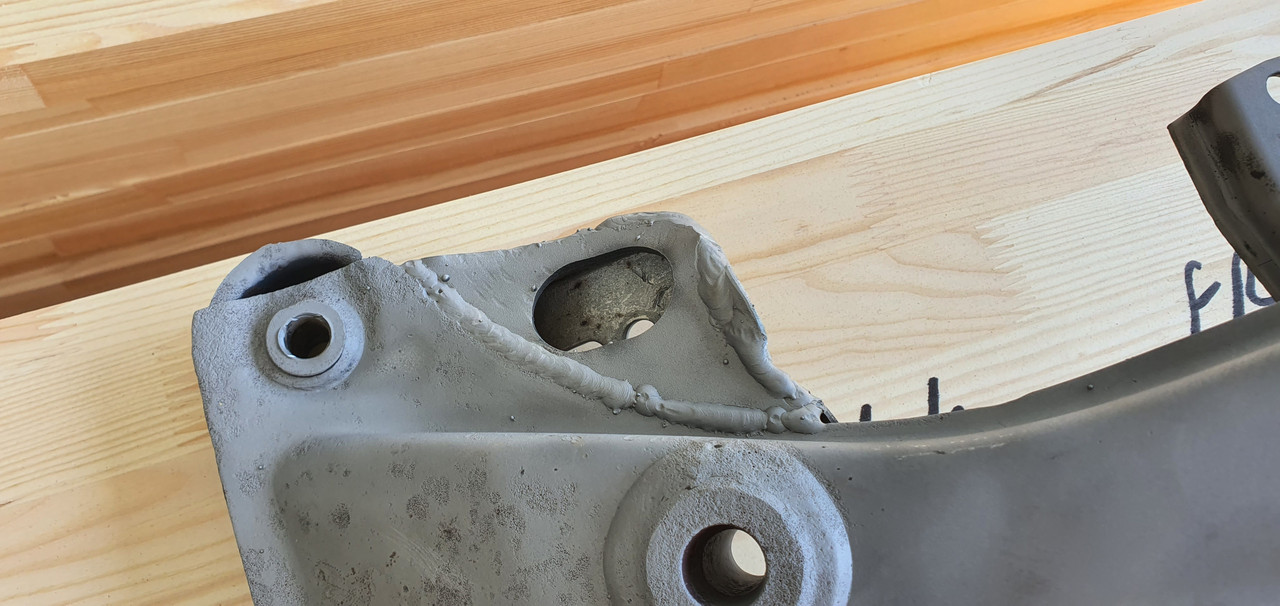
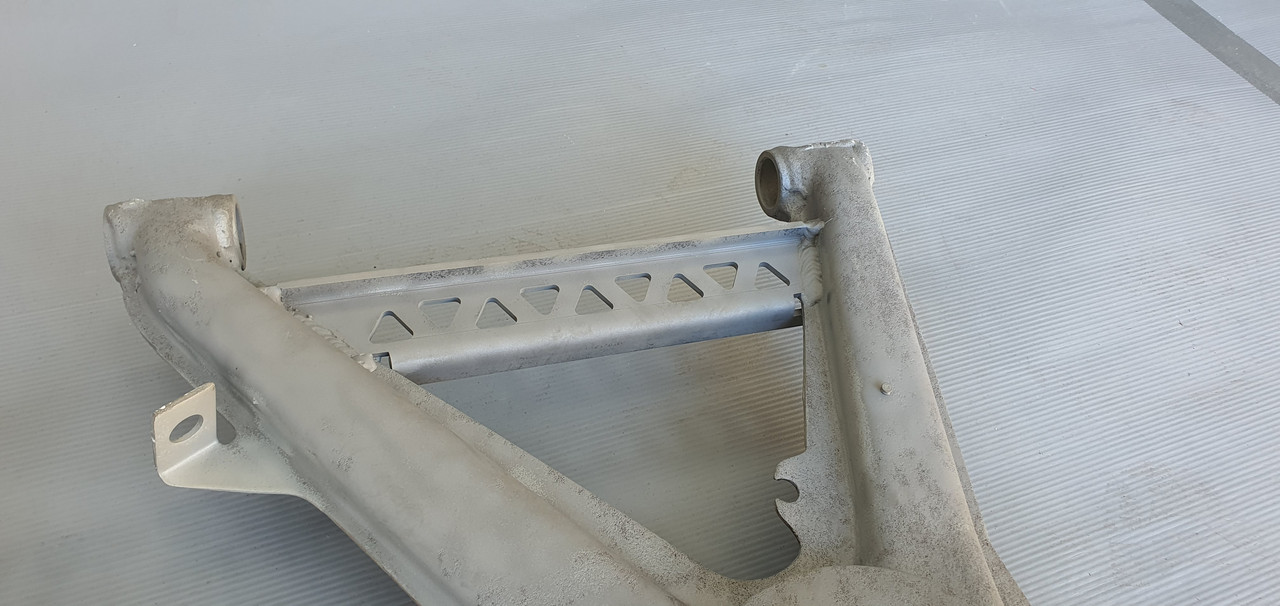
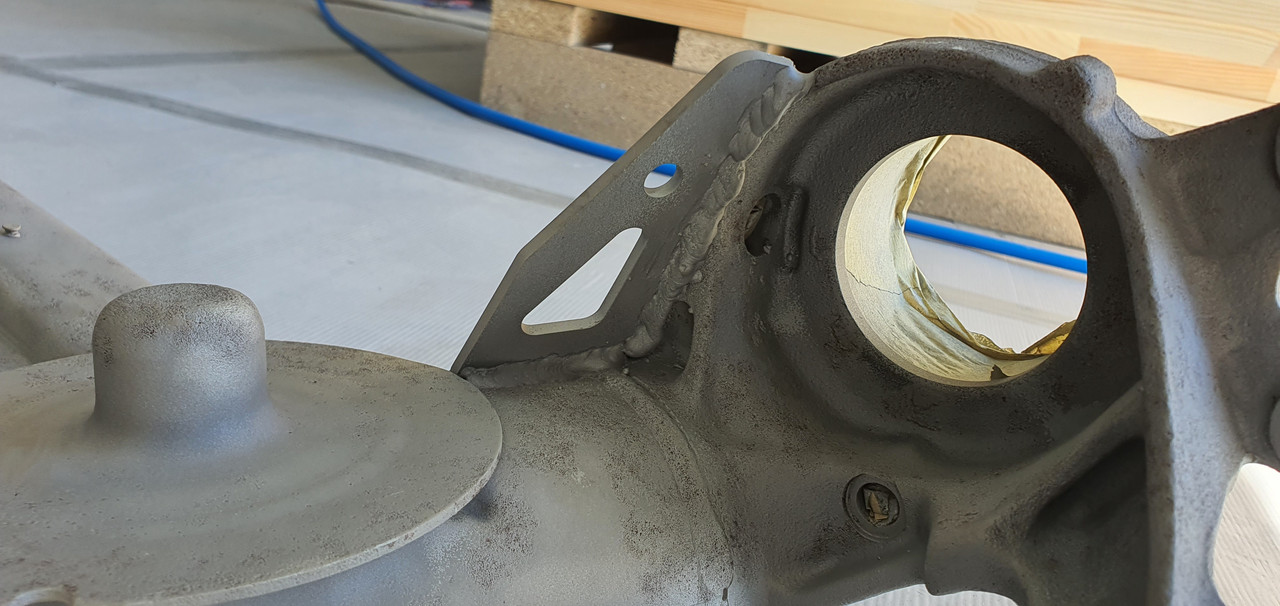
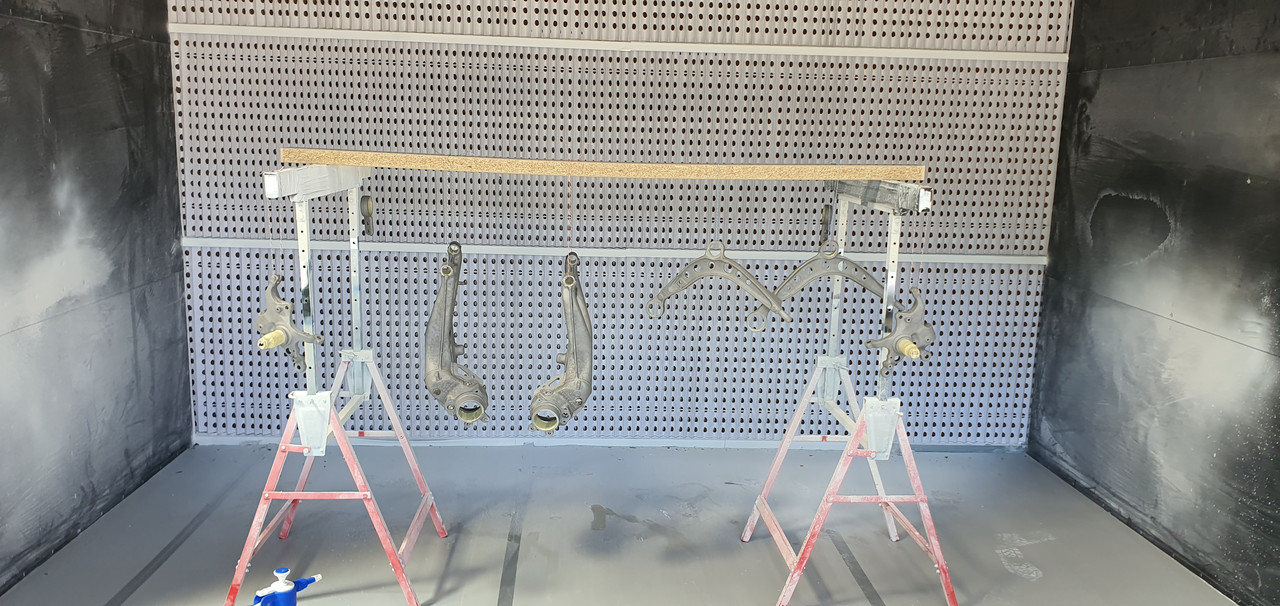
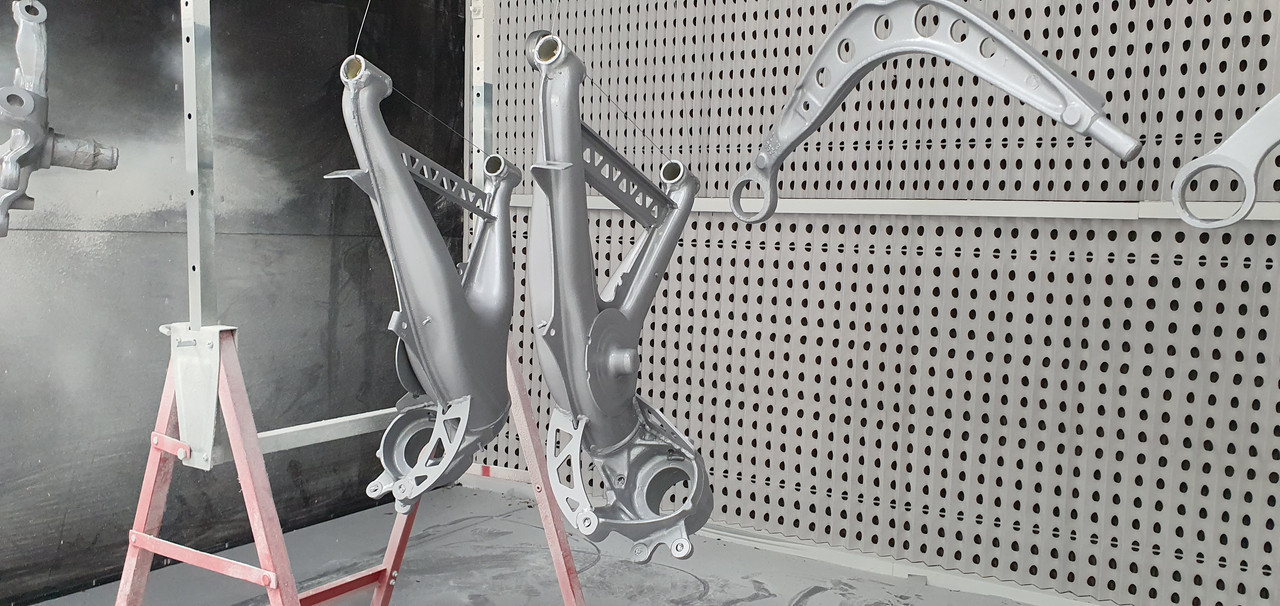
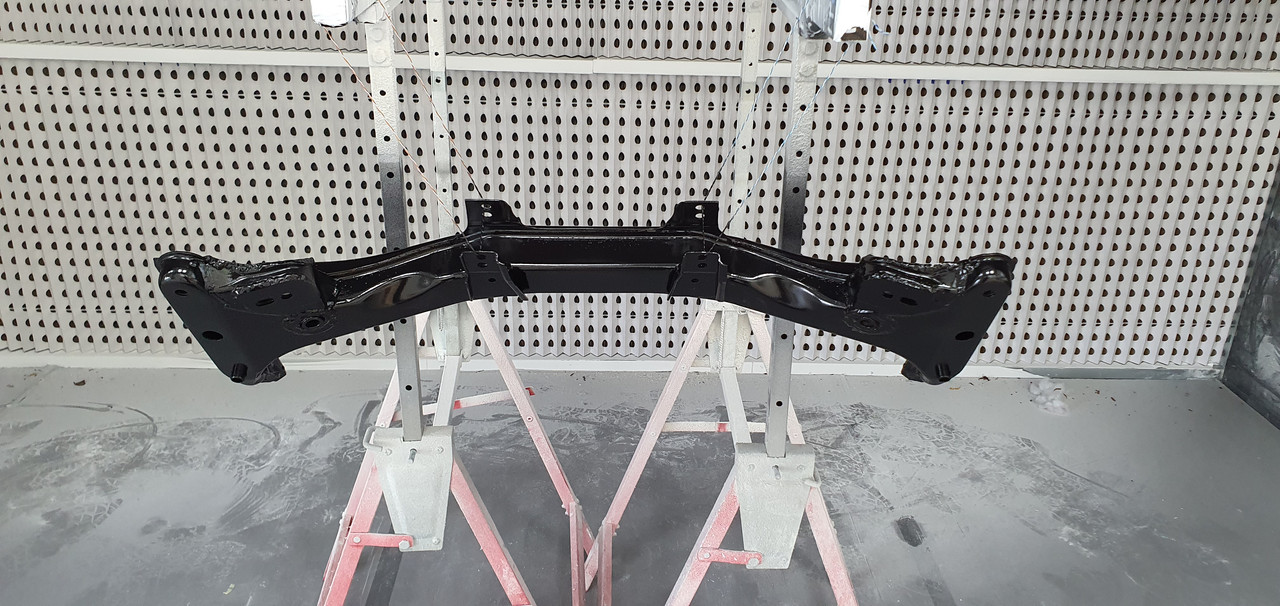
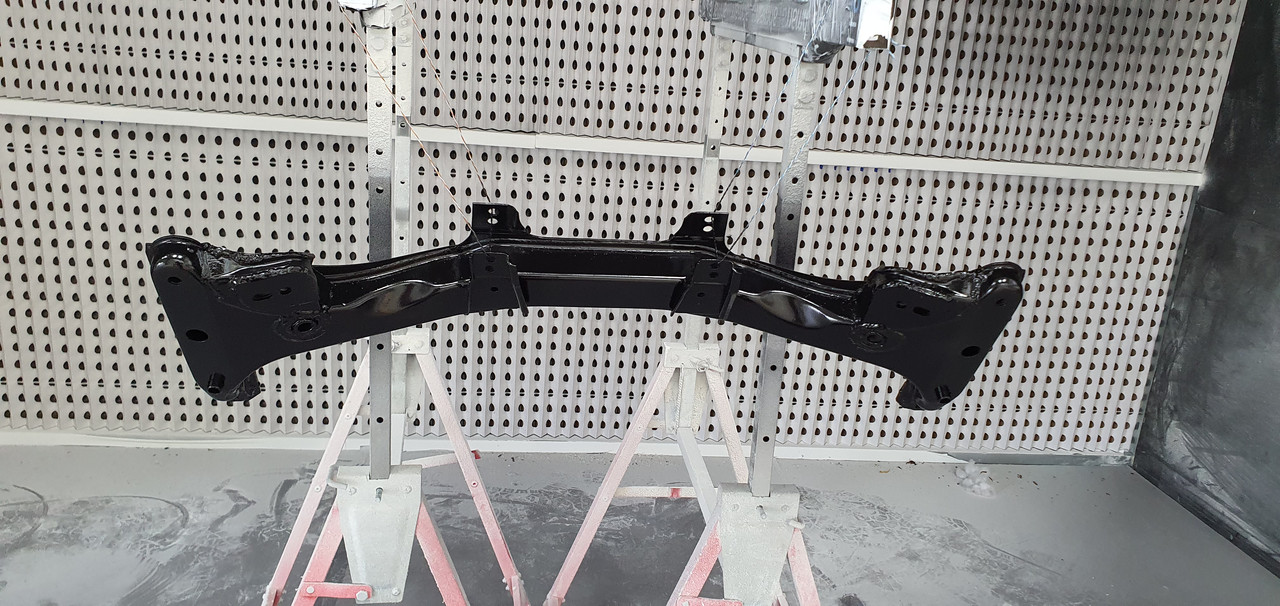
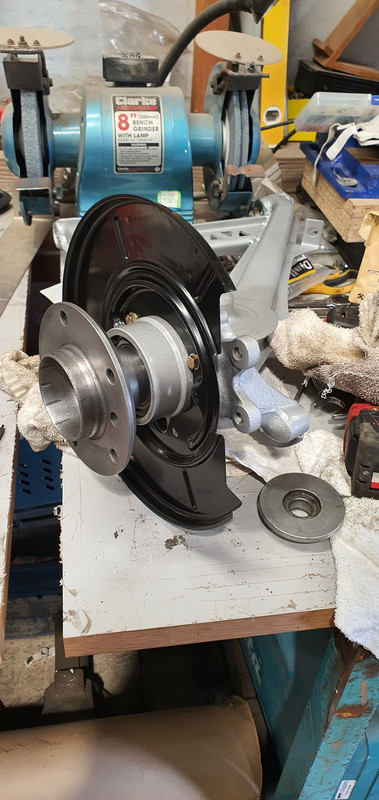
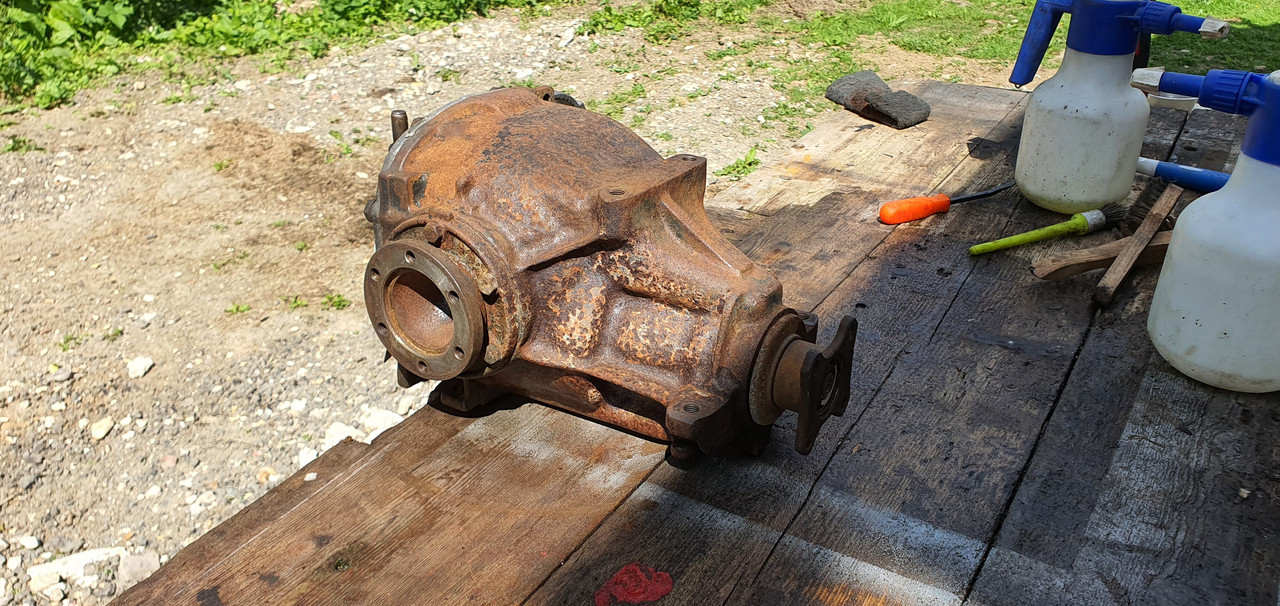
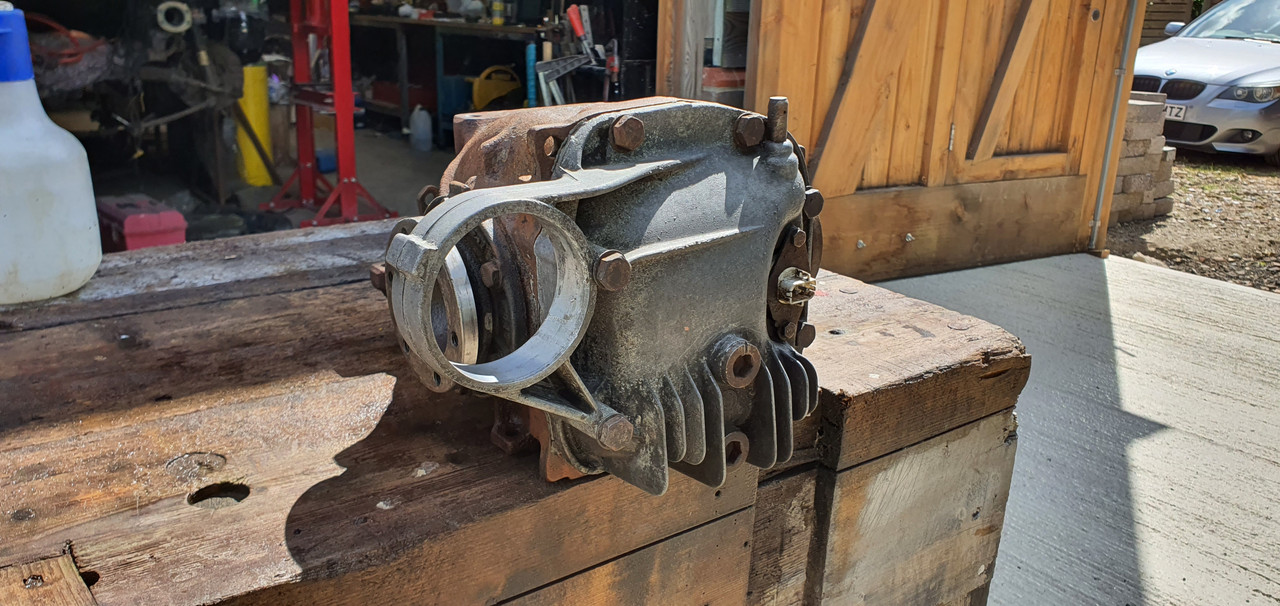
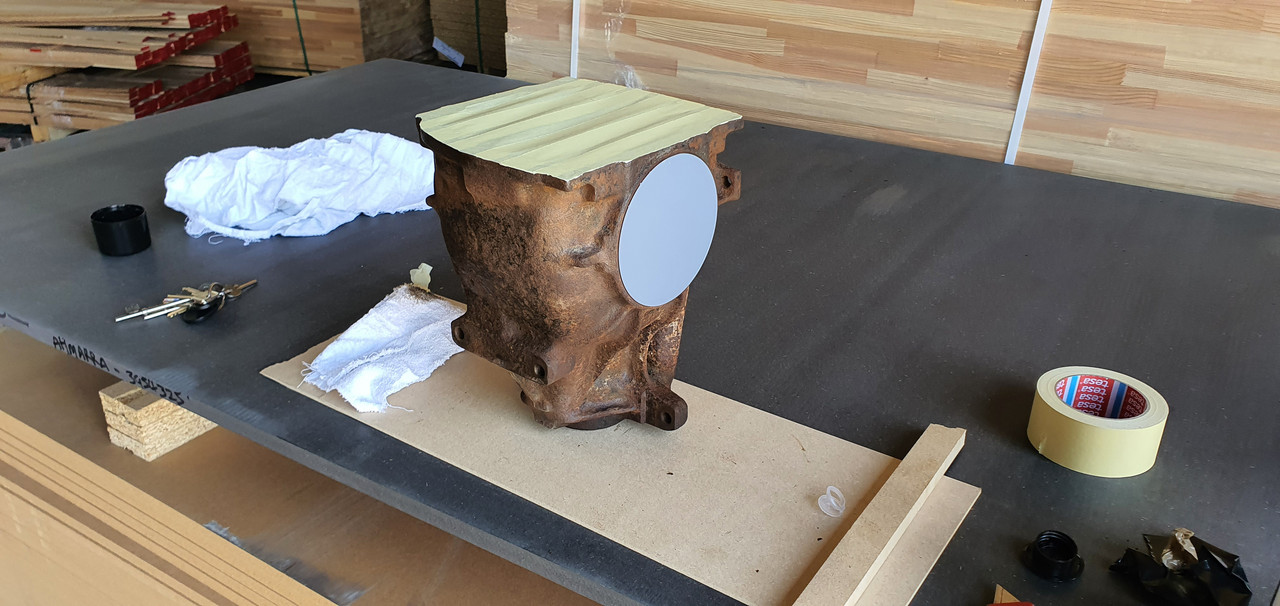
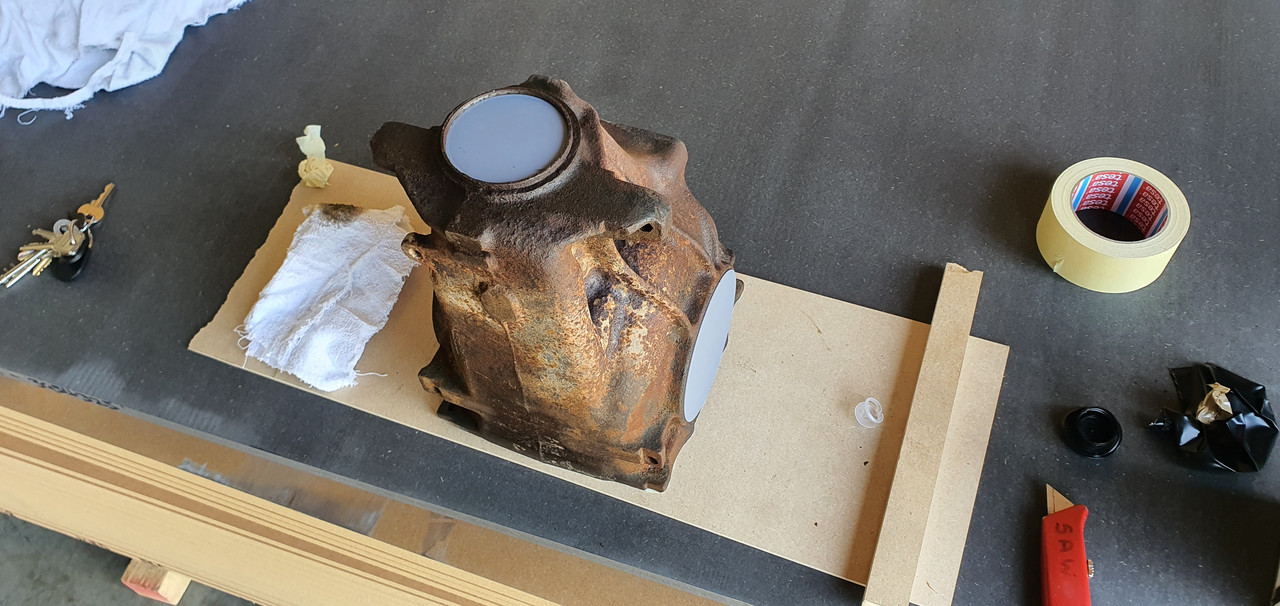
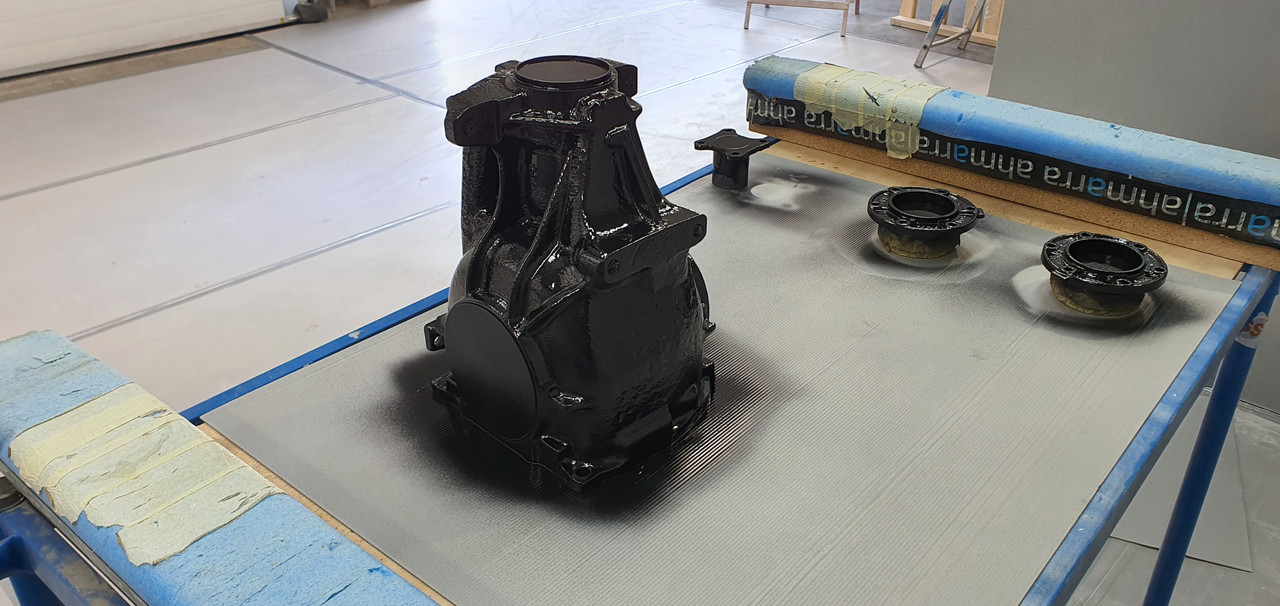
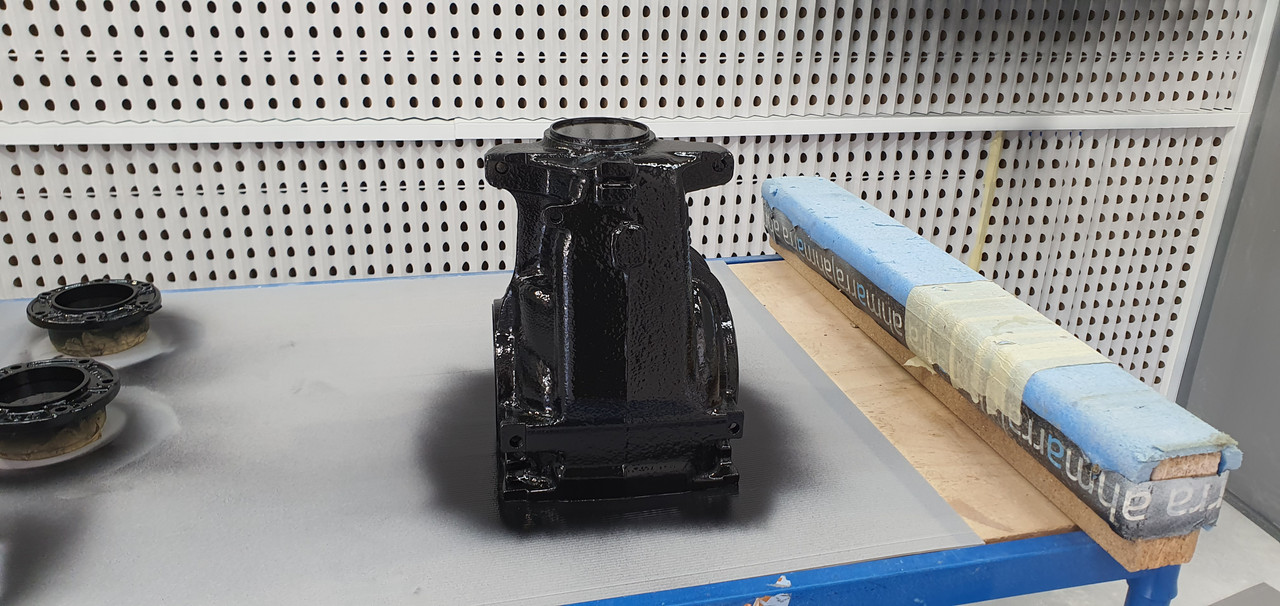
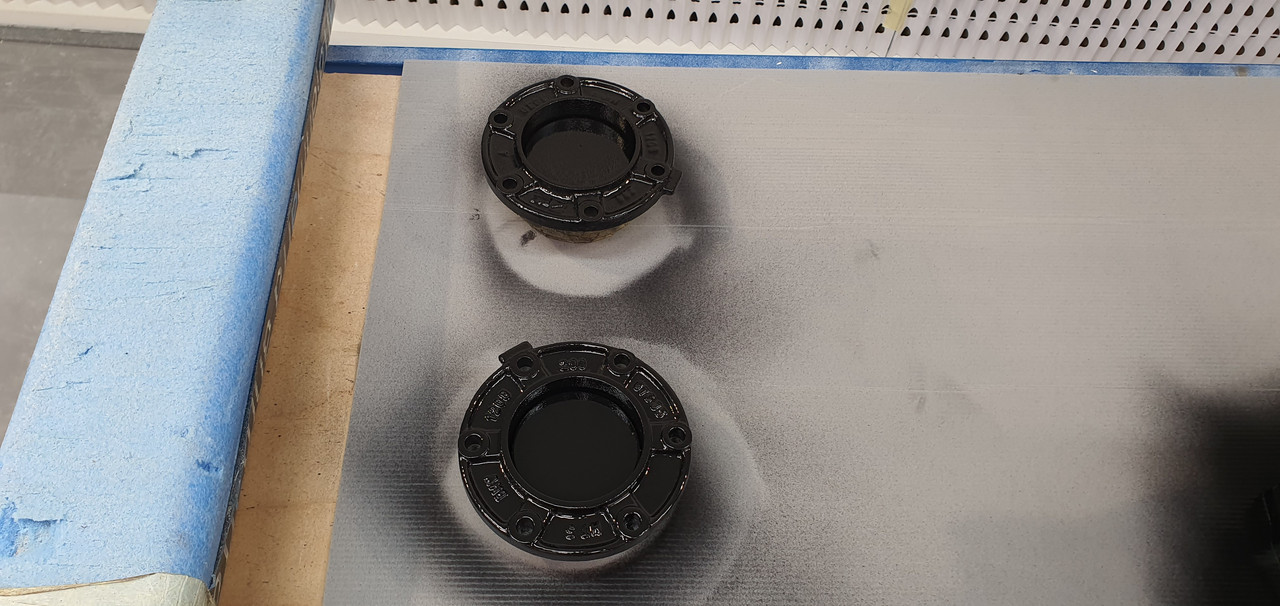
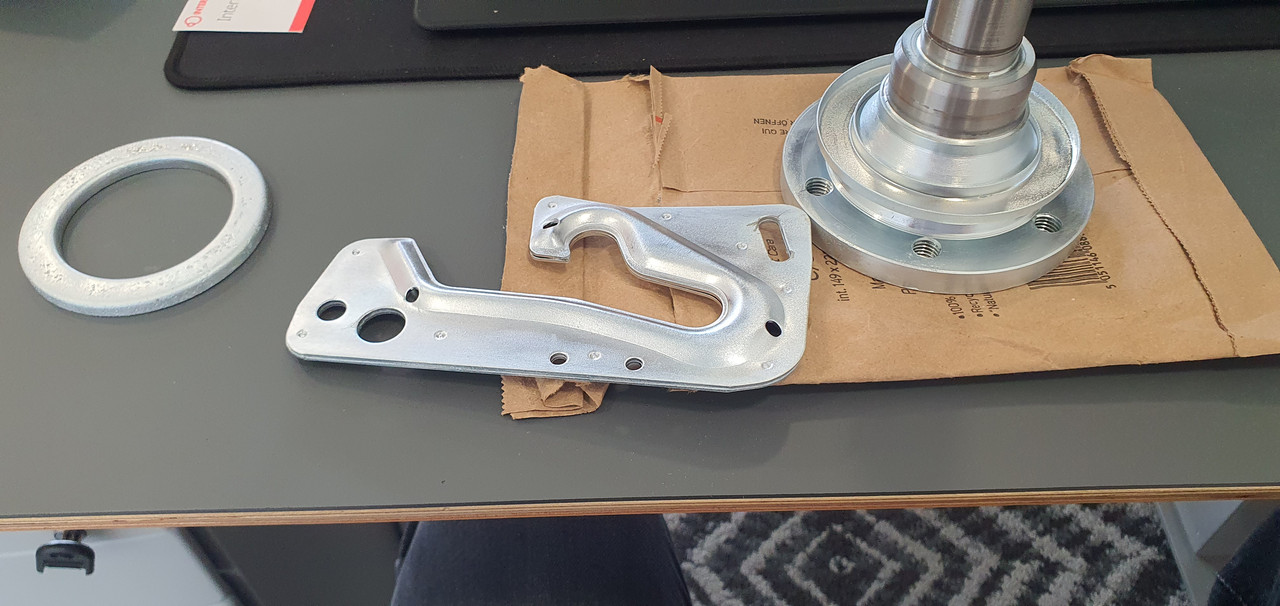
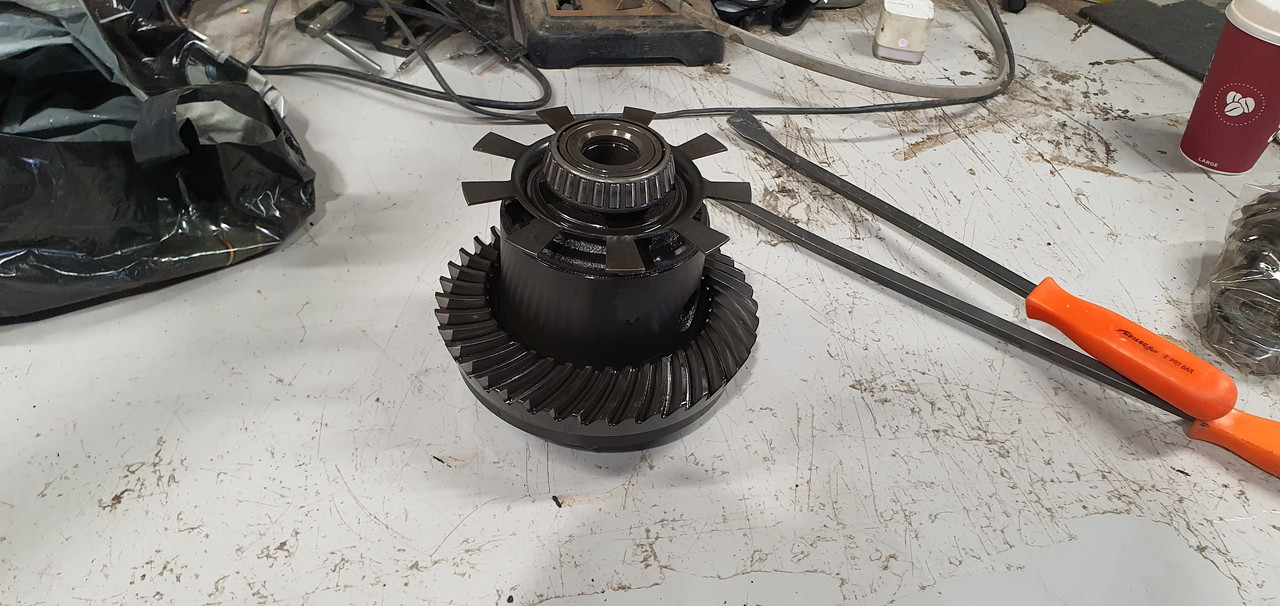
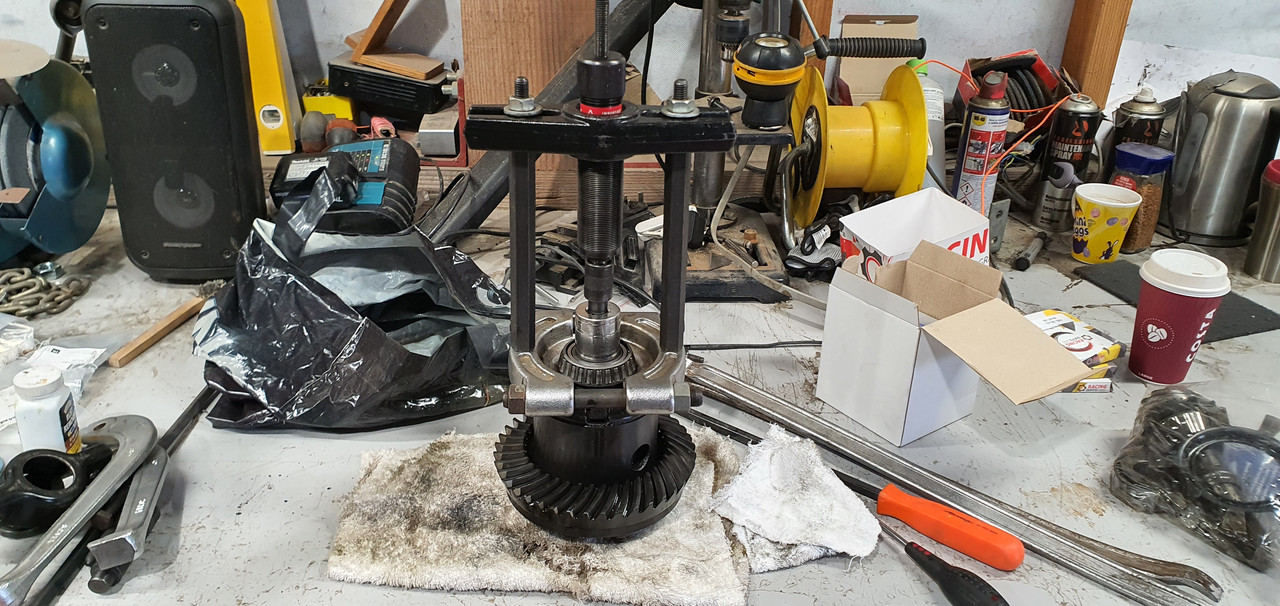
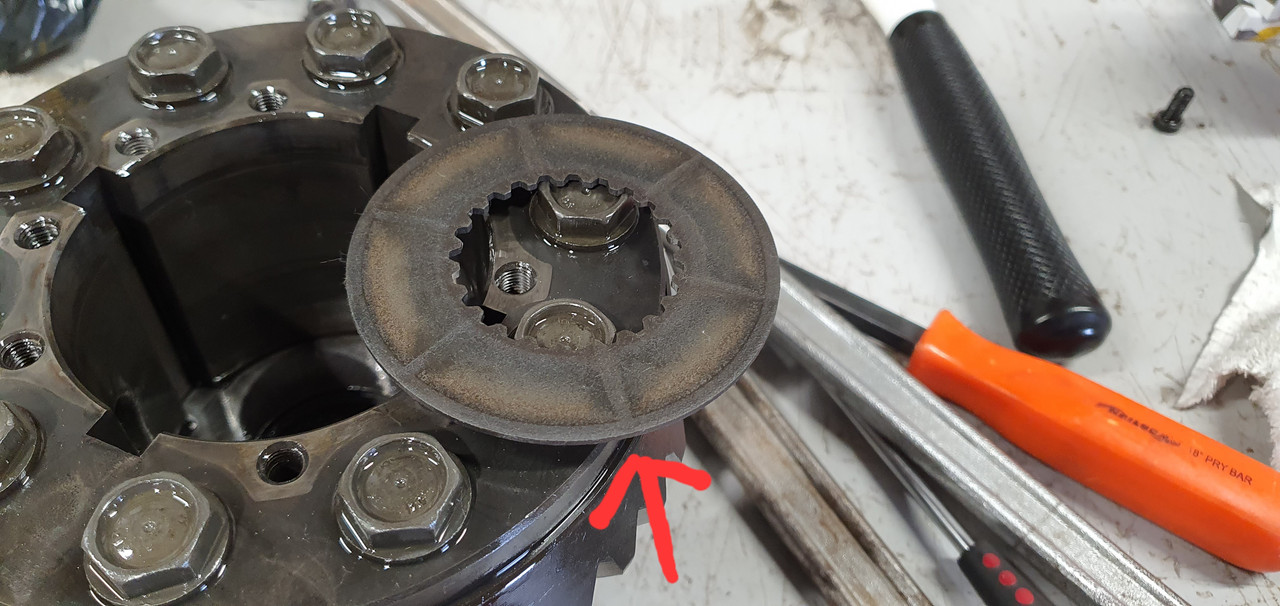
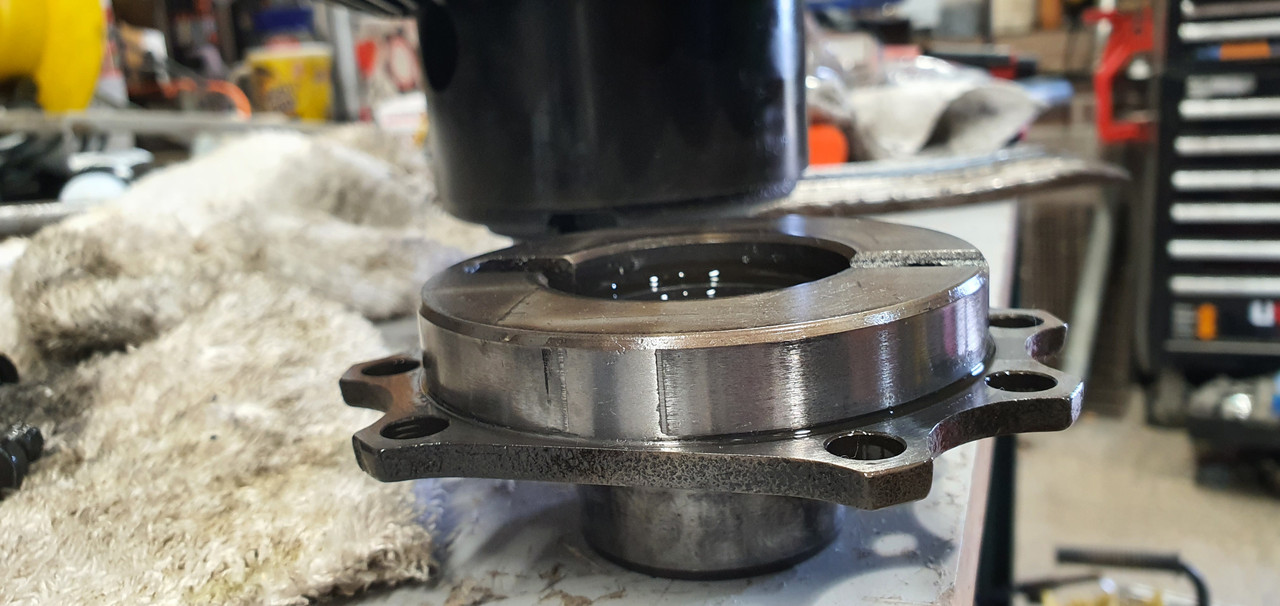
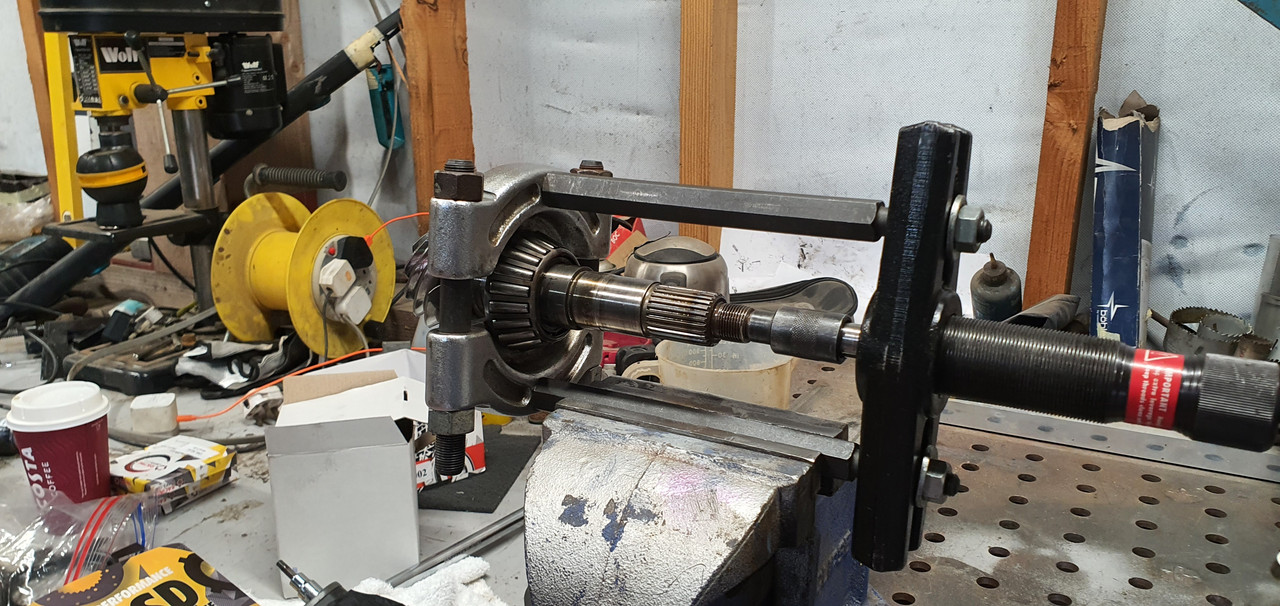
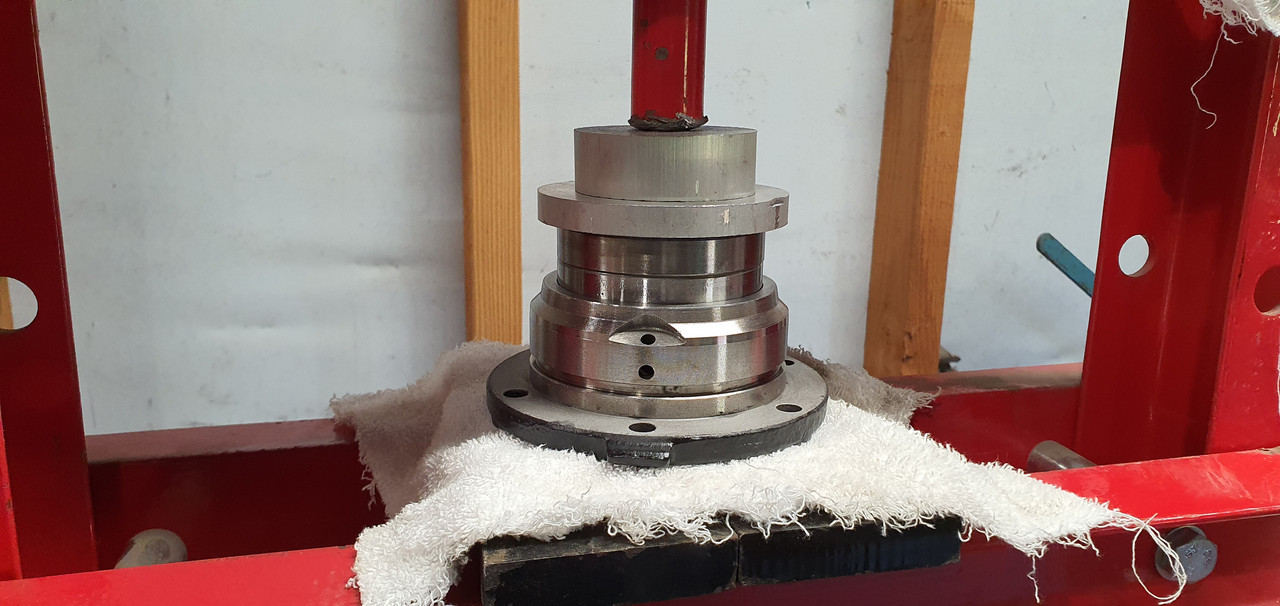
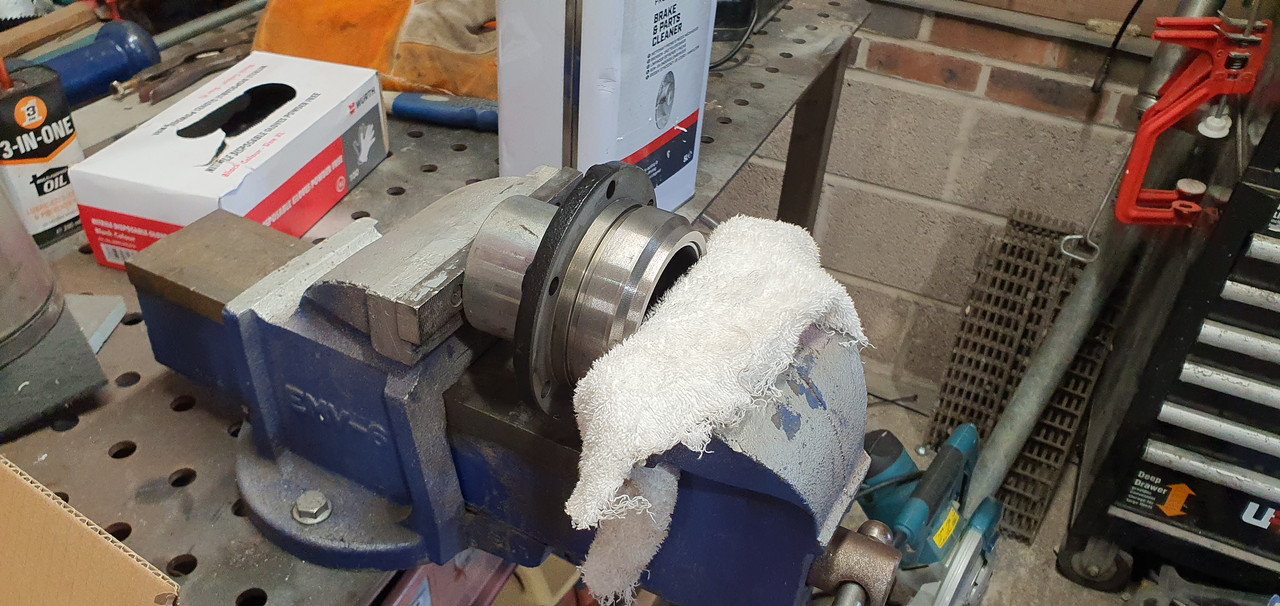
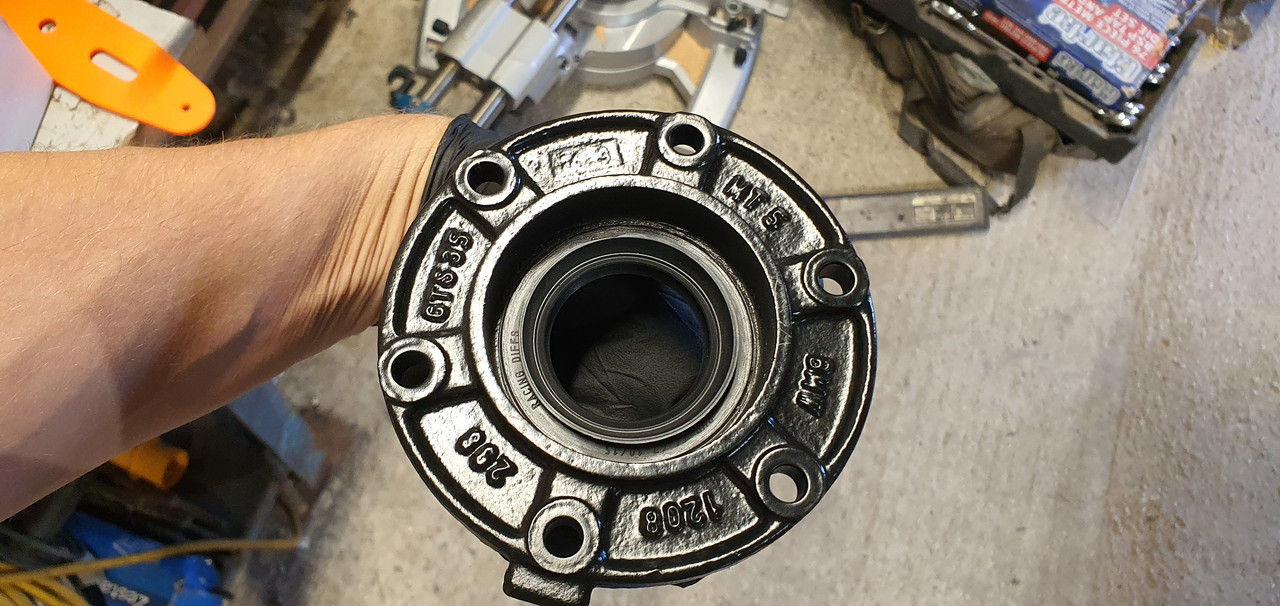
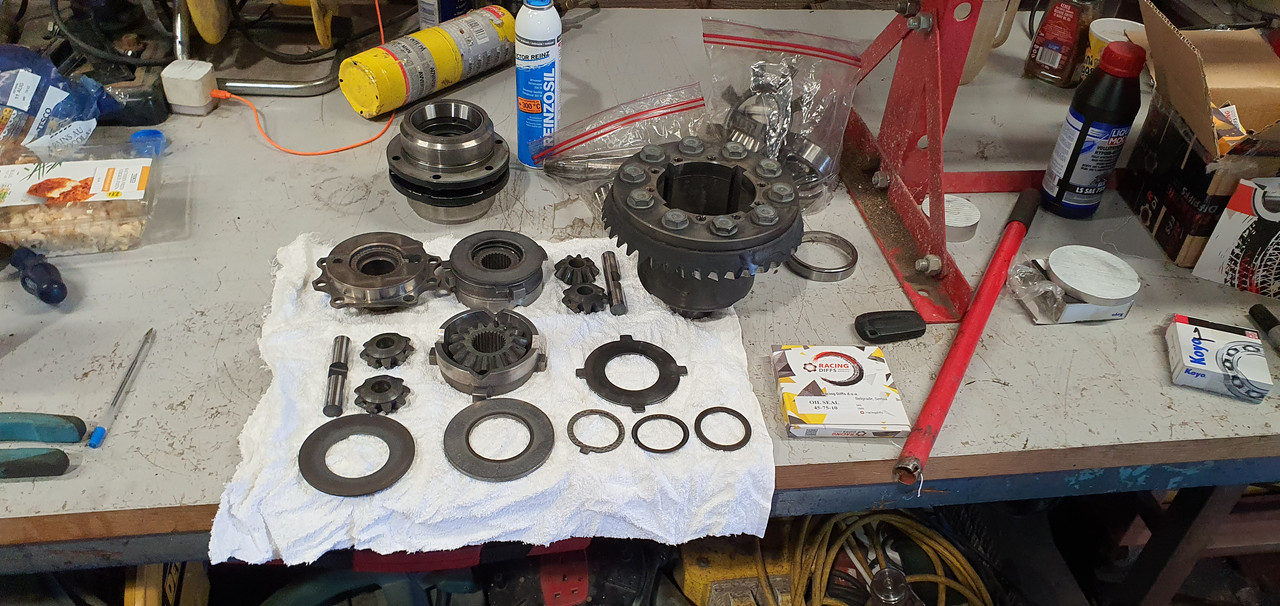
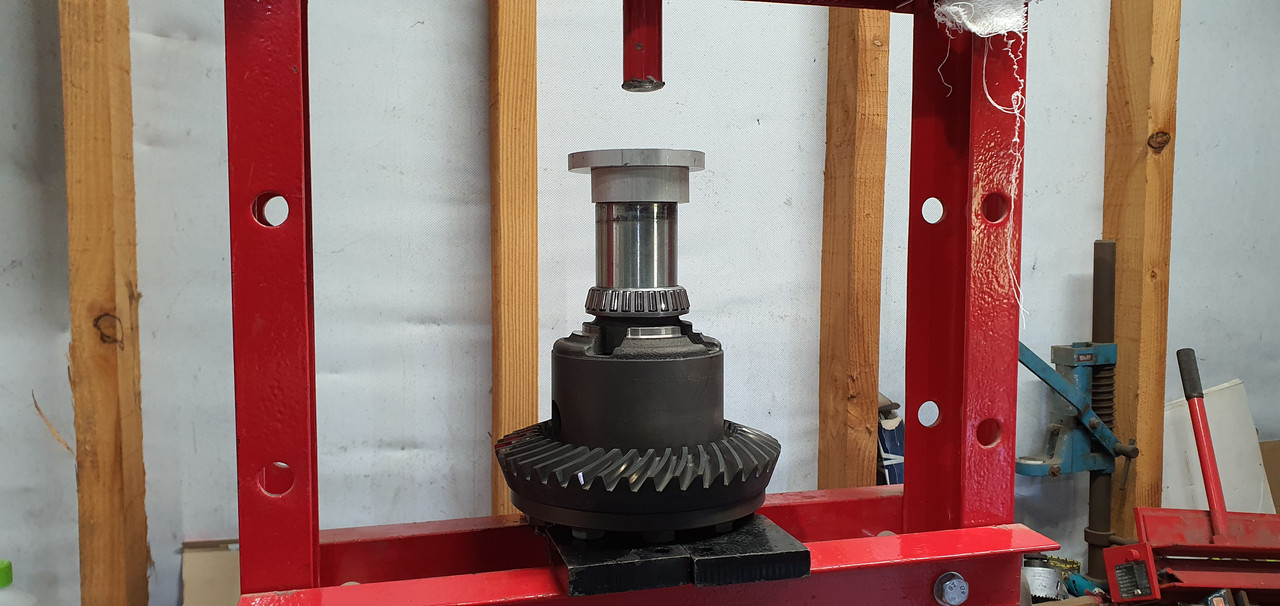
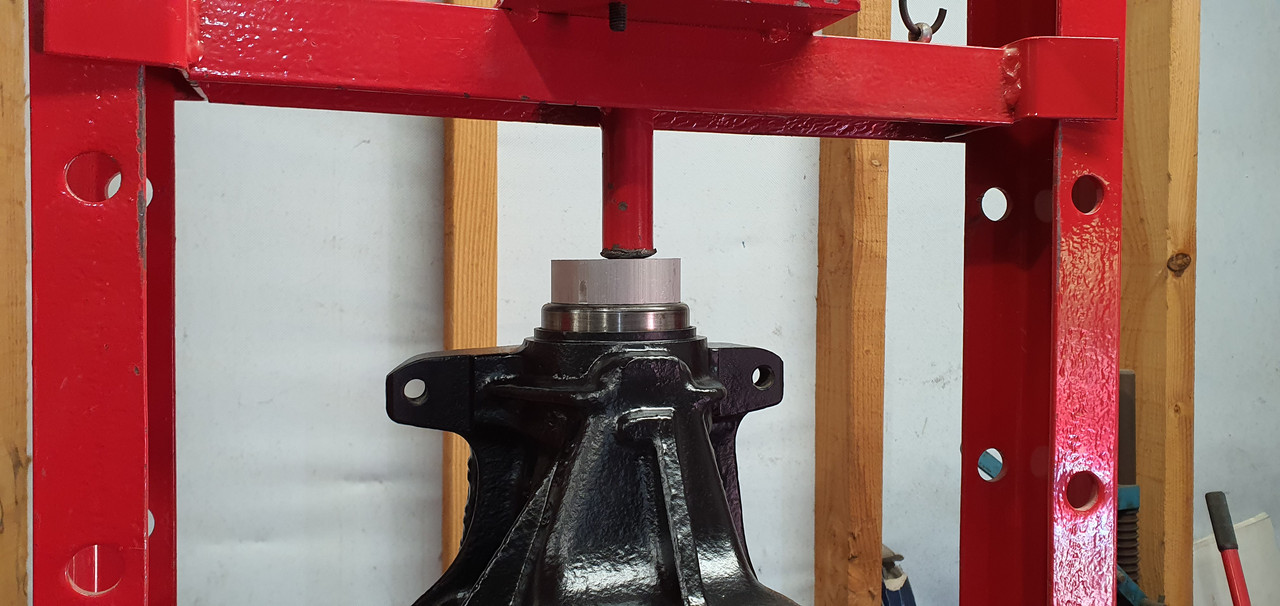
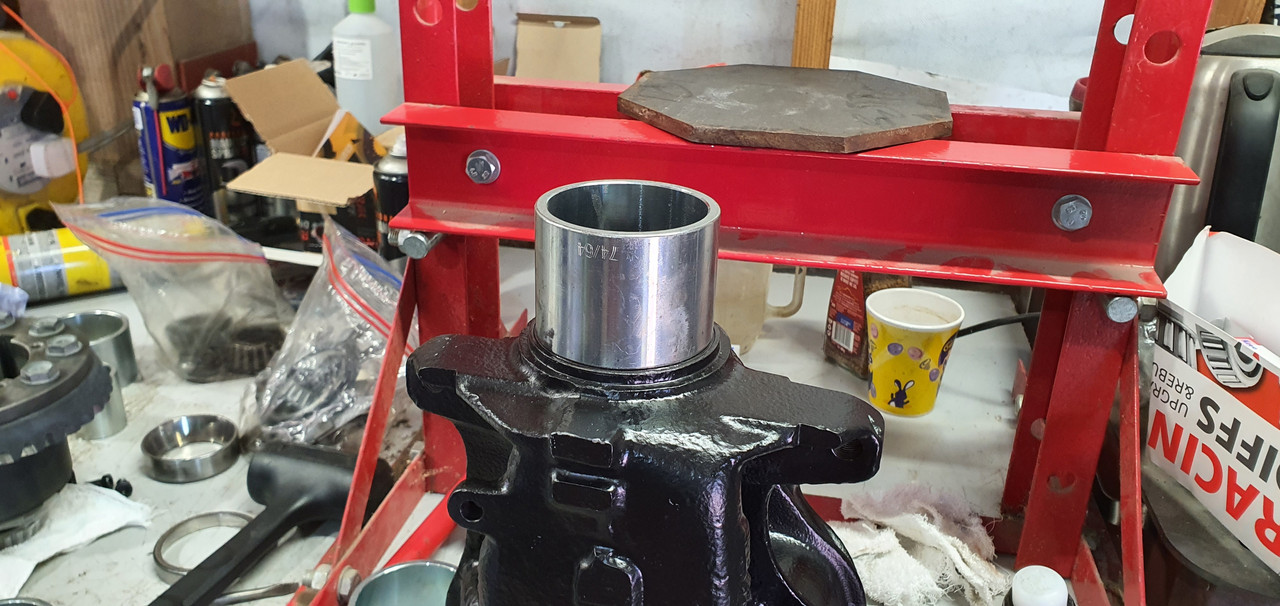
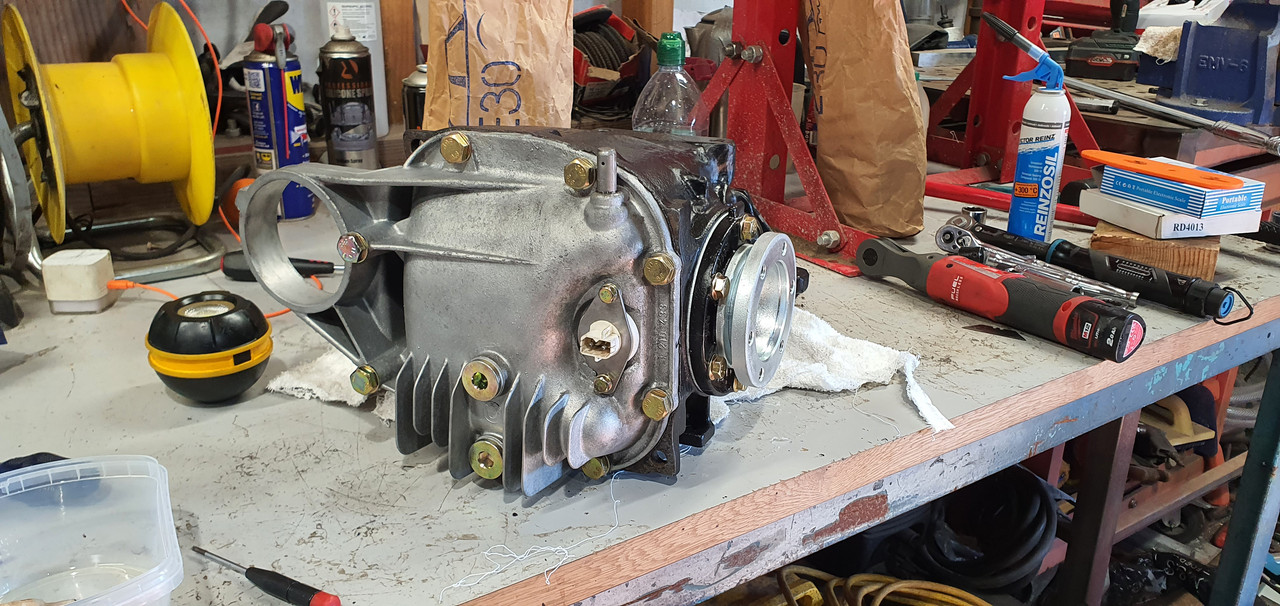
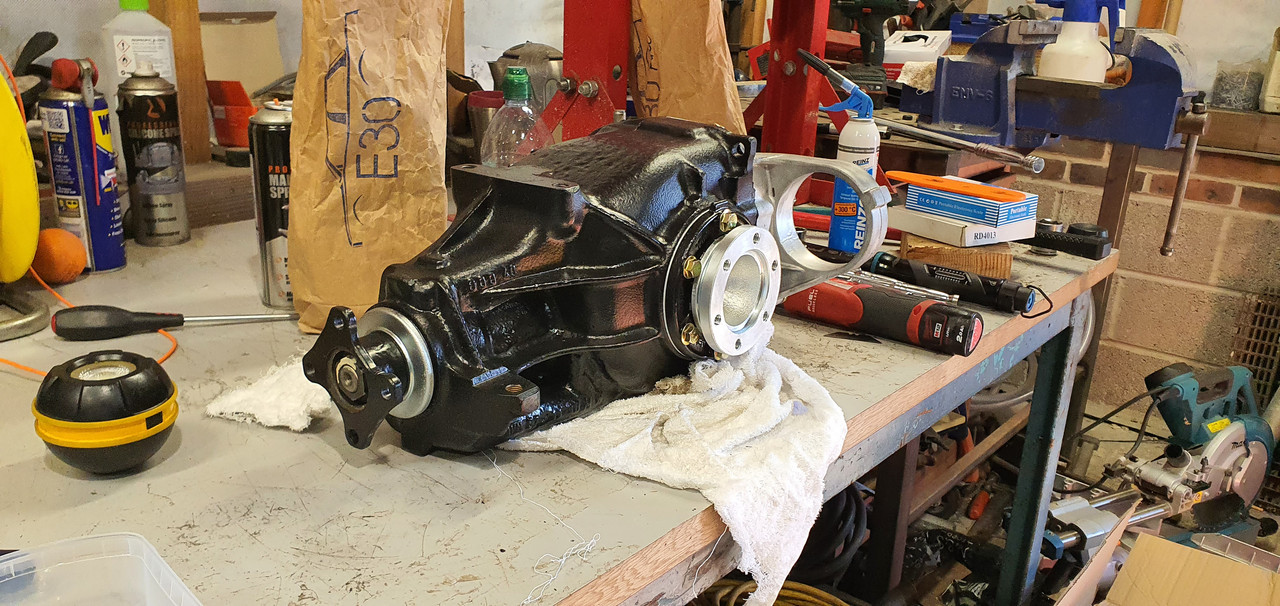
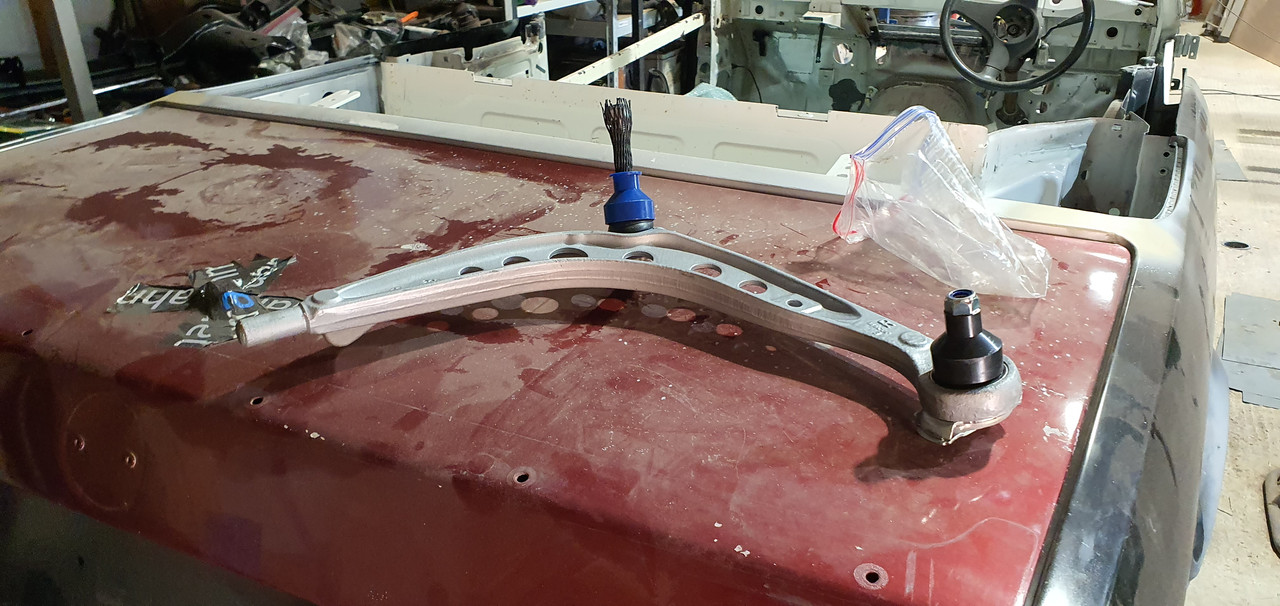
I managed to get a cheap set of E36 M3 Evo Hubs and LCA's, i also picked up a cheap Compact Rear beam, i began tearing these down and shot blasting them ready for new bearings & bushes. As of yet i am undecided on what brake setup to go with, i had done some light reading on it and though maybe i could use E46 330 brakes? Any advice on that would be great.
I had also held off buying Balljoints for the Front Arms, i had read online about people using E30 ones instead of E36? What is the reasoning for this? Does anyone have part numbers for ones which can be used? Also which offset bushes i need for the LCA Mounts.


I have a few questions before i start widly buying new parts:
- Suspension bushes - this will be a road car, should i go with Powerflex "heritage" Range Poly Bushes? Or still with Lemforder bushes. I plan to use BC Coilovers with the car.
- I plan to use E46 330, is this a compatible setup with the 5 Stud Swap Parts i have?
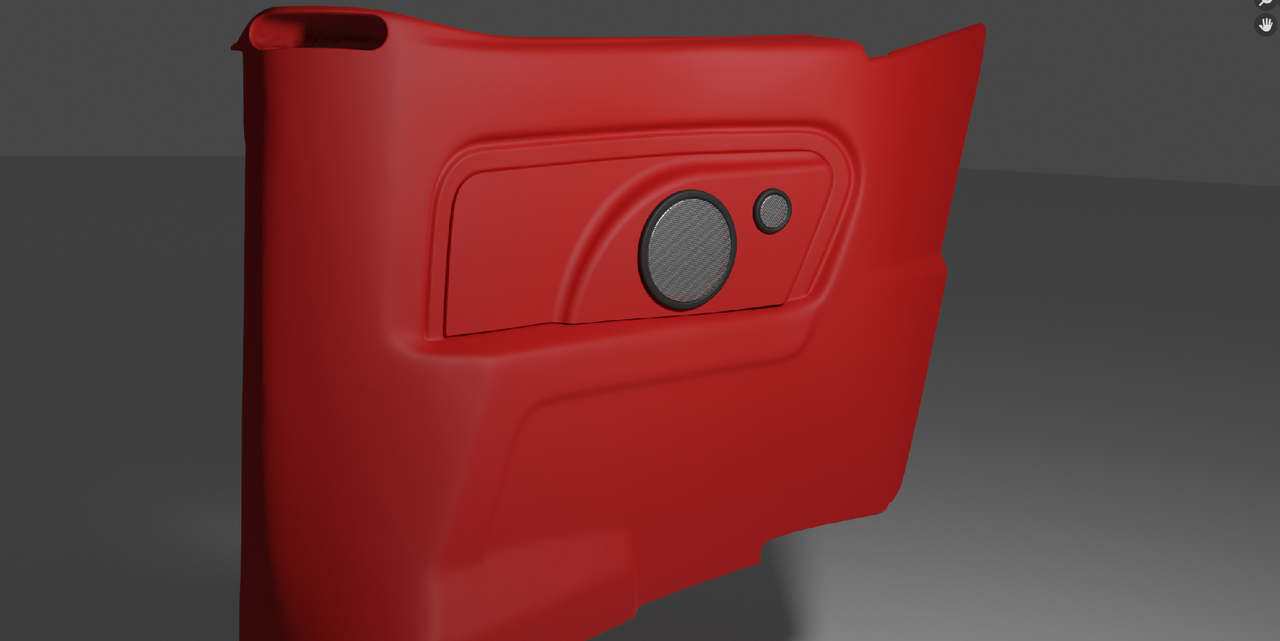
I plan to buy the ~£1k ABS Mtech2 Kit posted in the General Chat section, i am pretty sure Front & Rear Bumpers will fit, as will the Door Pods, what is the recommended way to get Sideskirts on?
Any advice, recommendations, criticism is welcomed.
Thanks
Alex
Insta: @e30_cab_uk
I've been working on this Cab at the weekends since ~March 2021. It belonged to my dad but was sat for 12 / 13 years, i asked him what he was doing with it as i was interested in a project and he said i could have it. The rear arches and rear panel were one of the biggest concerns, the arches had been repaired previously and the passenger side had a Touring Arch fitted to it. The interior was also wrecked by mice, as well as rust in lots of other typical places, this is how the car was:
I got the car in the barn and begun the stripdown, i put in as much effort into labelling everything, jiffy bagging the bolts, taking lots of pictures etc.
I removed the Radiator Support - it was pretty rotten and i had also planned to do the "removeable" mod to it when fitting the piece, i have the new piece but just have not worked my way round to it yet:
Engine out and later sold on ebay for ~£150. It ran fine and sounded good, with 73k Miles on it. My plan is to go M54B30 unless i can find a reasonably priced M52B28 (Doubtful).
Once the engine was out i noticed that the Scuttle Drain was blocked and as a result the corrosion inside the void was quite bad, i have a whole new Scuttle Panel from Cotswold and this will be getting fitted shortly.
I also saw the corrosion around the Loom Grommet was quite bad, this was more apparent from inside the car, and as a result the passenger floor pan had a large amount of surface rust but also some bad rot in certain places.
After the majority of the teardown was done i turned my attention to the rear of the car and its rust problem. I had always preferred Facelift cars and because of this i decided to do a Facelift conversion, i wanted to replace the entire Rear Quarters and Rear Panel. Cotswold had OEM Rear Quarters - Facelift Only (£839 for the Pair), so i ordered them and a new Facelift Rear Panel:
I then proceeded to start cutting:
Now a disclaimer, this is my first time doing any kind of Bodywork, Welding, Fabrication etc. I have always done mechanical work on my cars but never anything this deep, i had studied a lot of videos on do's and dont's etc. I decided to leave the Rear Panel on whilst i worked on the replacing the Inner Arch Lips and getting the Rear Quarters into place properly, so i had at least some kind of reference of where they should end up.
There was a lot of work cutting out small sections of Rust in the Wheel Wells and where they join the sills. The passenger side also had a large amount of the inner arch already replaced, which i needed to re-do.
The process of re-working the inner arches and lips was something that took me many many weekends, a lot of double measuring, checking fitment etc. A steep learning curve but rewarding, if i were to re-do them now, then i would probably make a slightly better job of it, i am however still pleased with the outcome i got. Its also worth mentioning that its pretty much impossible to find any Cabriolet specific Body panels, the replacement inner arch lips were advertised as Cabriolet, but when i received them it was pretty clear that they were Coupe or Touring, so i had to cut and modify these to fit.
Unfortunately i did not get many pictures of this process as it was time consuming enough as it was, there was a lot of corrosion in the Drivers Side Inner Wheel Arch from the fuel Pipe Cover, Vapour Tank mounting points etc.
Drivers side inner Arch & Lip done (Really sorry for the terrible pictures, just using what i have).
I then painted and sealed the Inner Arches in a generic gun metal grey (I will be painting the car Donnington Grey)
One of the unforeseen problems of doing an entire facelift conversion, was that the boot floor on a facelift must sit ~100mm Lower, because of this i had to create some extension pieces to bridge the gap. My welding has much improved since this.
I began dry fitting the Rear Quarters properly and doing final / more precise cuts on the body where they would meet.
This was quite a tedious process, especially on the end where the Quarter Panel meets with the doors, these (and most other joints) are braised from factory and it took a long time to remove the braise and tidy the joint enough so that it could be welded without contamination.
Once i was happy i removed the rear panel and dry assembled the rear end with the boot and also the roof cover / hatch so check all the gaps. An old guy across the road gave me a tip of using self tapping screws to lock in the panels in places, this gave you a fixed position to go back to and also really helped hold the panels in place. The Panels surprisingly did not need much tweaking, though i was disappointed with the quality of the rear panel from Schmiedmann, some of its contours did not match the OEM Rear Quarters particularly well around the rear lights and will require some work with filler to make it look perfect.
I then spent a LOT of weekends, triple checking everything, doing small bits of work i thought was easier with the panels off, before finally taking the plunge and welding the panels on - i did not braze them like from factory, i did seek advice on this and although it is not the original way of doing it, was told the risk of cracks etc were very low.
Now that i had the Rear End back on, i wanted to get the car on a Rotisserie i bought what felt like a very very long time ago. This was from a company called Ade Foreman Light engineering, its the heaviest duty one he offers on wheels rated for ~1300kg. I braced the door shuts, boot, and front where the crossmember would have been.
Mounted using the Bumper / Rail Positions:
Pretty happy with the Jig, from memory it was ~£375 delivered, it has some flex when moving it around or doing pretty hard work on the car, but worth its weight in gold.
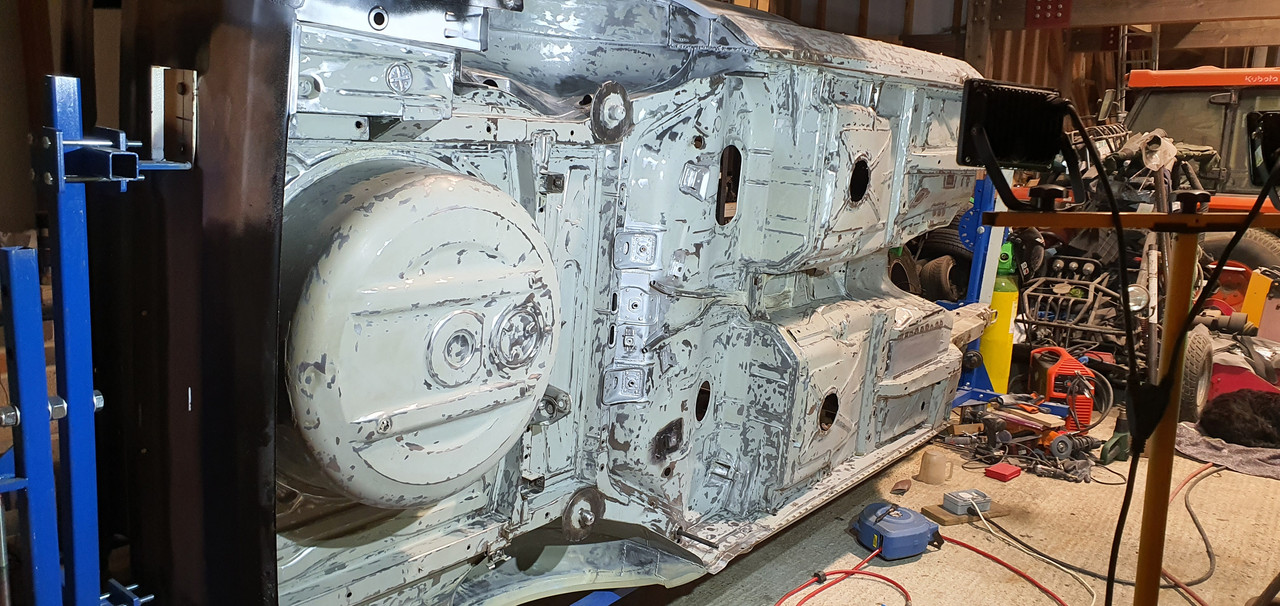
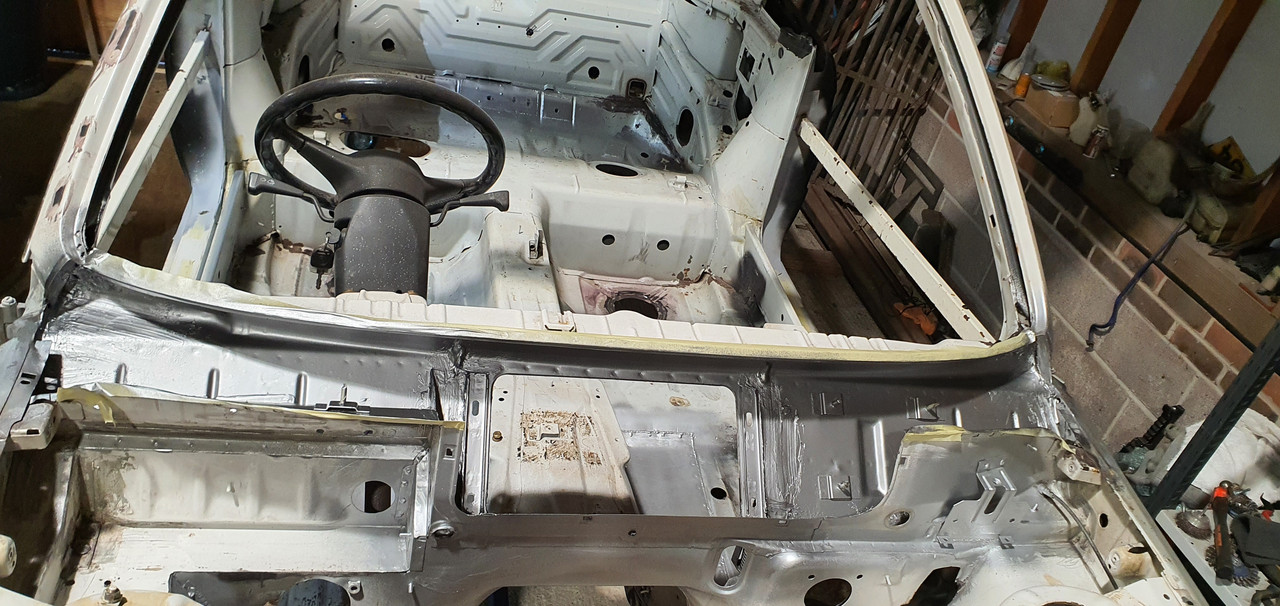
I then wheeled the car out to the doors and used our Karcher Steam Wash to totally remove any remaining Mice leftovers, and also strip of as much wax oil and other shit from the bottom of the car / engine bay as i could:
End Result:
I then stripped off any of the remaining under car bits, fuel lines, brake lines etc.
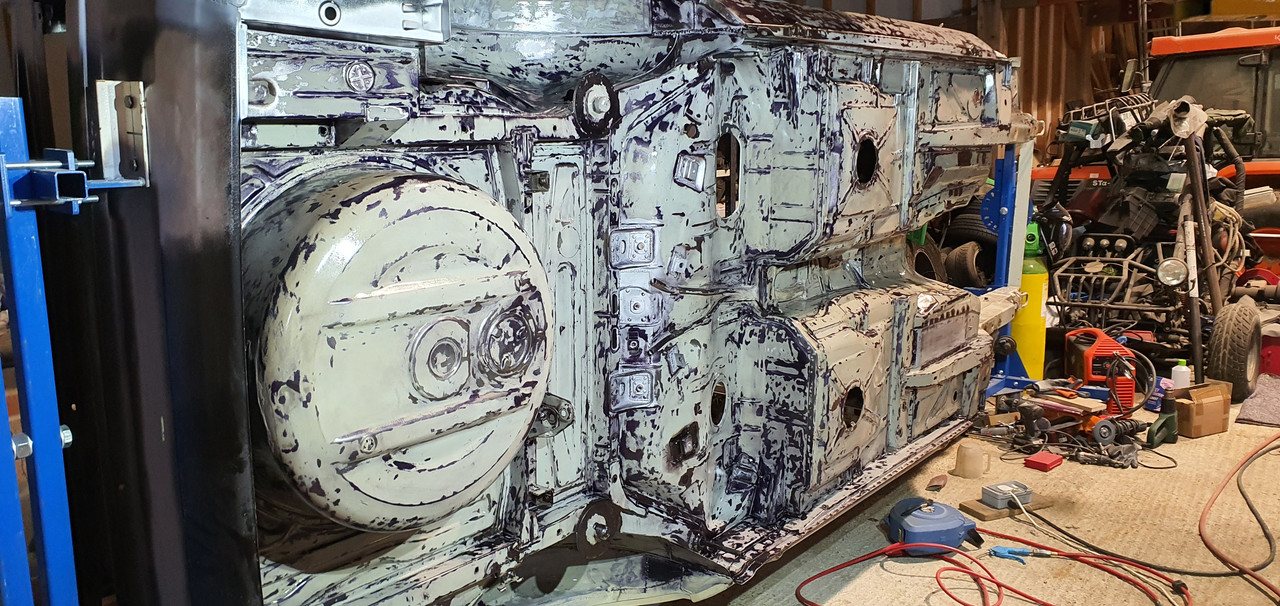
Now was the time to start the tedious process of removing all of the underseal, i got about 90% done in one day with a an angle grinder and large wire wheel, it then took about another day or two to remove all of the underseal from all the tight corners / areas. Originally i was not going to remove all of the underseal, however i am glad i did as it revealed many many places of corrosion that had not yet visibly come through the sealer. Some of these places had originated from inside the car where i can only assume heavy amounts of Mice Pee were and started corroding.
The worst areas of rust on the underside were:
- Rear Seat / Seatbelt Brackets.
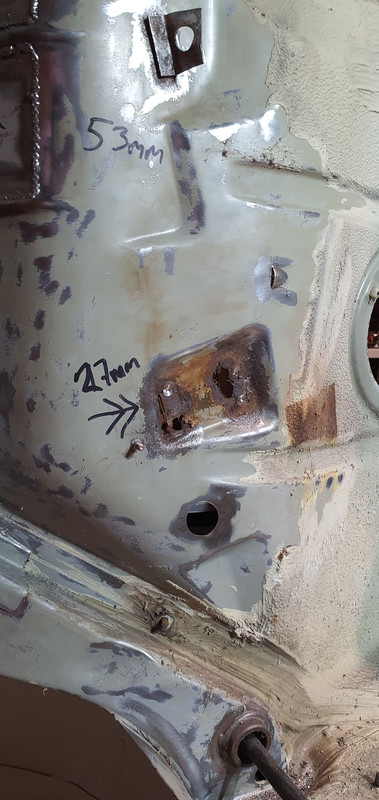
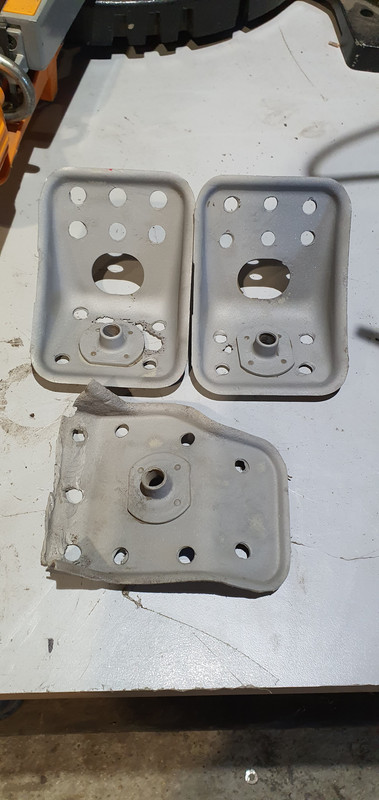
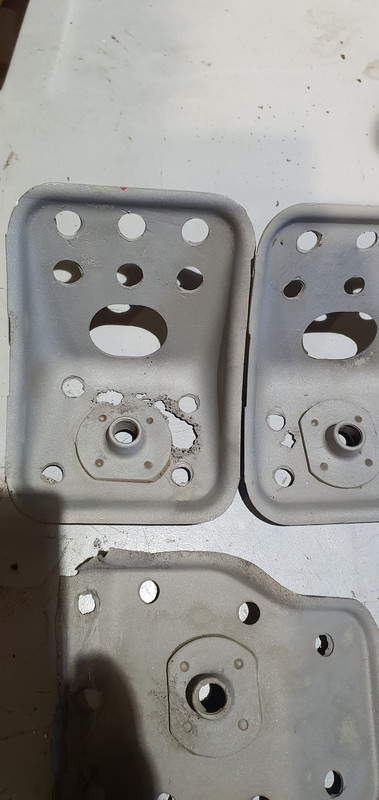
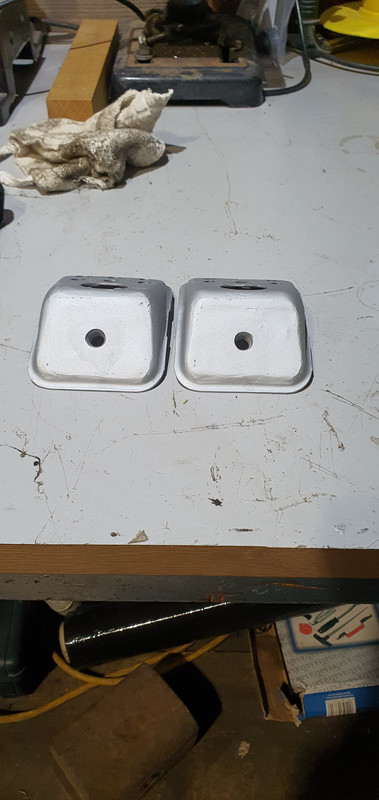
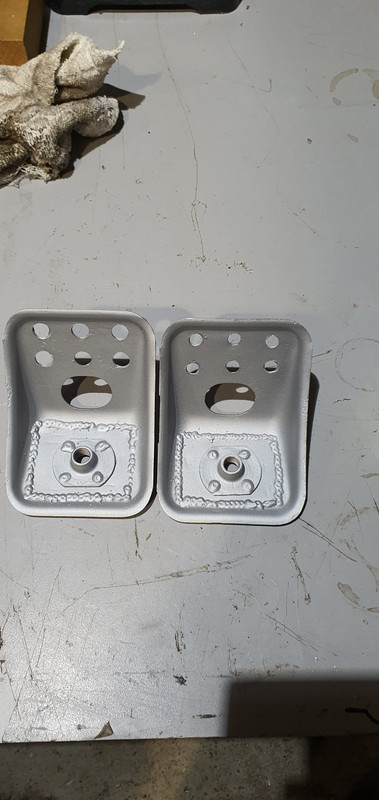
- Rear Tank Brackets.
- Rear Brake Line Mounts.
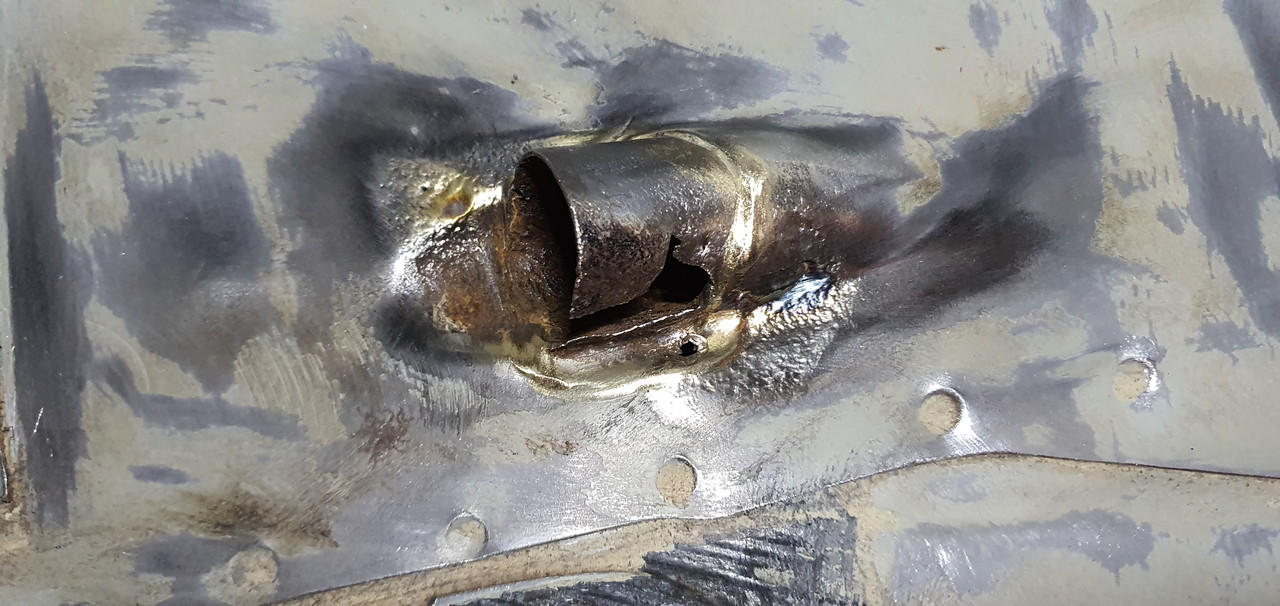
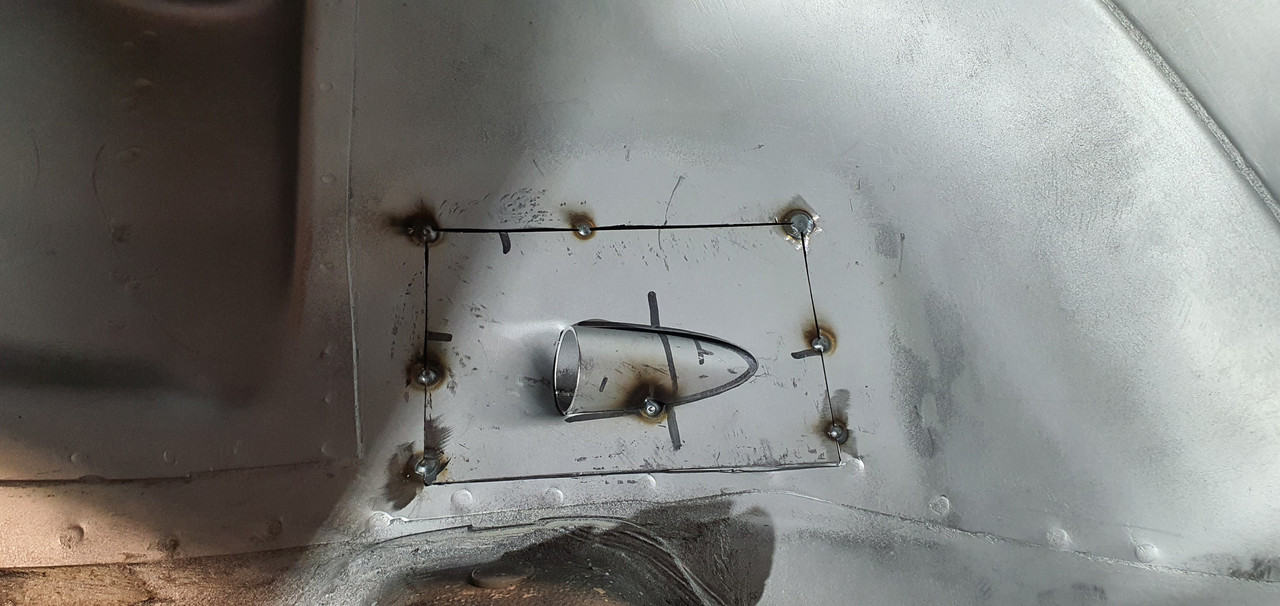
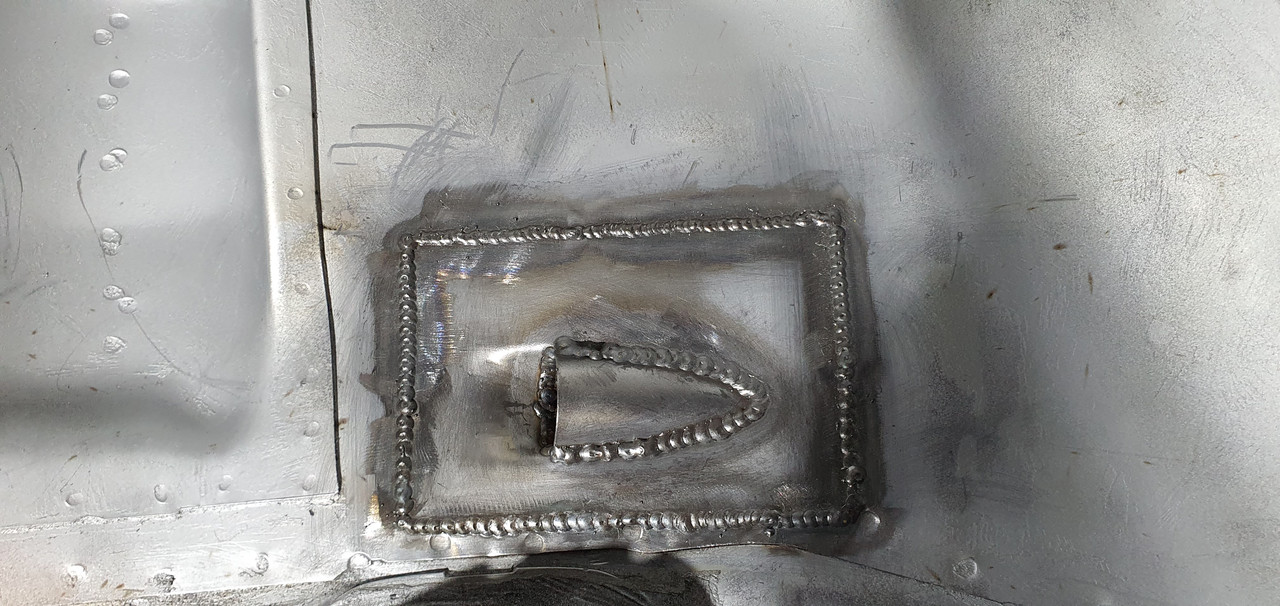
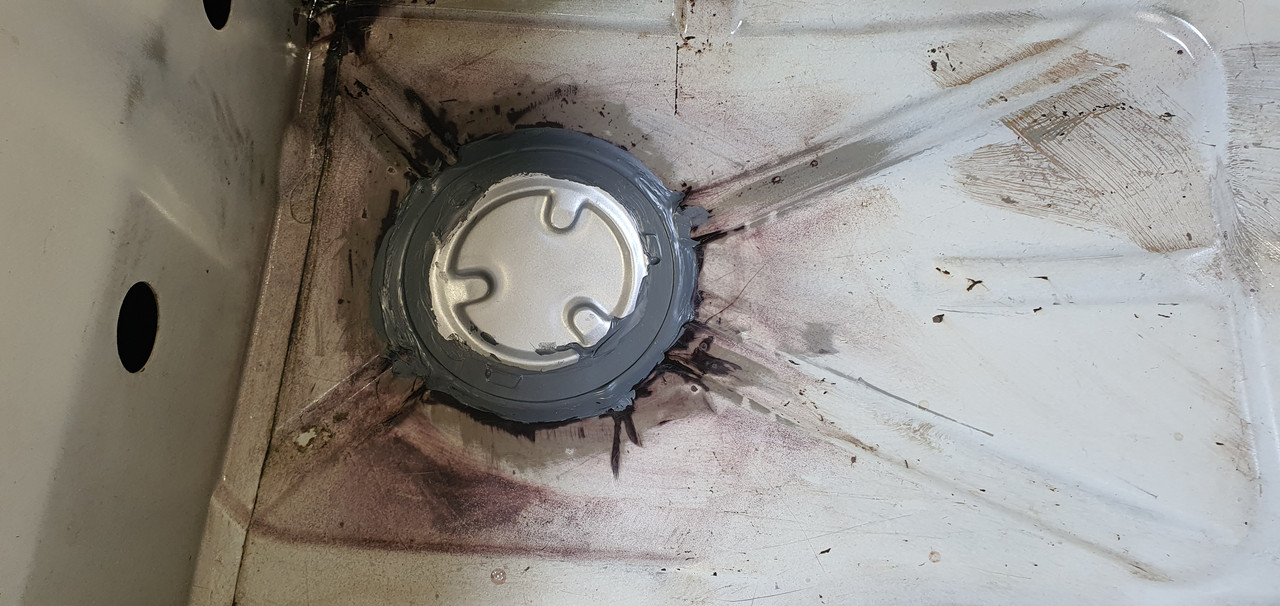
- Tube that carries Fuel Tank hoses from Filler Cap.
- Passenger footwell areas.
- Drivers footwell areas (both footwells were bad behind where the sliding nuts are for the gearbox).
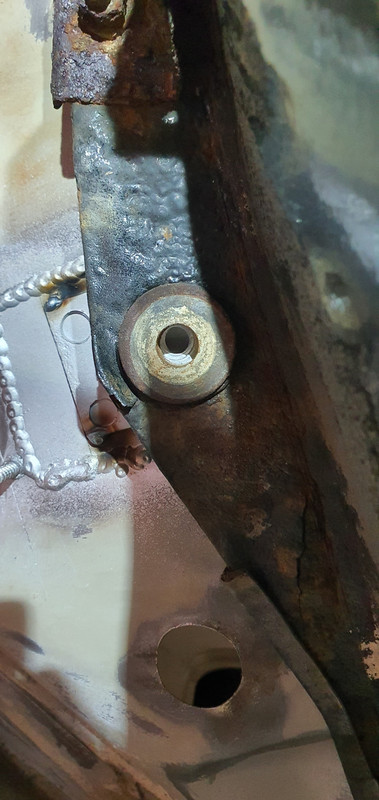
- Drivers side Footwell / Jacking Point / Front Arch Area where all 3 panels meet.
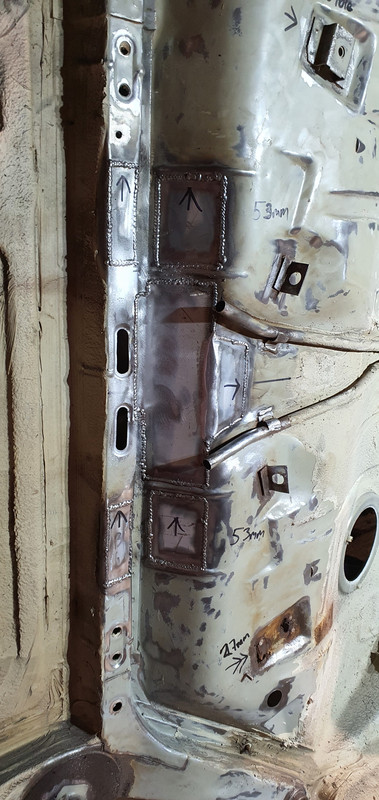
These were the areas i deemed necessary of cutting out and replacing, the rest was only surface rust and i concluded it was acceptable to let Dinnitrol RC900 deal with it. Pictures in no particular order of Rust Repairs to the bottom (Yes i know my welding does not look particularly great / perfectly penetrated):
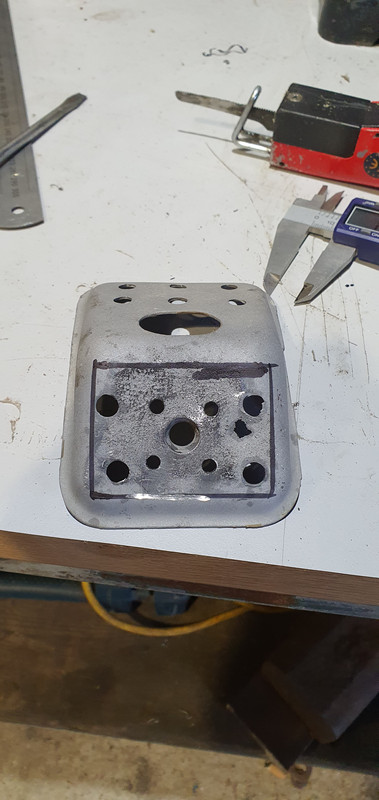
Checking Fuel Tank Mount Positions:
Front Sections, I had a Passenger Panel from Valcas which in the end i decided not to use. This is for sale if anyone is interested £100
Various other bits were done and then i spent a long long time prepping the bottom to do a first coat of Dinitrol RC900, i first saw this product being used by Driftworks on their V10 E46 M3 restoration, i thought it looked really good and decided it was a good product to use in this situation.
This was only done last weekend, and i need to do another coat, it seems to have penetrated extremely well. Slightly counter intuitive to spray on, it doesnt feel right as visually it appears to be clear coat.
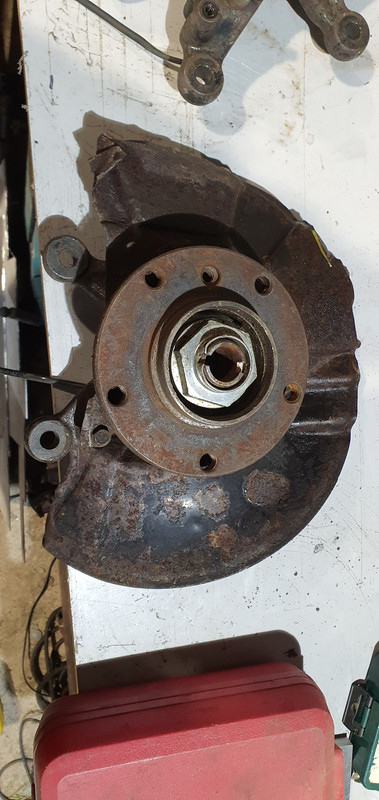
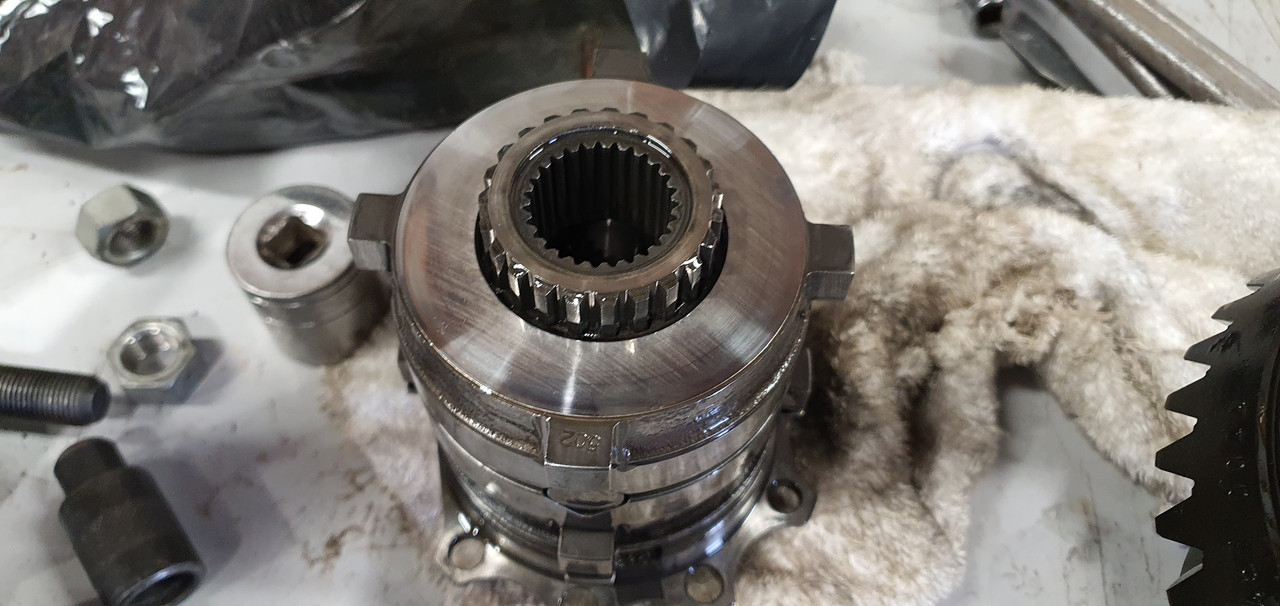
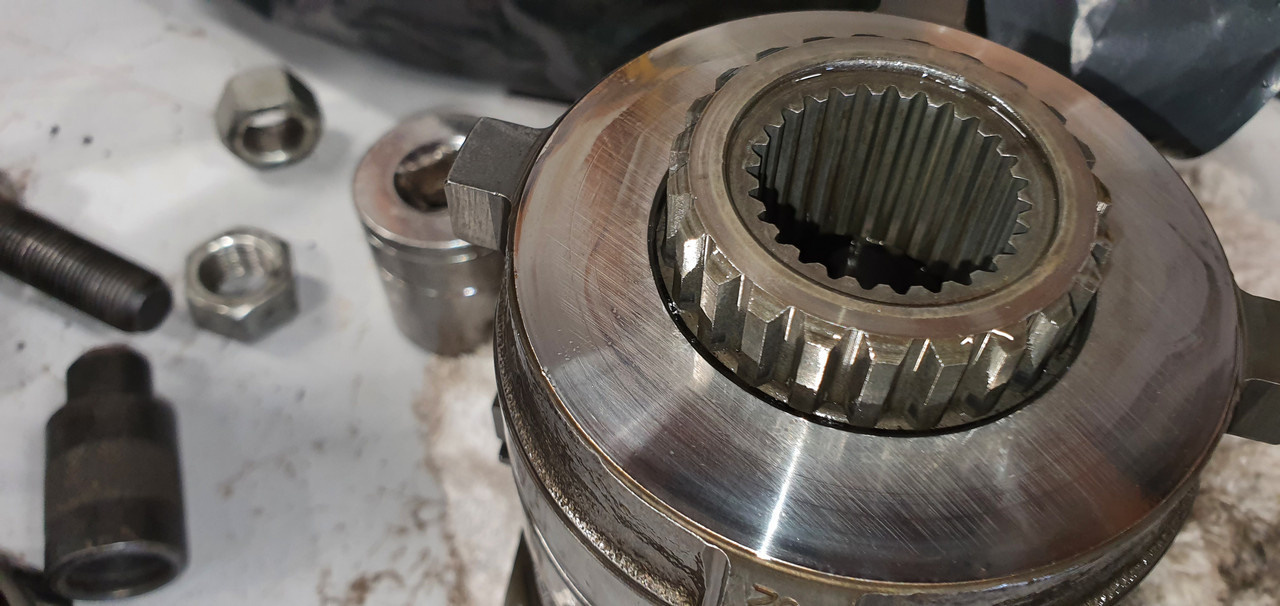
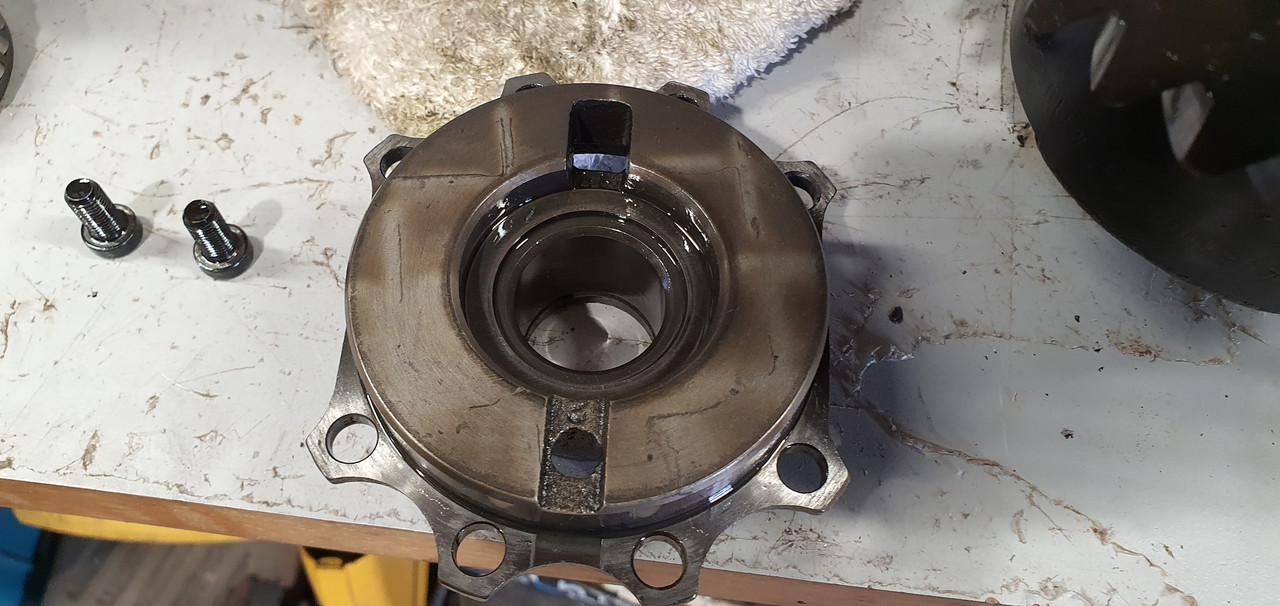
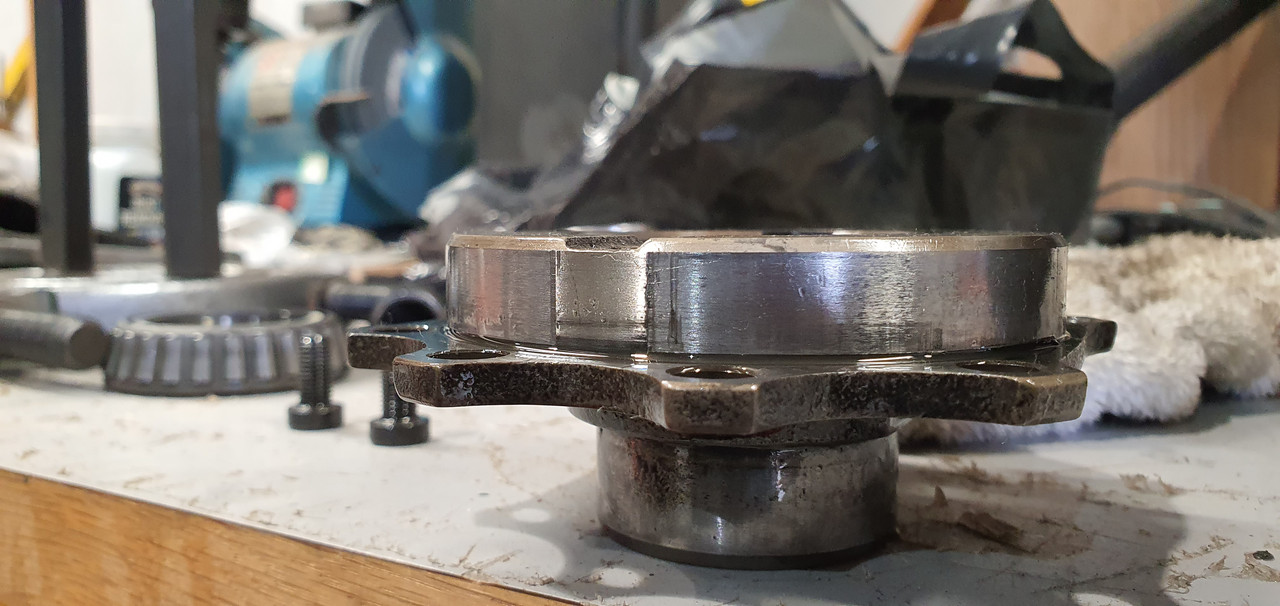
I managed to get a cheap set of E36 M3 Evo Hubs and LCA's, i also picked up a cheap Compact Rear beam, i began tearing these down and shot blasting them ready for new bearings & bushes. As of yet i am undecided on what brake setup to go with, i had done some light reading on it and though maybe i could use E46 330 brakes? Any advice on that would be great.
I had also held off buying Balljoints for the Front Arms, i had read online about people using E30 ones instead of E36? What is the reasoning for this? Does anyone have part numbers for ones which can be used? Also which offset bushes i need for the LCA Mounts.
I have a few questions before i start widly buying new parts:
- Suspension bushes - this will be a road car, should i go with Powerflex "heritage" Range Poly Bushes? Or still with Lemforder bushes. I plan to use BC Coilovers with the car.
- I plan to use E46 330, is this a compatible setup with the 5 Stud Swap Parts i have?
I plan to buy the ~£1k ABS Mtech2 Kit posted in the General Chat section, i am pretty sure Front & Rear Bumpers will fit, as will the Door Pods, what is the recommended way to get Sideskirts on?
Any advice, recommendations, criticism is welcomed.
Thanks
Alex


Comment