If this is your first visit, be sure to
check out the FAQ by clicking the
link above. You may have to register
before you can post: click the register link above to proceed. To start viewing messages,
select the forum that you want to visit from the selection below.
You should talk to my buddy at speedfactory, He could tig up something wild. Also he could cut back the supercharger neck and rework that as well. You will have to take me for a ride when its done!
Another wild idea would be spinning that thing around and mounting it on the passenger side then have the outlet go to an intercooler then the intake.
I love seeing this type of progress, can't wait to check it out in person.
Thanks, I can't wait to drive it.
Originally posted by GThomas
Wow super impressive stuff!
Thanks
Originally posted by ChefSkinny
thats awesome! super impressed by that carbon fiber piece.
Thanks, It's not perfect and there are better ways that would of produced a cleaner looking part but this will work fine for what I need it for.
Originally posted by Mlarsen
Awesome stuff man! Is this going to be done before the picnic?
I hope so
Originally posted by dmoney(AB)
100% custom parts make me smile!
Thanks, I find it more fun to build and design my own parts then to just buy stuff.
Originally posted by Link
You have a gift for fabrication. Keep it up.
Thanks, I really just read a bunch of different types of forums on the internet to learn how to do it all.
Originally posted by chrisbmx68
Awesome work so far! I am working on a similar project and will be stealing some of your ideas. Your bracket fits a lot better than mine from the old run white325is did.
also in the same boat with the hot side pipes haven't figured that all out yet
Nice, yeah I didn't really like the way that bracket positions the supercharger, the only benefit it has is that the pulley is more out of the way of the radiator. Your pipe shouldn't be as bad with your curved outlet blower, mine was straight and I welded the 90* on and it sticks a lot further out.
Originally posted by IronFreak
How did you go about removing the material? Did you find a way that was fairly efficient? I'm assuming you had to be careful with the heat gun.
Nothing really efficient as I didn't want to use any chemicals that might damage the epoxy. I just used a spoon for as far as I could with little heat and then just used my fingernails to scrape the rest out. If I used high temps epoxy I could of just left it in the oven and let the clay melt out.
Awesome work so far! I am working on a similar project and will be stealing some of your ideas. Your bracket fits a lot better than mine from the old run white325is did.
clearance after taking the plasma cutter and some files to the bracket
clearance before. Tis tight
also in the same boat with the hot side pipes haven't figured that all out yet
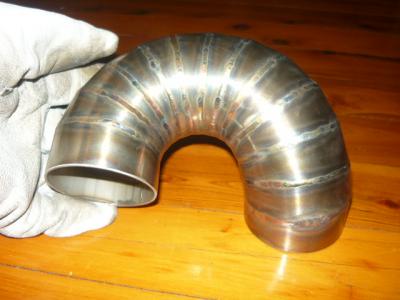
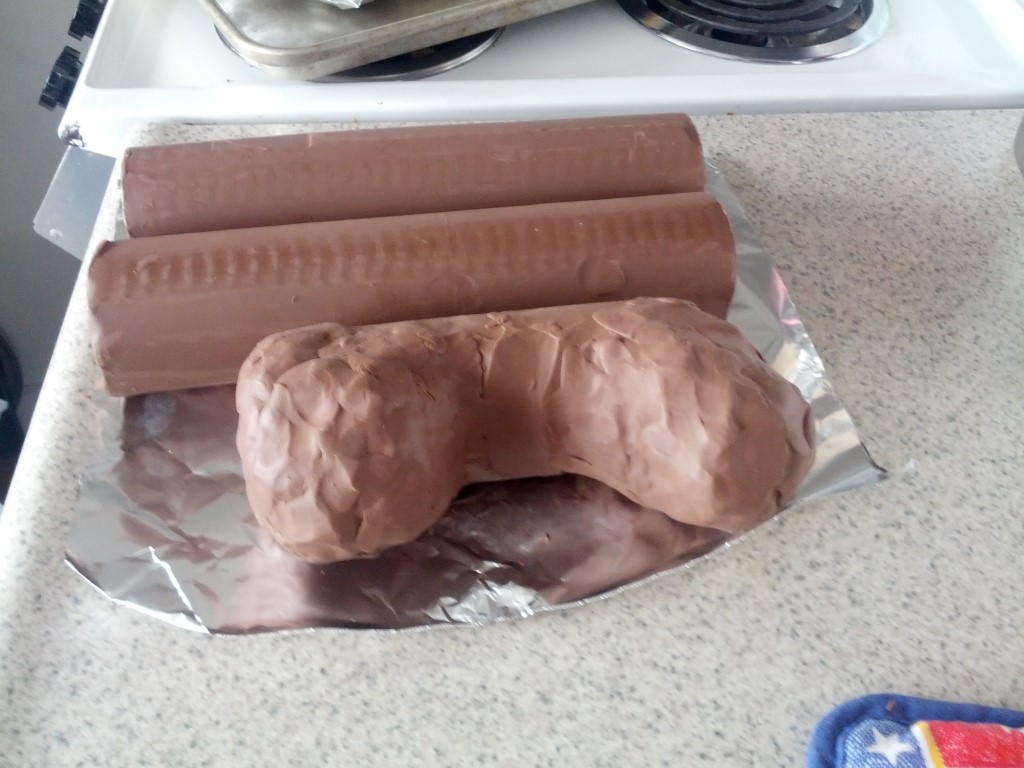
I had to make an intake that would go from the supercharger to the throttle body. It has some tight bends in it and has to clear part of the throttle linkage. I decided to make the intake out of composites. I got some Chavant Y2-Klay automotive modeling clay to use to make the intake in the shape I needed it.
I got 3 (only used 2) sticks of clay the two in the back are how they come and then the front is the beginning of shaping it, you have to heat the clay to work with it.
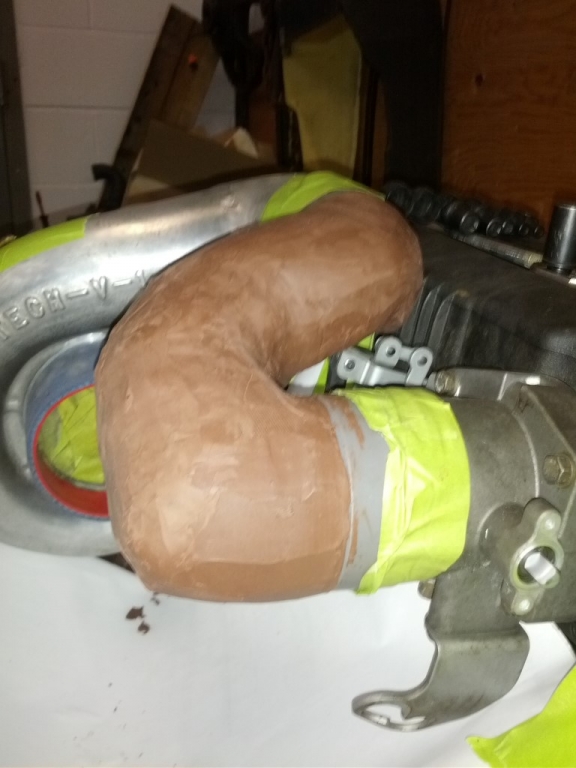
Got the rough shape done, you can see the tight bends and the linkage it has to clear.
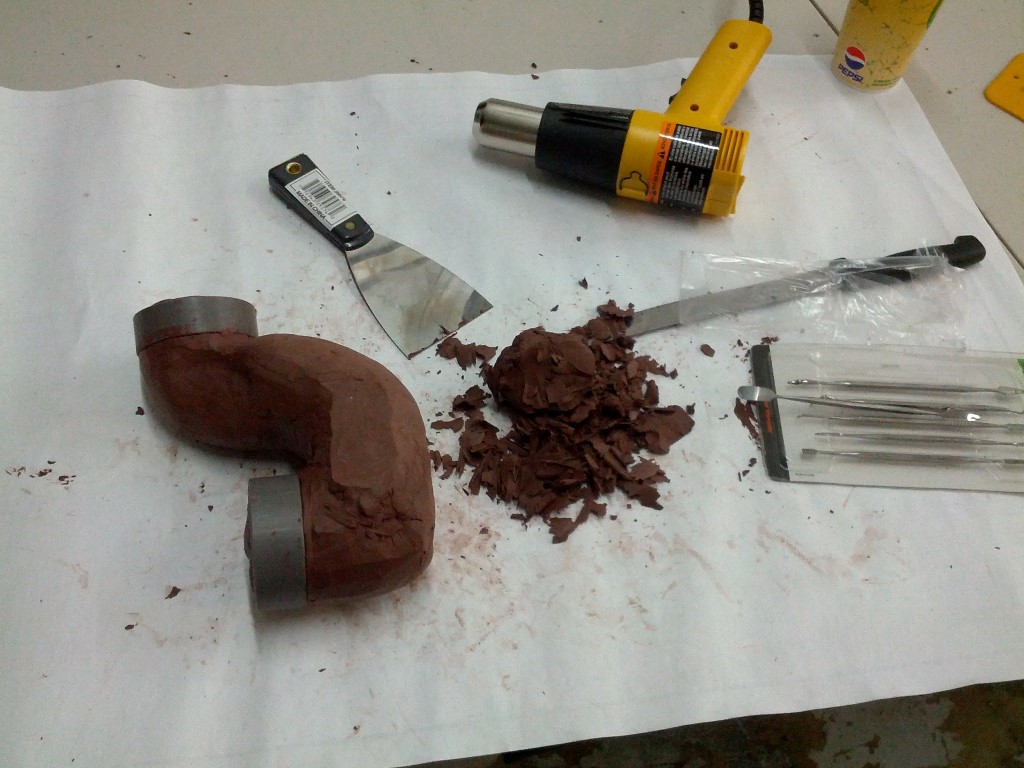
Smoothing out some more and some of the tools I used
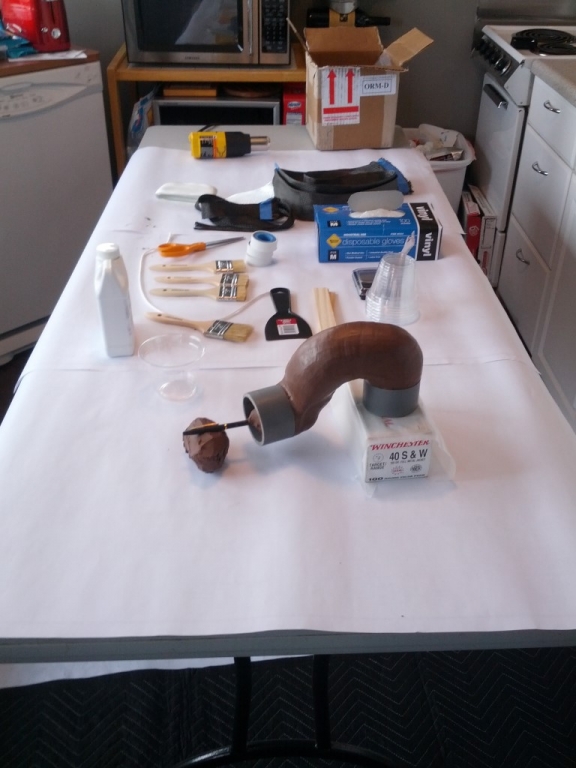
I then got all the supplies set up
Brushed a few coats of PVA mold release on
Let that dry and started cutting some carbon fiber pieces
First layer laid down, I used some biaxial carbon sleeve and ended up having to cut it into sections because the bends were to tight.
After a few more layers and letting the epoxy cure I then had to remove all the clay from inside the part. Not fun at all.
The hole will be for the diverter valve and the idle control valve, just need to bond an aluminum bung into it, and it still needs a little more sanding.


 clearance after taking the plasma cutter and some files to the bracket


Leave a comment: