
Awesome build!!!Well done!
-
Your signature picture has been removed since it contained the Photobucket "upgrade your account" image. -
This thread has my attention.
Comment
-
Thanks guys...I'm getting a ton of goodies this week so look for a substantial update soon.
SC guys...when is this rally? I'm heading off to OCS (Joining the Navy) for December through early March so if its then, I'm unavail...but if it is in March or before Dec, I stand a chance of going!Comment
-
I've never heard of those coils before. They look decent though.
Nice build, BTW.
1988 Bronzitbeige Metallic 325e 2-door S50 turbo (OO=( )=OO)
2008 VW Rabbit
1991 Audi 200 20vtq WagonComment
-
Nice build dude looks like how i would do it. Too bad you had to take one more from albuquerque hahaComment
-
Long time no post...today I hit a critical mark in my project while being at home during Christmas stand-down...I finally got the car on the road and burned 1/3 of a tank! It feels wonderful...I sorted out all of my issues and I can definitely say all the hours have paid off. The car still isn't where I want it to be ultimately, but its now a living/breathing machine that I could easily use every day! I'll recap the last month and a half...
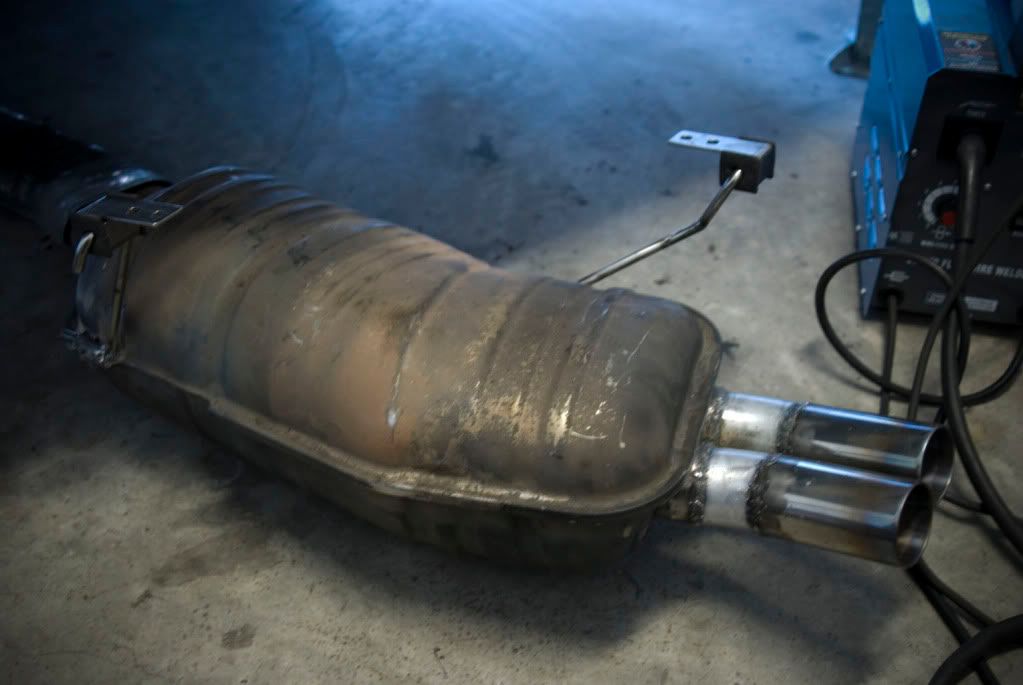
So the last thing I really posted was a video of the car idling with no exhaust on. I know I posted up some pics of the front section of the exhaust I built, which I have since rebuilt to make it more modular/removable/installable. Now, I will show you the modified e36 M3 Muffler I fabbed up. Below you can see I added two generic hangars w/bushings and bent them to fit up to the e30 body. I hated the OEM style of exhaust hangars so I felt this was superior. I also cut and rewelded the tips to be at a semi-DTM angle. I don't like it as much as I thought, but it works.
And here is a finished/painted shot.
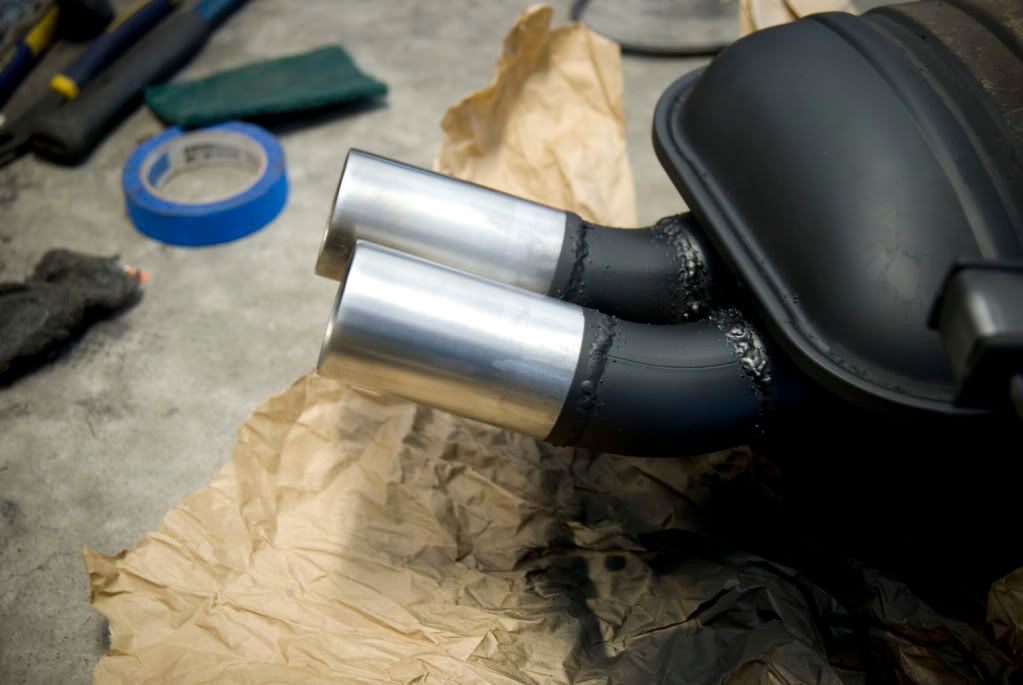
And installed!!

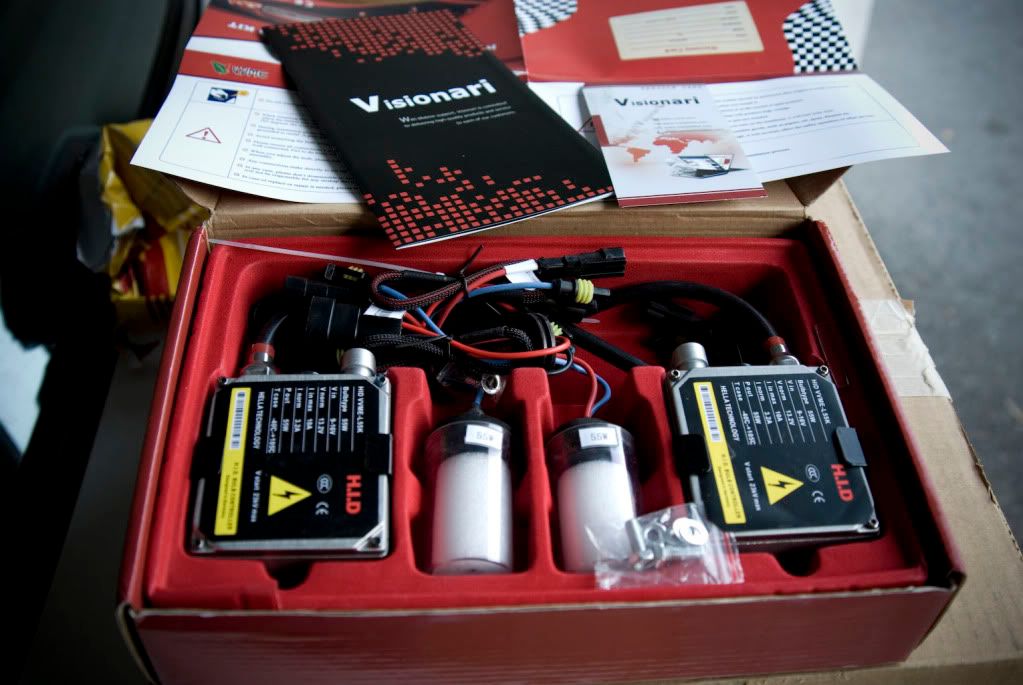
I then moved on to several things that were worn out/performing inadequately for my tastes. I started on the headlights...my low beams were abysmal. After hearing some shoddy reports on the popular HID vendor on BMW sites, I went with another vendor (Visionari) and was very very pleased with their shipping, their kit, and the light output of their kit. I'd say everything was spot on. I'm running a 4300k kit. Here are some shots of my install of the ballasts and then the output.
The kit:
The driver's side ballast:
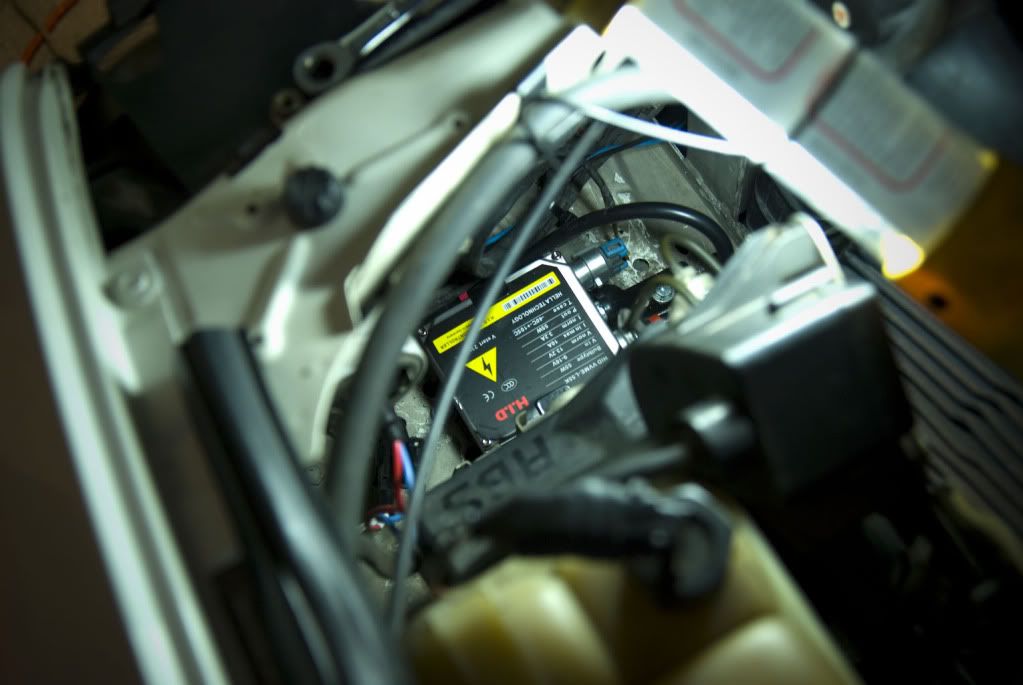
Passenger ballast:

And....light color....kind of blue in the picture, but I assure you, its white as white can be!

Next, I had a nasty 20+ year old roundel on my hood...it had to go! Here is a shot of the freshness:

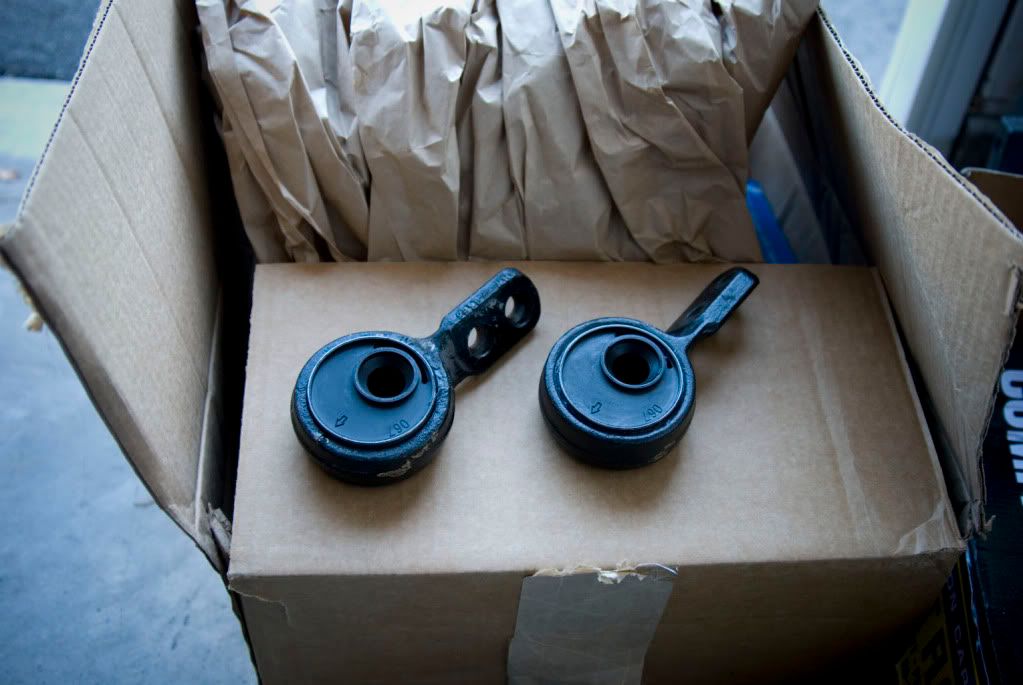
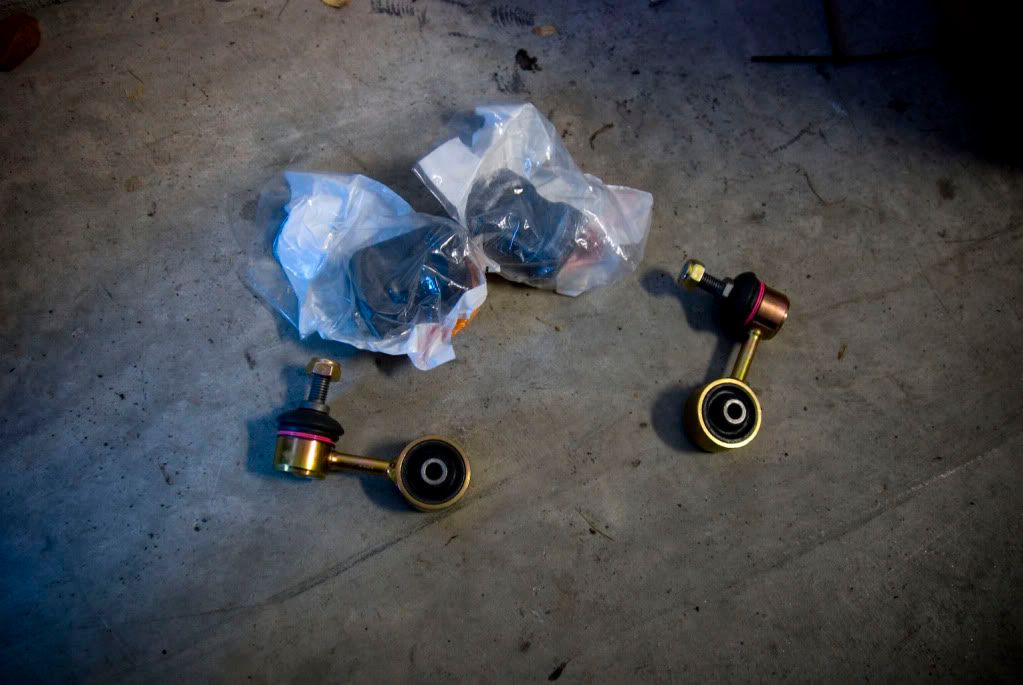
After that...tons of components in my front end suspension were begging for some attention. I decided to replace the front control arms, sway bar bushings, end links, and CABs. I went with M3 style offset rubber bushings and I must say, the difference is night and day!! I highly recommend this mod to anyone who has old/worn CABs.
New CABs:
New control arms all set up, ready for install:

Hot endlinks
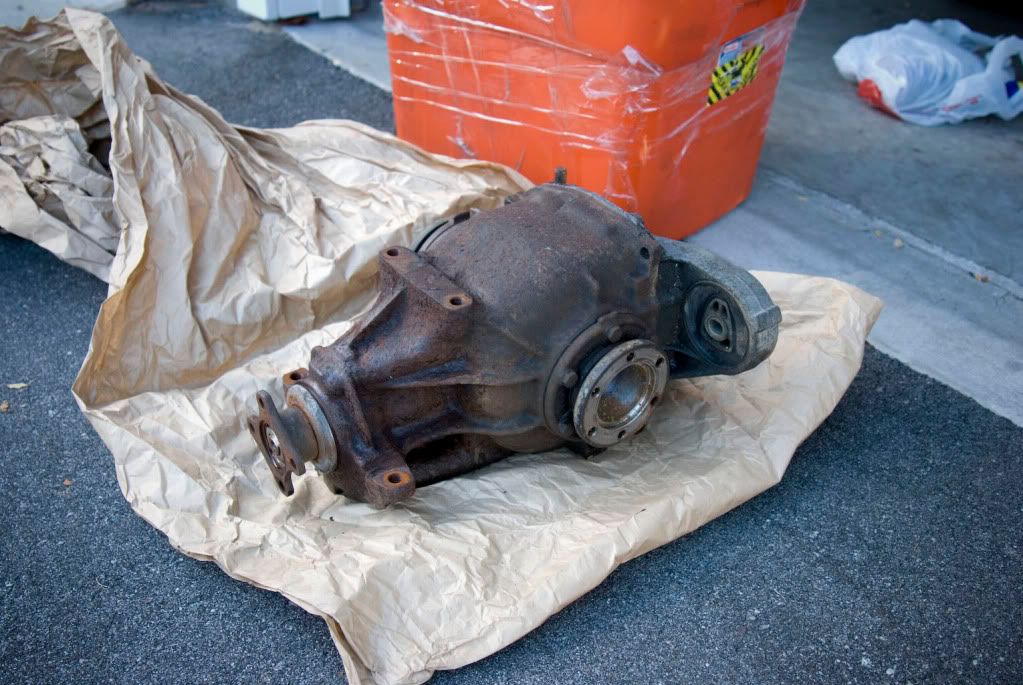
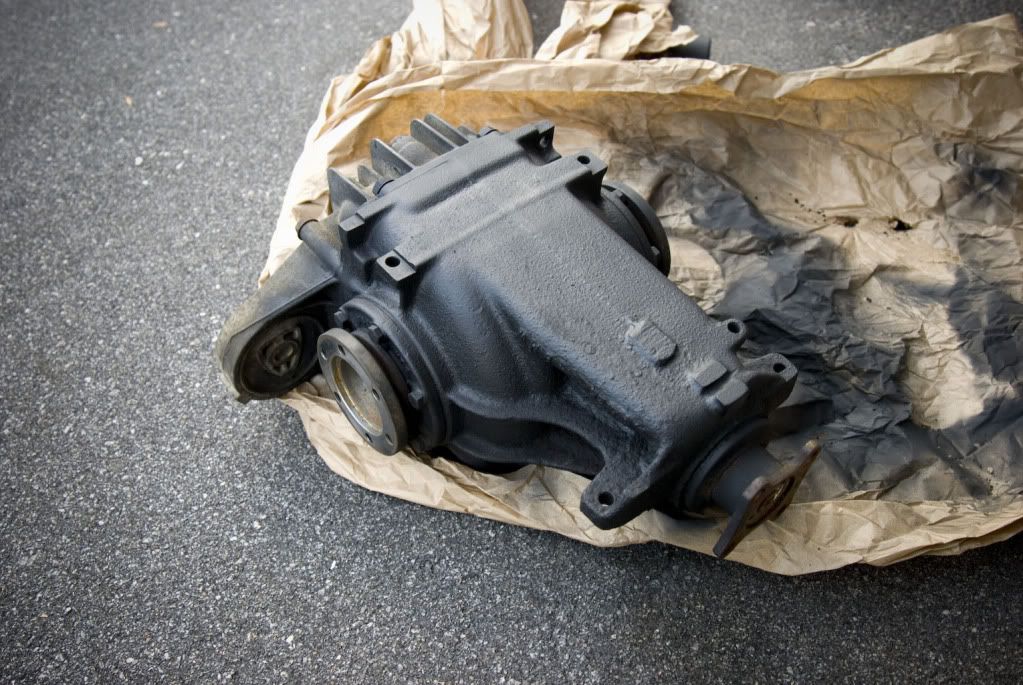
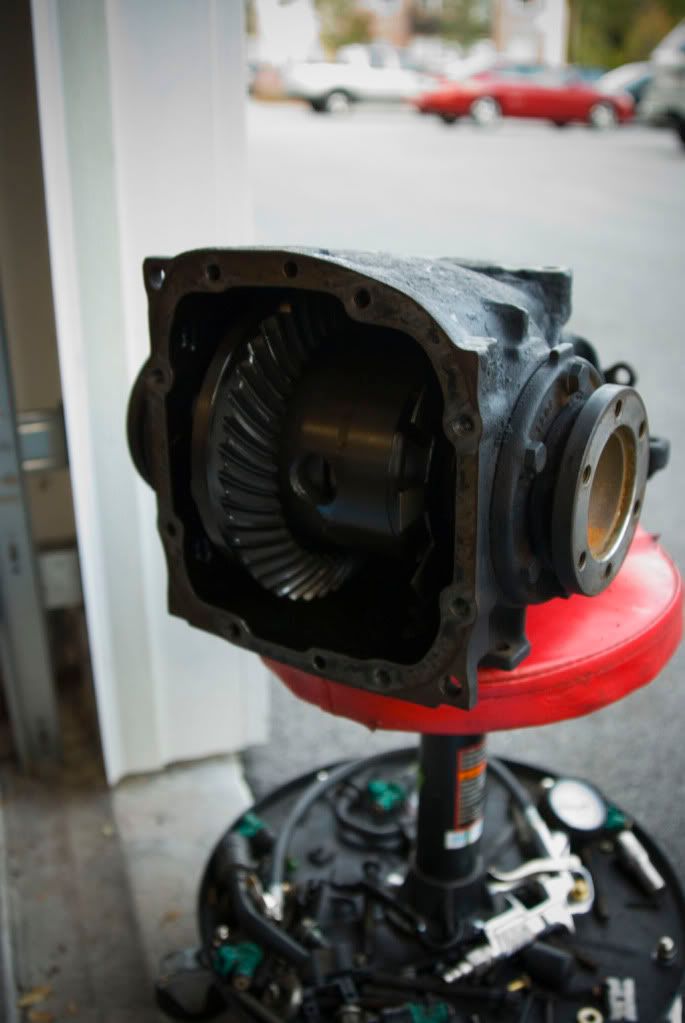
While I had the car up in the air, I ended up swapping my 3.73LSD for a 2.93LSD I got for a wicked price. After driving today, I'm really glad I did....the few moments I had the 3.73 on...gears seemed way too short for my liking. The one I got was pretty old n rusty, but I put some love and elbow grease into her, and gave it a dusting of rustoleum which cleaned it right up! Pics:
Thats it for now...in about an hour or two, Ill hop back on and post the rest...I need to run for a bit, sorry for the hasty end, I'll be back!Comment
-
Looks great, nice update. The exhaust looks good! And that HID looks very good too.
Keep it up, and Merry Christmas!Comment
-
OK...now to finish the update. So, I got the car running the first time, and I could barely stop. I first thought *maybe* it could be the little brake booster I had just put on, but quickly came to my senses that it had to be some issue with the brakes. Upon looking the car over, I noticed the rotors were still the same ones I helped my dad swap to when I was about 16 and all the pads were looking low...then I also did some research and saw it was pretty easy to rebuild the calipers and swap the brake master.
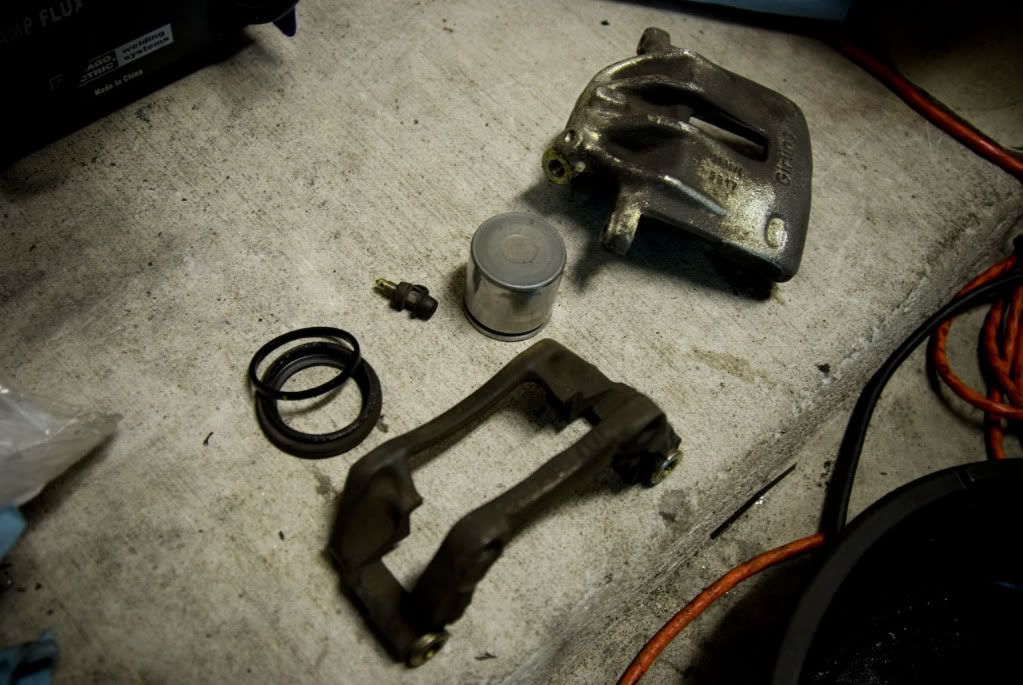
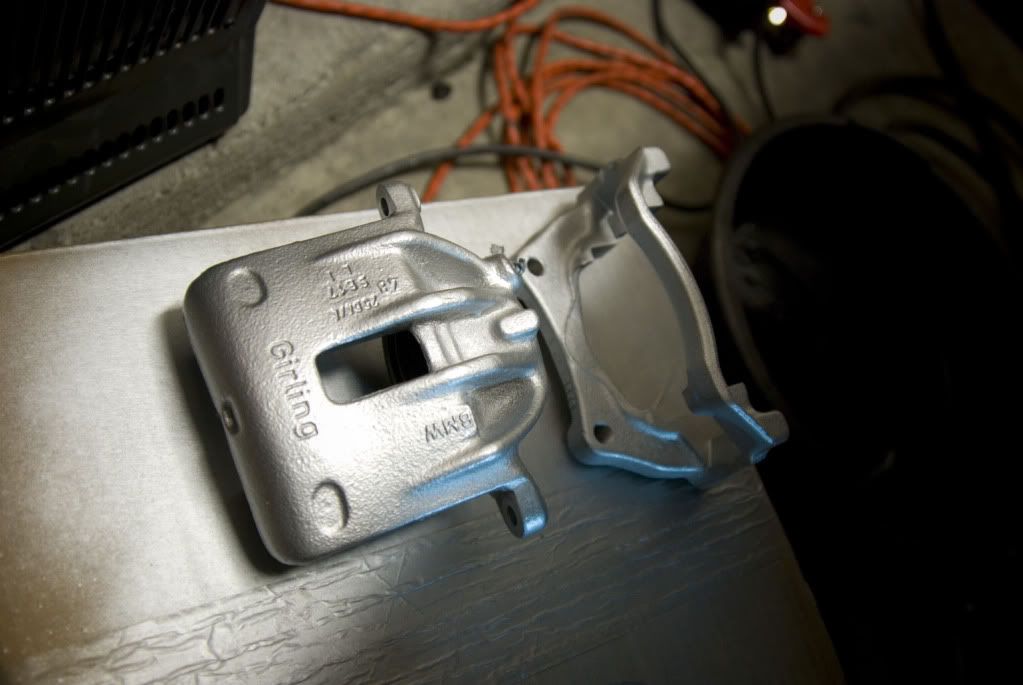
I decided to do a full brake job and rebuild all calipers and swap the master to cover all bases. I found new masters to be fairly costly but got a good deal on a fairly low mileage master from a r3v member and went to pelican for the rest. I ended up getting ATE blanks, Mintex red-box pads, and rebuild kits for all 4 corners, new shoes, etc and all refilled with ATE Super Blue. Since I was rebuilding, I decided to repaint all the calipers as well. Here are a few pics...
The first caliper disassembled
Fresh paint...
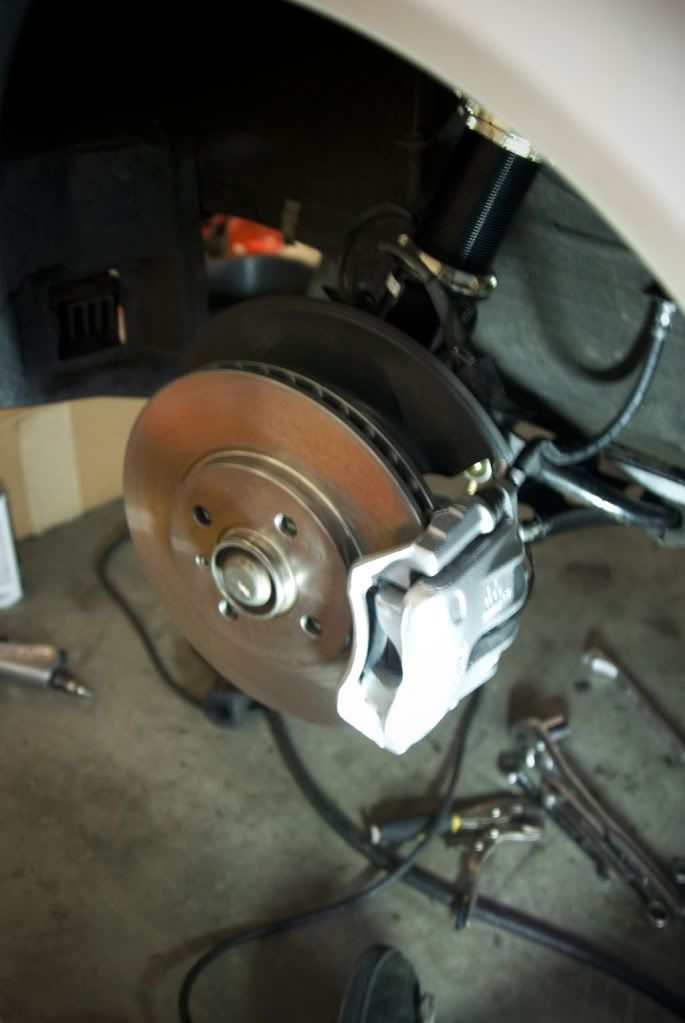
Slapped together and done, now repeat 4x:
So, today...as I posted before, I finished up the exhaust modification I made and then got to drive it around. It feels amazing. From the time I drove it home to driving it today is like night and day difference. All the fresh suspension joints, new bushings, NEW MOTOR, new diff, new brakes have really given the car new life. It has a pretty unlimited budget, and I know its hard for some people to spend even as much as I have, but its so worth it in my mind (even if I am oddly attached to this car, making it easier to spend, haha). I'll keep posting updates as time goes on, but I will be finishing up my time at OCS until March, so updates will not occur until then. In the future, I plan on starting on cosmetics...wheels, lip/skirts, some paint work...etc. See you all soon, and I hope you've enjoyed everything I put up thus far!!
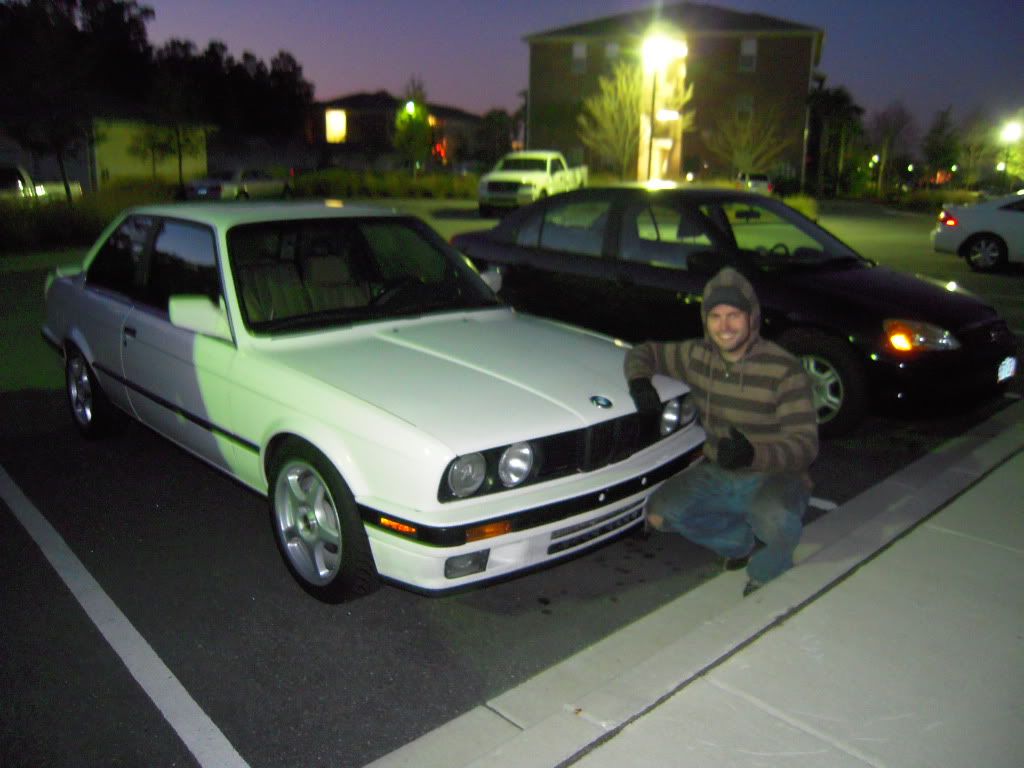
One last pic from tonight...right after I got done crusin' her for the first time...50 miles of fun!
Comment
-
-
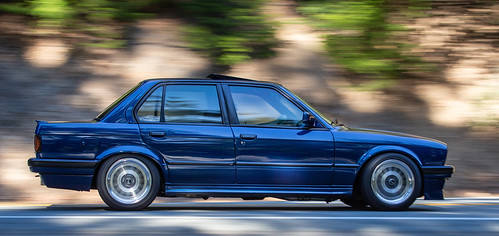
good work, that pain job looks super cleanMuch wow
I hate 4 doors
Comment
-
congratulations!Comment
-
Looks great. Congrats on the fruits of your laborComment
-
Glorious thread.
Thanks for sharing.
So awesome that it's a car you've been in touch with for so much of your life.
Very cool.Comment
-
Gavin,
The progress is phenomenal. Where in Charleston are you located? I'd love to take a look at the car before you head back out.
PM me, I want to go for a ride! haha
Comment
-
ZenkiOwns...I'm in Mount P...pm me if you have time this week...I'm available until Jan 1.Comment

Comment