
:up: Hope we can get the s38 in soon! and lol at Christians face in that pic
-
-
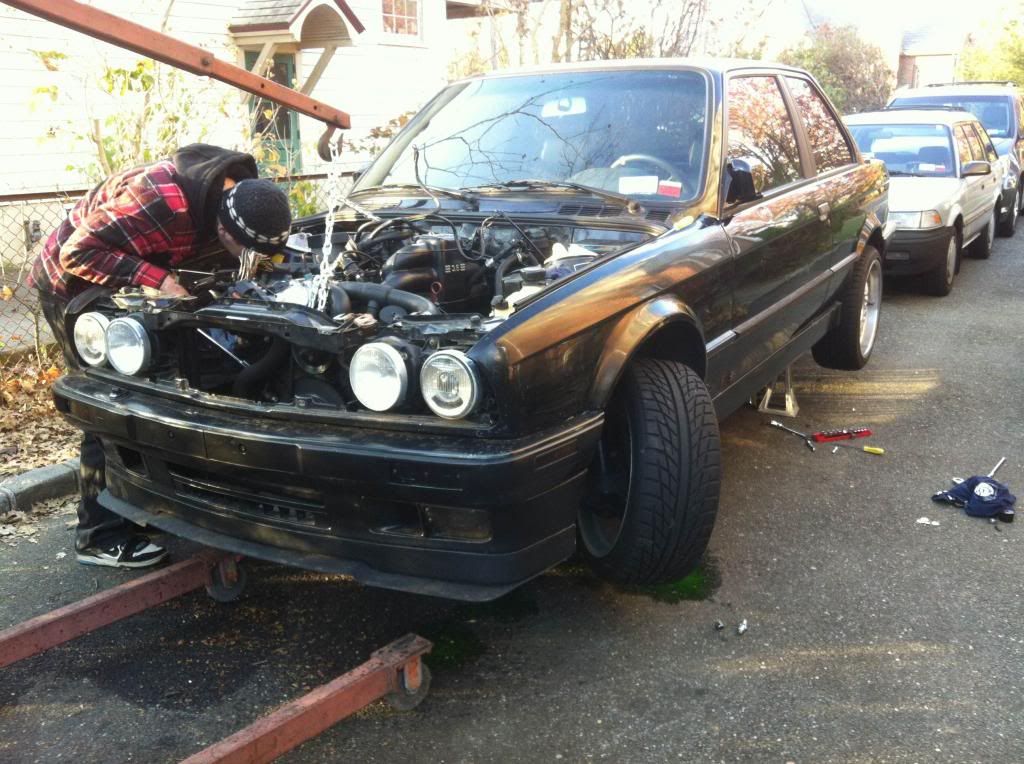
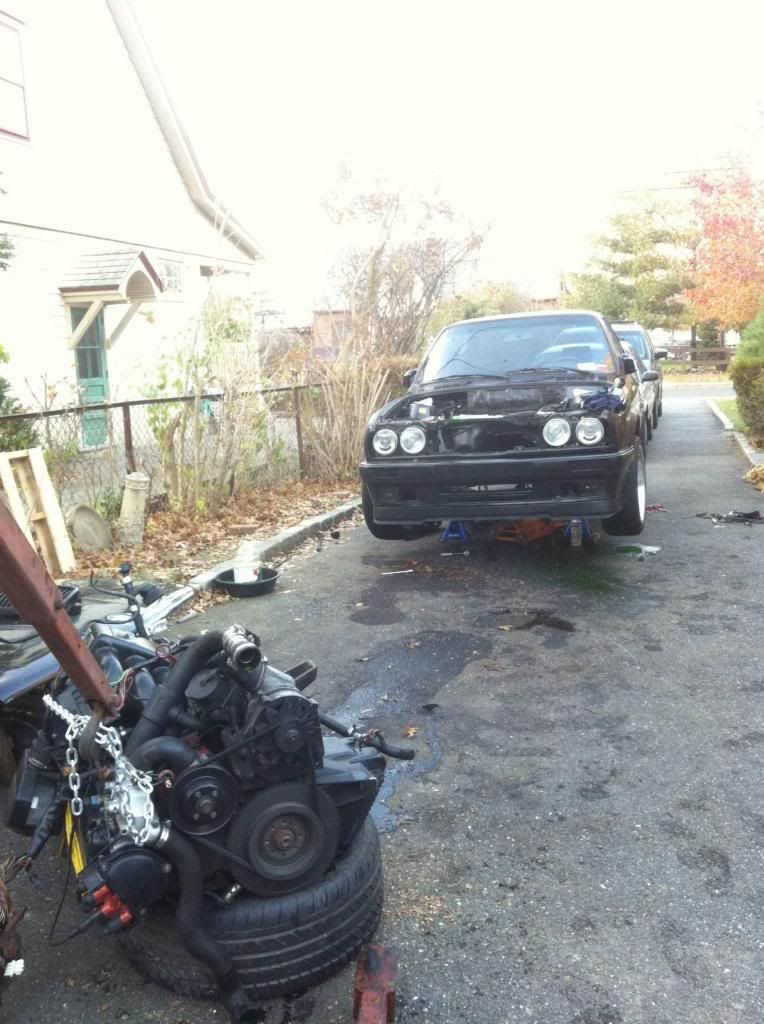
A few extra pictures

Comment
-
Originally posted by ttrousdell View PostWas a torque plate installed on the block while the bores were being honed?Originally posted by ttrousdell View Post
Ditto on filing rings not being fun. Not only is it tedious, holding the rings on the filer is hard on fingers. I did it for my V8... I will eventually build a V12; I am *NOT* looking forward to filing the rings for that engine.
I adhere to the school of thought that the 2nd ring gap should be WIDER than the top ring gap.
What makes rings seal is the pressure difference from top to bottom. There will always be some amount of blow-by through the gap, so some gasses will get by the top ring. If these gasses get trapped in the volume between the top and 2nd rings, they can build up pressure that will reduce the pressure difference across the top ring, which will compromise (even if only a little) how well the ring seals. Any compromise in how well the top ring seals will reduce the amount of power the engine makes.
Do you have a rod bolt stretch gauge? You can borrow mine if you need to.
If it were rode hard and put away wet in a previous life, that just means that the block is now "seasoned" and won't move as much throughout its service life for you as a younger less seasoned block... builds a better engine ;)Comment
-
^I didnt do the hone/overbore. I left that up to the machine shop. I mentioned the use of a torque plate but they made it seem like it was not necessary. Thats an interesting point that you bring up about the ring gap. I always thought that because the first ring is closer to the combustion space where the temperatures are greater, it will expand more. I do have a stretch gauge for the bolts. Thats nice of you to offer out your tools. I had a few snap-on items that never got returened so I dont do that anymore.:hitler:Comment
-
Check out www.speedtalk.com for engine building info... a lot of professional race engine builders post there, especially the Advanced Tech section (membership required to view).
Torque plate honing is necessary to get max power out of the engine. End of story. The difference between torque plate honing and honing without isn't big, but neither are any of the other improvements made to a blueprinted engine. The little things all add up and a blue printed engine can make 30-50 more HP than it's stock predecessor.
However, torque plates for oddball engines like the S38 are not easy to find and are expensive to make. I had to make my own for my Northstar build. A shop can tell you that you don't need it, still get paid for the work and you'll never know you could have made a handful more ponies with a torque plate. Caveat Emptor.
At this point, there's nothing to be done about it. You can't hone the block anymore without screwing up your piston-bore clearance, and I doubt you want to get another set of pistons made in pursuit of 5-10 horsepower.
I drove an E34 535i stickshift car for about 45,000 miles... I bet that engine in an E30 was nice to drive, even if it really doesn't fit. ;)Comment
-
Awesome info, great build thread!
And GOD DAMNIT! Being an impatient man, I find it vexing when I read in-progress build threads, the suspense on this one is killing me. S38 = dream motor
Love to see your work, it's so wonderful to see folks who really care and aren't afraid to put time into their work.
Can't wait to see some future vids of this thing getting tugged along under the oomph of an S38Comment
-
Thanks for the info and the link to that site. Looks like a lot of good stuff. I did condider a torque plate but I think it was over 1000 dollars so I just went with the machine shops advice eventhough im trying not to be cheap on this build. The m30 hauled ass:p! Yes it was tight which makes me wonder how the hell am I going to fit the s38. Will have to be through the bottom of the car or sprarate from the transmission.Originally posted by The Dark Side of Will View Post
I have been pleased with the build so far. Im confident i've buid a stong bottom end and obviously want the same confidence for the top. After the head came back from the machine shop, it was time to make the critical decision for what head gasket I would run. Finding the right bore size was cake but the thickness had to be found with a little more effort. As mentioned the machine shop removed .002" from the block but the timing cover had to machined .011" to be level with the deck.
Next I measured the head to try and see how much material has been removed over the years and the measurements I found werent too good.
So the head thickness is well below the inital head thickness, but thats ok I had a feeling that it would be. What I didnt expect was that the head was so uneven, thickness wise. The engine must have overheated in its life and eventhough the bottom was milled to get I perfectly strait, the top still remains uneven. So a call to the experts was made (my machine shop, and VAC). Both told me that this "should be ok to run." Hmmm Im not to thrilled with that response but at that point I was going back to work overseas in 4 weeks and wanted this thing in the car before then. So I added up the differenced in original thicknesses and ordered the HG. .011" was taken from the block and it looked like a little over .02 was taken from the head. I could get a way with having atleast .01 taken before needing a thicker gasket. So I estimated .03 to .035" was taken off. I called VAC and they sold the gasket in .07(stock),.08,.98" and a few sized thicker. The .98" HG was ordered and installed.
The cams were set to TDC. There a two indents on the front of the cam. One faces strait up (circled red) while the other faces toward the other cam (circled yellow). The cam lobes themselves face at 45 degree angles to one another. The cams and journals were measured to make sure there was sufficient oil clearance. Before the upper head was on the engine, I put the cams in it, tightned the caps to spec and made sure the cams spun without much effort.
The sprockets and chains were connected then a valve adjustment was performed. All new shims have to be ordered but Im abled to swap a few shims around to other tapets to get them in spec and save some money buying new ones.
The engine turned over without many hangups as I expected but now I couldnt shake off the feeling like I had rushed to get to this point. I decided to pull the head, take out all the valves, reassemble the engine and do a valve clearance test for peice of mind. I checked with the use of the dummy spring method. I figured this would give me more accuracy then putting the clay on the piston and rotating the engine to see the indent. You need a dial indicator for this test.
These numbers didn't excite me much either. For the exhaust I had a clearance of .126" at TDC and a minimim clearance of .106" a few degrees before TDC. These numbers were taken before the valve adjustment and since im putting thinner shims in, those numbers will be slighty less after that. This will give me more then enough space over the minimum 1.50mm or .059" inches. For the Intake I had a clearance of .079" at TDC and a minimim clearance of .06" a few degrees after TDC after the valve adjustment. Hmm kind of close.
Here are my thoughts after all that nonsense. Although Im not below the minimum for intake valve clearance, I still feel a little reluctant to run this. The #1 intake valve is in the thinnest part of the head and would be the closest to the piston so it would make sense that every other intake valve should have more clearance. Despite this im pretty sure im going to send the head back to the machine shop to have the top deck straitened and have the bottom of the upper head checked as well. Should have just bought an LS engine . Thoughts from you guys?
Comment
-
kinda side skirts are those?Comment
-
The guy I got them from said they came from guten in NJ.Originally posted by bmwstephen View PostComment
-
I was wondering if the torque plate would have been too expensive...
What's you "quench clearance"?
Meaning, what's the distance from the flat portion of the piston crown to the flat portion of the cylinder head at TDC?
Getting the quench tight enough is pretty important to getting the right in-chamber mixture motion to make the best use of your compression.
What size are the bores in your head gasket? Are your pistons in the hole or out of the hole? These contribute to "crevice volume" and can cause problems later.
It looks like you've measured the thickness of the head at the perimeter sealing surface... have you tried measuring the thickness at the head bolt bosses to see whether the deck it out of alignment, the top surface is out of alignment, or both?
You may need to use a surface plate and depth mic to do that, though.
0.060 is close, but still runnable. Don't over-rev it and float the valves.Comment
-
I don't understand the whole torque plate deal. I would love to see some published data from a reputable source that proves that using a torque plate will accurately replicate the forces on the block produced by a head torqued.
The cost of getting a torque plate produced vs the gains(if any) is not cost effective.Comment
-
That was settled a long time ago... It's standard practice for pro level engine builds. The dyno tells the difference. The high end shops can even flow hot water through the block to warm it up to operating temperature for the honing.
A Torque plate is worth more in an engine like a Chevy in which the head bolt threads are in the block deck surface, bridging the water jacket between the outer wall and the bore wall. Those blocks deform significantly when the heads and mains are torqued up... to the extent that heads or torque plates need to be installed to both banks when the main bearing bores are honed.
It might not be worth as much on BMW engines which typically have the head bolt threads in the outer wall of the block, but it is still worth ponies.Comment
-
the m30 is pure sex... i cant wait for the s38...Comment
-
Any updates on the valve clearance issue?
Comment
-
Read the whole thread straight through... great journey with your progress on your car.
Best of luck on the S38 motor... I hope you can get geo and tolerances to your liking and fire that baby up soon.Comment


Comment