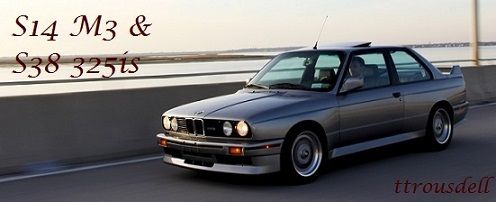
Announcement

Collapse
No announcement yet.

ttrousdell's Project Thread (E30 M3 & S38 swap content)

Collapse
X
 
  • Filter
  • Time
  • Show
Clear All
new posts

    #61
    When you replace the control arms buy Meyle and get treehouseracing eyeball bushings. They are amazing!

    Loving the build bro, and I LOVE that plate and spark plug wiring.
    ~ Puch Cafe. ~ Do business? feedback ~ Check out my leather company ~

    Instagram: @BWeissLeather

    Current cars:
    ~ '87 325 M30B35 swap
    ~ '87 535
    ~ 01 540 Msport 6spd
    ~ '06 X5 4.8is

    Comment


      #62
      The European Extravaganza

      For the last 45 days I had been working aboard a ship traveling around northern Europe. During my time in Latvia, I was able to meet up with a few BMW enthusiasts and buy some euro parts. Purchased all these items for a steal.

      Click image for larger version

Name:	IMG-20110621-00321.jpg
Views:	1
Size:	103.7 KB
ID:	7132615

      Ive only been home for a few hours but i had to install the new gauges. So far so good.

      Click image for larger version

Name:	IMG-20110625-00326.jpg
Views:	1
Size:	98.5 KB
ID:	7132616

      The Build:
      http://www.r3vlimited.com/board/showthread.php?t=191125

      Comment


        #63
        Really nice build, its amazing all the work you put into it so far!

        Comment


          #64
          is she runnin well?
          E30 Project in progress......

          Comment


            #65
            Thanks everyone. She is running and better then ever. Ive never had so much fun in a car. Here's a little clip right after the swap..... http://www.youtube.com/watch?v=t6nDEF7Sx-Y
            Last edited by ttrousdell; 07-16-2011, 05:06 AM.

            The Build:
            http://www.r3vlimited.com/board/showthread.php?t=191125

            Comment


              #66
              Suspension Finally!!!!!

              Summer is here and I now have free time to build. As promised the car is going low. Two weeks before the suspension tear down, the hunt for all the parts began. I scored a H&R race kit with 1k on it for $350 and all the other various parts were ordered from online. Poly everything would have been nice, but its a little to expensive at the moment.

              Click image for larger version

Name:	2011-06-27_07_45_35.jpg
Views:	1
Size:	82.7 KB
ID:	7132913

              Many new goodies.

              Click image for larger version

Name:	IMG-20110708-00361 - Copy.jpg
Views:	1
Size:	122.0 KB
ID:	7132914


              Click image for larger version

Name:	IMG-20110708-00364.jpg
Views:	2
Size:	120.3 KB
ID:	7132915

              More suspension progress coming soon.

              The Build:
              http://www.r3vlimited.com/board/showthread.php?t=191125

              Comment


                #67
                It became clear right away that it was the right move to redo the whole suspension. The next two pictures give a good idea of the kind of crap i had to deal with.

                [ATTACH]44460[/ATTACH]

                [ATTACH]44461[/ATTACH]

                Putting in the new bushings on the front sway bar.

                [ATTACH]44465[/ATTACH]

                Old struts, control arms, and tie rods out. Remember to buy the locking washers for the new tie rods. The front suspension only took about a day of work then it was on to the rear.
                [ATTACH]44464[/ATTACH]

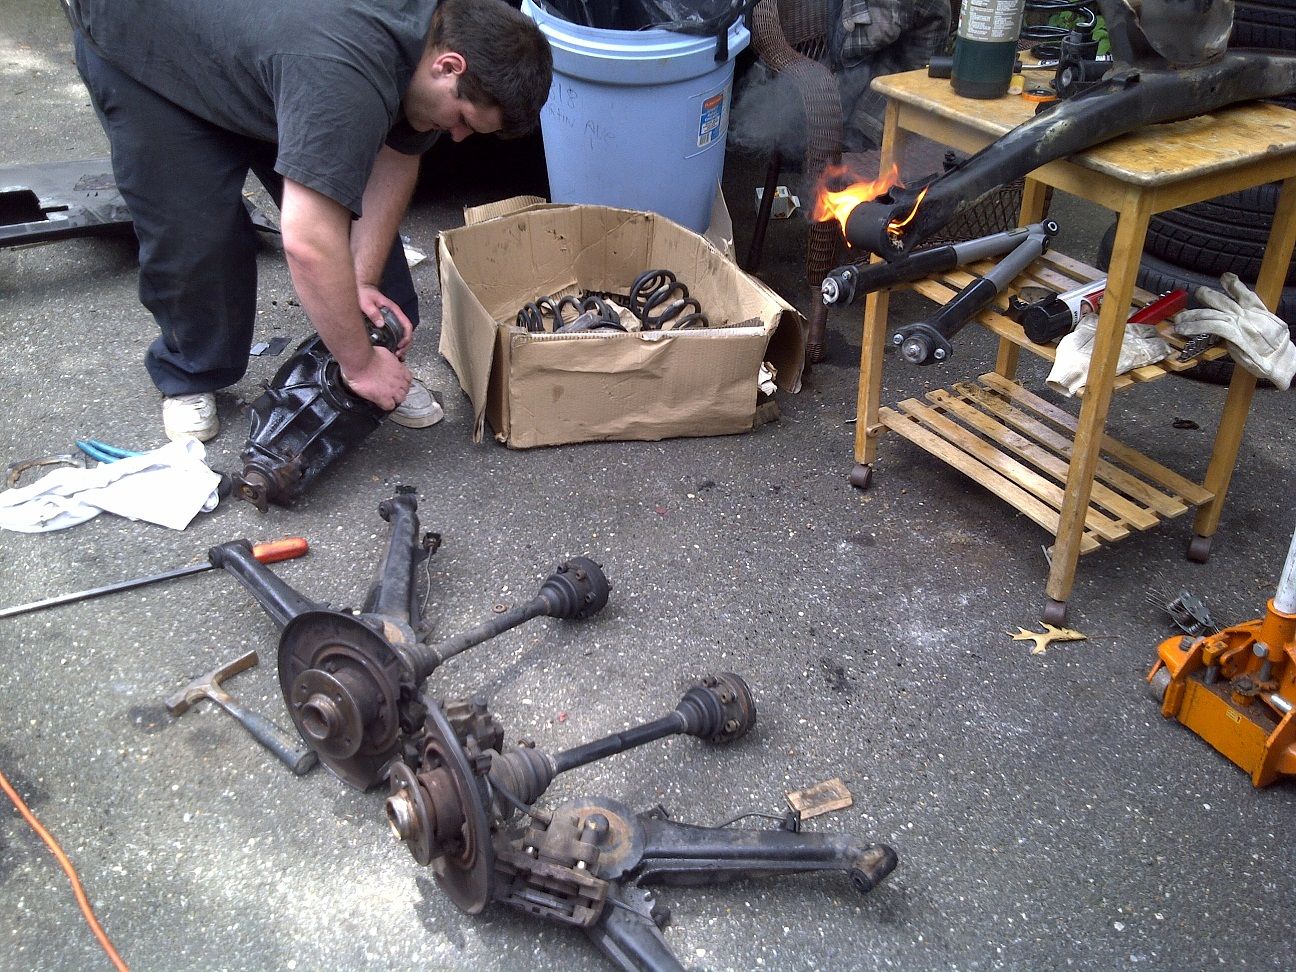
                The first thing to be removed from the rear was my ancient looking diff. Along with new seals, a good cleaning was in order.

                [ATTACH]44463[/ATTACH]

                The Build:
                http://www.r3vlimited.com/board/showthread.php?t=191125

                Comment


                  #68
                  susp cont.

                  S3.73 all cleaned up looking fresh.

                  Click image for larger version

Name:	IMG-20110712-00390 - Copy.jpg
Views:	1
Size:	117.8 KB
ID:	7132952

                  I knew the pads were shot from the P.O. but this is insane.

                  Click image for larger version

Name:	IMG-20110711-00382.jpg
Views:	1
Size:	101.9 KB
ID:	7132953

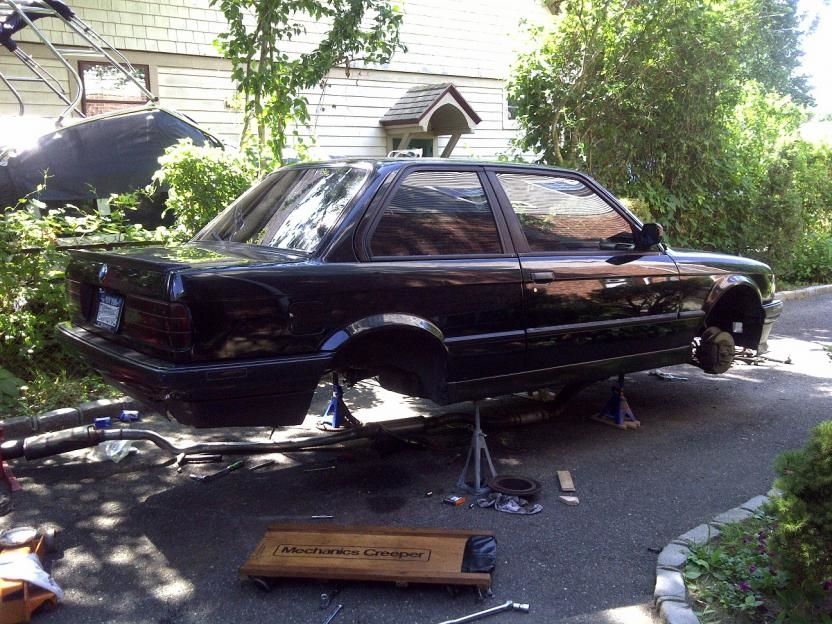
                  Getting ready to drop the subframe out. Of course something thats been in the same spot for 22 years is reluctant to move. A good shake let it free but I bent one of the bolts that holds up the subframe. Luckly they can be pulled out right through the body fairly easily.

                  Click image for larger version

Name:	IMG-20110711-00384.jpg
Views:	1
Size:	118.0 KB
ID:	7132954

                  Subframe out.


                  Burning out the old bushings. Fire is your friend here. I cant imagine removing them easily any other way.

                  Last edited by ttrousdell; 09-17-2015, 11:34 AM.

                  The Build:
                  http://www.r3vlimited.com/board/showthread.php?t=191125

                  Comment


                    #69
                    First photo shoot with the new suspension. Special thanks for my friend Tiago (toointoxicated60) for all the help.

                    [ATTACH]44483[/ATTACH]

                    [ATTACH]44485[/ATTACH]

                    Motor shot. Most of the issues have been worked out since the first start and I finally put the O2 sensor in.

                    [ATTACH]44484[/ATTACH]

                    The Build:
                    http://www.r3vlimited.com/board/showthread.php?t=191125

                    Comment


                      #70
                      rust repair

                      This past fall the east coast was hit by a large rain storm. Unfortunatelly for my interior, my "elephant trunk drain" was all gummed up and a lot of water ended up in my e30. The only option was to remove the carpet to avoid mildew and rust. Ironically this is just what I found when I removed the carpet. I recently got my hands on a 110v gasless mig. Although I'm used to stick welding and the mig is cheap, it still gets the job done.

                      [ATTACH]44487[/ATTACH]


                      Step 1
                      • Mark off rusted area to be cut with chalk
                      Step 2
                      • Cut out along marked area
                      [ATTACH]44488[/ATTACH]

                      Peices after being cut out.

                      [ATTACH]44489[/ATTACH]


                      Step 3
                      • Cut out new peices from similar gauge source. In this case I used the hood from my car that was in the accident. Cutting wheel/angle grinder works well for this.

                      [ATTACH]44490[/ATTACH]


                      Step 4
                      • Weld new peices in. Make sure you lay a few beeds around the perimeter of the peice before completely filling the whole gap in. The metal will warp if too much heat is applied.
                      Step 5
                      • Grind down beads with angle grinder to get a smooth finish. Paint should be applied right after to avoid oxidation of new clean metal surface.
                      [ATTACH]44491[/ATTACH]

                      The Build:
                      http://www.r3vlimited.com/board/showthread.php?t=191125

                      Comment


                        #71
                        wow great work!

                        Comment


                          #72
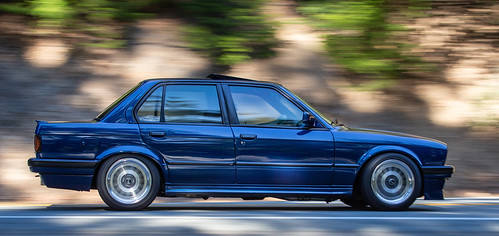
                          I'm a firm believer that no matter what kind of wheels you put on an e30, the basket weave will always look better. This past weekend I traded my rotas to E30 F34R for a set of BBS RC090s 17x8 et20 5x120. They are no where near perfect condition but I will make them beautiful again. Tires are on the way and ill be running 215/40. Now on to the pics.

                          Click image for larger version

Name:	IMG-20110802-00419.jpg
Views:	1
Size:	125.8 KB
ID:	7133161


                          Another picture of the car after lowering. Sitting on 14" weaves.

                          Click image for larger version

Name:	IMG-20110729-00418.jpg
Views:	1
Size:	117.8 KB
ID:	7133160

                          The Build:
                          http://www.r3vlimited.com/board/showthread.php?t=191125

                          Comment


                            #73
                            nice! are you going to have them redrilled?

                            Comment


                              #74
                              man, i like what you have done with the place. such a nice clean turn around.
                              Much wow
                              I hate 4 doors

                              Comment


                                #75
                                Thanks for the complements and yes they will have to be redrilled. They will also need 10mm spacers to clear the brake calipers and 57.1 to 74.1mm hub rings. Fenders will have to be rolled at the very least.
                                From the start of the build I have always tried to keep the stock look while trying to make the powerplant anything but. Its simple, no ridiculous body kits, no stickers, no roof racks, and no trinkets hanging off the car. The car should look like it did when it came out of the factory but make it lower and bigger weaves. Sorry if you disagree but this is my opinion.
                                Last edited by ttrousdell; 09-23-2011, 01:55 PM.

                                The Build:
                                http://www.r3vlimited.com/board/showthread.php?t=191125

                                Comment

                                Working...
                                X