-
You should be using NO silicone. A dab of Hylomar where the metals meet and in the half circles is all you need.
For paper gaskets you should coat both sides with Gasgasinch.Leave a comment:
-
It is. It is some stuff my dad gave me and told me to use. I have been using it for a number of years with no issues so far. Let me guess, is it the wrong heat level or something? I kind of had a bad experience with leaking valve covers, so I covered the crap out of this one.Leave a comment:
-
I hate to ask (and I hope I am wrong) but is that copper silicone all over everything?Leave a comment:
-
So I had some time over the past couple days to start putting stuff back together. It kind of sucks having your work schedule controlled by the weather (this is pretty much all happening in a parking lot).
I got the rest of the gaskets put back onto the engine (v/c, rear main seal, etc). I also replaced the pilot bearing and made sure to seal all that stuff with a lb of RTV. I then put on the UUC flywheel and put on the new clutch. This is where things were a bit interesting. For some reason I didn't receive a clutch alignment tool, and I didn't realize till I was putting it all together on a Saturday night. So we ended up getting a stepped socket and using masking tape to get it to fit snug in the pilot bearing, and then taped the other side till it fit snug in the clutch. It worked perfectly.


I also got the e36 steering rack out of my M3 that I am parting and shifted over the e30 linkage and installed it. I am running no power steering, so I just clipped the hoses and will figure out a delete for the hoses on the rack soon. The iX booster is installed here too, but I am planning on removing it and making it fit a bit better. I am being told to bench bleed the MC before I put it in too, so I plan on doing that.

I got the rest of the suspension put back together in the front also. Just bolted up for the mean time. No real adjustments yet. I still need to figure out what camber and all that stuff I will be running. Test fitted the Borbet's so I can get an idea as to what tire size I need to pick up (came with 205/50/16... HUGE)


Nate was here helping, so we put the engine and tranny in. No space in the shop for it anymore! Might as well put it in the car right?


And the good shot next to Nate's car.

So far there have been no major surprises. Endless trips to the hardware store for random garbage that is a must have, but that is usual. I still have a ton of little things to get before this will be on the road driving.Leave a comment:
-


Finally had some time to get stuff together on the car. The motor will be all buttoned up once I put the valve cover back on. I sand blasted it and used VHT wrinkle finish. I always use that combo, and it turns out great.
I pulled the old oil pan also, and switched over the sump to the e34 and used the e34 pan also.
The coilovers are 100% done now too
I am starting to bolt the whole front end back together today so I can get it rolling. I have to hook up the e36 steering rack and all that good stuff. From there I am ready to drop the motor in! Keep posted.Leave a comment:
-
Thanks!
Small update. The rain here has put a complete handicap on my project. Not having a garage to work in means no time to work on the car when it is pouring rain.
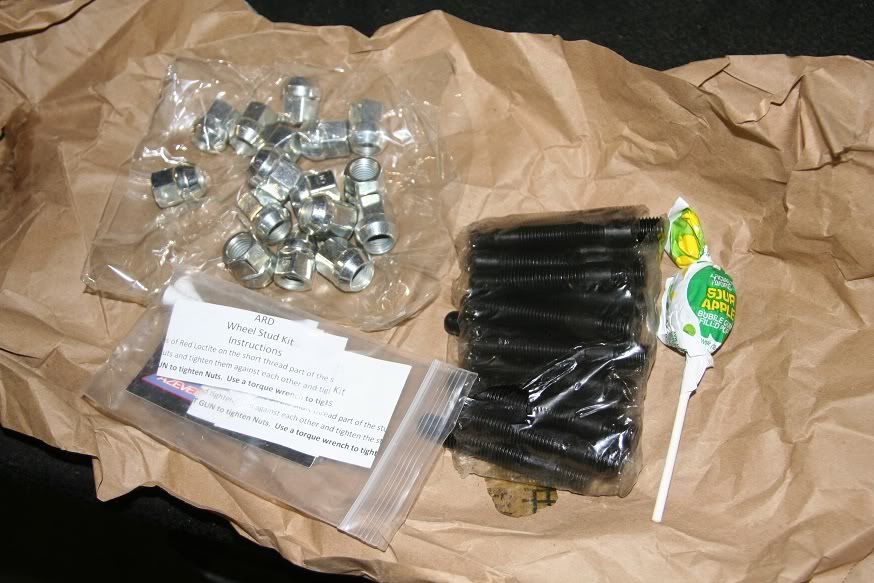
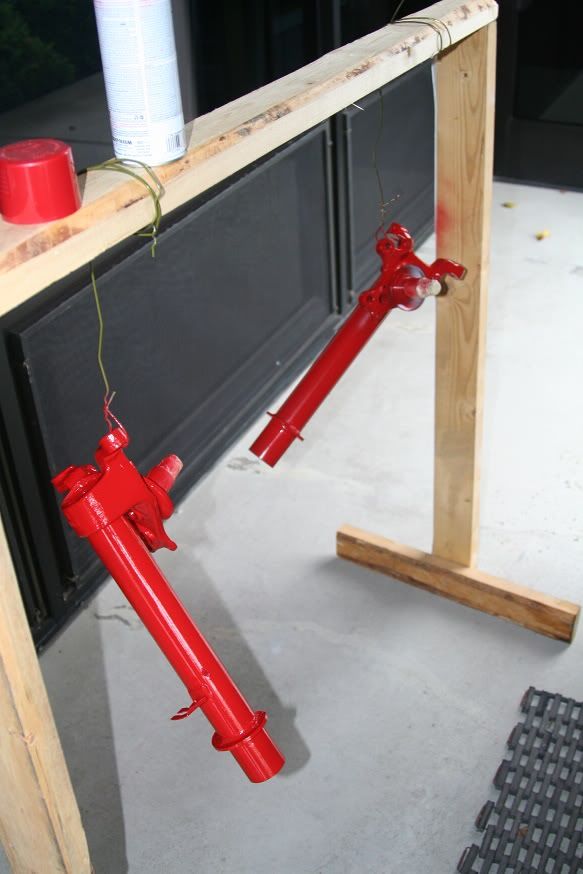
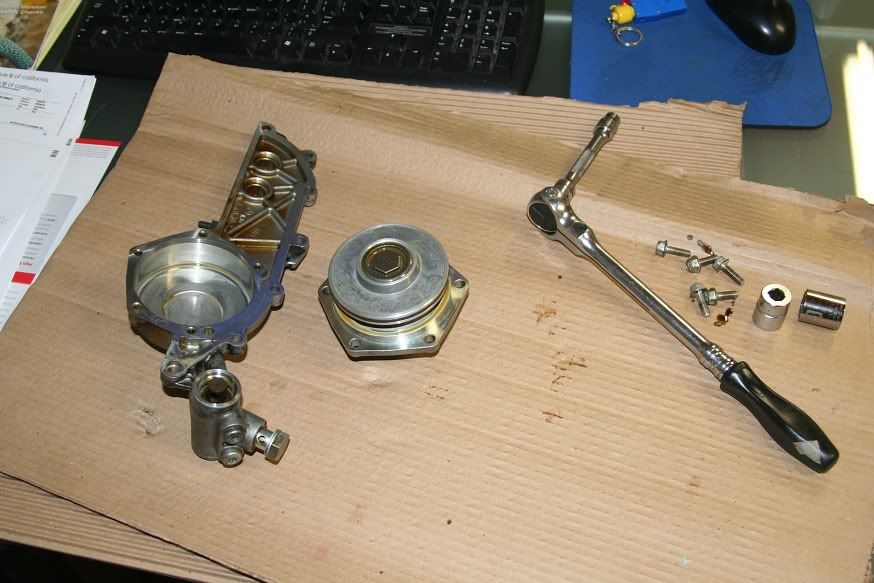
Got my wheel stud kit in today, and I finished painting the strut tubes to the ground control color. Figured I might as well try and make it match. I also started to disassemble my VANOS unit to rebuild it. I picked up the new thrust washers and seals, so I can eliminate that awful rattle.
Leave a comment:
-
It has been raining here for the past couple days, so I have not been able to get any work on the body of the car. I have really wanted to prep the engine bay, but I have no garage and it has to be kept outside. BUT, I have been spending time in the machine shop getting some work done when I can.
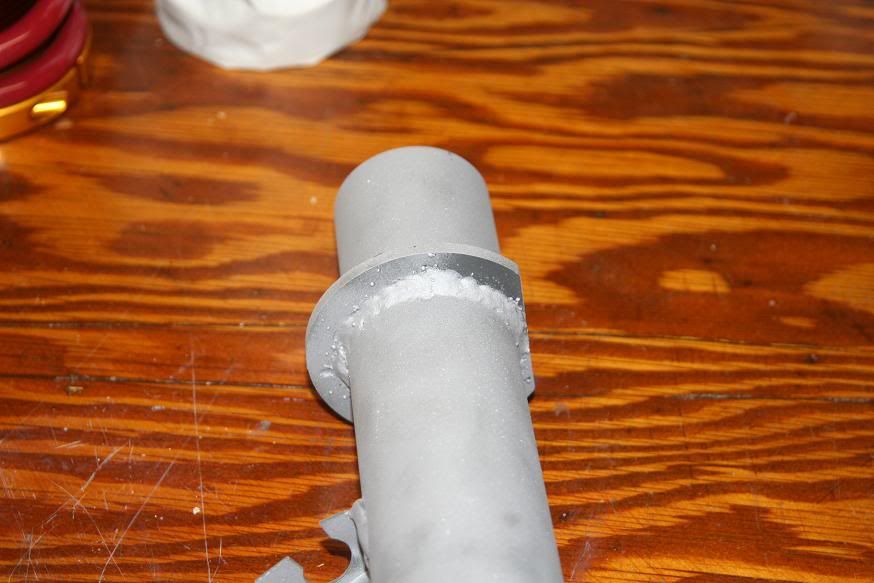
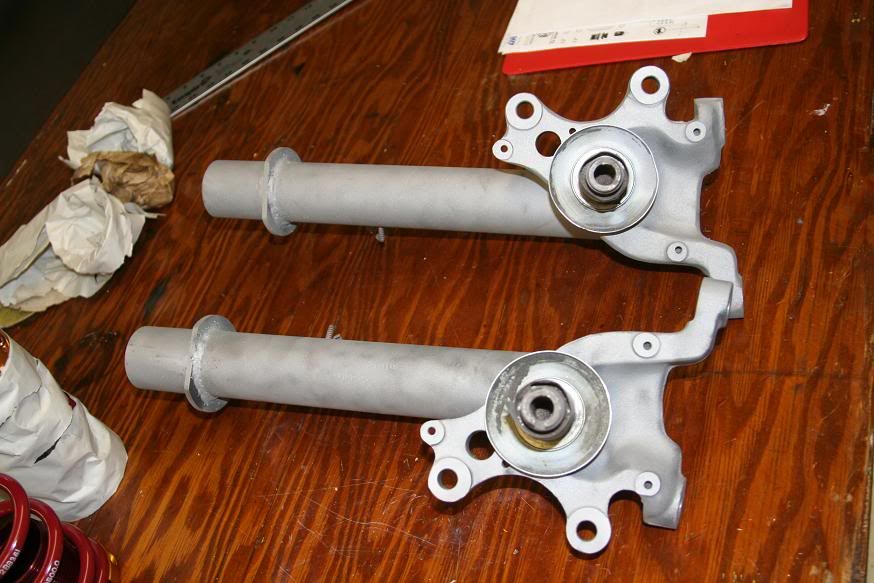
I finished up welding the strut tubes for my coilovers today. Having access to a full machine shop made feel like I was doing things way more precise then I really should have, but I can't complain about doing good quality work even though it has taken me a while go get back into the swing of using these machines. I went ahead and sandblasted the strut tubes after I was done welding, and they are all ready to get painted. Not quite sure on the color or type of paint, but I will be doing that tomorrow or the next day.
More updates coming soon!Leave a comment:
-
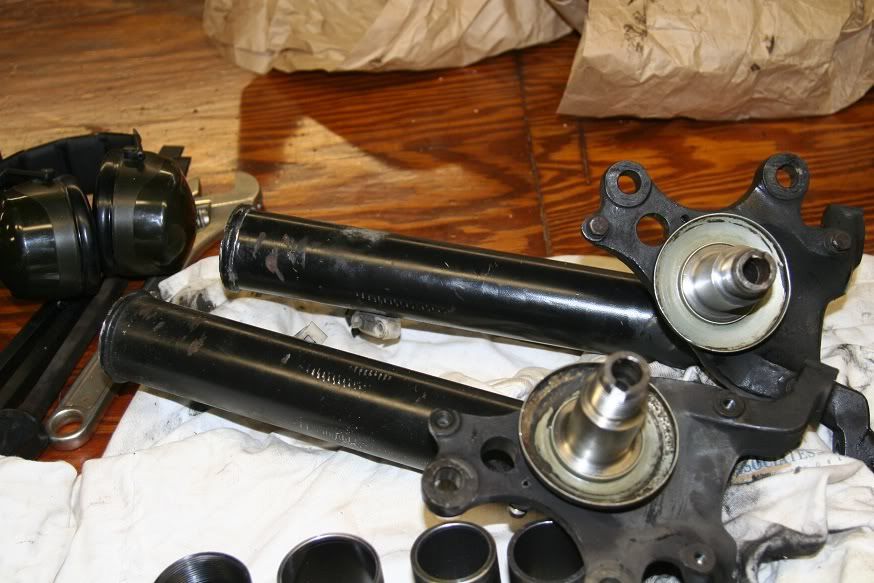
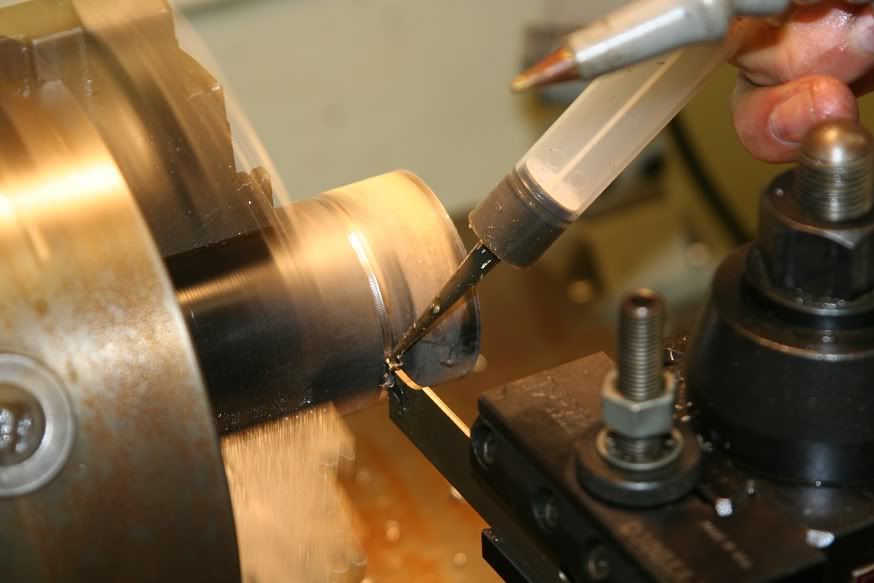
Got some time in at my friends machine shop today. I cut down my strut tubes, and prepped everything for welding tomorrow. I am shortening the tubes by 1" and running a 3" spacer inside, so I can use shortened Koni's. Should be pretty awesome when it is all together. I will snap some pics after I weld and sand blast them tomorrow.
Leave a comment:
-
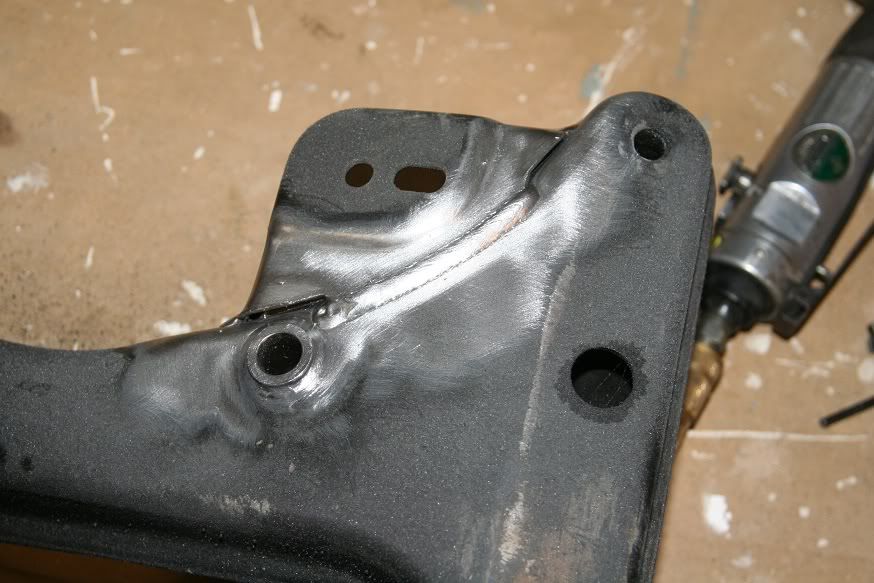
Another little update. I got took the sub-frame over to my friend's house and welded some reinforcements. I have not welded in over 5 years and I did not practice at all before I set right into my sub-frame. Turned out pretty well, and my welds aren't to ugly either. I added some metal to where the engine mount brackets are and where the steering rack bolts up. Easy to do and it actually does something. I washed it down after that and sprayed it back to black. I was going to get it powder coated, but I really don't care enough hah.
Before:
In-between:
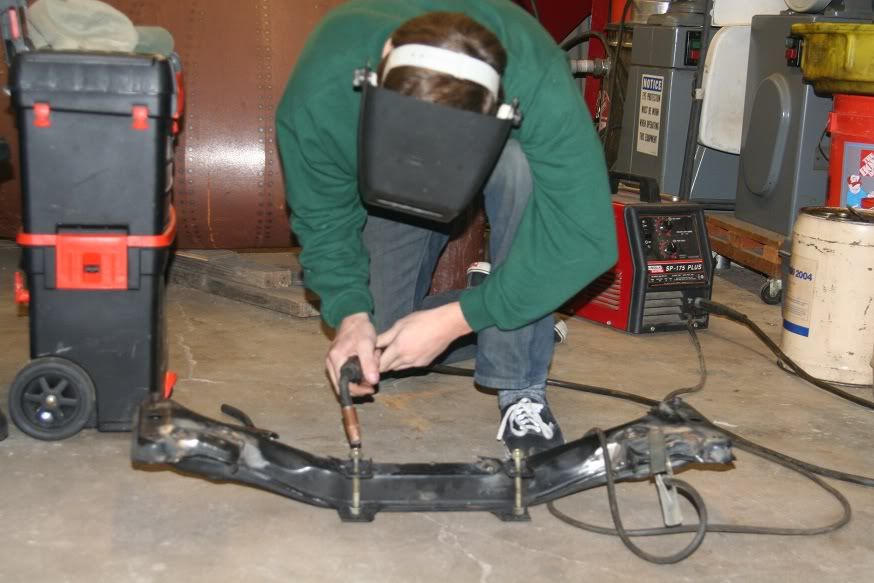
After:
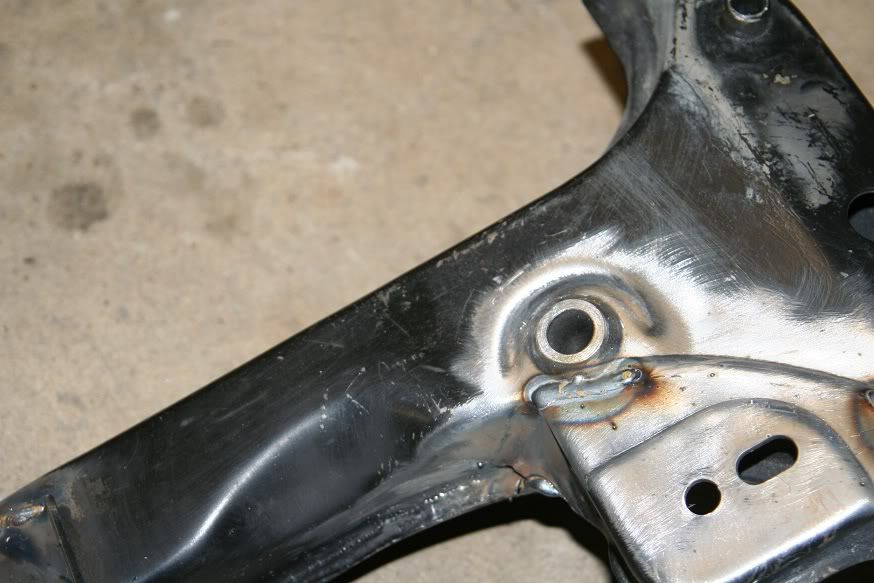
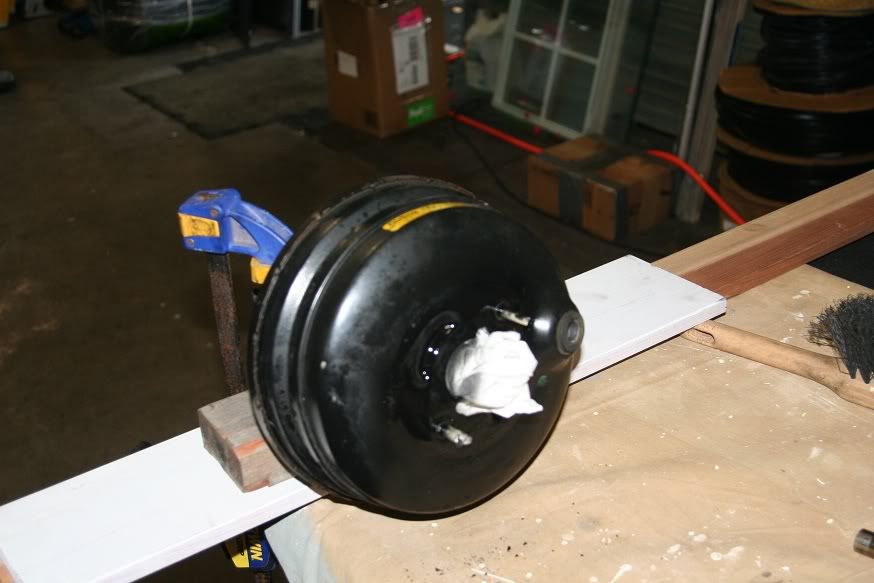
You have to swap out your brake booster to allow clearance of the intake manifold, so I have been prepping my new booster. I am using a 325iX (all wheel drive e30) double stake booster. I picked it up for a tremendous deal with the MC. The parts seem almost brand new, and pretty much no erosion or rust.
I disassembled most of the accessories off the engine too. I do not plan on keeping air conditioning or power steering, so that stuff went right into the garbage. I set to working cleaning with Oil Eater, tooth brushes, and brake cleaner. Works like a charm!
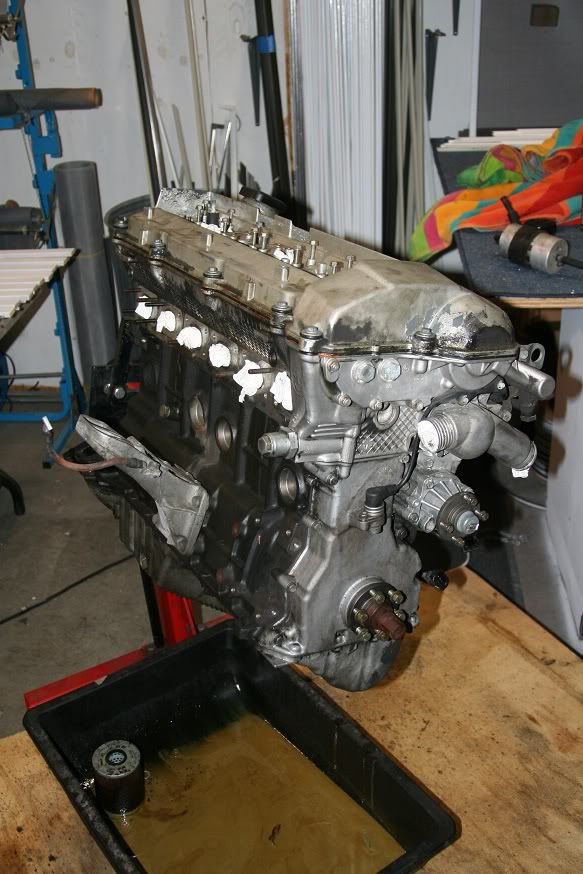
Here is it starting to come back together. I didn't touch the valve cover because I am going to have it hot tanked, and sand blasted. No real reason for me to waste my cleaner when I am going to be doing that.
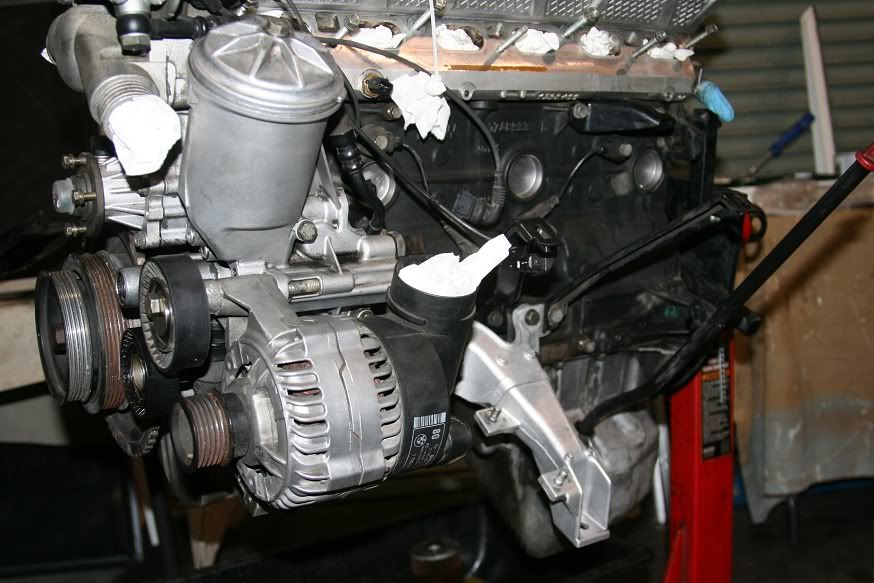
It is supposed to be raining here tomorrow, so I wont be able to work outdoors on the car. I am going to start assembling the coil overs instead.Leave a comment:
-


Leave a comment: