-
Actually the LED should make the battery last a while, they draw very little current compared to old technology -
You need to give this B a good 2 day wax/ paint detail man! That paint has potential still! Great job on the interior.Leave a comment:
-
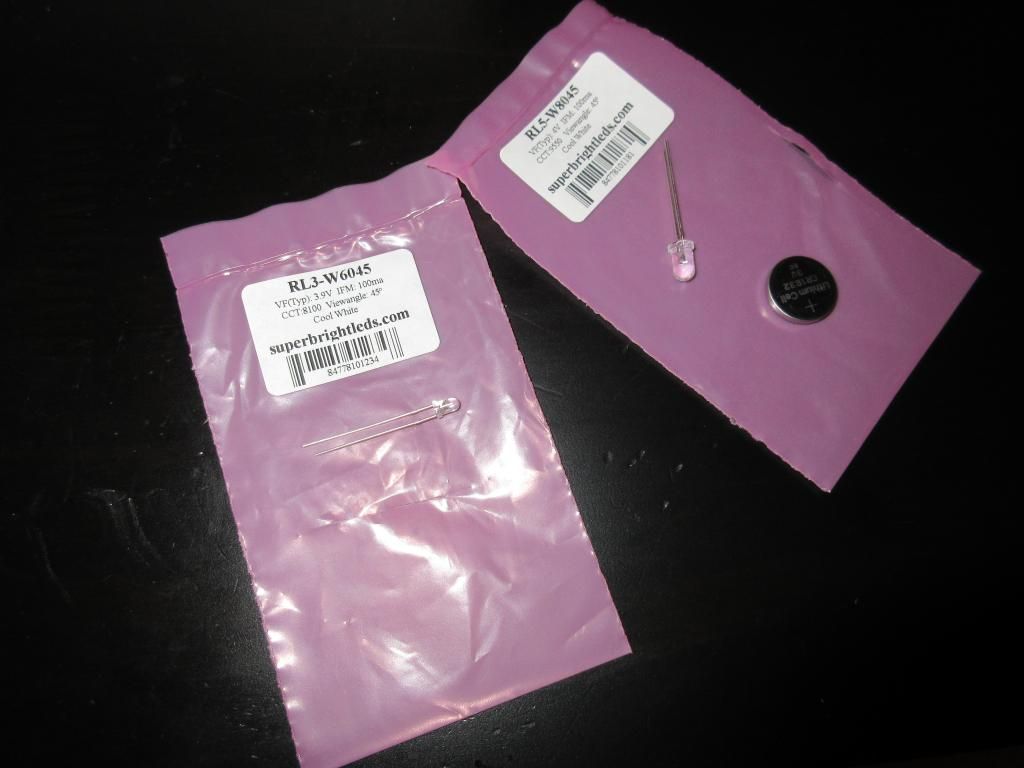
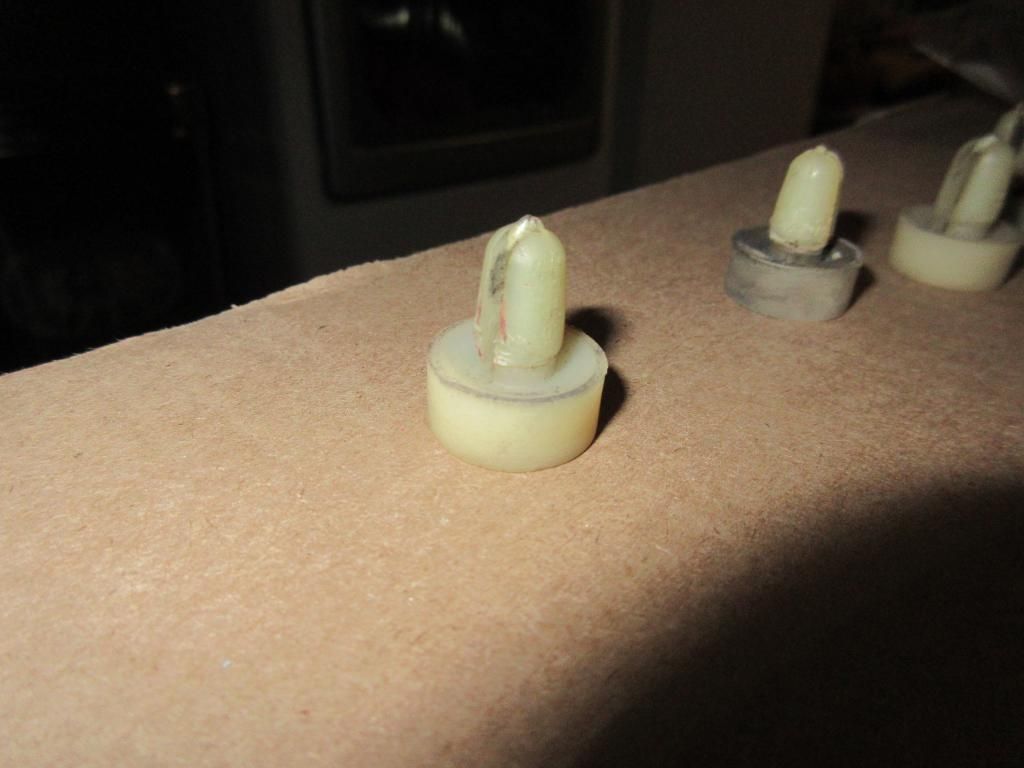
I upgraded to a OEM lighted key sometime back. Believe it is in this thread. The bulb finally died so I decided to do the upgrade to LED as many have. I bought two bulbs from where I get my LEDs. a 3mm and a 5mm bulb. Everyone uses the 5mm but I want to see if I can get a 3mm to work so then I dont have to modify the housing to fit the bulb. The 3mm is only 1 lumens less. I also got the better 1632 battery. Here is a picture of both bulbs, in the cool white color and the battery. Both bulbs are very bright. Annoying bright if you face it towards someone's eye from 1 foot away.
My key, since it is probably then all those that wrote up a DIY, the different internal components. The copper ring is actually closed and does have the same vertical piece that many wrap one of the legs of the LED bulb. I had to improvise remove part of the copper ring and basically just use the bulb with out cutting any of the legs. It works perfect. I ended up with the larger bulp. I still need to trip the housing so that that the key closes better but ran out of time. The smaller bulb would be perfect but would need something to prevent it from moving. Probably a little hot glue. If a 4mm bulb exists, it would be a perfect fit.
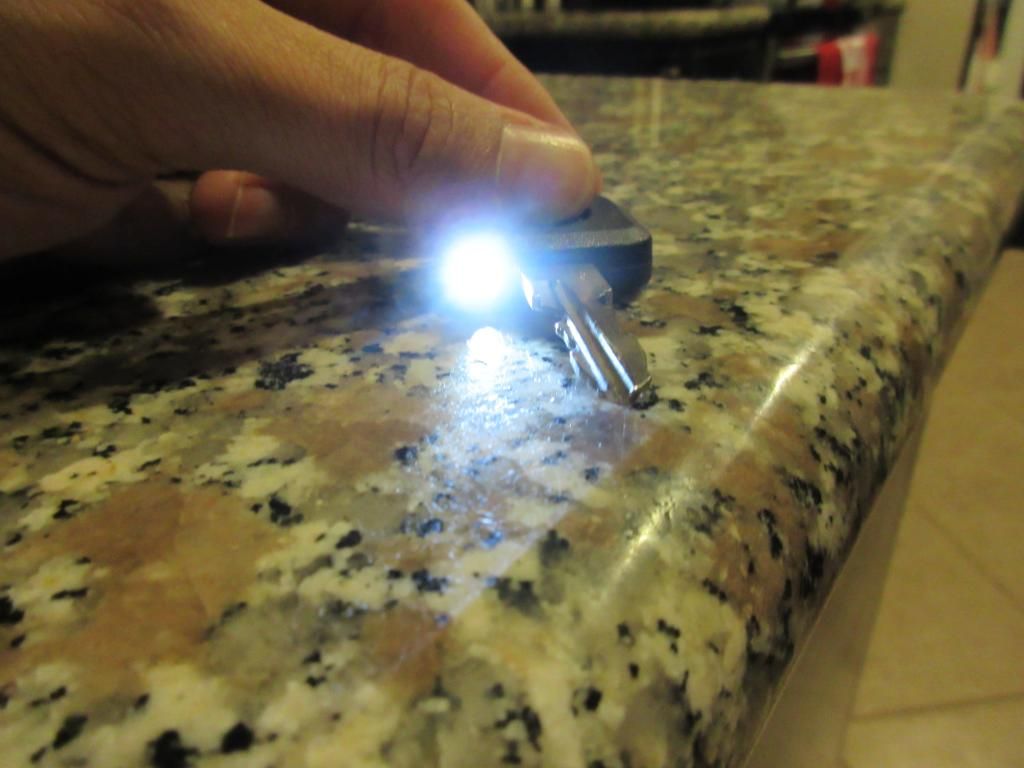
Here is a picture of key put back together with the light facing the camera almost dead on.
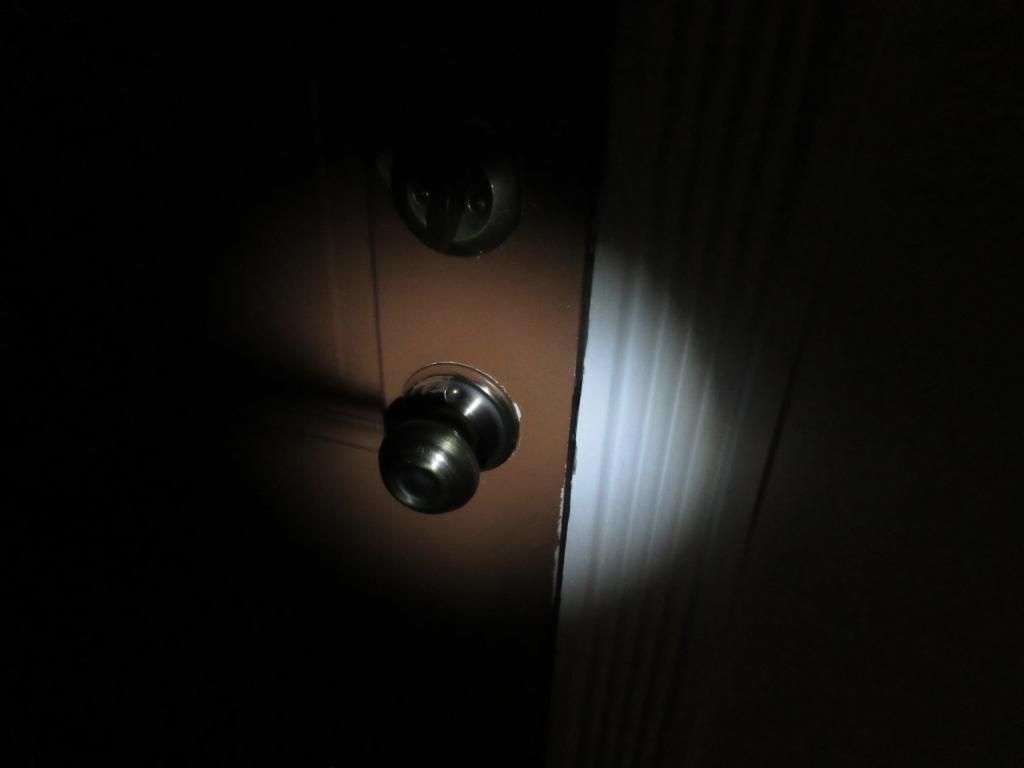
Here is a picture of my front door from inside the house with no light and then a picture of the same area only using light from the key. The key is about 12-18" from the door knob. It can also work as a small flashlight, but I know the battery is not capable of working for a very long time. But good enough to use at night when opening car door or trunk.
I went with a cool white bulb. So basically $3 or less to get bulb and battery.
Leave a comment:
-
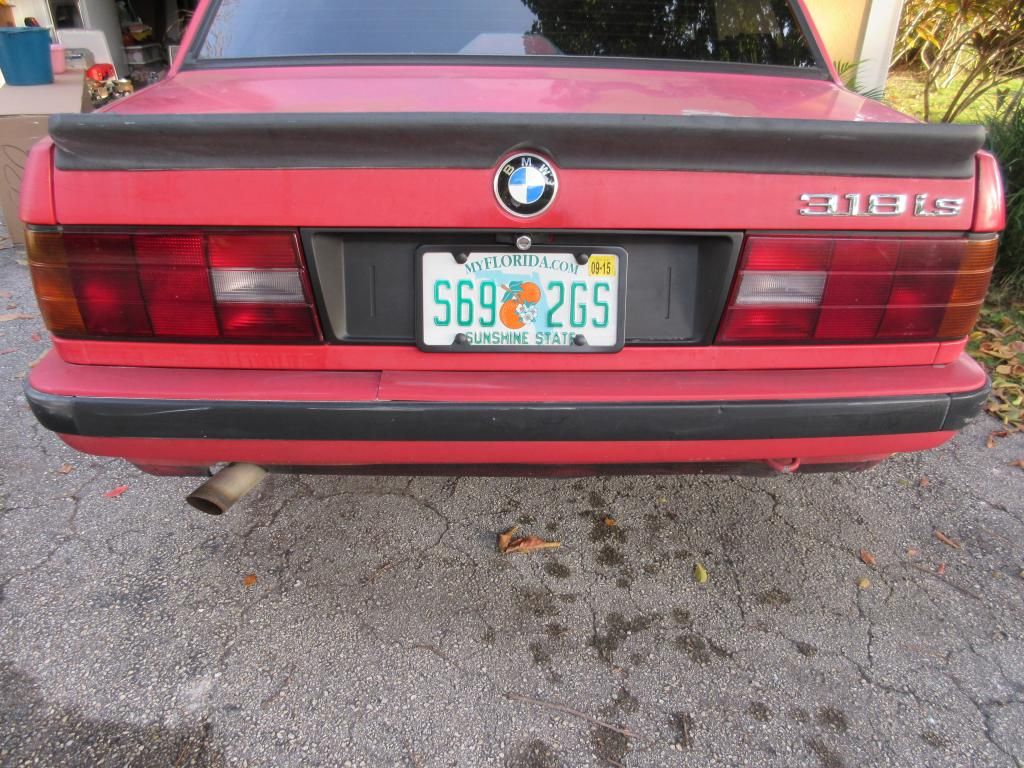
Today I took a pic of the new rear license trim during the day. I also, under someone's recommendation, added two more coats for clear to the driver rear light and then wet sanded it with 1000, 1500, 2500 sand paper. Then I used rubbing compound plus a polish after to make it less hazy. Looks better in person and now you can see your reflection in it. Still need to do the passenger side but it got cold in Miami, which does not help the painting process.
Lastly I finally bled all the 4 brake calipers all the way and now the car stops so much better. I can now feel the bias with the larger front caliper.
Leave a comment:
-
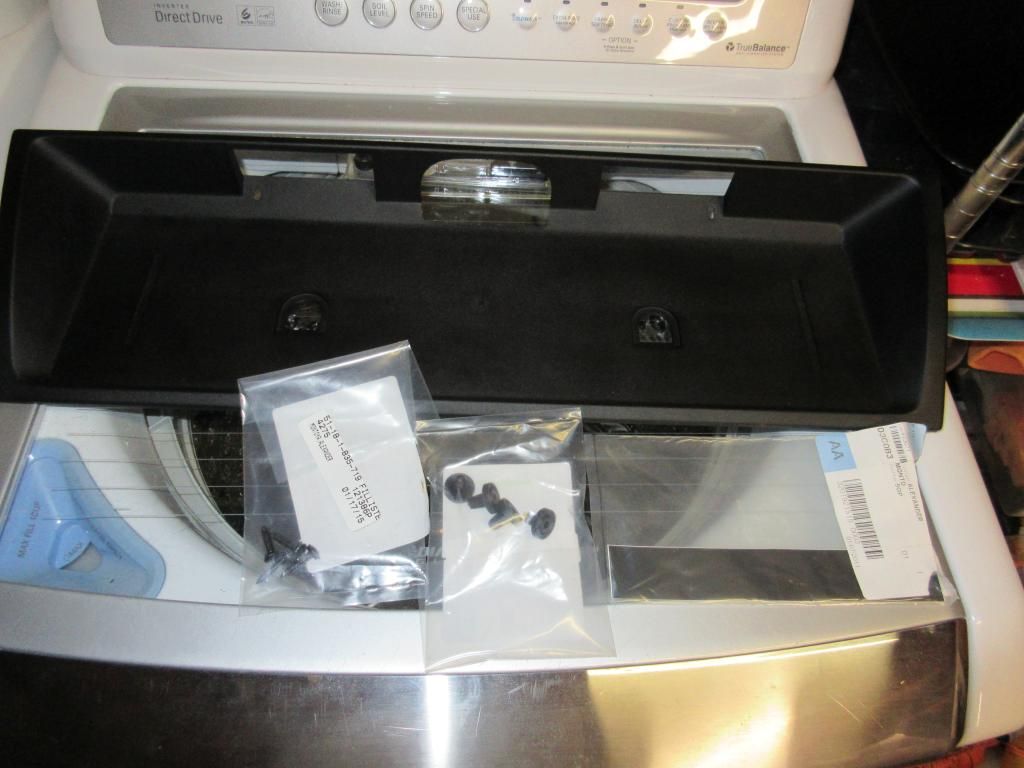
So finally after having the euro license filler for 4 years, I installed it. Received the new screws and plugs. I also had the adhesive tape which is not double sided like everyone thinks. It is actually a trim tape to cover the paint of the car, for example where the holes are for the euro license plug or another hole at the top by the lights. I ended up not using it.
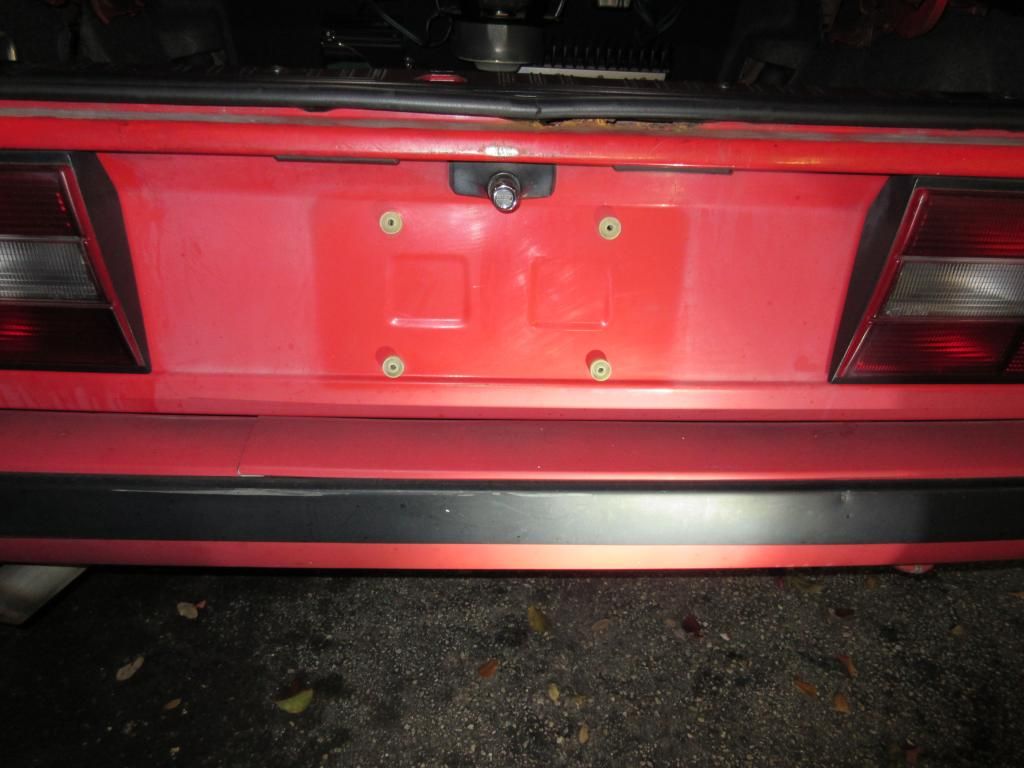
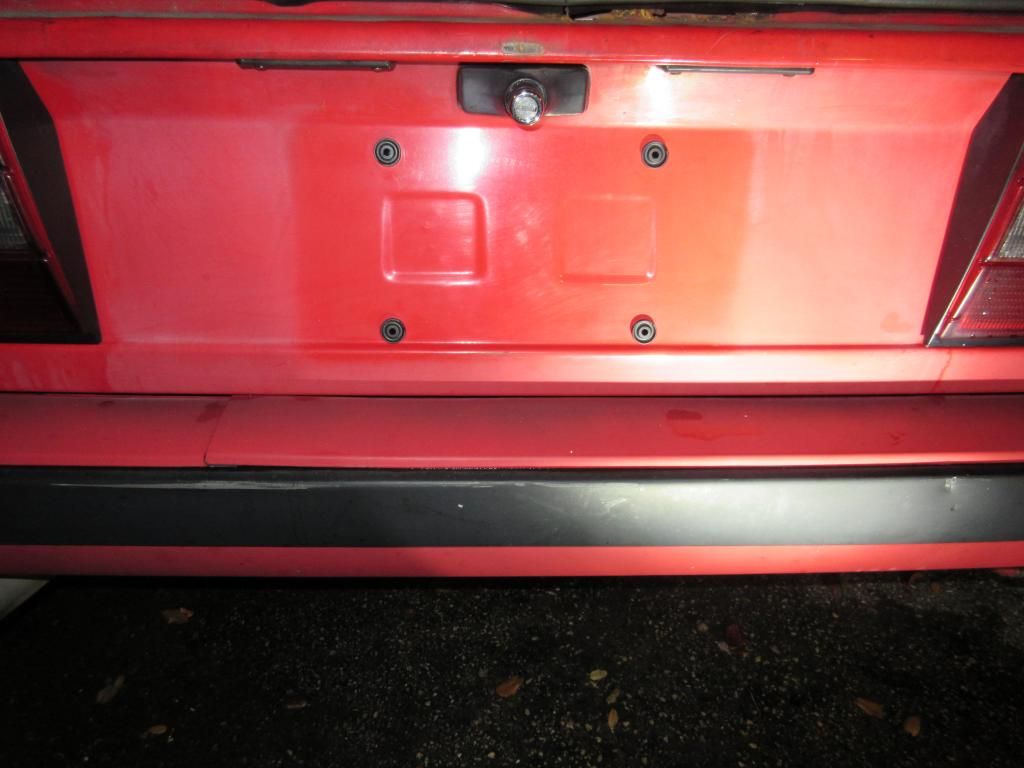
I started by removing license and old white plugs.
Then washing area. Added painters blue tap on the inside to keep car dry on the inside. Worked like a charm.
I wanted to reuse the original mounting holes to prevent new holes and any possible leaks. I used new black plugs as they are more slim. I heard in another post this would work and keep the trim flush to the car. I can confirm this is true with some modification of the panel. The BMW part is available still in white but the new slim black version is available and even cheaper.
Here is a pic of the white plug. I didnt take a pic of the black plug but its way thinner.
Black plugs installed:
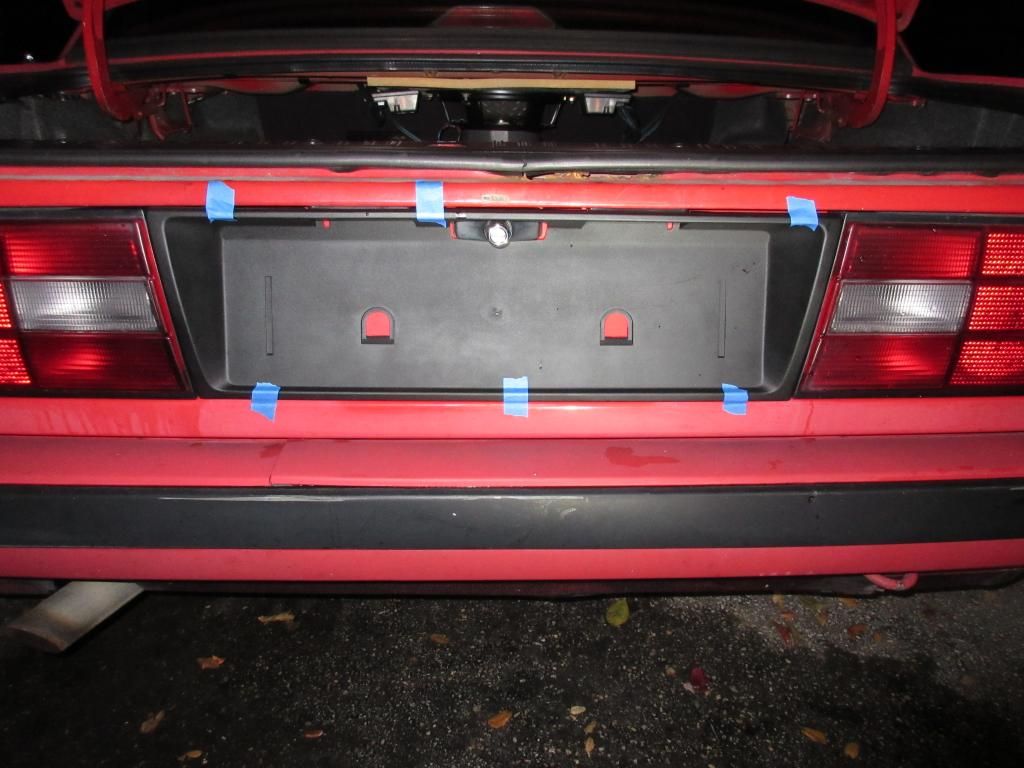
Trim held up with blue tape and centered to draw holes from inside the trunk.
In order to use the black plug at the bottom, I had to trim the ridge on the back side of the trim panel with my dremel. Very easy and thats it. The top black plugs fit just fine.
I then use a small strip of exterior double sided tape on the ends where the ridge line is. This adds a little more cushion on the sides but with the license place one and screwed in with 4 plus, the panel is held on very tight.
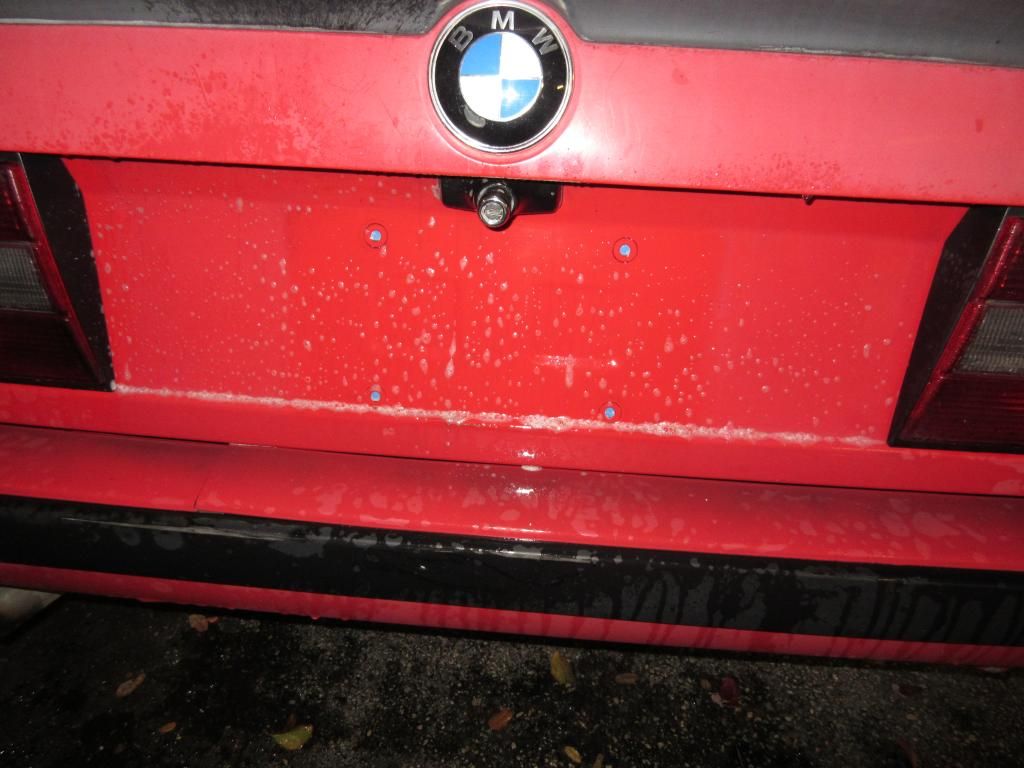
Here is the finish product but it was night. I will try to take a day pic tomorrow.

Leave a comment:
-
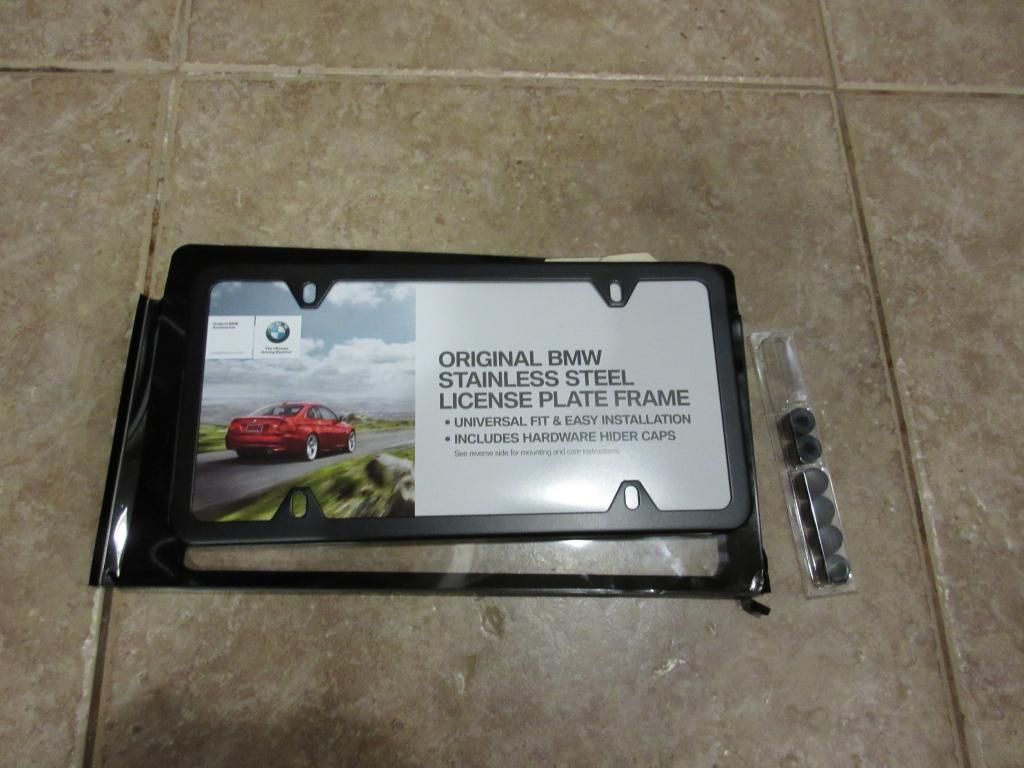
Next project is to install the rear euro license trim that was given to me 4 years ago and I finally decided to install it. I ordered new hardware for the install including a new BMW license plate holder. I have the chrome one that says BMW at the bottom but since the car is all blacked out, I moved it to the e39 and bought this one as it is black andslim and will go better with the euro trim in my opinion. I am waiting on some screws to mount it. More pictures of the whole backside soon when everything is installed.
Leave a comment:
-
I have been following this thread long before I signed up on this website. I always look forward to updates on this car. The 5 lug swap turned out great. E32 16" style 5's are my favorite wheel followed closely by the E28 M5 16" weaves. Keep up the good work.Leave a comment:
-
Long overdue update:
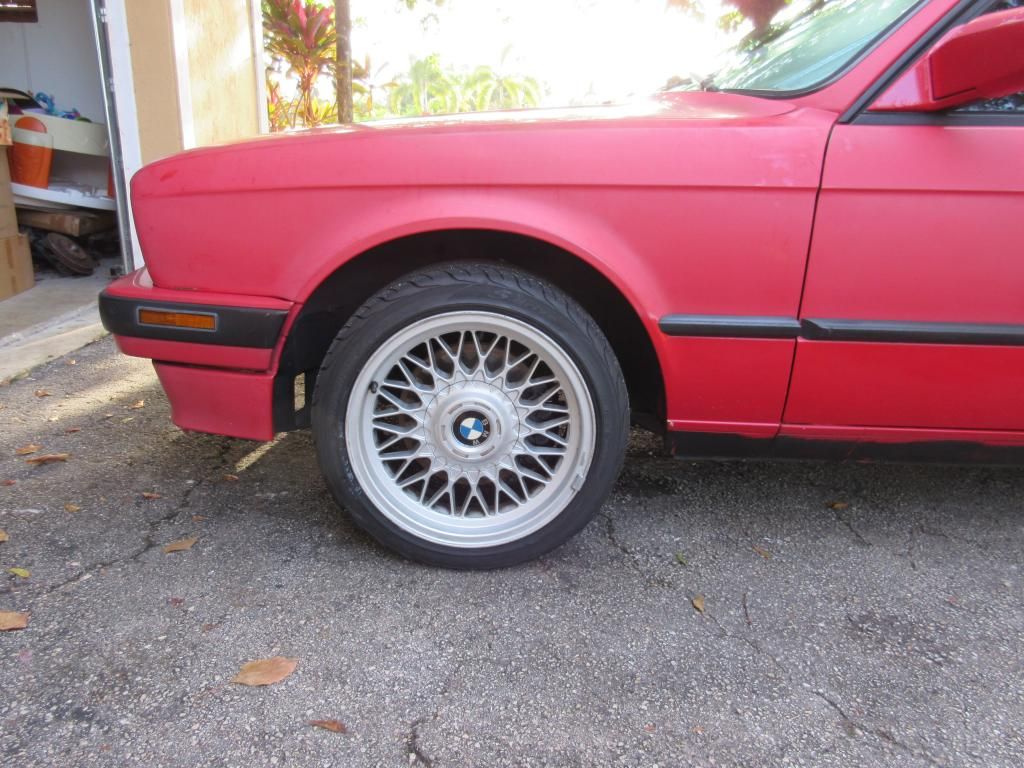
I finished the front e30 m3 front suspension swap and added e32 16x8 wheels for now.The tires I wanted were out of stock and get these dirt cheap. I want a taller tire for comfort and to fill the wheel well better. I am running 215s, upgraded from 205s. I am waiting for some used e28 m5 wheels to come up and will run these in the meantime. Very similar wheel with just a 23mm offset versus the 20mm I am looking for. Also the e28 wheel is 7.5" wide. The car handles better than before and this is probably due to all new components minus the reused AKG offset CABs, but the newly installed swaybar links with the new geometry help the body roll. Also like the centered wheel in the wheel well than you get with the e36 m swap.
Leave a comment:
-
17 is too big on e30, but that's just personal opinion.
Always loved your attention to detail. Got a kick at a meet one time when everyone was asking "how much was this/that?". Love high quality builds, keep it up.Leave a comment:
-
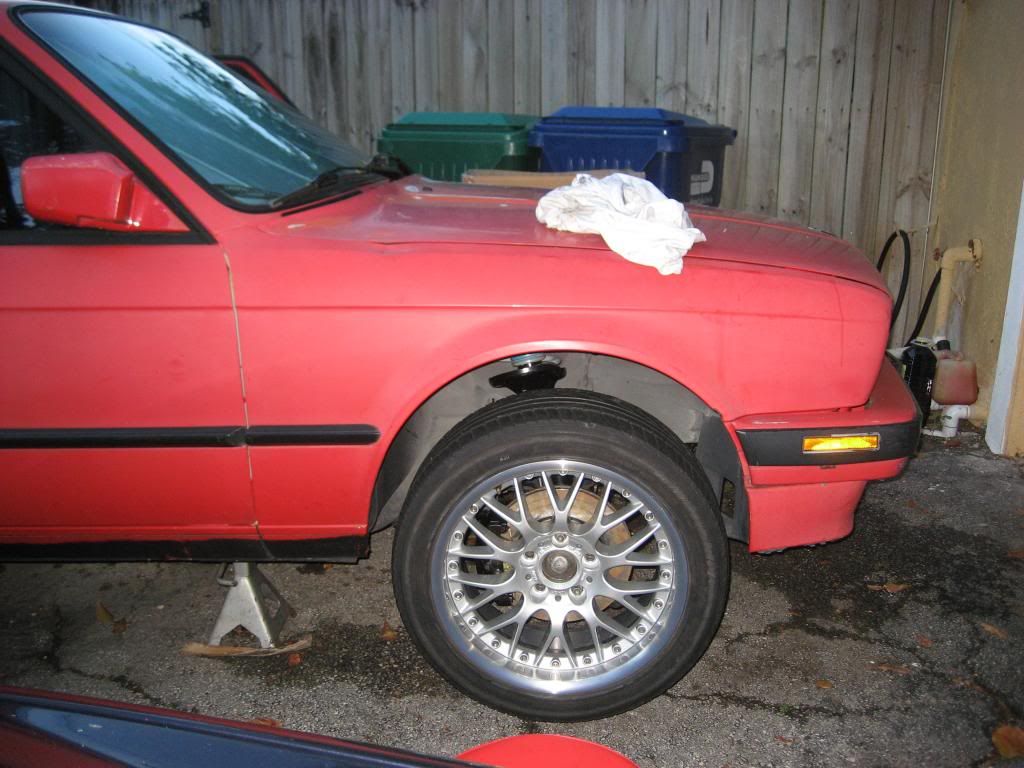
Brakes bled and started on driver side. I had my e39 530i spare tire, to try it on. It is one of the rims I might use. 17" style 42, which is the never version of the style 5s for the e39. I want to go with an 16" rim but this is an option since I have them. The tires a just a little too tall but looks like 235 width might work if they do not stick out of the fender too much. Tomorrow I will borrow some e12 14" rims in the meantime.
Here is a pic of the style 42. It does look nice and I like the perfectly centered wheel. Wheel is still off the ground so it will look better when it is on the ground.
Here are my 3 options which I tend to lean towards the 16". I will go with a two tone on all the wheels. Nagaro silver center with silver(not sure if polished lips)
16" e28 m5, which I have 3 of them. ( not my pic)

17" e39 style 5s, I have set that I can take from my father. (not my pic)

17" e39 style 42s, I have them on my e39, and I can put the style 5s on the e39 if I go this route. I prefer the style 5s on the e39. (not my pic)

Leave a comment:
-
I had a small ordeal with the brake pads. They were too thick. After shipping them back and getting the new ones. I get everything installed last night. I even installed new anti-rattle clips from BMW. Just need to bleed the caliper and tighten the swaybar link nuts. I can't find my 16mm open wrench so will borrow one from my father today. Then I can start on the driver side. I have all the parts for that side already.
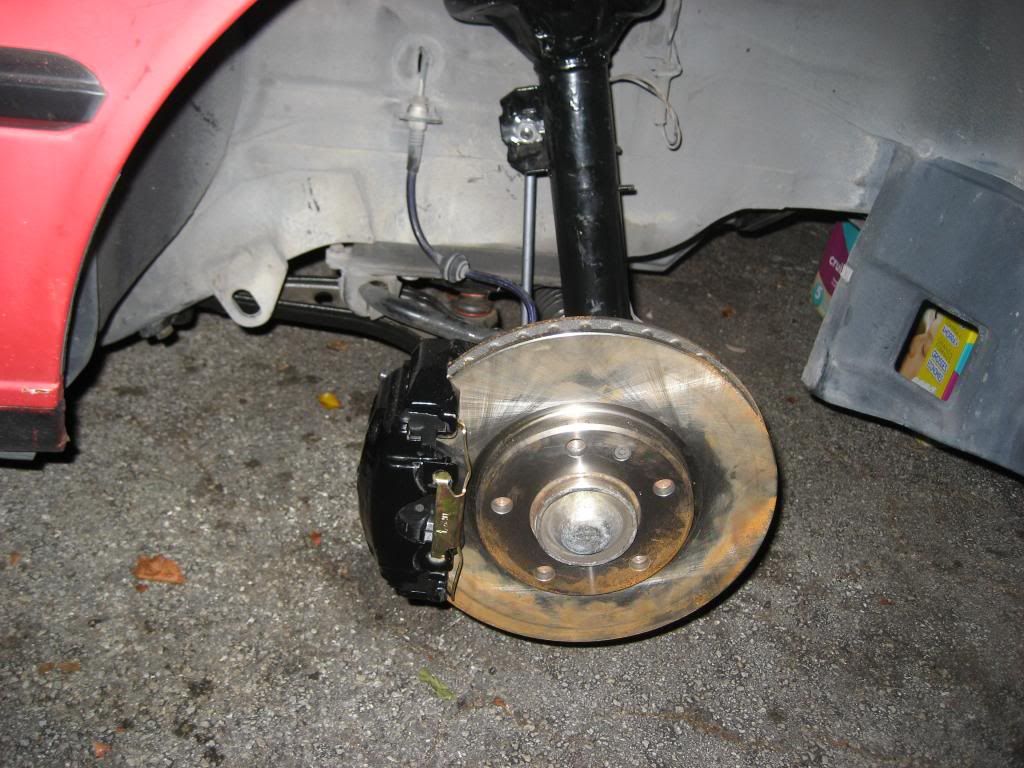
After the car gets aligned and I make sure the wheel bearing is fine, I will need to add the backing plate but will also run brake ducts to them.Leave a comment:
-
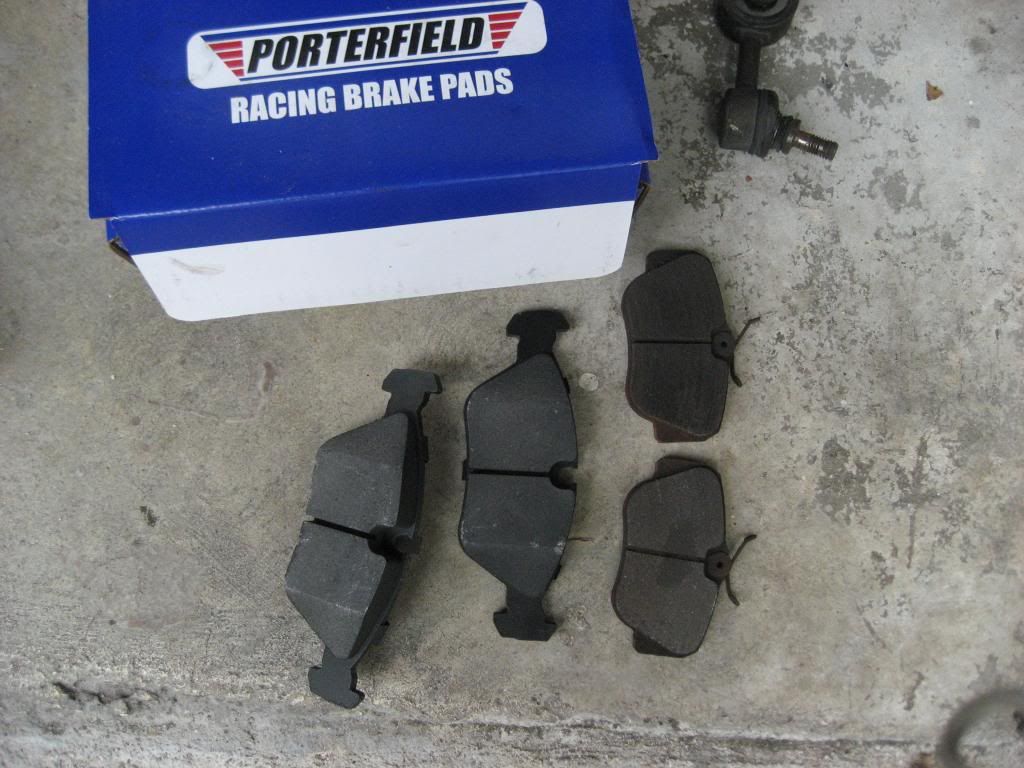
here is picture to show the difference between the stock e30 and e30 m3 brake pad size:
Leave a comment:
-
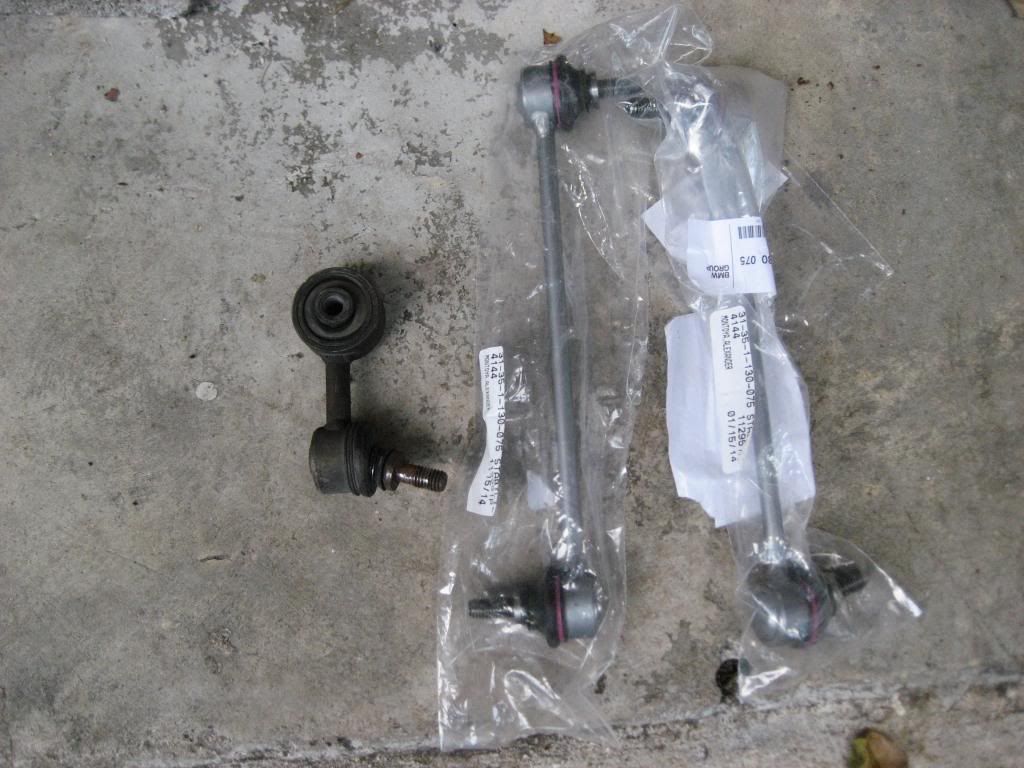
Here is a pic of the difference between the stock e30 sway bar link compared to the e30 m3 which connects to the strut housing instead of the control arm. Went with the BMW part also.
Leave a comment:


Leave a comment: