91 318is Never ending project(s) journal
Collapse
X
-
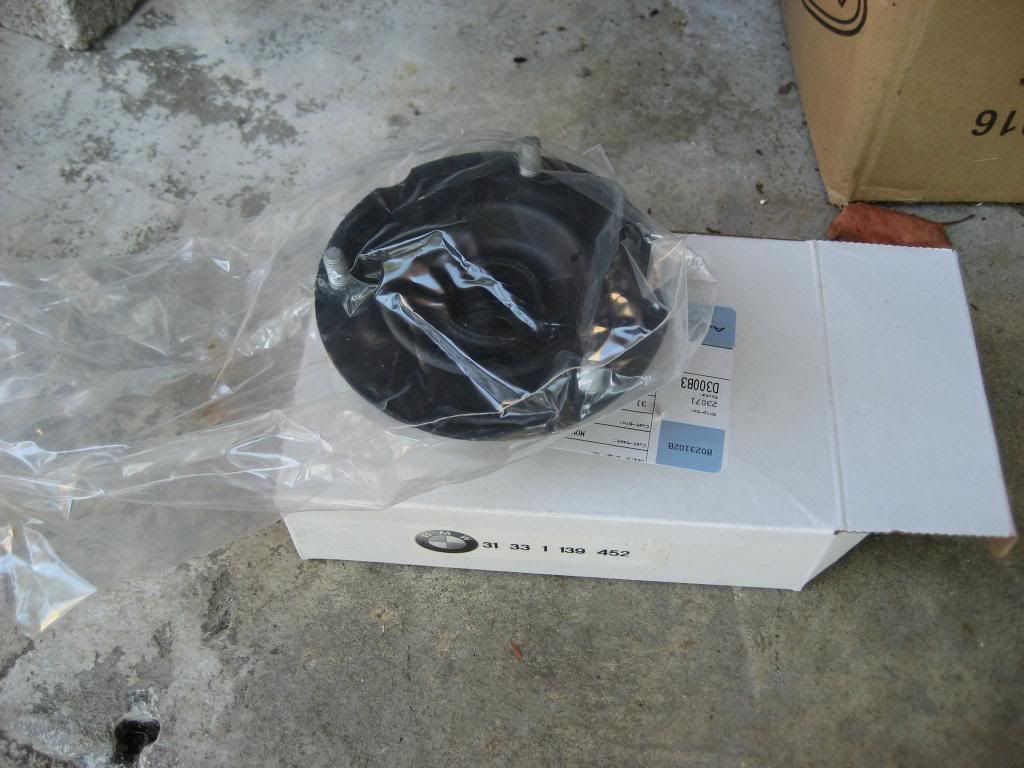
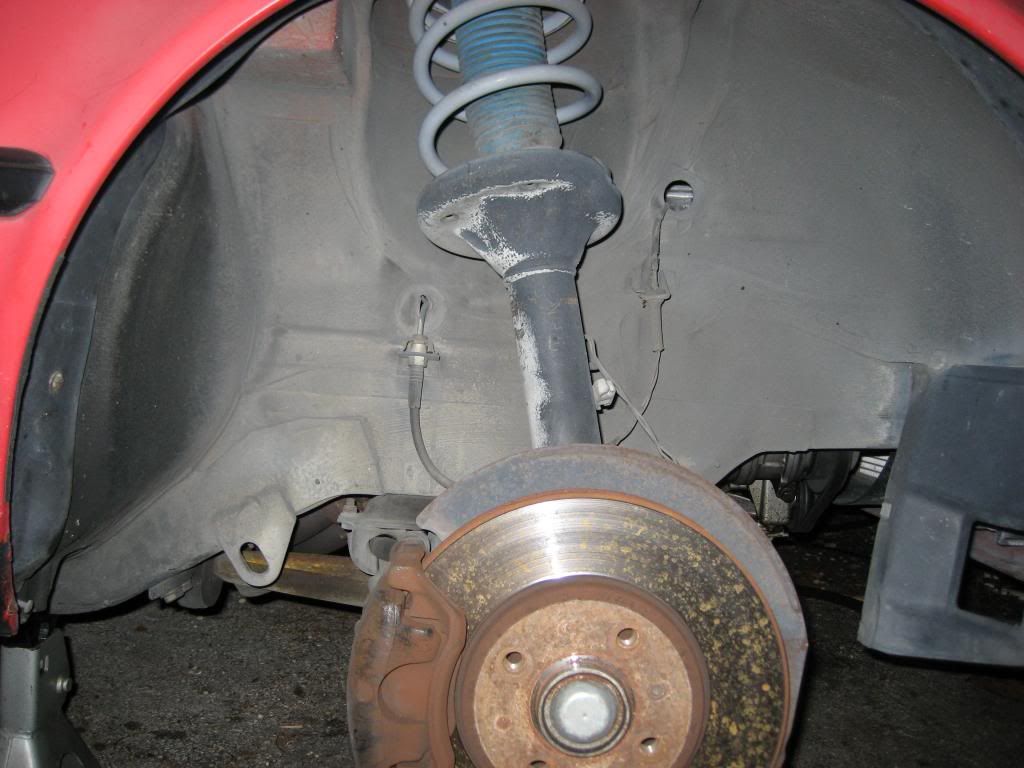
Strut installed....
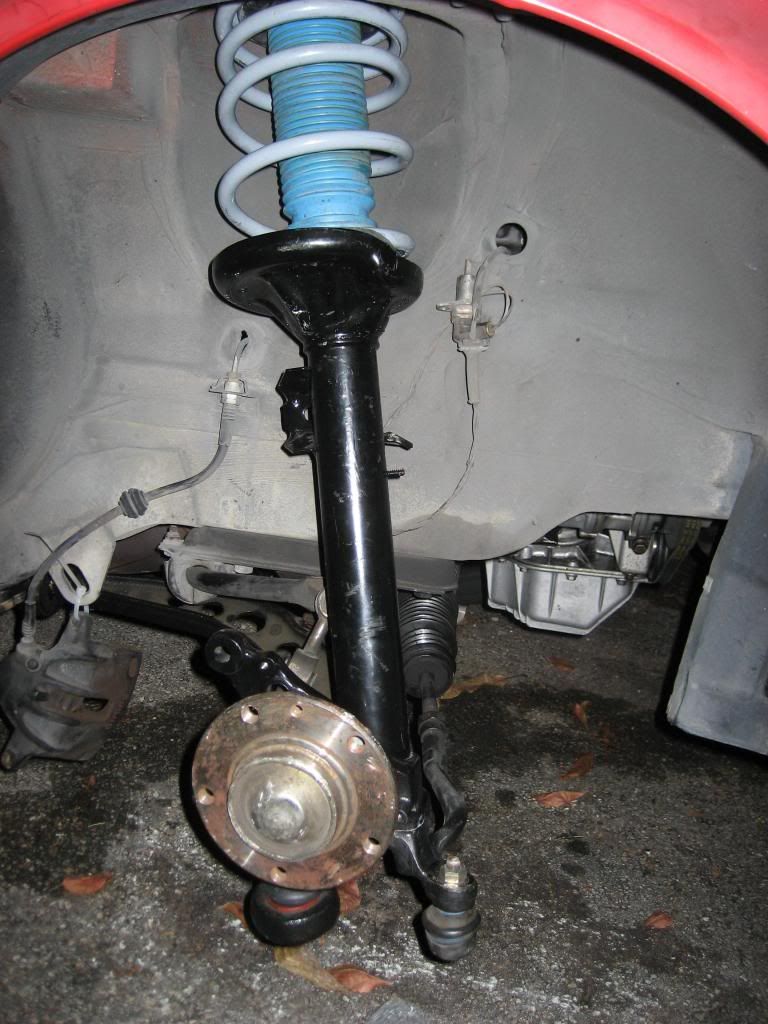
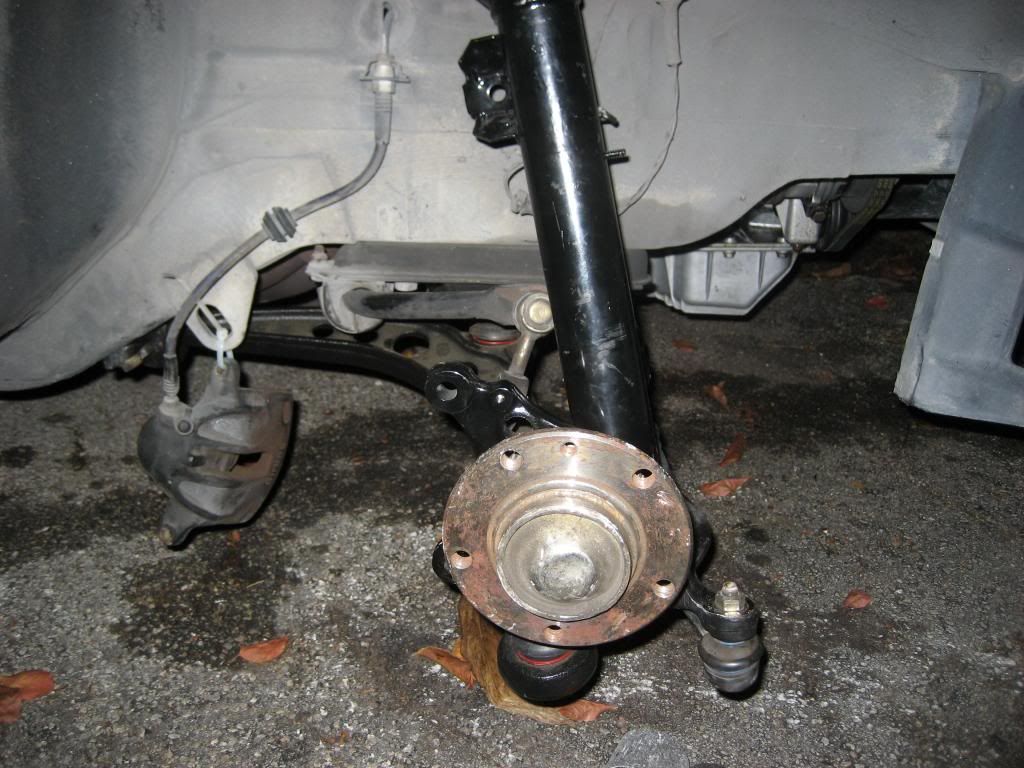
I still need to install the backing plate/dust cover. The wheel bearing is not spinning like my old, so I want to install it all and see how it goes before I add the plate. I also want to add the OEM brake ducts and see if I can get it to the backing plate. I don't want to take hub out then put it back in and have to remove the bearing.
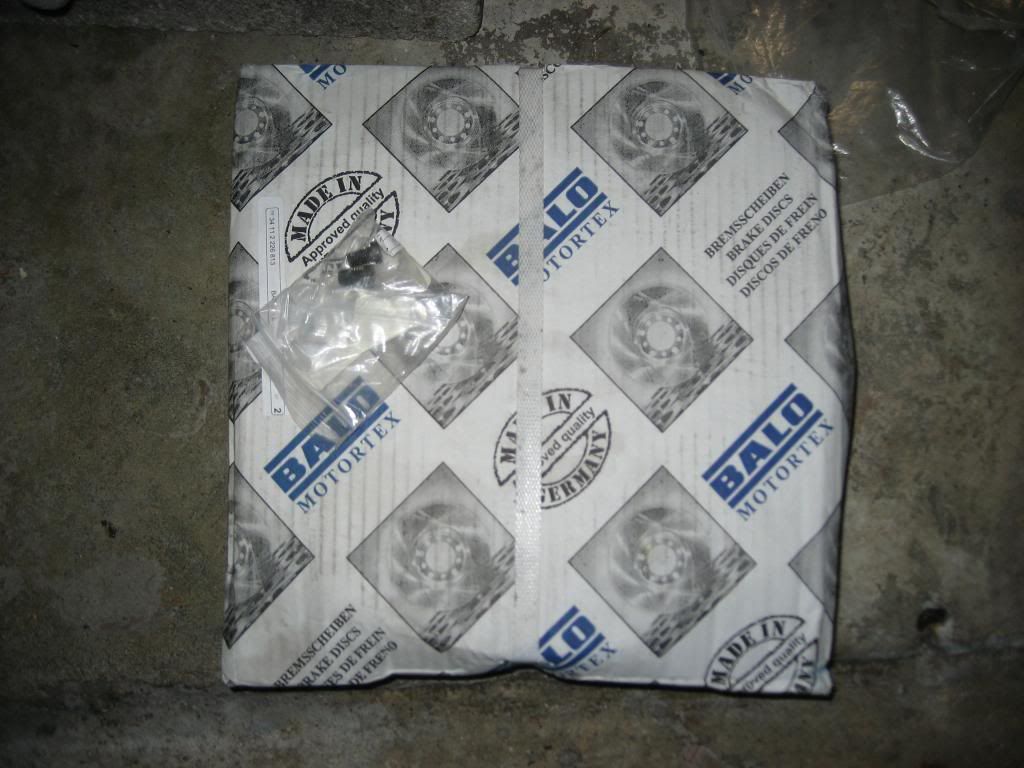
The only none BMW brand item, the rotors. They are from Balo which is same as past hub and good enough. BMW ones are very expensive. Set screws are BMW.
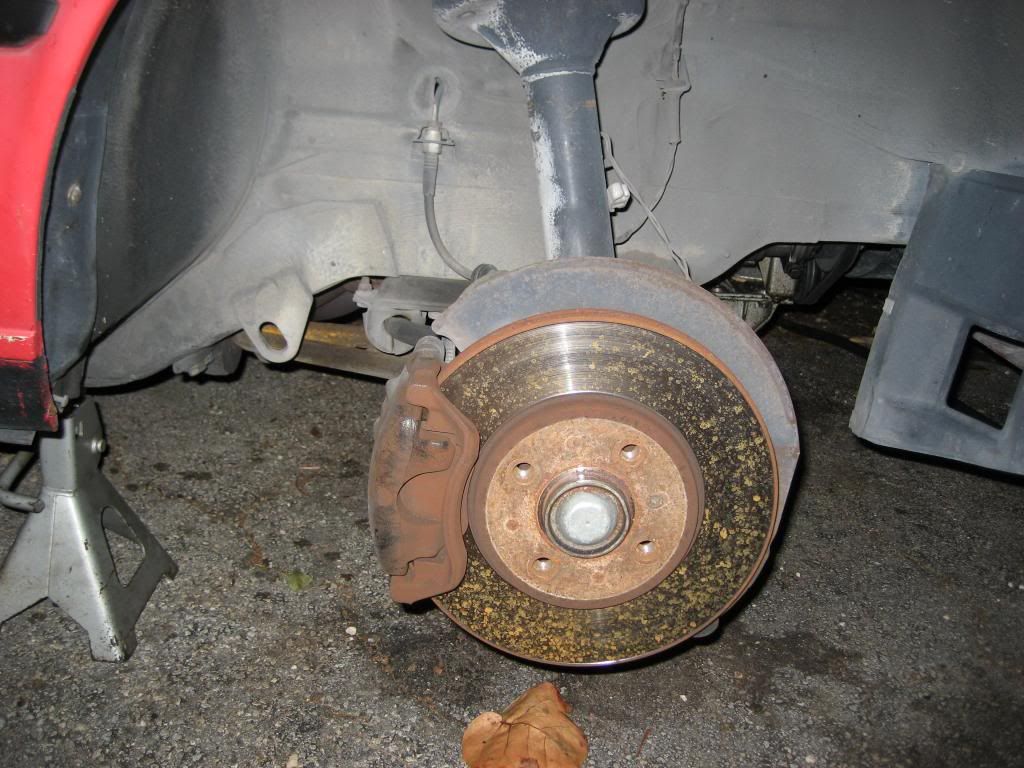
Here is the old rotor, still mounted to old strut with new one. The m3 rotor is 1 whole inch larger in diameter. From the angle a little hard to tell. I took my tape measure. m3=11", e30=~10"
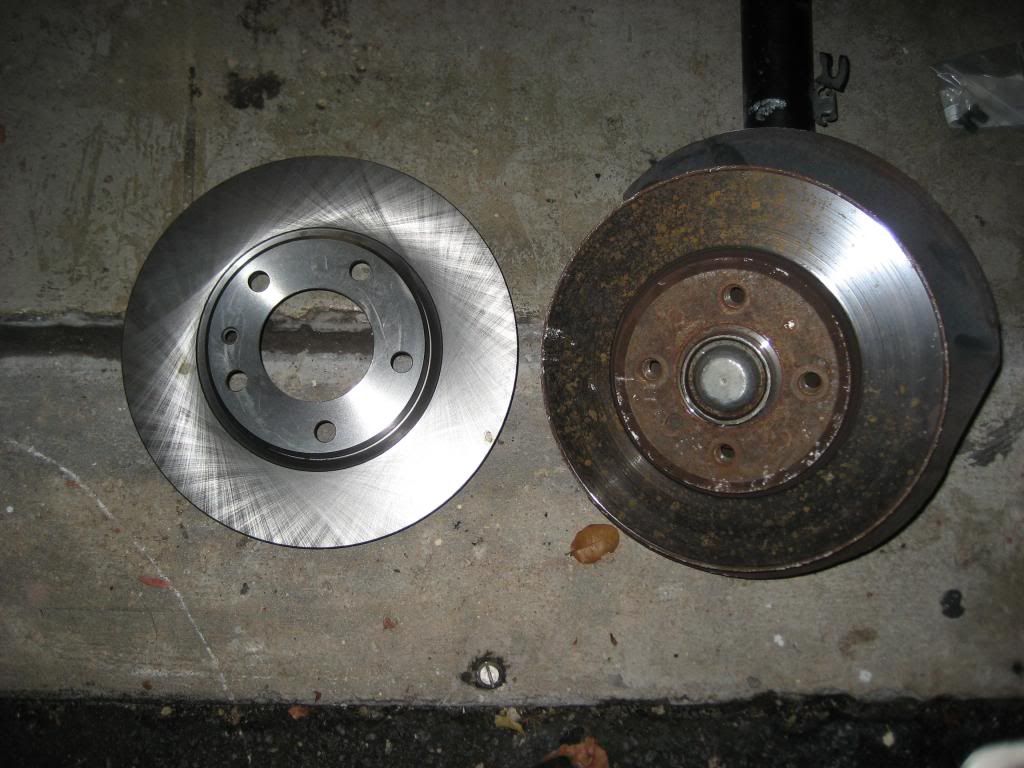
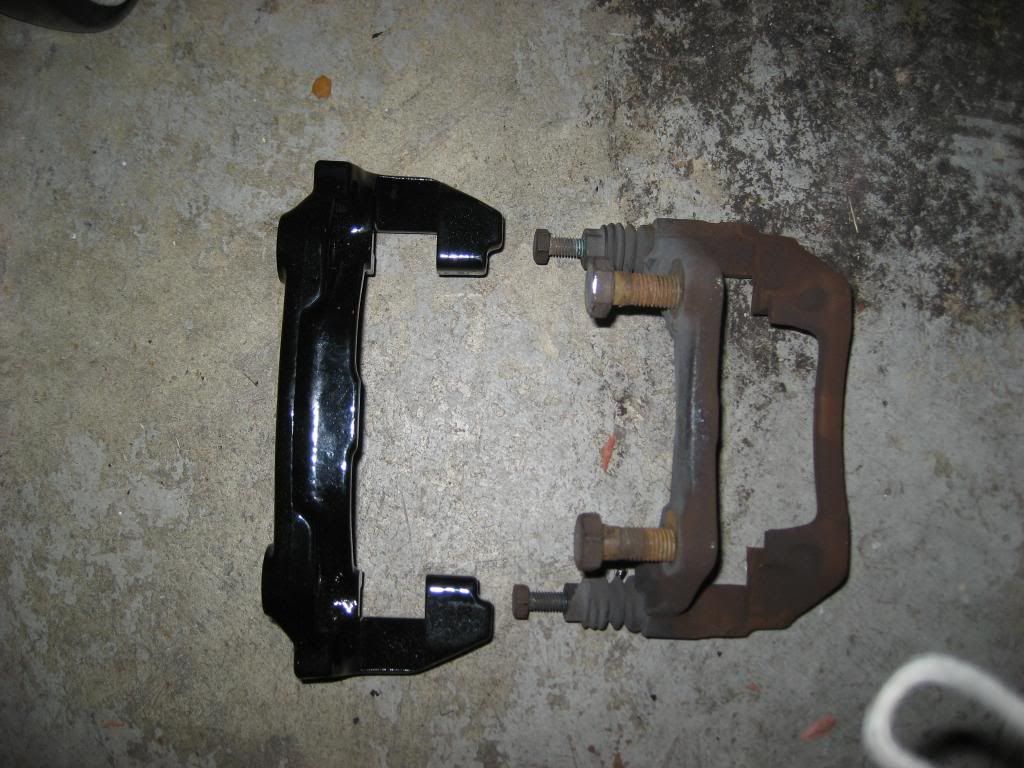
Here is a comparison of the carriers. I need to trim a little of the powdercoat on the inside of the carrier as the bottom opening rubs the disc. Not much tolerance there.
Leave a comment:
-
Leave a comment:
-
Got more time to continue on project.
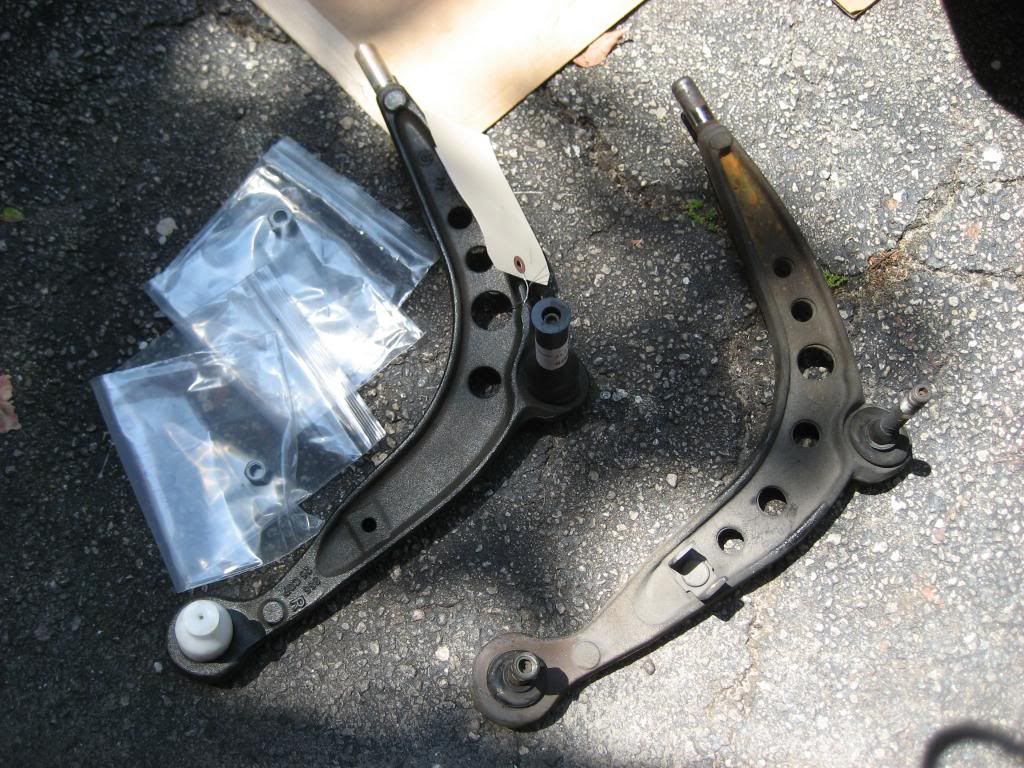
Got BMW OEM control arms just a few dollars cheaper than Lem. arms which I had. My old outer ball joint was sloppy due to a bad shock strut insert nut that had gotten loose. This also caused the sway link to be sheared on the bottom side.
Here is the new with old. Notice one side of the arm does not have the holes. More solid. Got a new nut for both ball joints also from BMW.
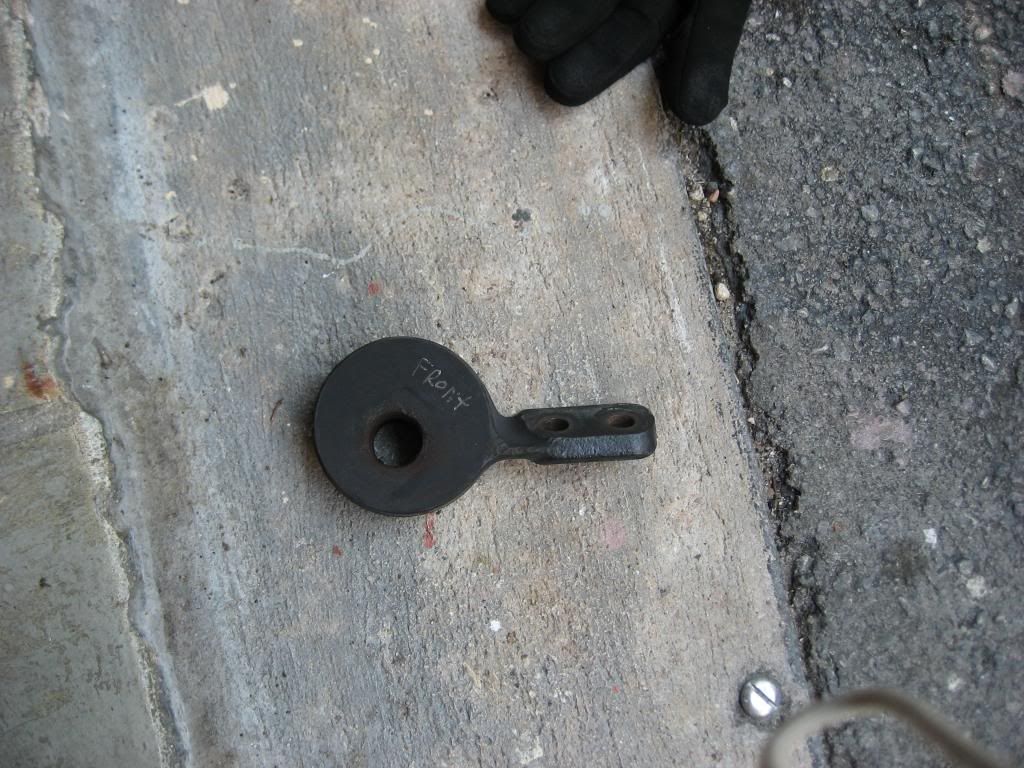
My AKG m3 offset bushing is still good but had spun a little due to worn parts. This time I used a 6mm hex set screw on the top of the lollipop. Highly recommended after what happened with me. I forgot to take pictures of it before I mounted it. Here it is when I removed it.
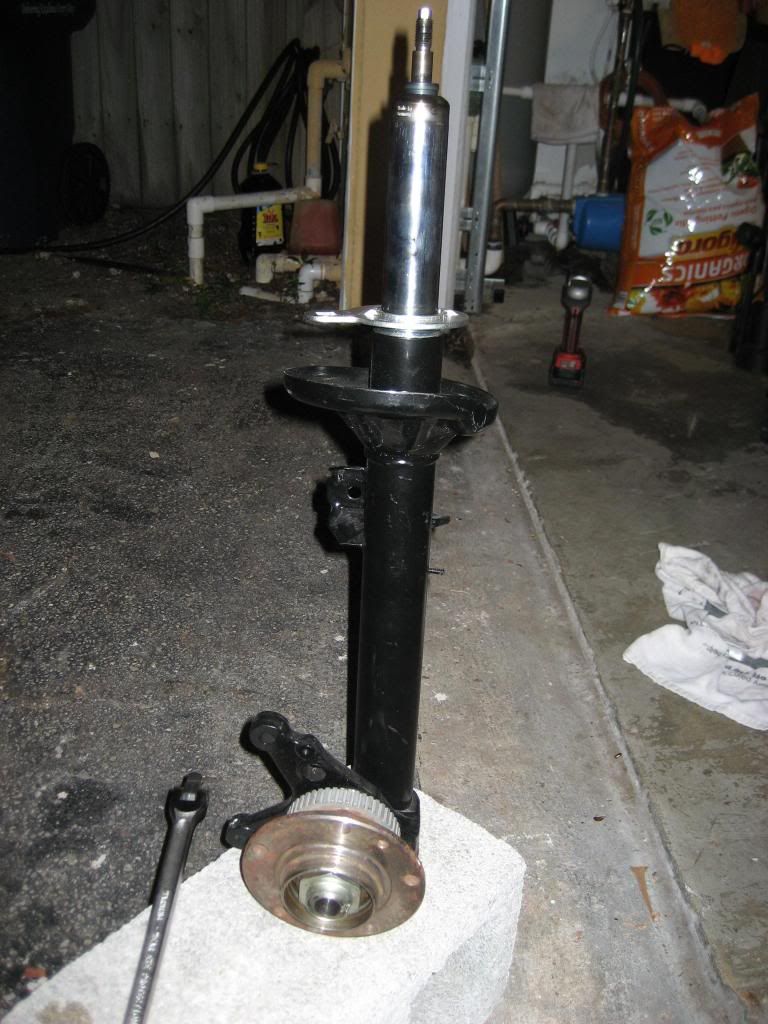
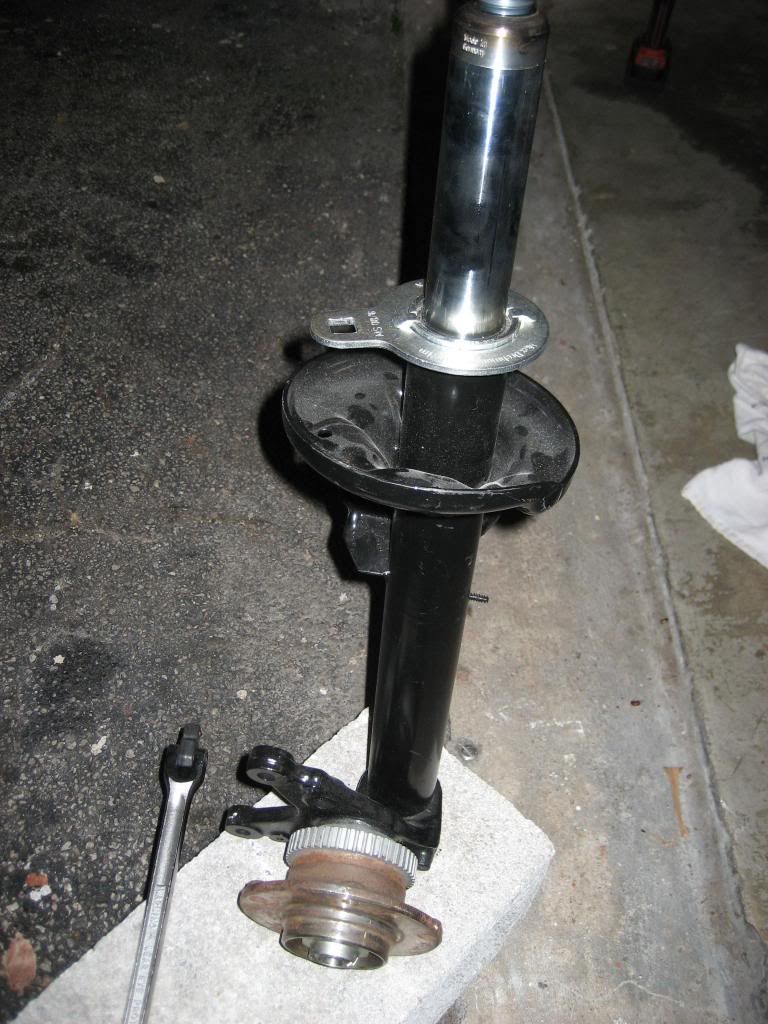
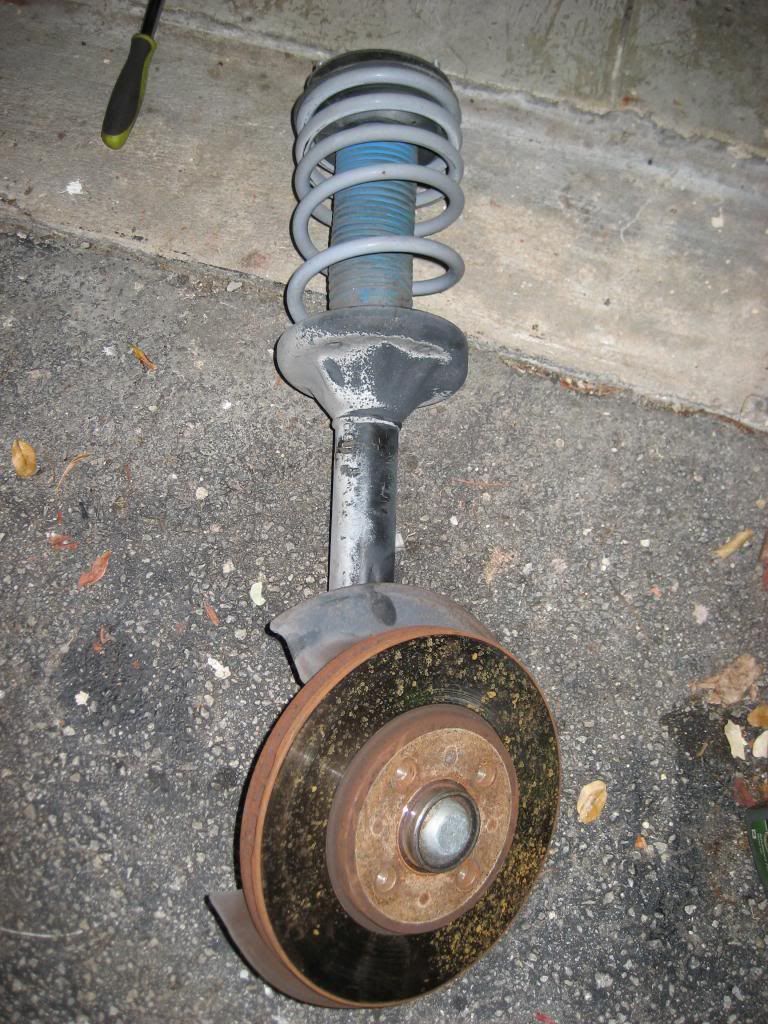
Here is the Bilstein sport strut from the old housing in the new m3 housing. Previous owner bought it and never installed it but had it painted a nice deep black. I also got the bisltein tool to torque the strut insert nut. Disregard breaker bar in pic, was using it for something else.
Leave a comment:
-
-
Chemspec is the brand of carpet cleaner. I bought the gallon used for steam cleaning machine, used the formula for a spray bottle. Then hot water and wet vac to clean. Also get a good carpet brush as the bristles are softer.
I used colorbond from brydana carpet spray paint. Brush/massage it after every coat to make it get into a the fibers. I used a sock to massage it.Leave a comment:
-
Subscribed to the "Ultimate 318is" thread. Excellent work and tutorial as I'm looking to begin a restore on my 318is soon.
By the way can you mention how/what you did to clean/paint the carpet? I have the nasty gray and would rather clean than replace.Leave a comment:
-
What happens to the car, give more pictures? can not wait for the project to be completed :DLeave a comment:
-
Yep. Gonna pull the seats and take a look.
Who makes a rear apron with a single exhaust cut-out?Leave a comment:
-
Actually I will be in Tampa for work this weekend. Heading out in about an hour but with a company rental.
thanks for the comments. Regarding your seat, if the bottom is sagging, are you talking about the foam or the support frame which holds the foam. There probably is a metal weld or the spring section that broke off loose, so the support just sags when you sit on the seat. Are both seats doing the same thing? I guess you need to describe the sagging part in more detail. You best best is to remove the seat and look from the bottom up for loose metal pices.Leave a comment:
-
Nice work on the 18is. I am up in Orlando and just pulled mine out of "hibernation."
I have started my punch list, (again). Looking at your rebuild has brought some other items to the table. I like the tails. Very clean! We have both taken some similar paths. I dyed my grey carpet charcoal and replaced the fabric grey/blue interior with black leather.
The seat fabric you used is very tight. Red belts, nice touch.
Question. My front seats sag. What do you do to tighten/rebuild the support for the seat bottom?
PM sentLeave a comment:
-
Thanks and will follow up on your advice.
Sorry for the very delayed response. Yes I would wet sand and give another two coats of clear. Then once they're suffeciently dried, wet sand with 1500 then 2000 grit and hit them with an orbital and some polishing compound (I prefer 3M perfect it).
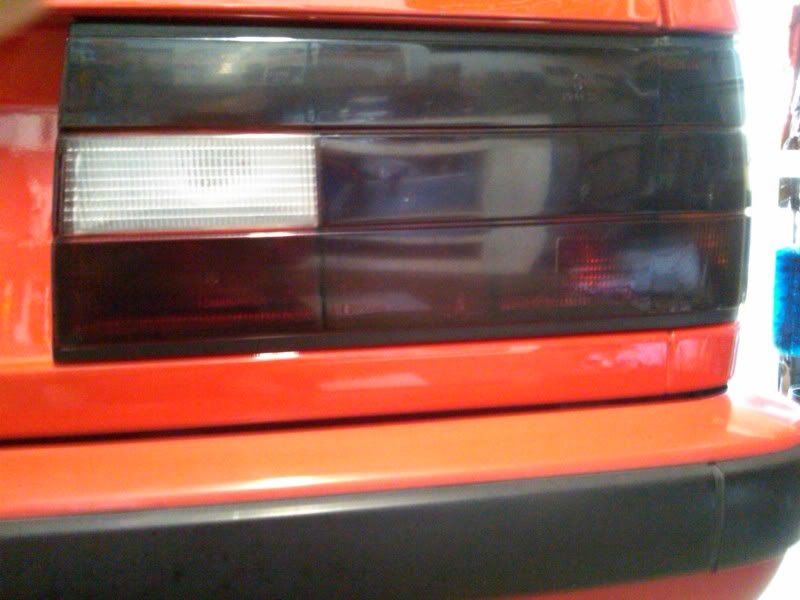
Here was mine.
Before:
After
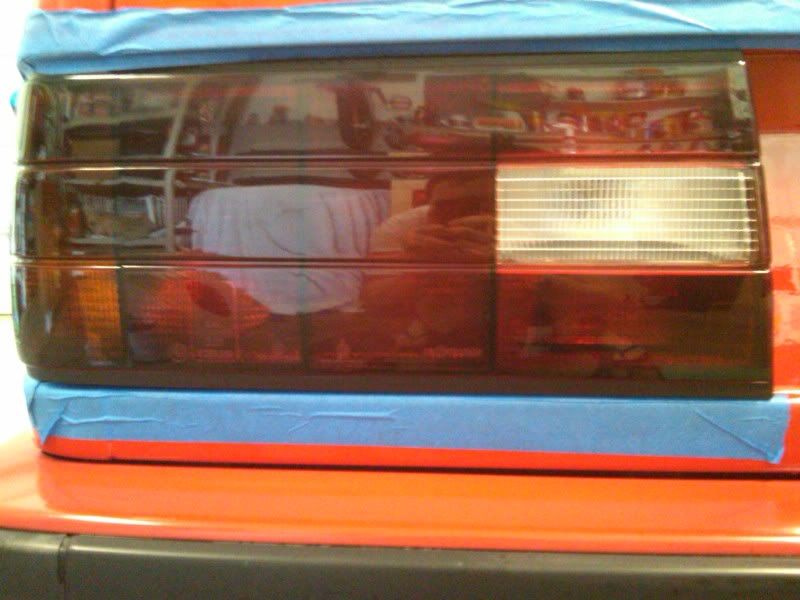
The same products work fantastic on the paint too.

Keep up the work, your level of OCD and attention to detail is utterly insane. E30's need more people like you.Leave a comment:

Leave a comment: