-
Absolutely awesome resto man! couldnt agree more with an earlier post... sometimes there is too much BS on here... this however is NOT one of those. but man paint the thing already hahah! my 325is is also red and was faded as hell when i got it. spent about 5 hours with a rubbing compound and its starting to look a million times better but i stopped cuz im going to paint it a different color any way. but i digress. just a sweet as build man. -
Not a fan of that dark, seen too much on american muscle cars. It does look good on a black car, like that one, but will not go so well with red, IMHO. I prefer MHWs but too pricey and hard to find at the momentLeave a comment:
-
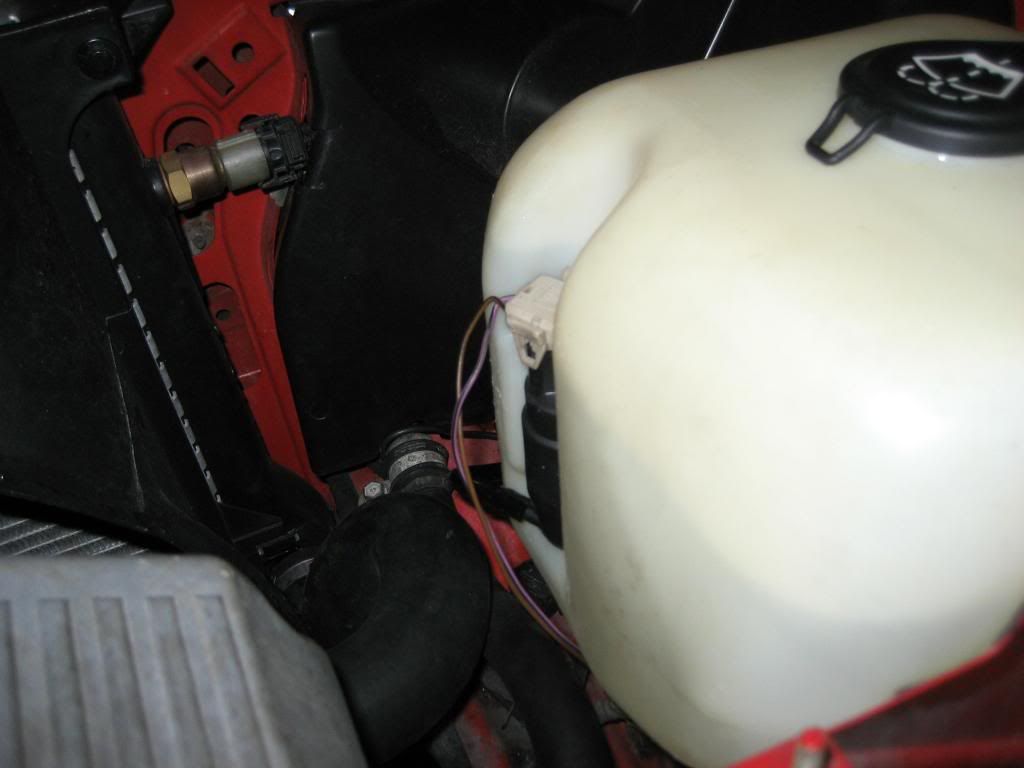
Moved on to my next project. My car for the last year has only had the driver side wiper working. The passenger stud for the arm was stripped but with the nut held tight it still worked, I removed it to fix the missing grommet. Since then, I've been lucky it has been working on the driver side. I got an OEM new linkage for $75 on eBay. They normally go for $150+ new from BMW, my cost. I know I got a steal. I will post a pic once I install it and the process. Before I do, I wanted to refresh the windshield washer system.
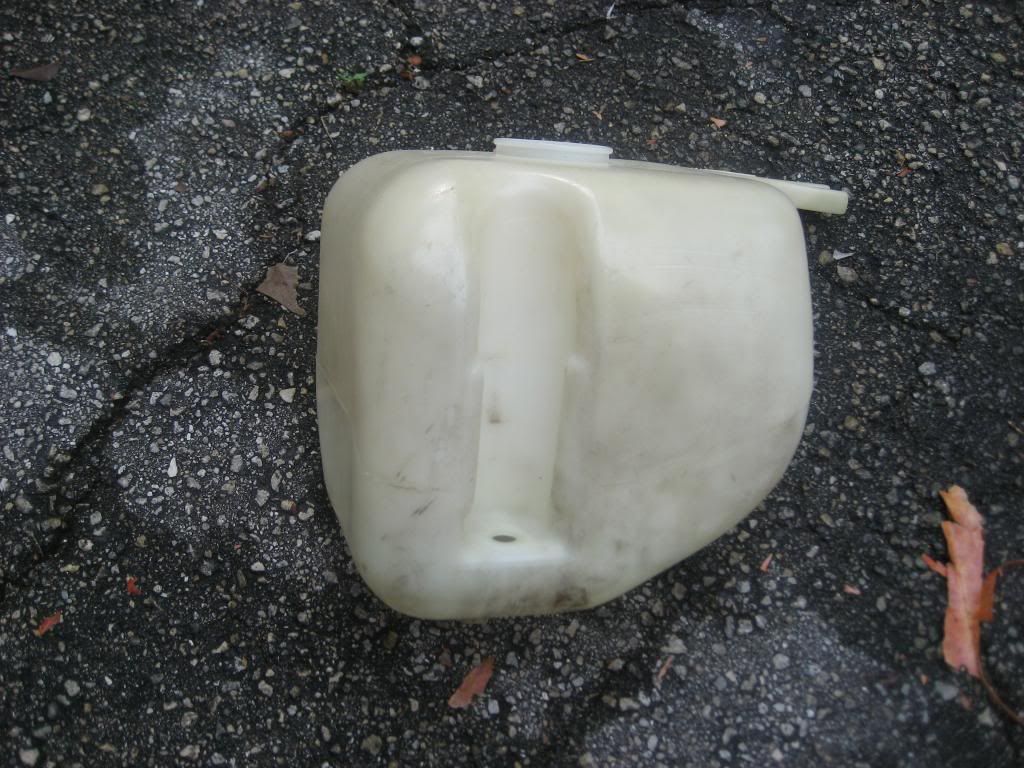
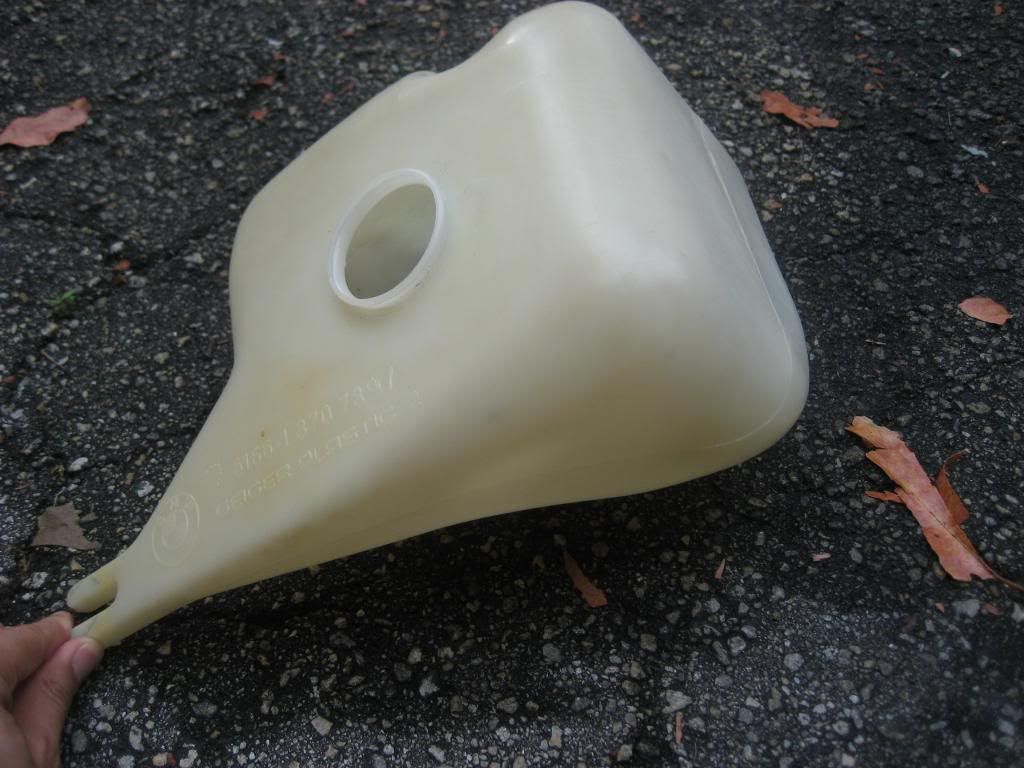
I have the older tank with out the sensor, which is stock on the m42 318is. They are NLA and I don't want to buy the new one and plug it, at least not yet. I decided to clean it with chlorine and hot water from reading many DYIs online. In the end, it is cleaner, but still with light yellow tint. Nothing will beat new plastic.
Before:
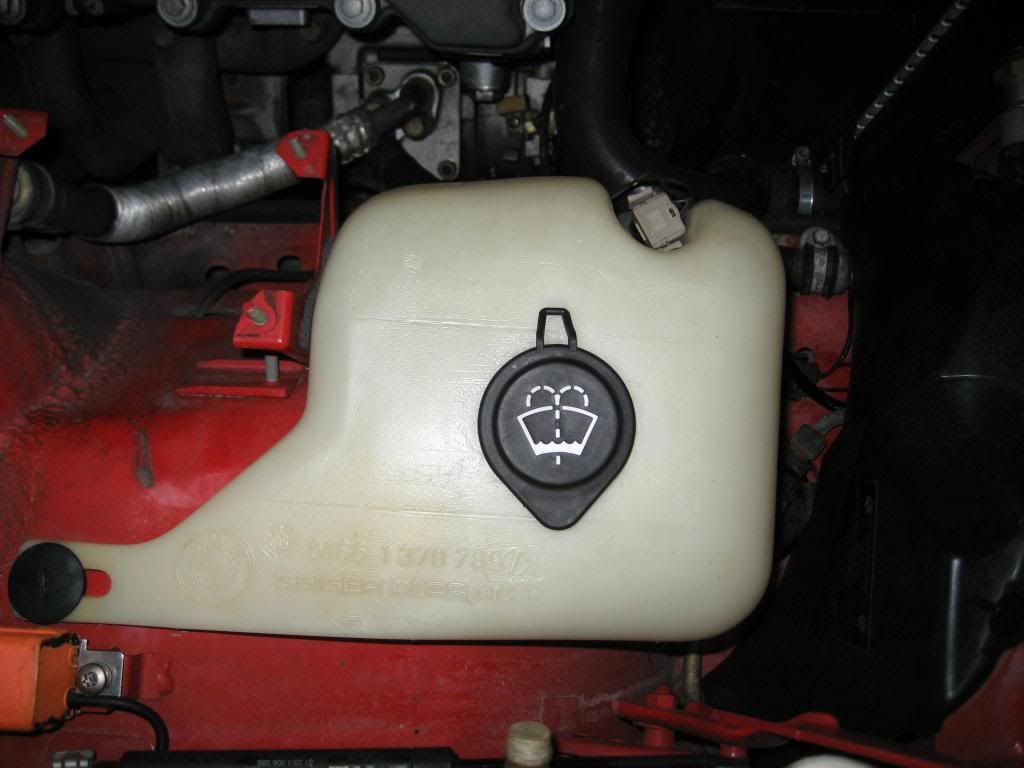
After:
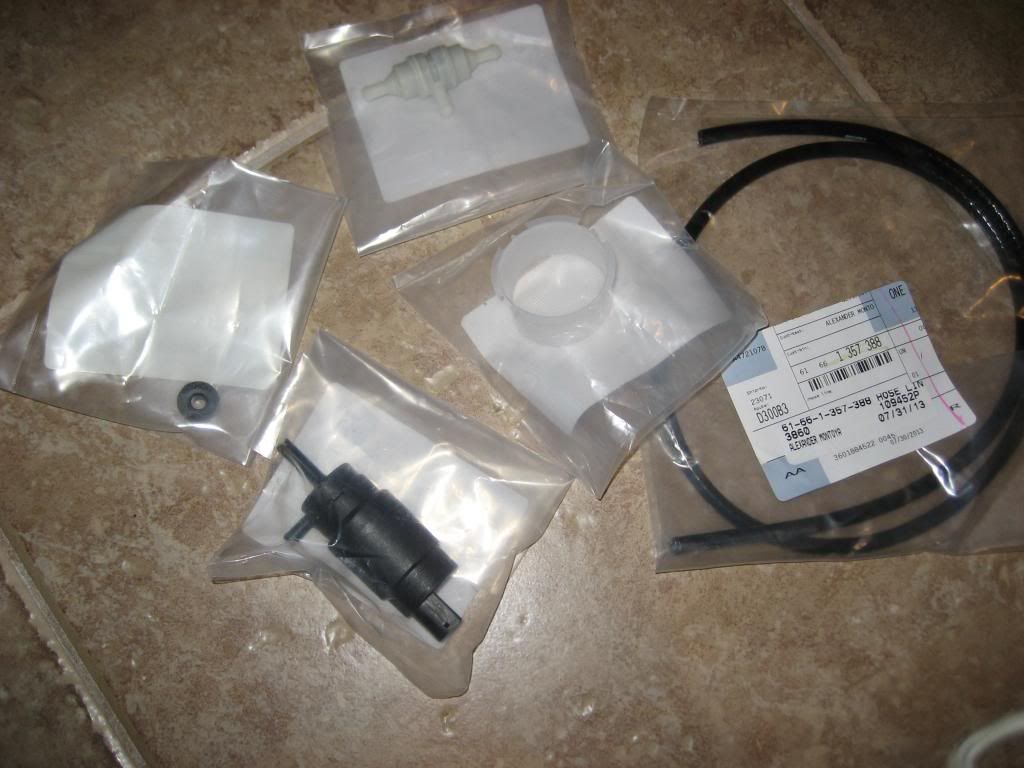
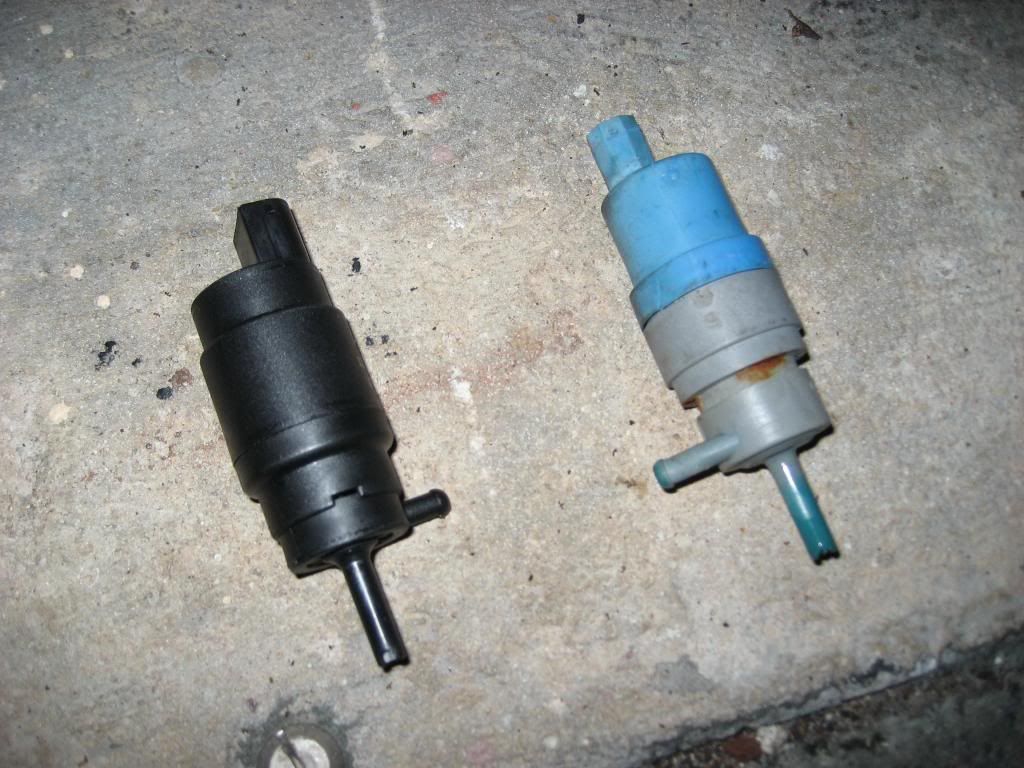
I then recieved a few goodies from BMW. I already had the new cap, with is nice a black and like the newer cars. I decided on the BMW pump as the aftermarket ones do not last as long. My old one was aftermarket and the casing on top, cracked plug the venting holes were also leaking and rusted. Basically it leaked anytime it was activated. I never got water up to the check valve or very little before it would hit the nozzles. Included was also a new grommet for the pump, cheap and for piece of mind. Lastly a new strainer. I also got OEM washer hose. Guess what, it is thing 4.6mm and black. Nothing like the clear etched white tubing. I still need to get a more hose for the check valve/nozzle area.
Pics of new parts:
new BMW pump and old aftermarket pump(blue):
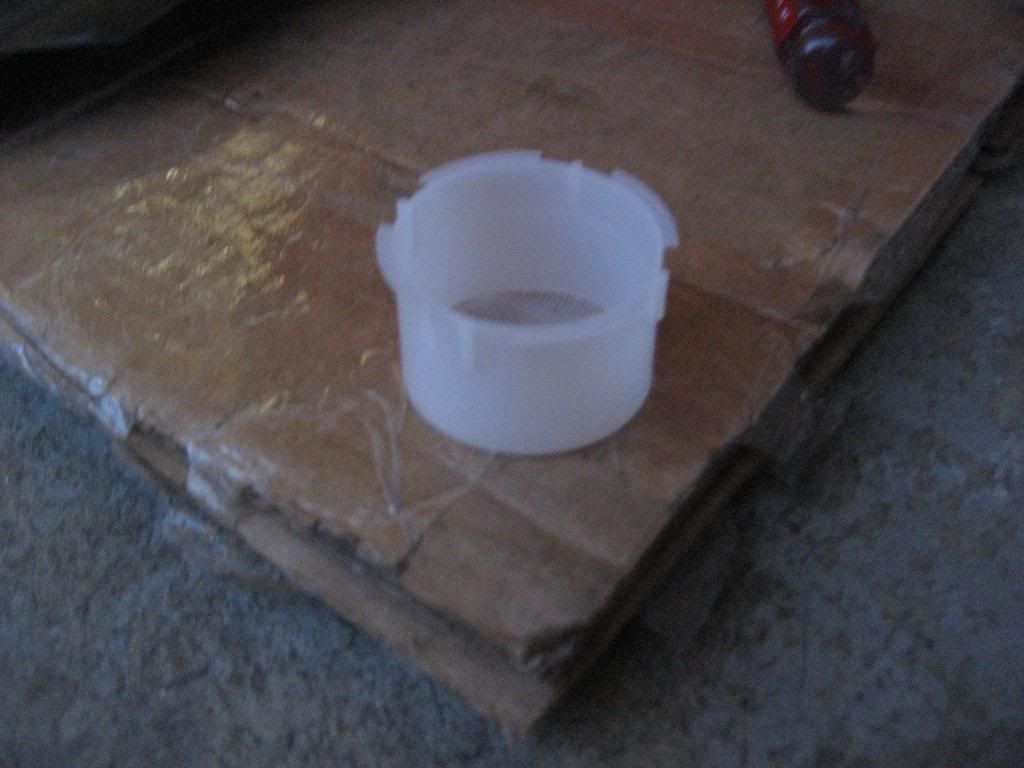
new white strainer:
All together:
If weather permits, I will change out the check valve as it was leaking all the water once I activated the pump. Glad I ordered one ahead of time.Leave a comment:
-
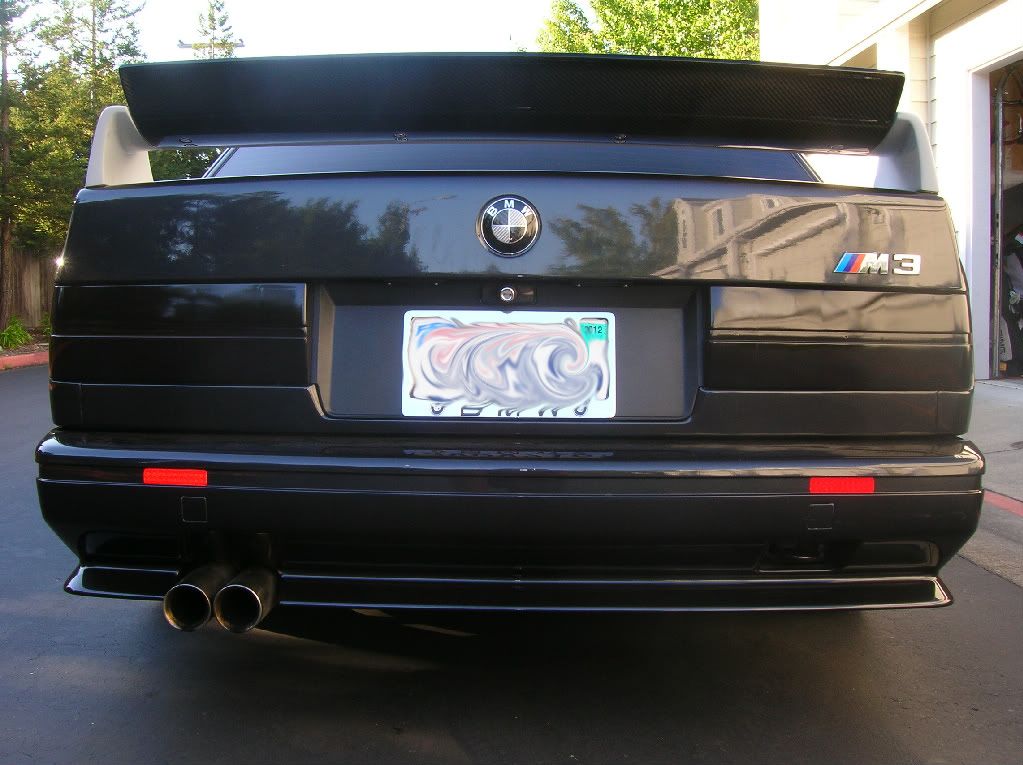
Here is the promised picture of the car during the day. The light shows just fine with the tint. It is already a little hazy due to dirt on the car. Yes yes yes, car needs a polish...lol.
Leave a comment:
-
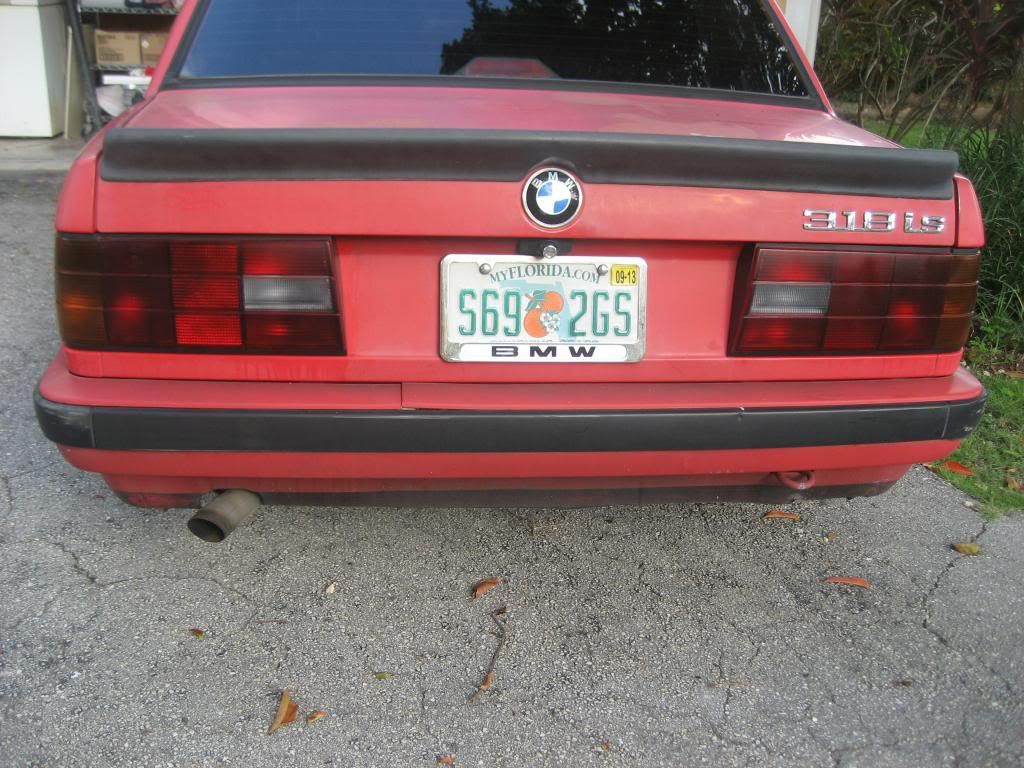
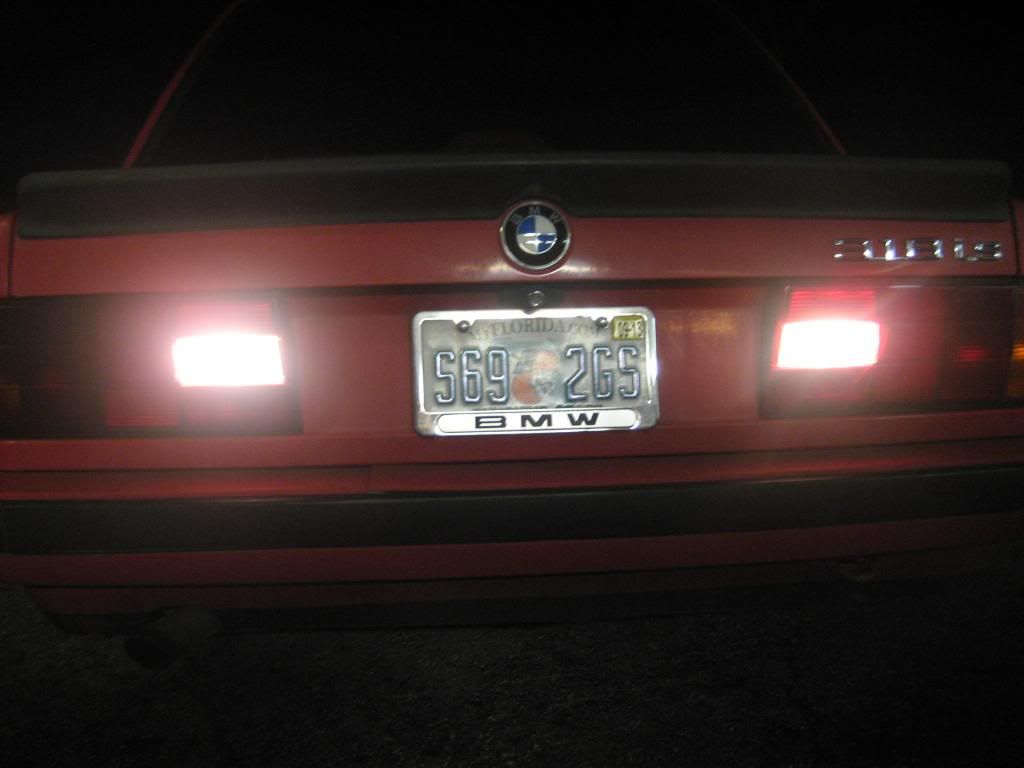
I decided to smoke my rear tail lights.I would love the MHWs, but too expensive right now for me. I got a pair of OEM ones in much better condition on one of the forums. I then cleaned them and took a picture of them.
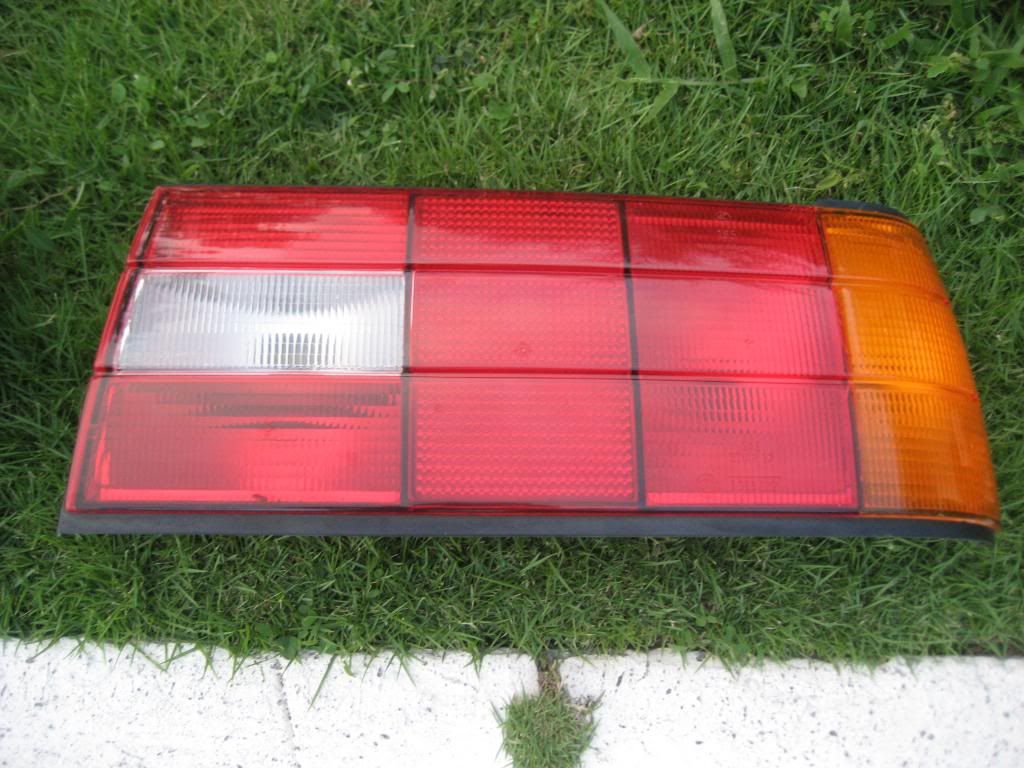
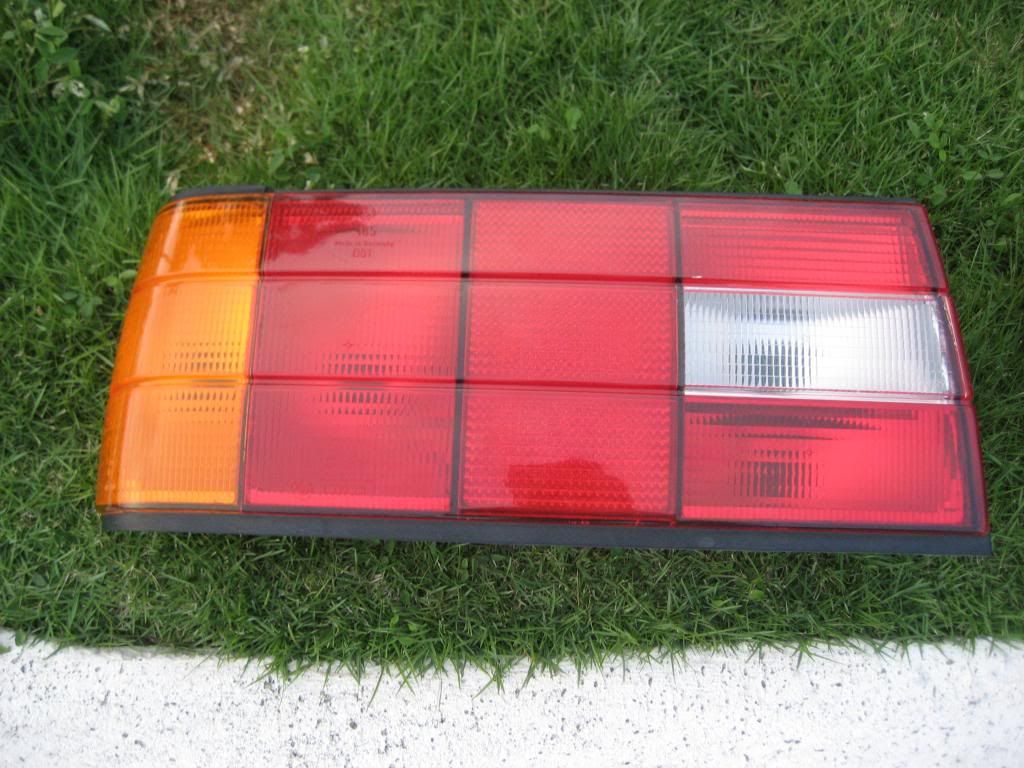
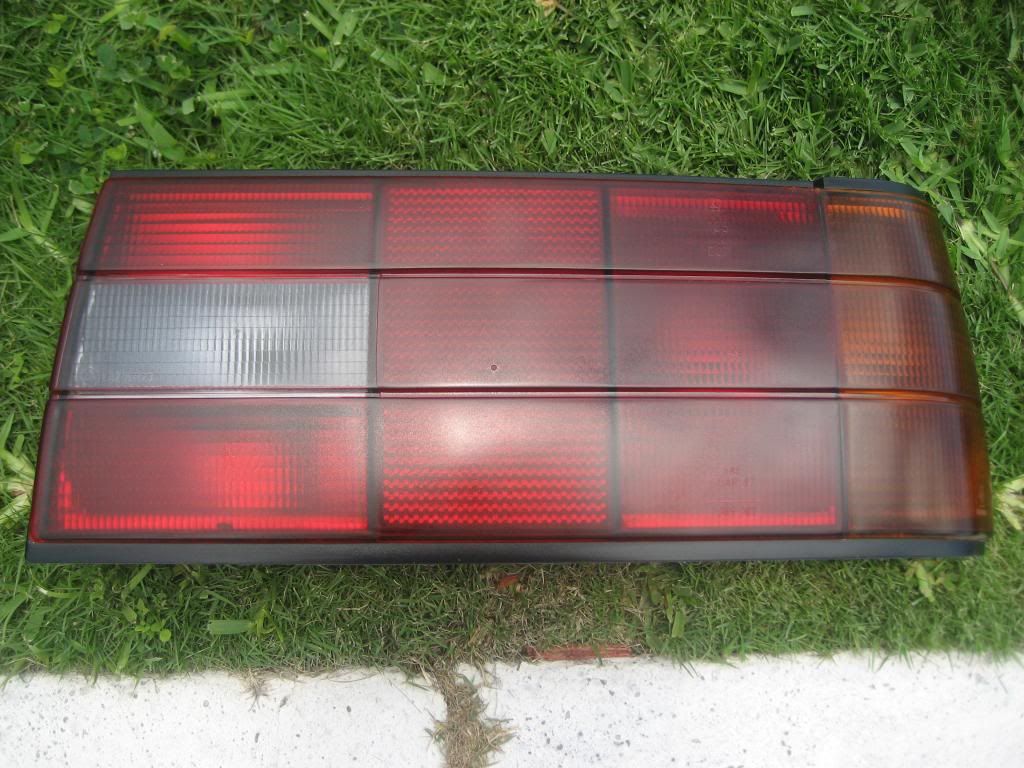
I then did some research on bet way to do this. I bought some wet sand paper, in different fine grades, 1000 through 2000, and did some wet sanding. I used VHT nightshades paint and bought clear. I wanted to give it a light smoke. I ending up giving the lights two light coats. Since I masked the surrounding areas with blue tape, I decided to do the same with the reverse light. In the end, the reverse light got one coat and the rest 2 coats. I applied the clear which in my opinion was not the best application of it. Either temp/humidity was not right or it needed more coats or a thicker coat. A little more wet sand and then finished with some polish. The pictures are not the best as it was 1pm outside when I took the picture, so it was very sunny with the sun right above and I cast a little shadow in the middle towards the bottom but also makes it look extra glossy. Much better in person.
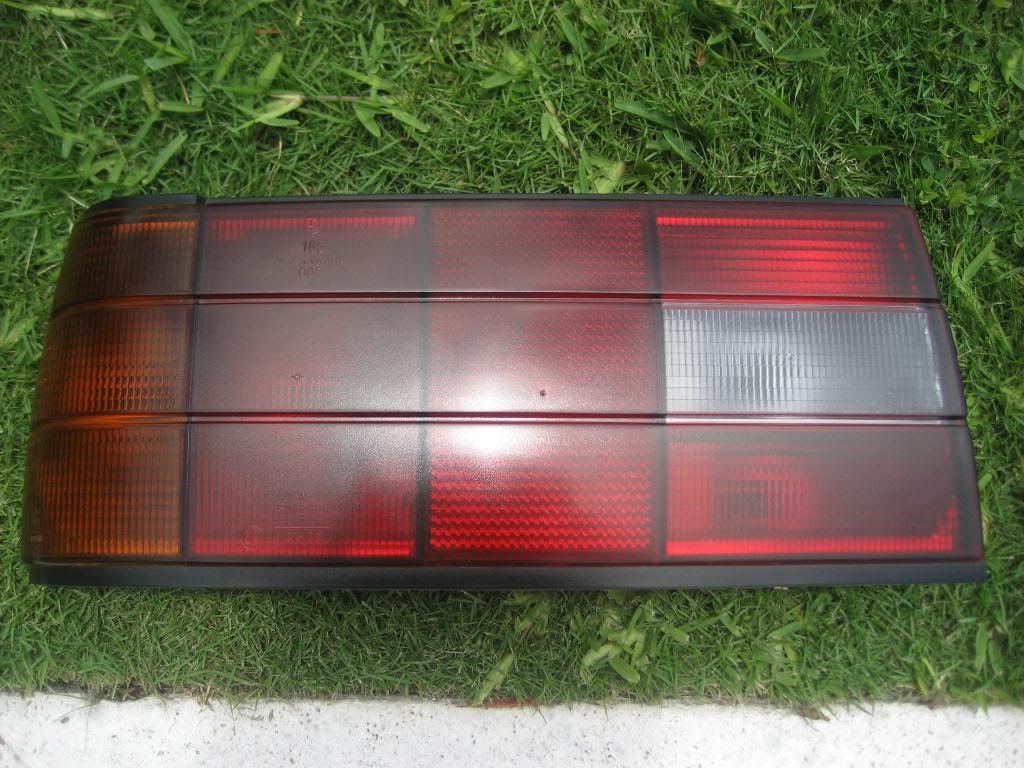
I need to take a picture of it on the car during the day. I will do it when I get home from work and will post it. Here they are on the car at night with the reverse lights on. Smoked on the left. Not a difference in the light output from what I saw. The only difference is the turn signal, but it is minor.
 Last edited by monty23psk; 07-05-2013, 06:47 PM.
Leave a comment:
-
yes it has. Glad you still have it let. Let me know when you want to meet up.Leave a comment:
-
Alex!! It's been a while, old friend. I wish I had the drive & dedication that you do for the E30. Mine mostly sits these days; but I've been itchin' to get my hands dirty again. We need to hang!Leave a comment:
-
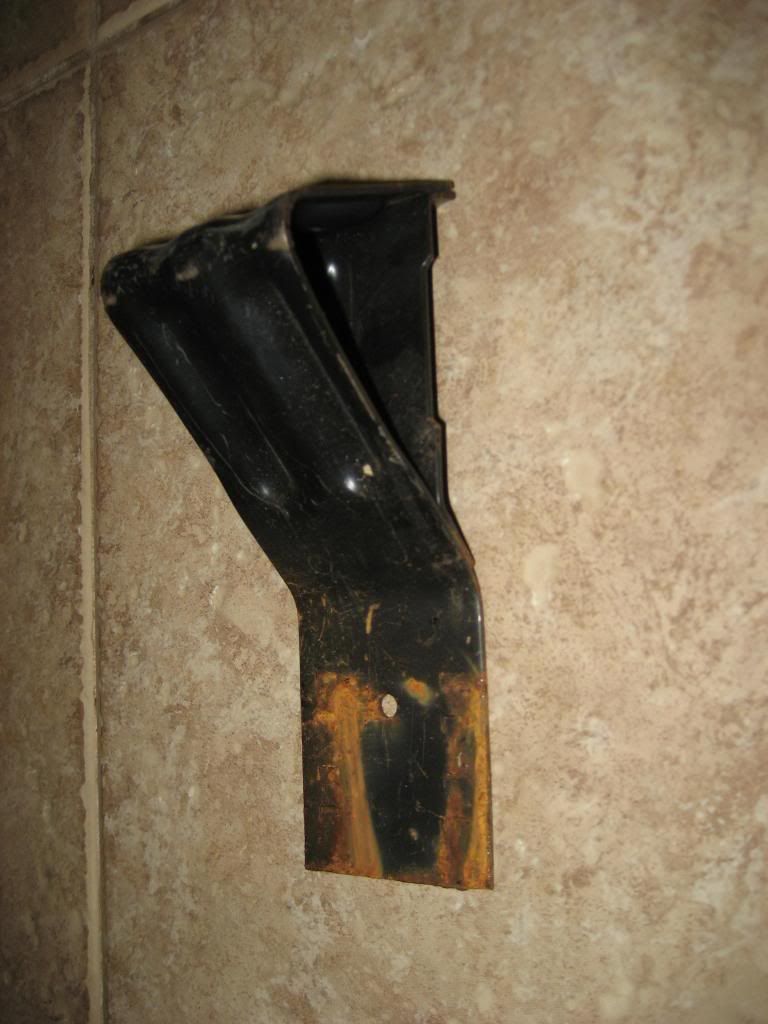
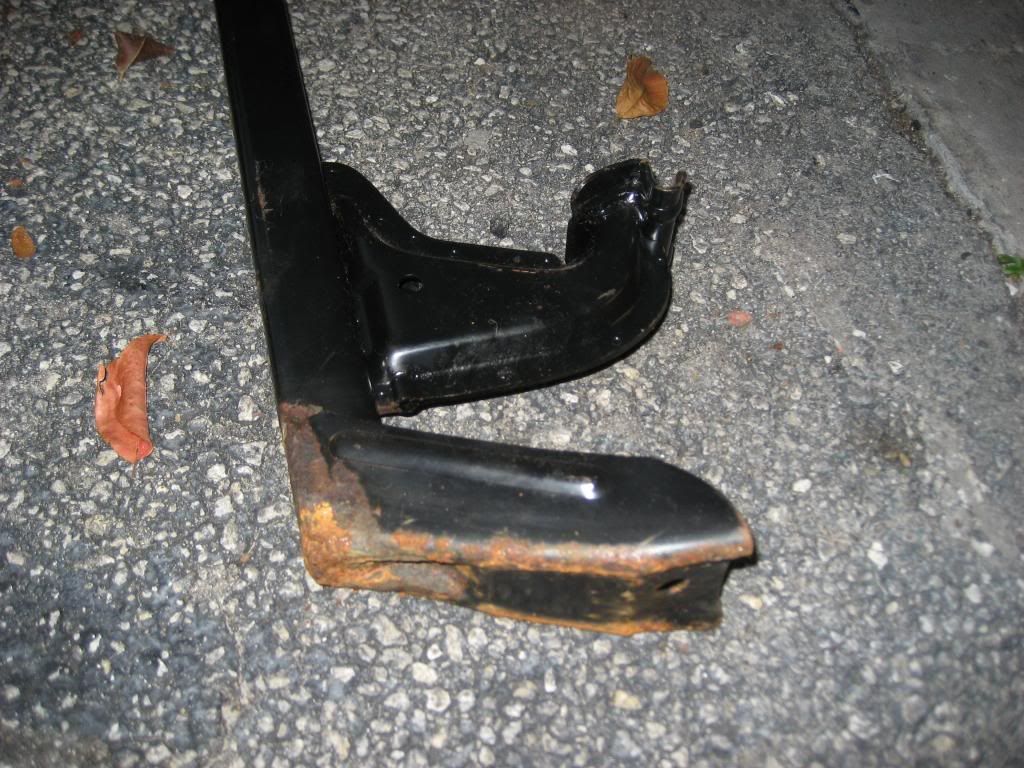
My car jack and tire choke had some rust on it. Mostly at the bottom of the car jack and since the tire jack is under it in the trunk, the rust surface rust started to build up on it. Who knows in the past before I owned it, water would get into this area at the bottom and the car jack would just sit in a little puddle of water. No leaks since I have owned it but the damage was already done. I decided to give it the POR-15 treatment which I have already used it. Here are a few pics of the before.
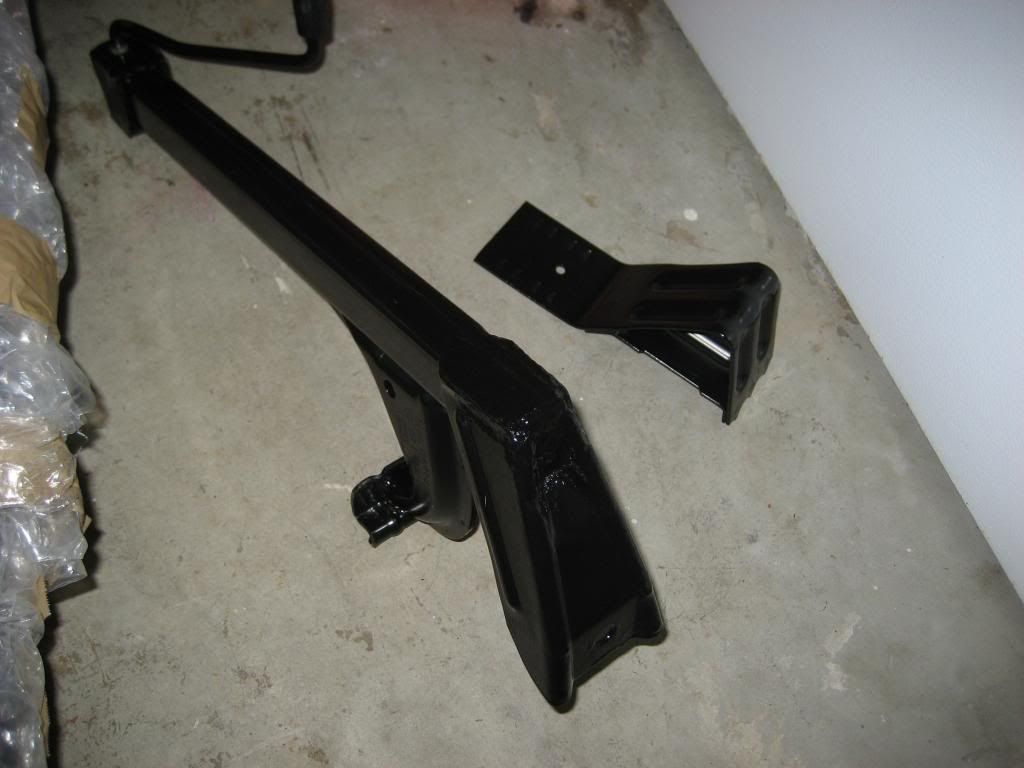
Then after the treatment. I used the gloss black paint as I was not going to paint the whole car jack so I wanted to match as much as possible. This should now keep it protected for a very long long time. I highly recommend POR-15.
Leave a comment:
-
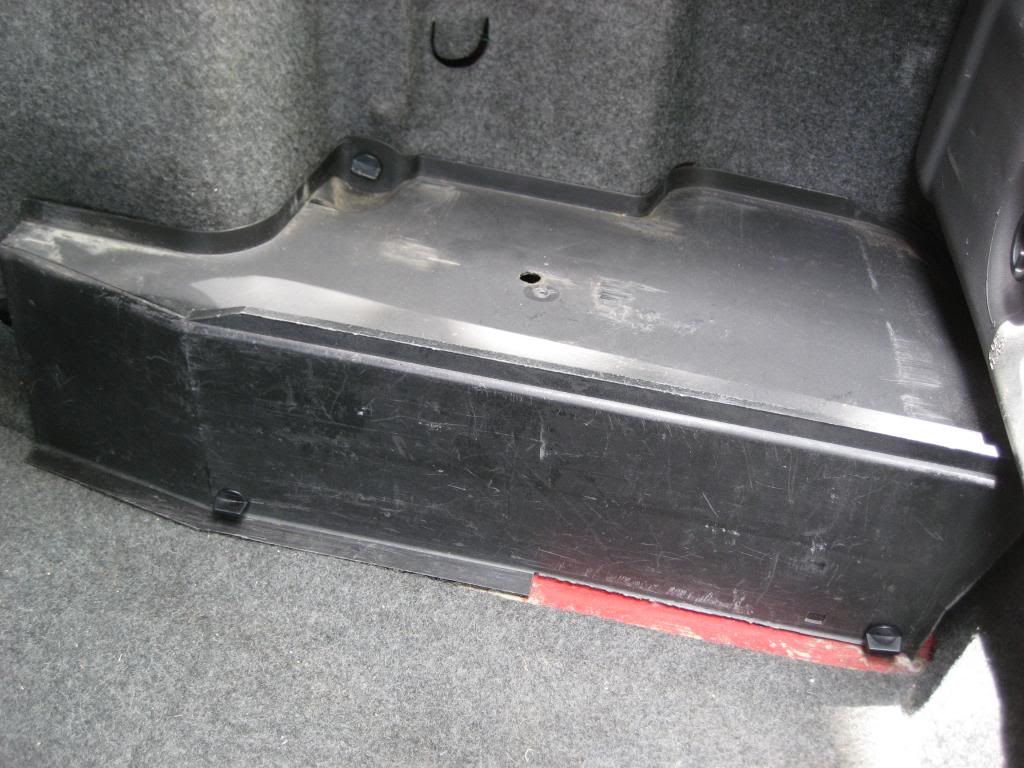
So I decided to change something in the trunk to clean it up and match everything in black. The rear tail light panel that hold all the bulbs is a ugly gray that doesn't match anything in the trunk. Also with over 20 years of use, it is all scuffed and scratched. I decided to give it the SEM treatment to clean it up. Here is the driver side:
Old installed:
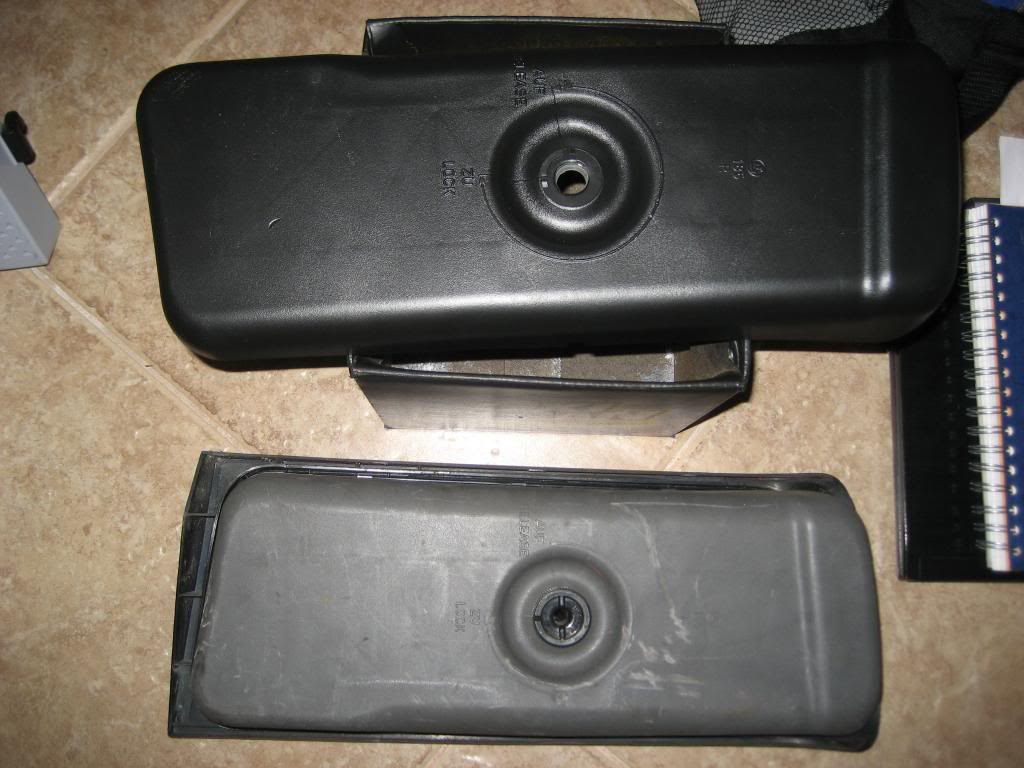
Comparising old vs. new:
New one installed (direct flash lightens the battery cover and storage tray, all match in person):

Leave a comment:
-
-
-
Nice work Monty.
My 318is is a work in progress also. Do you have the BMW part number for the storage tray? That would be nice for mine also.
Thanks,
StanLeave a comment:
-
SEM treatment to rear trunk trim above rear lights. The before and after doesn't show much difference as after picture was taken with no flash but there where too much sunshine. Noticeable in person. Many of the scratches and white scuff marks are gone. Also treated the 4 clips that hold it in place.
Before:
After:

Leave a comment:
-
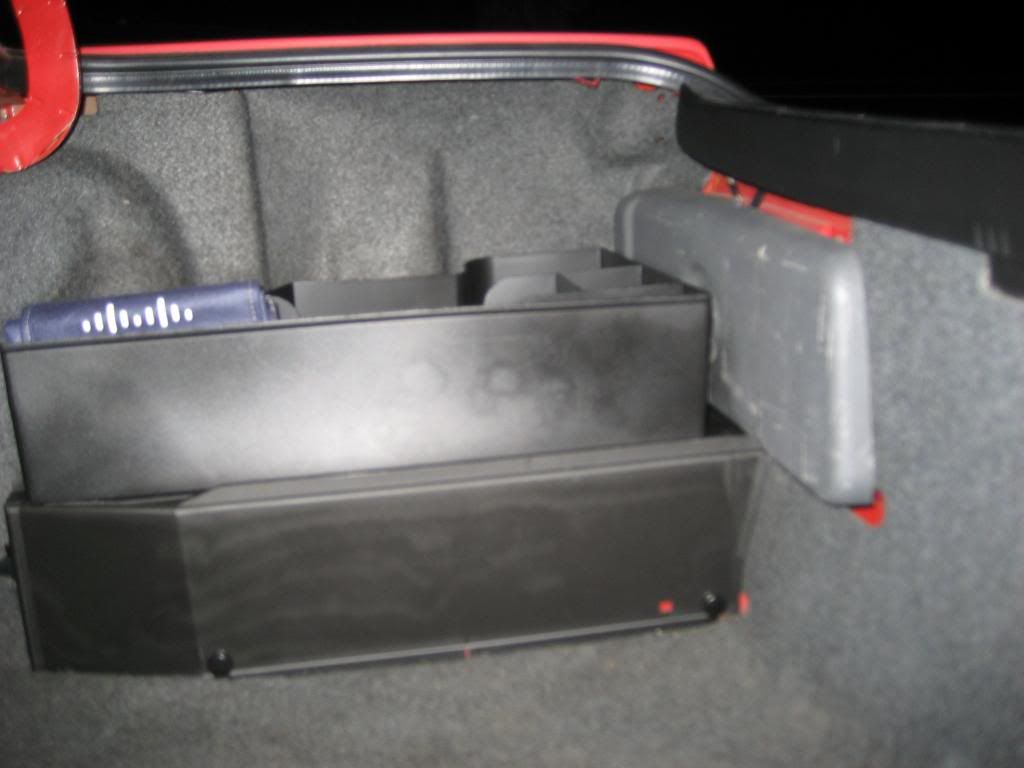
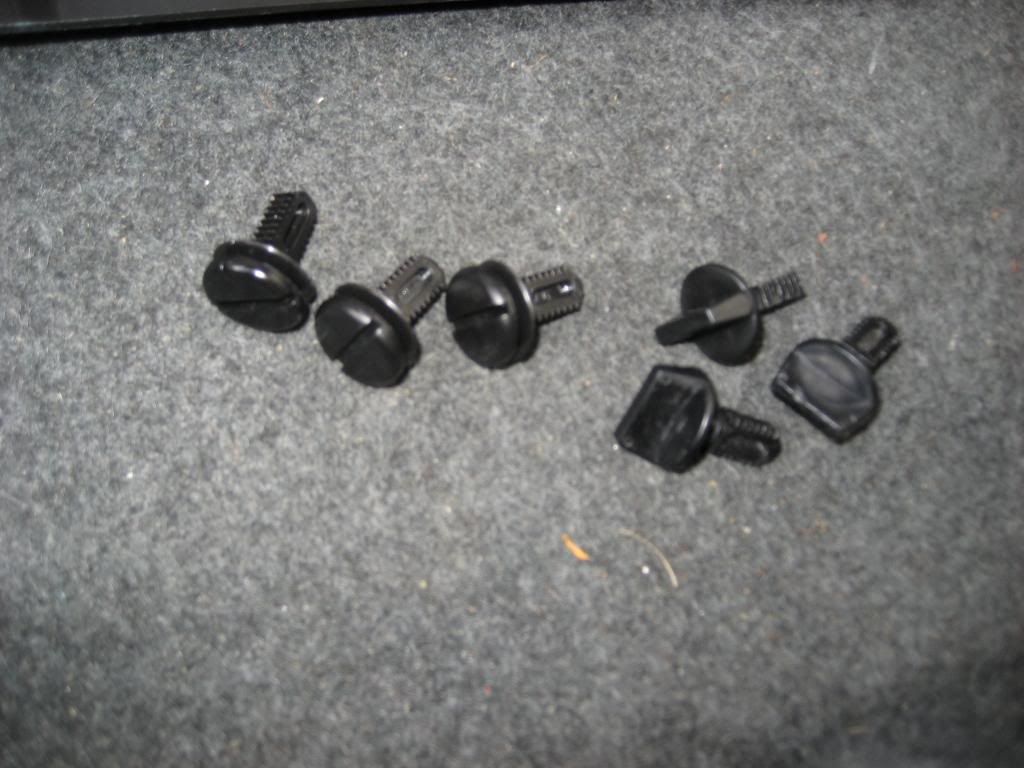
I am almost complete with how I want my overall look of my trunk to be. I received my new battery tray cover and mounting clips, thanks Blunt. The current mounting clips have the tab so you can use your fingers and the new ones have a slot for a flathead so they don't stick out as much. This is not an issue for the clip on the top, but the 2 bottoms ones would once in a blue moon, come off due to something hooking on them in my trunk.
Here is the before. It wasnt bad, I just wanted the broken tab on the right near the floor carpet back. Notice the clips
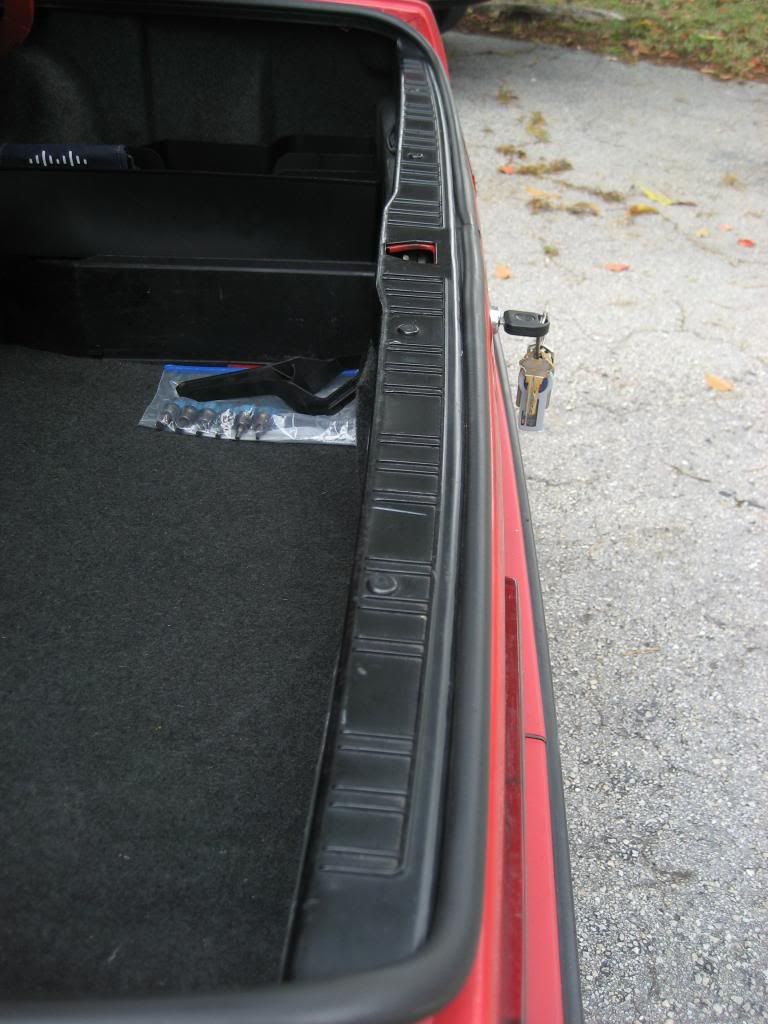
Here is closer look at the 3 new clips on the left and the old ones on the right. These are used for the headlight trim panel also. Might be preferred and easier for others to use your finger to remove versus a flathead screwdriver.
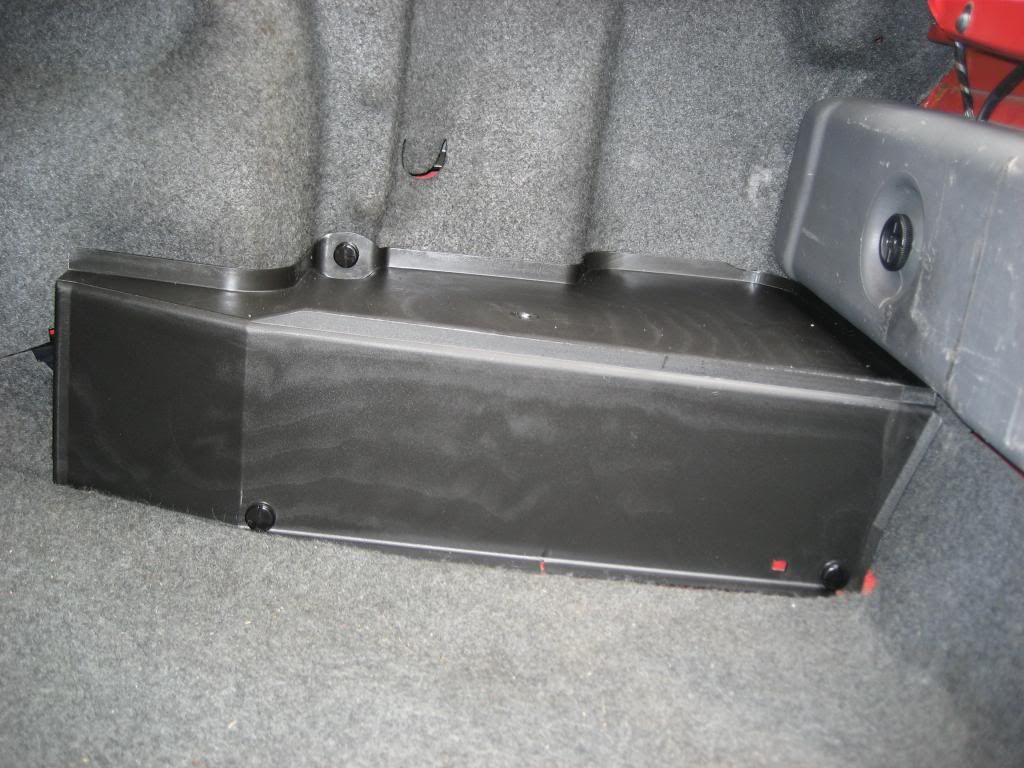
Here is the new cover installed. It does not have a hole in the bottom center to lock the storage tray with it. Better for me.
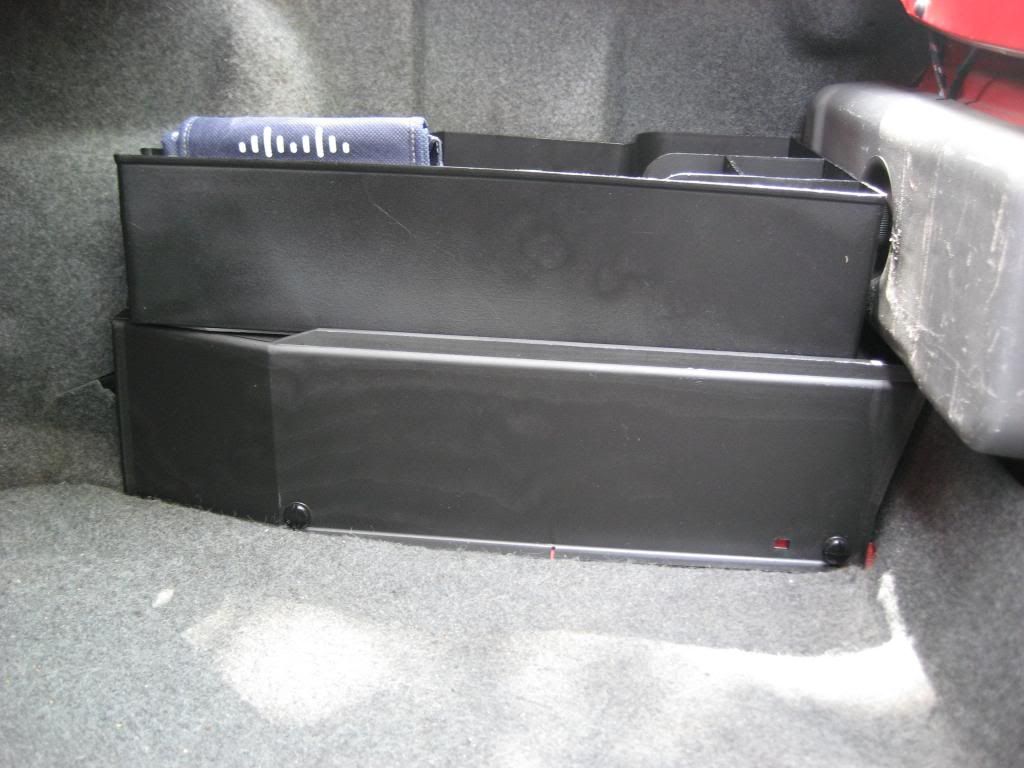
I then added some of the grip liner under the storage tray to prevent sliding, as with new plastic, everything is smooth and it did slid.

Here are both items together for the finish product. Now off to another idea I had to complete the look of the trunk.
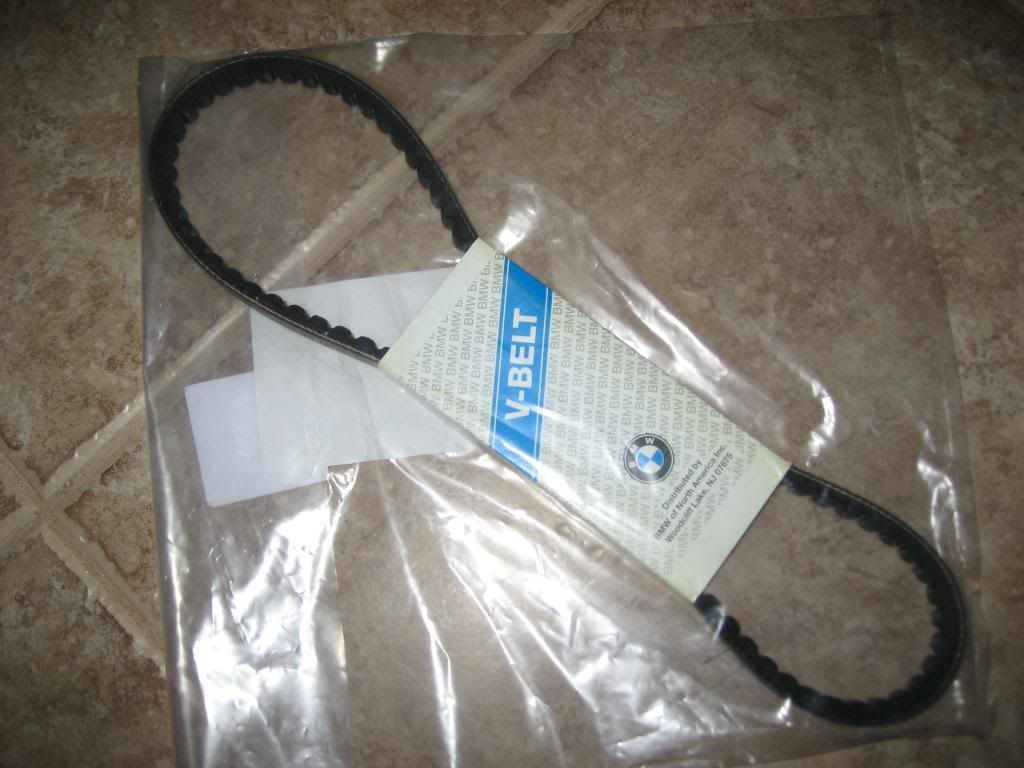
Also, I ordered an AC belt from BMW since it was 885mm in length, versus the standard 890mm we receive when it was ordered. The item did have the BMW logo on it but it was made by ContiTech, which is the same brand as my 890mm belt. I couldn't get the right amount of tension with the longer one as I would have the hex bolt at the bottom of the pulley as tight as possible. I would still see a little wobble on the belt travel and it would be noisy sometimes. So if you want the tighter belt on your m42, the tirck is to get the smaller one from Contitech. The issue is going to be to find it but it should be hard. Just there is no BMW part number to use unless you get the belt directly for BMW.
Here is a pic of it:
Leave a comment:


Leave a comment: