
ordered a 25 row oil cooler from Earls Indy yesterday. it's being fabricated right now. I'm still in discussionn with them as to oil lines. Waiting for silicone hoses to go off backprder From IE. Still waiting on heat wrap to arrive.
Also, I'm having trouble sourcing just mtech II lower skirts. I was gonna call Ary but think Eurostop only sells them with the aprons and I don't really want to buy those with the lower skirts. ried contacting that guy on maxbimmer but can't get a hold of him. Thoughts...?
-
Thanks Alpine
More progress tonight...
Header wrap ordered.

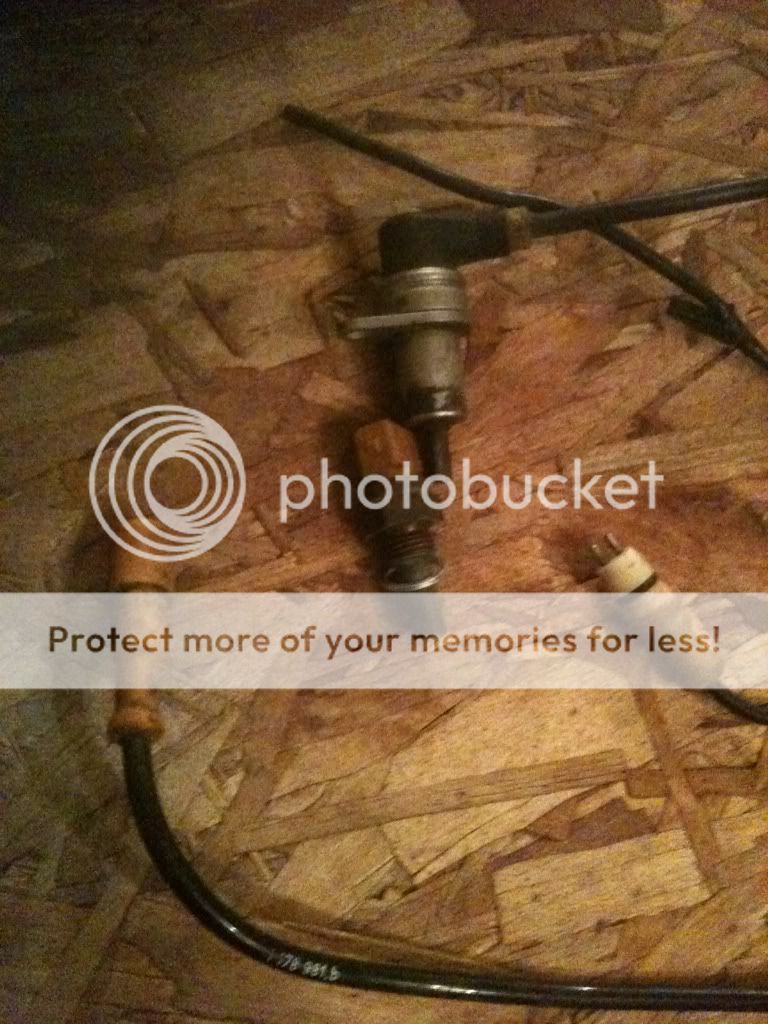
ABS sensor needs replaced
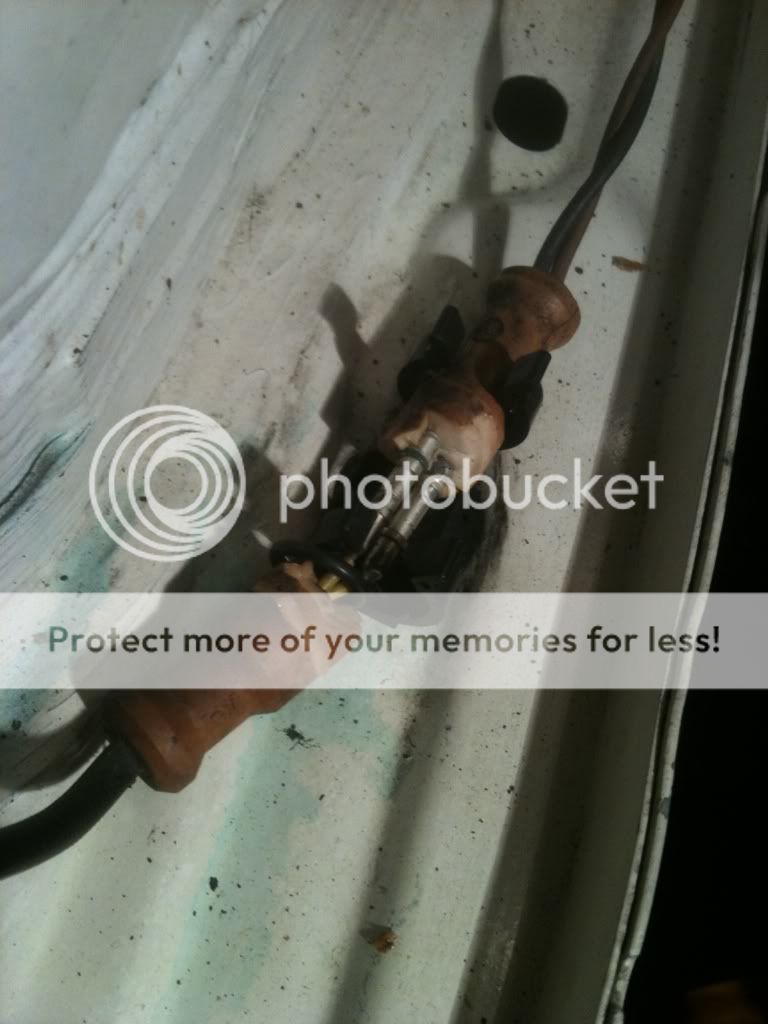
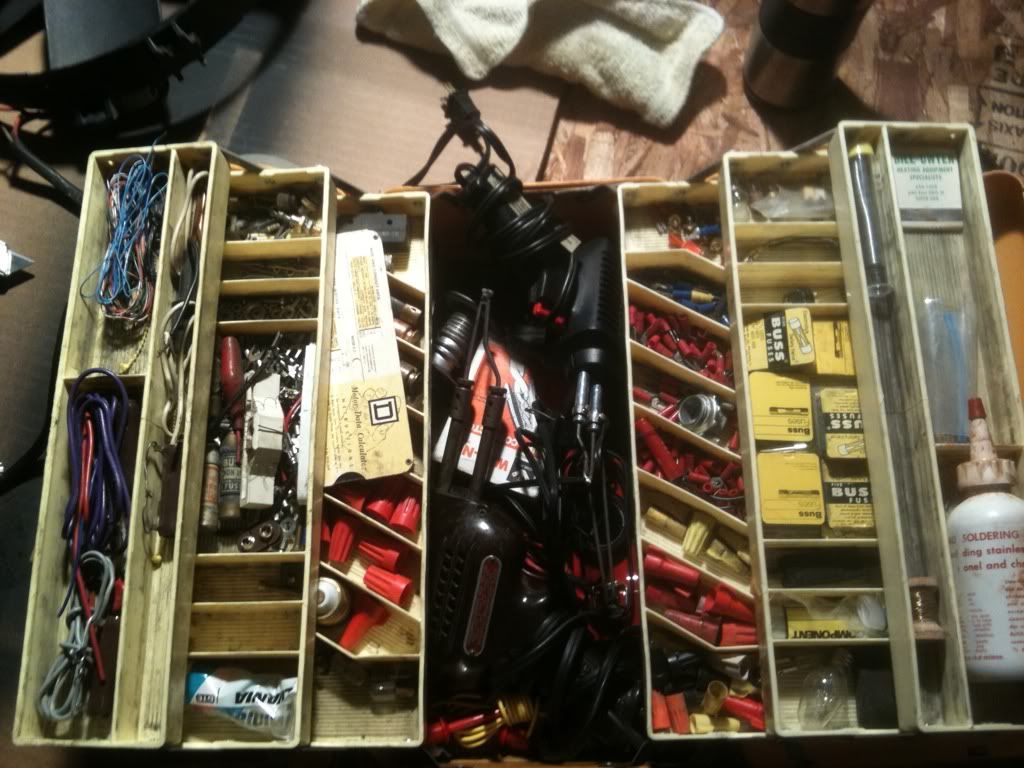
Picked up a used one along with coolant temp sensor. Gonna solder it in tomorrow.
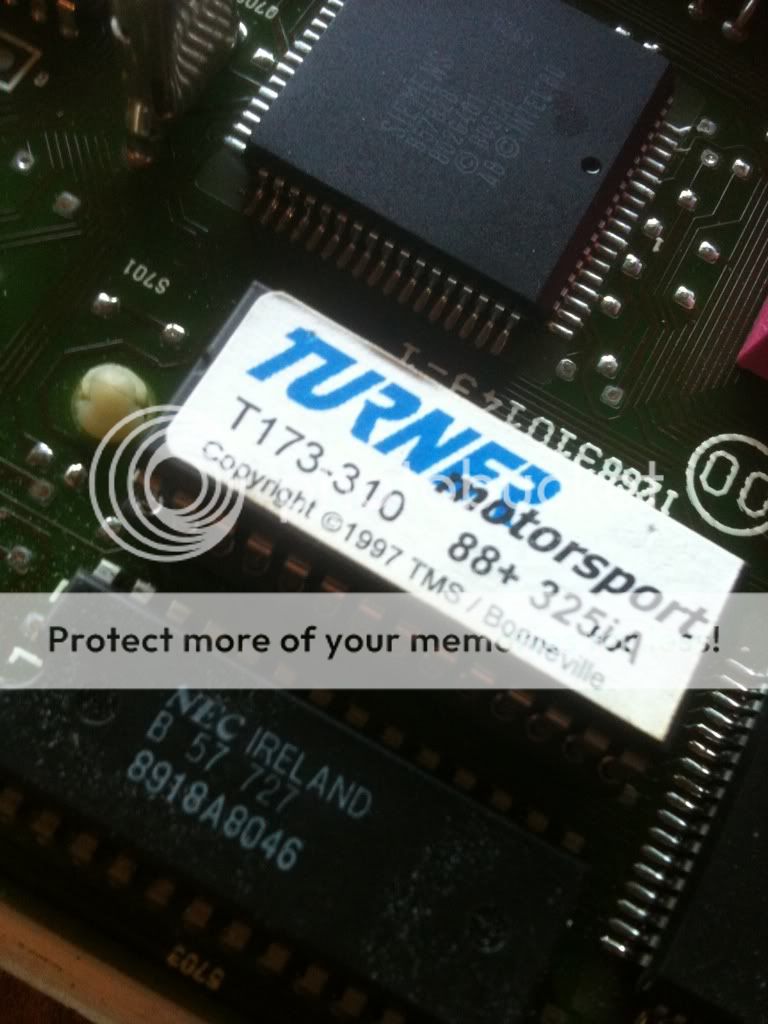
Bye Bye Turner/Conforti. You were good to me :(
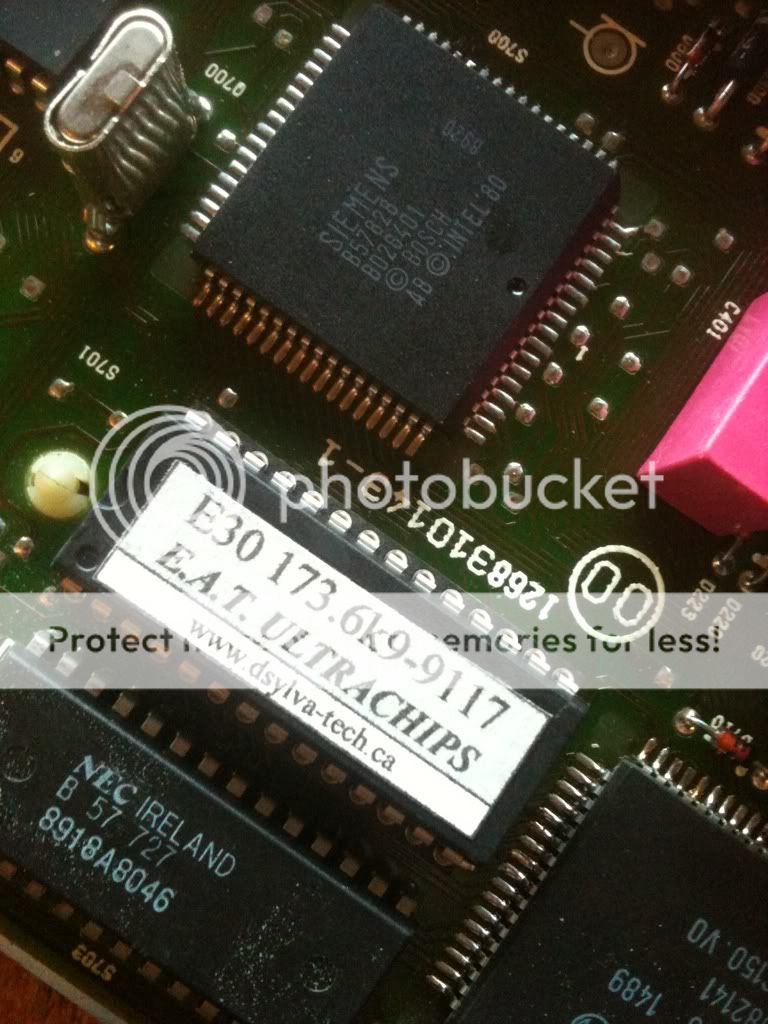
Hellooooooo MarkD! :)
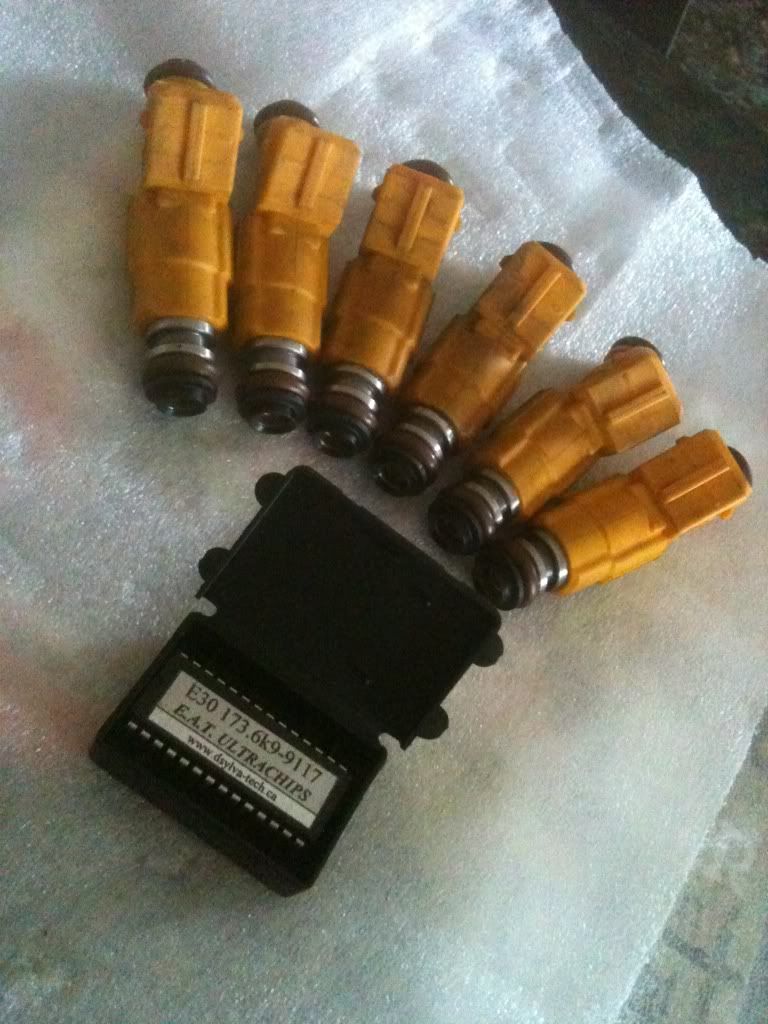
19lb Injectors installed.

Lets do this!!
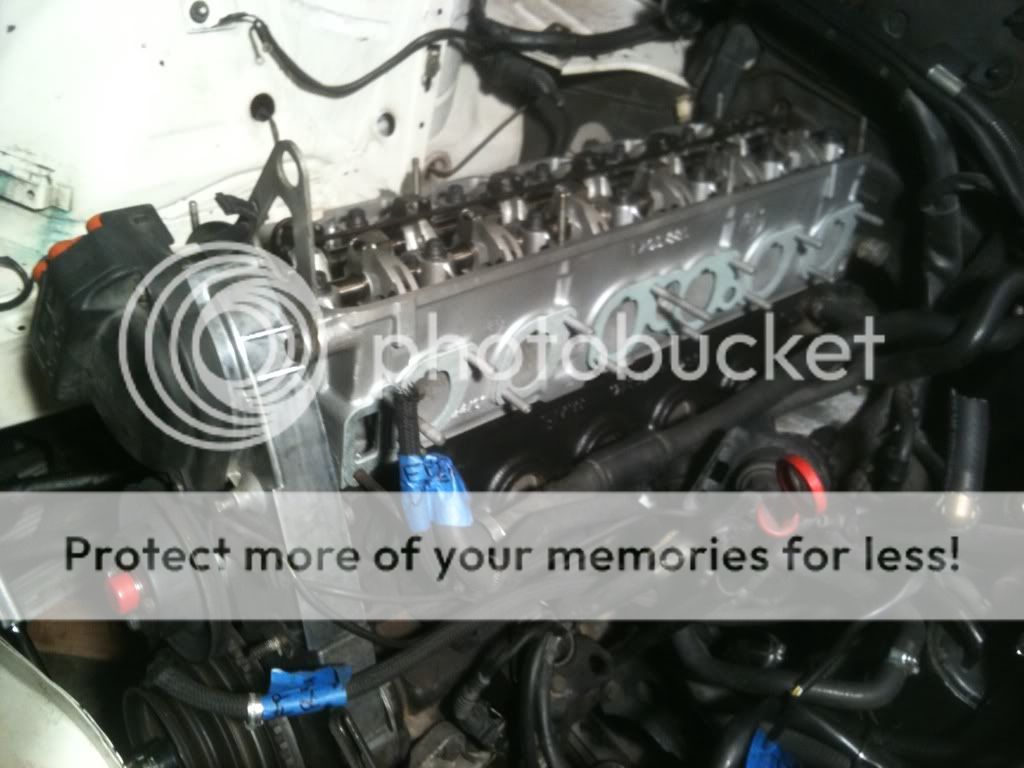
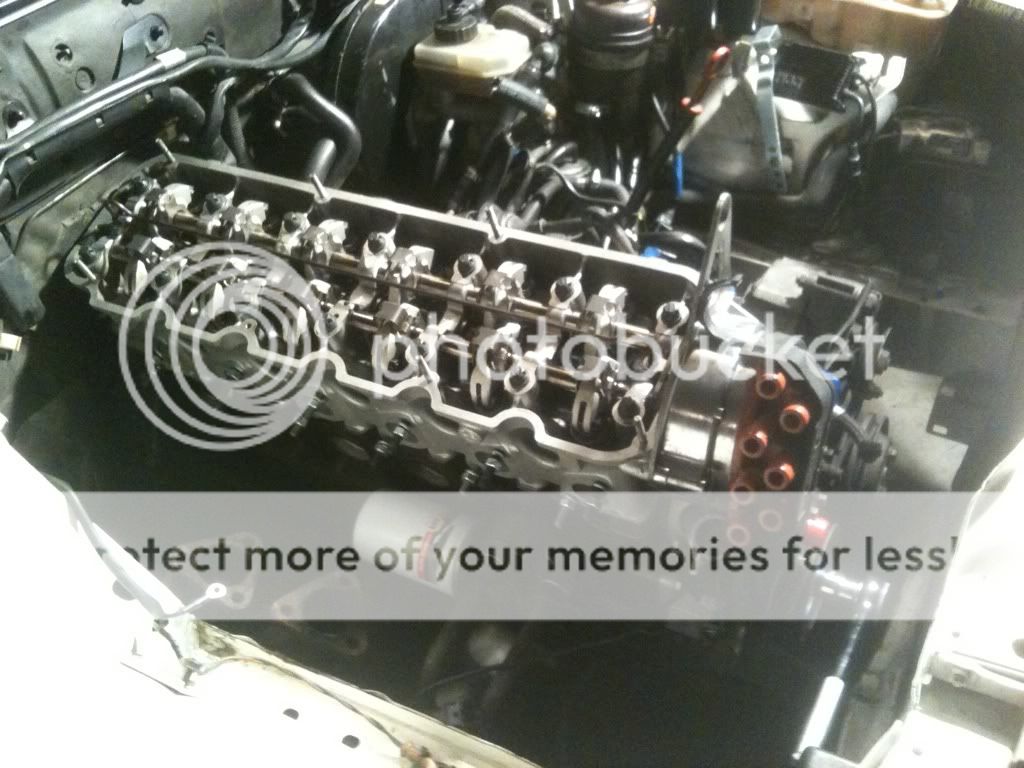
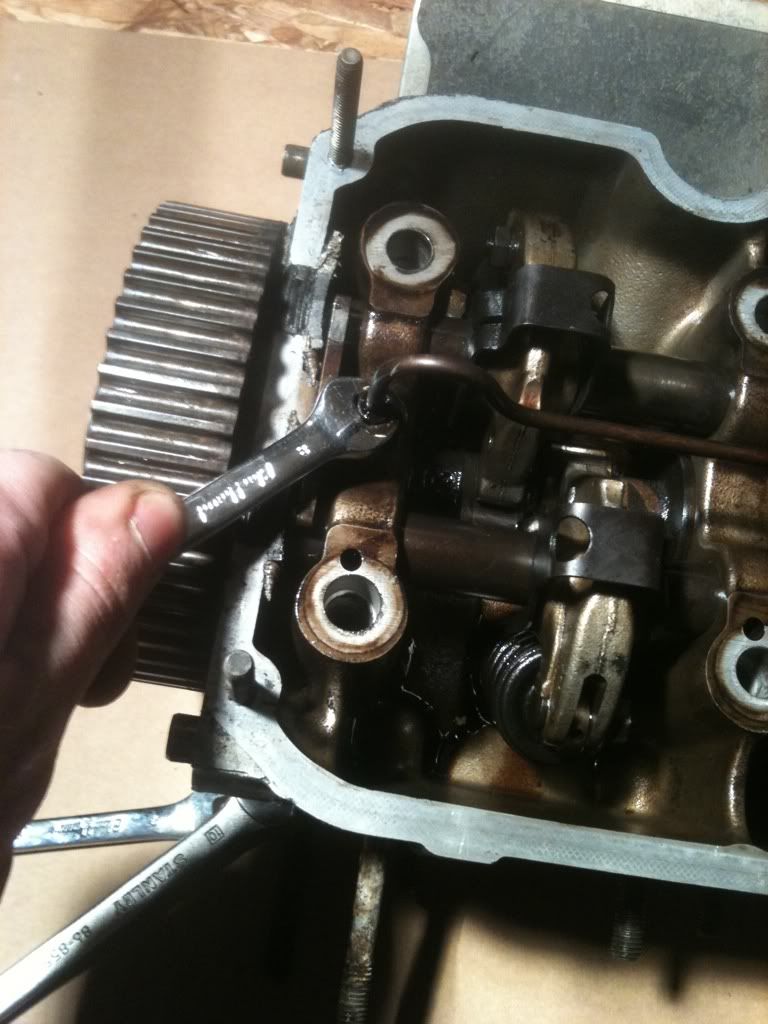
Installed the cam, rocker arms and shafts. Adjusted the eccentrics accordingly.
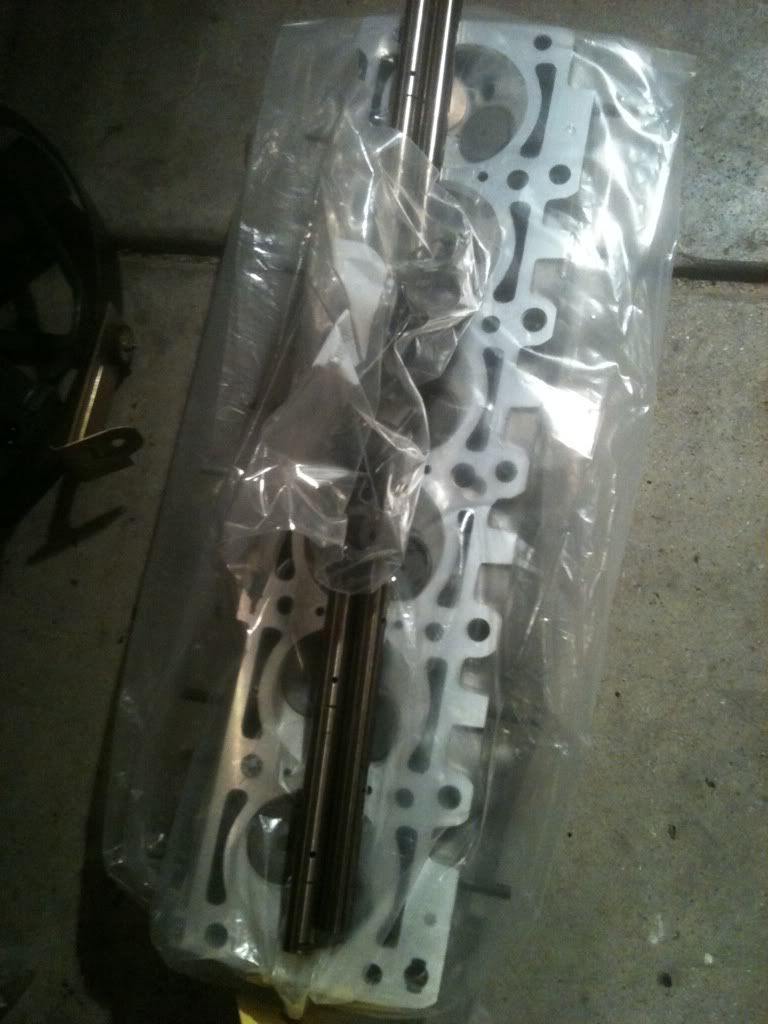
Head installed... check
timing set...check
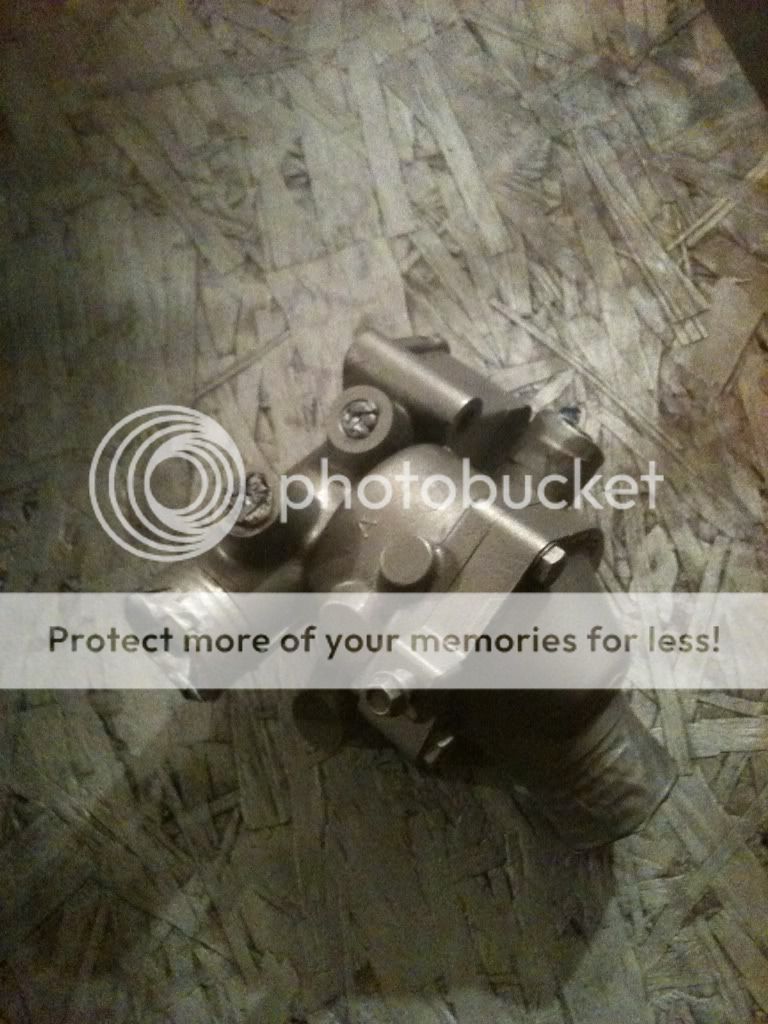
Water pump installed...check
New oil level sensor installed... check
timing cover installed... check
rotor and cap installed... check
crank pulley/sensor/gear installed... check
cleaned the coolant pipe t-stat housing. First 3 coats Duplicolor added.

That's it for tonight. More to come tomorrow.
-BrandonLeave a comment:
-
Thanks man. Good luck on the FREE30 build of yours. looks like you have your hands full! ;)
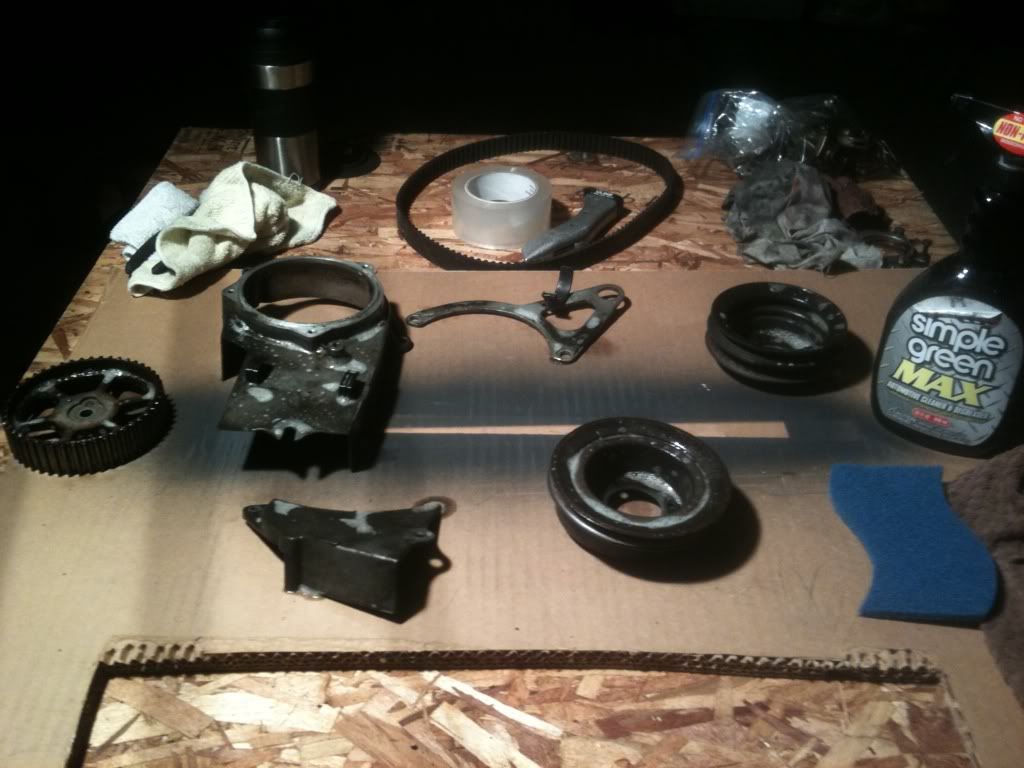
Goodies arrived today!!! yay :)
Leave a comment:
-
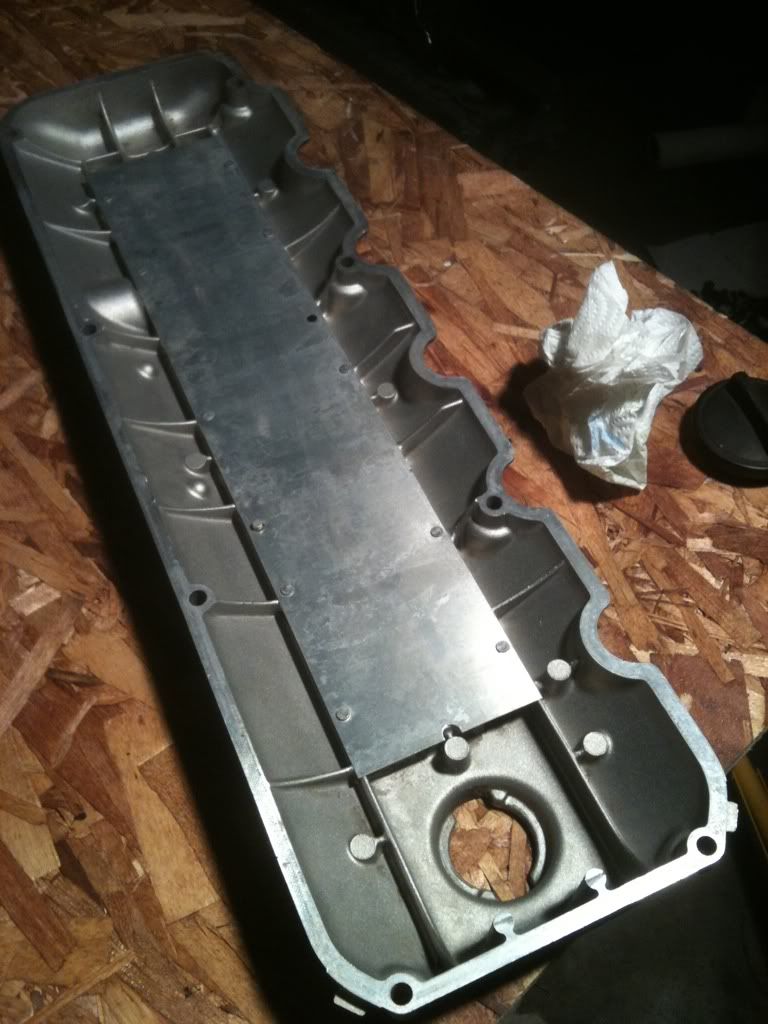
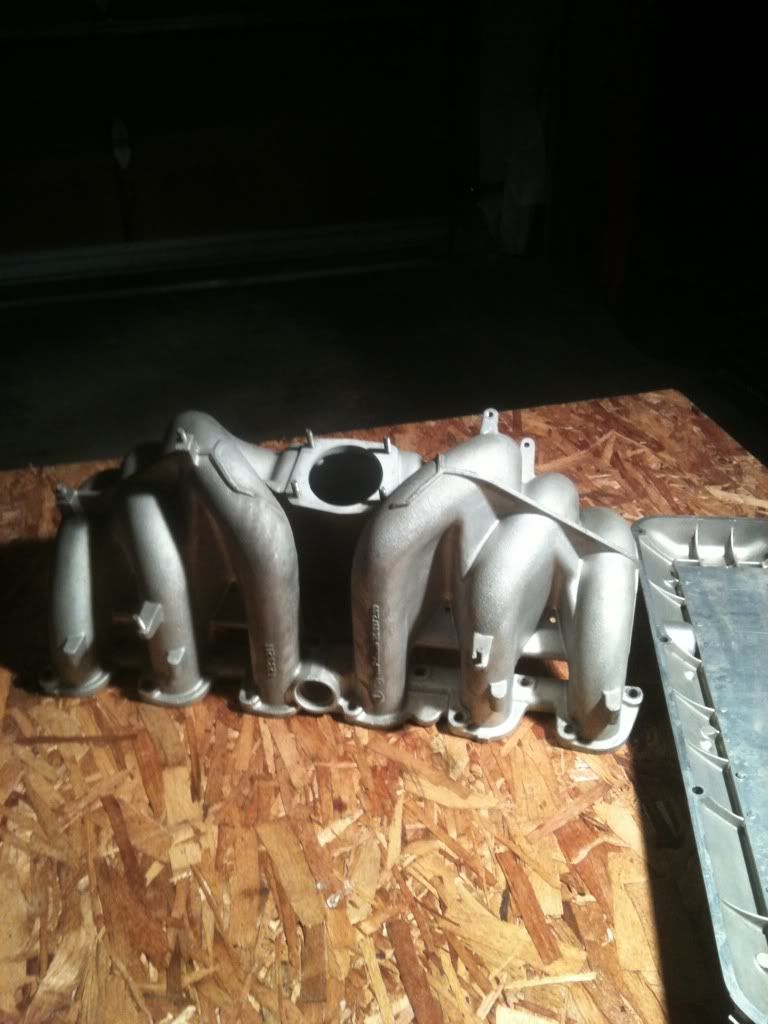
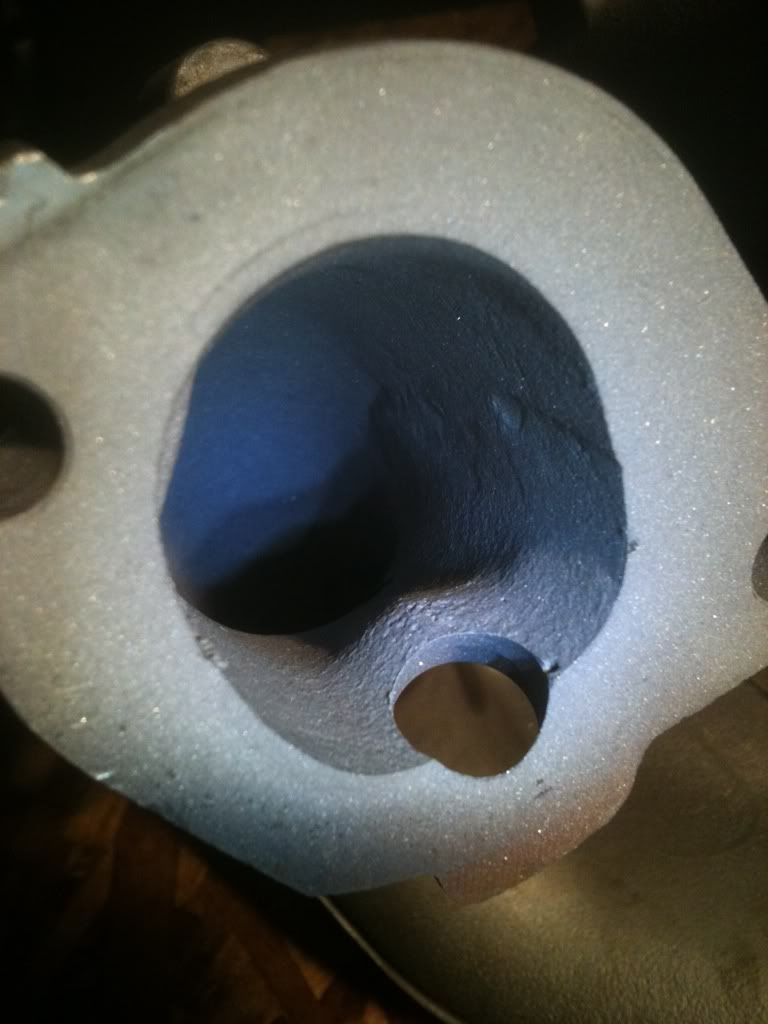
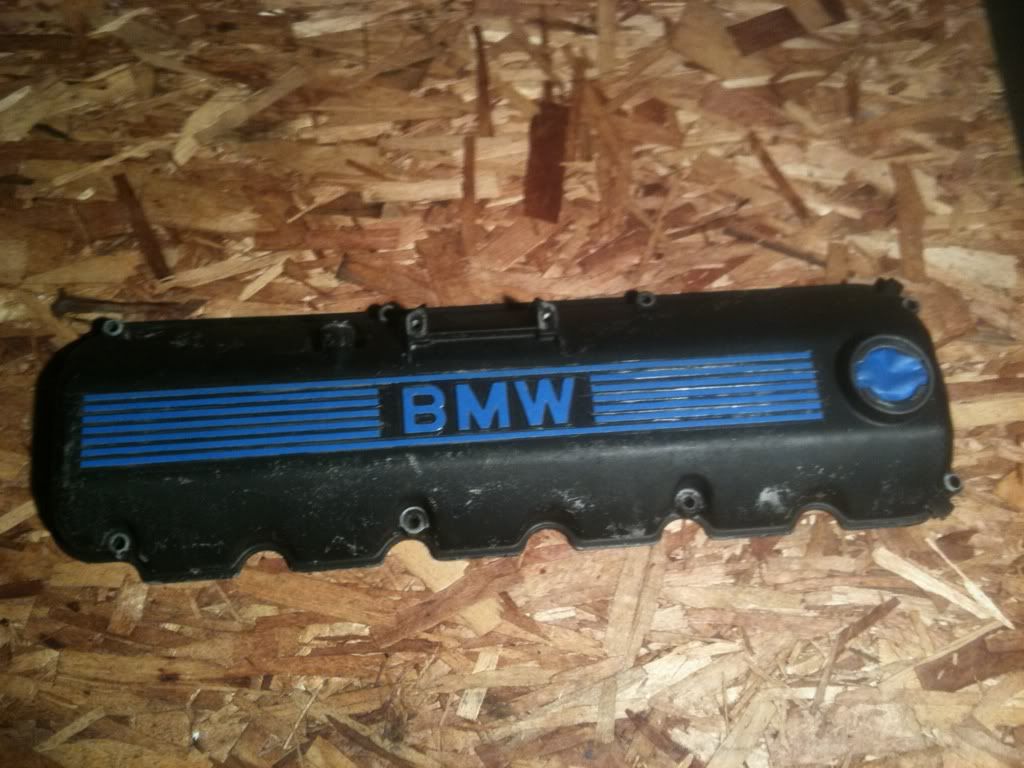
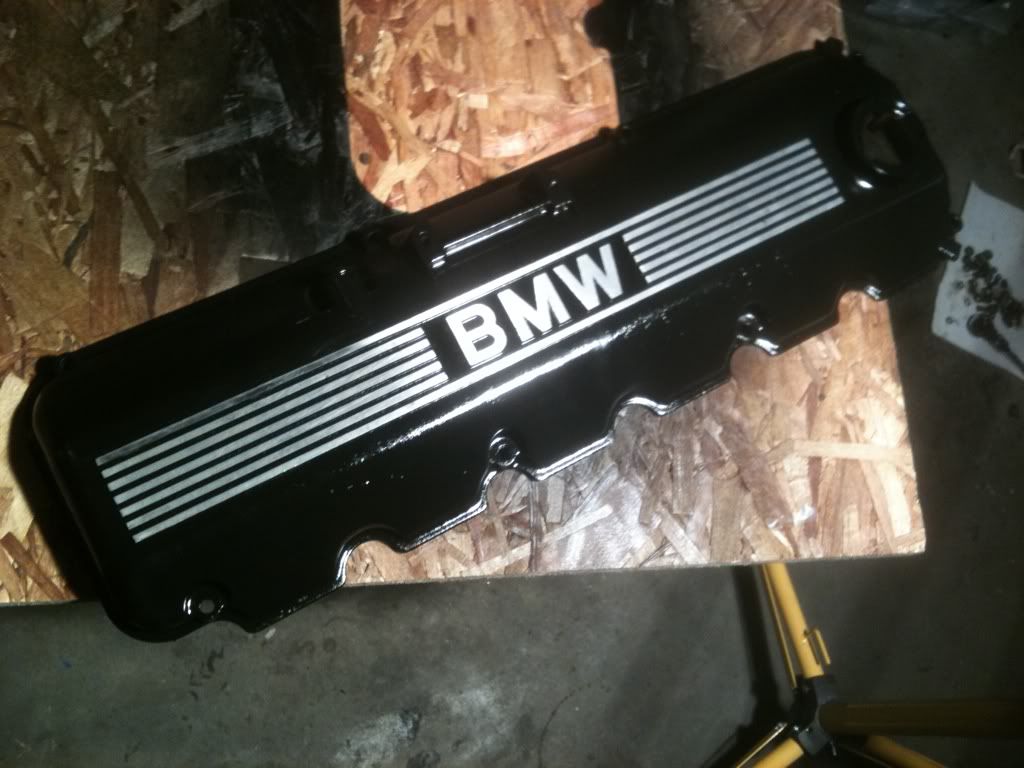
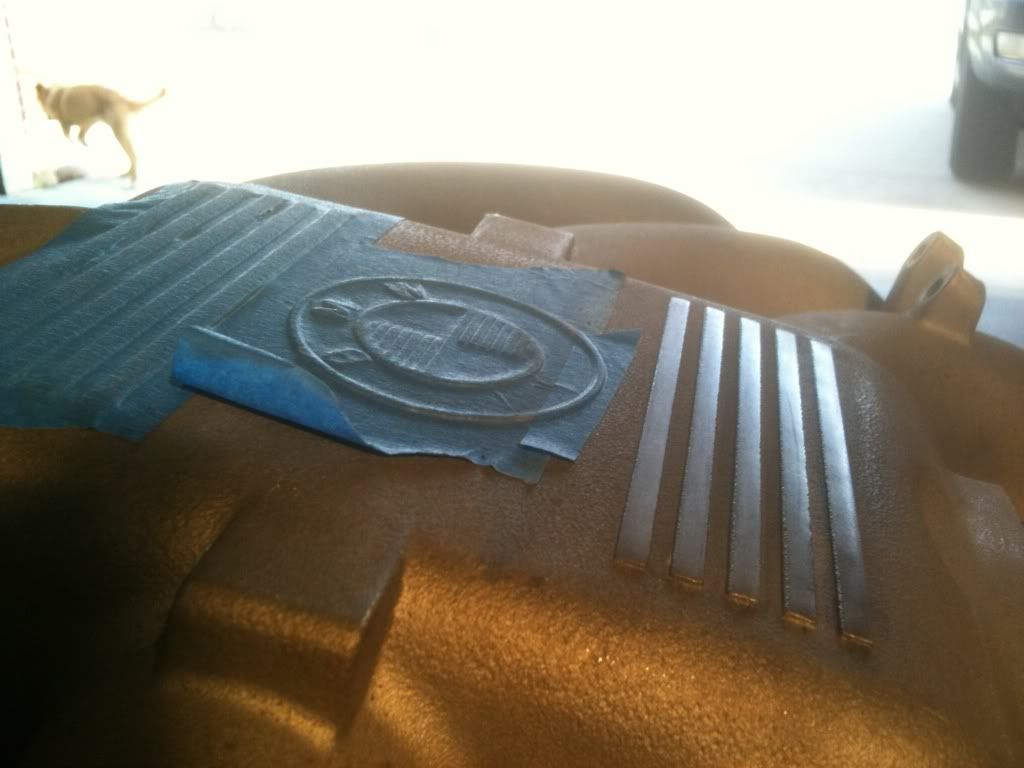
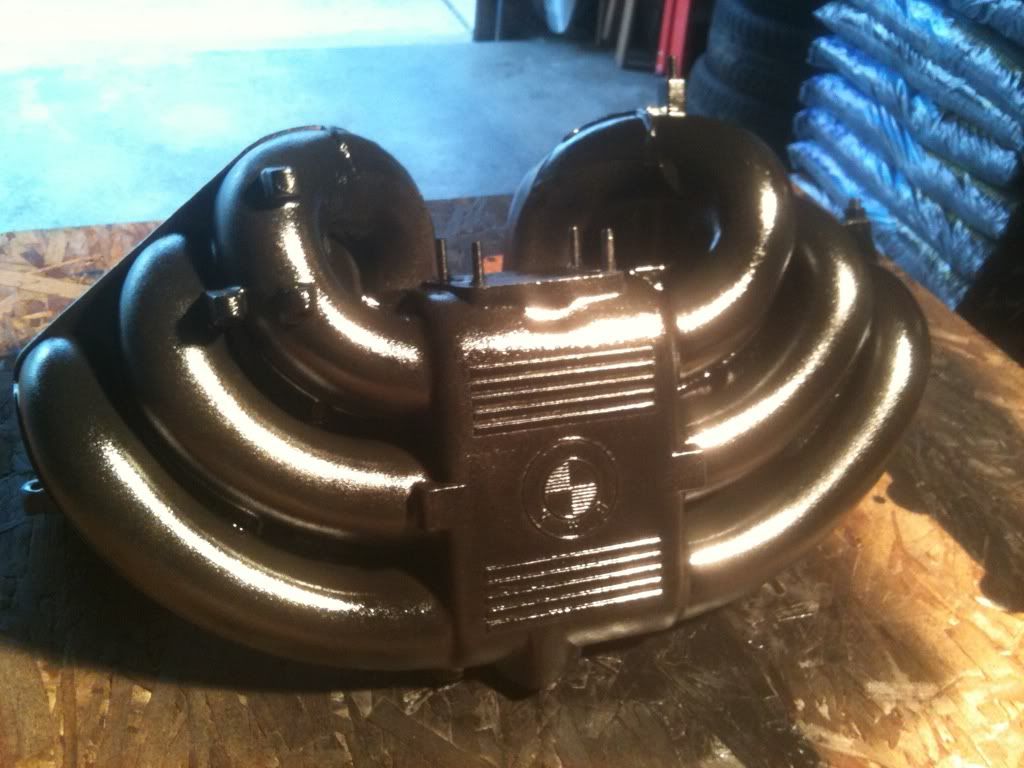
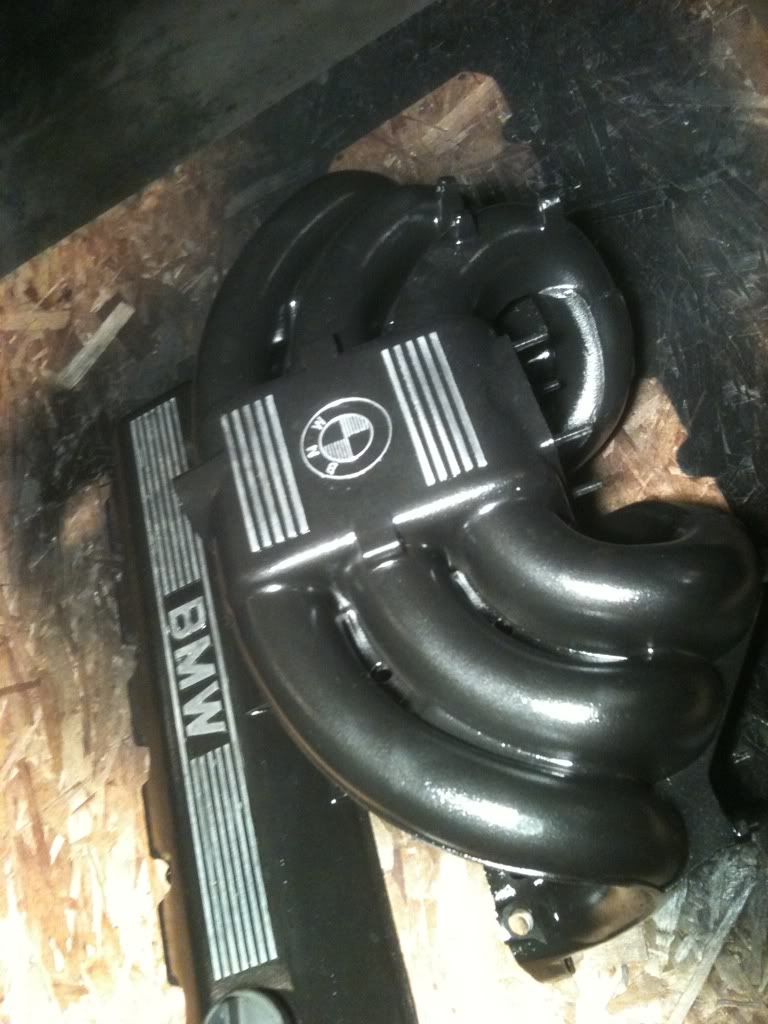
Not much of an update but I managed to do a little. Main thing I concentrated on was cleaning the short block for reassembly.... which sucked.... so much that i didnt even want to take pictures of THAT progress. In other news, I recieved my head, intake manifold, and valvecover back from Head Solutions. Everything turned out superb. When I returned, I began repainting the valve cover and painting the manifold....
-B.Last edited by Brandon12V; 04-05-2011, 06:54 PM.Leave a comment:
-
The Racers Market custom cut a chip for me like 2 years ago when I first started the S50. I was supposed to go to the dyno and send them the data back so they could fine tune it for me.Leave a comment:
-
what engine management are you using?
oh and OCD is really killin me, lol. I keep trying to put myself on a budget but I find one thing after another that I want to fix.Leave a comment:
-
Leave a comment:
-
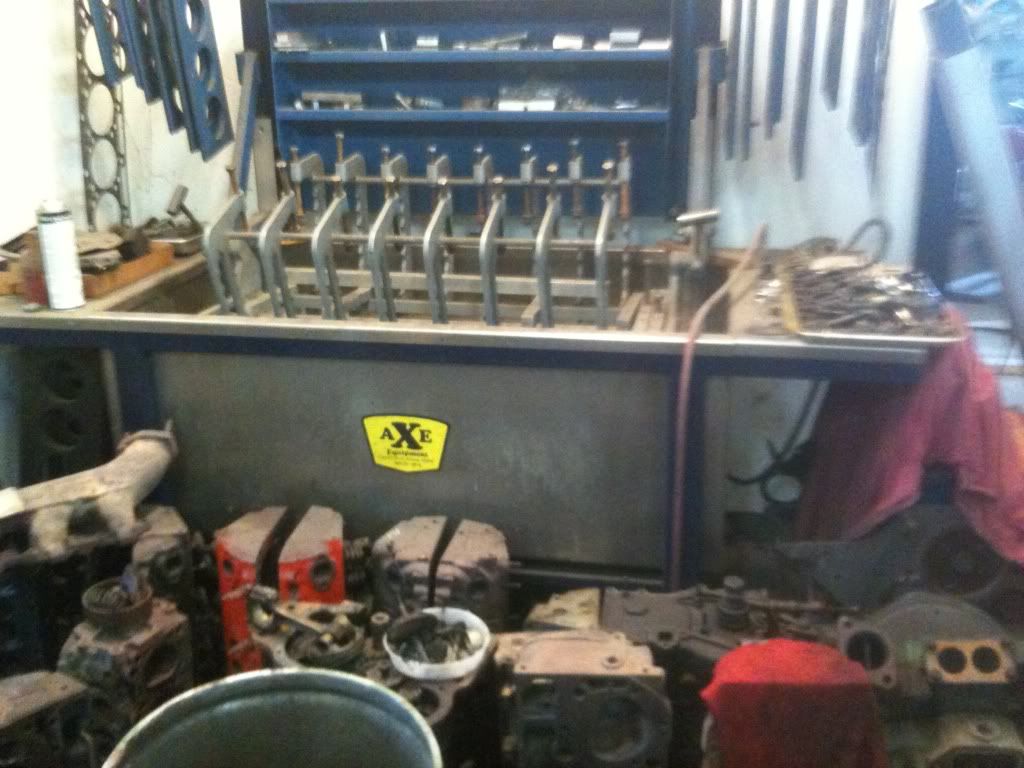
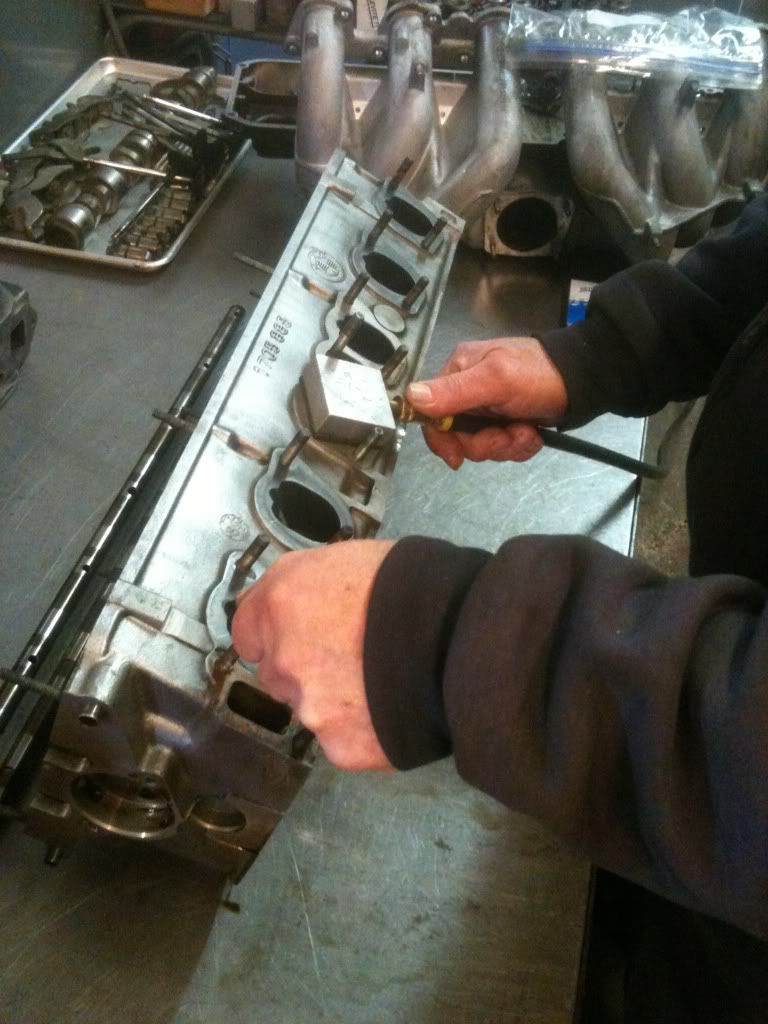
So today went pretty smooth and I accomplished what I wanted aside from ordering exhaust wrap. Got to the machine shop around 11 and saw so much fuggin GOLD! thousands and thousands in machinery equipment. Candy store for sure. The owner was really cool and shot the shit for bout a 1/2 hr or so. He was working on an m54 head when I got there. Def knows his stuff(30+ years experience).
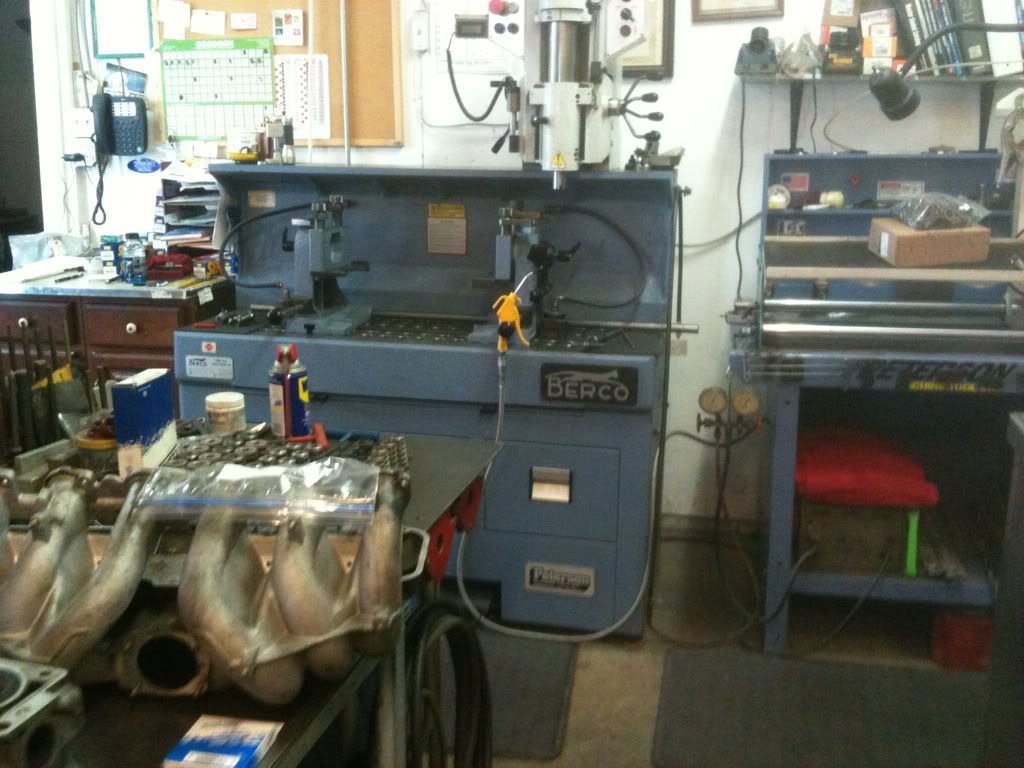
Checking the vaccuum for shits n giggles before having it machined. (and they all came out great!)
We agreed upon $175 for hot tank/reface, 3angle grind on the valves, and sonic cleaning my manifold and valve cover. ;)
After I left there, I dropped by Reggie's Motorworks to trade used parts for store credit. Ended up getting a radiator fan & new oil level sensor+cash out of the deal. (Brandon, this is actually your old fan, I believe!)
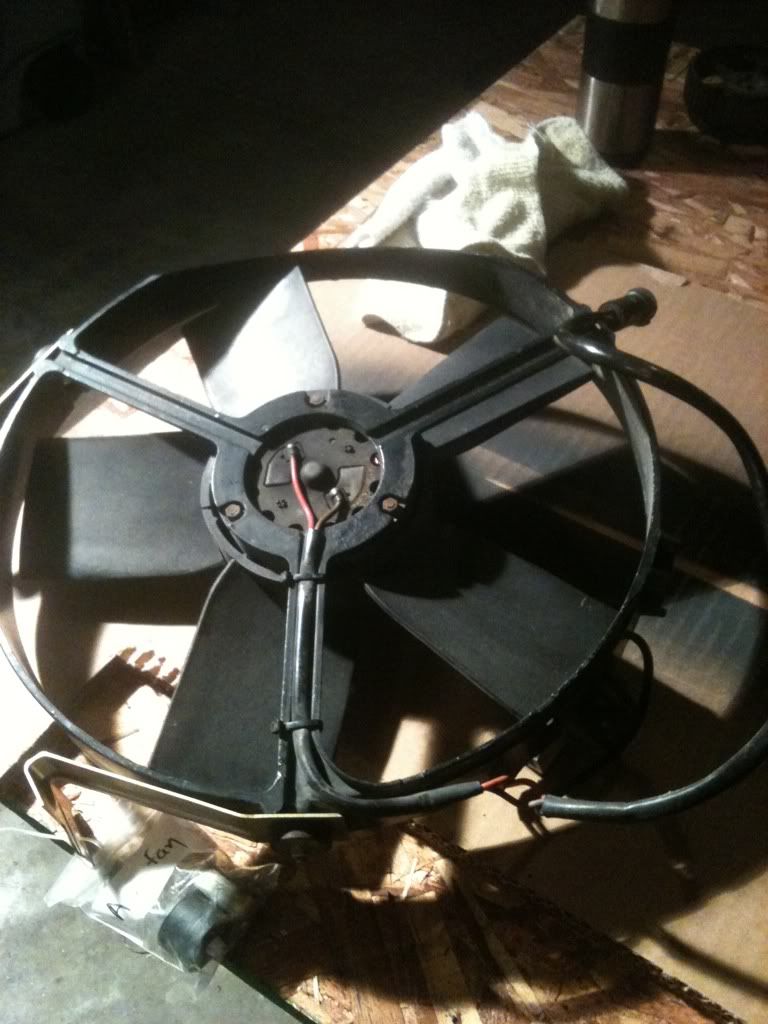
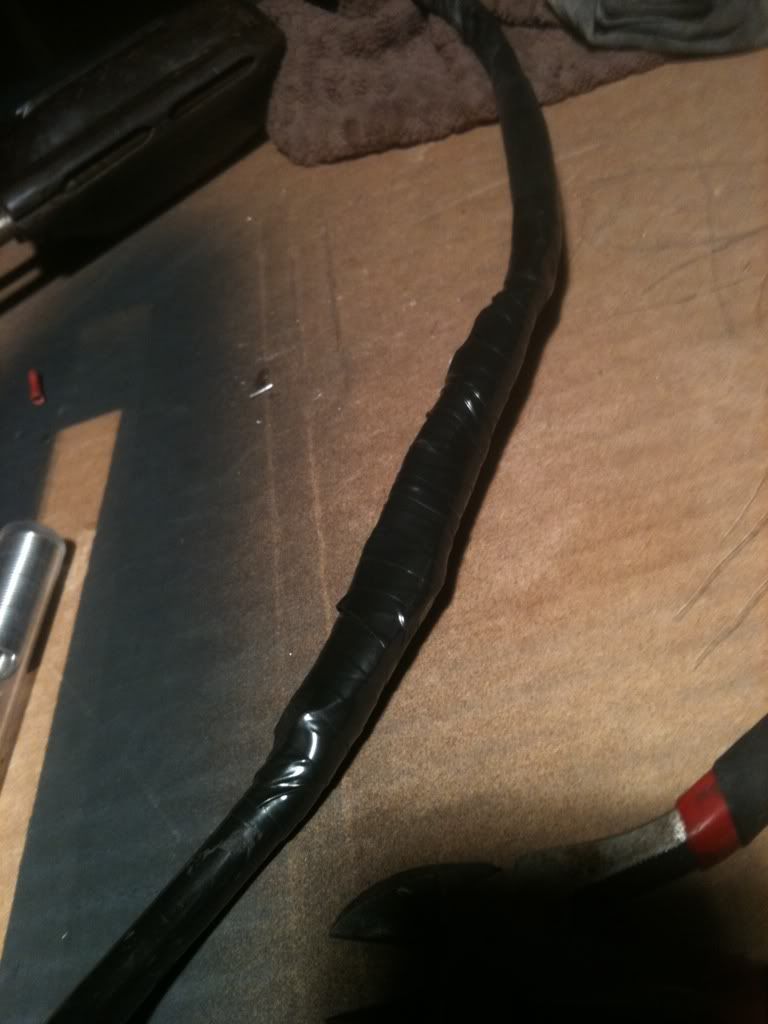
Since it was an early model fan, I had to put a late model plug on it...

Thanks Grandpa. R.I.P.
Almost done...

Good to go.
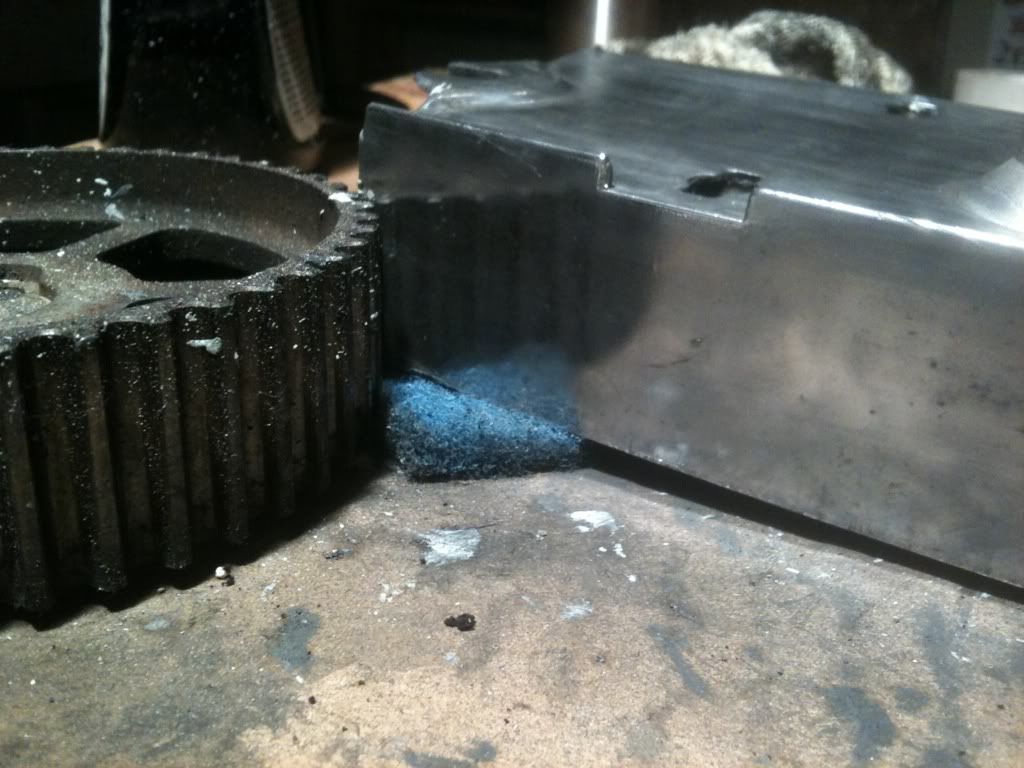
Next, it was time for a little cleanup.
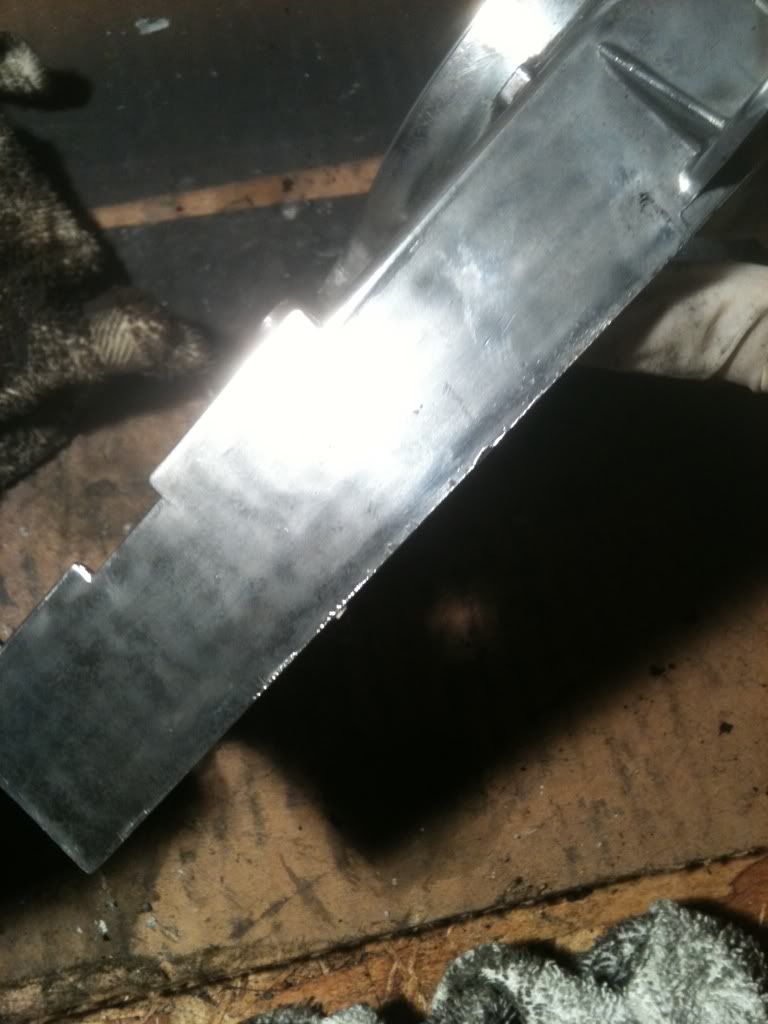
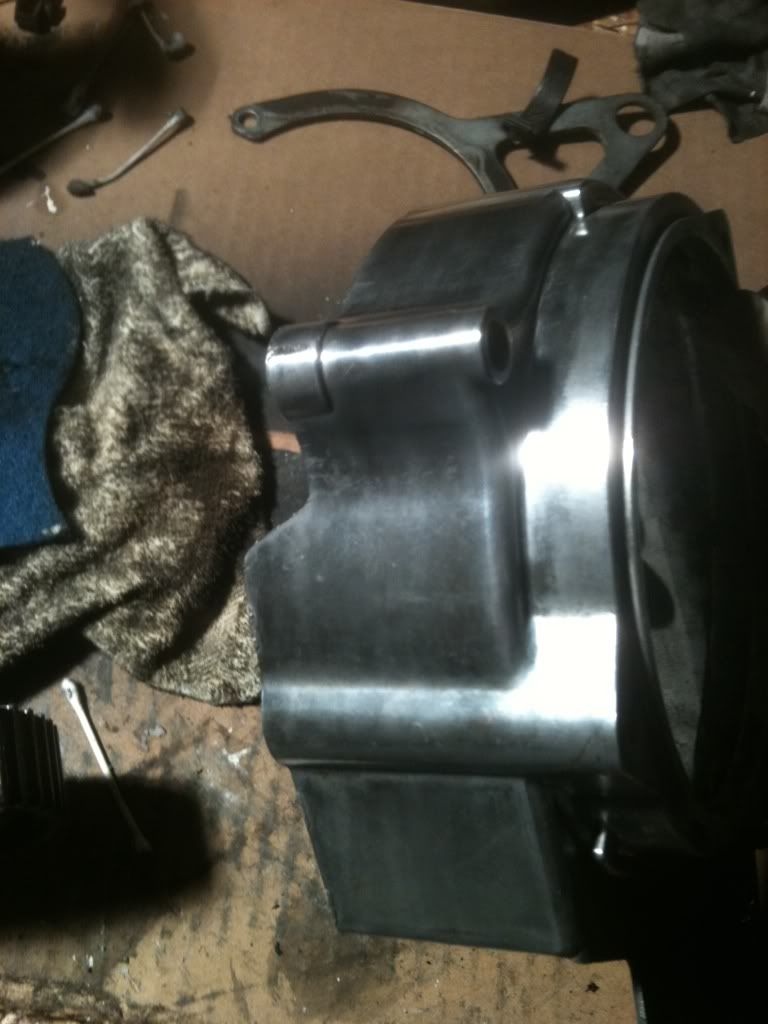
Polish? Don't mind if I do :)
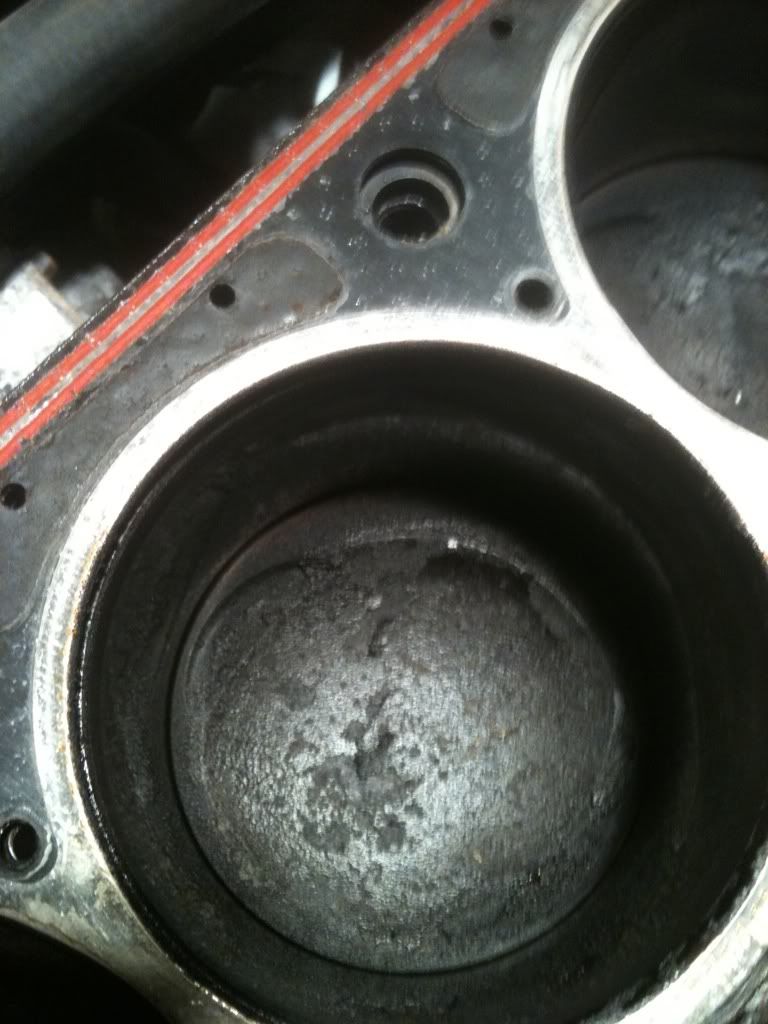
After that I started on the carbon buildup on the piston heads.... And quite after 45 fucking minutes on piston 1!!!!!!!!!!!!!!!!!!!!!! Somebody please tell me there's a better(yet safe) way to clean these as oppose to how I'm doing it.... I'm using an SOS pad and new motor oil.
This is how far I got after 45minutes of constant scrubbing.
That's it for tonight. Tired from running around all day.
-B.Leave a comment:
-
Yep. But, I got em for $.27 each at Ace and theyre Grade 10 hardened. If they end up stripping, I won't sweat it since they were so cheap. BTW, stopped by reggie's today and got a sneak peek at that BEAST. You are one fucking lucky guy! Can I have a ride on your birthday? haLeave a comment:
-
FYI - The dealership should have exhaust manifold nuts (the copper ones with locking feature).Leave a comment:
-
I like all of this. I can swap a motor, but I can't pull one apart and expect to put it back together the right way.
Again, I like this.Leave a comment:
-
Well, tonight was productive since I need to get the head to the machine shop in the morning.
I started off where I last left with the timing covers. Once they were off, I checked the tension on my timing belt since I was curious. Lets just say.... it was certainly time for some maintenance....


After pulling the timing belt off, I worked on the exhaust manifold. Bit of advice for you first timers, take the manifolds off with the head. You will find that removing the manifolds with the head on a bench much easier since the lower manifold bolts are easily accessable.


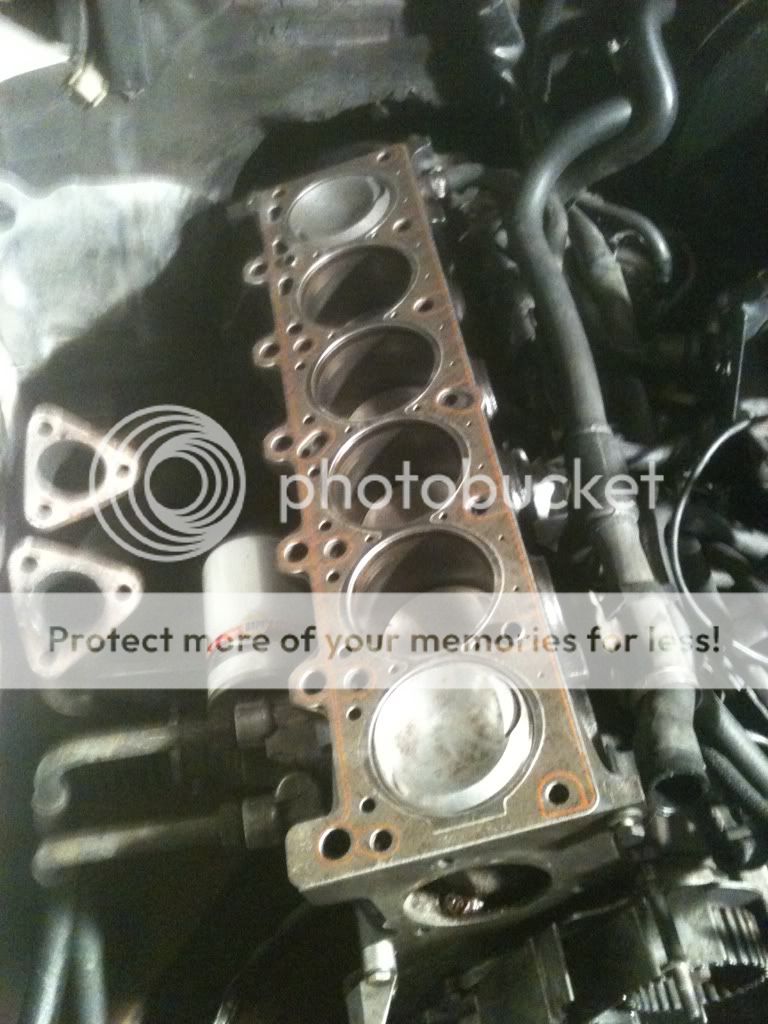
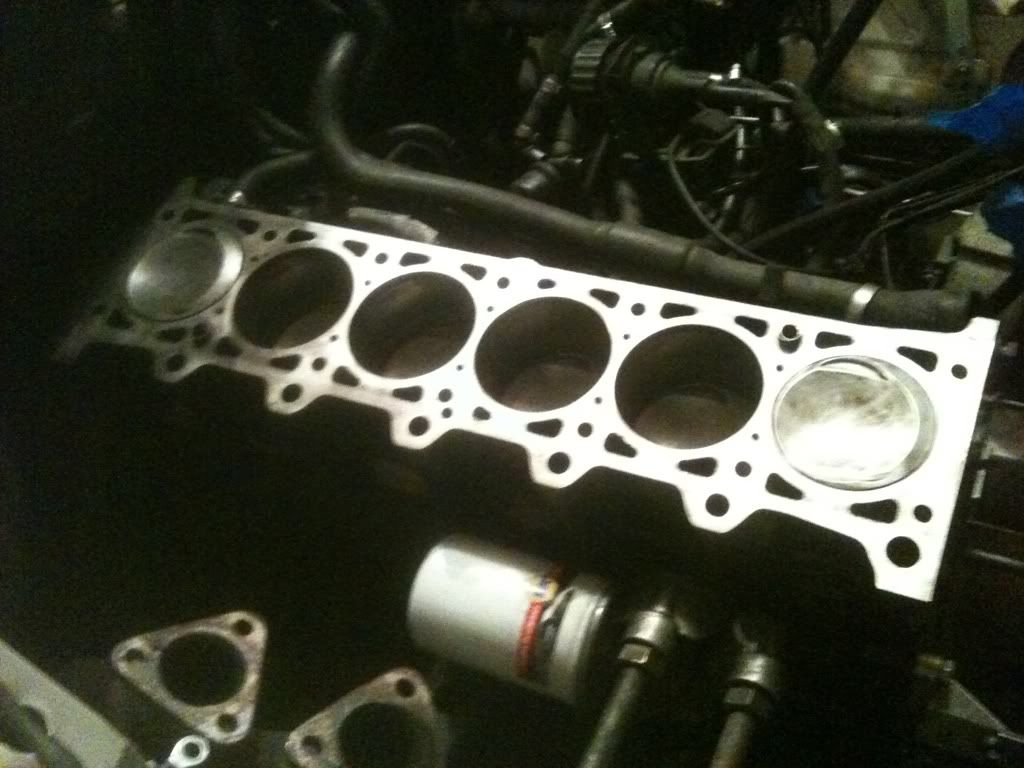
Now that the headbolts were removed in order, its ready to be pulled...

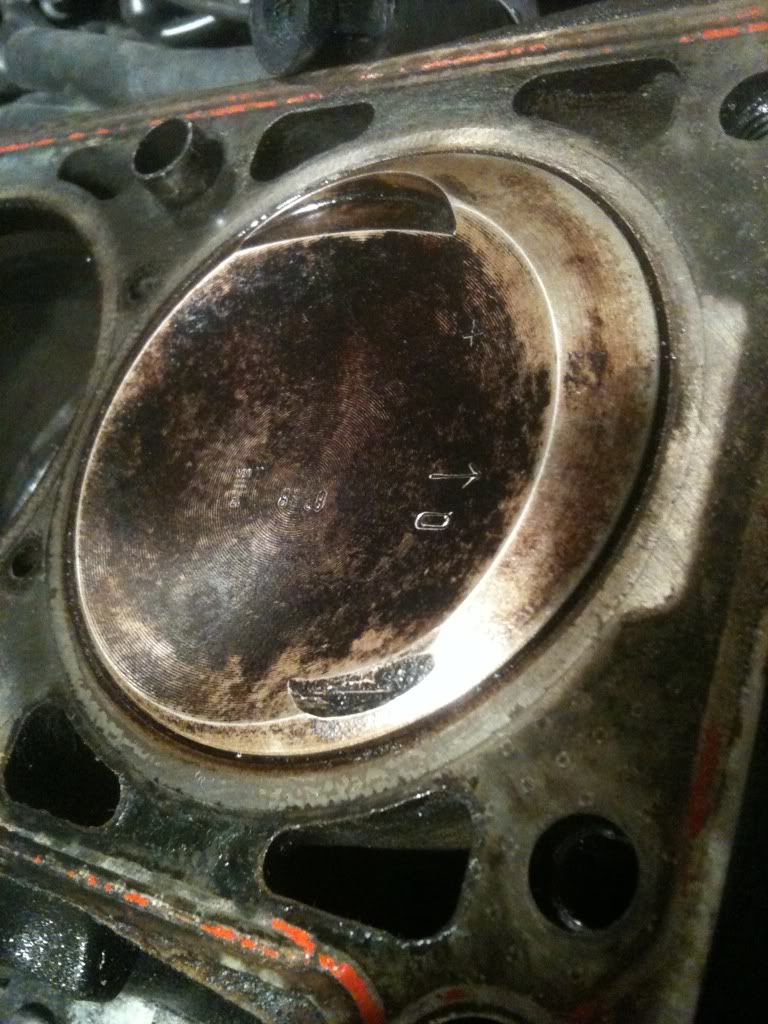
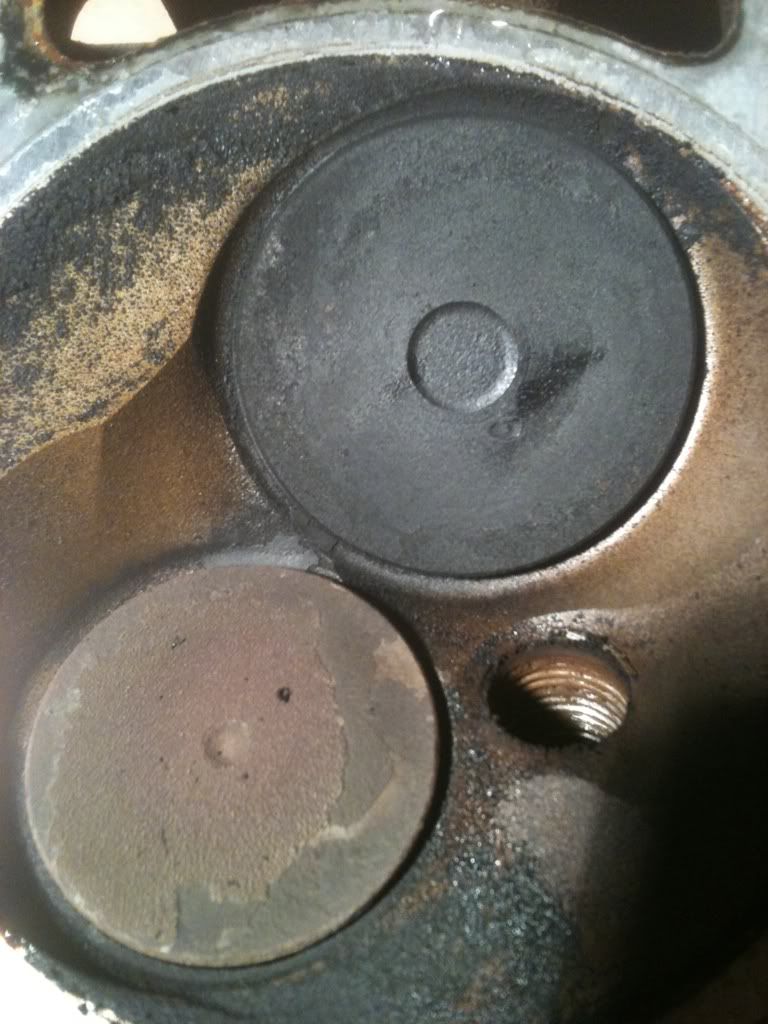
Now, the for the bottom end. I am pleased to see the cylinder walls are still in excellent shape. The pistons, however, had quite a bit of carbon buildup. I will be working on cleaning these up tomorrow afternoon.

Cylinder 1&2

Cylinder 3

Cylinder 4

Cylinder 5
Cylinder 6

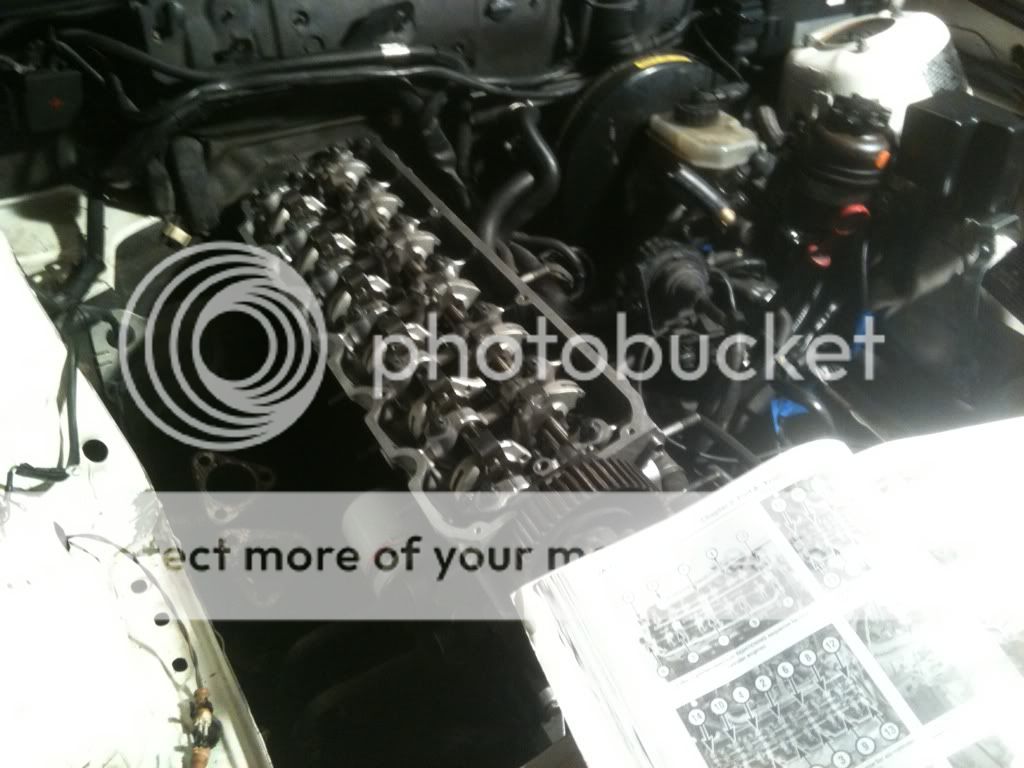
Now let's have a look at those- fuck.... hold on, forgot to move the oil pipe.
Now let's have a look at those valves.
Cylinder 1

Cylinder 2

Cylinder 3

Cylinder 4

Cylinder 5

Cylinder 6
Turns out, I also had an exhaust leak... Might explain all the chipped paint on the passenger frame rail...

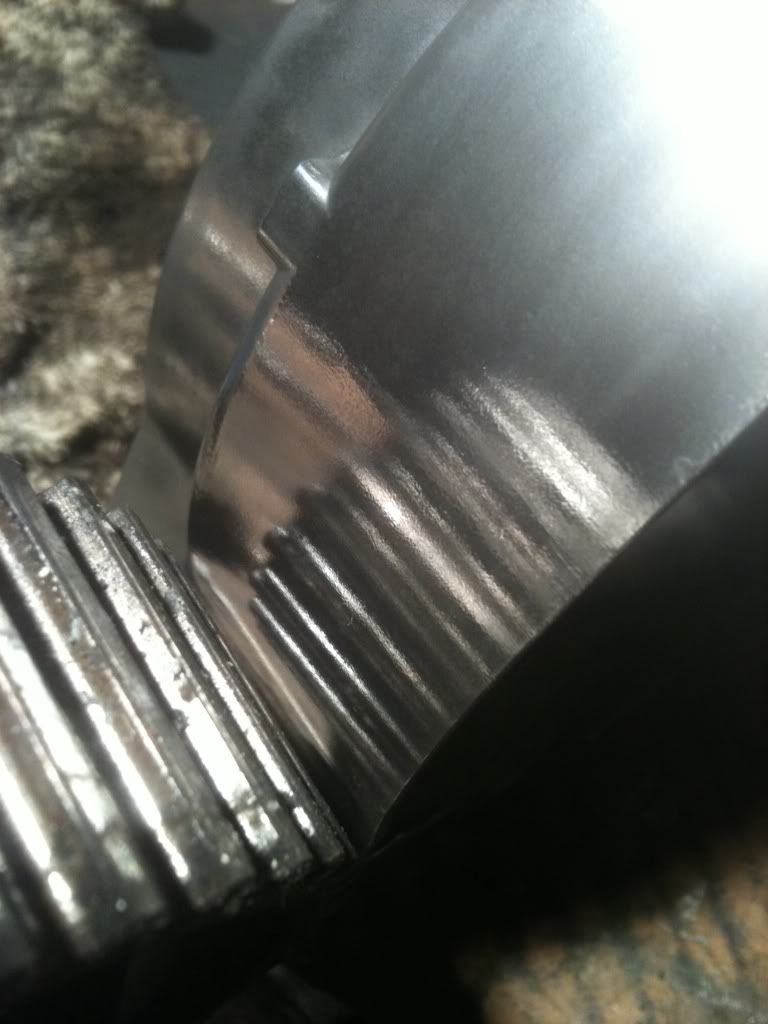
Now, let's remove that cam gear and oil shaft plugs.

Used cardboard as a spacer. Don't lay the valves on flat surface gentlemen.

Rocker arms and Rocker shafts removed.

Cam Removed.

Cam seal removed.

On the agenda for tomorrow...
Drop off head & manifold at machine shop.
Stop by dealership & pick up new cam seal(unless its already in my gasket kit).
Stop by ace hardware & pick up new exhaust manifold nuts for headers.
Order exhaust wrap.
Clean Pistons & outside of short block.
That's all for tonight. Goodnight R3v. -B
 Last edited by Brandon12V; 03-25-2011, 08:15 PM.
Leave a comment:

Leave a comment: