
Yay indeed. E30 with working AC = win!
-
Thanks for the info on the fuel issue. That is my cars issue as well, no power at the pump.
Comment
-
For sure man! Almost done collecting my 24V AC parts. Im a little bitch about the heatOriginally posted by glucklich21 View Post Your signature picture has been removed since it contained the Photobucket "upgrade your account" image.
Comment
-
I am too. Me no likey 100 degrees and 70% humidity sitting at a stop light.Comment
-
Some great info in this thread, especially the e34 PS pump bracket. Thanks, I didn't know I needed that for my e36 pump. I'm also looking forward to the A/C writeup!
'91 318is - OBD-II S52 swapped - E30 M3 5-lug - 5x120 BBS RC090 (E39 Style 5) - TCK D/A coilovers 550/700 [SOLD]
'87 535i - Vacuum brake conversion [SOLD]'93 525iT - 5-speed swap - 320k and counting'09 328xi - 6-speed
Comment
-
Awesome work, subscribed !Comment
-
-
2 technically, but I would like 4.Comment
-
Alright mini update time
I've been screwing around with random things this whole time trying to tackle little projects here and there. Problem is there's too many little projects for me to do, so it's taking longer than expected. Then there's the fact of my other E30, I'm trying to get things sorted for it so I can begin on it as soon as this one is "done". I'm using that term loosely because it won't be done in terms of suspension and most likely exterior accessories, but it will be drivable!
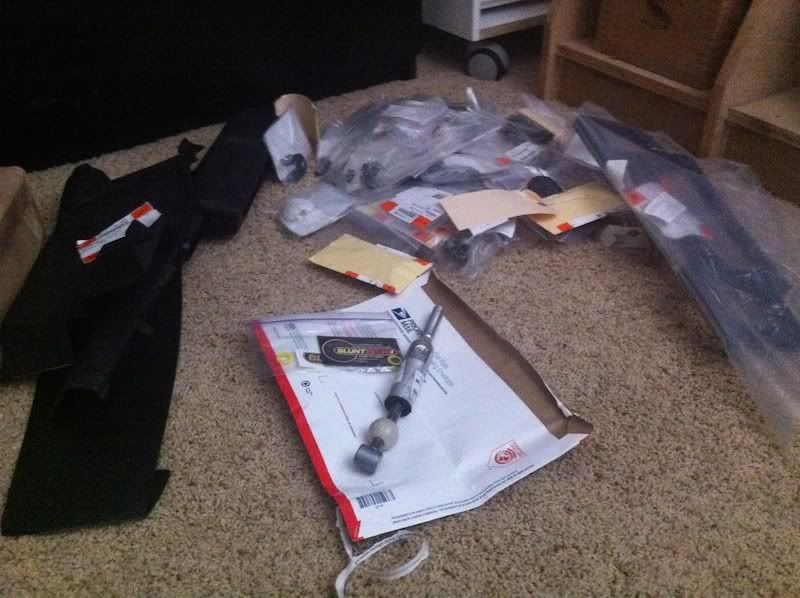
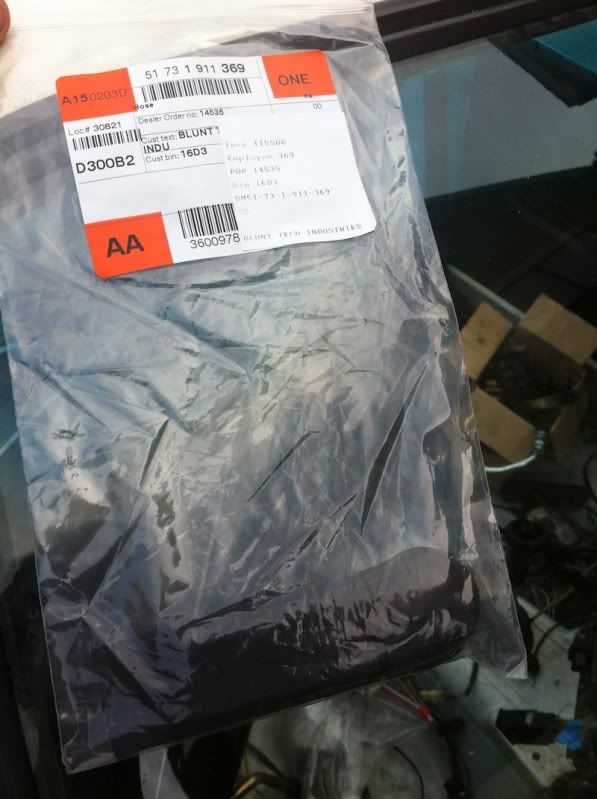
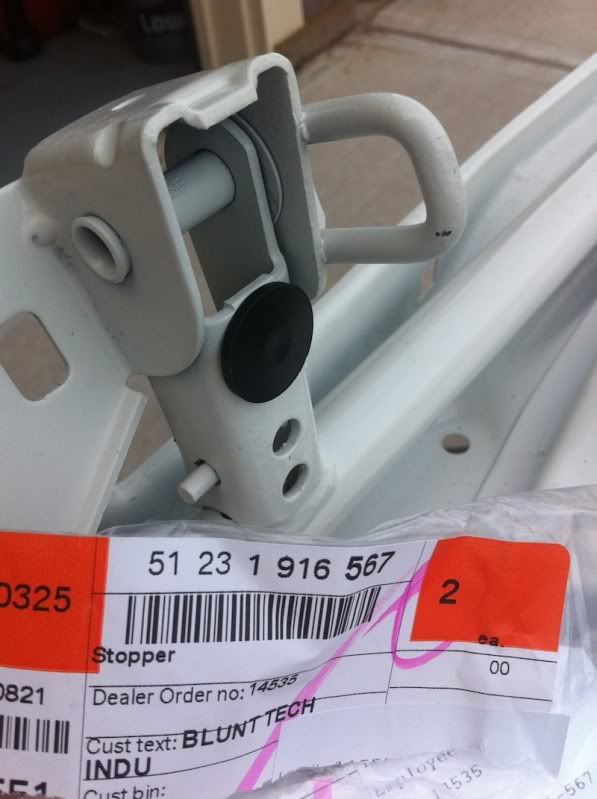
My order from Blunt came in. It's very large and odd size is because of the new fuel lines. ;)

A lot of stuff
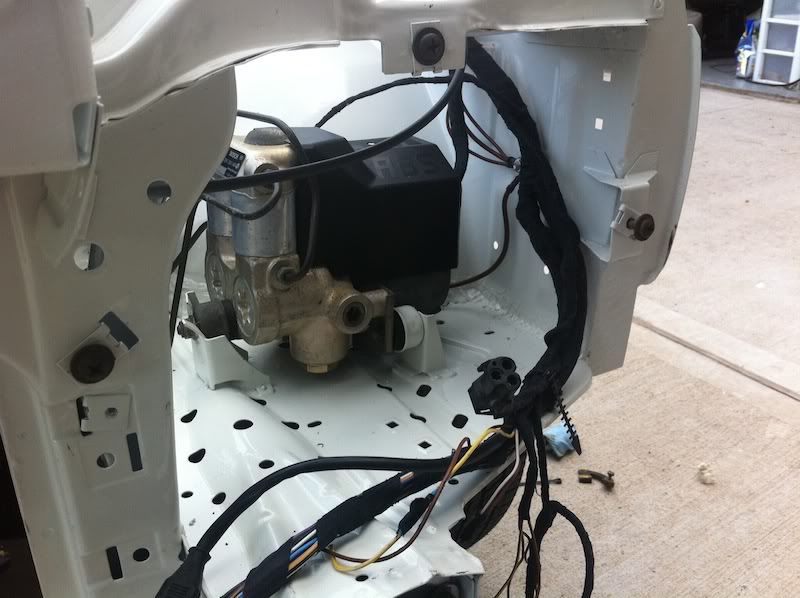
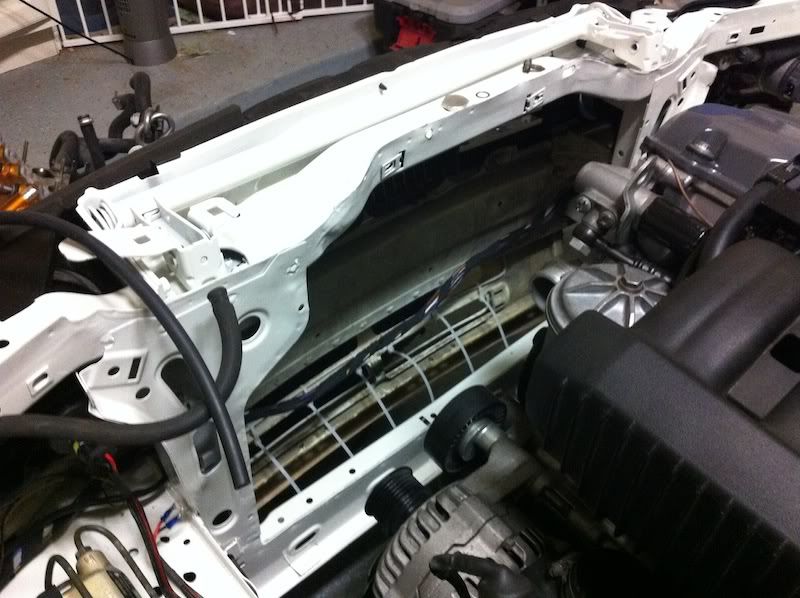
Rewrapped the engine side of the body harness
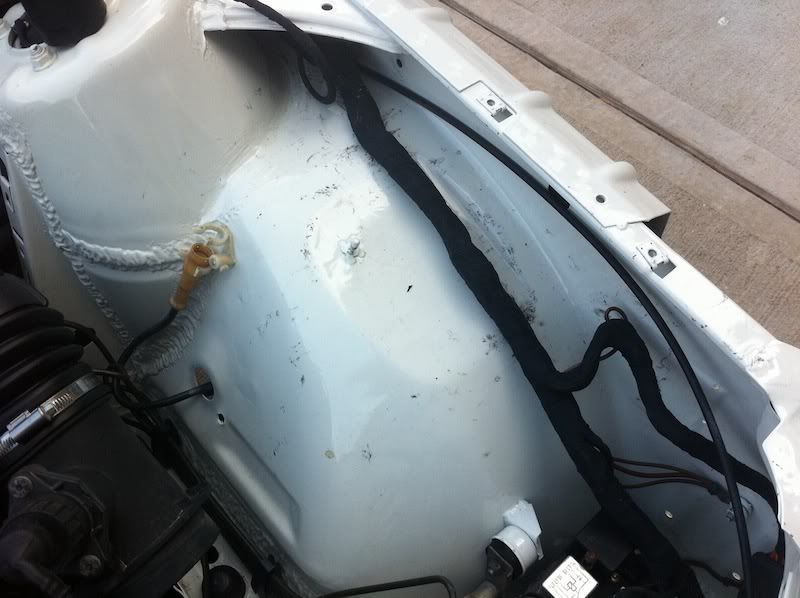
Cleaned up the residue
New hardware
New retainer ties for the wires
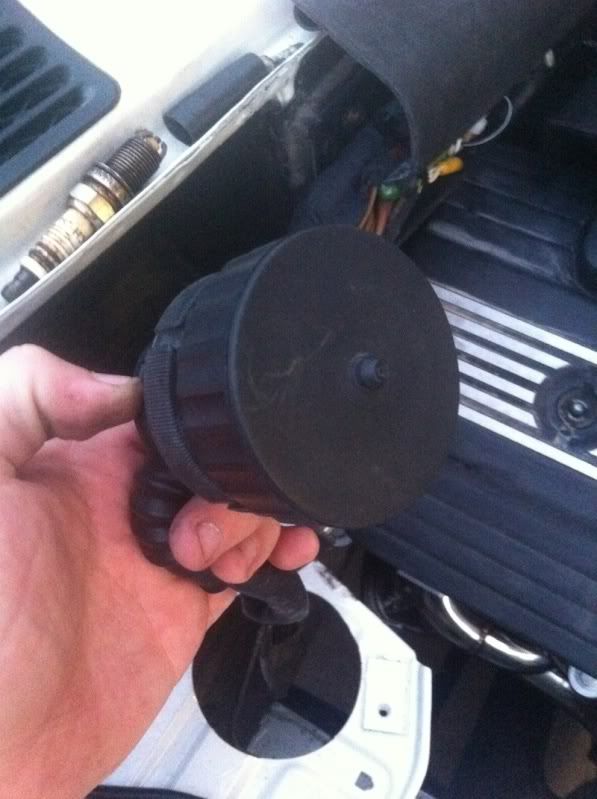
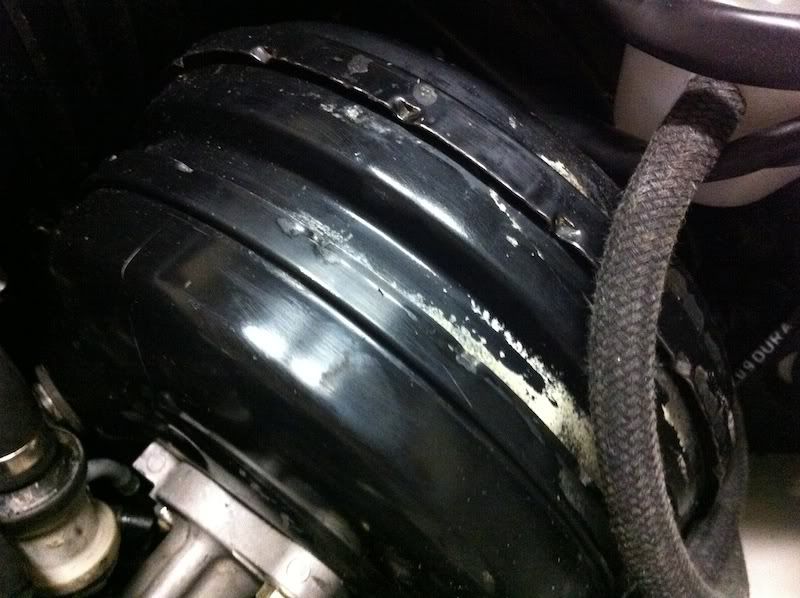
New drain for the fresh air intake for the blower motor. Obsolete bitch to get in place. I recommend replacing this when the engine is out.
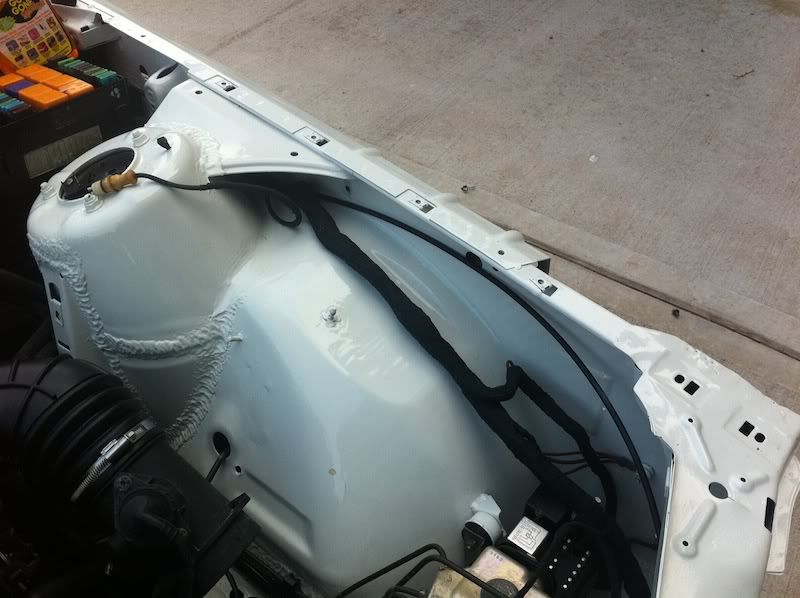
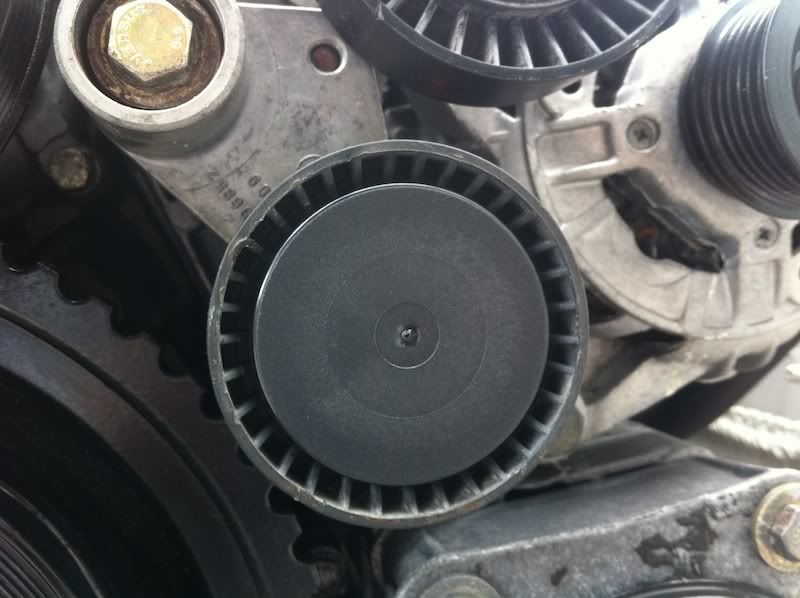
New pulley covers
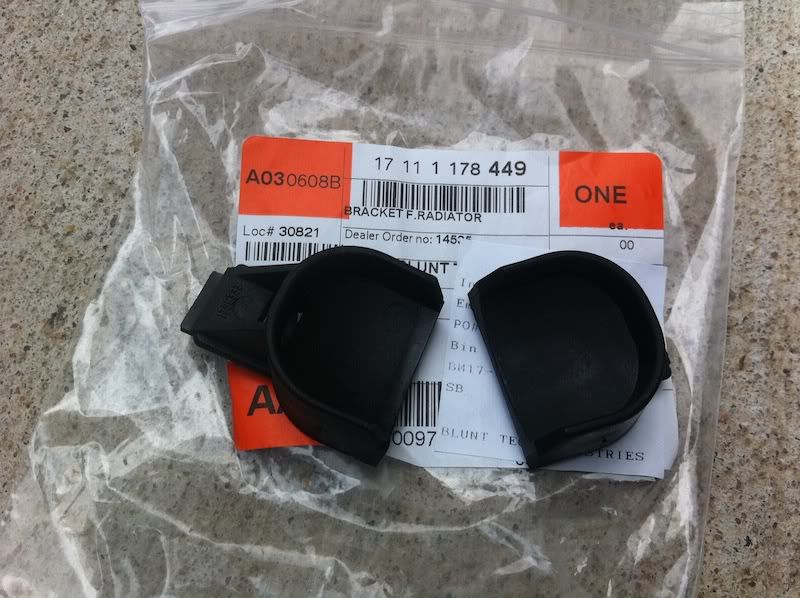
New radiator mounts
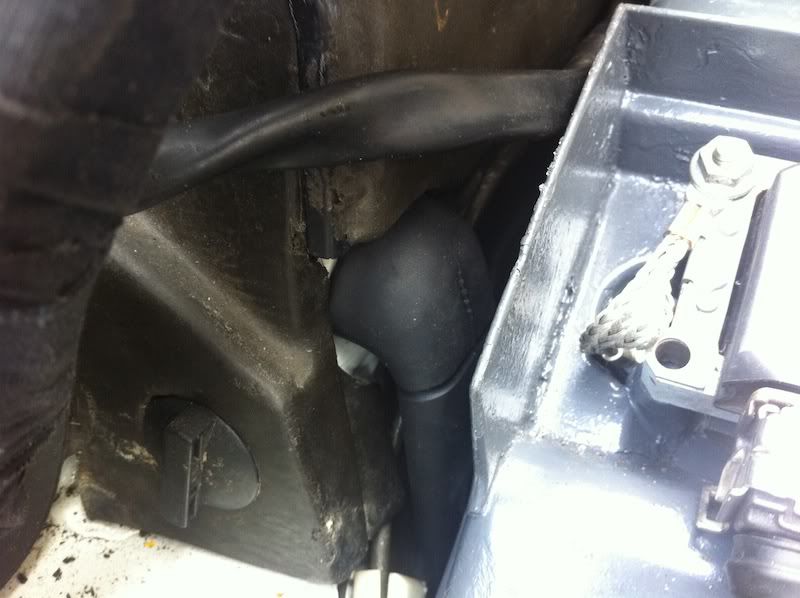
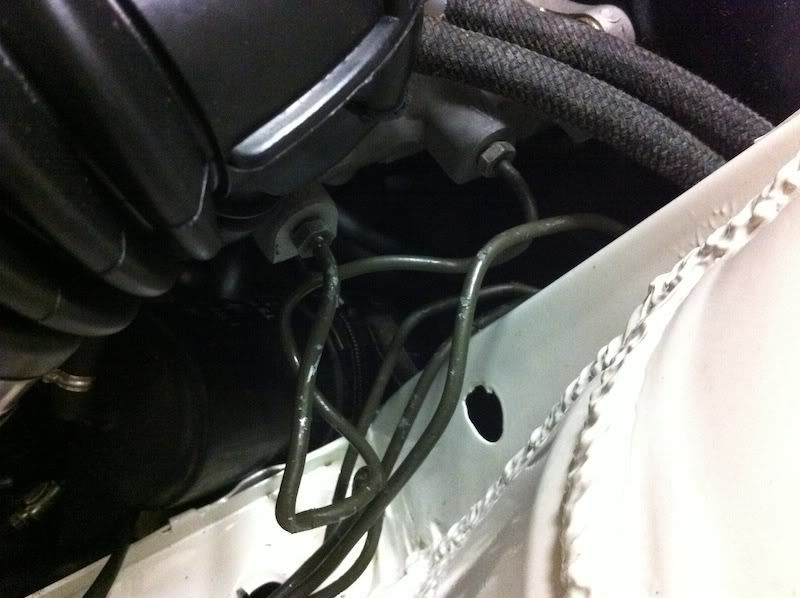
New grommets for the brake lines exiting the engine bay. These are suppose to be under the undercoating. I will be applying fresh undercoating to the fenderwells once I have the front suspension out in the future.

New bumps for the hood hinge
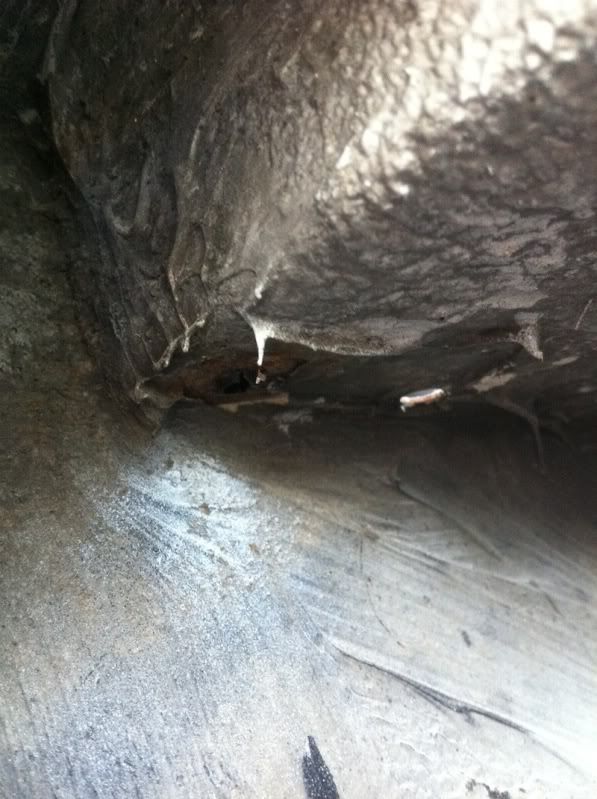
Spotted this while messing with the brake line grommets. It's a bit of rust on one of the battery tray drain holes. So I wire wheeled, rust dissolver, rustolium'd, and undercoated.
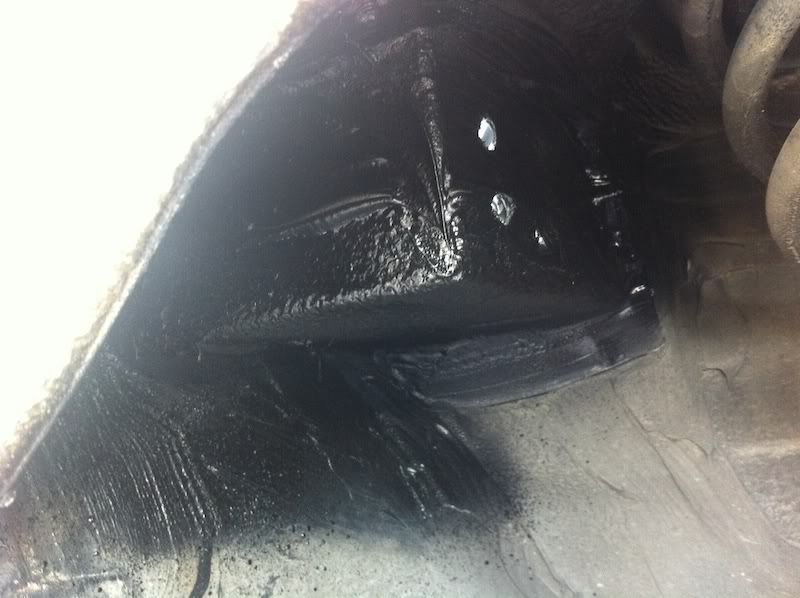
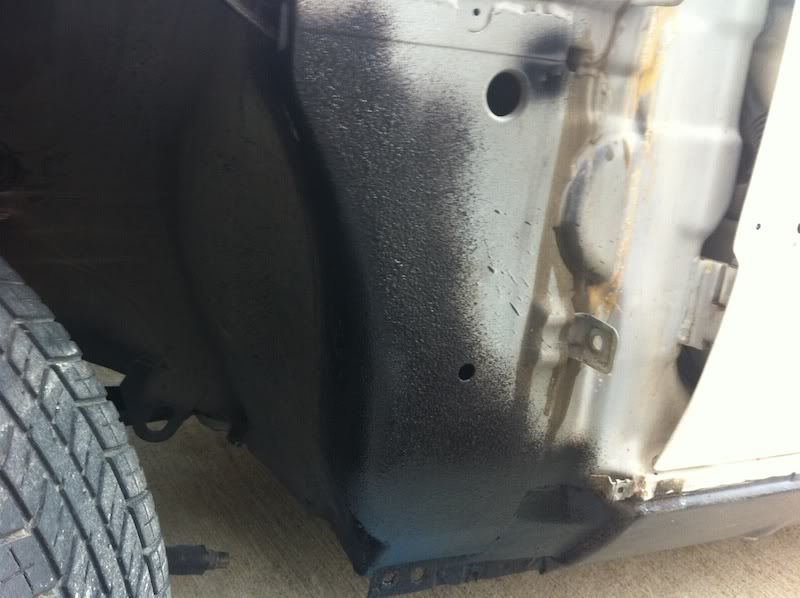
Applied a bit of undercoating to the front unibody
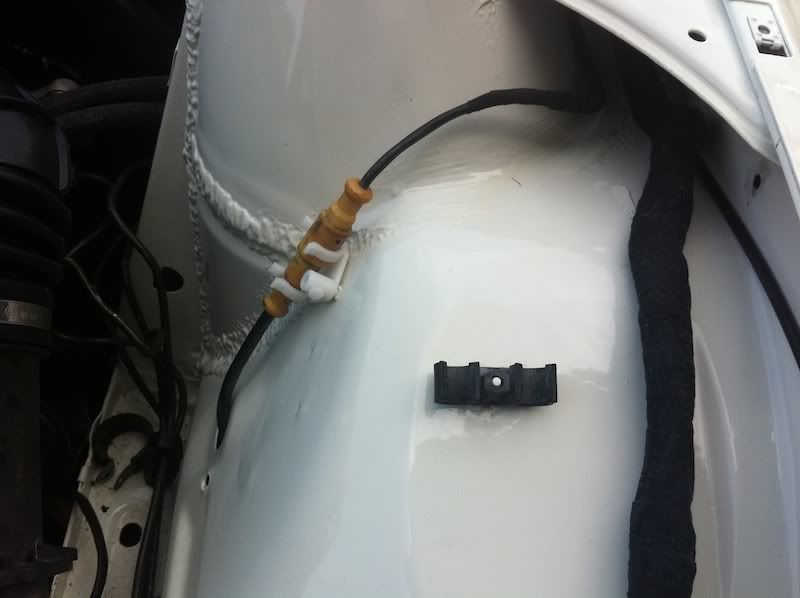
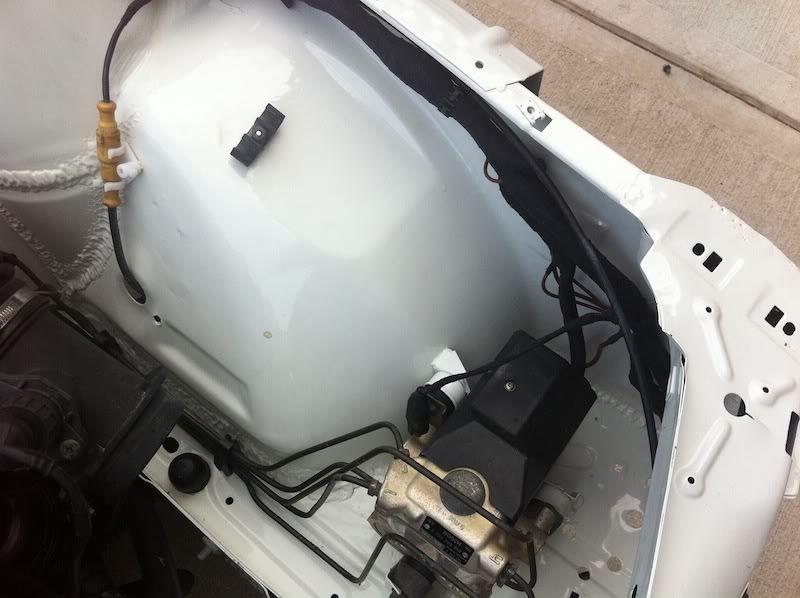
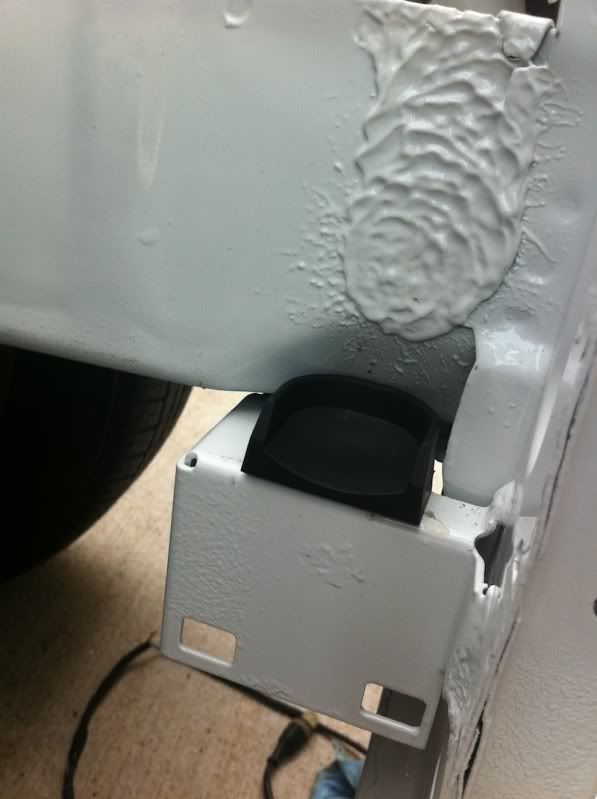
Found a way to hide my diagnostic connector.
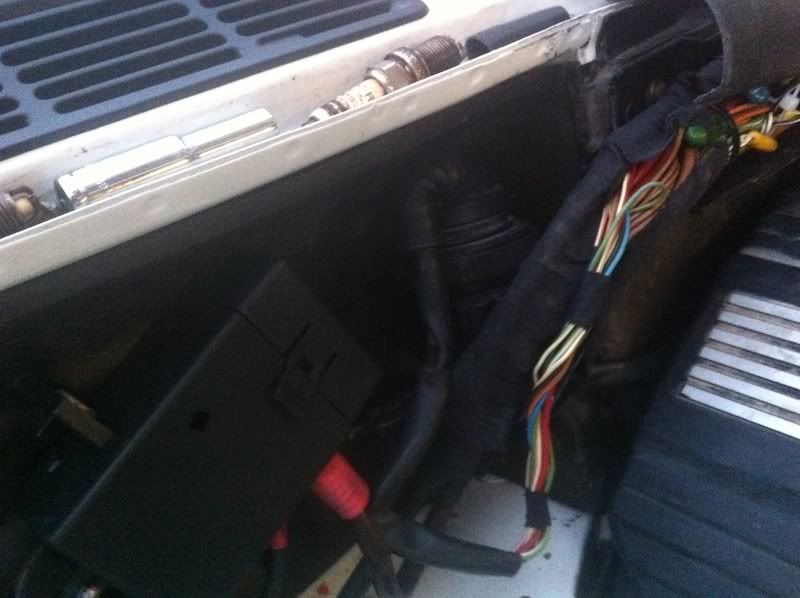
Perfect!
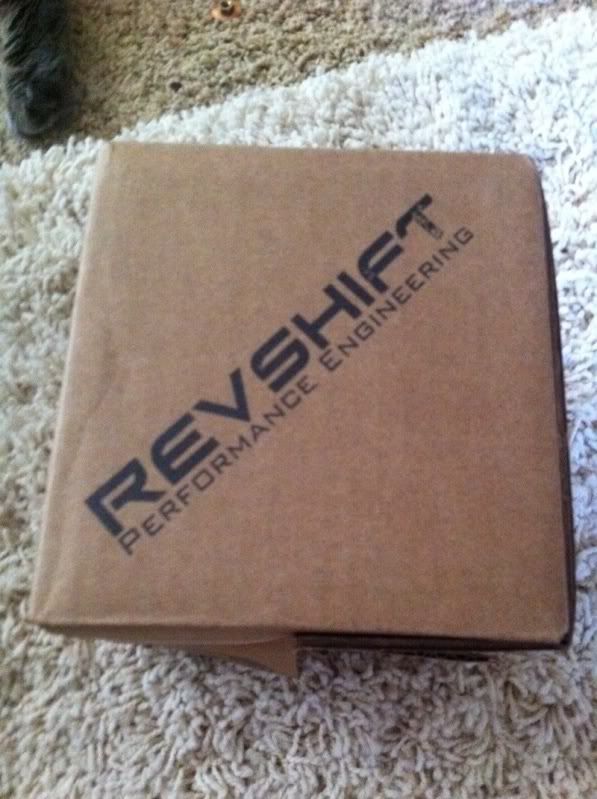
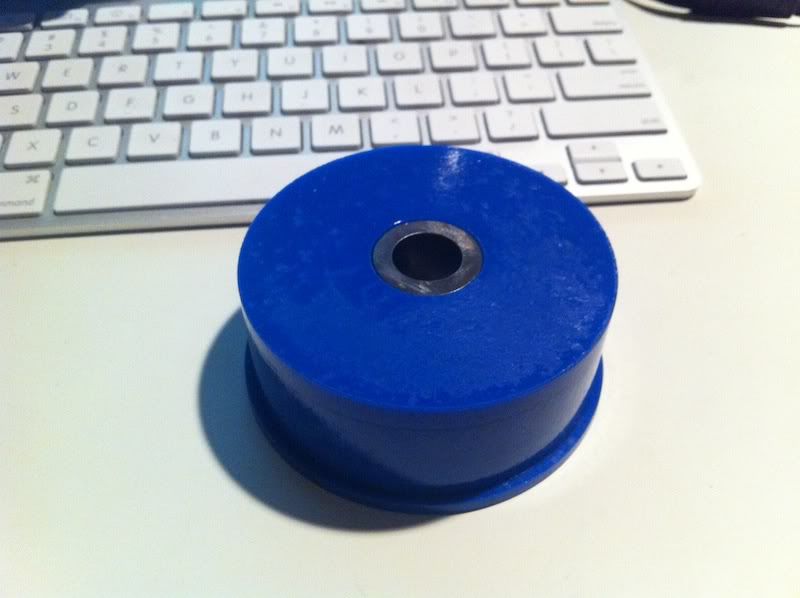
Revshift poly diff mount showed up. Now if only the rebuilding parts for the diff would...
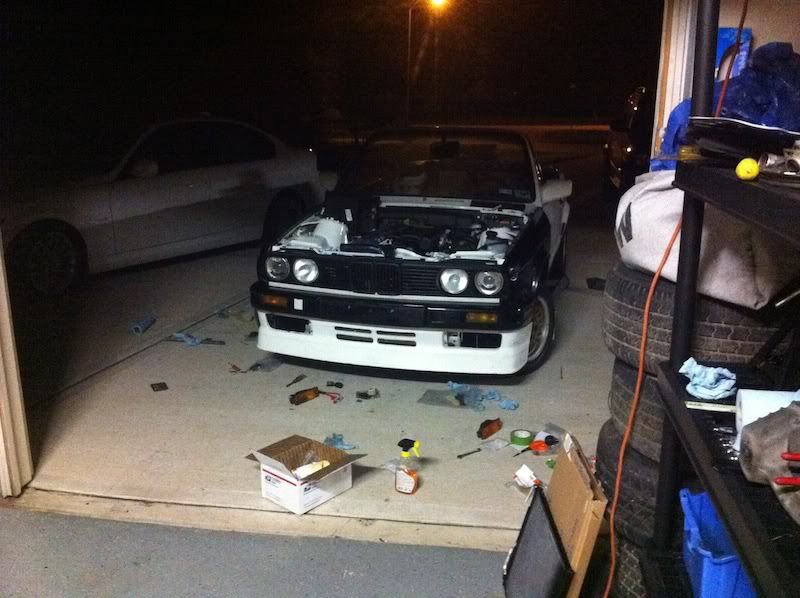
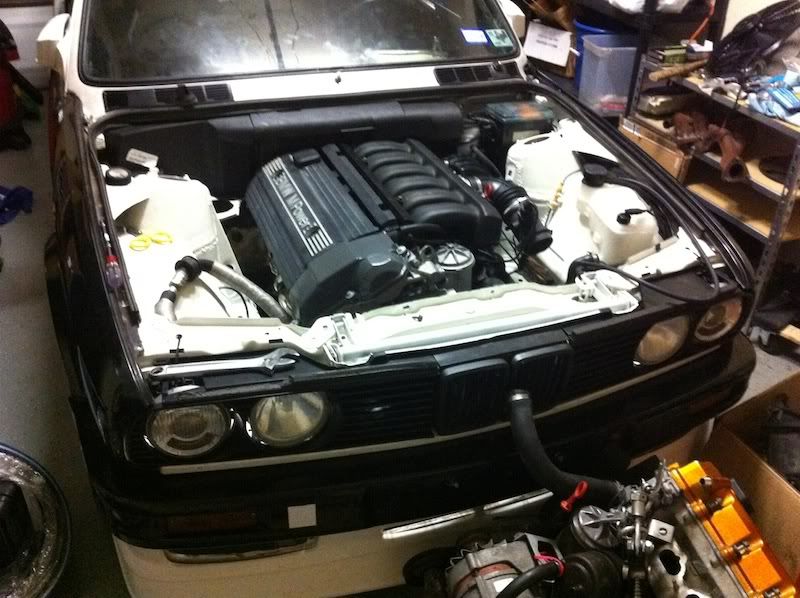
Threw the front end on to clear up some space in the garage and test some fitment of things. On a side note, I really dig the MT2 bumper with the Alpina valence. Nothing to show here because it's all held on by zip ties at the moment. ;)
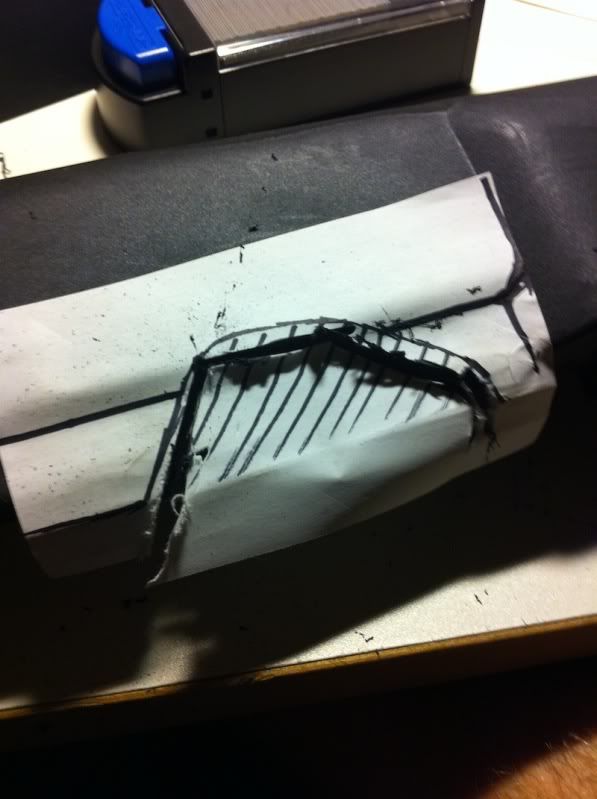
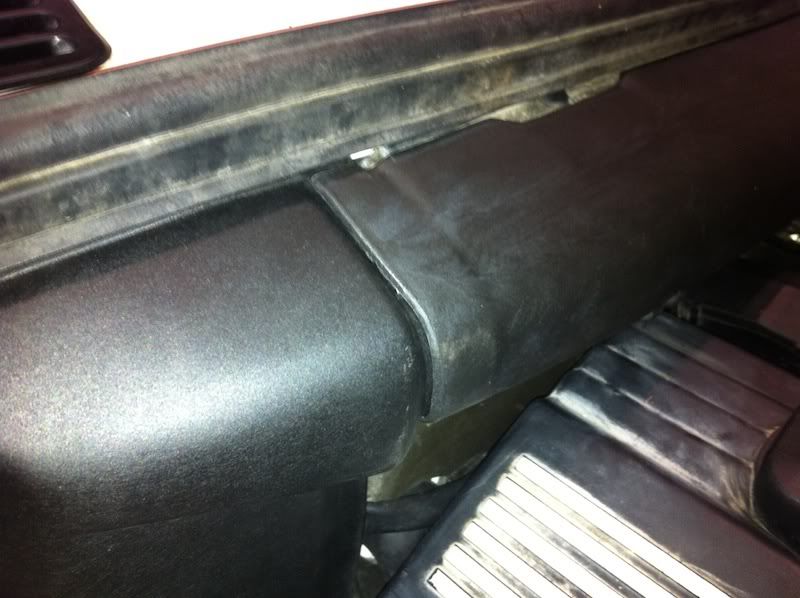
I tried to install my new harness covers, but discovered that you have to trim them to clear the intake. Never read of anyone mentioning that. I'm guessing it's because of my AKG swap mounts and the 318i blower motor cover combo. Or people just don't mention somethings about some aspects of the swap. I've learned that quite a few times so far.
Made a templete out of cardboard, then traced it onto the old cover to use as a test piece.
Needed a little bit more modding
Once I had the template down, I made another one out of a sticker and applied it to the new cover.

Started Dremeling
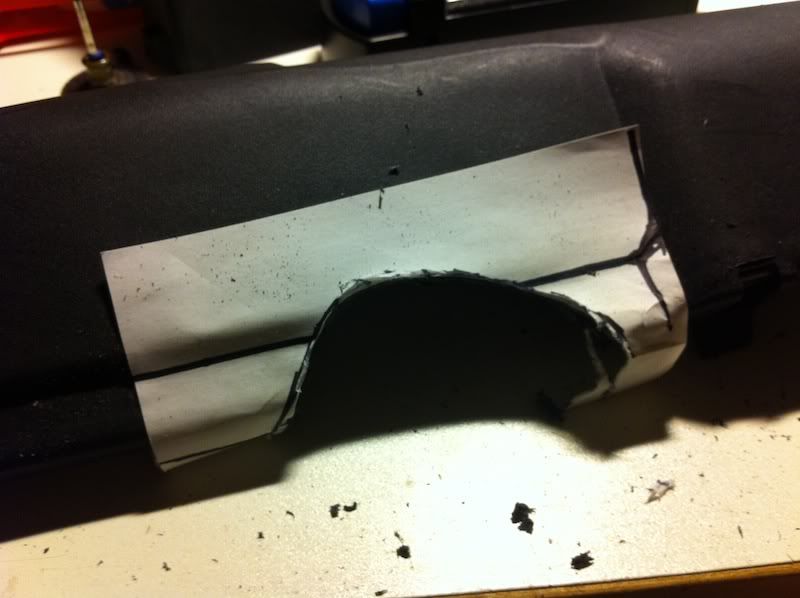
Finished product
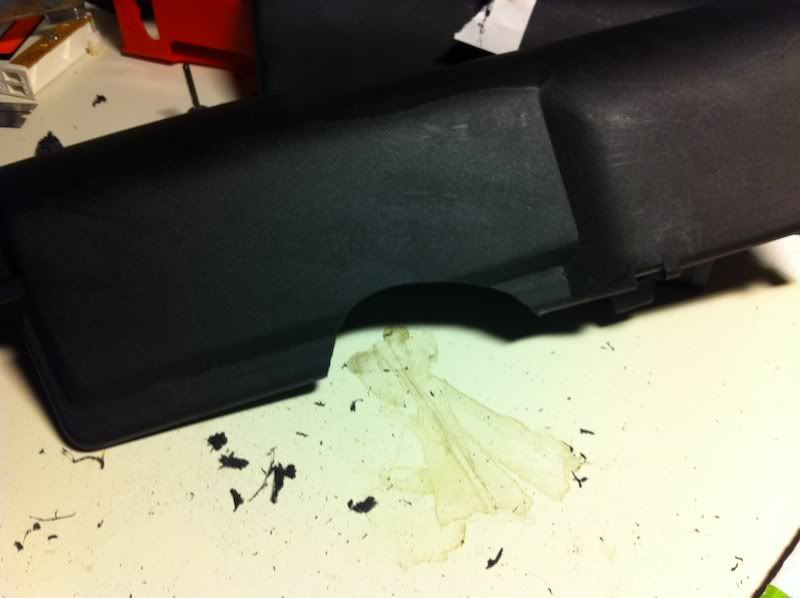
My only compaint is I had to cut it enough to clear the motor when it moves about under WOT, etc. As a result depending on the lighting and the angle you look at the engine you can see a little bit of the relay connector. So I may make a seal or something to go around the opening.
I also noticed my new pieces are two different shades of black... *le sigh*
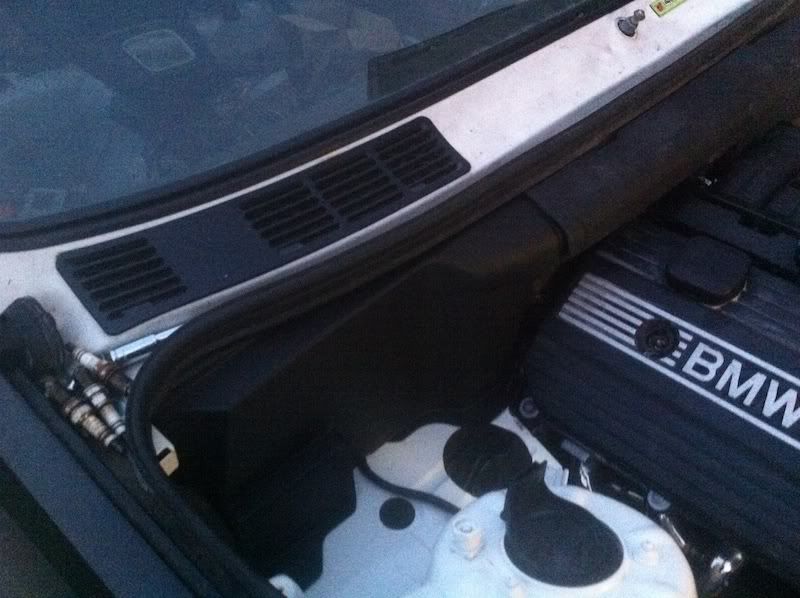
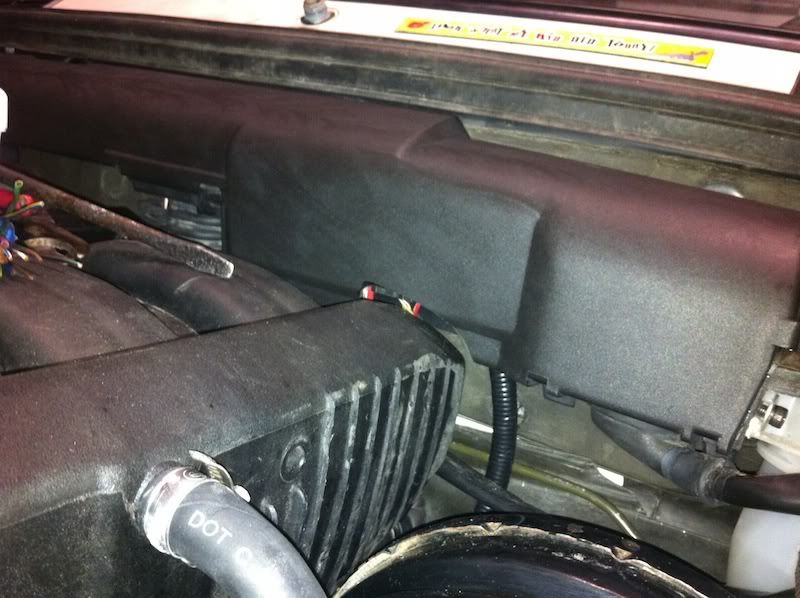
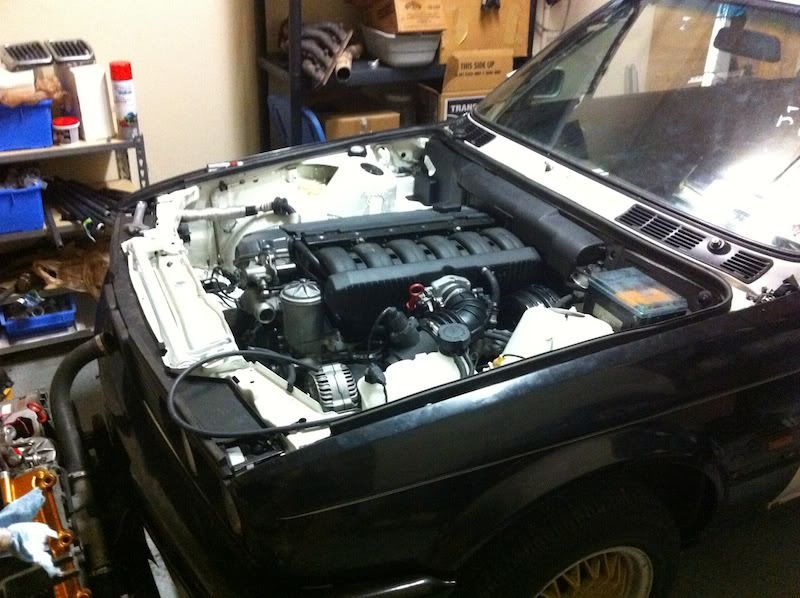
The engine bay is almost done
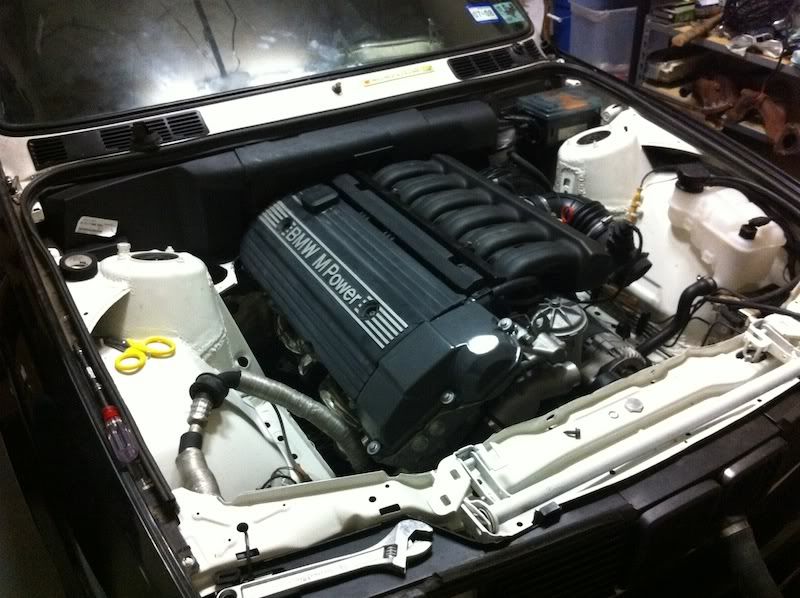
Still need to finish cleaning the booster
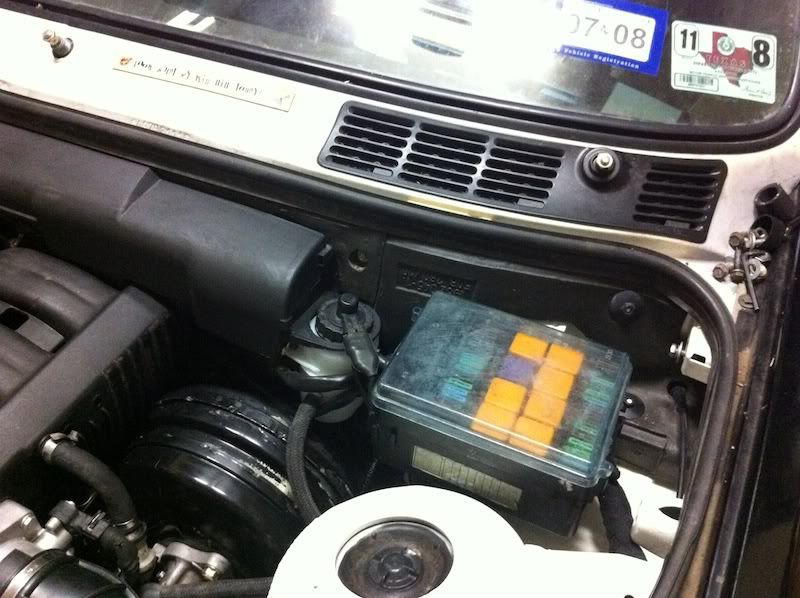
Also need a new fusebox cover, this one is quite crappy
And install the new brakes to fix the ones I fubarred.
Oh right, the radiator too.
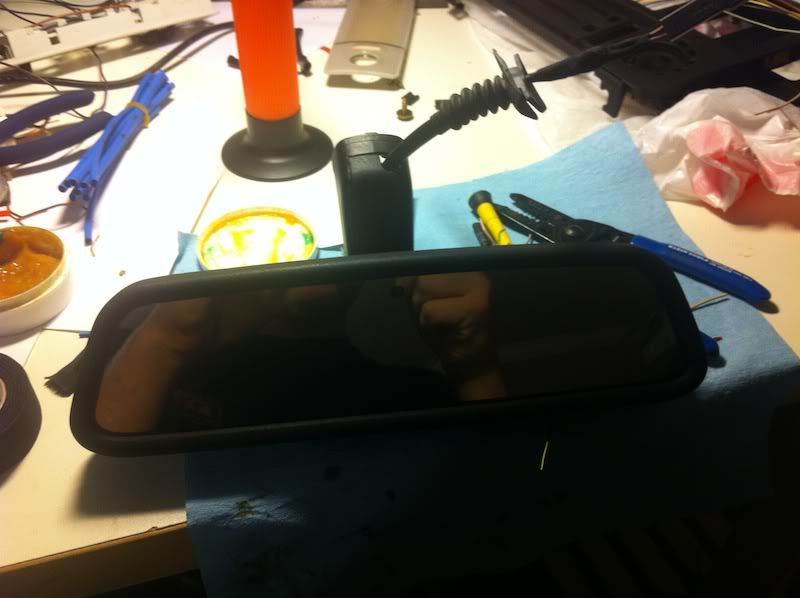
Picked this up at the pickapull for $5. It's a auto dimming mirror out of an E34 540i.
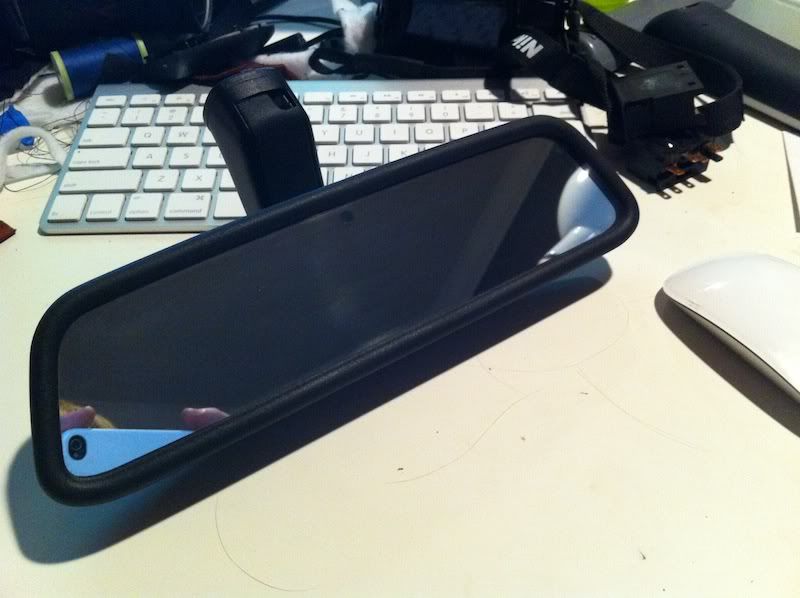
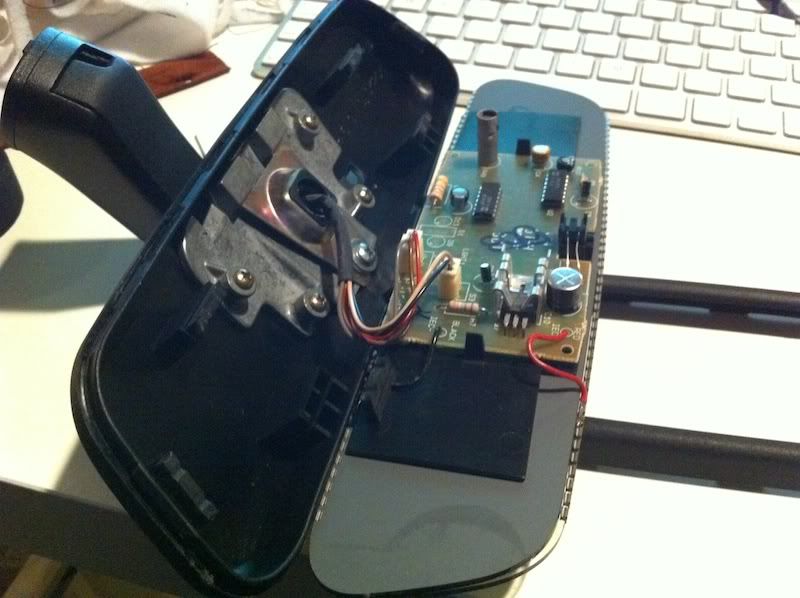
I then went ahead and took it apart to see what was inside. I'm thinking of some type of dome lights could fit in the corners with some creative engineering.
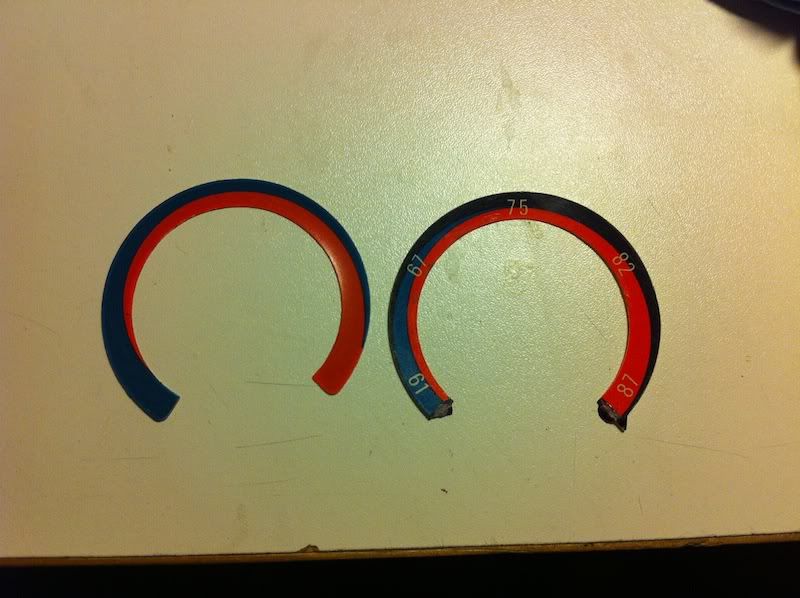
Grabbed one of these labels out of an E28. I don't care if the temp is right or not, I love these.
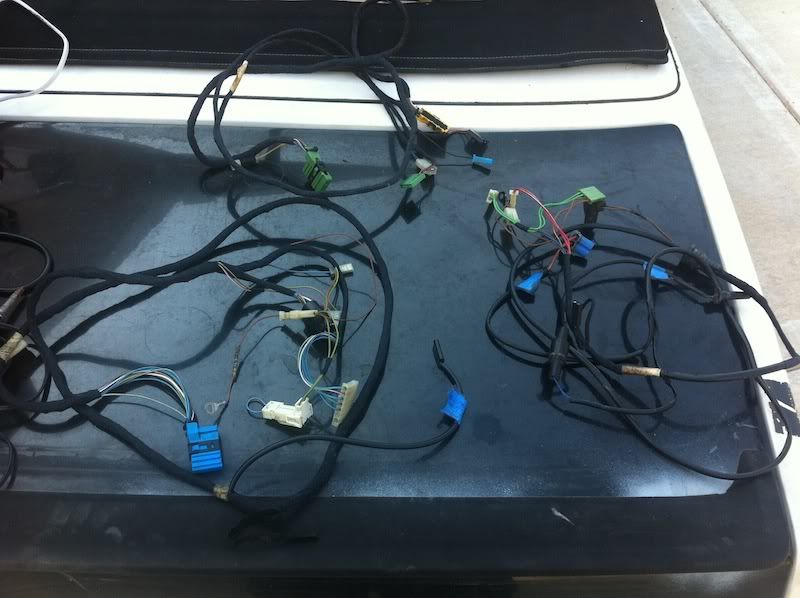
Rewrapped (both inside and outside) 13 button and the cruse control harnesses.
Put the modified Foho skirts on to see how it looks with the valence. The BBS RA's are just to have something to make it roll (and are for sale.) I'm going to snag the MT2 bumper off of my 4 door and see how it looks as a complete package. I think the Style 4s I'm planning on running should make the current skirts passable.

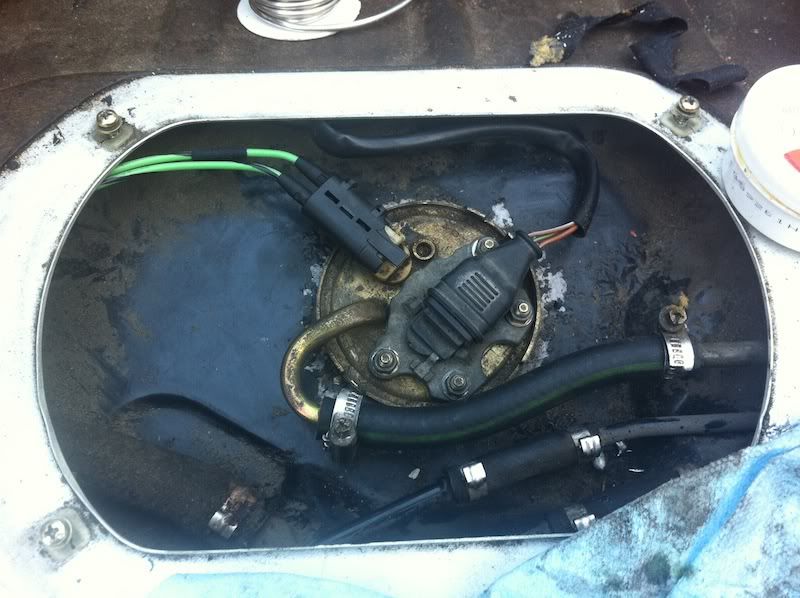
Installed the new leads for the fuel pump. Note, there's two different PN's for the leads in the 2.5mm version. One for pos and one for neg. Make sure you order one of each or this happens.
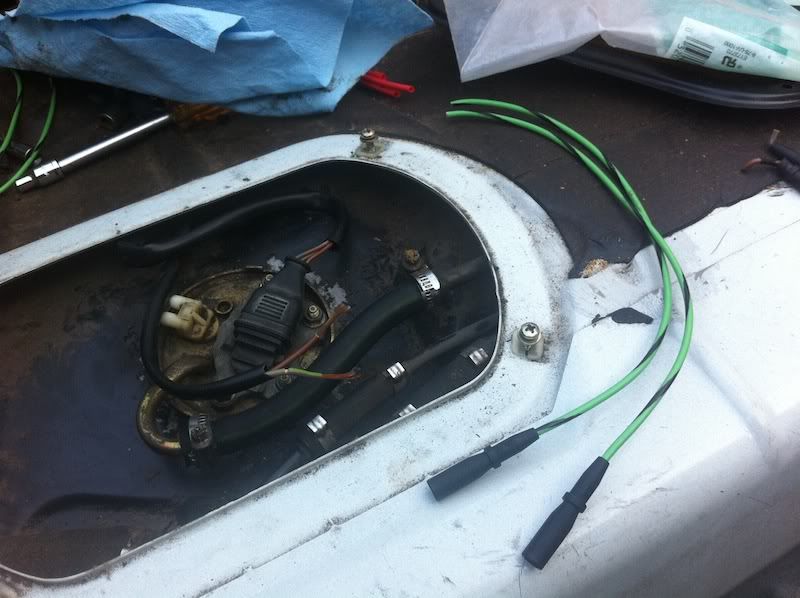
I'm using some tape to indicate which is the ground. The new connectors are very tight on the prongs. To the point it takes some effort to pull them off. As a result, my fuel pump now works when it's suppose to. Just need a new connector housing.
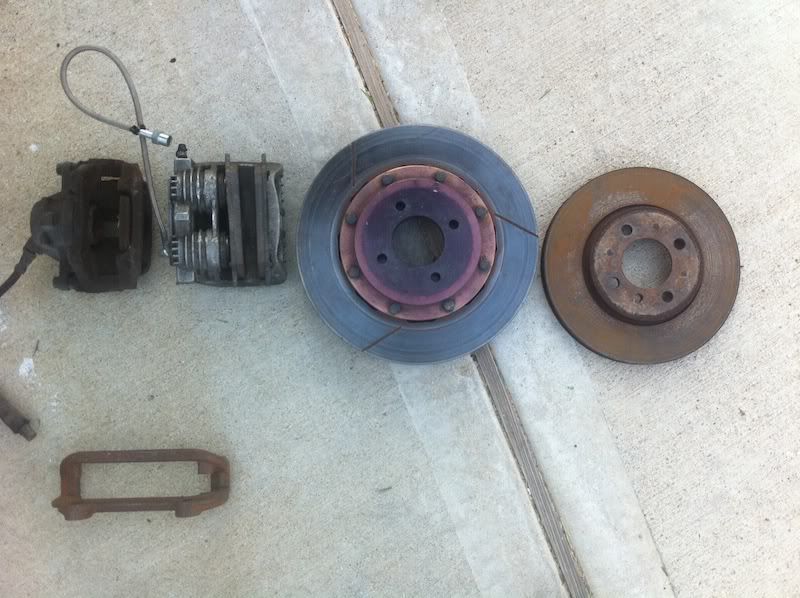
Random shot of the new and old front brakes for comparo
Fixed my throttle cable. It wasn't seated in the grommet all the way = idling a tad bit high. So now on a cold start it idles at 1,400 RPMs instead of 1,700.
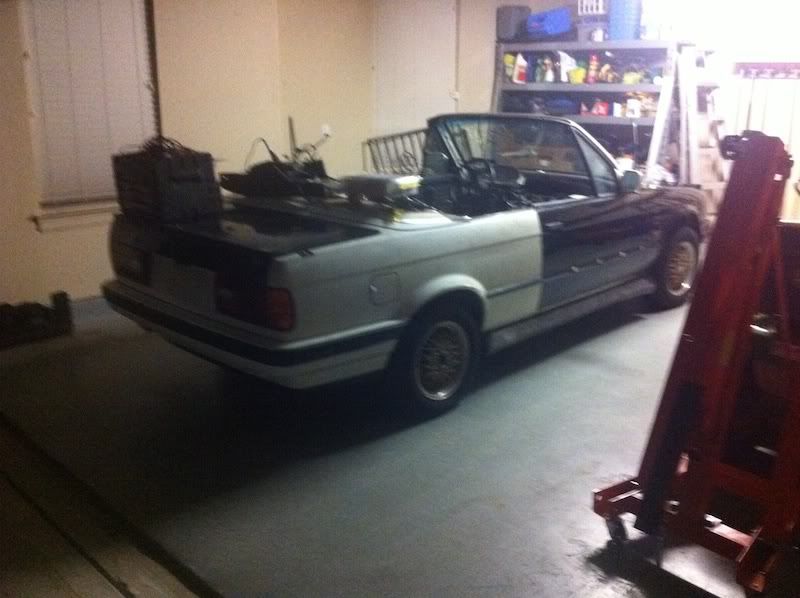
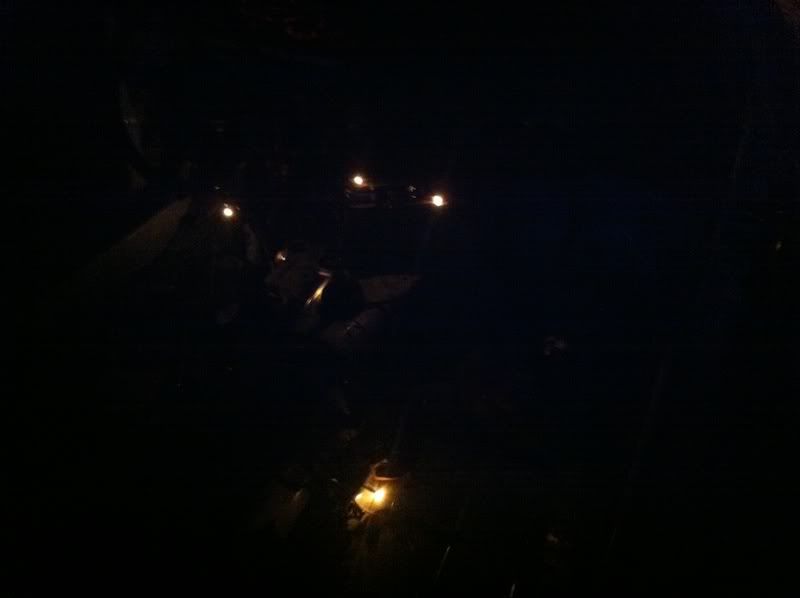
Pushed the cabrio into the new cleaned out other garage to do some electrical work at night. This is more productive then me lurking the forums all night.
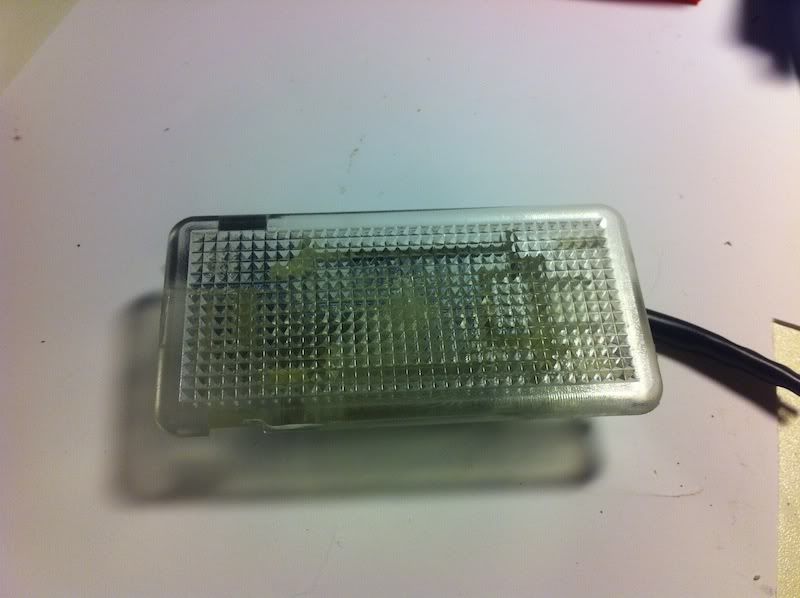
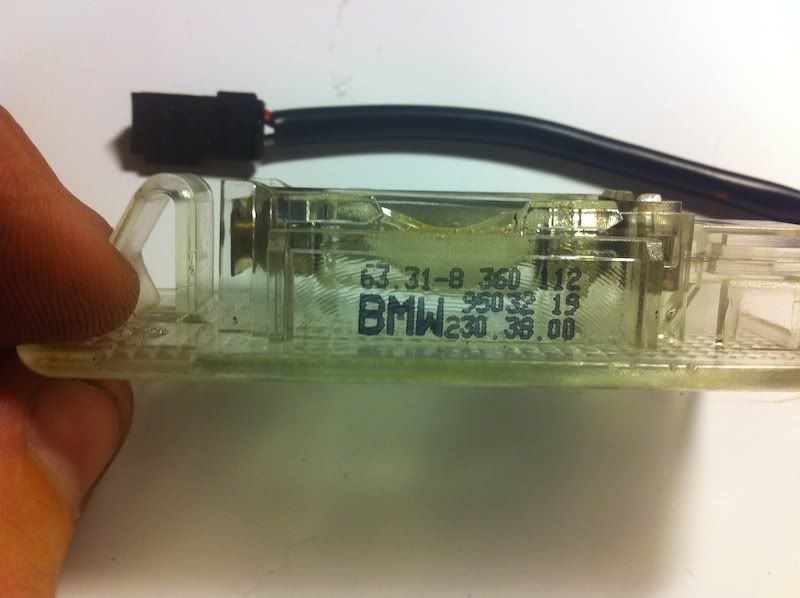
Snagged this at the PNP as well. They are going to be the new under dash lighting. More on this later. ;)
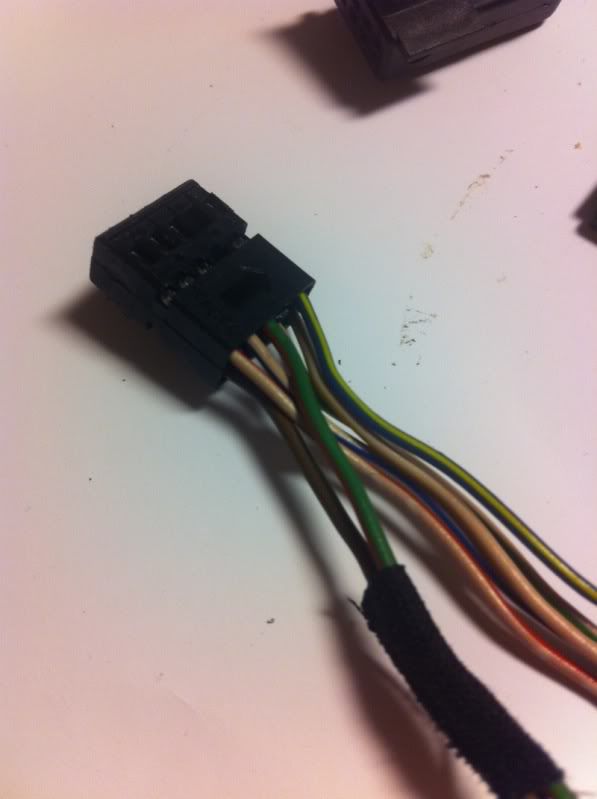
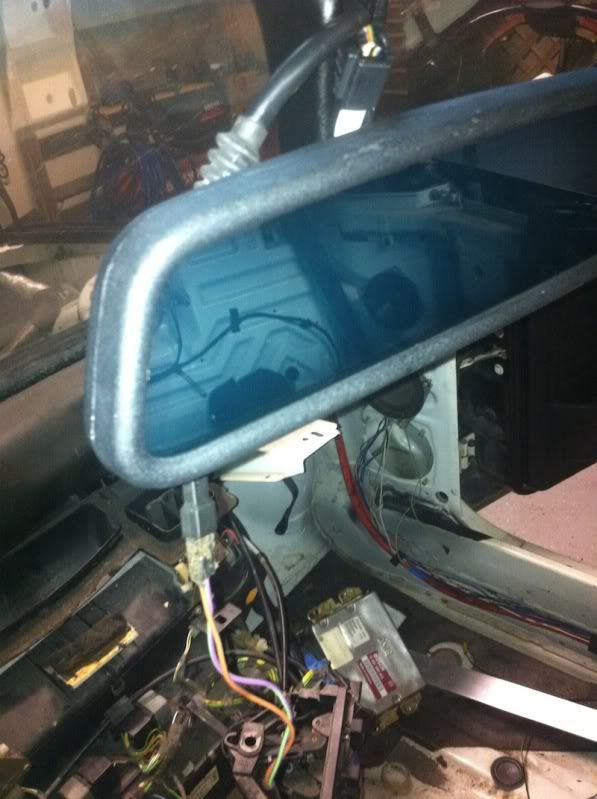
Wiring for the auto dimming mirror. Top is the E34's, bottom is a pigtail for the E30 map light.

Once I took a look at the ETM, I was able to determine the power and ground. All of the other pins are for random E34 features like reversing mirrors, etc. (A chart is easier than diagrams)

Wired the new found wires to the E30 pig tail. I'm using the stock E30 maplight harness for power. So there's no additional wiring and leaves me the possibility of switching back.
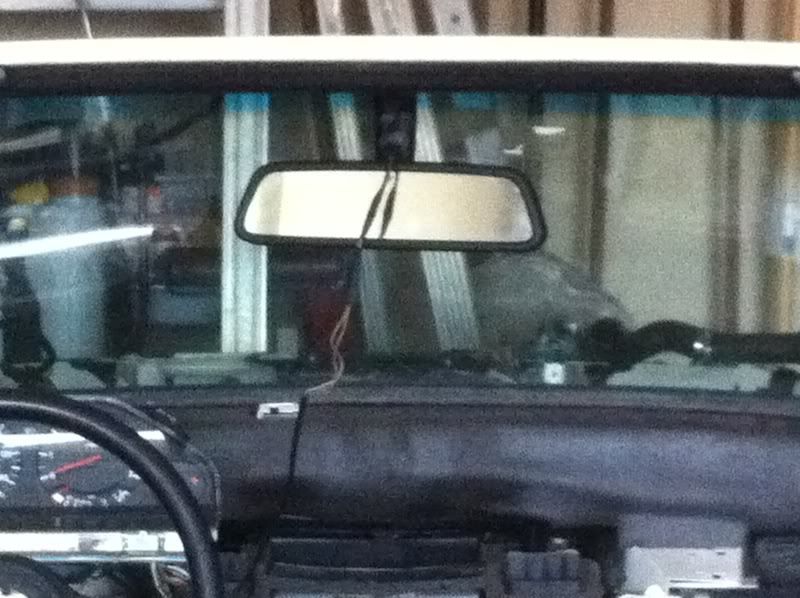
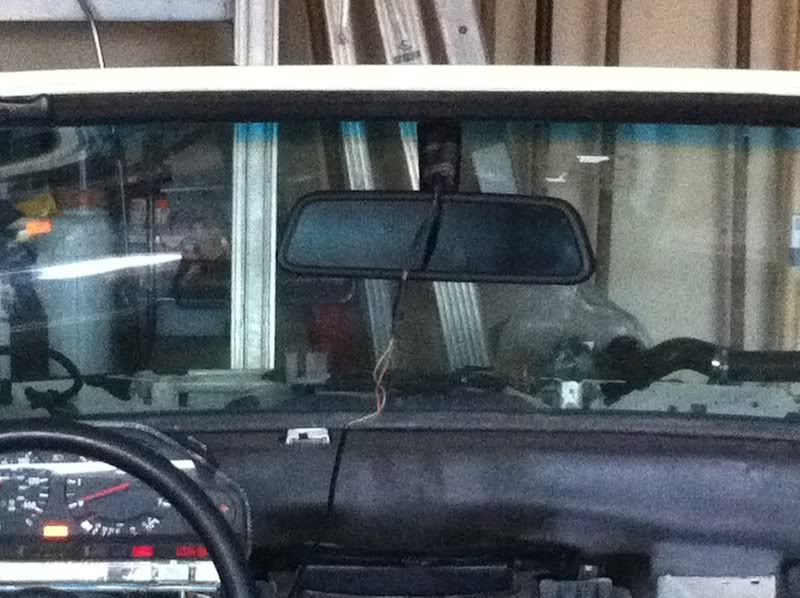
Blue tint means it works. This is how it gets darker.
Not dimmed
Dimmed
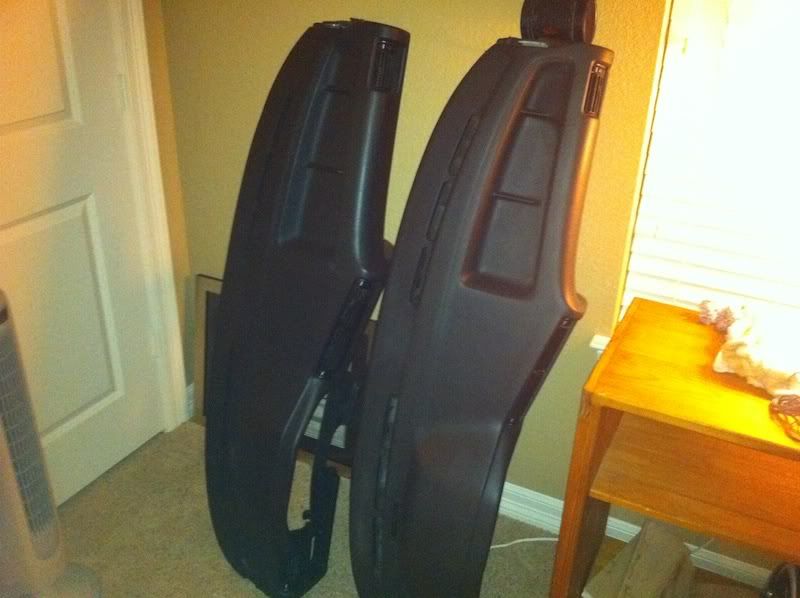
Also got another crack free dash (one for each E30, the right one is still dirty) and a Bosch 540i maf once I get a chip. :)
Lastly replaced all of the interior bulbs because they all were goners. I'm guessing the old lady who had this car didn't drive it at night.
Comment
-
Can't see from the pic, can you post one of the piping so can see which color it is exactly?Originally posted by glucklich21 View Post
How many and which bolsters do you need? PM me if you'd like.Comment
-
Nice job on the rear view mirror, but it might be a little too wide once you put your sunvisors back on, no? A Z3/Z4 mirror would fit better. I was using one from a Z3 until I modded an e30 maplight.sigpic
January 2012 COTMComment
-
-
-
-
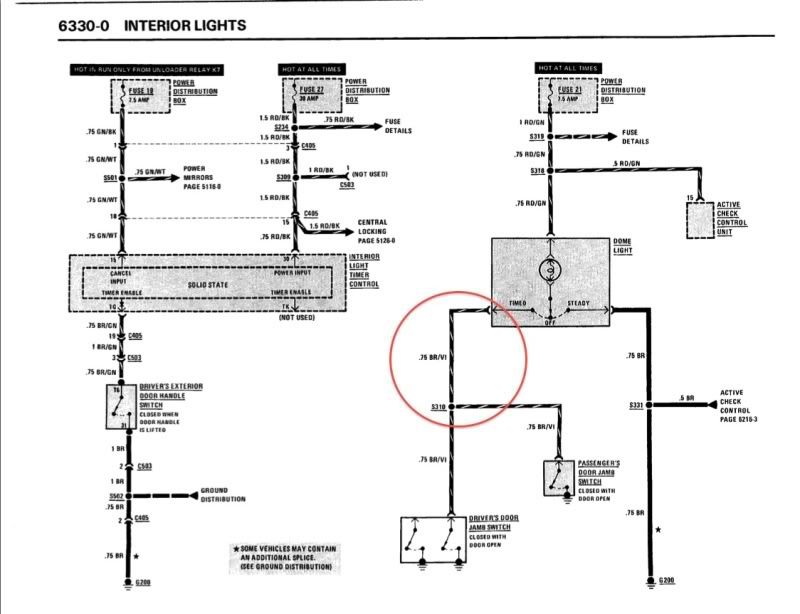
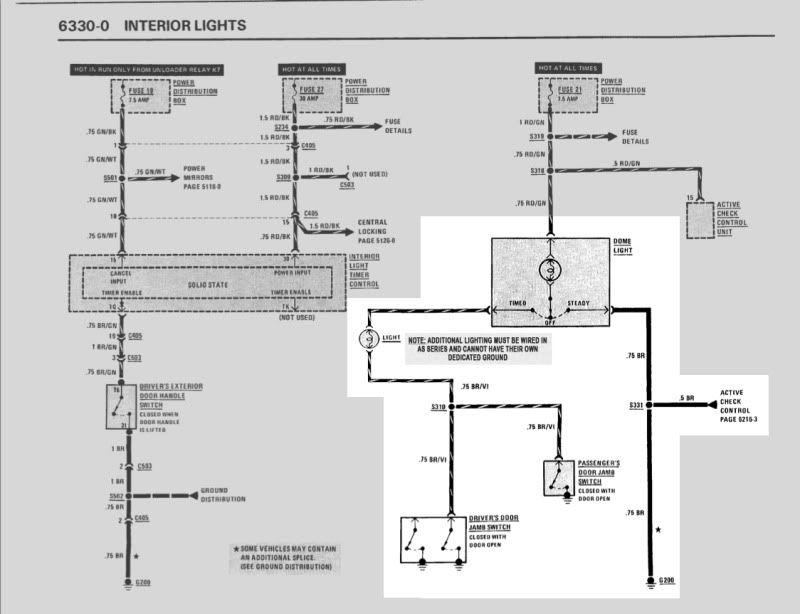
Alright I had a few people asking about the additional interior lighting I did on my 4 door. Well since I did the same on the cabrio, here's a little diagram out of the ETM I modified to give you an idea of how it's done.
The red circle is where you will be modifying. Honestly you can do it anywhere on that wire as long as the additional lights are wired in as a series.
 Last edited by glucklich21; 07-08-2011, 12:58 AM.
Comment

Comment