If this is your first visit, be sure to
check out the FAQ by clicking the
link above. You may have to register
before you can post: click the register link above to proceed. To start viewing messages,
select the forum that you want to visit from the selection below.
I'm not so sure about the M-tec cloth on the headrest, but we shall see. My upholster was able to track down factory Anthracite cloth that's NLA so that's on the bolsters. Cloth sport seats are freaking comfy as hell BTW.
Not feeling the stitching on the headrests, but a beautiful interior otherwise.
Sorry if I'm a little obsessed with your interior 
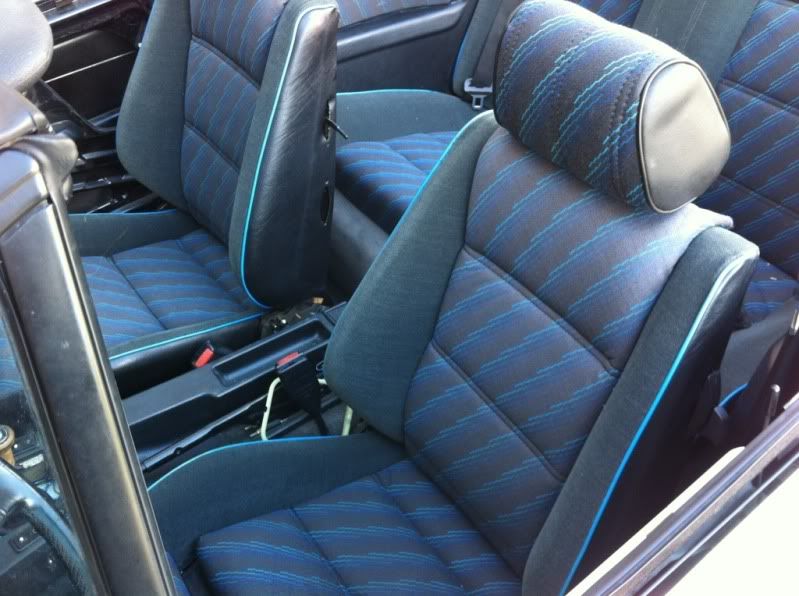
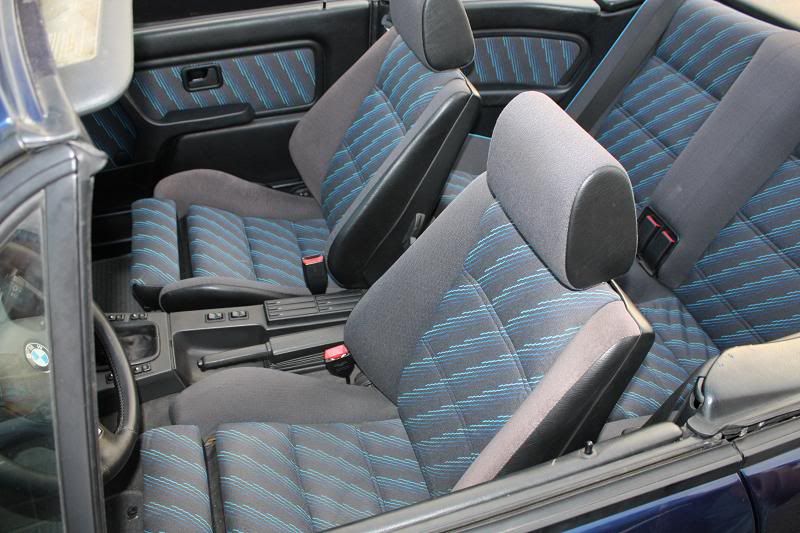
But I think the reason the anthracite bolsters don't look oem, despit oem fabric, is because the weave is horizontal, rather than vertical. Do you have enough to do the headrests?
So I found my pics. I had been missing them for months thinking I had taken them with my camera. Instead as it turns out, I took them with my phone. As for me uploading and typing this up, that's a bit different time scale.....
I did the rear 5 lug swap around the end of May in about 3 days working by myself as per usual.
Started by clearing the crap my parent's put on its boot:
Jacked up the rear end and started getting to business:
Had to cut the exhaust off. It's okay though, it's getting completely redone sometime in the next upcoming 2 weeks:
Unbolted the rear shock mounts. They're hidden under a cover under the top storage bit:
Stepped on the trailing arms to remove the springs:
Next step was to unbolt the diff to get ready to drop the subframe:
Unbolted the allen and main subframe bolts/nuts:
With a little wiggling the subframe came down about half way:
Then it got stuck on the passenger side stud. :/
With some force, wiggling, and strategic jacking it came off:
Then the rear sway:
Called it a night:
The next day I a super fun time with a 5 ton press and socket to get these bastards out. I actually ended up putting a bend in my press getting these little bitches out:
Stuck half way out:
Now I had to figure out how to get the socket out.....
Filthy subframe!
After some stripper:
Rear Ti hubs were next:
Now for the bushings:
You have to remove the outer lip of the bushing to press them out:
Cleaned up:
Primed and painted the subframe and trailing arms for the next task:
Comment