
I srsly love everything you do with your car and can never wait for a new update! Good luck with everything!
-
Haha, I put the passenger E36 motor mount on upside down too.
Great progress. Are you really getting all this stuff new?paint sucksComment
-
Just read the first five pages! Wow great job cant wait to see more.DG.
13 328i F30 6MT Tuned
95 325i E36 5MT Vert
89 325is ( sold )
92 Sentra SE-R SR20DET - DET Build Thread
sigpicComment
-
Thanks. That is a thin metal heat shield that protects the AC pump from the front set of headers. It was bent during shipping and in trying to bend it back it cracked. Nothing a little MIG can't fix though...
Thanks. I know it goes without saying but having others follow and comment really helps to balance out the downsides of with dealing with the frustration, delays and problems encountered. I really appreciate all the words of encouragement and positive comments.
I am trying to source many parts used and then refurbish/rebuild but for some things like the HVAC stuff, I am buying all new so I won't (hopefully) have to touch any of that stuff for at least 4 or 5 years.
Thanks all. Its been quite fun and definitely, an adventure for my first swap.Comment
-
I see. Nice build man.
Sent from my DROIDX using TapatalkYour signature picture has been removed since it contained the Photobucket "upgrade your account" image.
1989 BMW 325i SOLD
1998 BMW Estoril Blue e36 M3/4/5 SOLD
1987 BMW 325 (The Piece) SOLD
1991 BMW 318is S52 swap (The Beast) Now Driving Project Thread: http://www.r3vlimited.com/board/showthread.php?t=234207Comment
-
Small progress... but it is progress nonetheless....
No work or holiday party plans this weekend so should get time to finish building/welding the mounts for the remote brake setup.
Also, should have a bunch of parts showing up in the next couple days so hope to button up the pedal assembly, clutch hydraulics, shift linkage and steering column mod to complete the Z3 rack swap.
Minor updates for mods with my BFH! Good times making room for header pipe #6.... I had a friend pull back the pass side carpet while I massaged the firewall and got a good 2 inches of additional room. Interestingly, there is so much padding on the carpet that the pass footroom did not change at all. I am glad I went this route versus cutting/modding the Euro S50 header pipe.
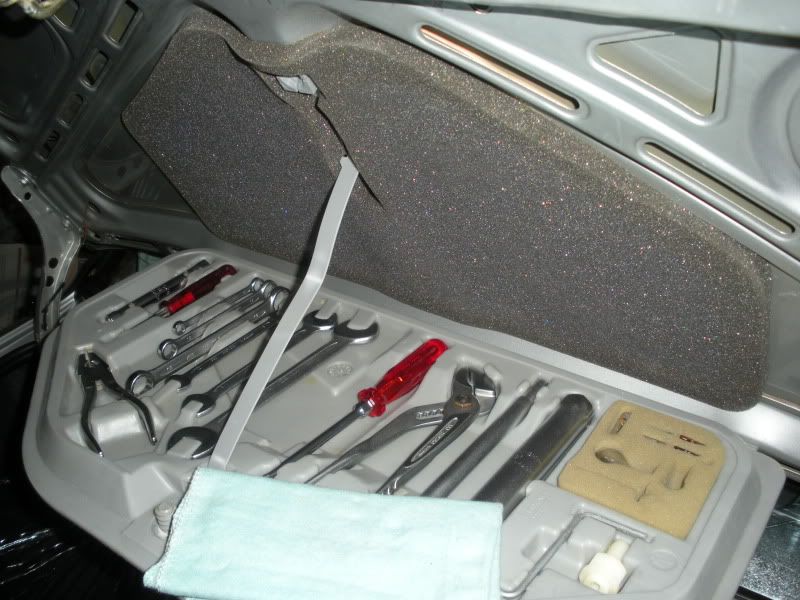
And some detail work to finish up the Euro E28 toolkit install...
Comment
-
-
this is incredibleGregComment
-
Thanks guys!
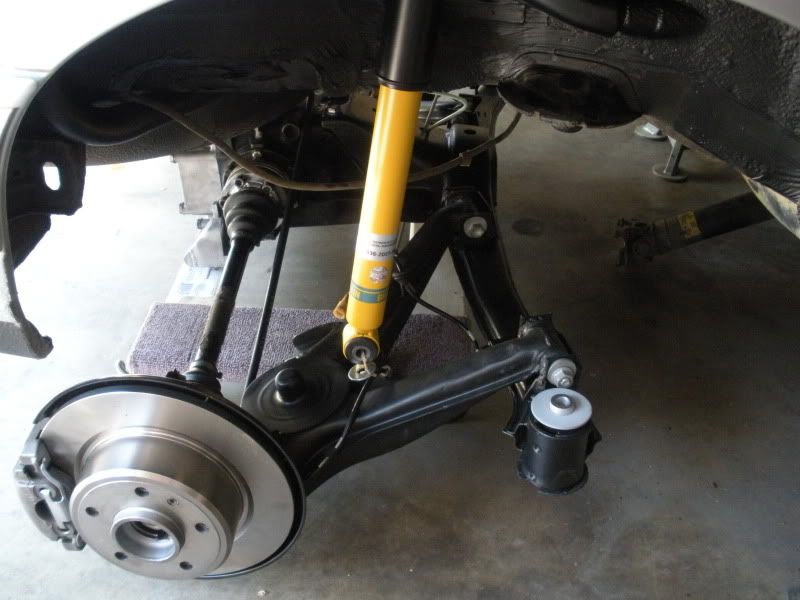
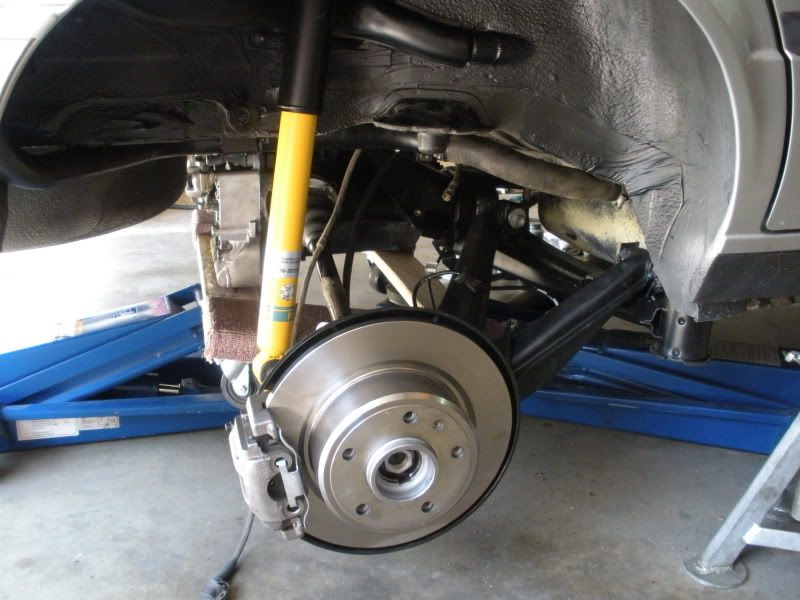
While taking pics for the steering shaft/firewall mods today I found some pics on the rear suspension/subframe work that I don't believe I ever posted so gonna throw those up here for the record.
Well, they bring back good memories for me anyway of finishing up that part of the build. Enjoy! :D
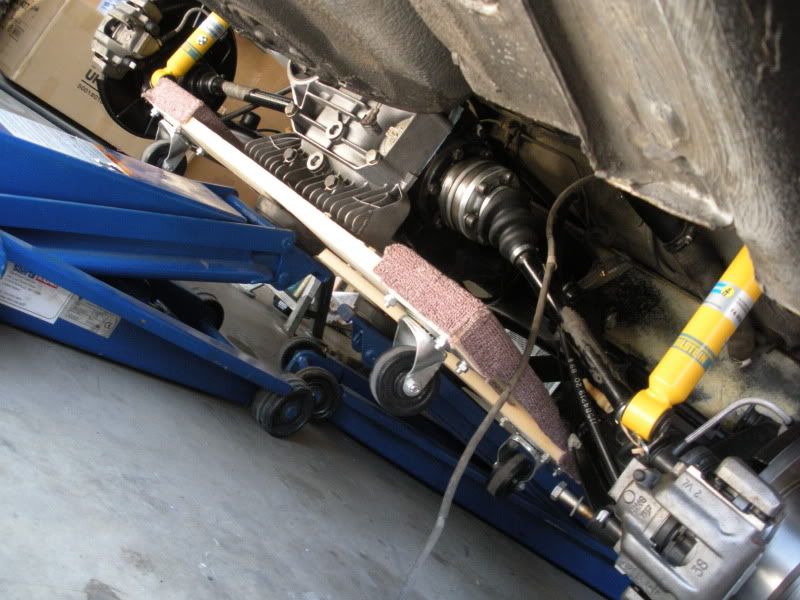
Loaded onto HDepot moving dolley and rolled it under the chassis...
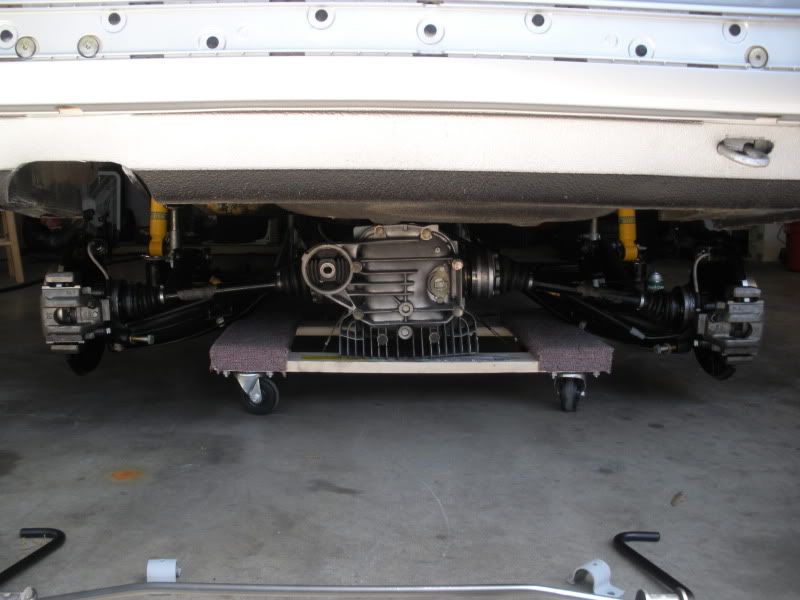
Utilized two jacks on front and back of dolley....
One man, two jacks and up it went!
Ok, that was a f'n tease... next post will be a real update.Comment
-
-
This thread made me drool on my pillow.
Wish I would've kept my 4door."Do what you love, and love what you do" -Ray BradburyComment
-
This thread, ftw
1991 BMW 318i (Old Shell RIP, Now Being Re-shelled & Reborn)
1983 Peugeot 505 STI
1992 Volvo 240 Wagon
2009 Toyota 4Runner SR5 Sport 4WDComment
-
Wow, serious detail in this build. I vote that the thread title
be changed, it is very misleading.1987 325i-M60b44 swap
Comment
-
^ Thanks guys. It has been quite the adventure so far.
Today's update....
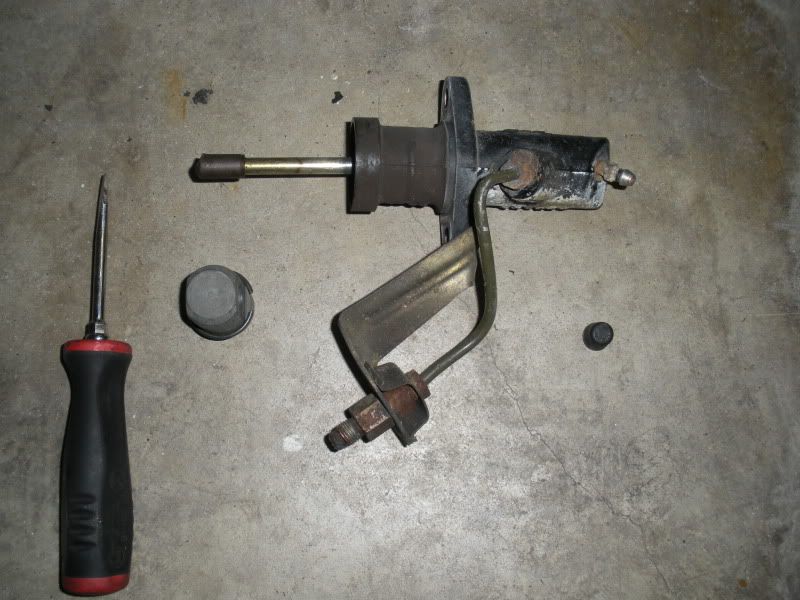
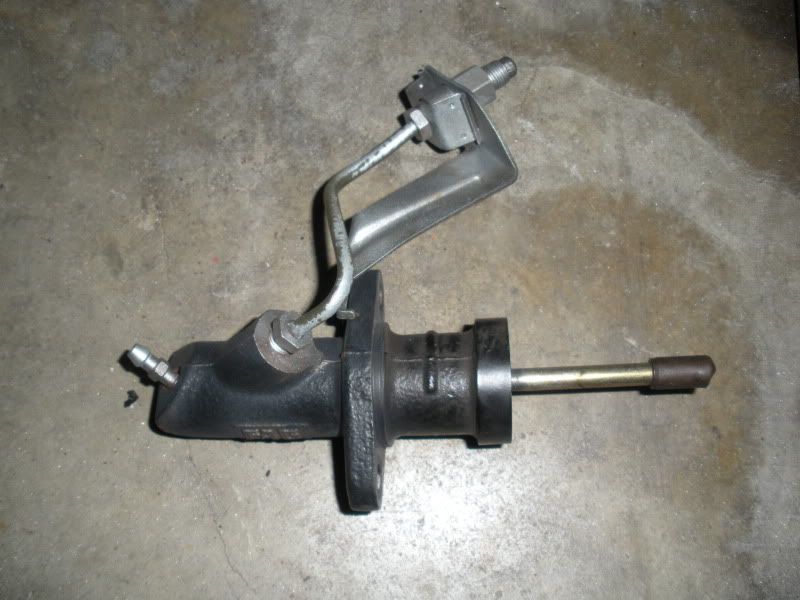
Prepped and bead blasted/cleaned my clutch slave that I got with used tranny with 80k miles.
Next post will be mods for the Z3 steering rack into 1990 airbag car
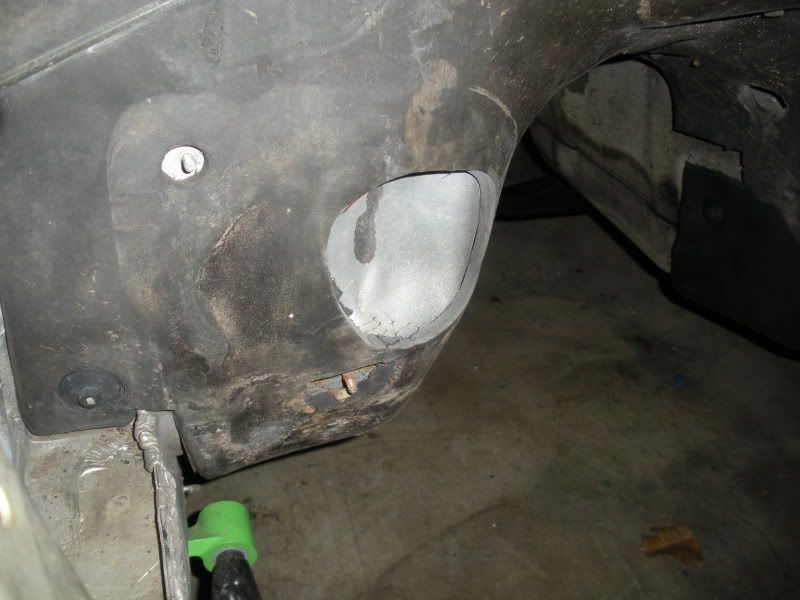
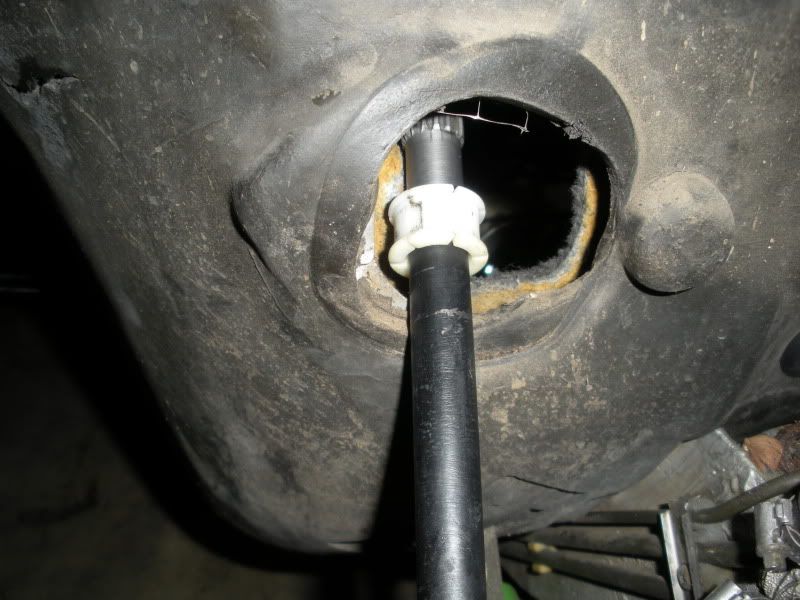
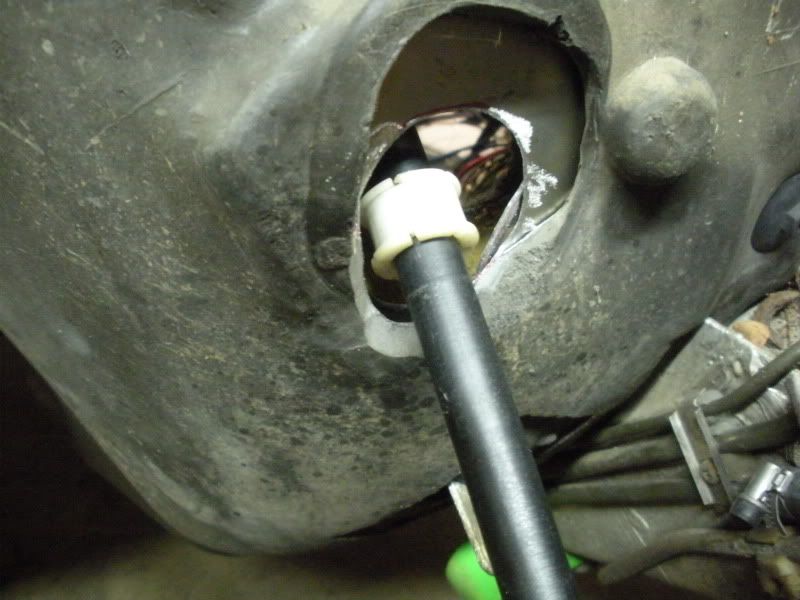
Install of the Z3 rack and how I approached the firewall mods...
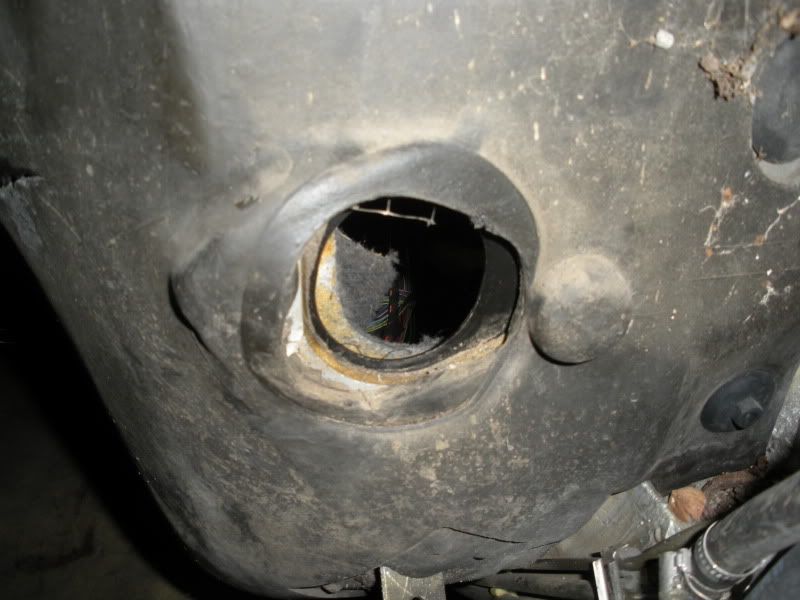
Before pics showing steering shaft and how it binds on the lower cutout in the firewall based on angle of Z3 rack and steering u-joint interface
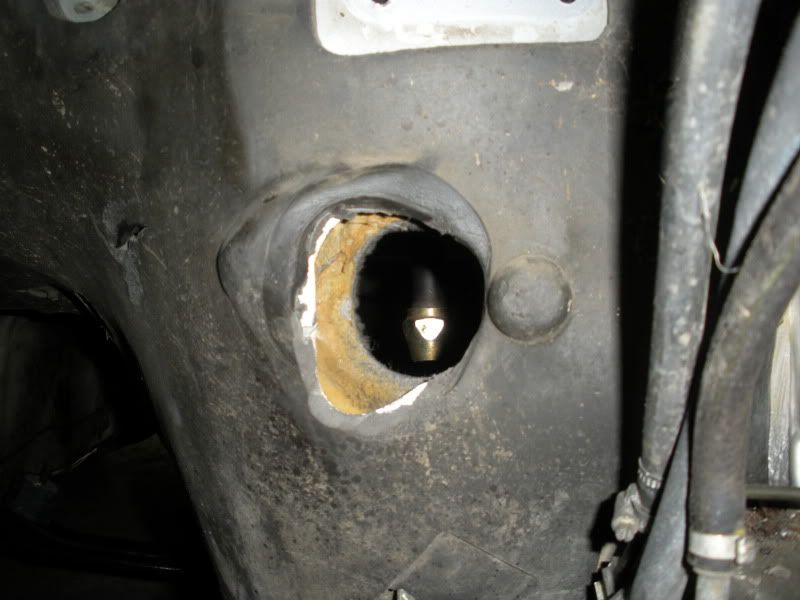
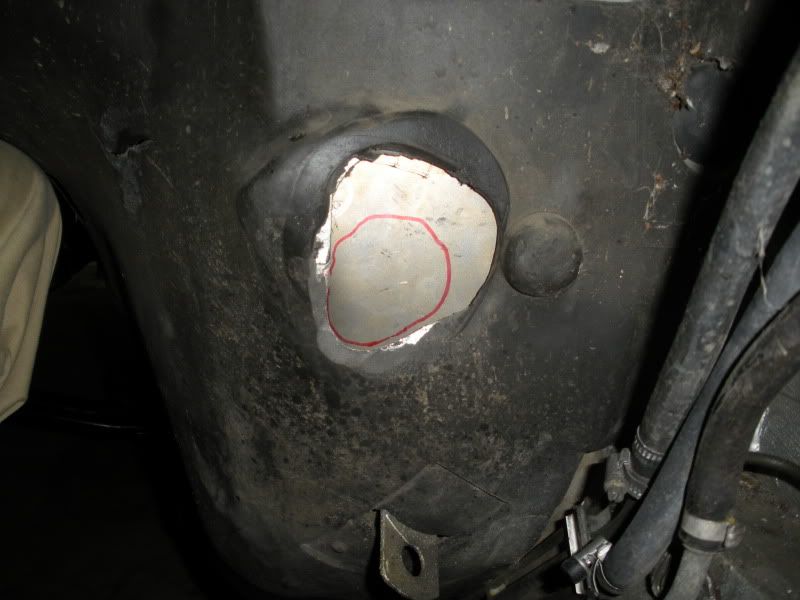
Firewall hole - stock
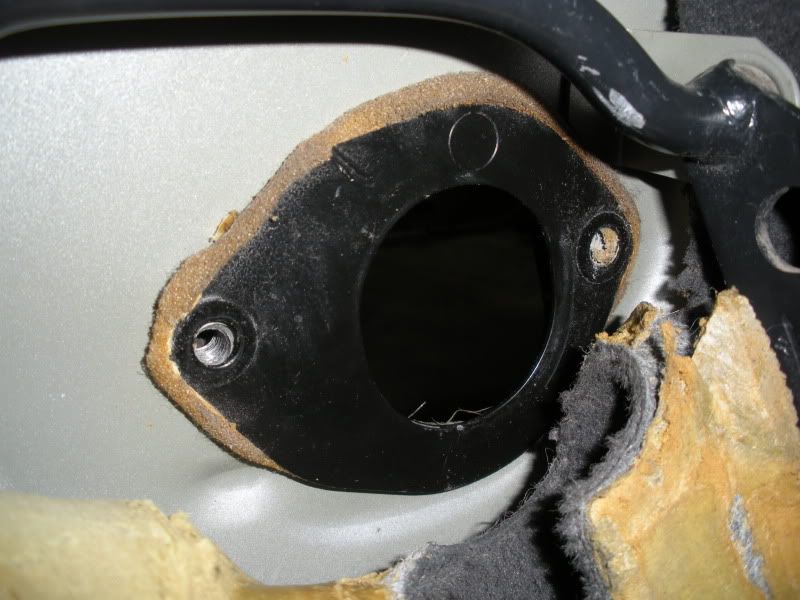
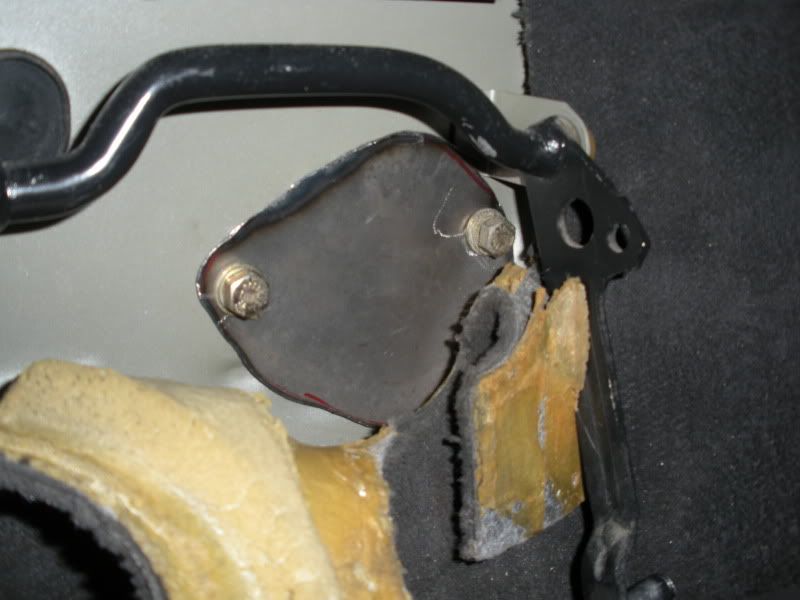
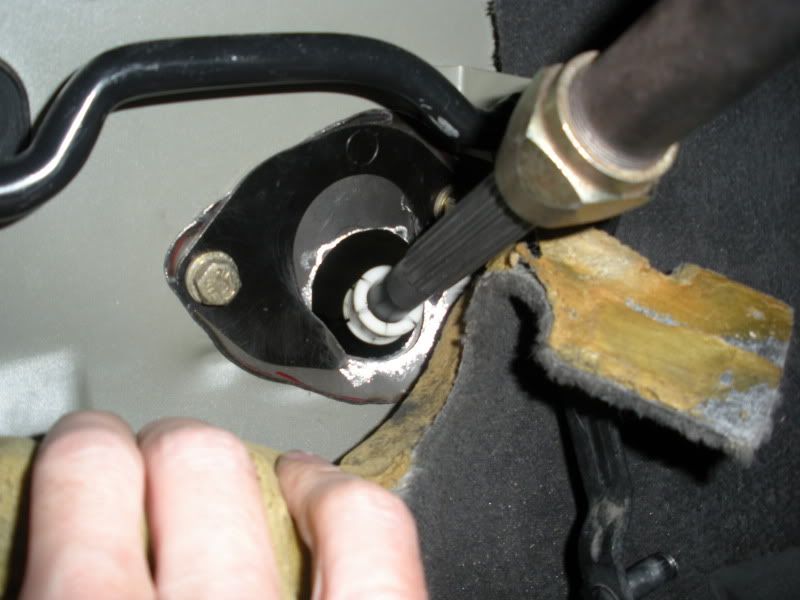
Pic of same from driver footwell - this cover plate will need modification
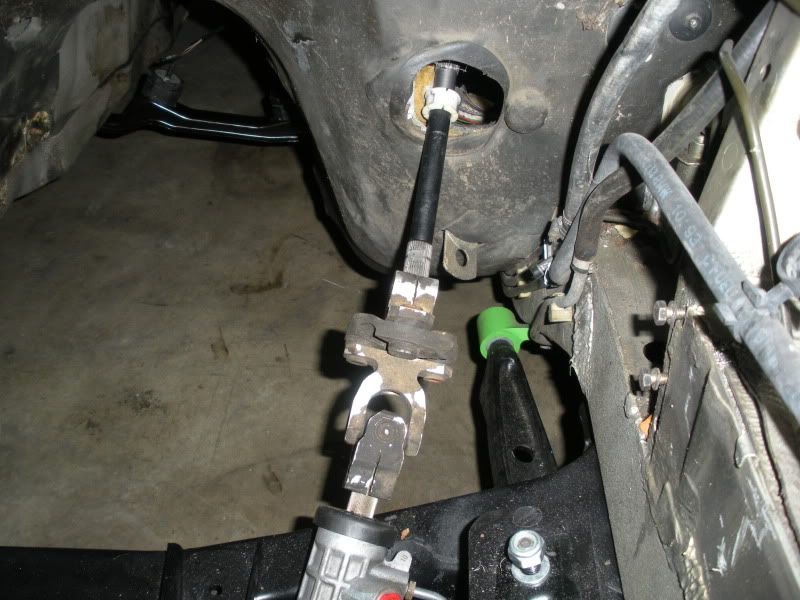
Steering shaft with E36 Z3 rack moves the angle down and toward the passenger side and mine rubbed slightly
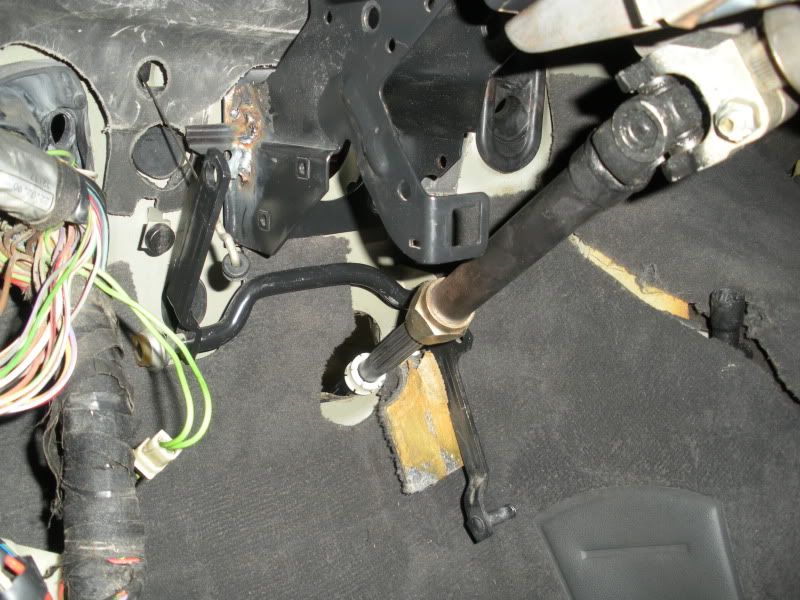
Same issue as seen from the engine bay
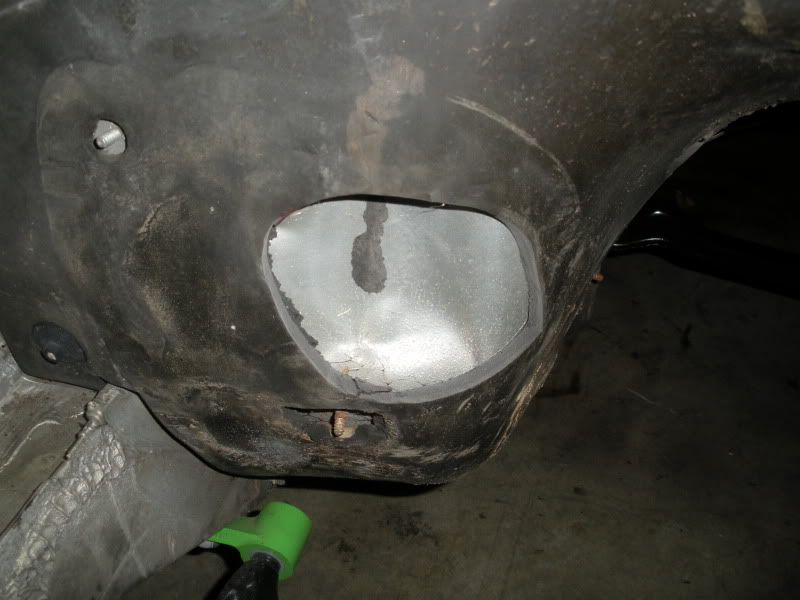
Next up is enlarging the firewall hole...
Marked out with Sharpie to give almost a 1/2 inch or so clearance
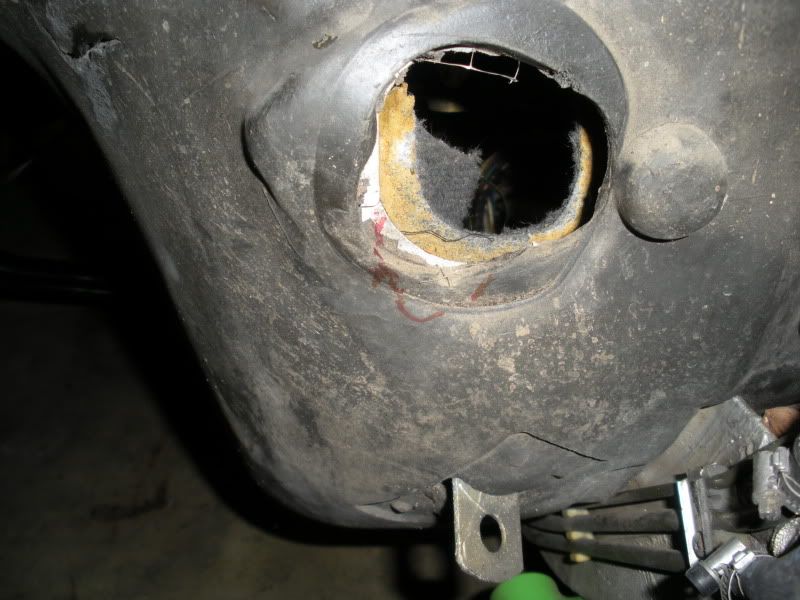
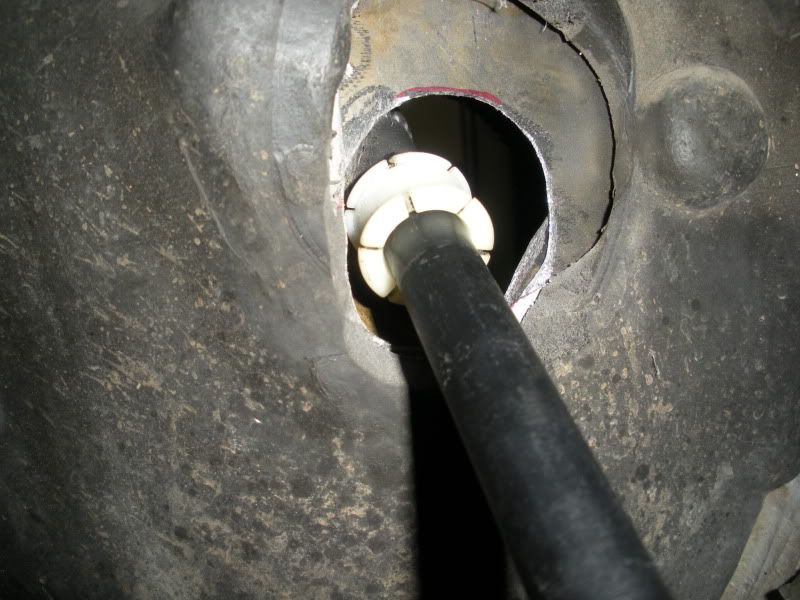
Cut back insulation and used die grinder on the sheetmetal of firewall
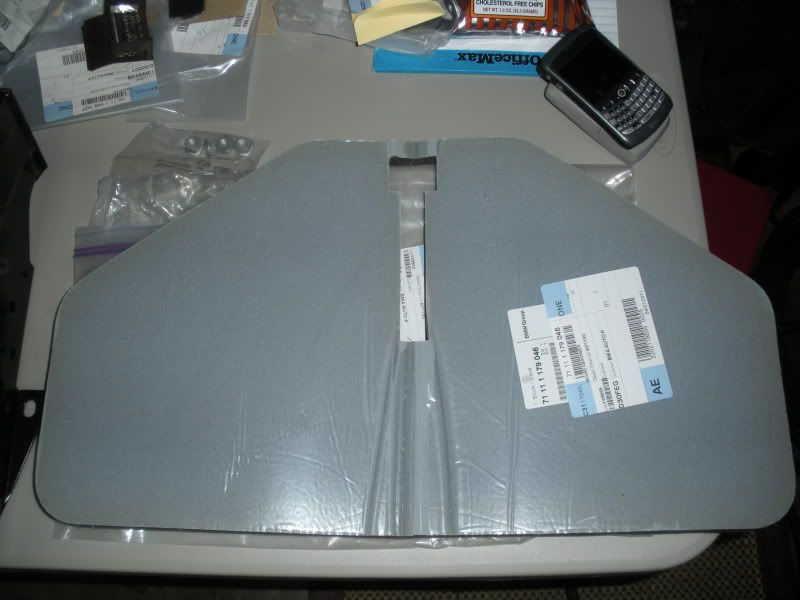
Drafted, cut and made another structural cover plate to use behind modded stock plate
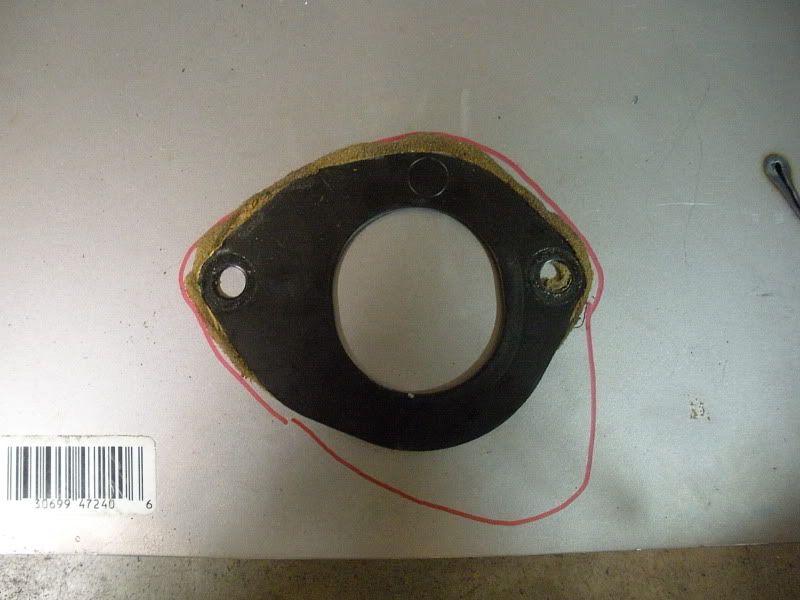
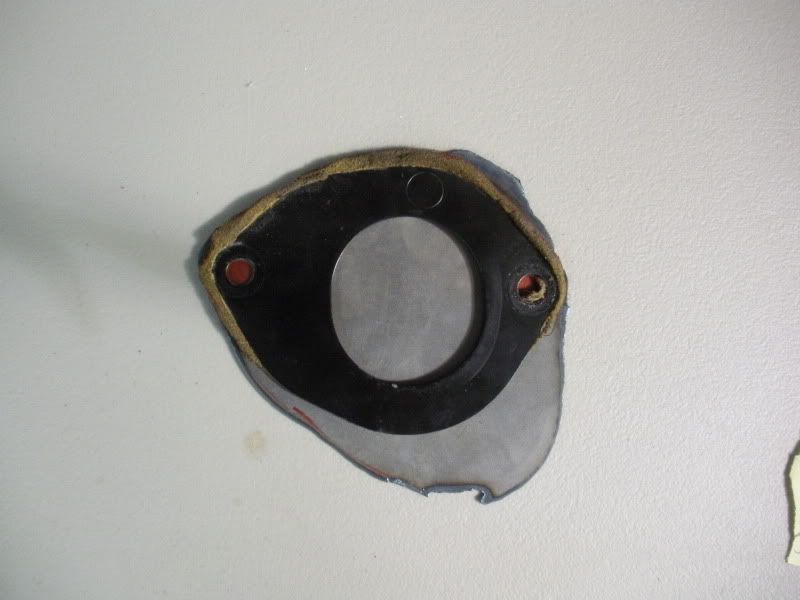
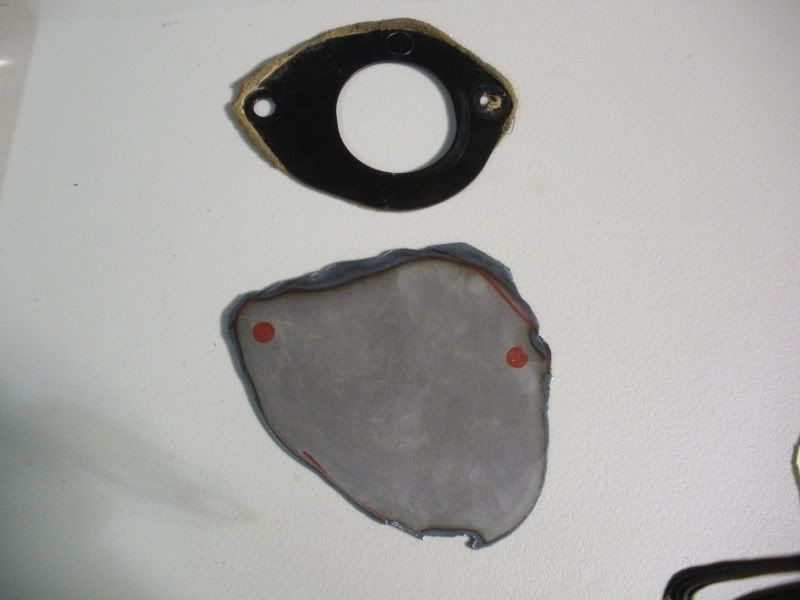
Ground out hole and cut slot in stock plate for clearance
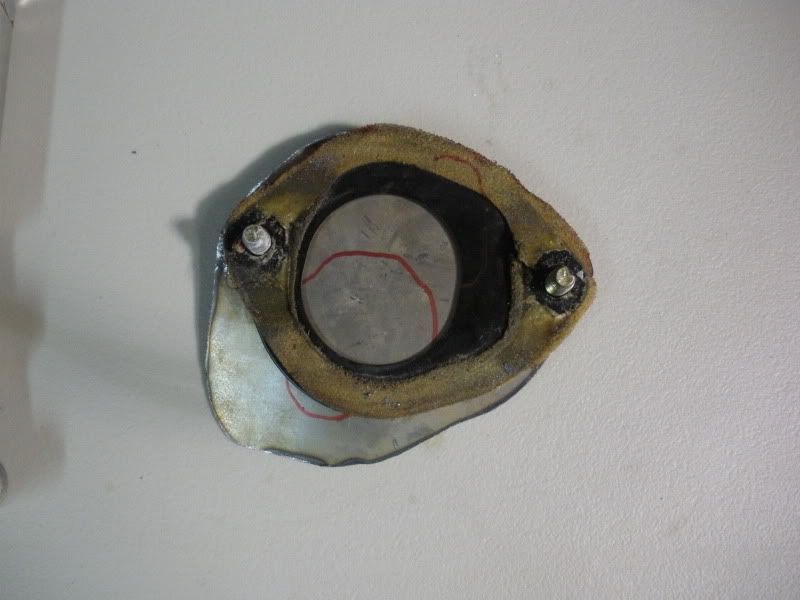
All is left is to clean, paint and pick up some door/window seal foam from HD to help seal it and this part of the build is done.
Thanks for following my buildComment
-
Well R3V here is another update on the build... to say I feel like a fool posting this is an understatement but it was a stupid mistake/hurdle I had to cross to move forward on my build and be able to get to some real progress - getting the dash back in this little beast.
In a prior post I had refreshed the heater box and blower motor but one thing I did not mention was that I also get a really clean heater box out of a 70k mileage garage queen that got hit hard, totalled and parted out a couple months ago. I stumbled on this deal and jumped on it to have a super clean hvac box.
I thought I had done my homework to get the right one of the two heater boxes but there is also another complicating factor....
there are also two wiring looms! And guess what dammit?
This one didn't match when I went to plug it in the other day! Just my luck
This afternoon I pulled the box and rewired my old loom plug onto the newer heater box wiring loom. My 1990 had two wires on the AC/DME plug so I just wired that in on top of this harness.
Wishing this issue had been documented somewhere else as I wasted a good day or more on my build researching and messing around with this relatively minor issue.
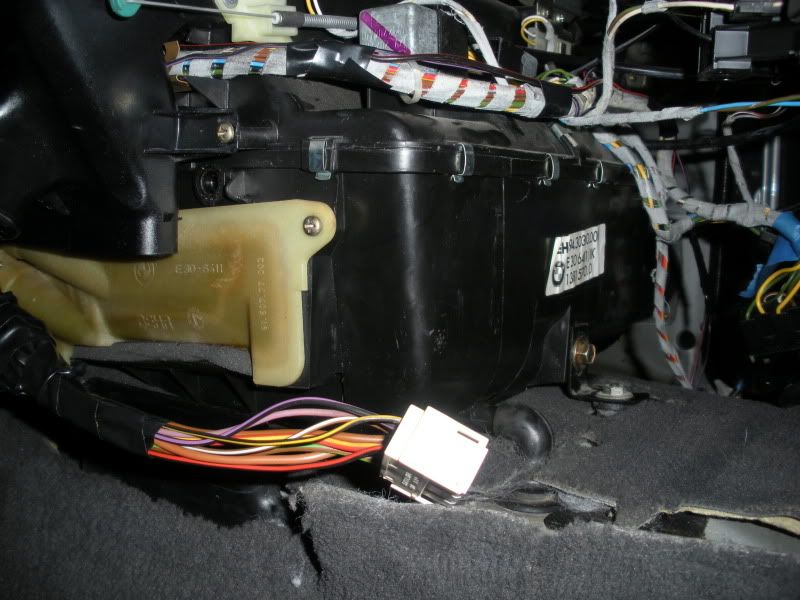
Anyway, pics for the next poor guy who gets in a similar predicament...
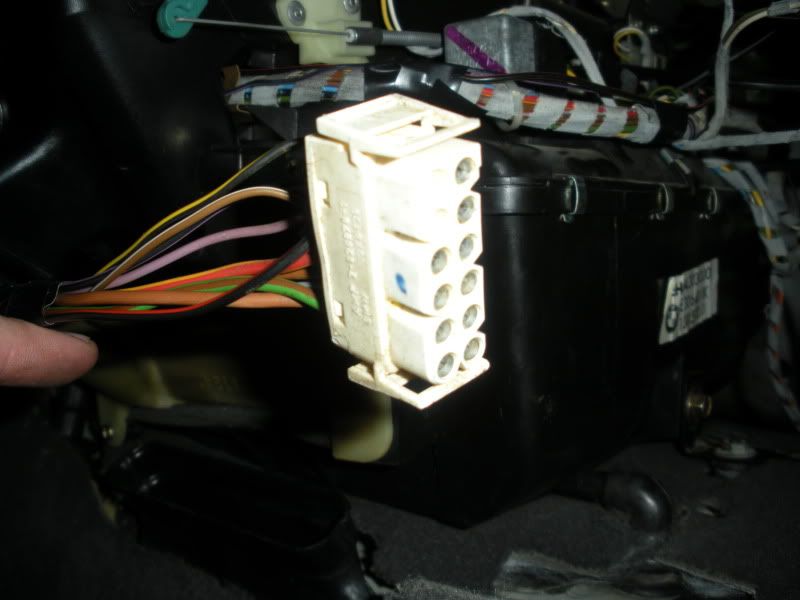
Late model heater box 9 wire harness plug
The RD/BK wire ( nearest the plug above) was missing on this late model heater box harness.
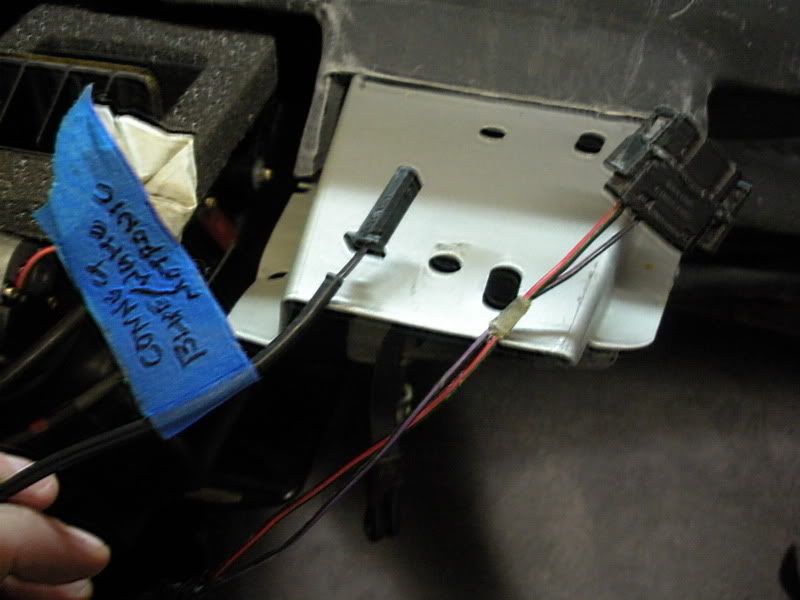
My 1990 heater box harness plug and loom cut and soldered in...
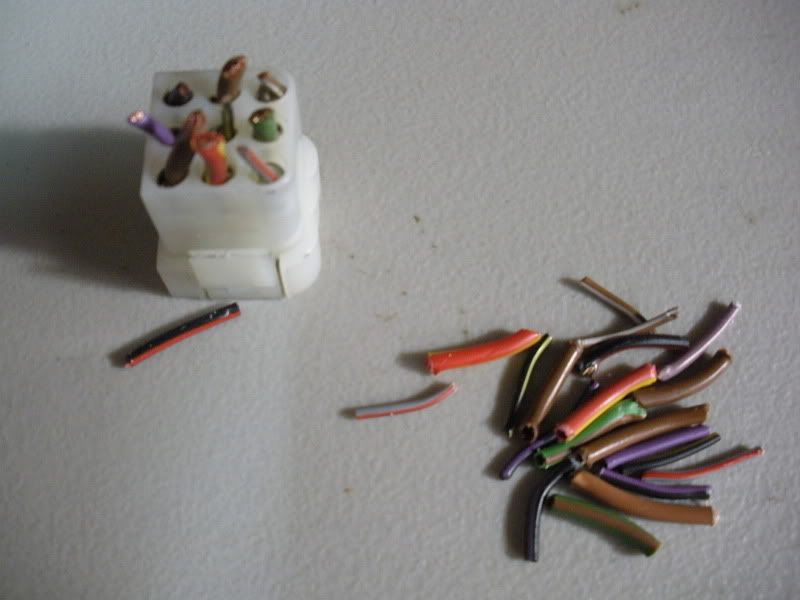
And to show the difference in looms... 9 plug versus 10 wire square heater box harness plug loom.
So after all this I jumpered K7 and made sure all the control panel lights and blower worked on all four speeds.
Frustration on your build comes from the smallest issues at times.
Comment


Comment