Simple sedan build

Collapse
X
 
  • Time
  • Show
Clear All
new posts

  • GDA
    replied
    Originally posted by FrankM E30
    Wow, just came into this thread. Amazing build. Amazing detail!!!
    Thanks

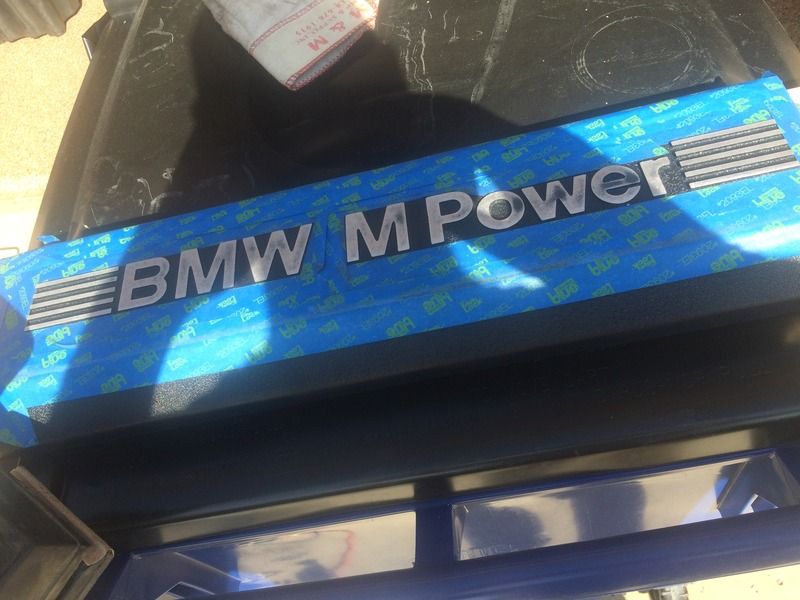
    I feel like its taking forever but I think it will be worth it in the end.

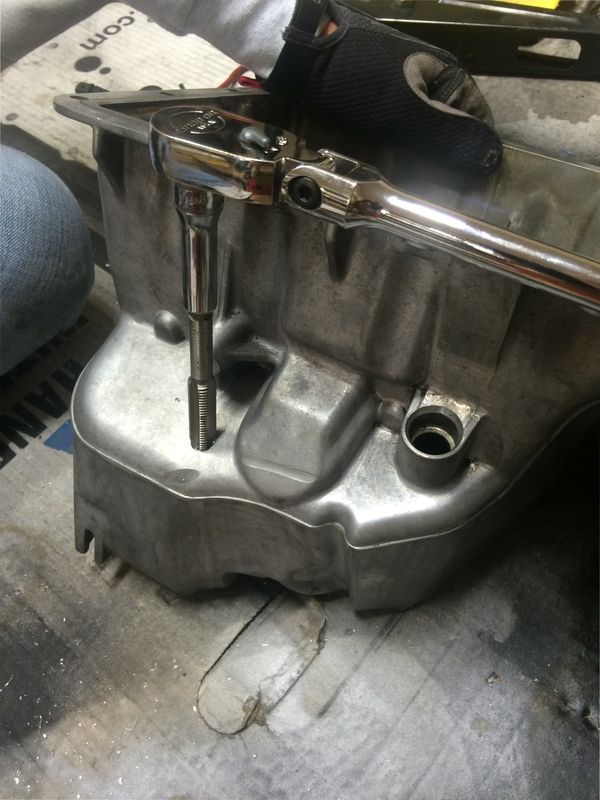
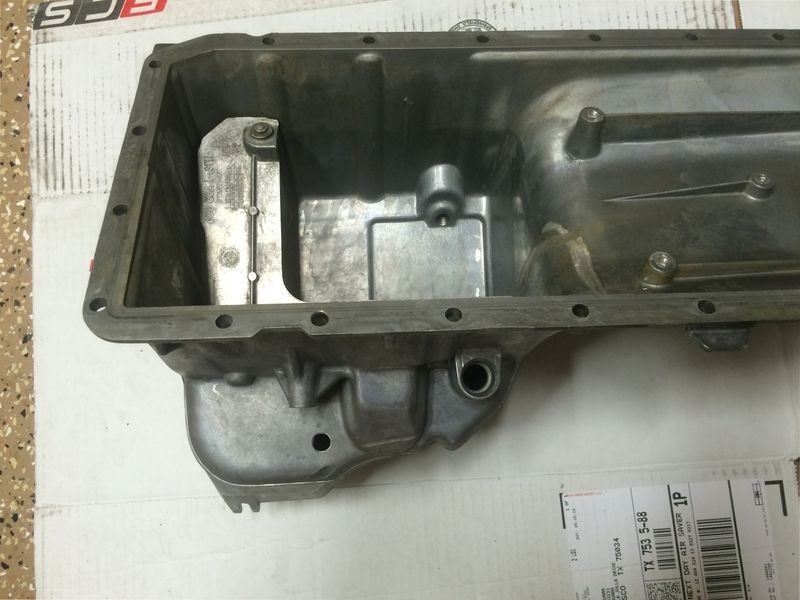
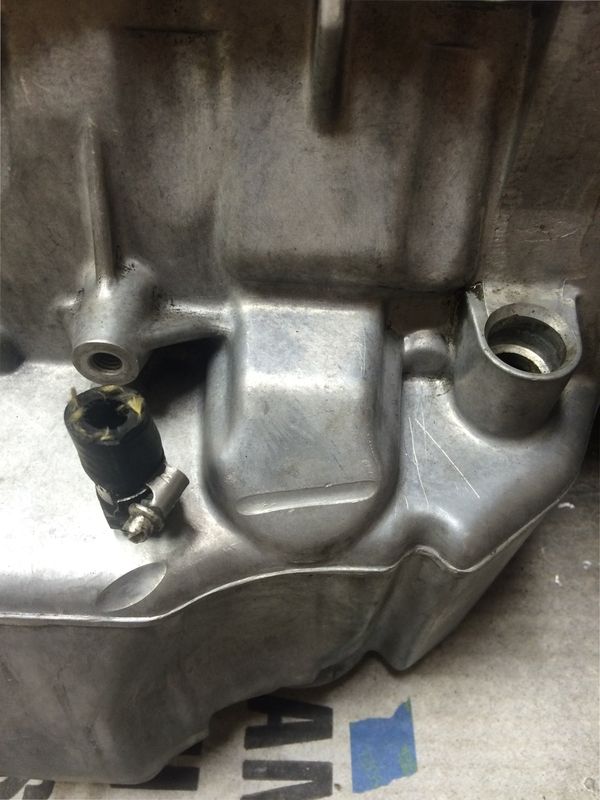
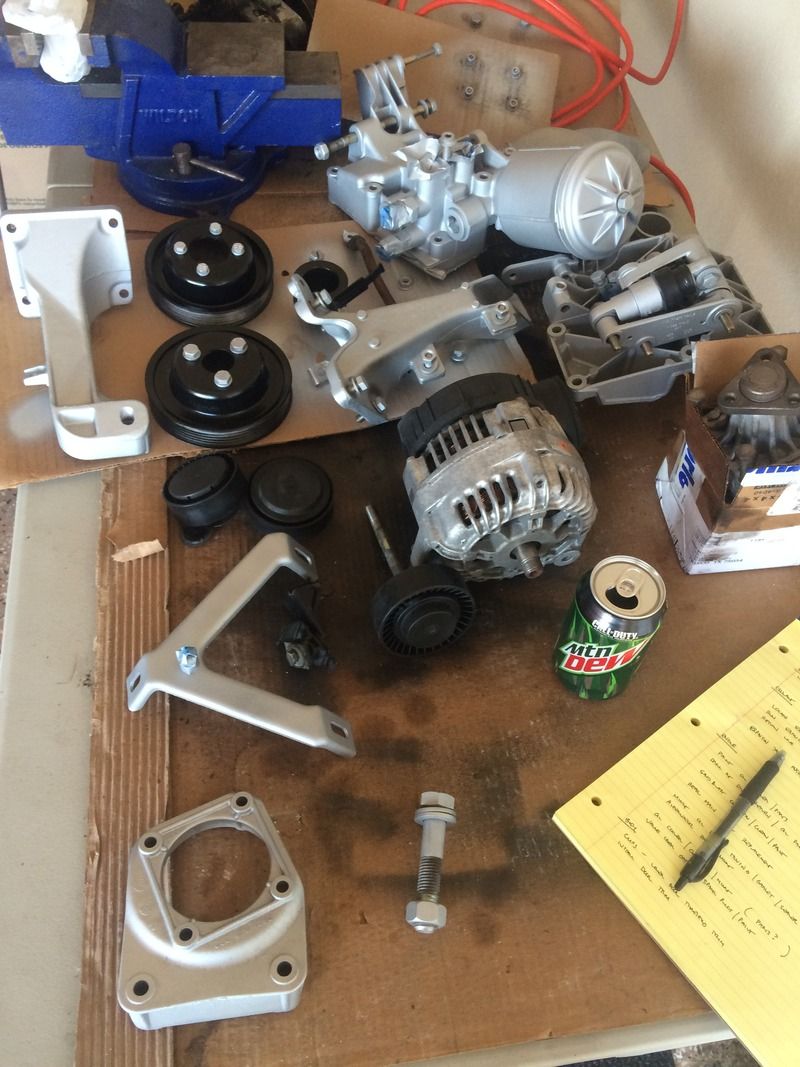
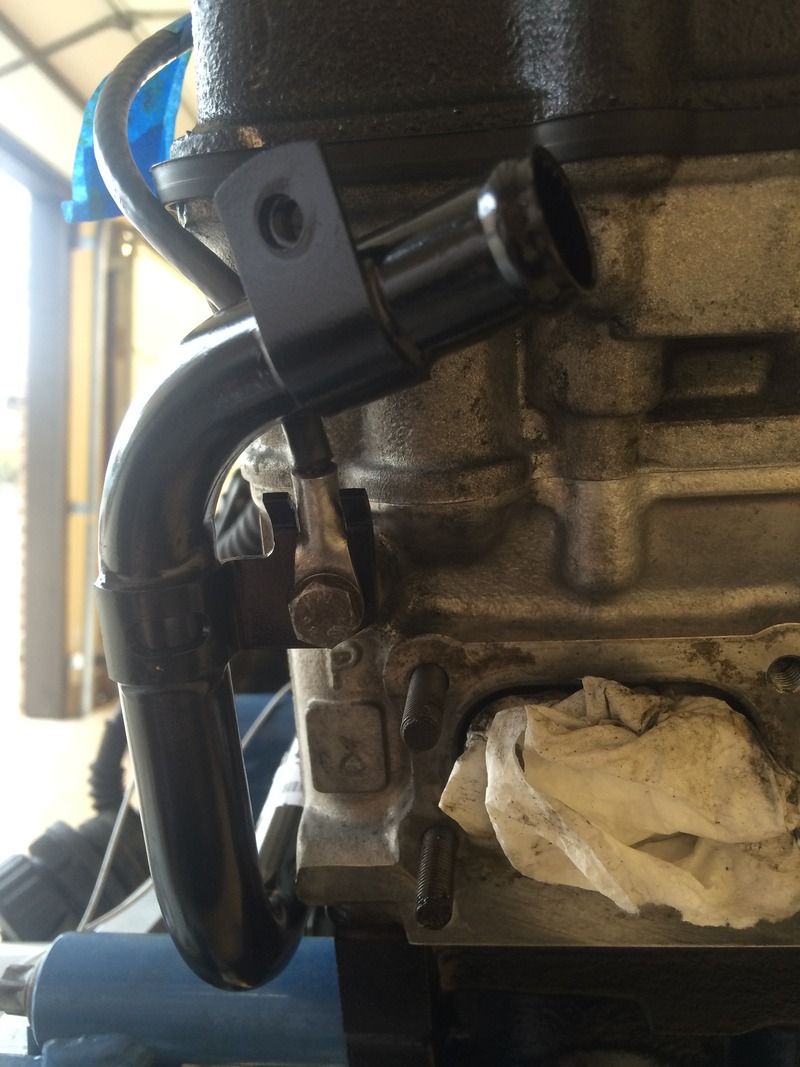
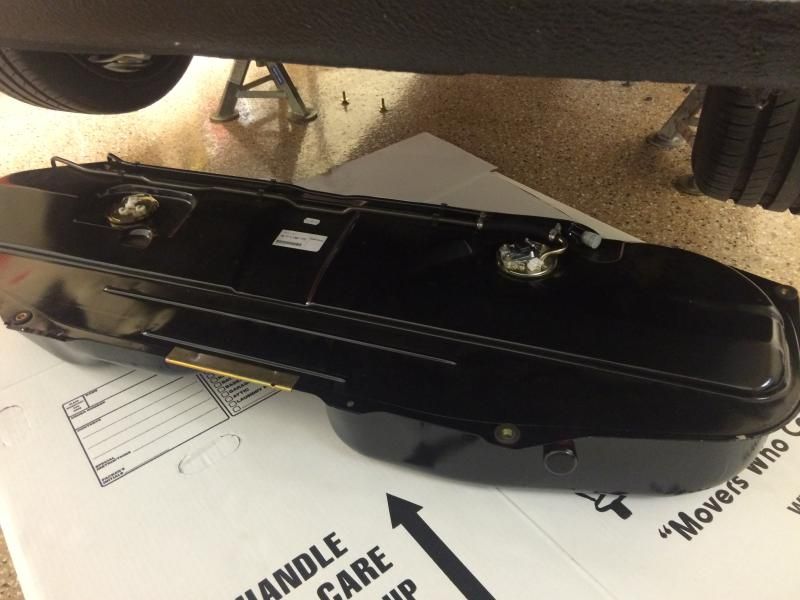
    Worked on the E34 oil pan and oil Euro S50 oil separator return to the oil pan. I used the oil return fitting from the Euro oil pan and then picked a location that was relatively close to the oil separator drop along with consideration of the depth of the pan.

    Luckily, I had the right tap in my tap and die set. I also had to cut off with my die grinder about an inch and half off the Euro oil drain pipe as it was too tall to fit in the location on the E34 pan.

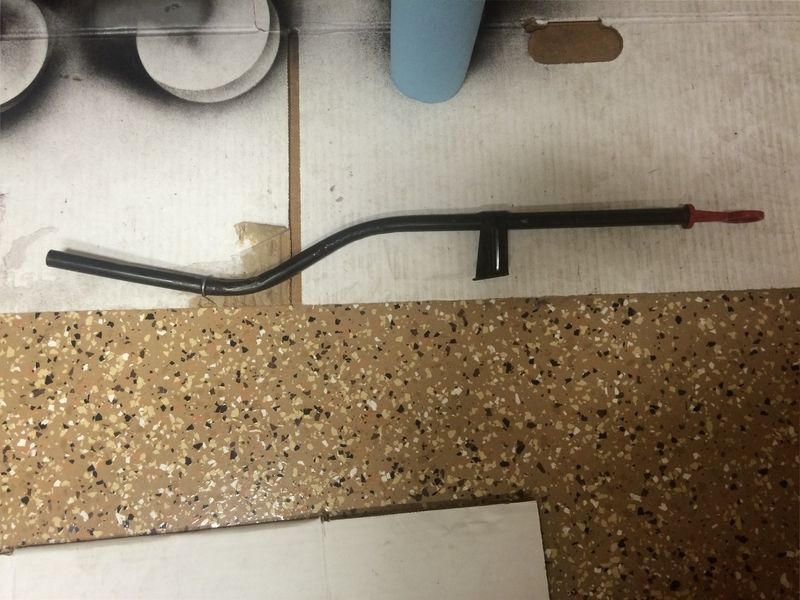
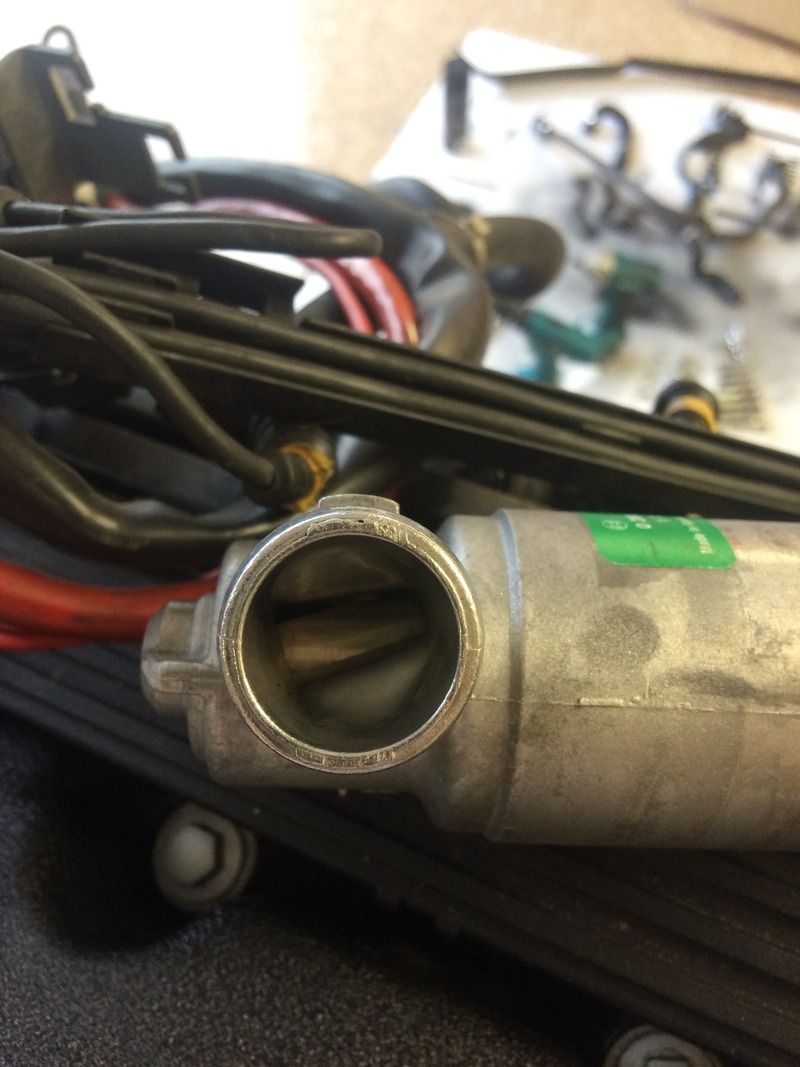
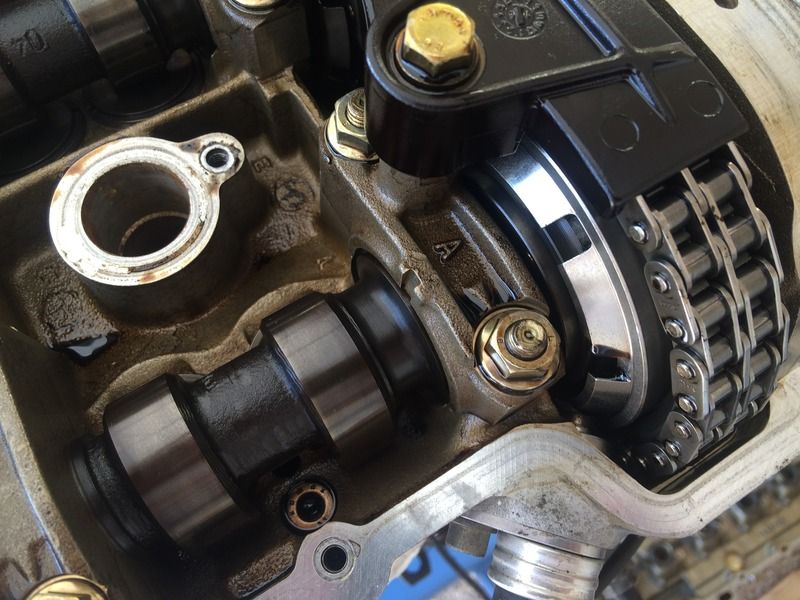
    Also spent about 45 minutes with the dipstick tube and my vise to get some bends to get it closer to a S curve to move around the Vanos pressure accumulator and then turn back up and fit tight near the intake plenum.

    I kinked it in a few spots as I did not have a pipe bender but it works and the dipstick still goes in and out so that is all that matters.


    Time to head out to the garage and mount the pan. I am dying to get the engine off the stand and mount the trans to get this thing installed in the bay.
    Last edited by GDA; 03-21-2015, 07:28 AM.

    Leave a comment:


  • Garageaholic
    replied
    Wow, just came into this thread. Amazing build. Amazing detail!!!

    Leave a comment:


  • GDA
    replied
    Originally posted by Gregs///M
    Great build thread Greg! Can't wait to see the cluster we build installed into the car!
    Thanks Greg. I really look forward to receiving the special project you did for my E30.

    Originally posted by E30stan
    Superb documentation, Keep up the good work brother!!
    Thanks Stan.

    More updates on the old E30....

    Motor work, cleaning, changing out parts and resealing with new gaskets type work.

    Wrinkle painted the valve cover


    My dad who has been a great help on the project did not want to sand it by hand so out comes the orbital


    Painted the plenum as well


    Table full of parts inspected, cleaned, refreshed and ready to go back on the motor


    Installed all new vacuum lines underneath the plenum, throttle bodies and fuel rail


    Installed new coolant crossover pipe to feed the expansion tank on the passenger side


    Cleaned the ICV even though the motor was documented as having on 53k miles


    Seeing how clean this ICV gave some hints as how young this motor is...

    Then next up I pulled the bottom section of the valve cover.... pretty clean and a very good sight to see.


    Changed all the plugs and redid valve cover and then put all the top end stuff back together


    Getting close to bolting up the clutch and trans and dropping it in.

    Teaser as to the special project Greg at BavRest did for my car....


    My cluster is in route back to me so this will have to do for today.

    Leave a comment:


  • E30stan
    replied
    Superb documentation, Keep up the good work brother!!

    Leave a comment:


  • Gregs///M
    replied
    Great build thread Greg! Can't wait to see the cluster we build installed into the car!

    Leave a comment:


  • GDA
    replied
    Originally posted by Thujalvi
    I'm just going to have to ask.

    Is the seat folding handle supposed to point towards the centre of the car, or is that slightly bungled up? Awesome build regardless.
    These are not the original seats to the car. They are out of a coupe and they are set up this way till I get the proper backing sections with no cutouts.

    Yeah, good bust. They are not quite proper yet.

    Leave a comment:


  • Thujalvi
    replied
    I'm just going to have to ask.

    Is the seat folding handle supposed to point towards the centre of the car, or is that slightly bungled up? Awesome build regardless.

    Leave a comment:


  • GDA
    replied
    Originally posted by iXguido
    nice work, this will be beautiful when it's done! heck it already is!
    Thanks. It is on the home stretch and reminds me of a good line from Layer Cake....

    Details, details, details... don't bother me with details. Just let me know when it is done.

    LOL

    Worked on the motor ancillaries and bead blasted one part of the valve cover and painted with black wrinkle paint. Tied up today and tomorrow so Friday night late will hopefully be the start of motor final reassembly.


    Bead blasted with fine glass bead


    Painted parts with Alumablast paint and fresh coat of black wrinkle.

    Leave a comment:


  • iXguido
    replied
    nice work, this will be beautiful when it's done! heck it already is!

    Leave a comment:


  • GDA
    replied
    Tore into the front of the motor to change oil filter housing gasket, water pump and thermostat. Detailed some items along the way.

    For those interested.... this motor has not run since 2006 or early 2007. Thermostat and water pump were filled with crusted/dried coolant. Looked like dried colored glass but was just a very thin film that cleaned up pretty quickly. Glad I pulled it to check as that would not have been good for my new rad and assorted coolant parts, let alone the motors guts.

    Parts after removal from the motor.... ugh


    Cleaned


    Comparison against the old thermostat


    Waiting on new water pump from UK vendor that was supposed to be here on Monday. Tracking says it has cleared O'Hare so that will be a hold up on getting the motor ready to stuff back in here in the next few days.

    Till next time

    Leave a comment:


  • GDA
    replied
    Steps and more steps toward the day I can finally make this a turnkey...

    Prepped the MZ3 and Euro oil cooler along with factory E30 Aux Fan switch as I will be running AC.


    Got a nice box of parts over the weekend some of which were on backorder for quite a while.... Euro E36 expansion tank, mounts and E36 325 tds mechanical fan.


    325 tds diesel fan is quite slim. I did not measure it tonight but a guess is it is a third of the height of the factory Euro S50B30 mechanical fan. I do have the motors original fan so will post up a comparison later.


    Cleaned and prepped the evaporator coil and aux fan for install.


    Ran into a snag late tonight and really wished I had just done some dissasembly on the motor first. Pissed is putting it mildly.... purchased a Air pump exhaust block off plate from one of the major tuning vendors and it was not even close to the proper dimensions or spacing on the bolt holes.

    I had to drill out one end and then grind away a bunch of material due to the castings on the block. If I were to do it again, I would remove the factory pipe, cut it off right at the neck and then weld in a cover plate to seal it.

    Anyway, here are the pics of a quick and dirty job on this block off plate. The sourced items are shown next to the factory gasket which had the exact dimensions to fit tight against the block castings. Did I say this piece was NOT EVEN remotely close! It is time wasters like this that made me think I should have just done a US S50 and called it good.


    Given how ugly this piece is I will probably do that as a project sometime after the car is done and running.

    Till next time.

    Leave a comment:


  • GDA
    replied
    E34 540 brake booster brackets are welded and ready for painting. Huge sense of progress to see the last major fabrication item - ABS relocation was completed after lunch today.

    Cut an access hole for the wiring harness and then submarined it and utilized a factory hole in the body and the factory horn mount. I will probably work on them just a bit more before paint so they don't look like they were made with a cutting wheel, a 5 lb sledge and a vise.

    The location did not require any extension of the factory wiring.


    Leave a comment:


  • GDA
    replied
    Waiting on a bunch of O rings and gaskets and new water pump from the UK for final prep on the motor before install. In the meantime finished the front seats refurb with new leather and seat shocks. Damm time consuming work.

    New shocks


    Installed in mechanism. I used a huge water pump/monkey wrench to compress the shocks. New ones were super stiff and I could not compress them by hand.


    Redyed the seatbacks in an effort to hide 20 plus years of scratches and wear.


    Fully finished front seats


    My fuel tank finally arrived and it went in with all new hoses, clamps, pump and senders.

    Pricey but I do not want to touch it for another 5 years. I waited this long to get it running and fuel problems with my motor are not something I even want to think about.


    Prepped and ready to put up in chassis


    Thanks to Blunt for providing at a great price the parts to rebuild the windshield washer system. The old original hoses were so hard from heat here in Texas the whole system had to get new hoses so while there put in new jets, pump and tank given the price.

    Leave a comment:


  • GDA
    replied
    Originally posted by red2.4srt
    Absolutely love the attention to detail and the quality of work. Nicely done, can't wait to see more updates on this! :up:
    Originally posted by Matt341
    just stumbled on this amazing work and great attention to detail. Not a simple sedan build dont sell yourself short.
    Thanks guys.

    Friend dropped by and caught me in action repairing the drivers seat frame.

    It was the last hurdle to knock out on the car behind the firewall. I am finishing the front seats this weekend and its on to motor time.

    Hell Yeah!!

    http://vid72.photobucket.com/albums/...pskt79ob5a.mp4


    Leave a comment:


  • Matt341
    replied
    just stumbled on this amazing work and great attention to detail. Not a simple sedan build dont sell yourself short.

    Leave a comment:

Working...