

Congrats on the human addition to your family!
Car looks great, I'm so happy you're back at it. Its getting there!
-
Back after it today and need to simplify all my parts storage issues along with marking the car movable due to completely removing the steering column to weld some mods to the pedal box and also install the new firewall insulation.
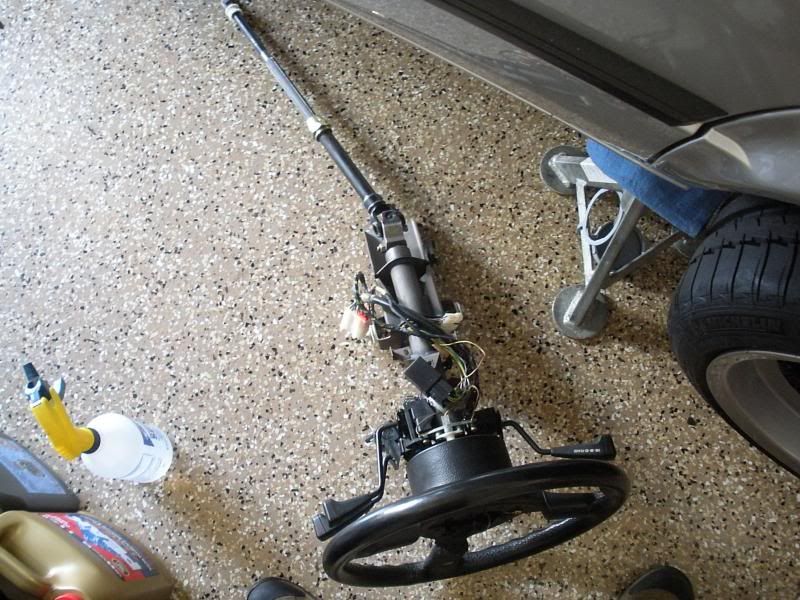
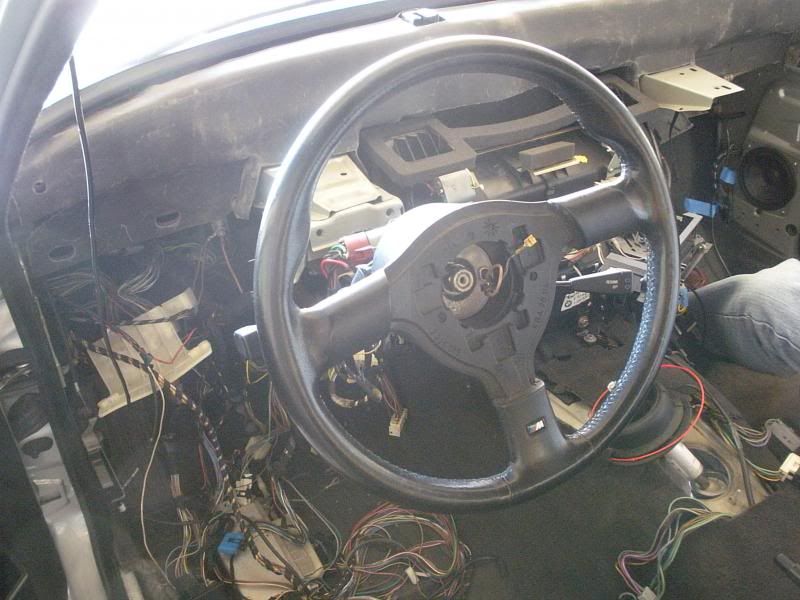
Up first - reinstall steering column
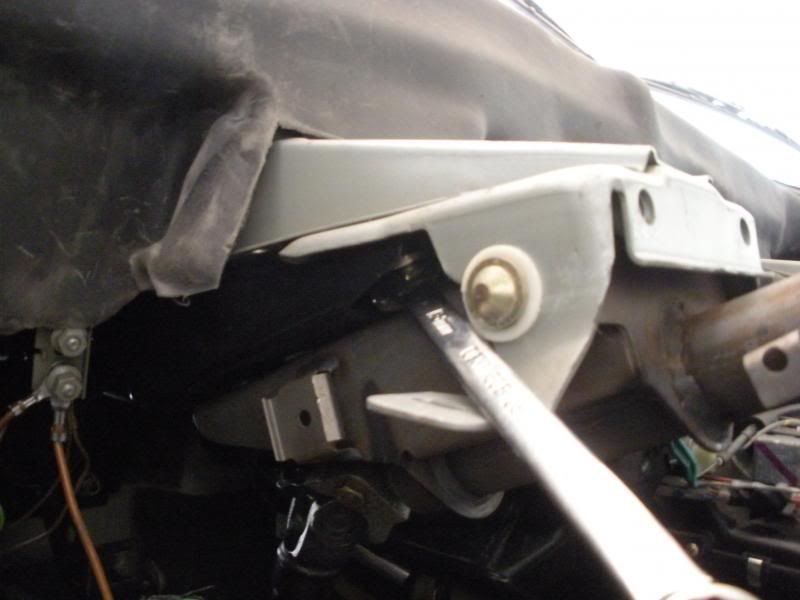
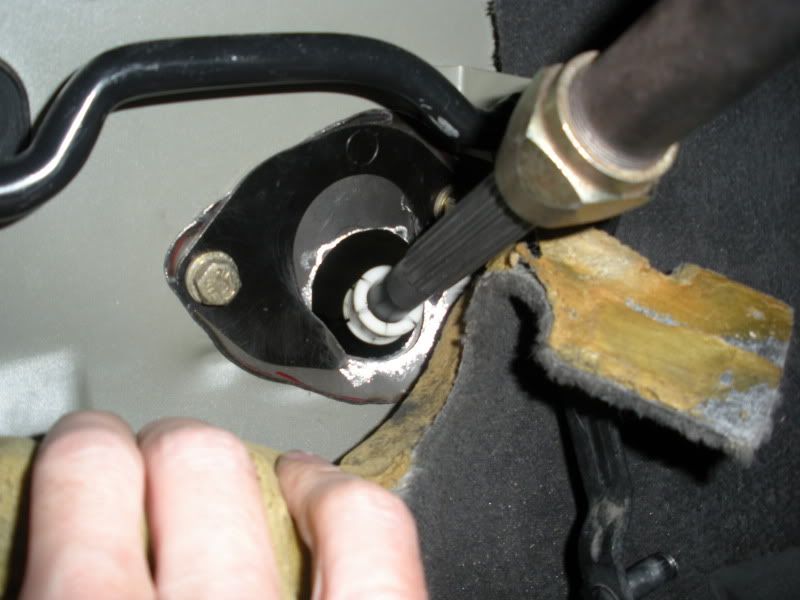
modified firewall bracket from E34 540 to allow for remote brake arm to pass through firewall to booster up by the drivers headlight
Remount pedal box bracket to firewall
Slide back into column bracket the steering column and then mount with hardware
All complete...
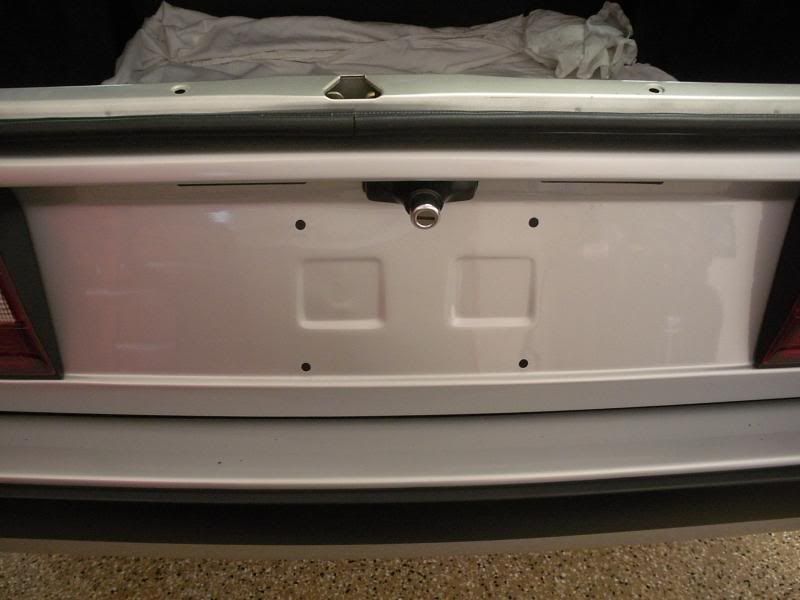
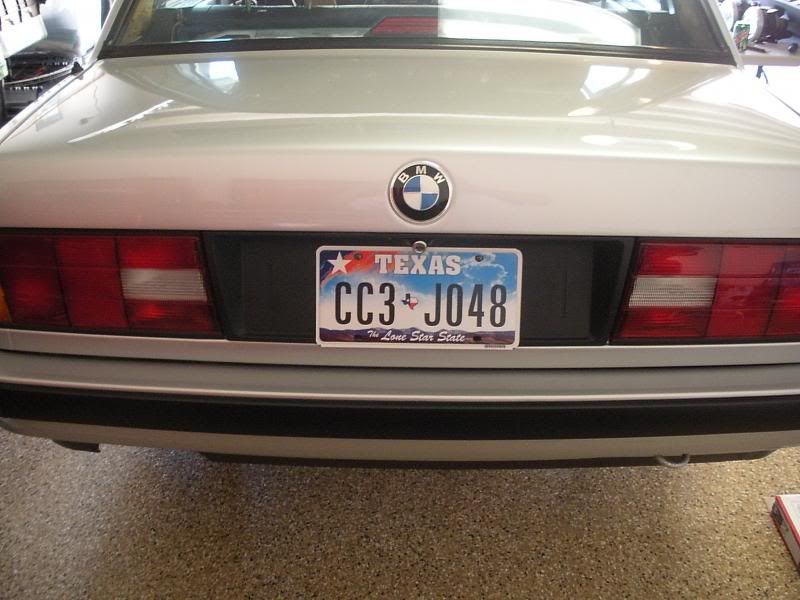
Next up was rear Euro bumper trim and license plate filler
remove old mounting hardware
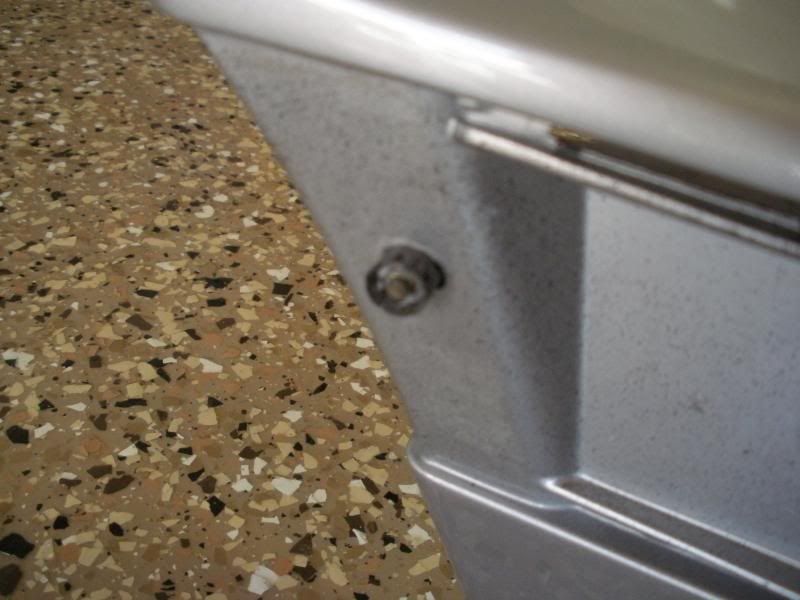
Install is super easy if you have the bumper removed.
All done!

Install license plate filler
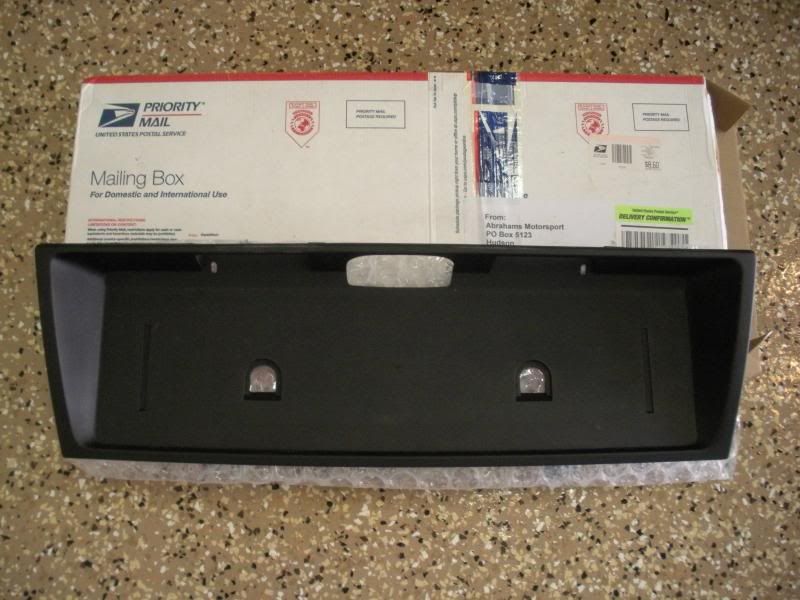
Remove all trunk trim to be able to mark from backside holes with silver sharpie pen to drill out license plate mounting holes
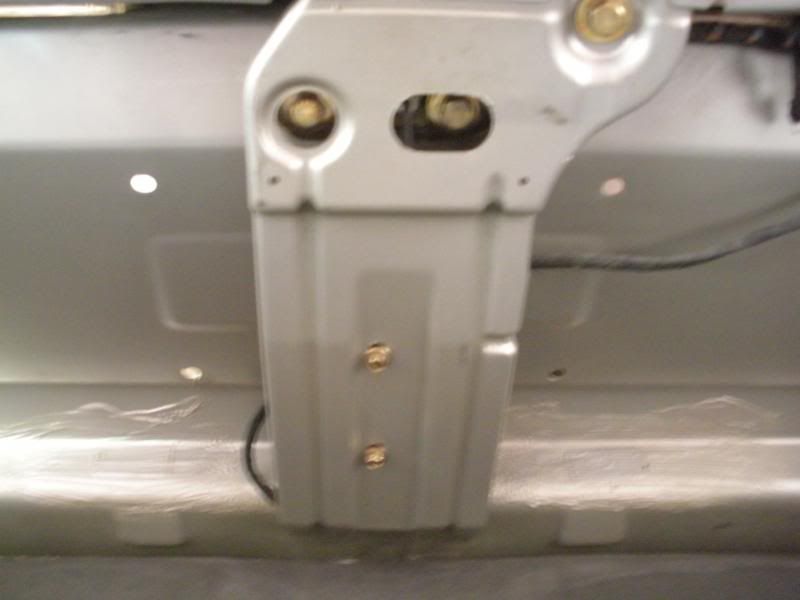
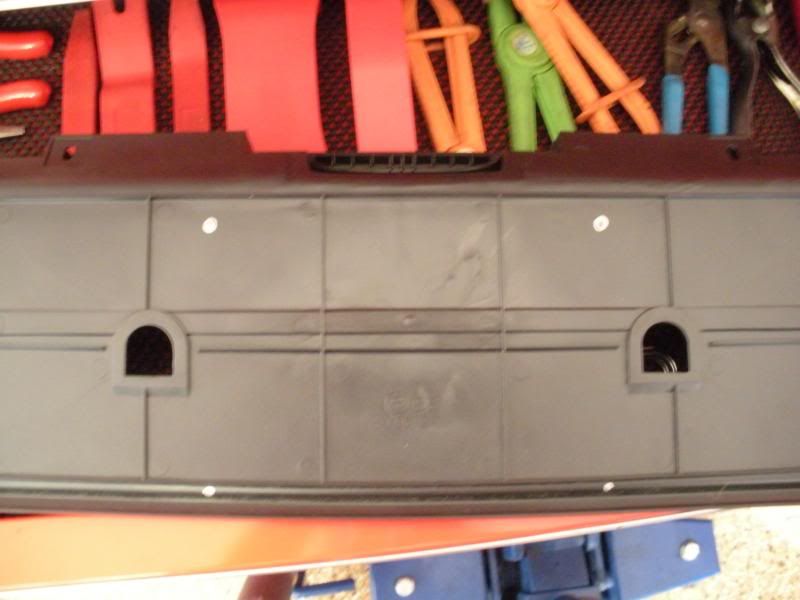
Use some 3M double sided tape and with the license plate bolts it is not going anywhere....
All complete
Leave a comment:
-
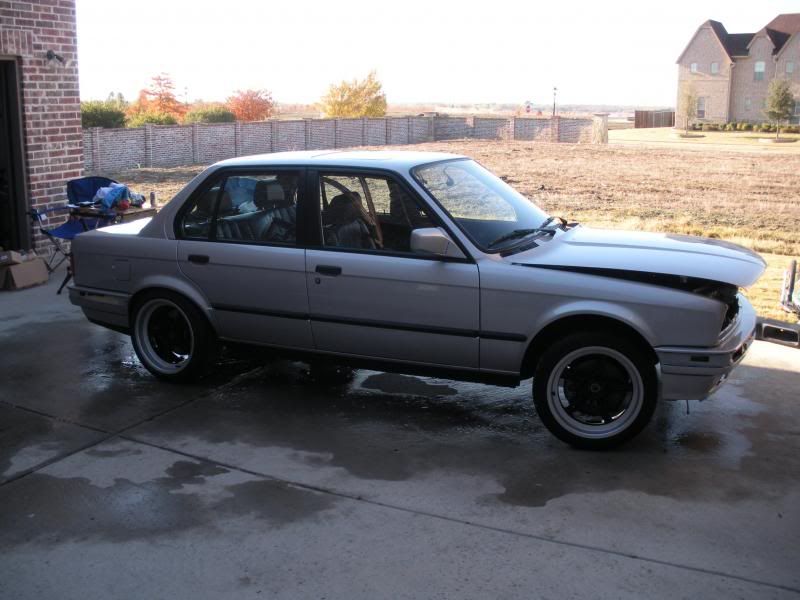
After more than a 6 month timeout due to the birth of my son project Euro S50 is back!
Rolled it out of storage and gave the car its very first car wash
Next item up was setting up some parts tables to start getting all the packed up parts sorted and start a working to do list
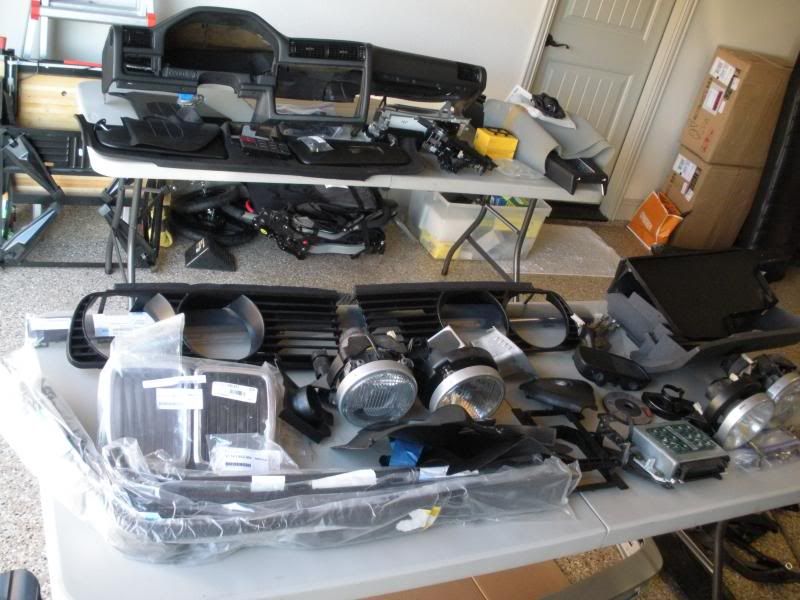

Sir Blunt provided all the new Euro trim, all new interior console pieces and lighted shift knob.

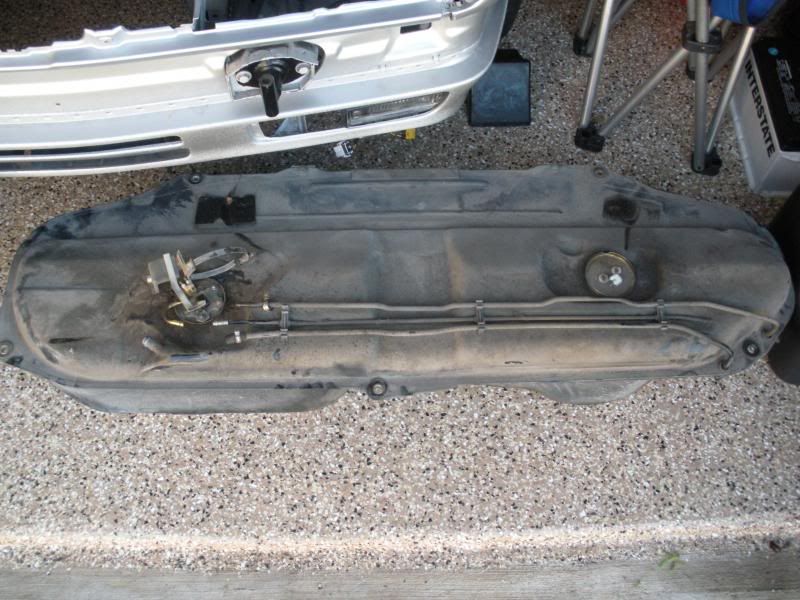
And since it has been a few more months some more funds are available for the project so I'm going to go ahead and do it right and install a new gas tank and fuel pumps. The original has a big dent on the passenger side of the bottom of the tank which is not good given proximity to the pump.
Today's project was removal of the original tank. Pretty simple actually when all the fuel hoses are original you just cut them with a wire cutter, unplug pumps and sender and then remove filler neck and 5 bolts holding up the tank and out it comes.
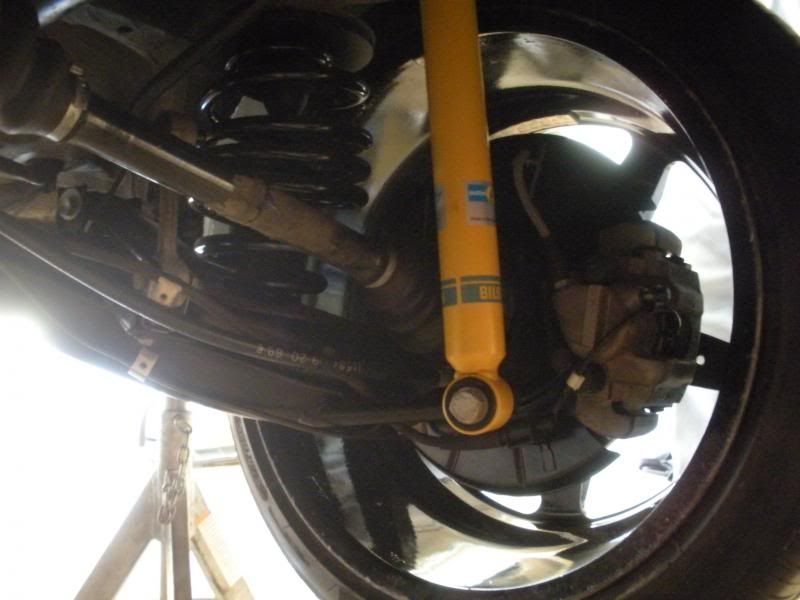
My dad helped get me started on the project again and while dropping the tank we were both pumped about how cool it is to see a completely refurbished E30 M3 rear suspension from underneath.
Leave a comment:
-
New find... do I take the time and install this cool piece or not?
I am thinking yes, what say you guys?
BTW - coated garage floors are soo worth every hour and $ spent.Leave a comment:
-
It's almost the middle of the first week of June, I hope something new is coming soon :)Leave a comment:
-
Thanks!
Sorry guys, no significant updates on the E30 to be shown as of late. For the past four months been dealing with finishing out and getting moved into a brand new custom home up in Frisco and have been working feverishly on some interior home remodeling jobs (new mouldings, basebords and drywall work) on the old house for the new renters to enjoy starting in July. So the E30 has been put on hold.
That said, I have a whole week off in early June and got a pass from the wife for it to be E30 week! I can't wait...Leave a comment:
-
Made a comment about this build on the other site but had not been keeping up with it. Progress looks great.Leave a comment:
-
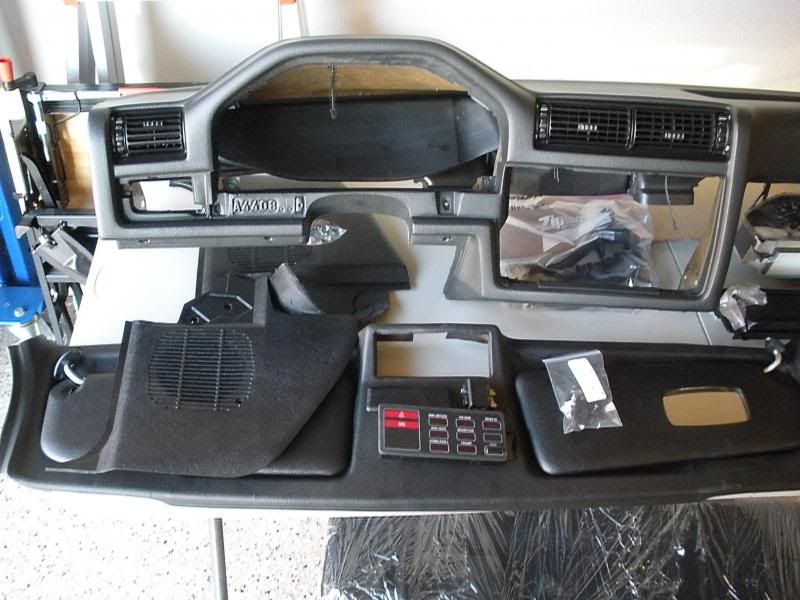
Well R3V here is another update on the build... to say I feel like a fool posting this is an understatement but it was a stupid mistake/hurdle I had to cross to move forward on my build and be able to get to some real progress - getting the dash back in this little beast.
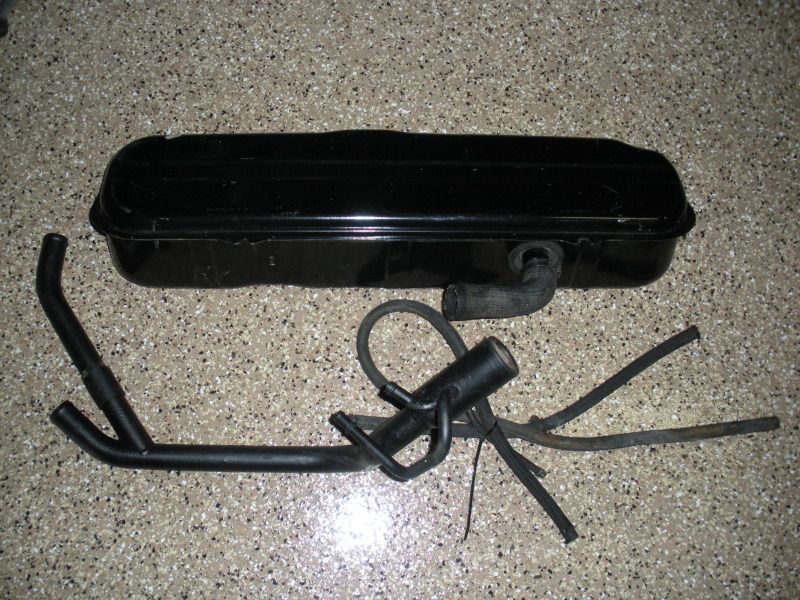
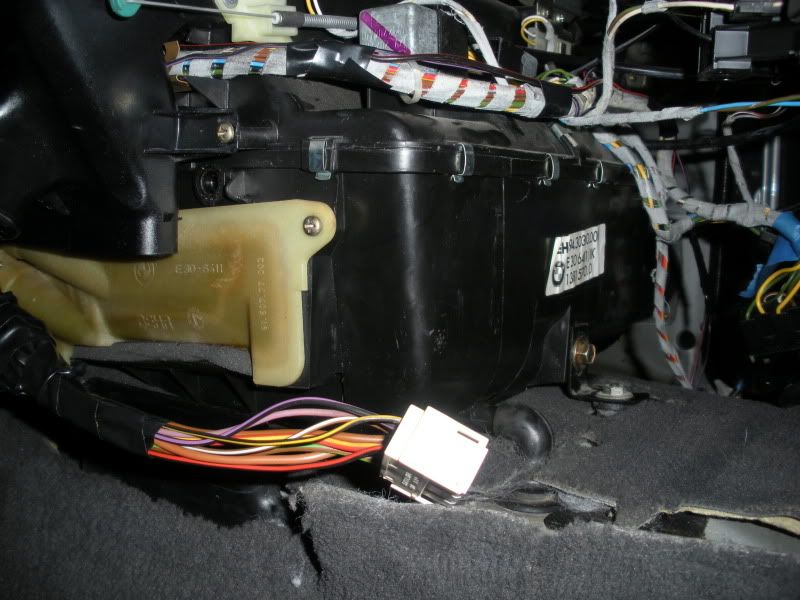
In a prior post I had refreshed the heater box and blower motor but one thing I did not mention was that I also get a really clean heater box out of a 70k mileage garage queen that got hit hard, totalled and parted out a couple months ago. I stumbled on this deal and jumped on it to have a super clean hvac box.
I thought I had done my homework to get the right one of the two heater boxes but there is also another complicating factor....
there are also two wiring looms! And guess what dammit?
This one didn't match when I went to plug it in the other day! Just my luck
This afternoon I pulled the box and rewired my old loom plug onto the newer heater box wiring loom. My 1990 had two wires on the AC/DME plug so I just wired that in on top of this harness.
Wishing this issue had been documented somewhere else as I wasted a good day or more on my build researching and messing around with this relatively minor issue.
Anyway, pics for the next poor guy who gets in a similar predicament...
Late model heater box 9 wire harness plug
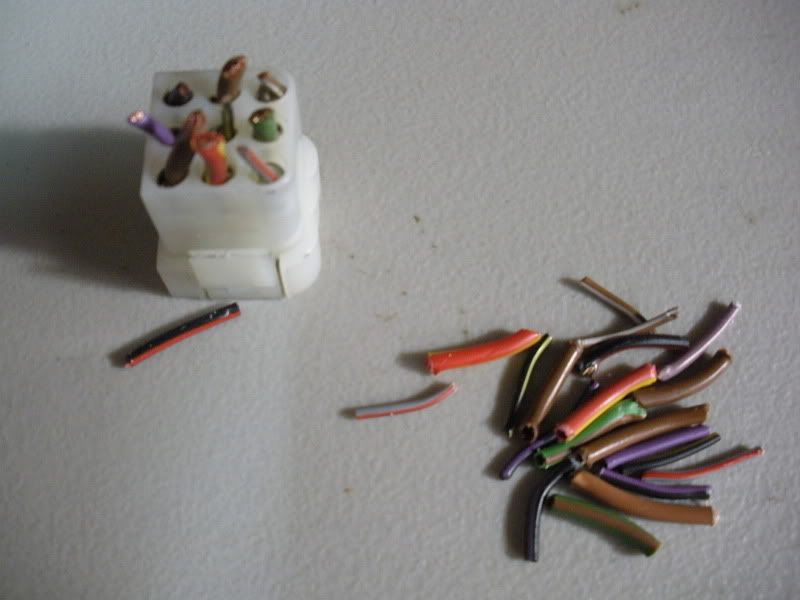
The RD/BK wire ( nearest the plug above) was missing on this late model heater box harness.
My 1990 heater box harness plug and loom cut and soldered in...
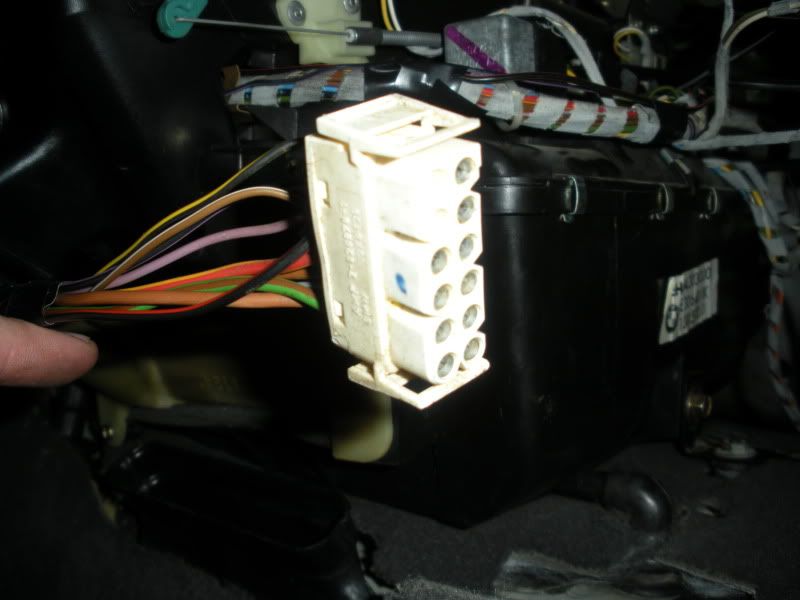
And to show the difference in looms... 9 plug versus 10 wire square heater box harness plug loom.
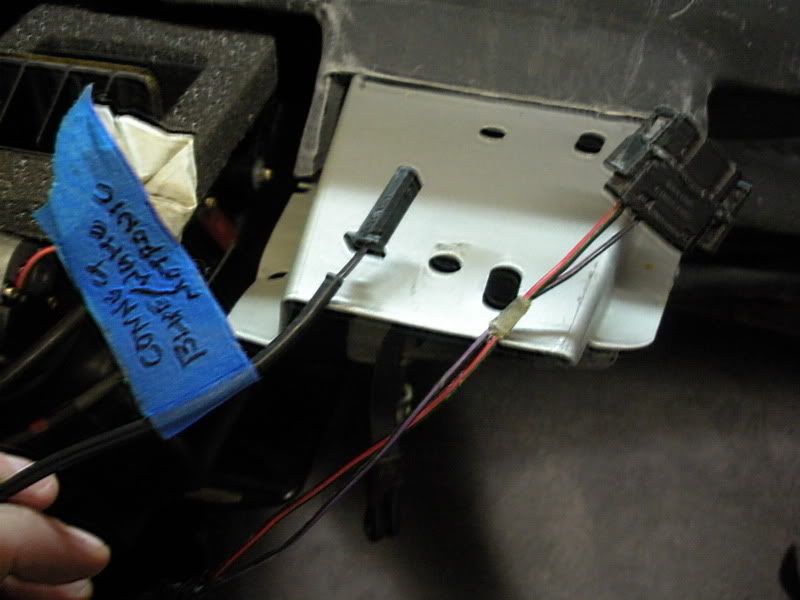
So after all this I jumpered K7 and made sure all the control panel lights and blower worked on all four speeds.
Frustration on your build comes from the smallest issues at times.
Leave a comment:
-
^ Thanks guys. It has been quite the adventure so far.
Today's update....
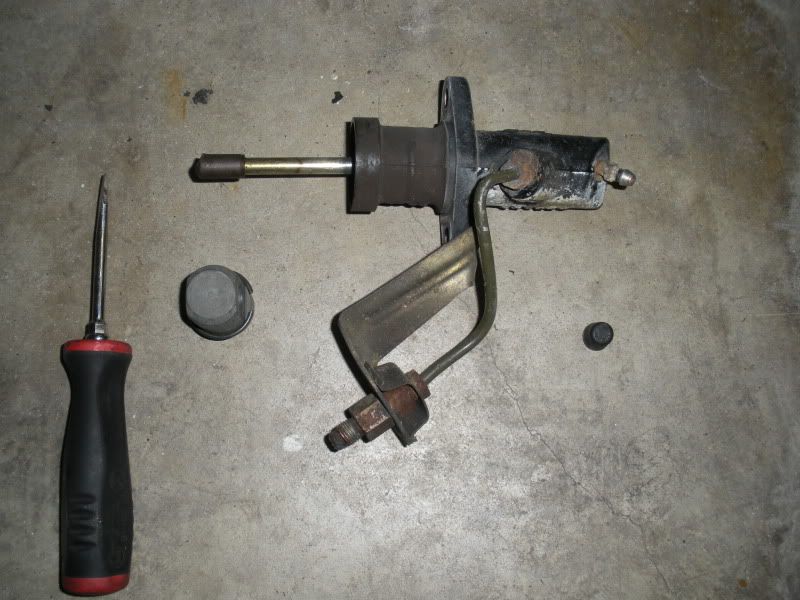
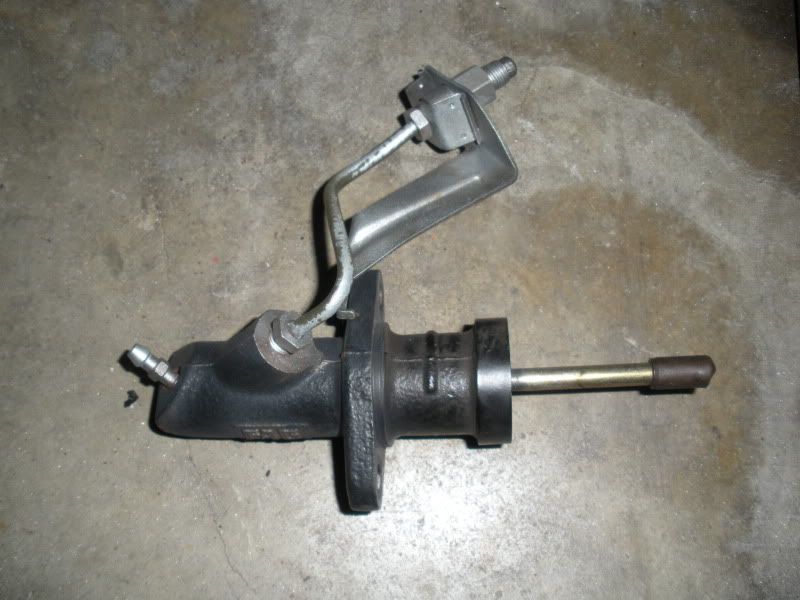
Prepped and bead blasted/cleaned my clutch slave that I got with used tranny with 80k miles.
Next post will be mods for the Z3 steering rack into 1990 airbag car
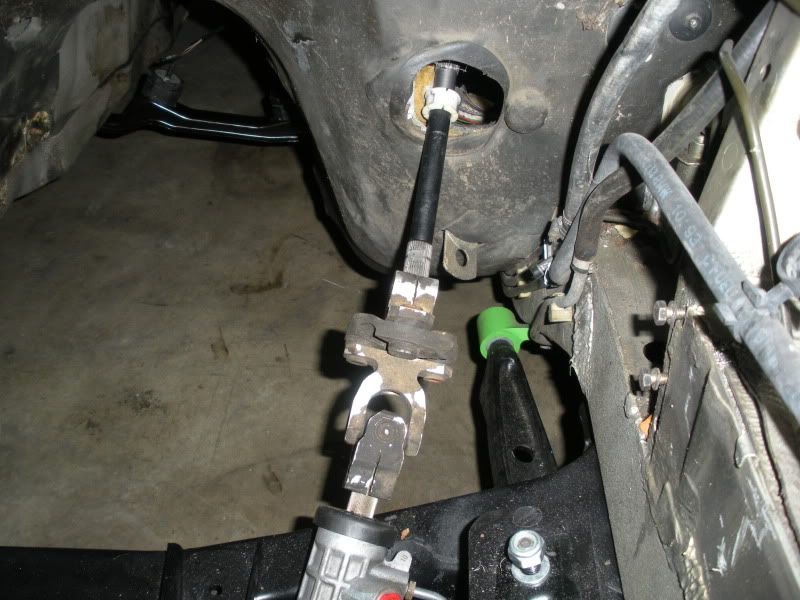
Install of the Z3 rack and how I approached the firewall mods...
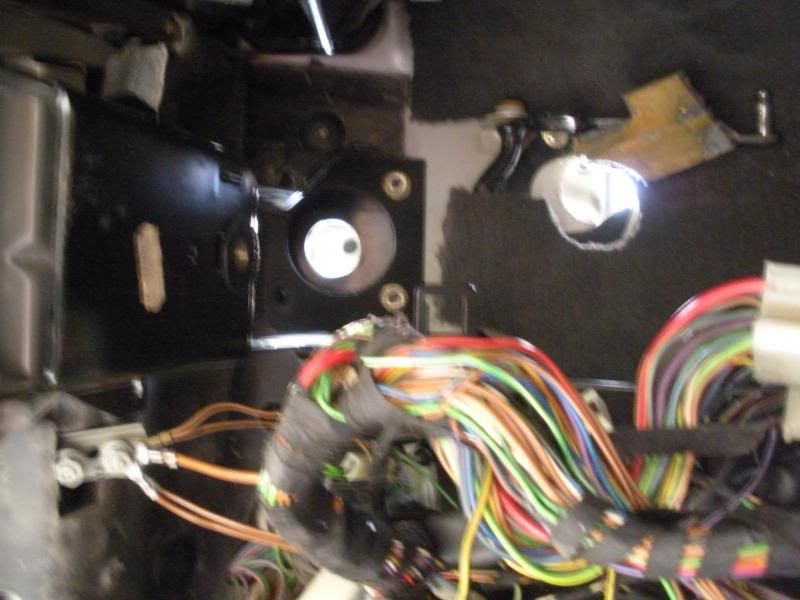
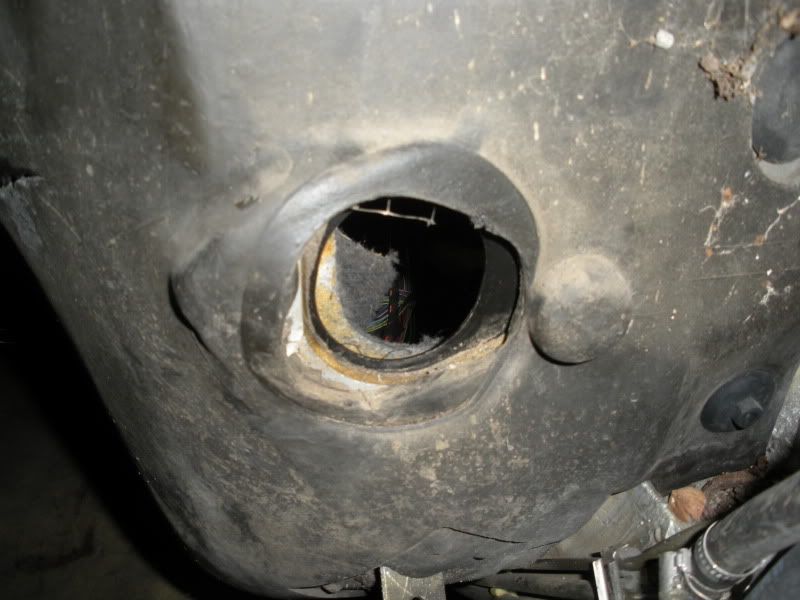
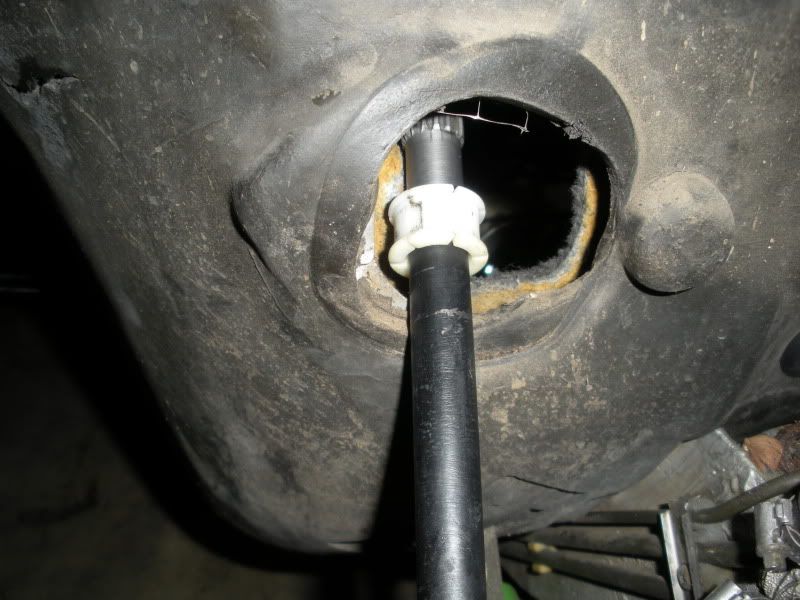
Before pics showing steering shaft and how it binds on the lower cutout in the firewall based on angle of Z3 rack and steering u-joint interface
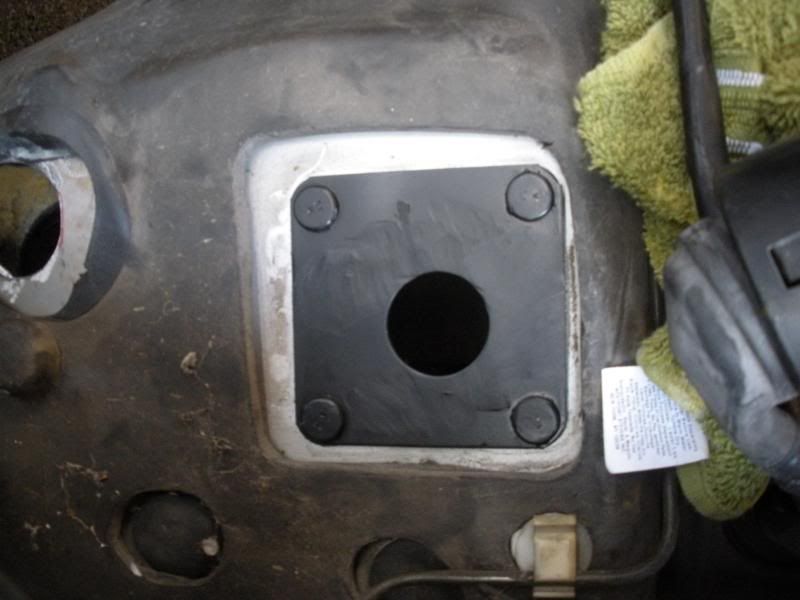
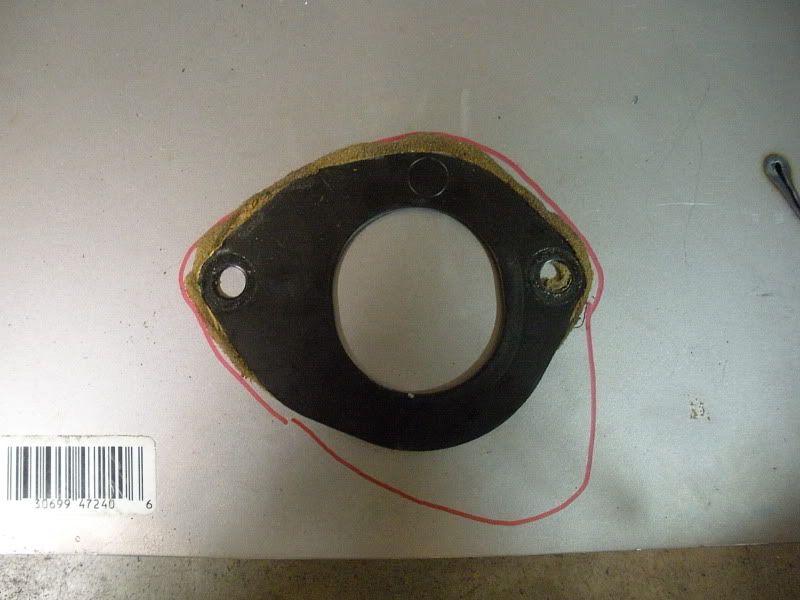
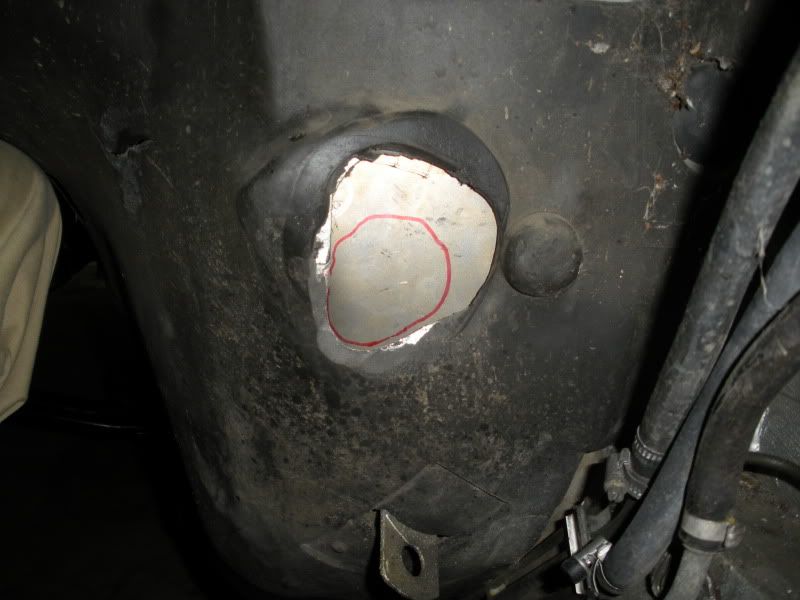
Firewall hole - stock
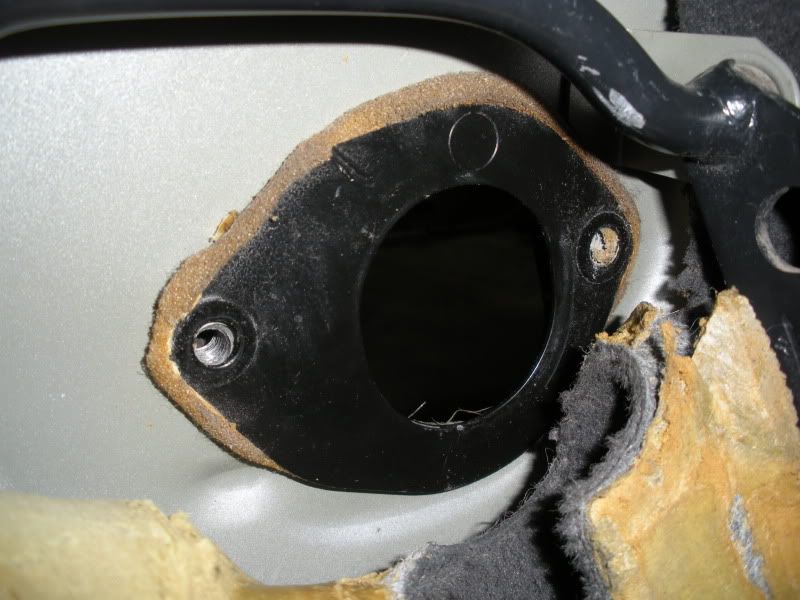
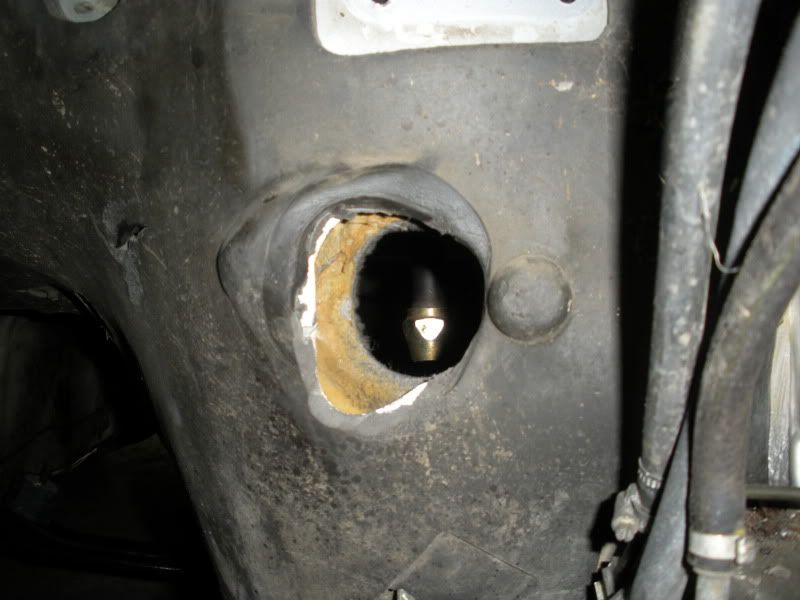
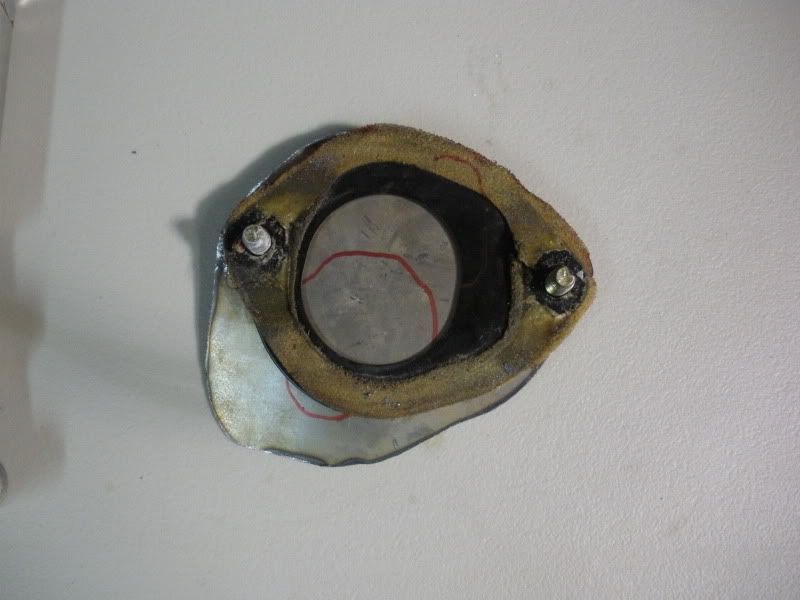
Pic of same from driver footwell - this cover plate will need modification
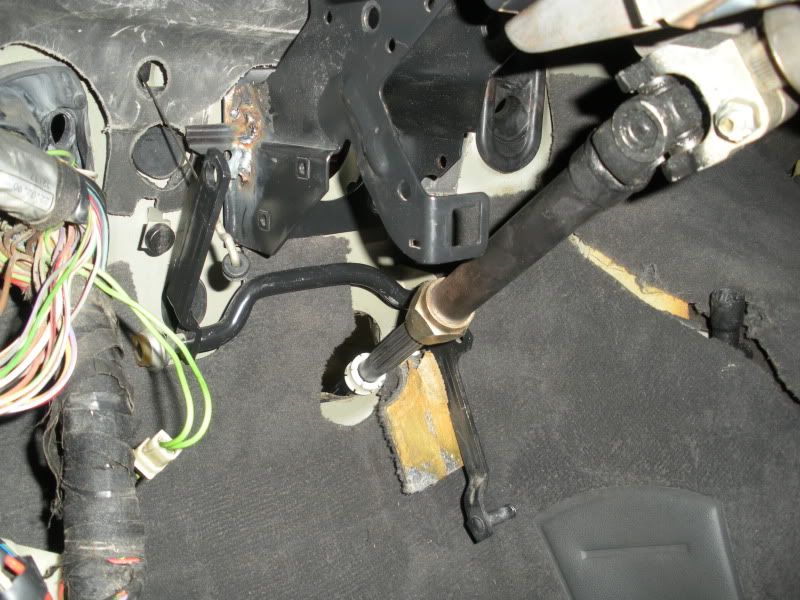
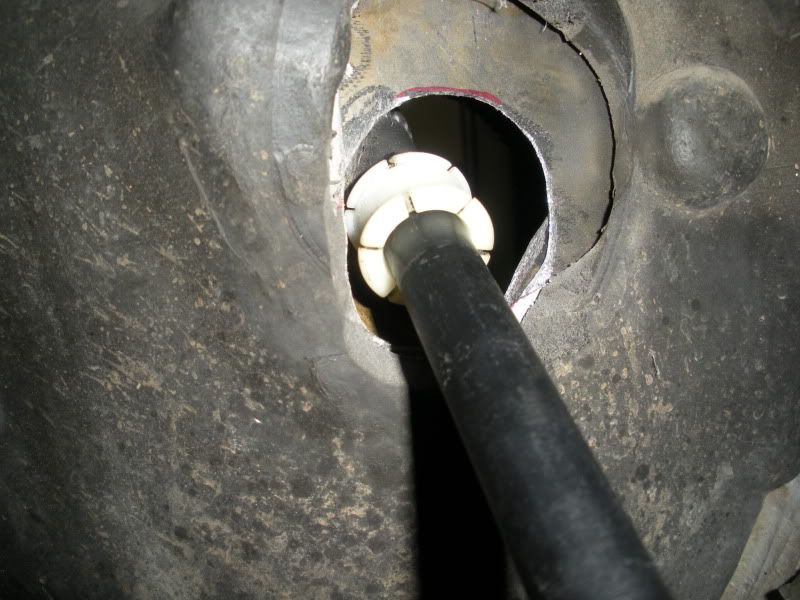
Steering shaft with E36 Z3 rack moves the angle down and toward the passenger side and mine rubbed slightly
Same issue as seen from the engine bay
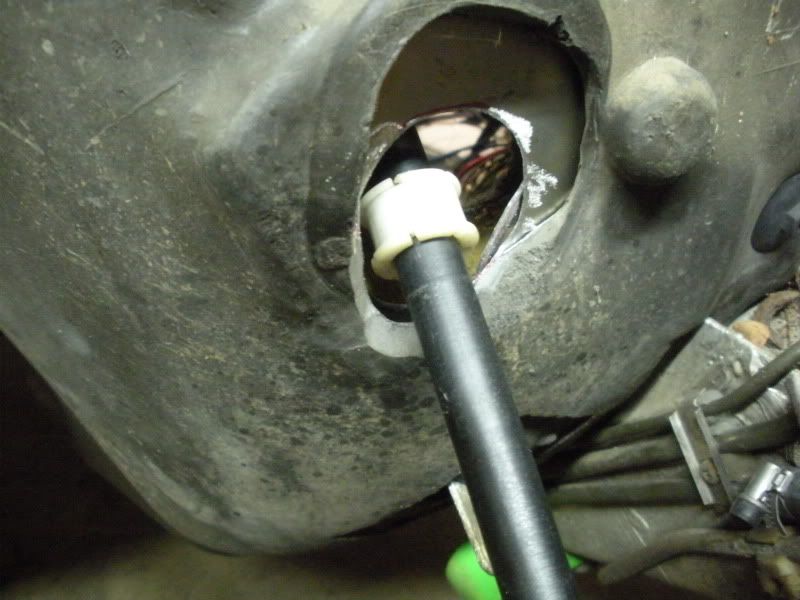
Next up is enlarging the firewall hole...
Marked out with Sharpie to give almost a 1/2 inch or so clearance
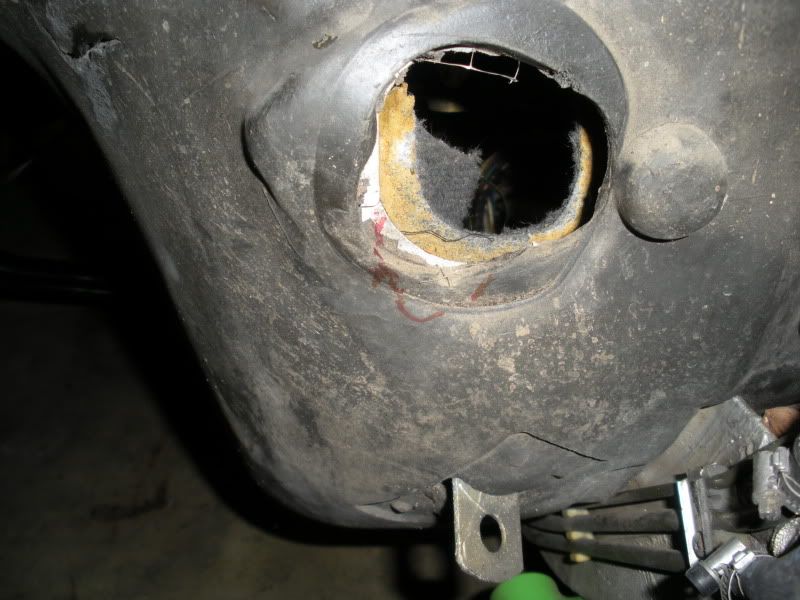
Cut back insulation and used die grinder on the sheetmetal of firewall
Drafted, cut and made another structural cover plate to use behind modded stock plate
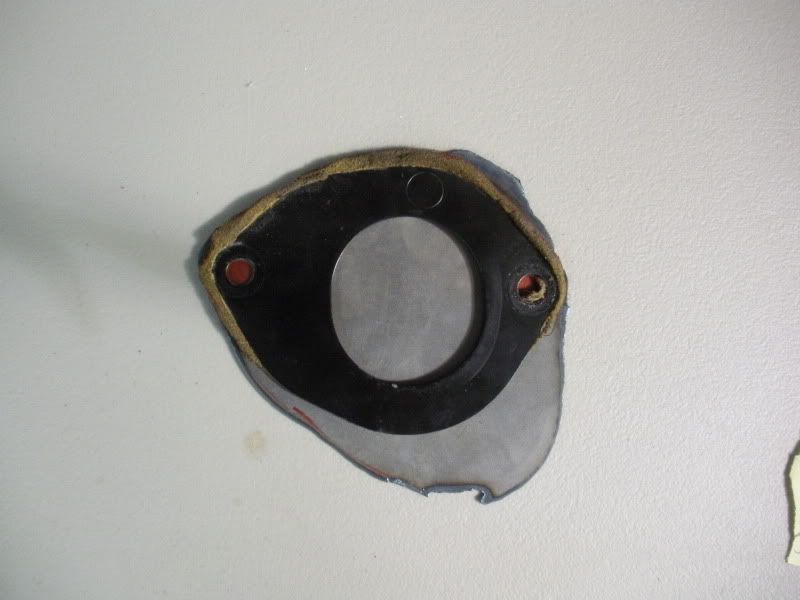
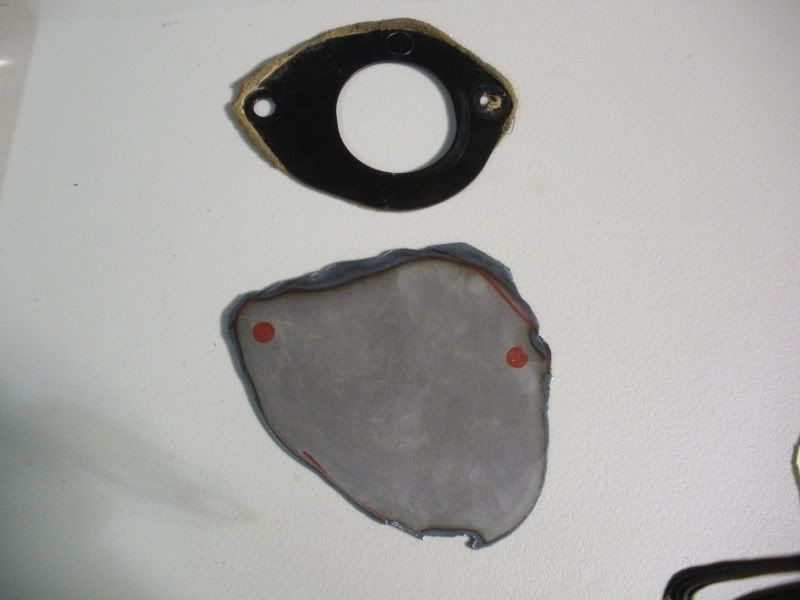
Ground out hole and cut slot in stock plate for clearance
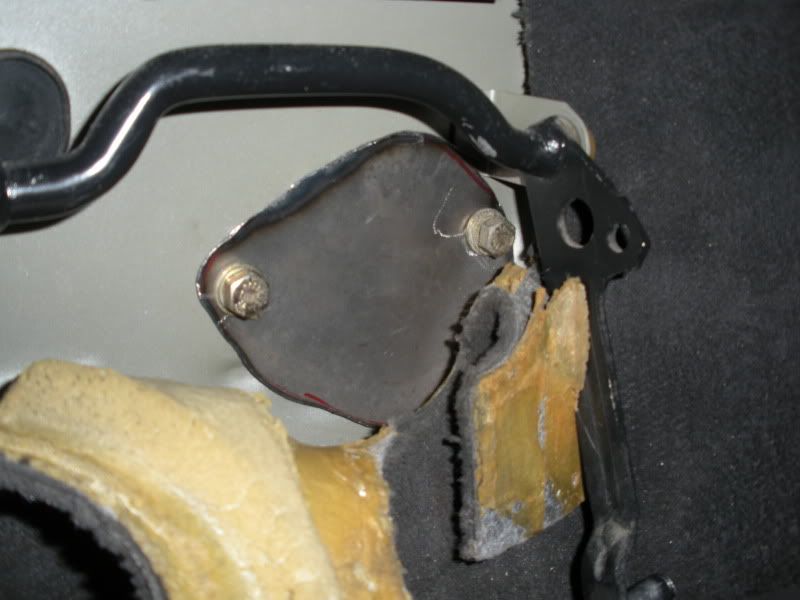
All is left is to clean, paint and pick up some door/window seal foam from HD to help seal it and this part of the build is done.
Thanks for following my buildLeave a comment:


Leave a comment: