-
Suggestion: find a rear apron ASAP. Made such a huge difference in mine.

Leave a comment:
-
welds arent that bad, just needed something to pass inspection. i still have the airdam, idk how much to sell it for
theyre working out really well, theyre not too low(about a 1.5in drop) but im happy with them. also the handeling feels greatLeave a comment:
-
A muffler shop did those booger welds? *sigh*
Probably sounds nice though.
Hope you sold the IS valance for a good chunk, those are getting harder and harder to find.Leave a comment:
-
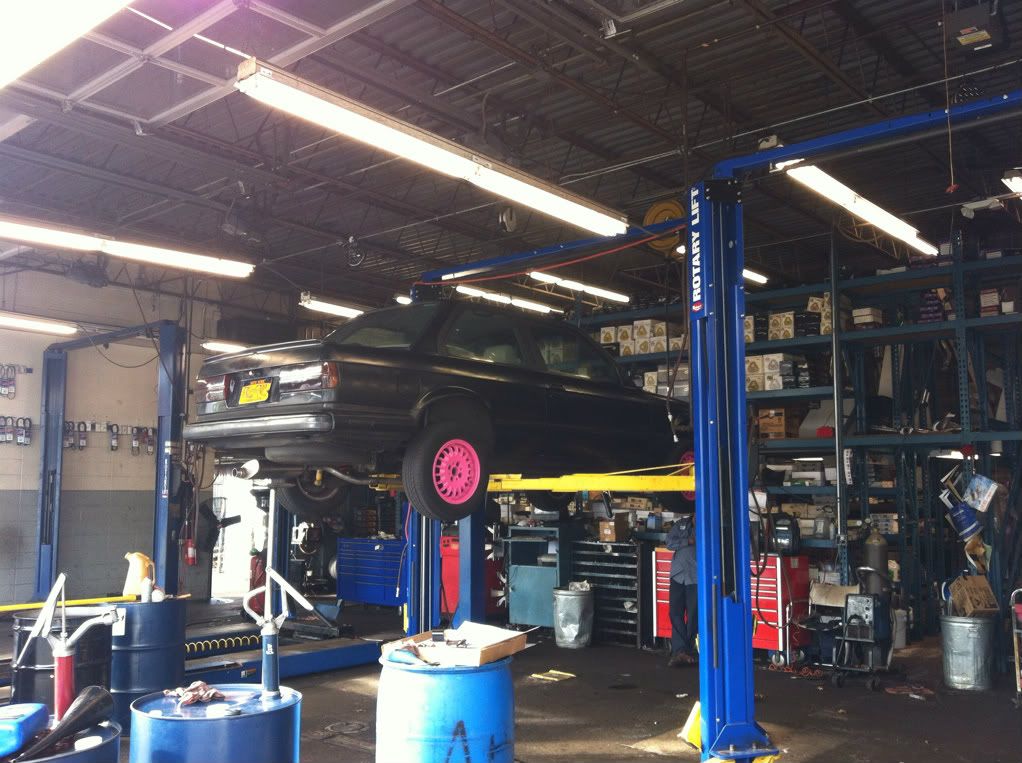
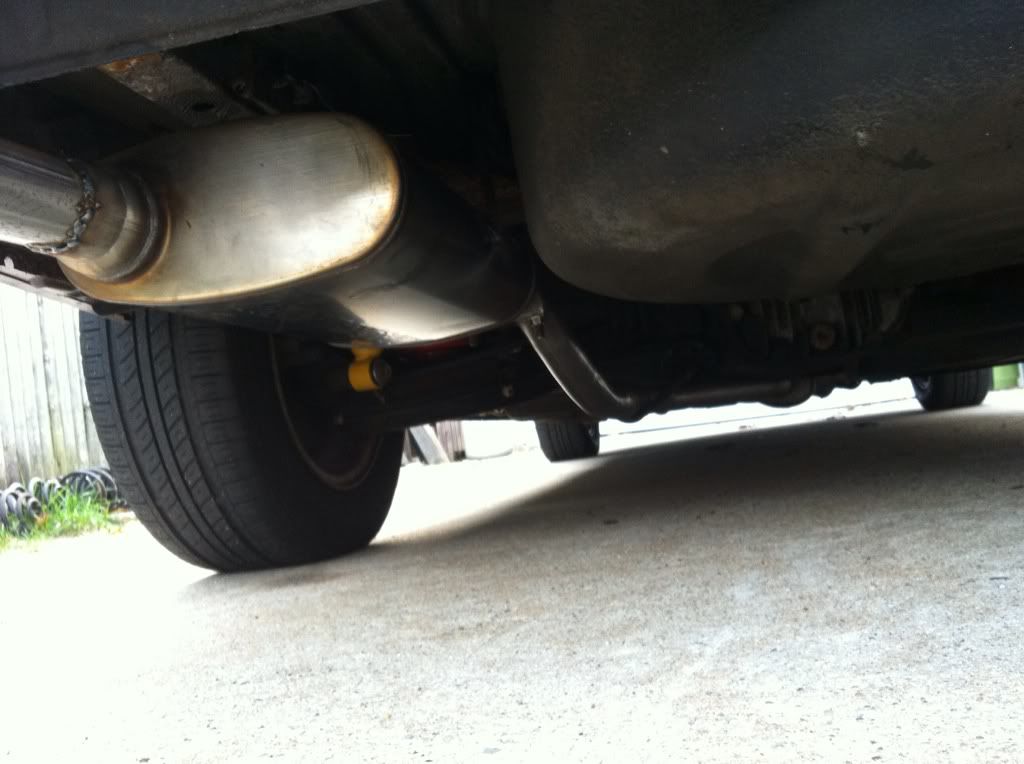
heres another quick update. finally got the exhaust done which ive been waiting to do for weeks. the flanges on the cat were rusted off so i had to get a custom pipe welded on. its just a magnaflow with the stock resonator
on the lift:
best pic i could get:
Leave a comment:
-
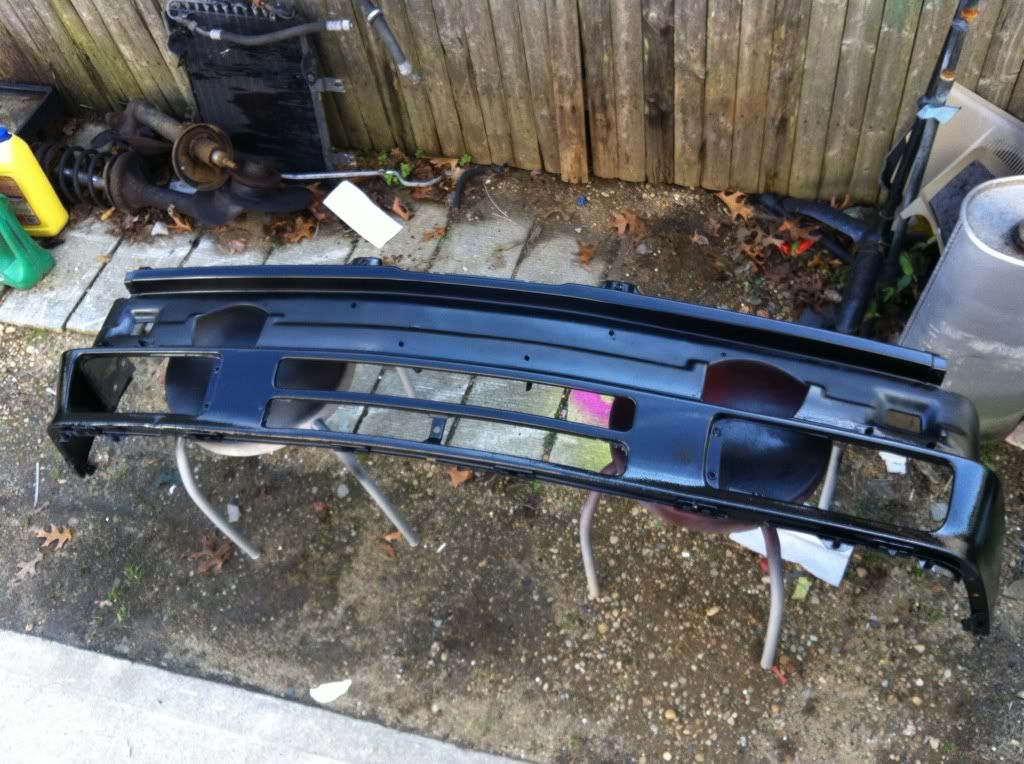
finished up the valence, heres some pics:
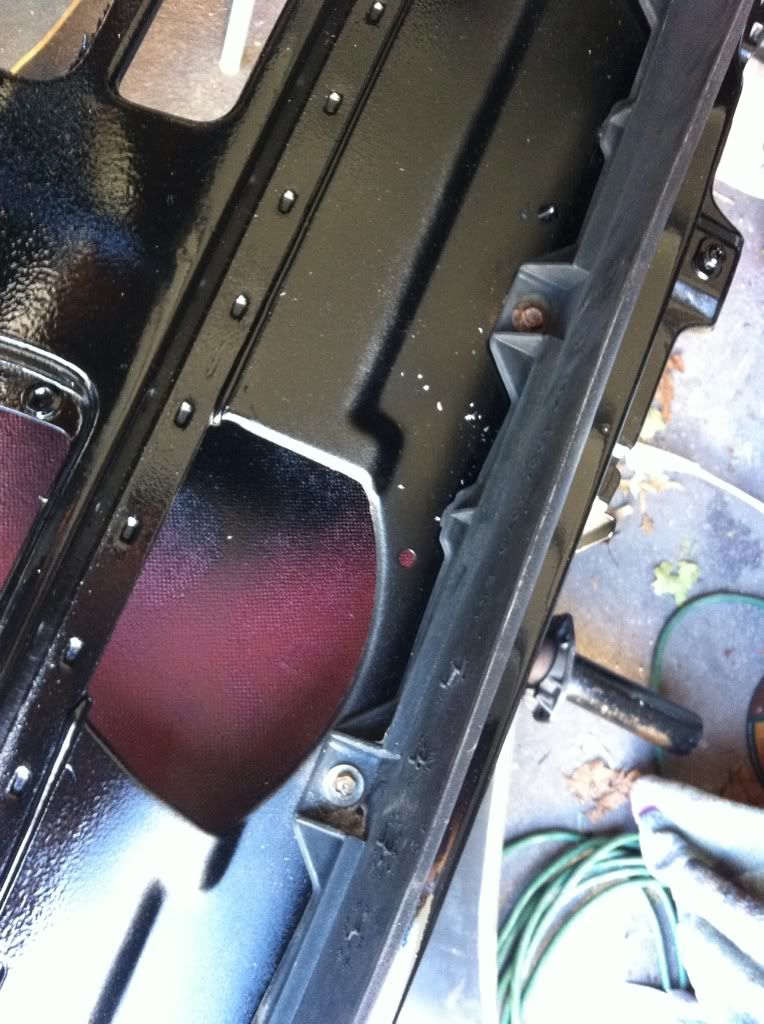
had to drill new holes to attach the bumper shrouds:
all done!
Leave a comment:
-
-
-
Coming along nicely. Kudos. I just got an es so this is proving to be super helpful.
I was wondering if you could give some specifics with regard to how you painted your diving boards black. How did you prep them, if at all? What sand paper, paint, primer, etc did you use? They look pretty good.
Also, just on a side note for those that may be interested: it is possible to tuck the front bumper without removing it. I found this out today while doing my own tuck on my 87 es. The 87's did not have the two convenient bolts underneath the bumper that the earlier models had... so you actually have to remove the bumper by unbolting it from the shock absorbers. I couldn't do this, however, because the bolts on mine were so badly rusted. To remedy this, I used a really long drill bit and drilled one hole in each section of the shock absorbers. It definitely wasn't fun, but it worked great. And I didn't have to run the car into a wall to push the bumper in. I just used a rubber mallet... worked perfectly.Leave a comment:
-
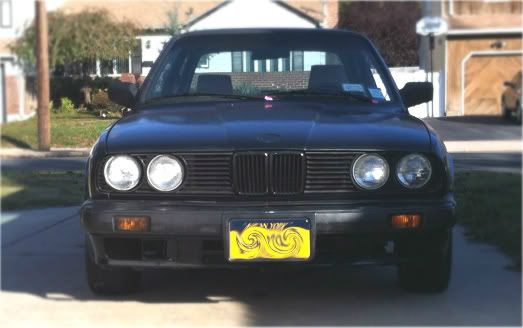
thanks for all the feedback guys! Now that the car is back on the road I've been able to drive the car a lot and i really love how it feels and how much fun it is.I finally got a late model valence as i really didnt like the "under bite" looking IS apron.
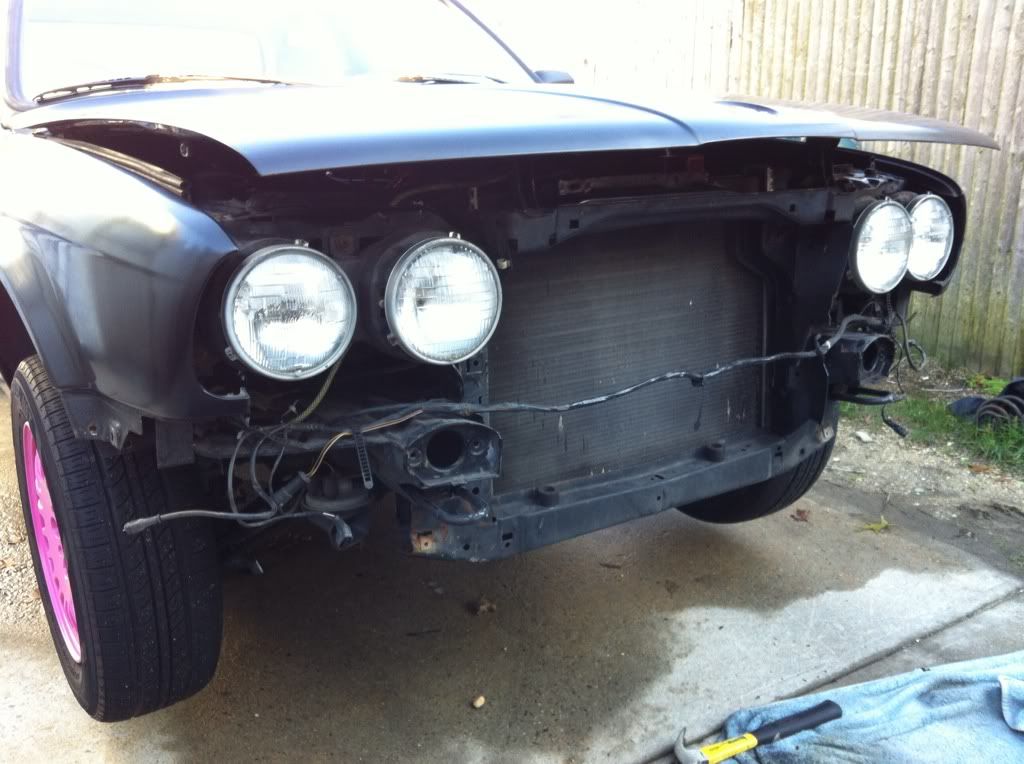
i got the old valence and apron off, it was a lot easier than i thought, the hardest part was temporarily untucking my bumpers.
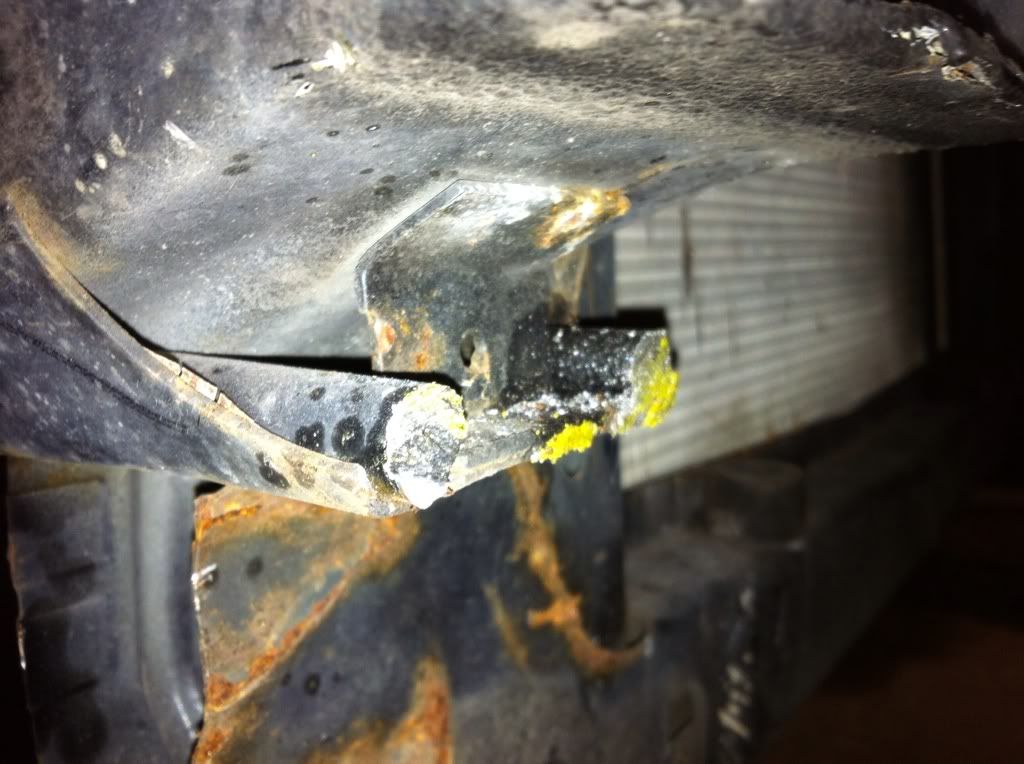
in order to mount the valence on my 86 i needed to remove my tow hooks. i just used a hacksaw and some patience.
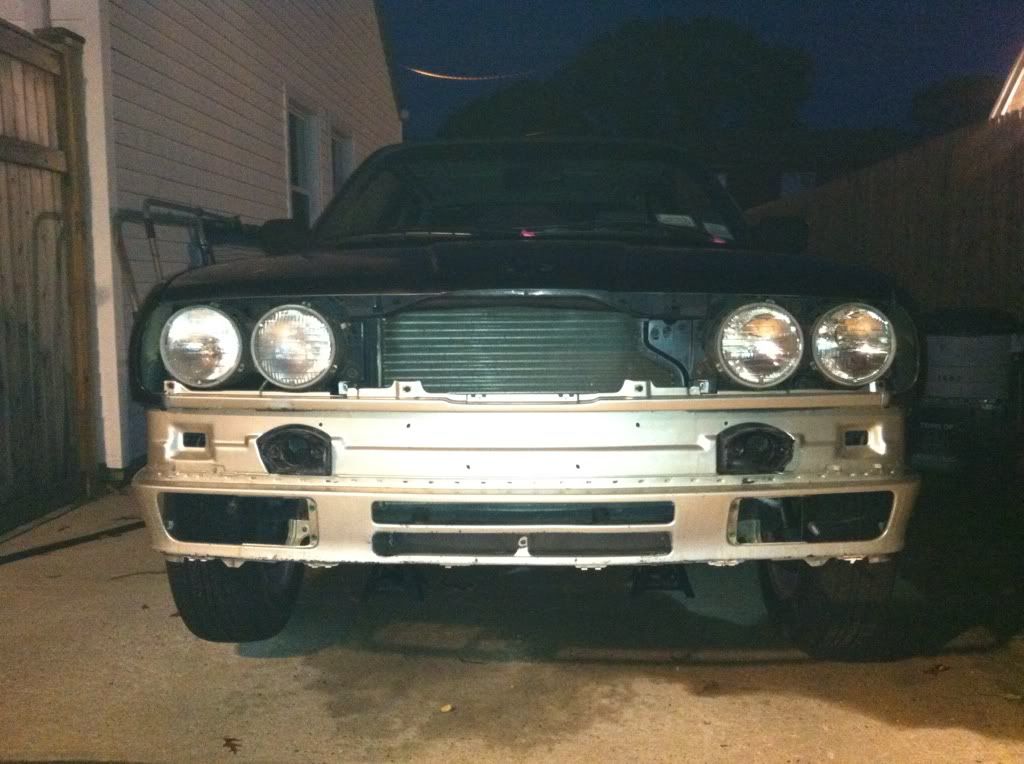
i test fitted it and everything fit perfect. i can't wait to get some paint on and mount everything back on!
Leave a comment:
-
dude sand your intake and valve cover, the raised portion only..Leave a comment:
-
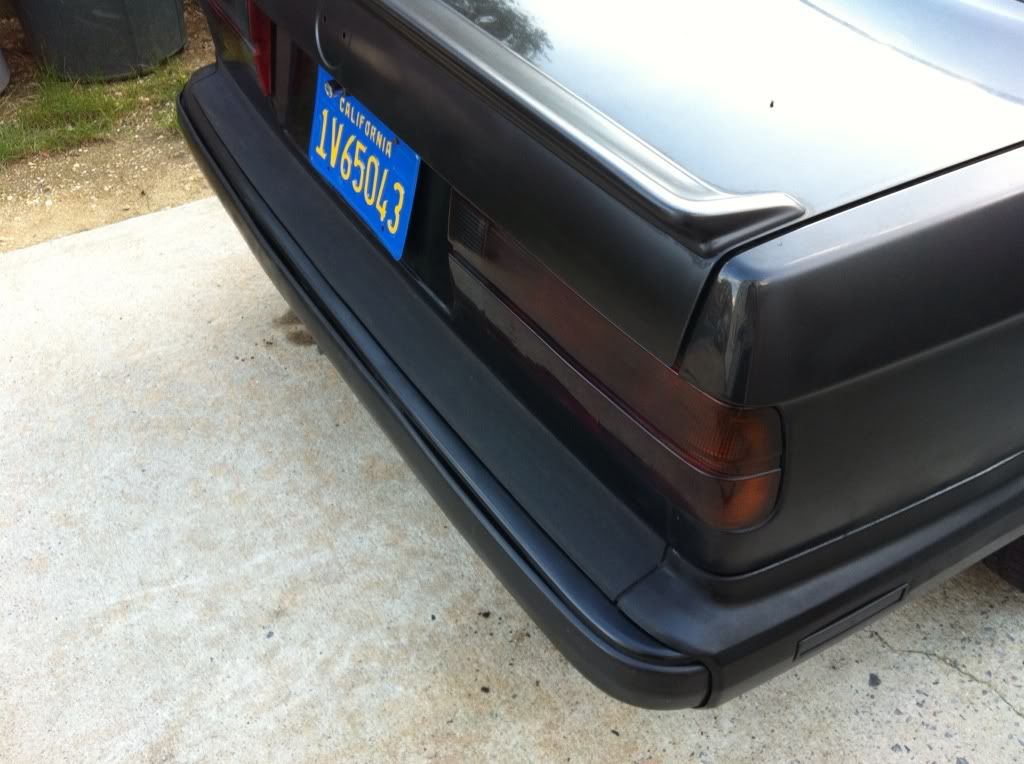
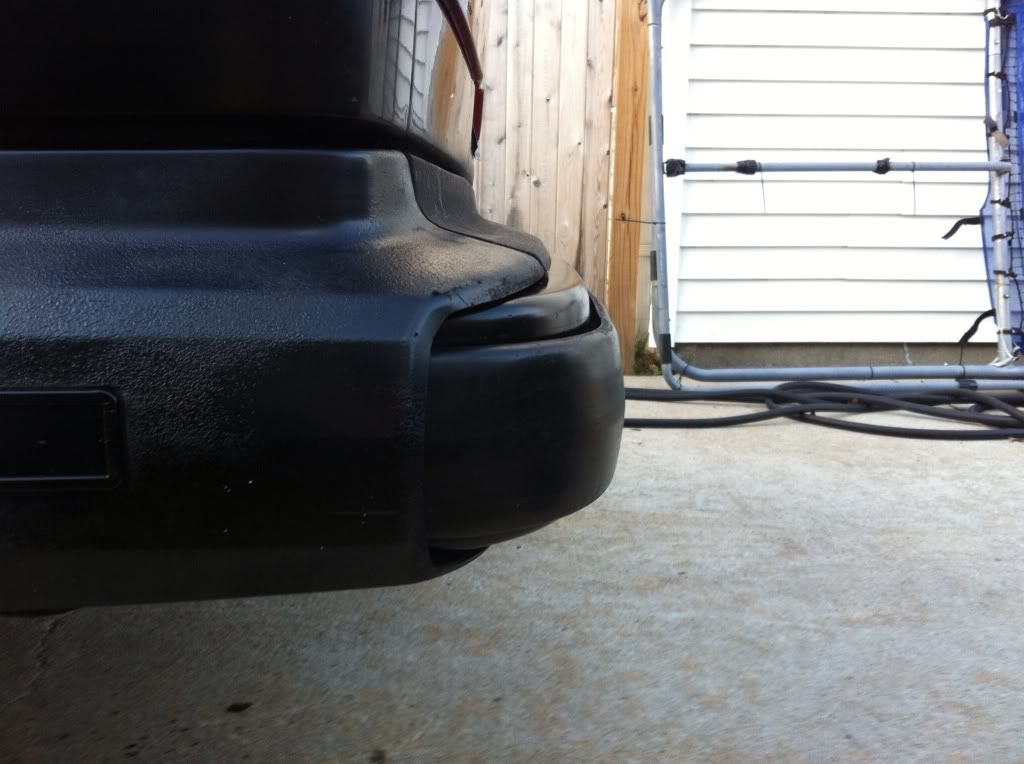
finally finished up the back. I forgot to take pics of the progress but heres how it came out
Leave a comment:


Leave a comment: