-
i think ur doing a bad ass project, wish i was seeing it on a 2.5 though, do u plan on doing the 2.5 head or turbocharging ur 2.7??? -
so instead of doing a reseal i just put the m20 back together. at this point its not worth the extra work and if its not broken, why fix it?. i had some trouble starting it up at first but finally got it running nice . after it ran for a few minutes i heard a noise coming from the rear of the engine, found out its most likely the throwout bearing since when i press the clutch it goes away. not sure how important it is now but eventually ill have to fix that up. heres some pics:
heres the intake right after paint:

new thermostat and housing:

intake manifold in:

also got my new taillight seals, hopefully it will help stop all the water from getting in the trunk
new vs. old:

Leave a comment:
-
-
im holding off on all engine work for now because im considering pulling it and doing a complete reseal once i know if i have acces to a engine lift. I thought that since i wont be working on the engine, now would be a good time to remove all the sound dampener in the trunk and inside the car.
i started by prying up the trunk tar with just a screw driver
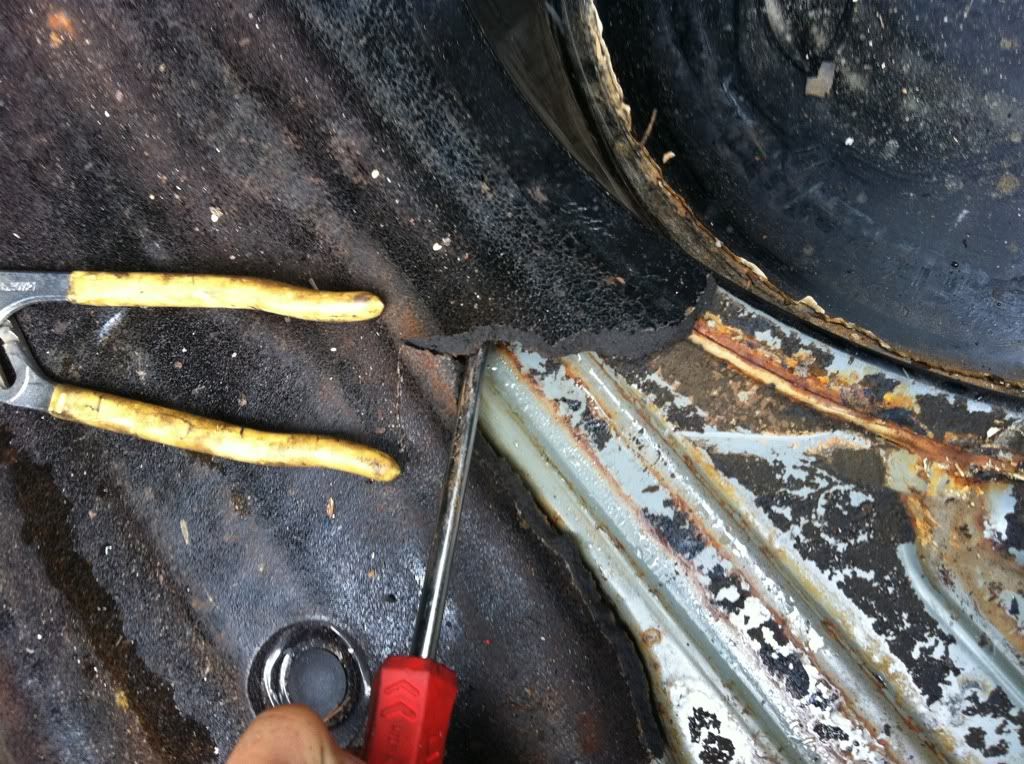
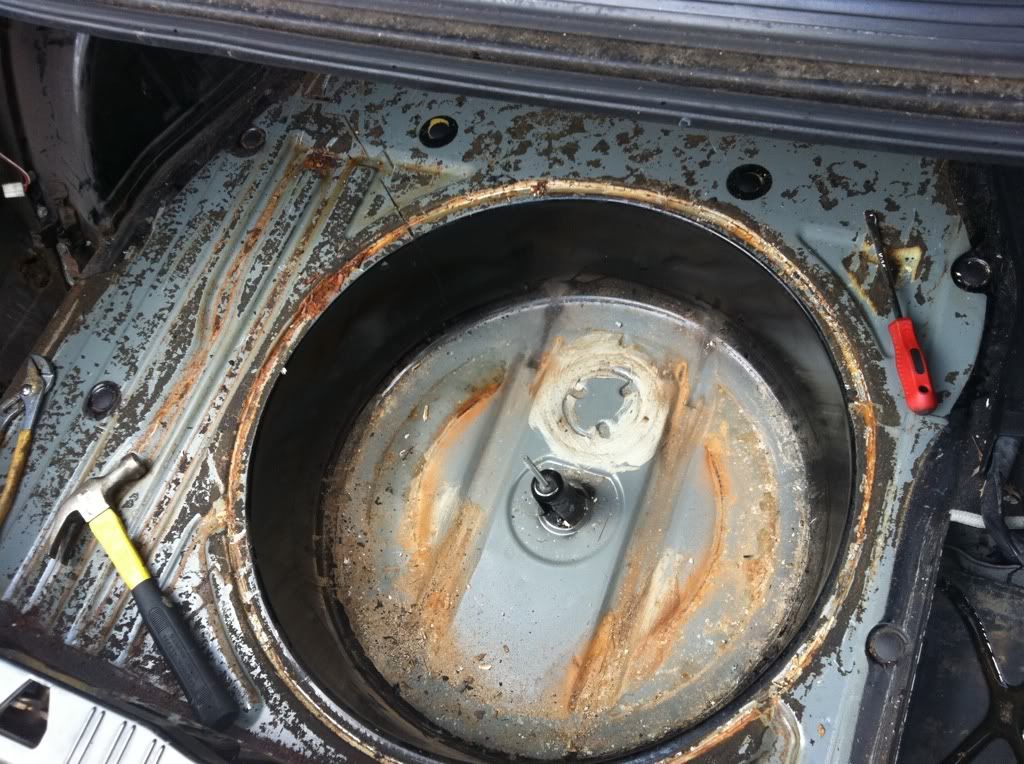
also removed all interior sound dampener
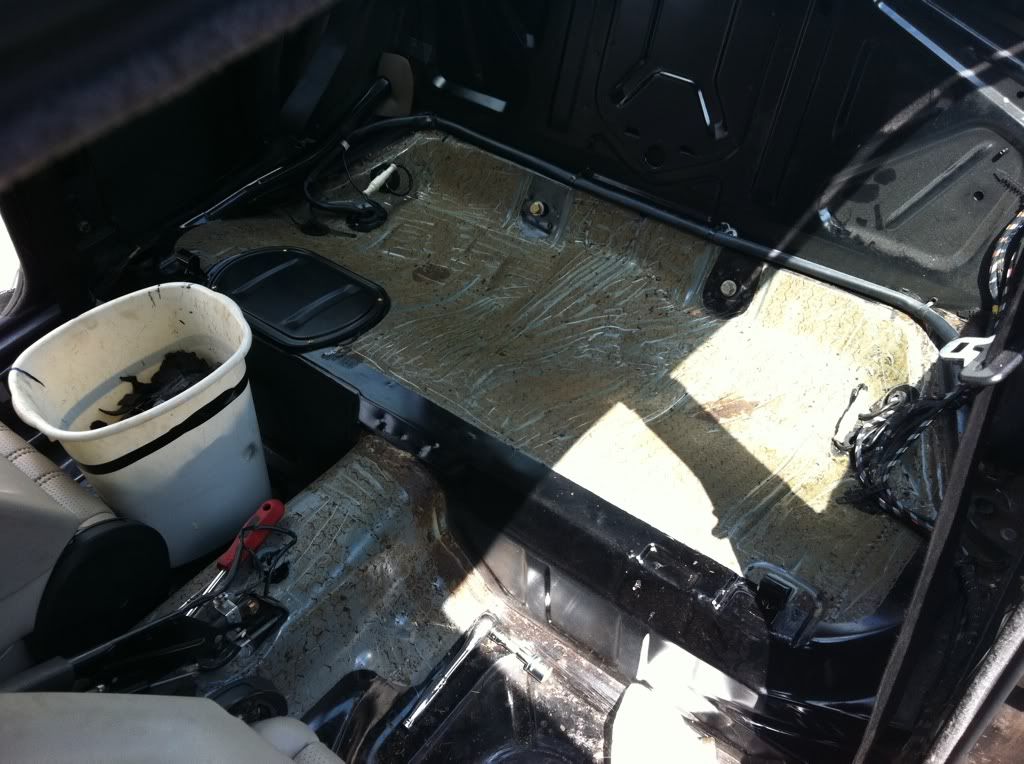
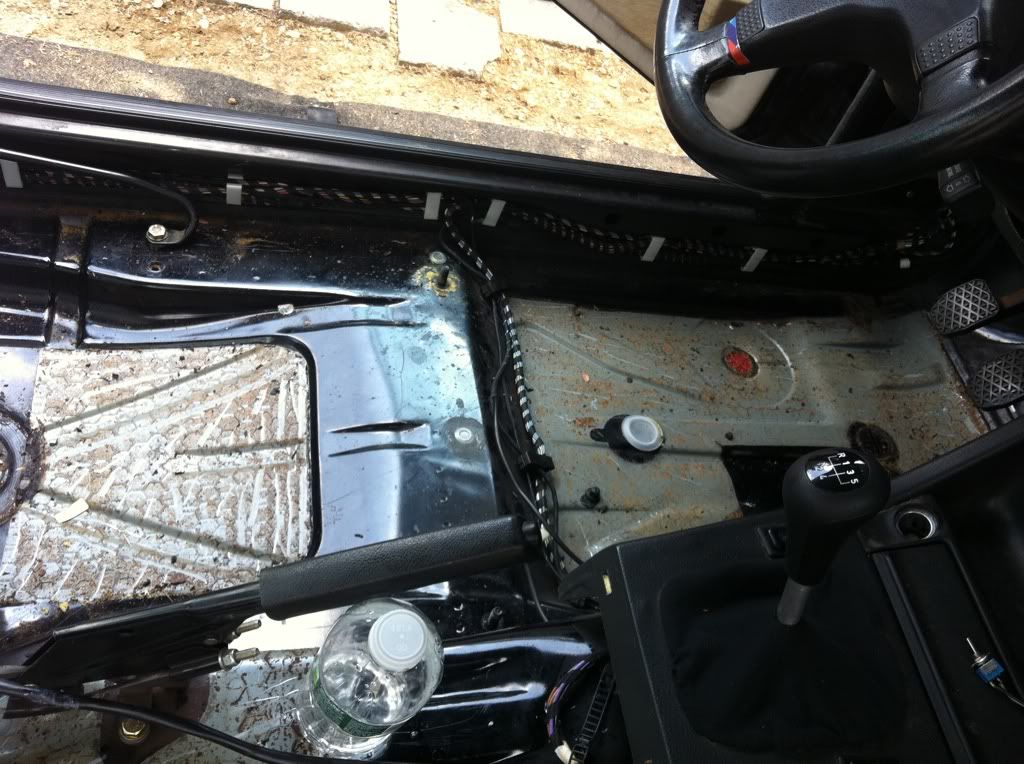
i than painted all newly exposed metal in the interior and trunk to prevent any rust from forming
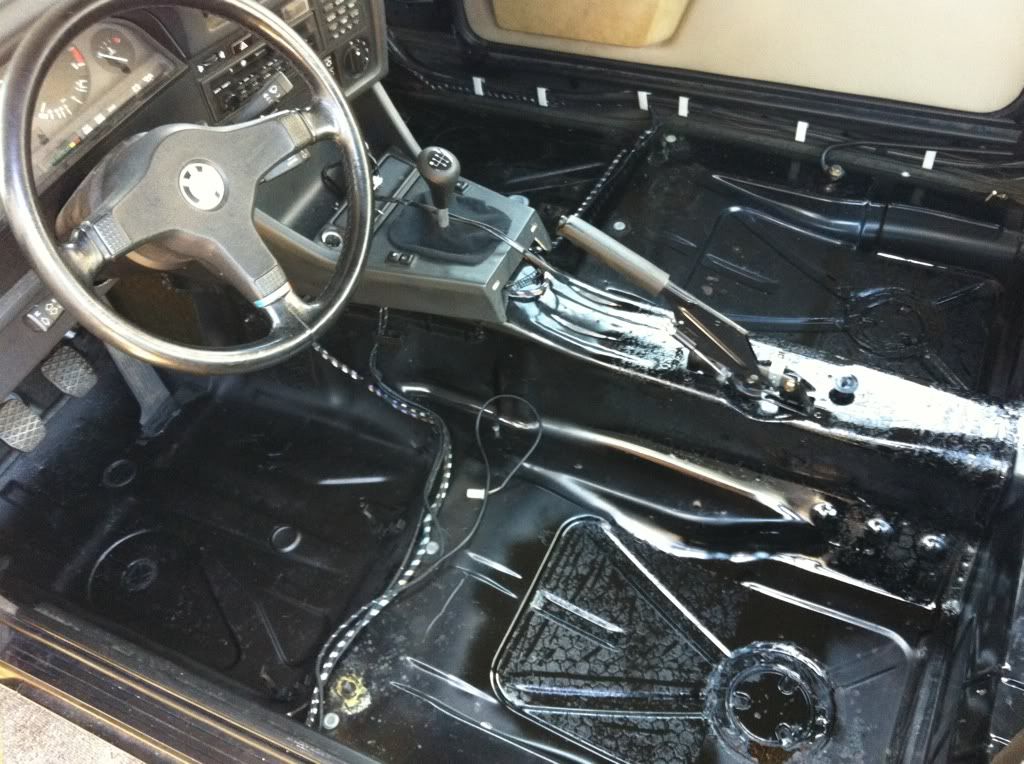
overall it was a lot easier than i thought and i removed close to 70lbs of weight, enough to actually slightly raise the rear of the car so i will soon be removing my spring pads to try and even it out a bit. thanks for looking, more updates to come...Leave a comment:
-
-
-
I can help you with that rust. i know it sounds a little ghetto but use gasoline for cleaning that kinda shit. works wonders. 7 dollars for carb cleaner or 4 dollars for gallon of gas. saves moneyLeave a comment:
-
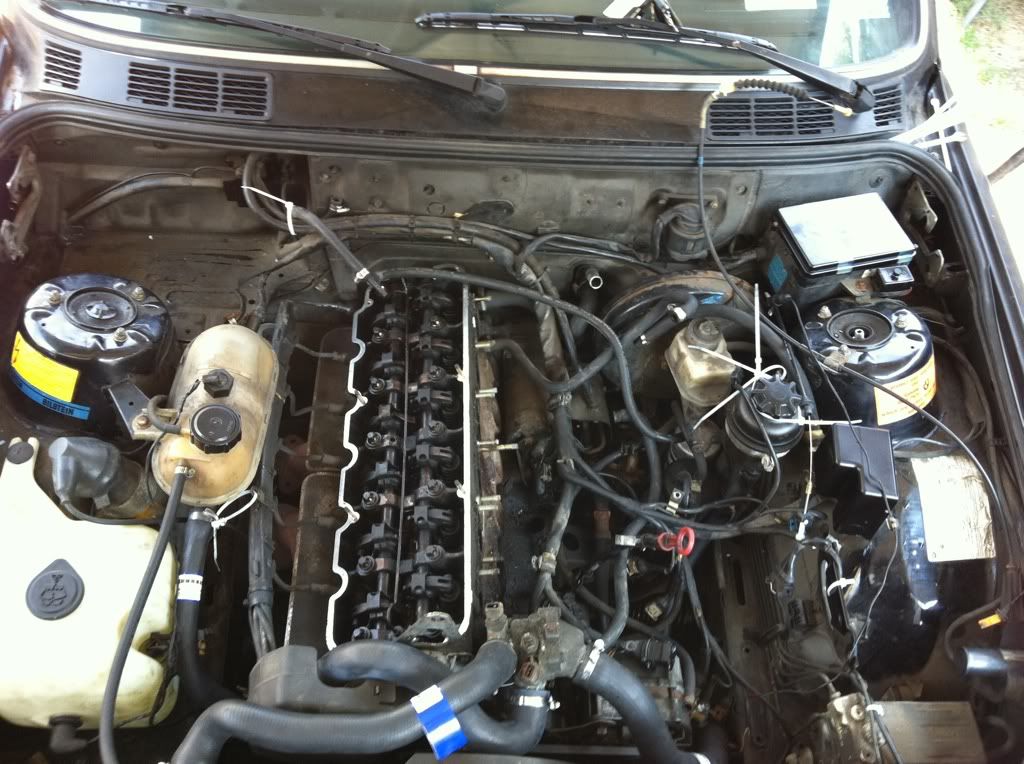
i recently removed both the valve cover and intake manifold. Both will be getting a fresh coat of paint along with new gaskets. i also ripped out the thermostat and thermostat housing so i will be getting a new one shortly. make sure to plug the holes on the head with paper towels to prevent anything from getting inside
Engine without valve cover and intake:
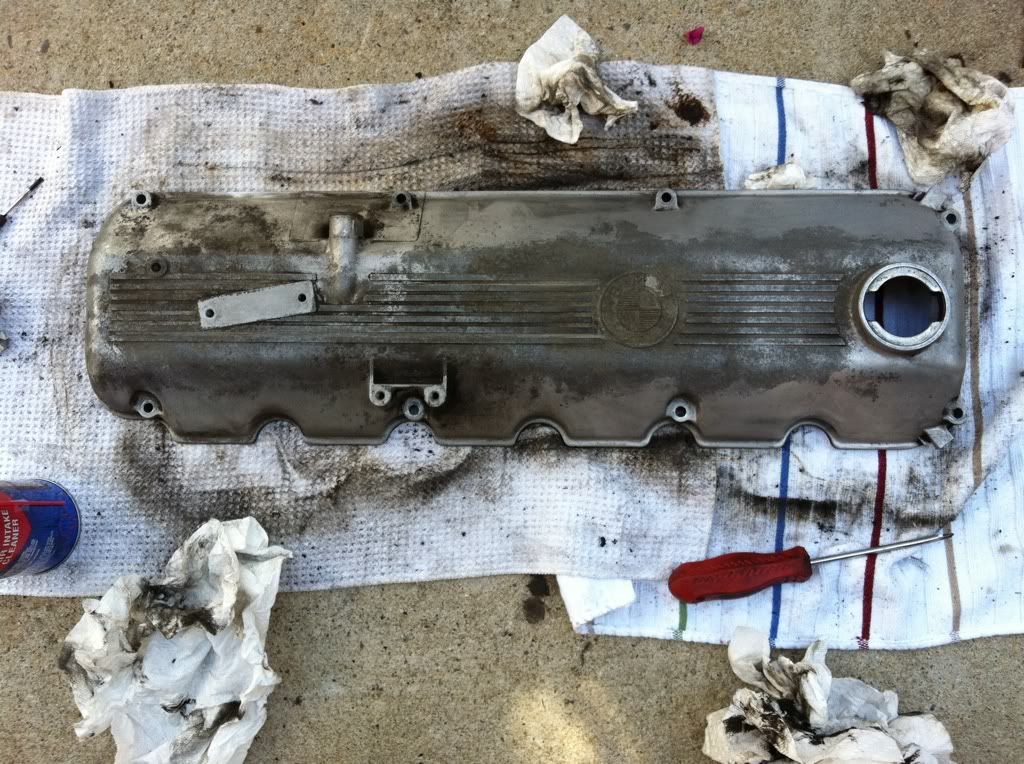
cleaning the valve cover, im using carb cleaner:
i used engine degreaser for the intake manifold, make sure you flush out the intake when your done because you dont want any leftover getting in your engine:
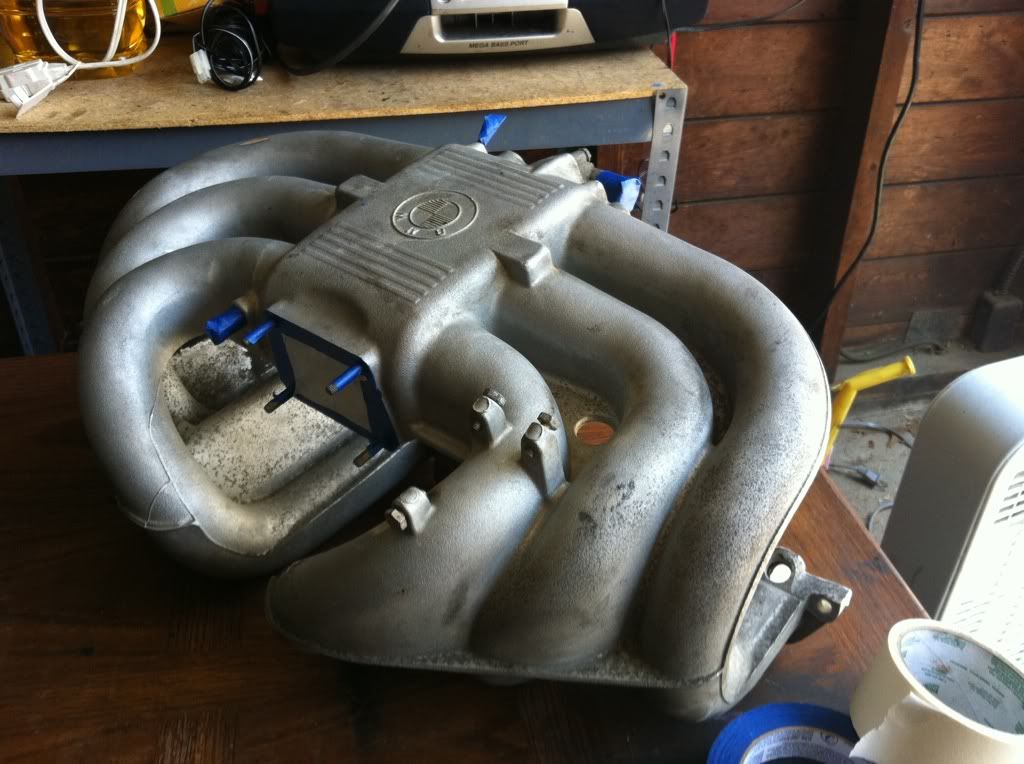
Before painting make sure all openings are completely taped up along with all the parts that the hoses attach to . You dont want any overspray on the inside or where the gaskets go. for anyone who cares ill be posting picture once the paint is done and everything is installed.Leave a comment:
-
at my cars old home the street often flooded...and the car too so i decided it might be a good idea to rip out the smelly old ripped up carpet.
Heres how it looked right after the seats came out:
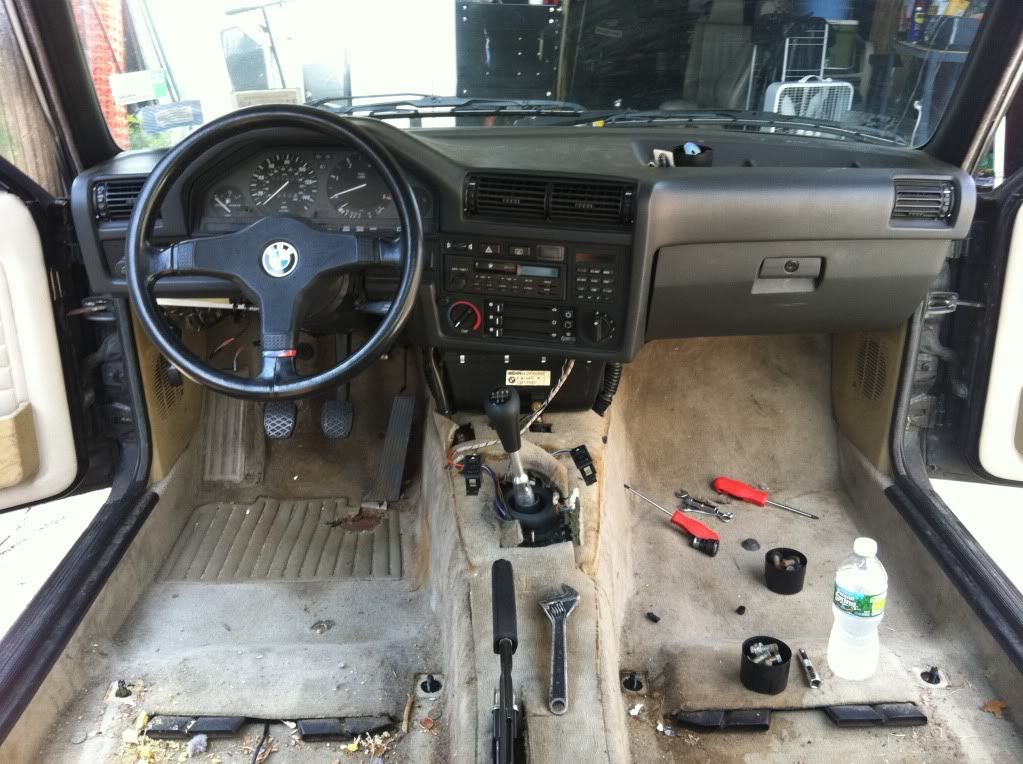
and here it is finally out, i cheaped out around the heater core because i didnt want to mess up anything. there were piles of dirt under where all the rips where:
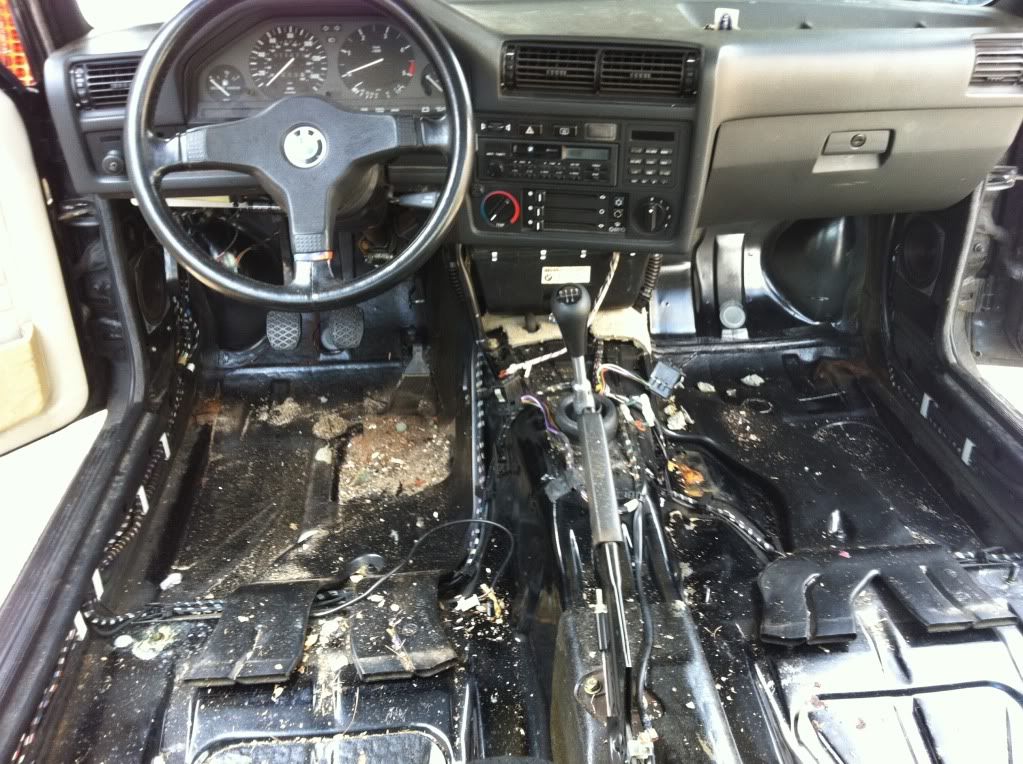
surprisingly other than some surface rust this is all i found, a nasty hole behind the drivers side seat. i still need to find a way to patch it up once i have access to a welder. all other rust was sanded down and painted to prevent further spread of it.:
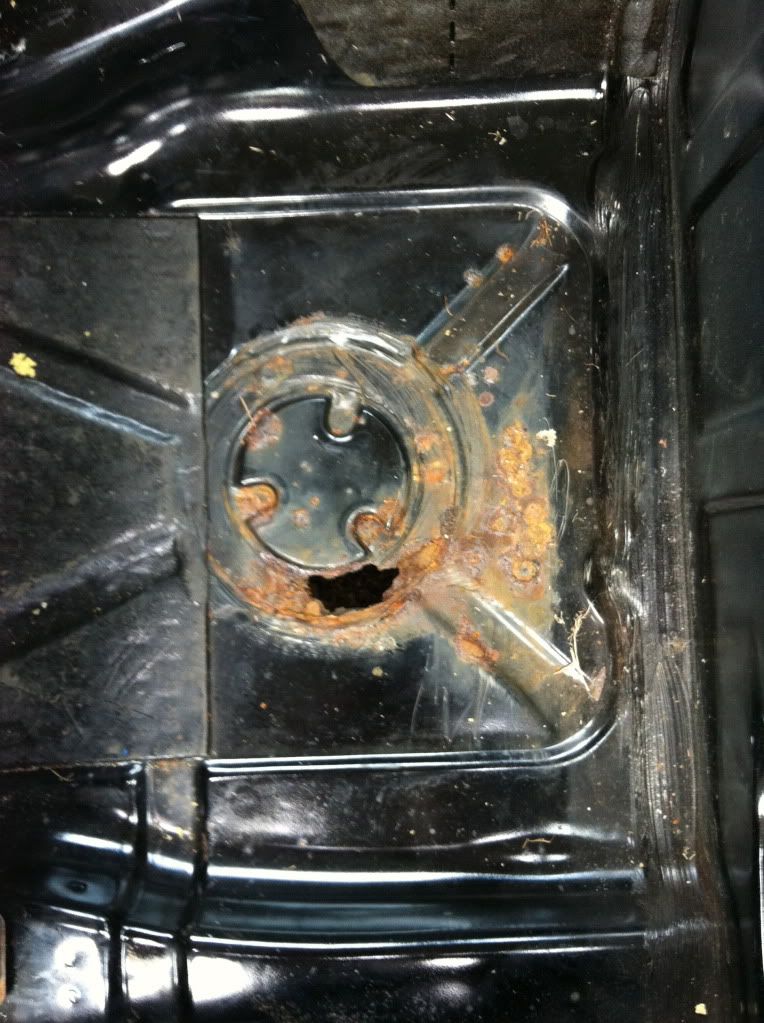
Leave a comment:
-
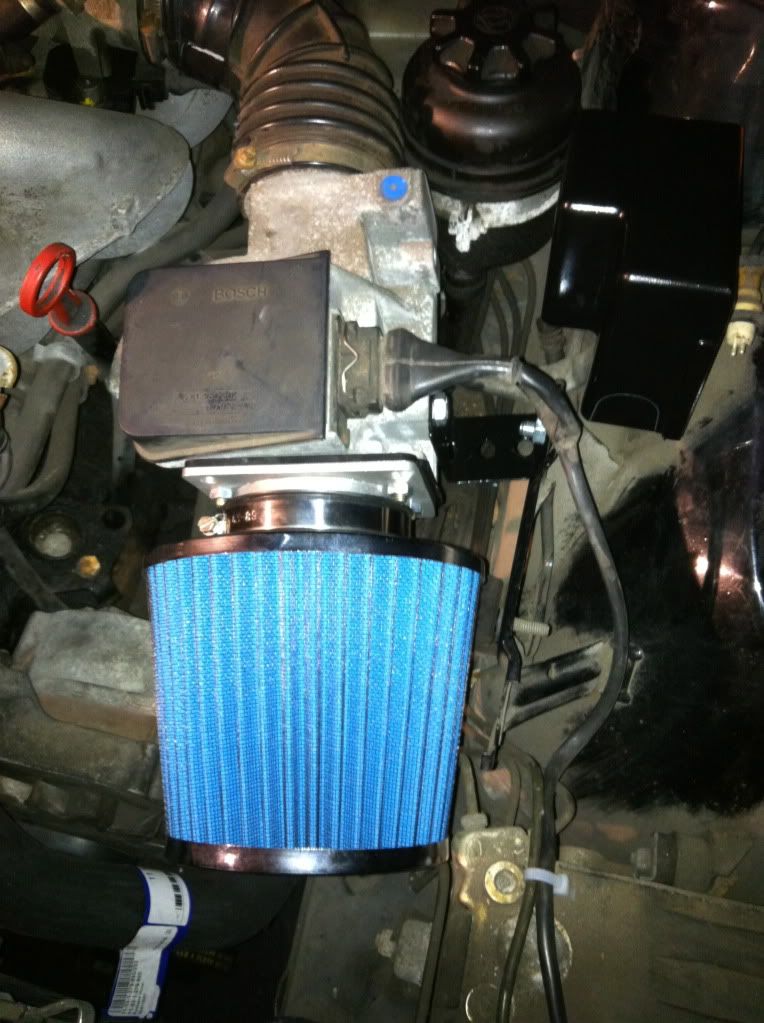
i ordered an AFM adaptor and a cone filter in order to make my own cold air intake. I know i wont really get any power gains but i was looking for something to do and i thought it might give the car a cooler sound
My uncle helped me cut and bend this bracket to hold the afm out of some metal i picked up for $8
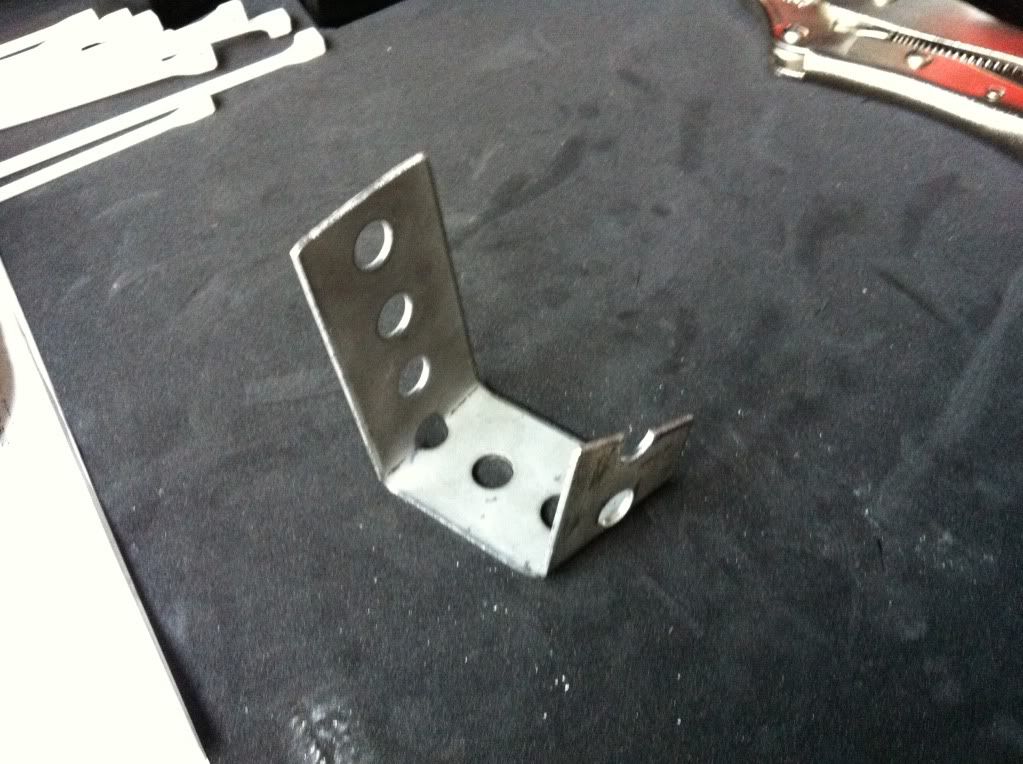
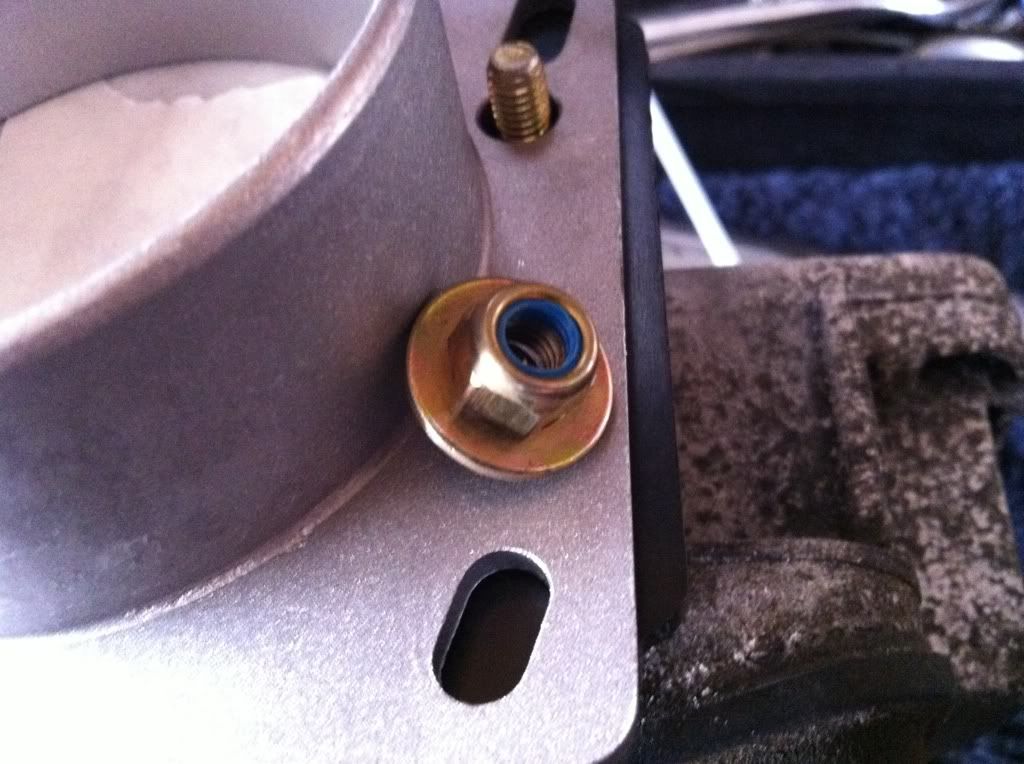
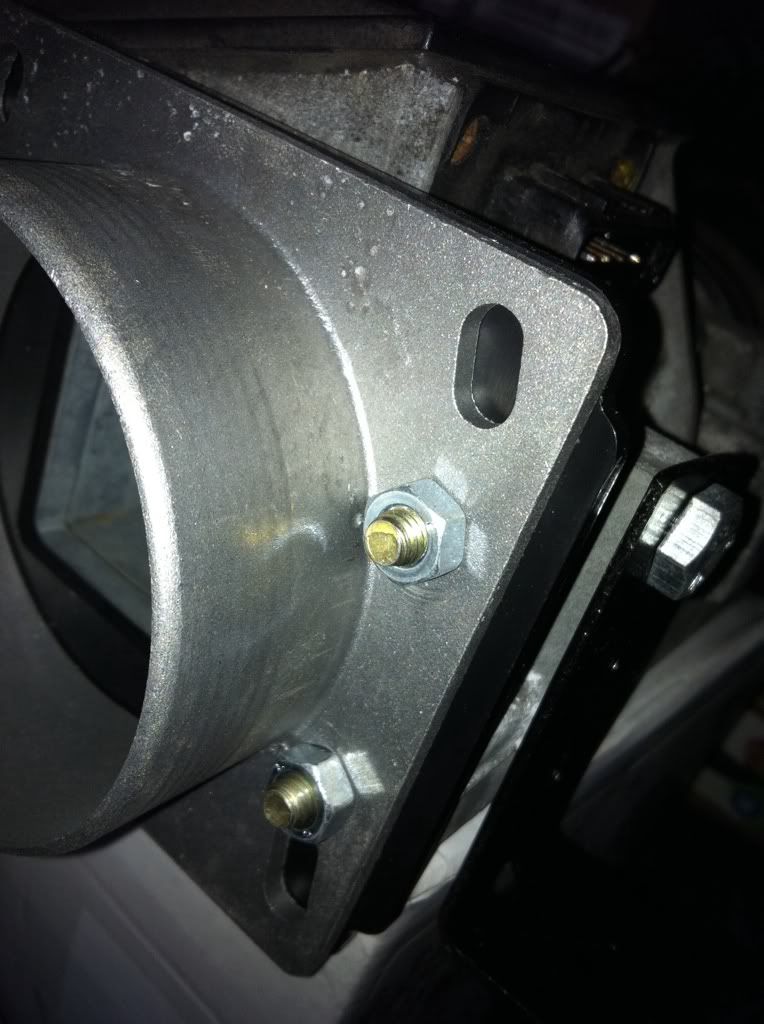
i also had to pick up some new nuts since the stock ones with the built in washers did not clear the afm adaptor
Before:
after
and here it is finally finished (notice the bracket now painted black):
Leave a comment:
-
Excellent work!
Glad you will recover it and bring it back to life!Leave a comment:
-
when i got the car the suspension was crap. both front struts were shot and the stut housing completely rusted. i picked up some nicer housings from ttrousdell (thanks again!) and got to work on them. put new bilstien sports and bav auto performance springs in.
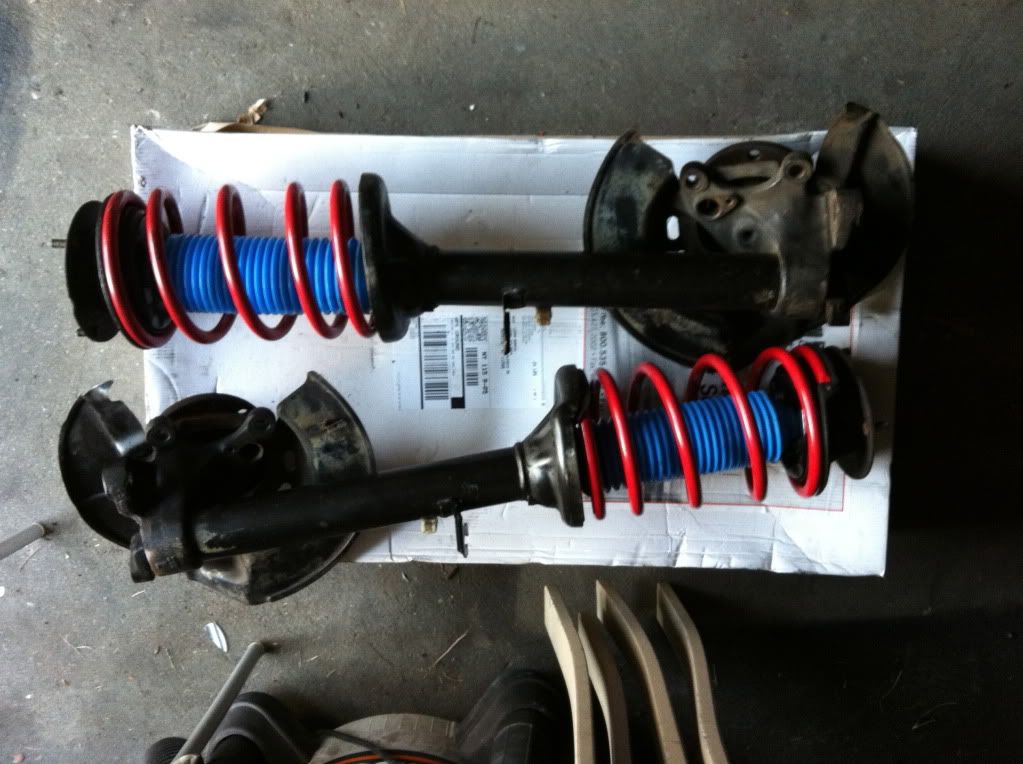
got the car ready for the shiny new stuff :D
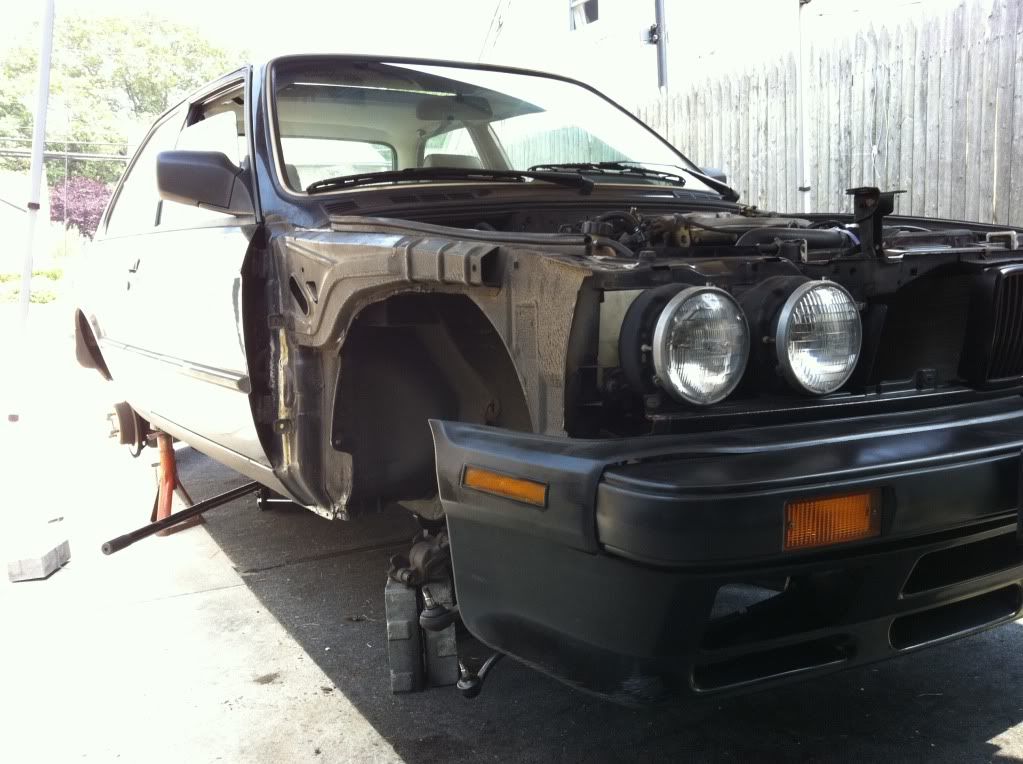
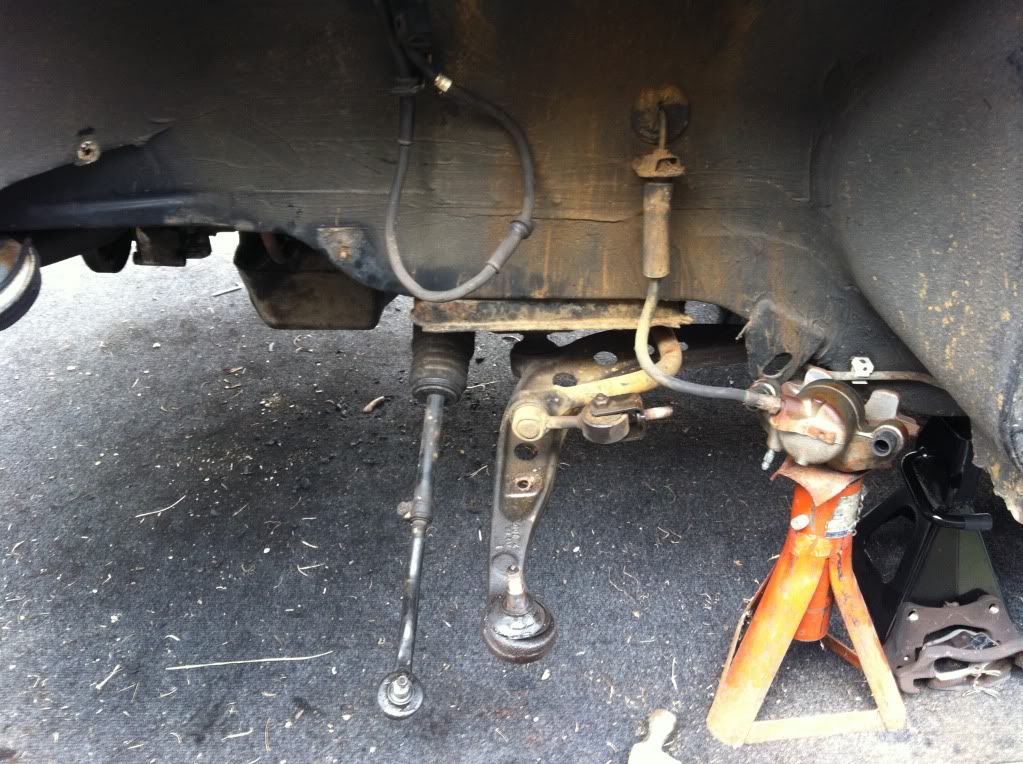
than i found a slight problem...the sway bar bracket mount had completley rusted off. ill be getting a new crossmember but heres what it looks like now
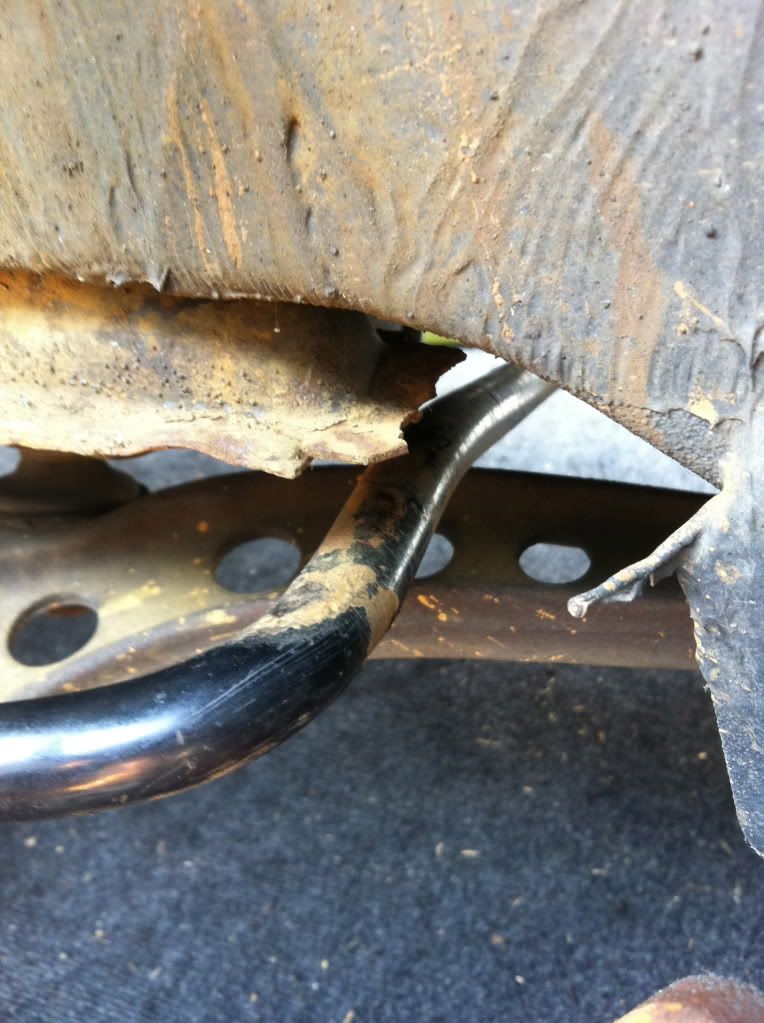
also i installed the rear springs and shocks
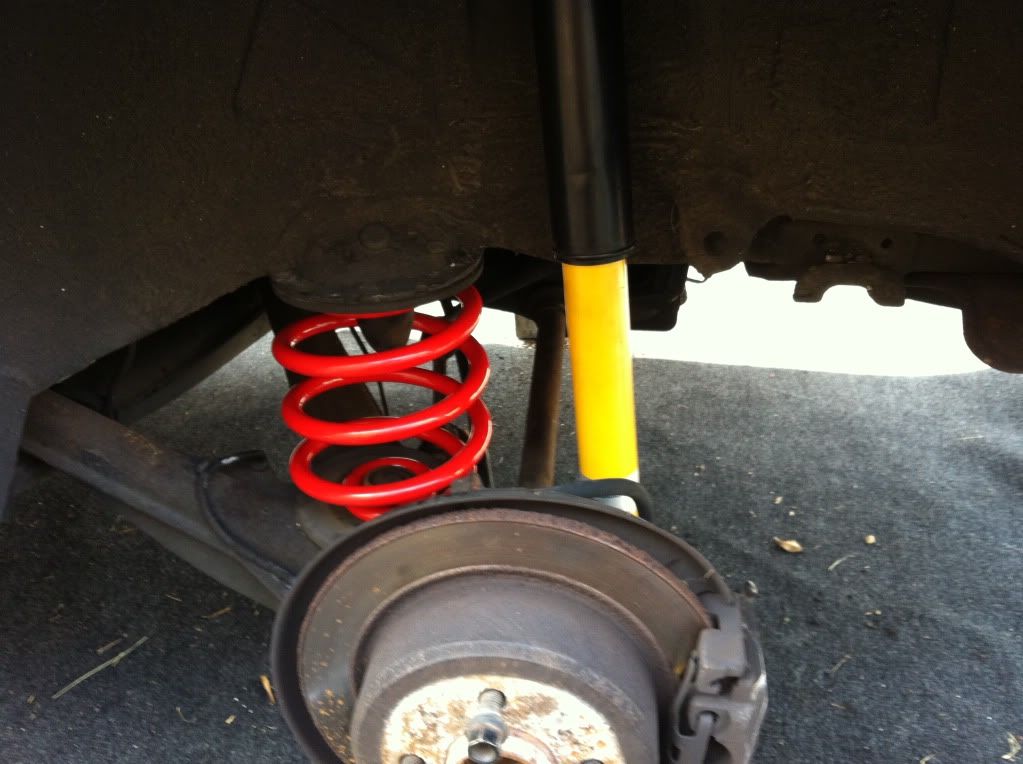
eventually ill be getting all new bushings but the stock ones will stay for now
the car is lowered about 1.5 inches all around and i think it looks pretty good
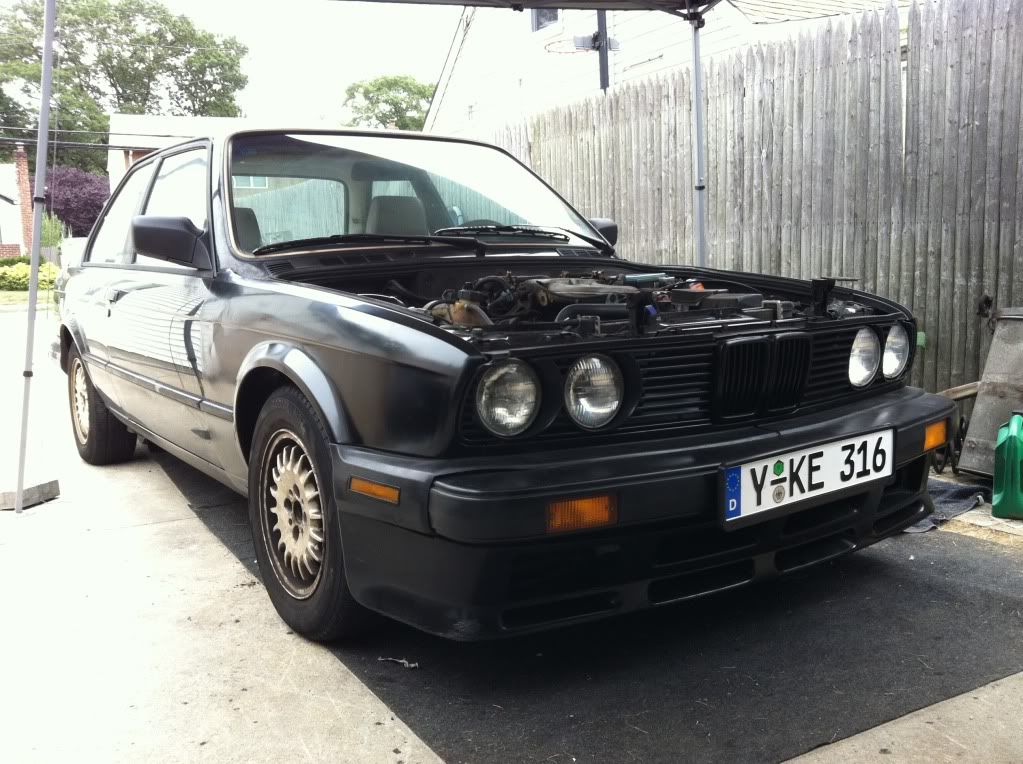
Leave a comment:
-
keep up the good work. So much potential to make these cars awesome even after they have experienced years of neglect.Leave a comment:

Leave a comment: