
 Due to popular demand I've decided to fab up some e30 m30 motor mounts and document the process. The fabrication of mounts requires the use of several welding techniques which ill try to elaborate on the best I can.
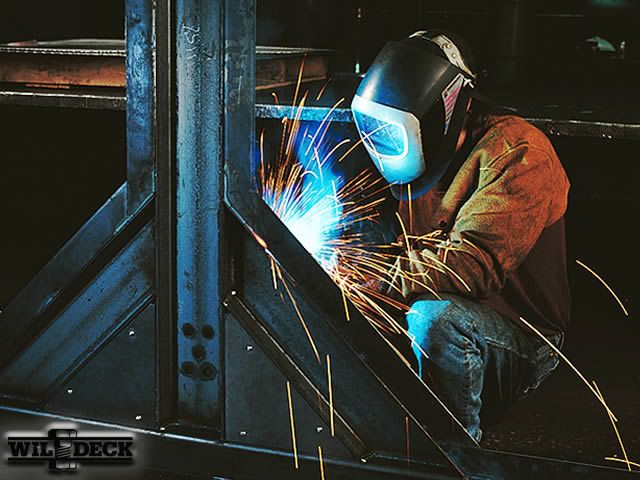
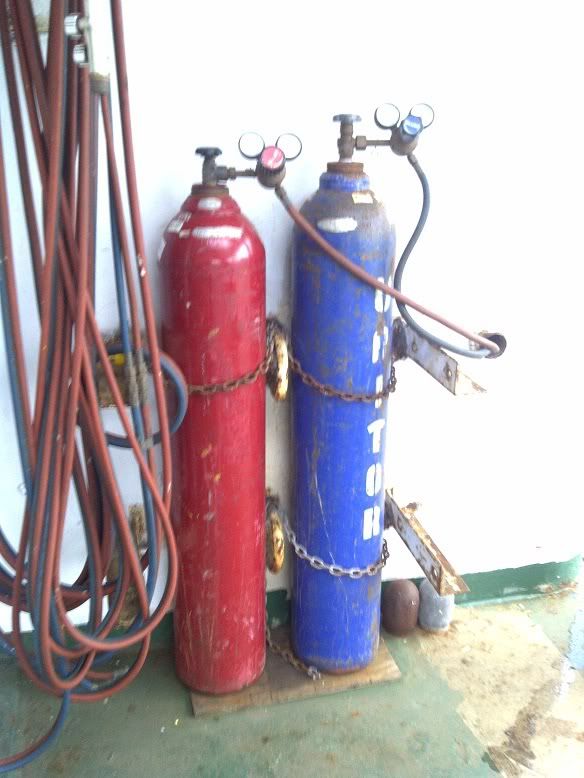
Oxy acetylene is a crucial tool in making the mounts. Basically it uses the combination of two gases, oxygen and acetylene to burn through ferrous metal. Oxygen is marked with blue while acetylene is red.
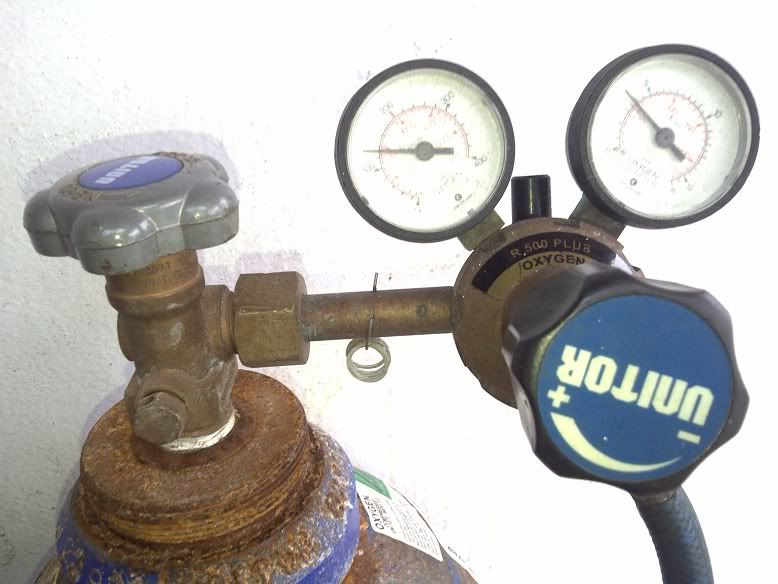
The gauges may look confusing to someone who has never seen them but they are very simple. The gauge on the left reads tank pressure while the right reads line pressure. To set line pressure, first open the tank valve. The left gauge should now be at tank pressure. Next start to turn the valve in between the gauges to the left. As you turn the valve you will notice the pressure in the right gauge will start to increase. In most situations the oxygen should be set to 40psi and the acetylene will be set at 8psi. Different torch tips might call for different values.
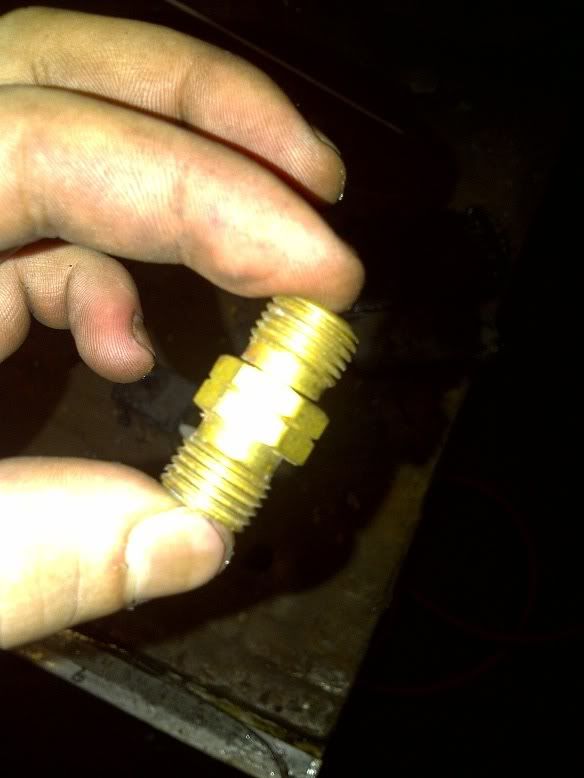
An acetylene fitting. These are reverse thread to prevent then from accidentally being screwed onto the oxygen fittings. You can also tell by the notches in the hex part.
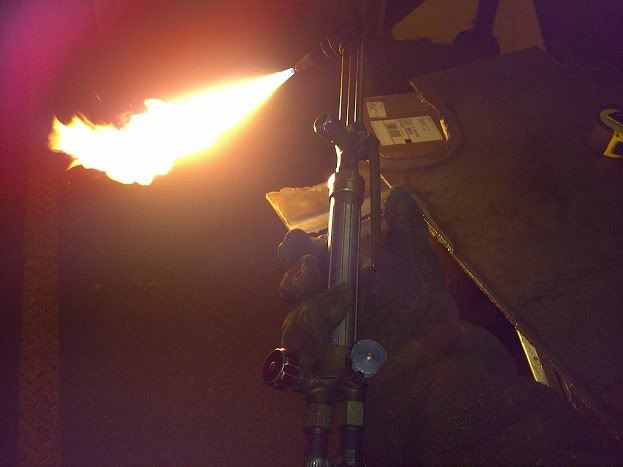
The torch head. This is what is on the other side of the line. Like the tanks the red valve is for acetylene and the blue controls oxygen. Open the oxygen at the base of the torch then crack the acetylene. Light off the torch with a striker and you should have a dirty red flame. Open the acetylene more until you get a large red flame like the picture below. Finally open up the blue valve by the head and the flame should start to turn blue. Open it up until the blue flame is a half inch long. The torch is now set. If this sounds like Chinese, I'm sure there are tons of youtube videos that can elaborate more on this.

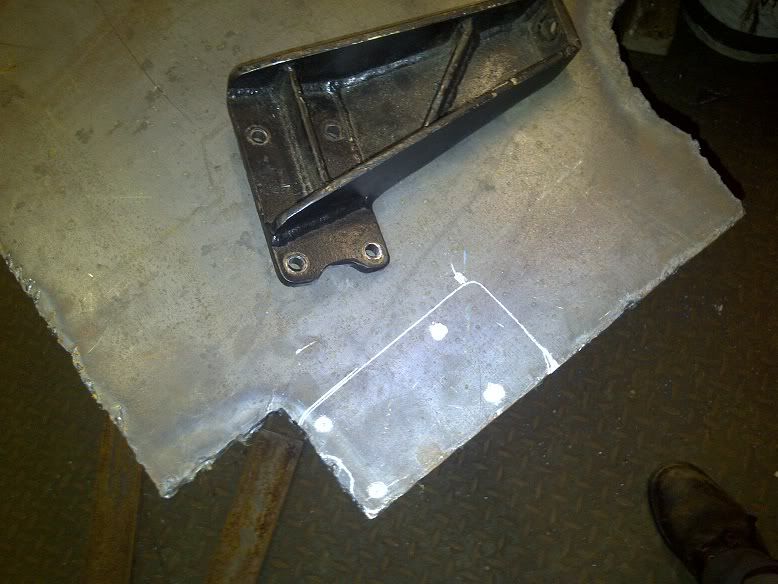
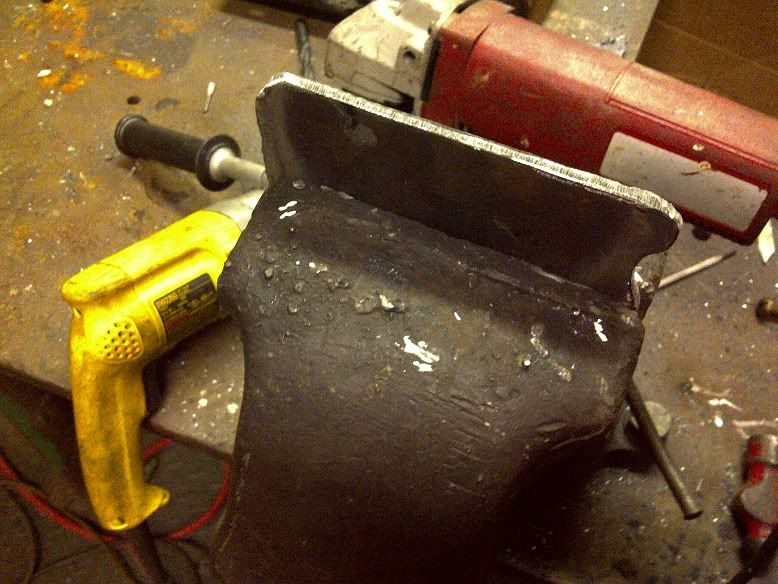
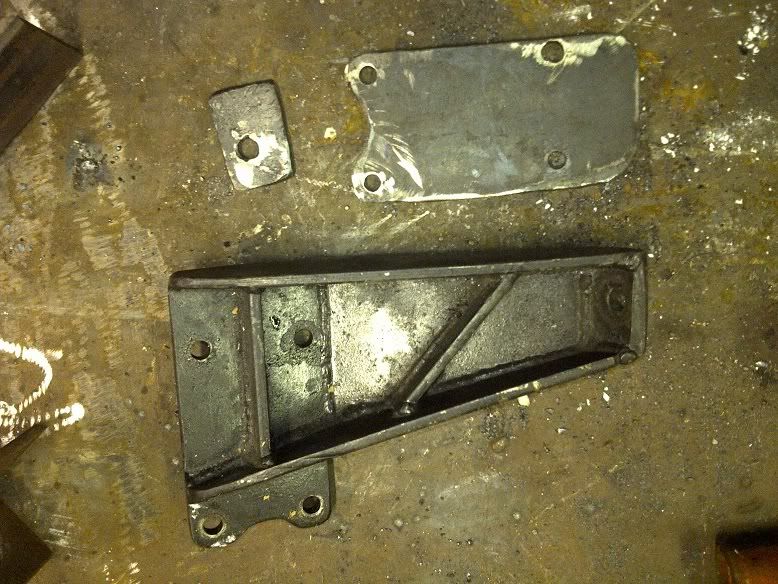
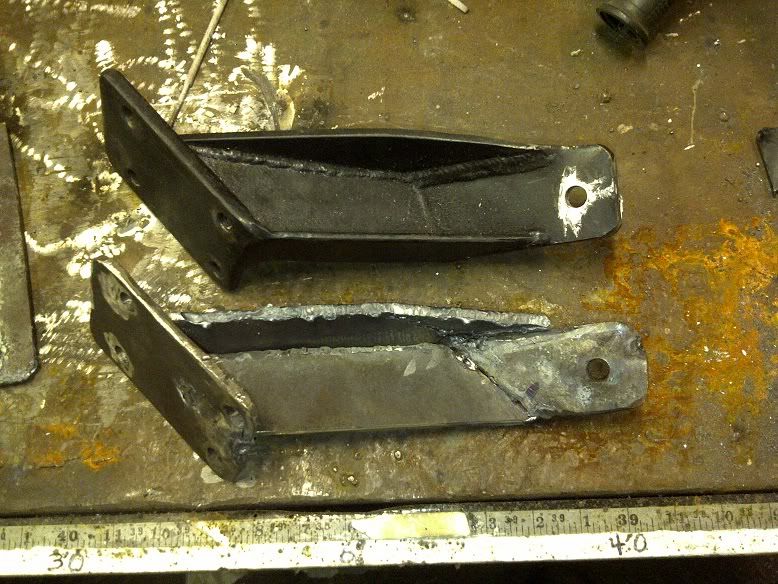
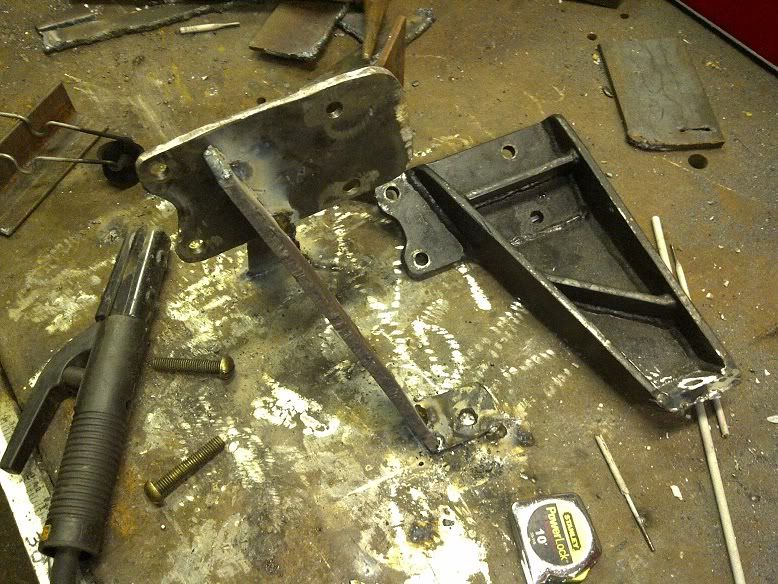
Here are the mounts that I received with my swap. Time to make a copy.

Started mock up the pieces.
Cut out the pieces you mocked up with the torch and grind it clean.
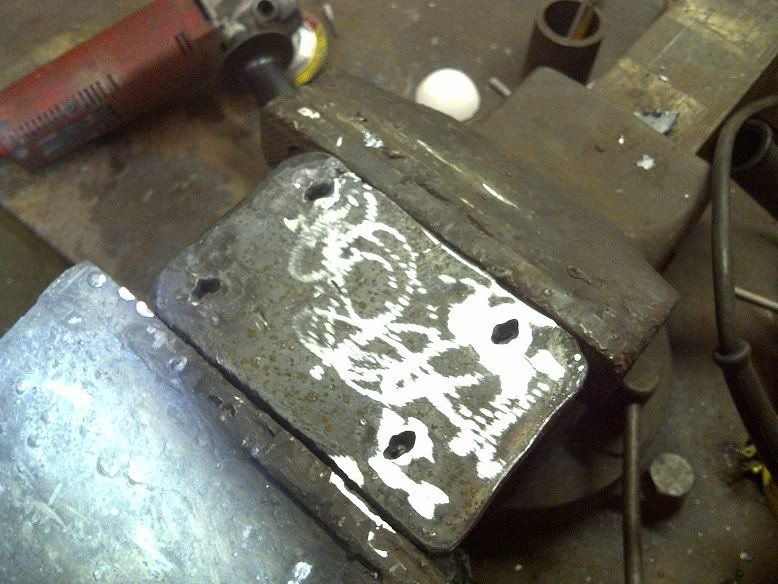
Time to drill the holes that the bolts will go through.
Use plenty of oil when you are drilling. You don't want to overheat.
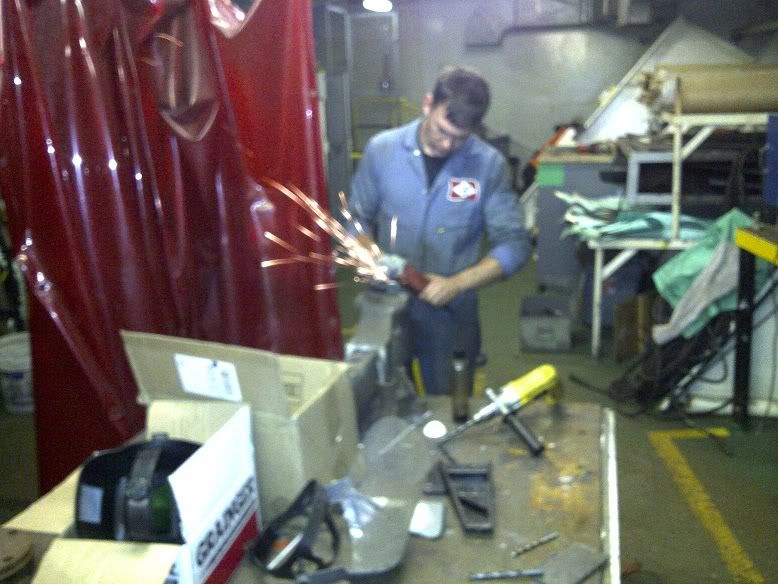
Grinding
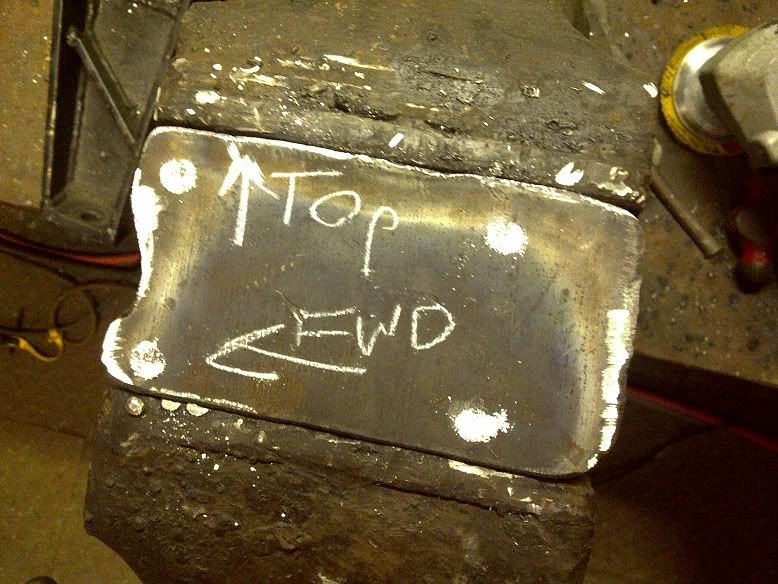
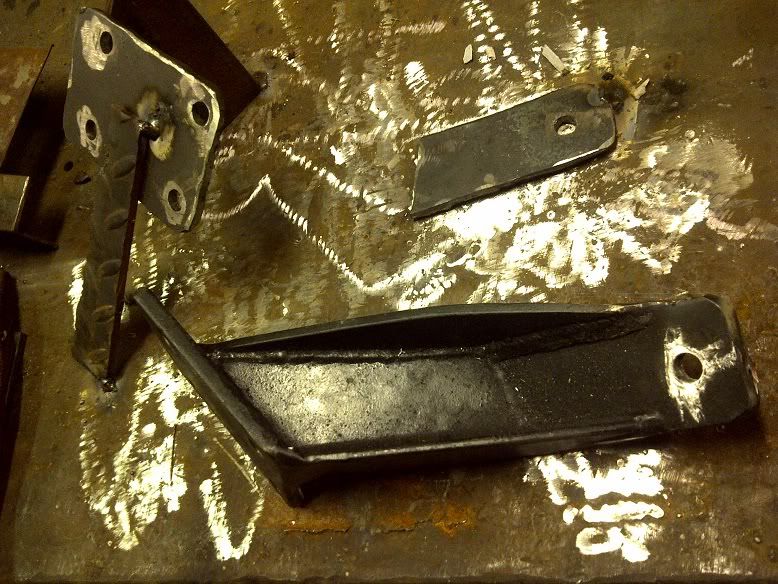
I start by making the ends where the bolts go through.

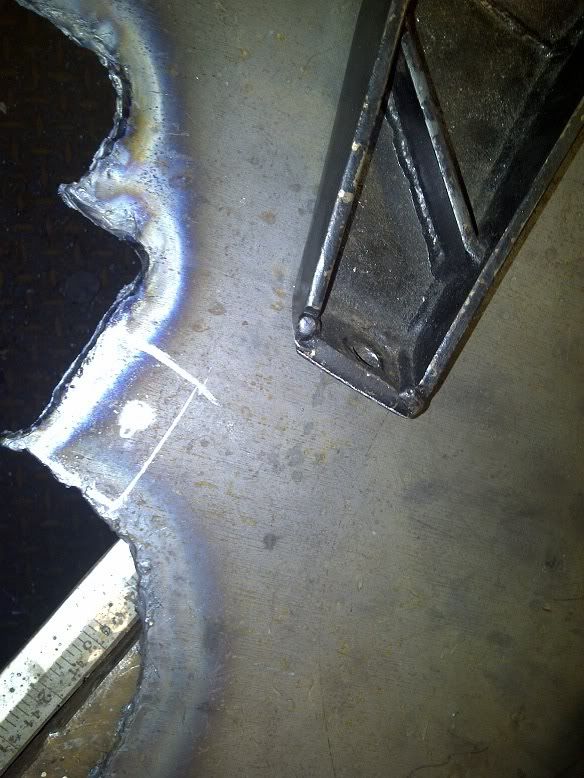
Using the old mounts I mock up where the bolt holes should be and put the two ends in the right places. The position of the ends is a crucial part and if not done right the mounts wont bolt up. Ideally it would help to have the car to check before you weld it fully.
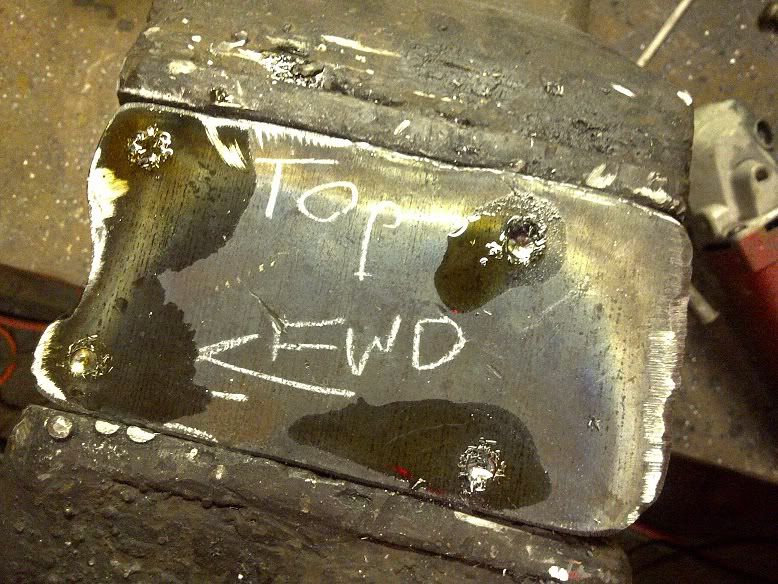
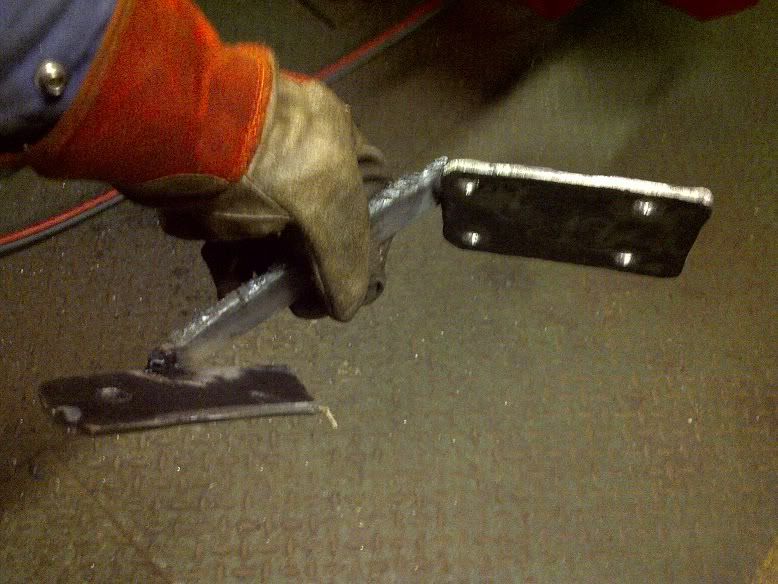
Tacked together.
How to cut a strait edge

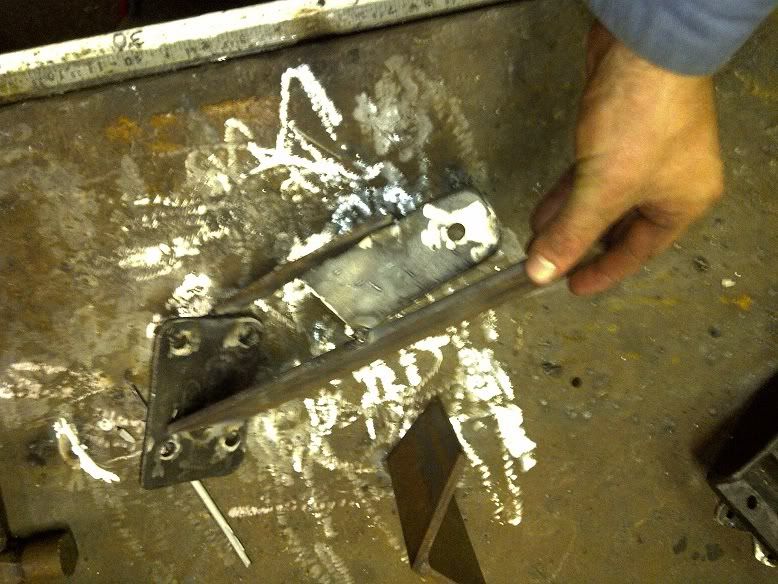
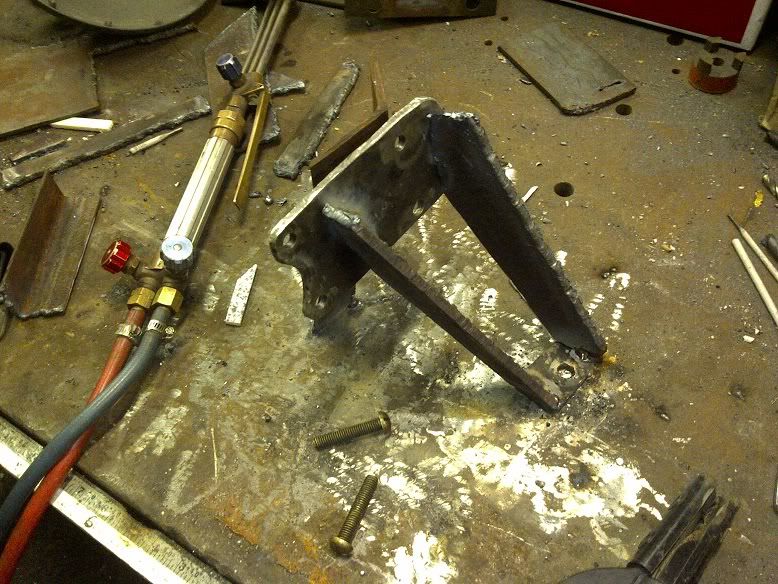
Now that you know the position of the two ends it time to make the middle section.
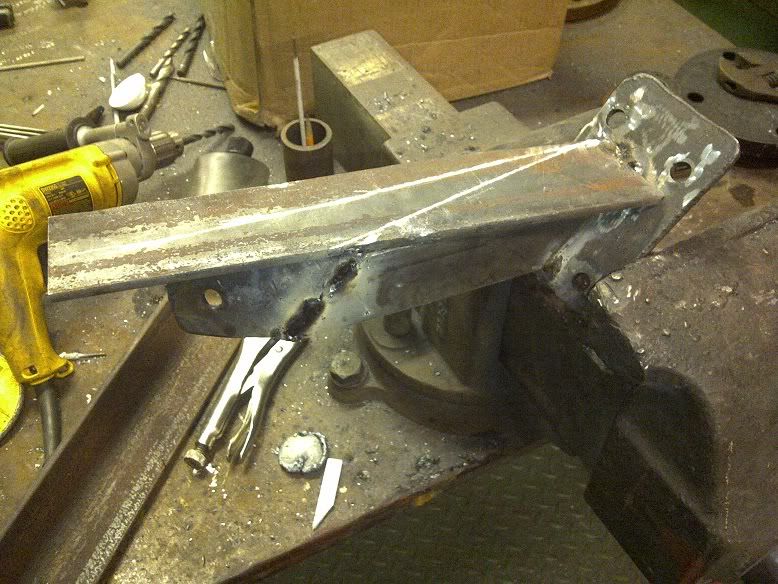
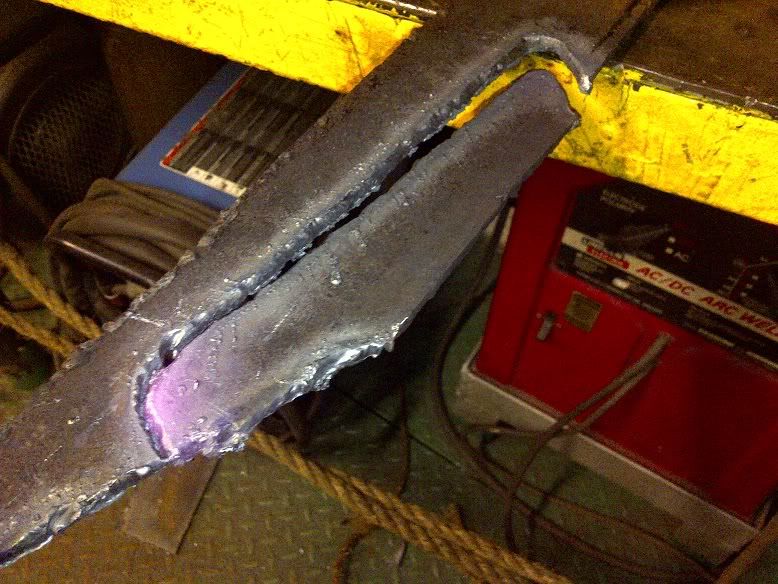
Red hot!!
Getting there
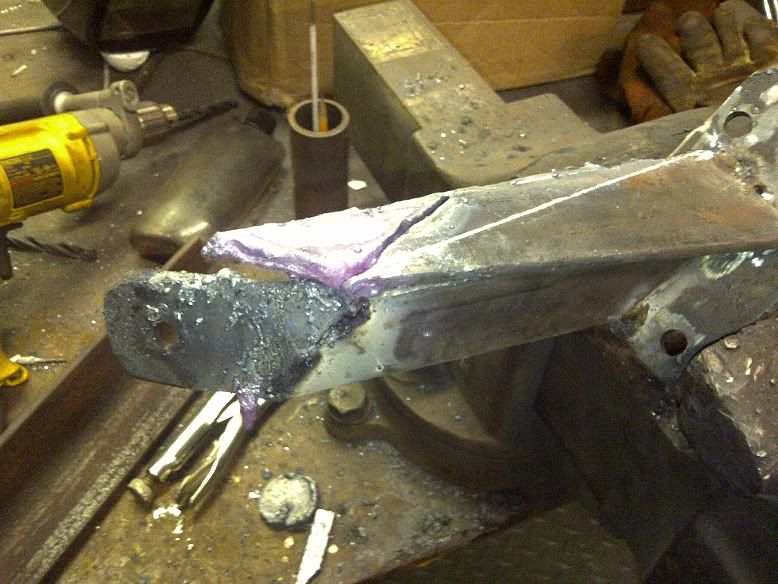
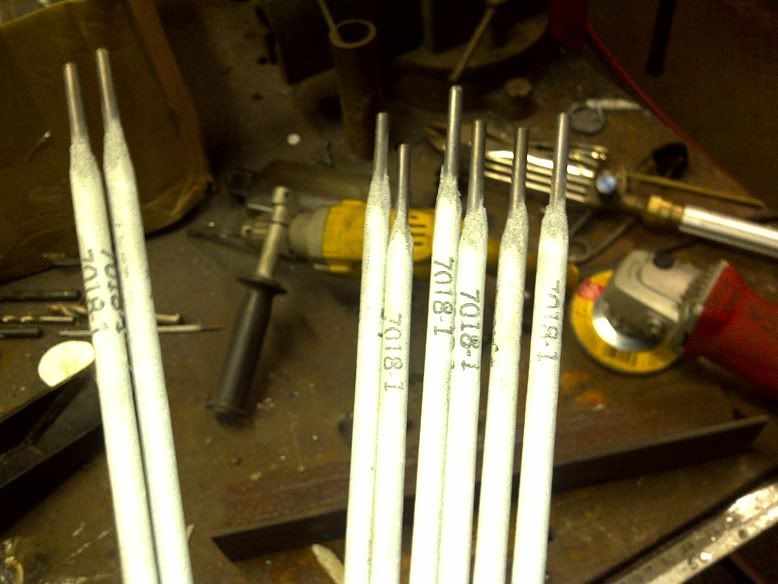
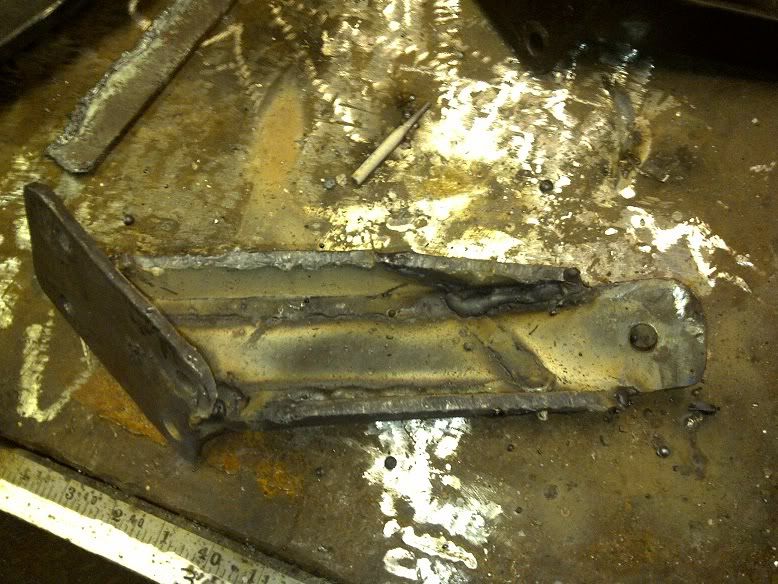
Once you finish making the center and it all fits well it time to weld it up. I used a 1/8" 7018 rod @53 amps.
Welding it up.
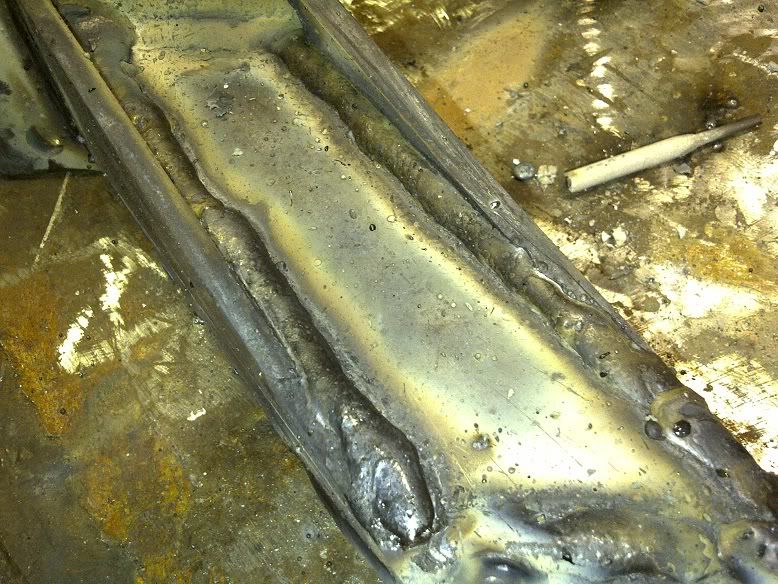
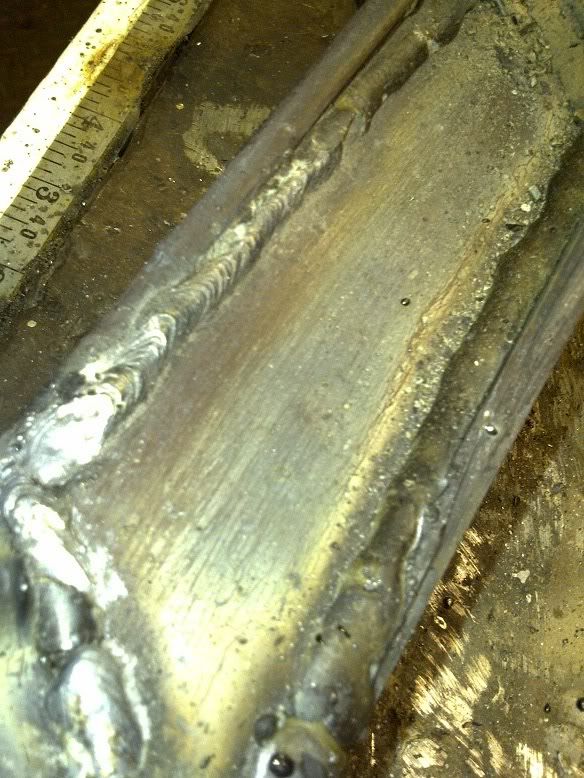
Chip the slag of and revile your welds.
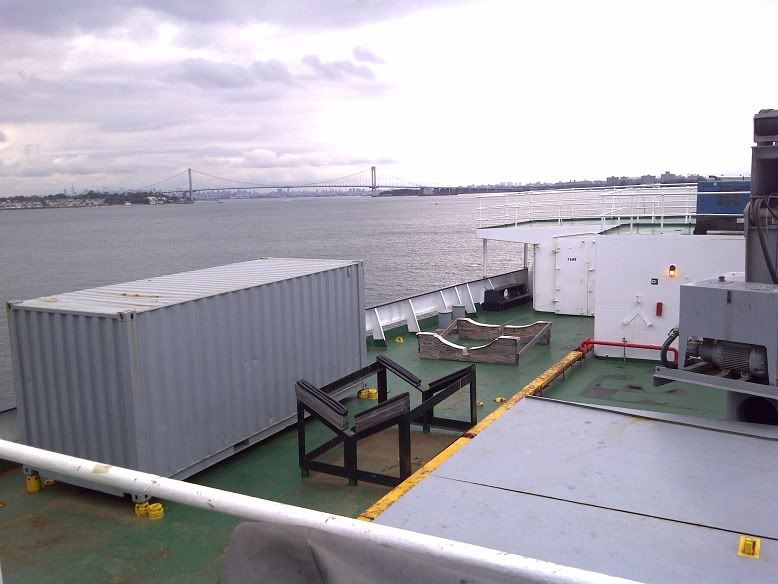
Had to go topside for a break. NYC way off in the distance.
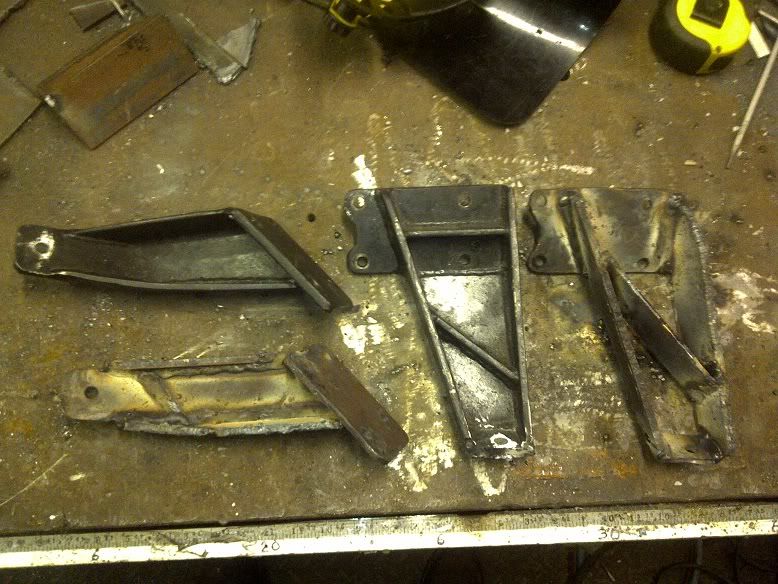
Started to make the driver side mount. Mock up and cut out the pieces.

Mostly done. I still have to grind the excess slag and crap then paint. Ive been welding on and off for about two years and it does take time to get good. Hopefully this has inspired you to learn.
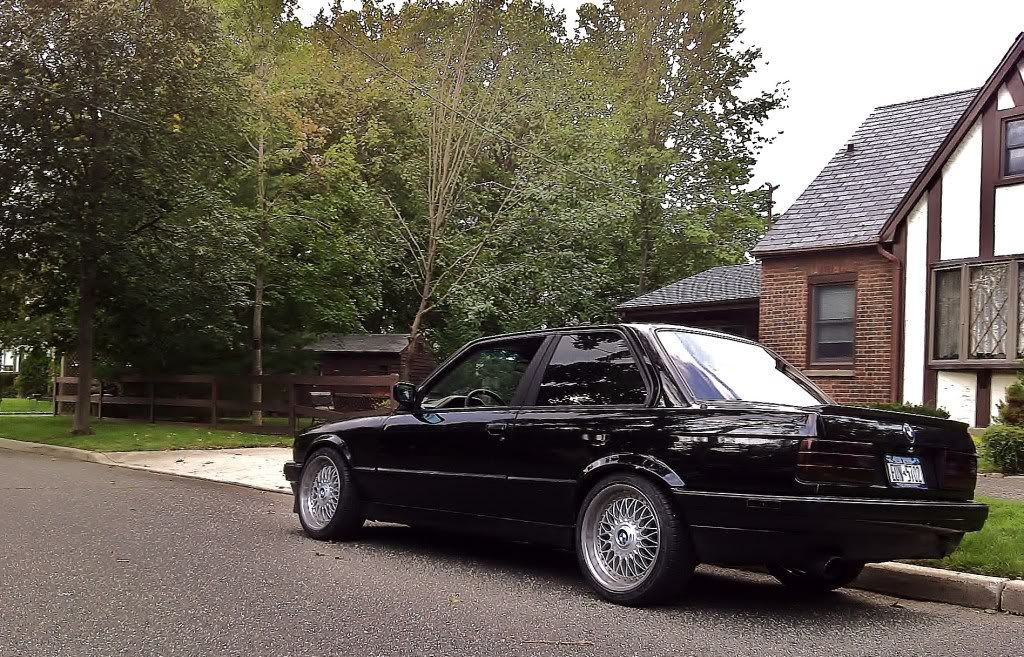
And because its r3v.....a picture of my e30 as it looks now.


Comment