
Nice work!!
Im a noob at diffs, but if i want to change just the input flange can i just measure the friction torque before and then after to get it the same?
-
Differential build, part 2
Side bearings pressed to differential. I bolted on the side bearing caps first with as thick shims as I had available and with new output flange seals. I made a rotating tool from a random puller:

Friction torque wrench:

It's scale is in kp-cm so multiply that by 9,81 and you get Newton-centimeters that the repair manual refers to. Tool looks ancient because it is, but it totally works :D.
Desired friction torque for side bearings is 110-240 Ncm if they're FAG, plus 20 Ncm per replaced flange seal. Value I was aiming at was 150-280 Ncm or 15,3-28.5 kpcm.
VIDEO: http://petrolhead.kuvat.fi/kuvat/198...325_151617.mp4
Take it apart, change the shim thickness until you reach:

Now that the total thickness of shims is found it must not be changed as it determines the bearing preload. When adjusting tooth contact pattern, if the ring gear needs to be moved by changing shims, the same amount must be removed/added to other side shim.
Then onto tooth contact pattern adjustment.. I pressed in pinion bearing races with a shim under the rear bearing race, WITHOUT crush sleeve or input flange seal. Front bearing is pressed on until rotating torque is 250Ncm, video: http://petrolhead.kuvat.fi/kuvat/198...325_160508.mp4
-after contact pattern adjustments, pinion preload is set to a value depending on bearing make (SKF/Timken/Koyo/FAG), plus additional 20Ncm is input flange seal was replaced.
It took me three different pinion shims before I found the height I was happy with, contact pattern was acceptable and backlash about in the ballpark. I don't have pics of the final contact pattern. Bad news is changing the pinion shim means taking apart everything and pressing out/in the rear bearing race, a lot of work.
After I decided the adjustment was as good as I was going to get it, I took everything apart one more time, put in the crush sleeve and new input flange seal. Then tighten the flange nut until friction torque was 150-326Ncm (value for FAG) plus 20Ncm. Tightening required a LOT of force but it must be done in really small increments because the while tightening the bearing load raises real quick. Before you know it it's too tight, and backing out the nut doesn't help.Last edited by petrolhead; 03-28-2015, 01:38 AM.Leave a comment:
-
Differential build, part 1.
-Take one sand blasted and painted typ 188 diff cover and throw it in the parts washer.
-Press out the pinion bearing races, save the pinion shim that drops out too. Realize that there's still bits of sand in the oilways.

Wash it a again with a pressure washer , finish off with brake cleaner, blow air through everything.
Go through all threads just because you can

Pry off the speed sensor plate, trying not to bend it. Pull out the old bearings.

Easier to remove the bearing on the other end if you remove the LSD unit cap first. Those ring gear bolts are tight plus with Loctite. No problem if you have a 1/2" impact wrench.

No pictures of the next step. Cap off, empty the LSD core, making note which order all plates 'n stuff were there. Then, I shoved a plastic bag full of snow inside the LSD to cool it, while heating the old 3,64 ring gear with a blow torch. Once hot, placed a 150mm diameter tube on top of loosened bolts. Hammering the tube and not bolt ends individually, I hopefully pressed it out evenly and nicely, not bending anything.
Leave the LSD unit outside (it was 0 celsius, lovely) filled with snow again to cool.

Repeat the procedure with 3,46 open diff, the ring gear/pinion I'll be using.
Make sure mating surcfaces are really really clean. Go thru the ring gear threads to remove old Loctite remnants. Makes assembly quicker and you want to be quick with cold/hot parts..
This is what I came up with to pull/guide them quickly back together and line up bolt holes:

Before heating again, I had new bolts ready with a half a drop of Loctite on each, and a power ratchet.
New, unused 3,46:1 tightened to 100Nm. After temperatures had evened out, re-check tightening torque, then additional 90 degrees. That's pretty damn tight, wouldn't want to try with stretched bolts/dirty threads :D

..Extra friction plate/dogplate-pair arrived today, they're going in too

Before pressing in side bearings to where you can't read the markings, make note of the manufacturer (FAG).

-I made paint markings to side bearing caps and correspondingly to diff case, not to mix up bearing/bearing race-pairs.
Speed sender wheel was still straight, yay. Heat it up, it drops into place.
 Last edited by petrolhead; 03-24-2015, 10:42 AM.
Leave a comment:
-
I did a little something.. Painting the interior / inside of trunk/ car bottom is pretty much done. Not pretty but nobody's going to see them


Let's see how this looks, a before/after picture :D


I ordered parts for the diff: an extra clutch/dogplate-pair, all seals and the last bearing I lacked. So, I should soon be putting it together.
And I bought a steering wheel. Pretty neutral looking, OK quality and CHEAP :) ..I'll just be happy with that until I can afford a Nardi.
 Last edited by petrolhead; 03-15-2015, 01:46 PM.
Leave a comment:
-
Lately, garage activities have consisted of building a "second floor" for storage space etc.


 Last edited by petrolhead; 02-24-2015, 12:38 PM.
Leave a comment:
-
There's only that one pin in front right corner. I made a hole in to the hood reinforcement/frame, and welded on a nut for it. Pin goes through the front frame, or body front panel whatdoyoucallit.
EDIT..Like this. Sorry for the pic quality

Hood weight loss now.. If I remember correctly there's about a kilo of washer hose, T-joints and non return valves running. Hood hinges, springs, gas pump, with all attaching parts is 1,6-2kg. Noise insulation weight ofcourse depends on the model.. Hood itself now stands at minus 0,6kg after drilling/slicing it. I guessing bit over a kilo can be removed from it, in all.Last edited by petrolhead; 02-14-2015, 03:59 AM.Leave a comment:
-
-
Thanks, many have said the same. I myself think I lack tools and skill to make everything I would like to. And or make them with some quality. I'm not letting that get me down.. I'm never ever selling the car so who knows what the future holds.
Plus, I don't even buy that much parts, I just make shit up from old parts I have on the shelf or in cars I'm parting out :D.
One example.. I don't have a lathe or access to one so it made fabricating this little piece more difficult:

A "blind plug" for fuel pressure regulator/return hole. A 6mm bolt pushed to the hole with an O-ring underneath, a metal tap on top of it, all welded to that metal piece that's bolted on. Well, seems to hold, tested it with max system pressure (~3,8 bar).
Hood lock release:
 Last edited by petrolhead; 02-12-2015, 03:30 AM.
Leave a comment:
-
Looking good man. Lots of great custom work going on here. I love the weight-saving strategies too! Keep it up!Leave a comment:
-
Fuel rail or TPS don't seem to collide with anything..

..But these want to occupy the same space as the adapter plate lower edge:
 :|:?
:|:?
Modding hood rear brackets, work in progress:
 Last edited by petrolhead; 02-11-2015, 02:25 AM.
Leave a comment:
-
Spare tyre bracket done. I'll replace the tyre with a 145/80R14.

Front right corner of the hood will be held by a hood pin or what are they called. Accessible through empty high beam hole:

I just don't like the look of pins sticking out of the hood.

I spent a couple of hours drilling holes to the hood reincorcements. That's about a half a kilo off. yay. :/. Well, one day my bugdet will stretch to a carbon fiber part.
Water outlet finally welded to the ITB adapter plate. Not much space between cyl 1 inlet and water outlet..

Hood rear mounting points will look something like this. Real tight in right side corner with the washer fluid fill-up pipe and battery being there too:
 Last edited by petrolhead; 02-09-2015, 02:49 PM.
Leave a comment:
-
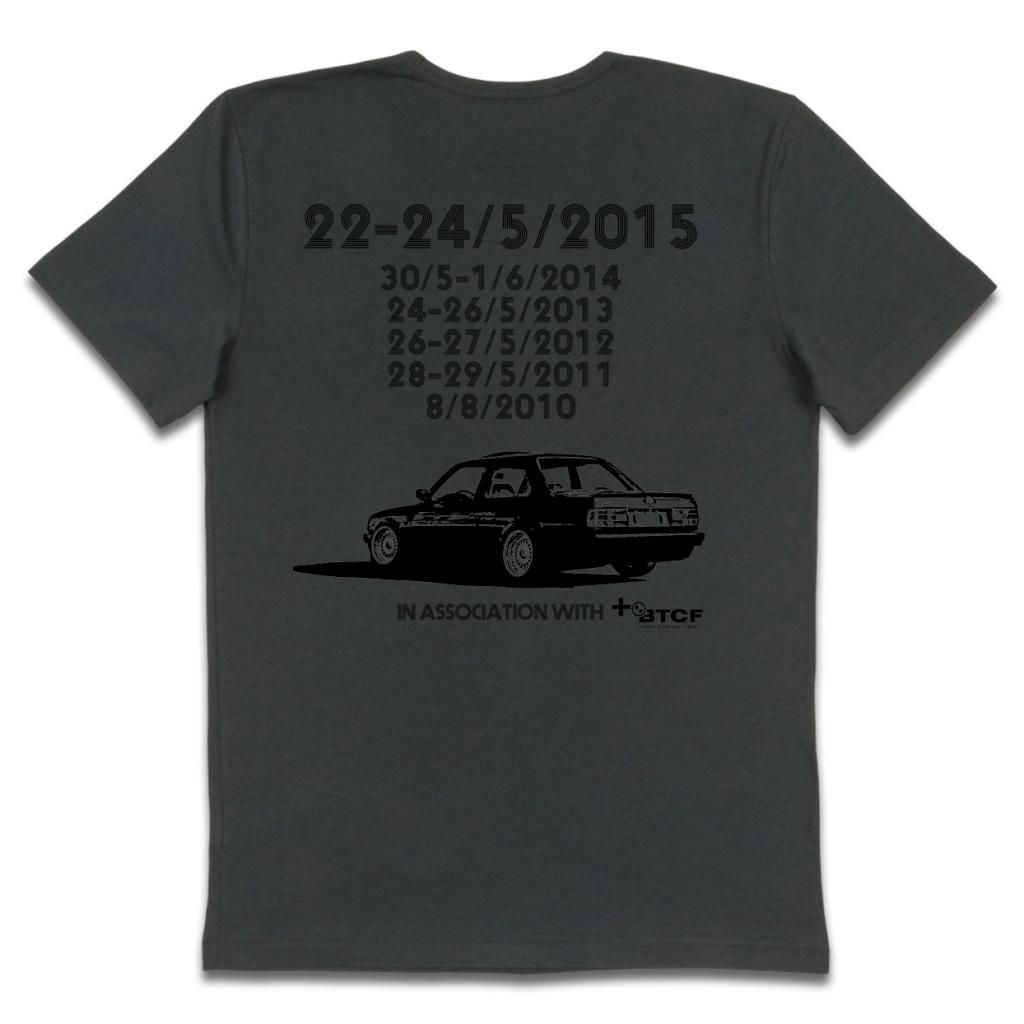
Come ooon, we have T-shirts ´n shit.
There's a Riihivuori skiing center where people usually stay during the meet weekend. Really nice selection of cottages with saunas, quite affordable too. All pretty close to eachother, with always a good party on both nights.
Bimmer Tuning Club of Finland sponsors a prize for the car/group that has made the longest trip to come to the meet.

Simplest solution I could come up once I realized I'd cut off battery ground point :) :

Hood lock and opening mechanism v 1.0:
 Last edited by petrolhead; 01-30-2015, 06:04 AM.
Leave a comment:
-
Not sure if my car is ready by then and it was a bit far from Åbo, 4 hours? :PLeave a comment:
-
Leave a comment: