Announcement

Collapse
No announcement yet.

Project Pro3

Collapse
X
 
  • Filter
  • Time
  • Show
Clear All
new posts

  • seatown88
    replied
    Today I spent some time testing the primer/paint that I am going to use on the car. I bought some summitracing epoxy primer and urethane paint. I was a little worries going into it because I don't have much painting experience, especially with an air gun. Also, the temperature in my non-heated garage is below the temperature range for the urethane activator. So the purpose of the test is to get used to the process of painting, and ensuring that the activator will indeed be okay even at a lower temperature.

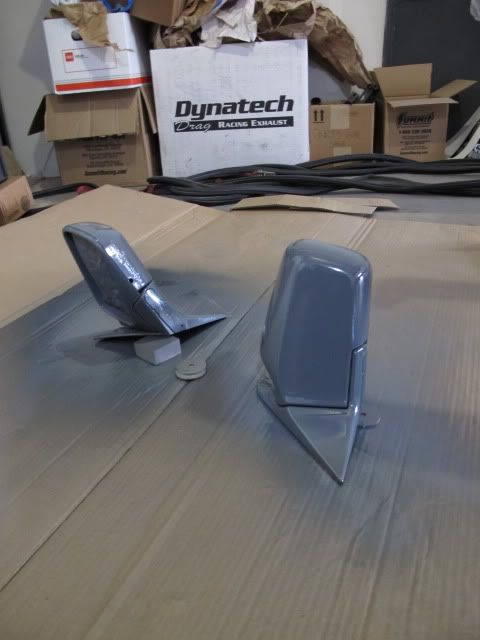
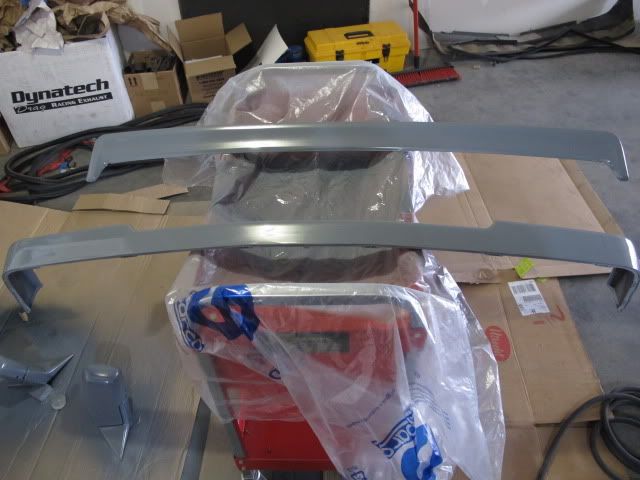
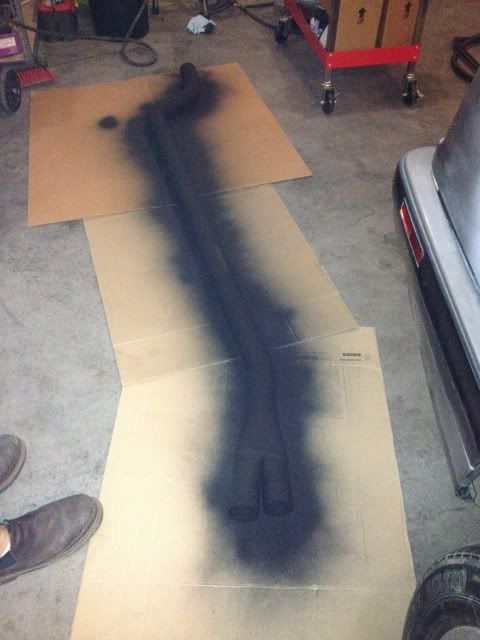
    I decided to paint the accent pieces that were removable from the car, the mirrors, front lip, and rear lip. I sanded, cleaned, and did all of the normal prep for the parts. The epoxy primer went on really nice, and after a little flash time I sprayed the orange urethane paint.


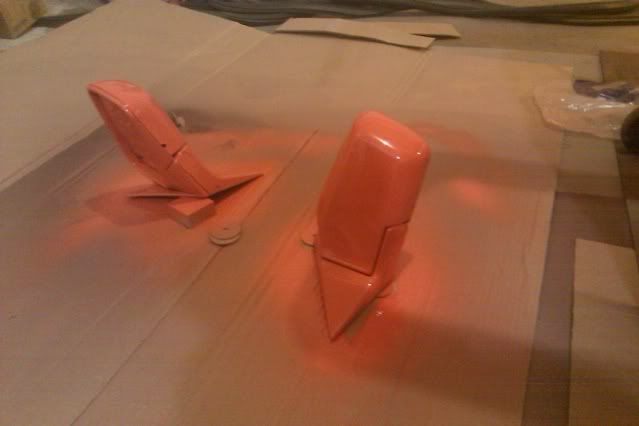
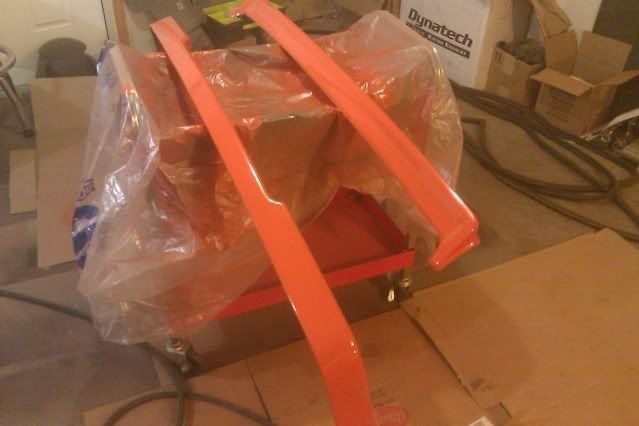
    Really happy with how things look so far, I'll let the paint cure(hopefully) and go from there.

    Leave a comment:


  • seatown88
    replied
    Cleaning the interior and getting it ready for paint was one of my least favorite parts of the build so far...I have way too short of an attention span to manage. Luckily my gf has more attention span than I do when it comes to it so she was a great help in preping the interior/cage for paint.


    I decided to buy a quart of paint and use an air gun to paint the interior to get more practice for when it comes time to paint the exterior. It turned out great for a first time using an air gun


    After paint it was time to do the final install of the fire suppression system and kill switch.


    Leave a comment:


  • seatown88
    replied
    Originally posted by MattAvino View Post
    Wow, those headers are amazing! More info?
    Thanks! They were a lot of work and a steep learning curve!

    Originally posted by Big Willy View Post
    Awesome build. This is Will from FSAE by the way.
    Hey Will, your car looks awesome!

    Leave a comment:


  • Big Willy
    replied
    Awesome build. This is Will from FSAE by the way.

    Leave a comment:


  • MattAvino
    replied
    Wow, those headers are amazing! More info?

    Leave a comment:


  • seatown88
    replied
    I decided to remove as much of the wiring as I felt comfortable with just to clean up the interior.


    A little bit better


    I originally was going to just run the Sparco seat base, but I wasn't a huge fan of the design and then when I received my seat and I tried to sit in the car, I couldn't fit. I could have forked over some serious cash, or machine some seat bases for less than $100. I went for the cheap alternative.


    Test fitting the seat
    Last edited by seatown88; 02-01-2012, 10:54 PM.

    Leave a comment:


  • iwantspeed
    replied
    Nice work so far.

    Leave a comment:


  • seatown88
    replied
    Next up was to get the motor and transmission in and get the car running. For a school project I decided that I wanted to build a set of headers for the car. First I needed the motor in to find out what kind of room I have to work with.


    Motor in, time to start routing the primaries...


    At first I was going to build my own collectors...that plan changed quickly after attemping to build one. I found an awesome kit with the collect, transision cone, and merge cone. Time for more fabricating...


    Most recently I finished the exhaust system


    Then I ceramic coated the headers and painted the exhaust

    Leave a comment:


  • dnick
    replied
    looks great!!

    Leave a comment:


  • seatown88
    replied
    Finally it was time for a cage. I went with a local company that has a great reputation in the Pro3 group. But before I wanted to cut out the sunroof cassette.


    I also decided to remove most of the little stud holding down wire looms so that I would stop ripping my shins/arms open


    Cage work


    I was pretty happy with the work, but I thought there was going to be more to the cage. Any way I decided to make the additions I was expecting myself, a great way to learn more fabrication.


    I also cut the driver door out so that it would close over the nascar door bars. I wanted to keep the stock door latch handle but it was flimsy. A solution I cam up with was welding some brackets from the latch to the anti-intrusion bar in the door.

    Leave a comment:


  • seatown88
    replied
    Besides just being dirty, the head looked decent.


    I ordered new valve springs and rockers, new valve stem seals and cleaned the head and valves.


    I cleaned up the block and painted it black


    I made sure to buy a baffle and windage tray to insure constant oil pressure even in high g-force turns.


    I decided to try and rebuild the transmission that kept popping out of 3rd gear. Separating the case is what I feel holds back most people from rebuilding their transmissions. That and the fact that parts are expensive. I separated the case and started to inspect the transmission. Most likely the 3rd gear synchro is worn out. At the same time I bought a transmission that was stuck in 2nd gear from a buddy. Taking the two junk transmissions I was able to make one that works great.


    Leave a comment:


  • seatown88
    started a topic Project Pro3

    Project Pro3

    I started my build around 2 years ago and at the time I wasn't on r3v much. I thought it was time to share my build on r3v.

    Pro3 is a great. competitive group in the Northwest and I had been running with the same race organization for two years before deciding it was time to get in on the fun that Pro3 was having.

    I searched around and at the time there was no way I could afford to buy a turn key Pro3 car. I decided to build my own instead knowing that I had the tools and some mechanical background to do so. I started with a '89 325is shell, a junkyard motor, and a transmission that the PO said always popped out of 3rd gear.

    What it looked like when I got it...


    First thing that I did was stripped out the interior and remove the sound deadening.


    The trunk was not fun....I lucked out and the assembly line worker forgot to peel 1/4 of the backing material on the bottom layer so it came out easily.


    Once I got everything stripped out I decided to focus on rebuilding the motor while I try and find a cage builder. The motor was in a car that was in a front end impact, so the water pump was busted. I decided to tear down the motor to the short block and inspect the bearings/rings.


    Everything looked pretty good so I decided just to clean it up and just rebuild the head.
Working...
X