-
Cool! My goal is to be running the exact same setup w. throwing starsLeave a comment:
-
Looks great! Those adapters look like a great design. Looking forward to seeing it all buttoned up.Leave a comment:
-
sent a small laundry list of part numbers to blunt this morning. :DLeave a comment:
-
did some test-fitting yesterday, i couldn't wait any longer after i got my hands on the adapters. :)
here's a step by step of the installation process first:
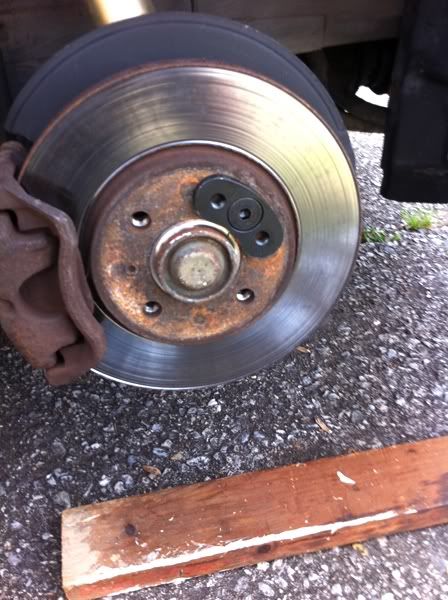
install the kidney-shaped adapter plate. tighten it enough that it stays in place, but can still pop into place in the back side of the adapter body - once it's lined up, torque it down.
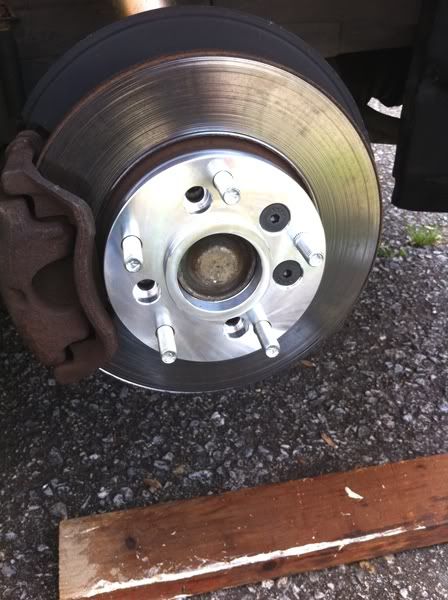
once you fit the adapter body on top of the kidney-shaped piece, bolt them together with the two supplied counter-sunk bolts.
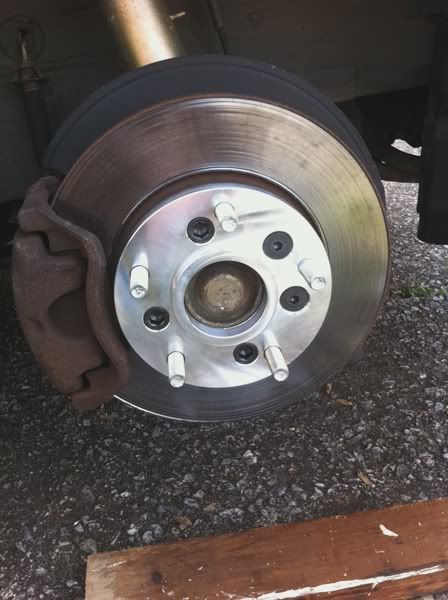
affix the rest of the adapter to the hub via the supplied lug bolts.
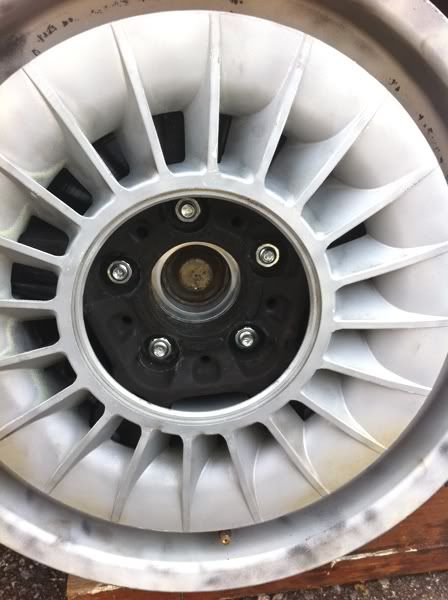
mount the wheel and bolt it down via the supplied lug nuts.
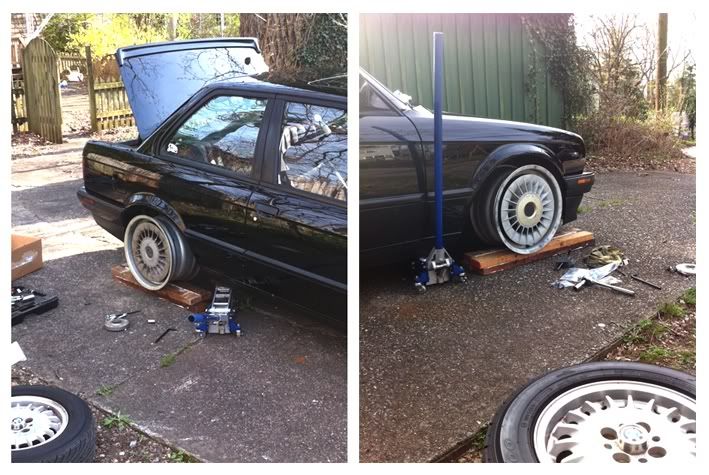
the results.
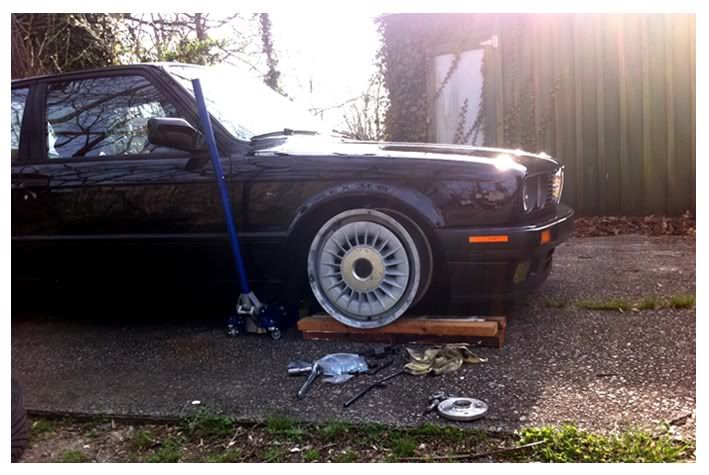
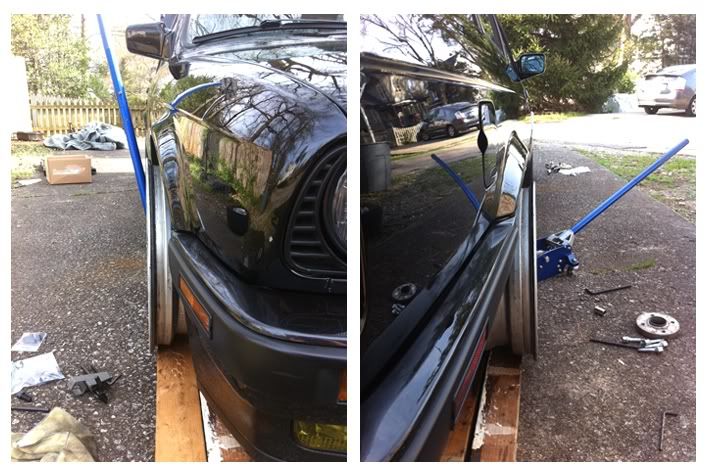
the fender clearance - pretty much where i thought it would be, very close to where my old RSs sat - gonna have to do some more thinking re: tires.
p.s. wheels are 17x8 et20 F and 17x9 et22 R, 18mm adapters all around.Leave a comment:
-
picked up the adapters for the turbine setup today.
18mm 4x100 > 5x120s.
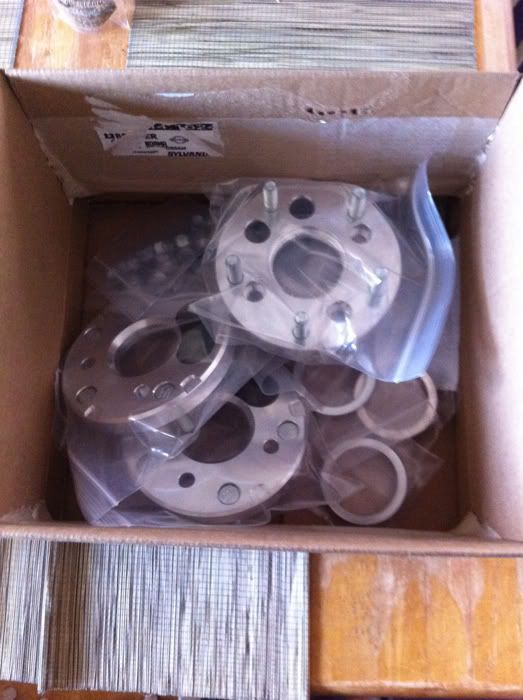
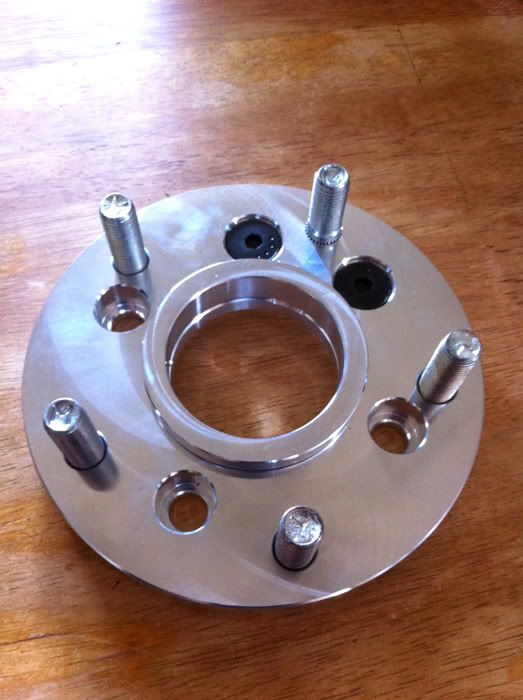
will be doing a test fit without tires to assess how much space i'm working with and figure sizes out. hoping i can get 215s on the 8s and 235s on the 9s and still have clearance.
as a side note, an adapter setup like the one pictured above can be purchased via the link in my sig below. ;)Leave a comment:
-
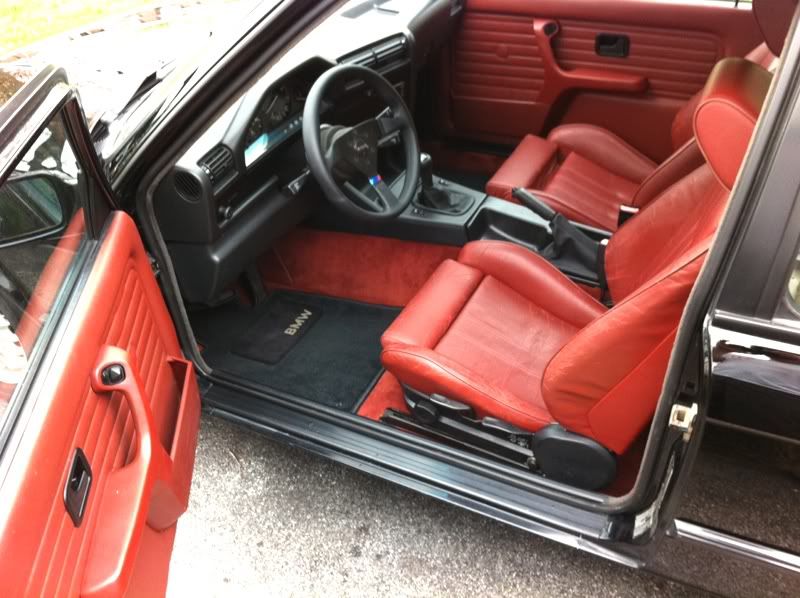
thanks for the kind words guys.
two pics for now, could not be happier. :)

Leave a comment:
-
awesome car, you have great taste (red leather/black car). sub'd for sureLeave a comment:
-
great progress! can't wait to see the turbines mounted they look SEXYLeave a comment:
-
I really like your car and will be interested to see where it goes. Subd!Leave a comment:
-
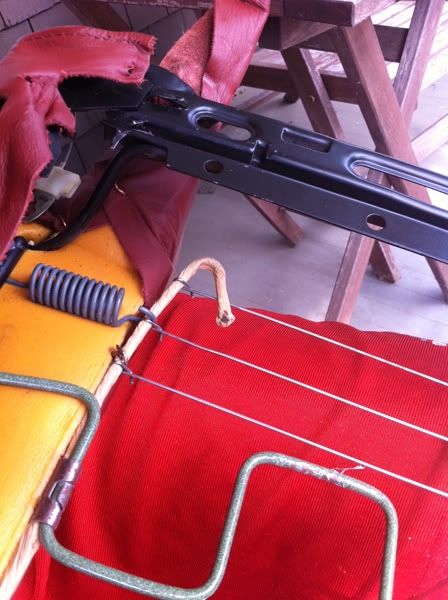
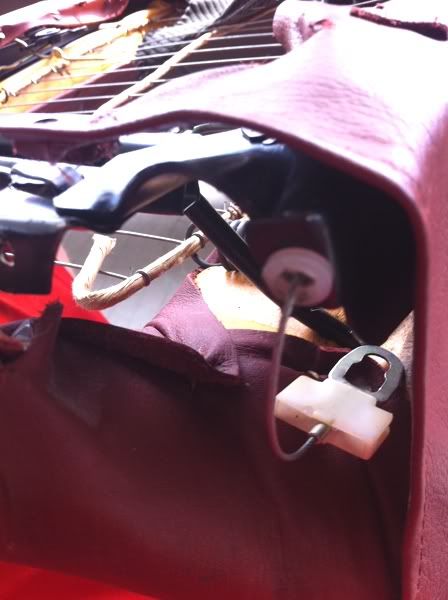
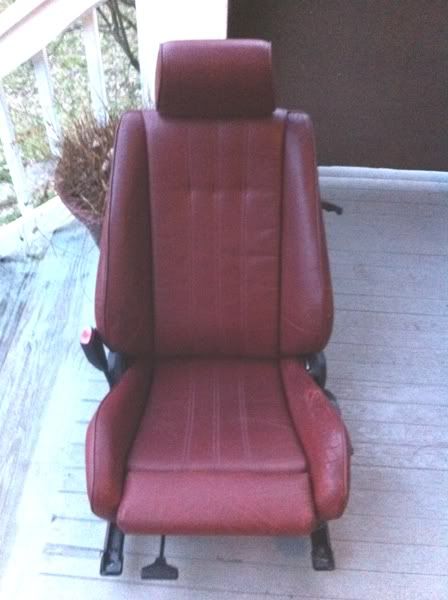
i spent some time finishing up the seats over the last few days, here are some cell phone shots from the heat of battle:
replacing the seat back shocks.
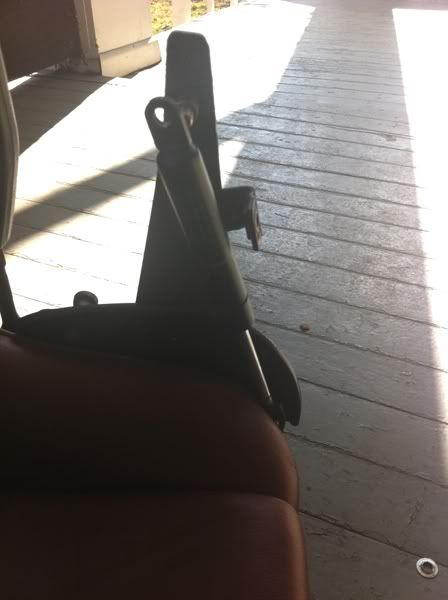
taking the bolster and seat back covers off and replacing them.
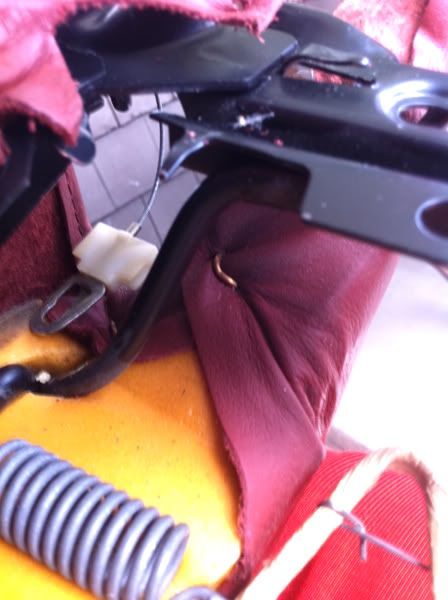
the finished product.
where we started, pre-cleaning/restoration.
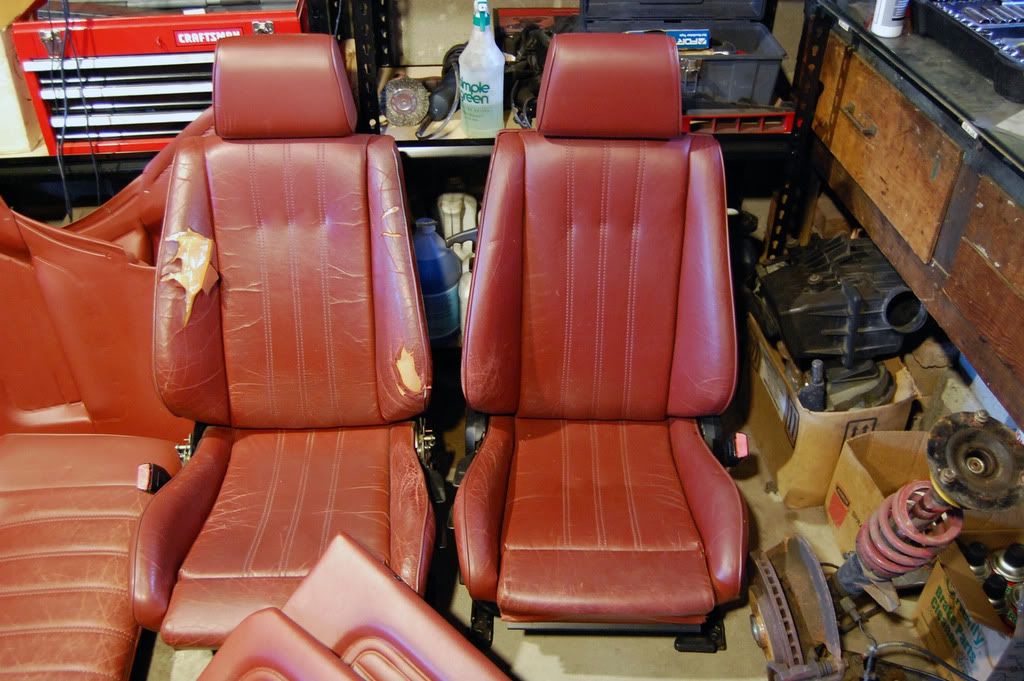
it's not a 100% restoration - the foam was a little chewed up, so the fabric fit a bit loose at first.
but i punched some new holes in the covers so i could get them cinched up a bit tighter, and that did the trick nicely. the replacement covers are worn at a similar rate as the rest of the driver's seat, so it matches very nicely.
overall, i'm super stoked. i'm bringing the car back on wednesday from winter storage, so i'll have some better pics of the interior in place by the end of the week.Leave a comment:
-
-
what products are you using?
i'd be interested to see some pics of your seats and process - i'm new to this but it's pretty interesting, i've enjoyed the project.Leave a comment:


Leave a comment: