

Yup, I'm incredibly lucky. That sad part is I'll have to give it up when I move to the bay area in the next few months.
Just have to get the car done before then lol.
-
Originally posted by e30BmwflyerI have dreams about that shop space..Originally posted by tinkwithanr
hella jelly..Leave a comment:
-
wow thank you for the inspiration damn that m20 is going to be so raw with itbs and i didnt see anything about you joking with that m90 sc but please do that too. also how do you have that shop space. how did you go about renting it, what are the terms, price etc.?Leave a comment:
-
Subscribed!
I wish I had your metal working skills. I shall have to learn.Leave a comment:
-
Taking a break from the rear of the car for now. Hopefully I'll get the coils on order for the rear in the next couple of days, so that should let me figure out the suspension pickups back there which I'd like to do before finishing out the trunk floor and fender cuts.
So moving onto the front I decided to re-assemble the front end so I can start to figure out things like radiator mounts, and the rest of the engine accessories. I also wanted to throw the front of the turbo body kit on to see how she would look:

There's a surprising amount of room in there with the M20 in place:

Driver Side Engine Mount:

Passenger Side Mount:

Then I threw the hood and grills on to make it almost look like a real car.

The rest of the night was spent taking some measurements for the radiator supports and trying to plan out the removable front clip. I'm going to try and make the nose removable without having to disconnect the radiator to make other engine maintenance easier, but it depends on how much room I end up with. I still need to trim the nose panel a bit to cut out rust and make room for the oil cooler hoses running back to the block.
Thanks for looking :DLeave a comment:
-
Hey, to each his own. I can definitely see your point. That being said I had the same discussion on another forum:
"While I do see your point, I respectfully disagree. Personally, pretty much any bmw should have a straight 6 engine (aside from the newer, big sedans and the isetta). And considering the 2002's big brother the 3.0 have the M30 straight 6, if the M20 had been in production back then I'm sure they would have stuck one in there. No, it's not a buzzy little 4 cylinder, but it should still carry the same spirit and feel as a vintage bmw."
Do it. (Insert Starsky voice).Leave a comment:
-
Wow, nice work... Maybe following this build can help get me and the team motivated to put the turbo m20 back in our e30/2002 Frankenstein car... We have a full e30 front and rear suspension swap.

Leave a comment:
-
pornographic engine mounts are pornographic.
aw man - after seeing all the work put into this car, I feel bad admitting I'd rather see an s14, or a hopped up m42, or a stupidly turbo'd m10 in it. Something about a sixer in an 02 seems weird to me. Respect earned on the ITB/m20 though.. just thinking out loud.
carry on..Leave a comment:
-
-
Sweet mother of Jesus, this gives me all kinds of inspiration for my rust bucket! Excellent work, I hope to follow in your foot steps as soon as my E30 is (relatively) finished up.Attached FilesLeave a comment:
-
-
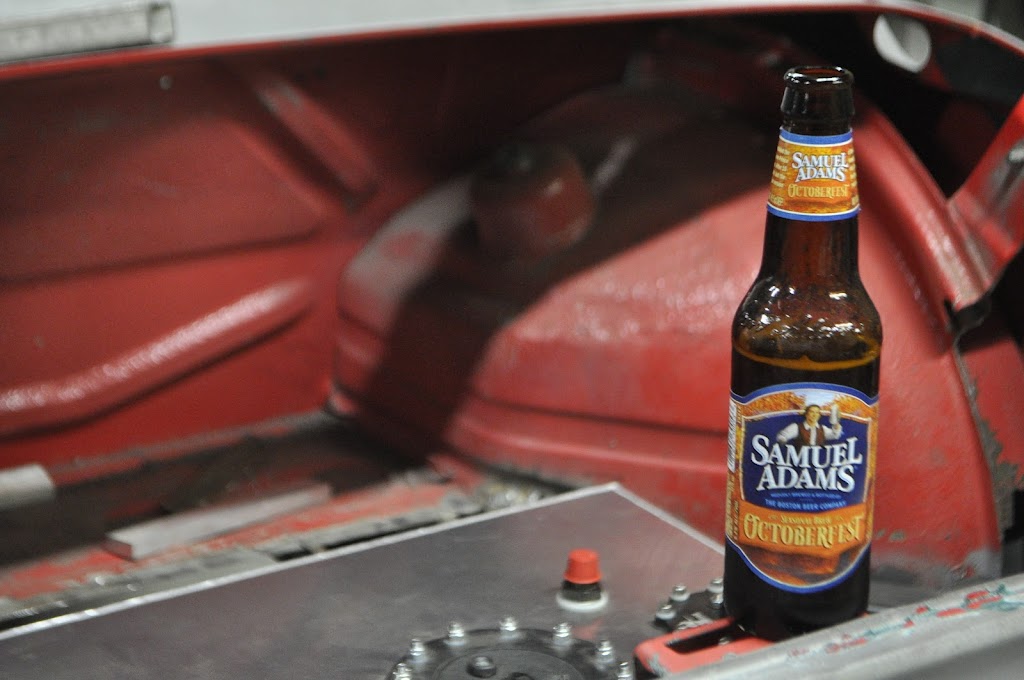
Lol, thanks.
Quick update for the day's progress, I only had a few hours to work on her but I got the Engine and Trans mounts finished up.
For the engine mounts, I wanted to fully box them, both for strength and because I think they look much better that way. But I still needed to have clearance around the nut for securing the rubber mount. So I took some 1" I.D. pipe and welded it around the stud hole.

With it welded in place, I cut the pipe at an angle so that I could weld it flush with the rest of the mount. Then I proceeded to cut out the rest of the top pieces for the mount using my normal paper template method. With all of them cut out and tacked in place, your left with this:

With everything in place it could be fully welded:

Then ground flush on all sides:

With these finished up I'm going to put the engine and trans back in the car. That will let me work on some of the other things up front while I finalize my rear suspension set up and keep knocking out the body work.
Thanks for looking.Leave a comment:
-
I seriously cannot get enough of this build, every update is amazing. you should label this thread NSFW, seriously, almost too good.Leave a comment:
-
Progress from tonight. Started off with some exploratory surgery on the rear driver side fender lip. Before making up the trunk floor, I want to use the extra space and access the void gives me to make the necessary cuts for the fender flares. This involves taking out ~2 inches of the outer fender lip and then splicing the new edge into the inner fender. This will also let me see if there is any rust hiding in the inner body that I couldn't see before.
First I transferred the mounting holes for the fender flare so I knew where the cut would go. I left ~ 3/4" of material from the mounting holes, which should be plenty.

Then I trimmed out the lip. Here you can see the inner fender material and the edge that will be spliced into it.

With the fender trimmed, I am happy to say that the rusty parts of the inner fender lip were on the parts I cut out, so after some final trimming the splices should go fairly easily. With that done I decided to move away from the chassis work for a little bit.
Tis the season:
Next I moved to reinforcing the transmission and engine mounts I made earlier. First up was the transmission mount.
Here's the top side after cleaning up all the welds. Once it's powdercoated it will resemble a stock stamped piece:
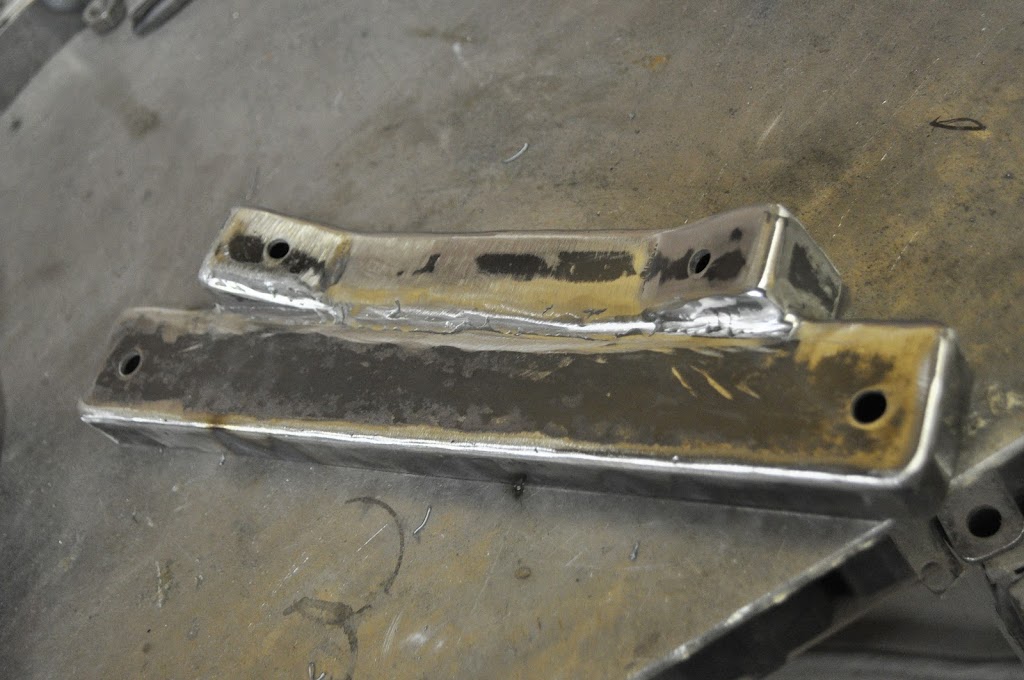
And this is the underside as I left it before:

While this would be fine for a stock M10 setup, I wasn't really happy with it for my goals. Likewise, I wanted to avoid partially boxing it due to the possibility of trapping water on the inside. So I decided to use some of my 0.75" tubing and triangulate the inner walls. This should add the needed rigidity while letting it dry easily.

Moving on to the engine mounts, I wanted to add some internal bracing before fully boxing them in. To keep weight down I made them out of a thinner gauge, so the bracing will let me keep the strength while having a lower weight of a similar piece made from heavier material (such as my first generation of mounts).
Here's how they looked from earlier:

Some flat stock later and this is how they looked when I finished tonight:


Tomorrow I'll finish boxing the engine mounts, once done they will look like a solid piece of tubing with the bracing completely hidden. Then it's on to the other fender lip and more bodywork.
Thanks for looking.Leave a comment:


Leave a comment: