Blunttech e12 LSx / t56 swap

Collapse
X
 
  • Time
  • Show
Clear All
new posts

  • jakeb
    replied
    Haven't had an update in a bit...I am back to my day job now so time is a little limited. We were also waiting for the trans to be gone through. New syncos, fork pads, keys, realigned, and a steel 3-4 shift fork.

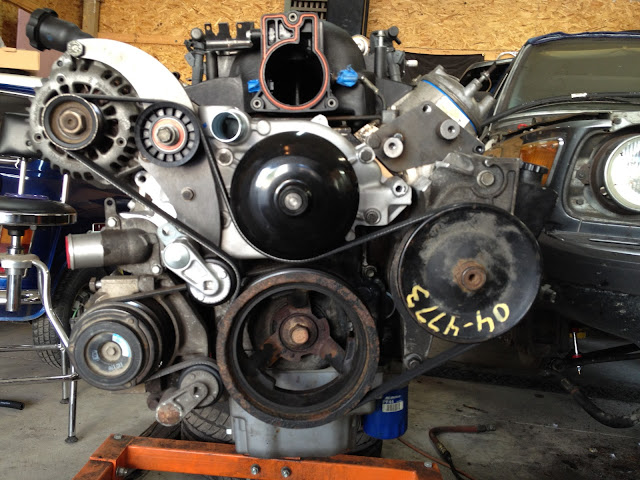
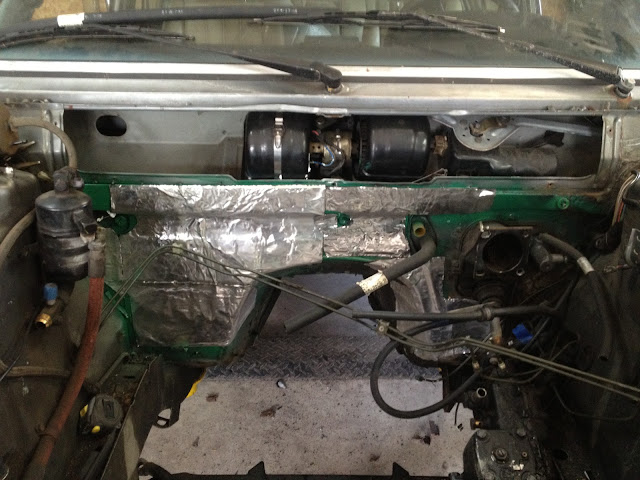
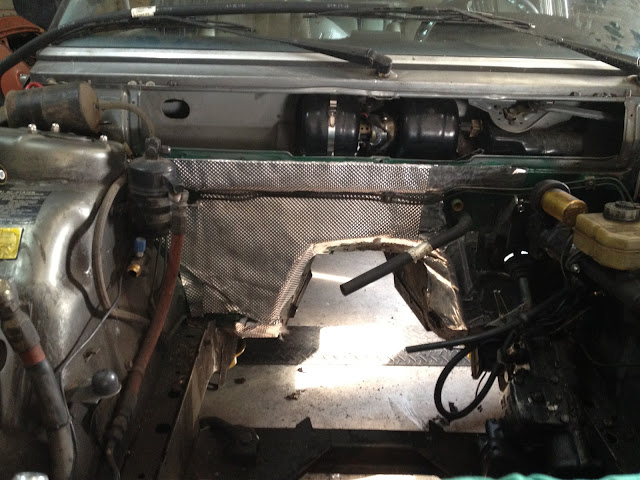
    Engine should be going back in in the next couple days...

    a few pictures of little things getting done

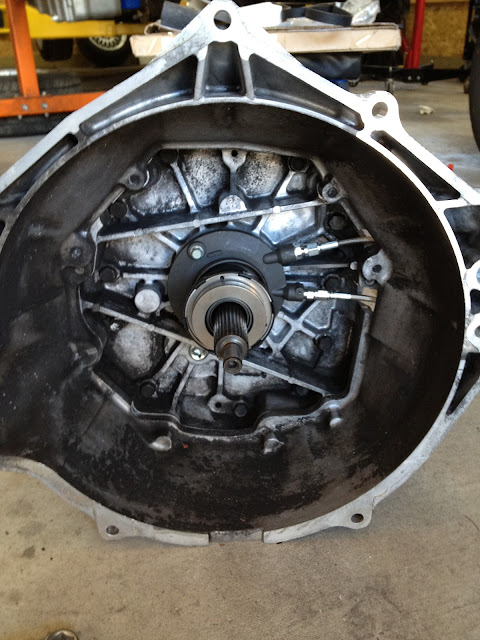
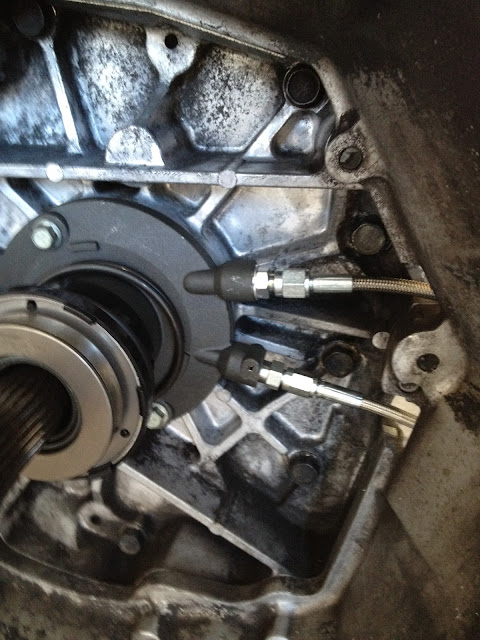
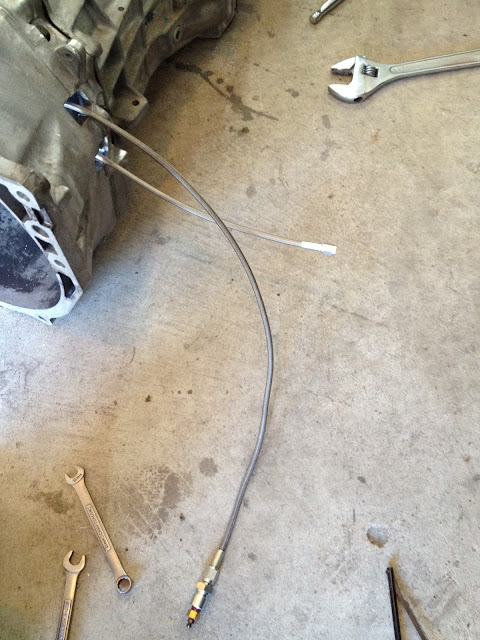
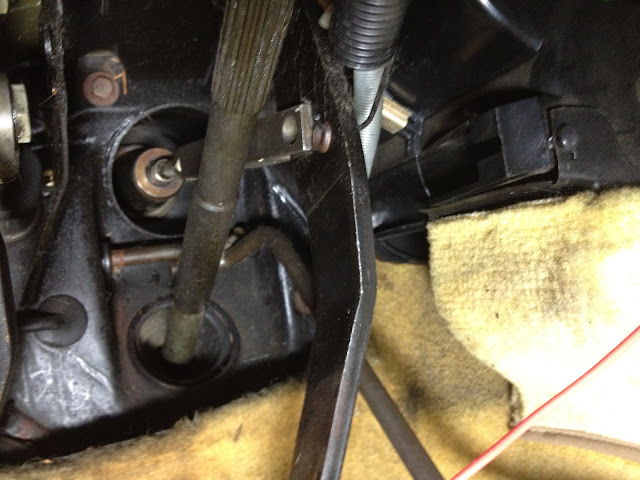
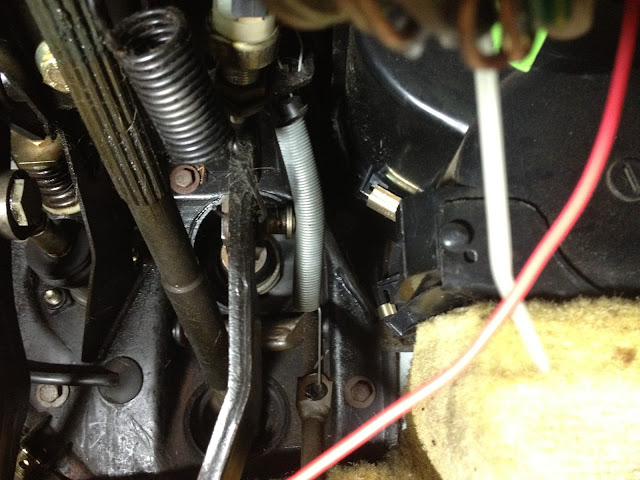
    New slave cylinder/release bearing with remote bleeder and hydro line


    Removed the wire connector off the skip shift solenoid. The skip shift gets shut off in the software, connector was close to the trans tunnel. It needs to stay now just as a plug.


    Ford t56 backup light switch...again for tunnel clearance


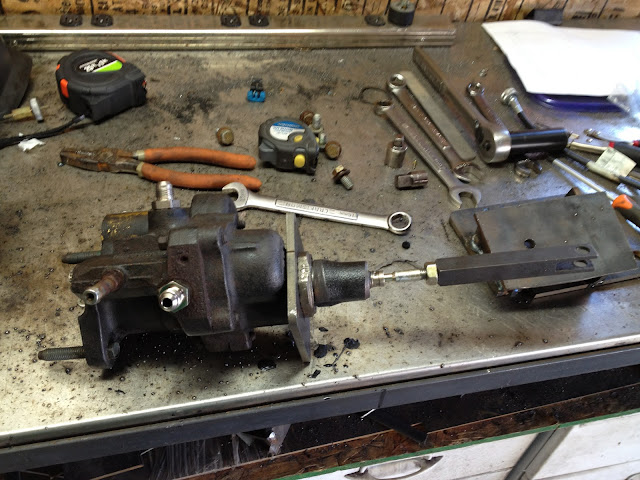
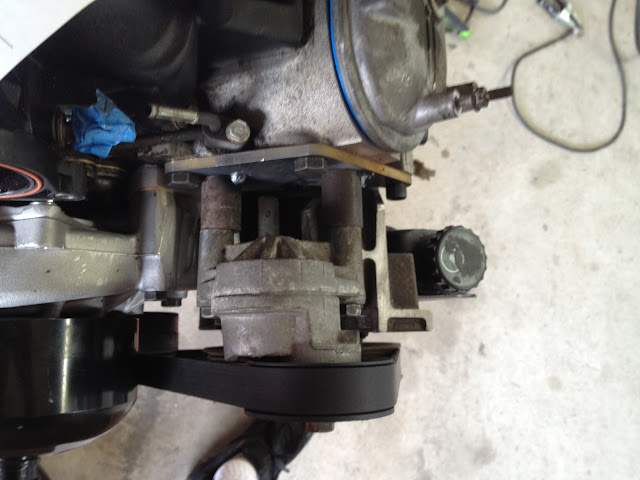
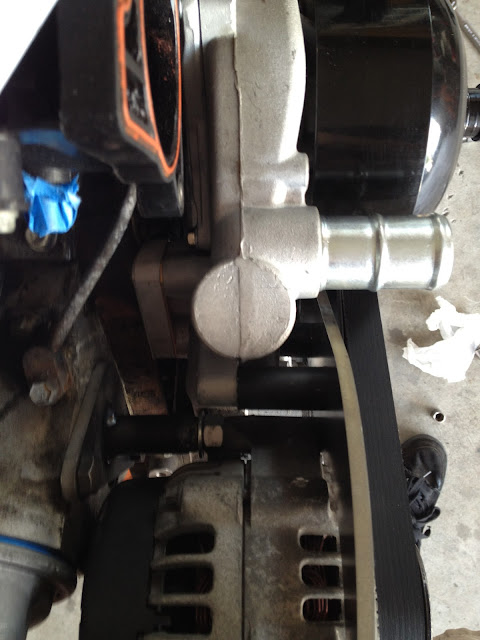
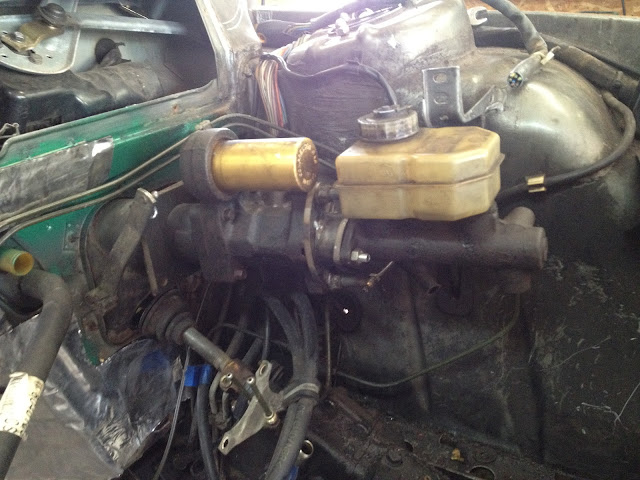
    Modified hydro boost....also now with an6 fittings


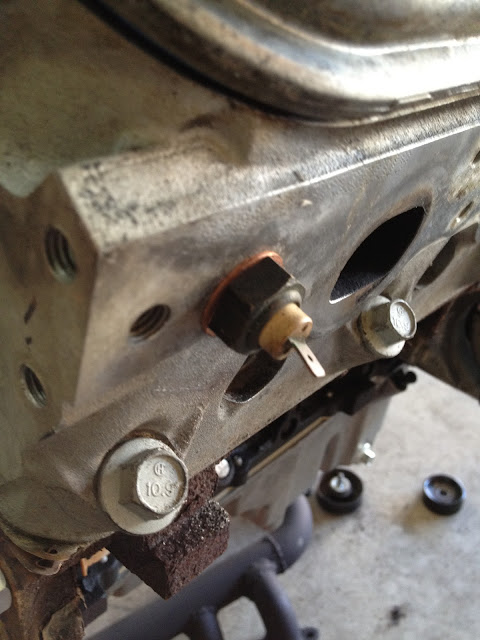
    e12 temp sensor rethreaded from m14 to m12 to fit in the passenger side head


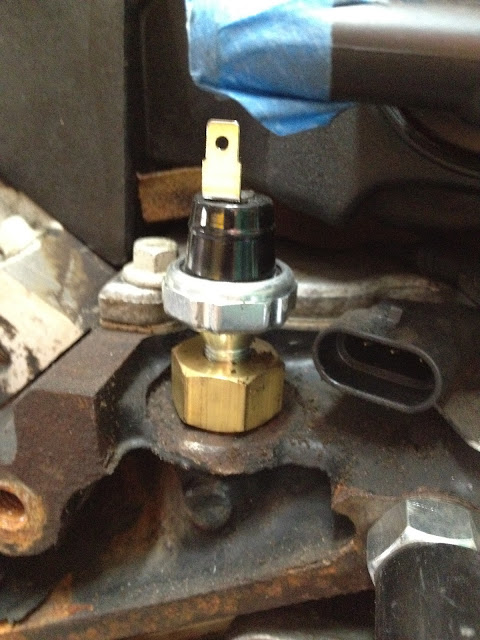
    Oil dummy light sensor...adapter from m16 to npt and then a sensor from a 89 s10


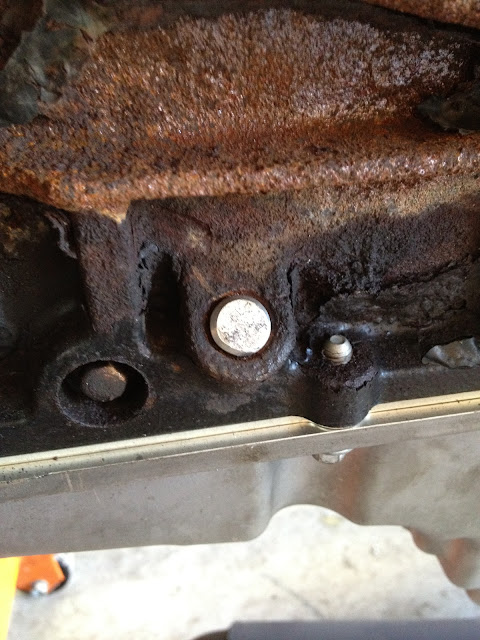
    truck dipstick location plug


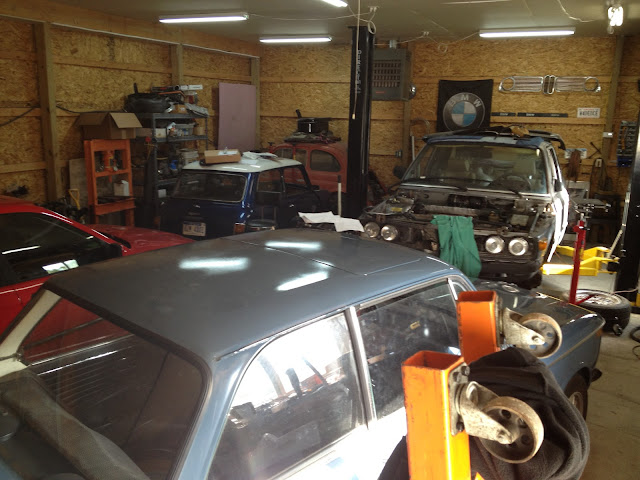
    Debating if I should jig up the mounts to reproduce.....Keep going back and forth. if anyone is even remotely thinking of wanting a set of mounts for an lsx e12 please let me know....
    [img]

    Leave a comment:


  • blunttech
    replied
    wow that is sweet Jake Nobody will ever know. Next year you need to bring your e28 down here and Ill drive the e12..

    Leave a comment:


  • jakeb
    replied
    The e12 uses a mechanical speedometer where the t56 trans does not. I was going back and forth of either getting a electric to mechanical speedo driver or converting to an electric speedo.

    Going with the electric speedo....better accuracy...and a odo that can't stop working because of old gears.

    VDO speedo and e12 speedo/ VDO speedo has already been pulled out of its housing and the glass has been removed.


    Remove both needles of the gauges


    The needle on the e12 happens to be the same size shaft as on the new electric vdo


    I will scan both faces into the computer and edit the e12 face to match the swing on the new vdo gauge.

    I know Blunt is at vintagefest in Chicago...wish I was there as well but other commitments wouldn't allow this year.

    Leave a comment:


  • F34R
    replied
    Nice wiring mess xD great work, cannot wait to see running videos.

    Leave a comment:


  • jakeb
    replied
    After some discussion over at BF.c I changed the belt routing a bit. Some guys over there said that the tensioner should be the last thing in the line of accessories. After looking at a bunch of other setups I couldn't find any with the tensioner not at the end of the line.

    So....new routing it was. Belt is a lot shorter. The bracket on the alternator is just temporary as the tension is only held with one bolt right now. Waiting on a new one from the waterjet.


    Also worked a bit more on the wiring...I pull the harness all apart to reroute it. Pull out circuits I do not need and also make sure all the wires are in good shape.

    So after labeling all the pins as I did before. Next step is to just start pulling out each circuit. Putting ones I keep in one pile and ones not needed in another pile...

    Keep pile...the rats nest over to the right is the injector and coil harness. No reason to pull that all apart


    The unneeded pile...there are a few other stray wires not needed but this is most of them.

    Leave a comment:


  • 02Wrxdriver
    replied
    DAMN! That is some great fab work in some real tight places. And doing all of the exhaust with a sawsall, that is impressive! Keep up the good work. Very very well done.

    Leave a comment:


  • blunttech
    replied
    Originally posted by F34R
    WTF Steve, I miss you around here so much. Fucking burned

    Cannot wait to see some tire destruction!
    Thanks man Jakes going to keep the car and drive it awhile once its done. God Im glad im not doing that wiring. great work Jake

    Leave a comment:


  • F34R
    replied
    Originally posted by blunttech
    We could save a step and have you apply the cream to your face. then when youre down there it would soothe the tingle on my inner thighs from your 5 o'clock shadow
    WTF Steve, I miss you around here so much. Fucking burned

    Cannot wait to see some tire destruction!

    Leave a comment:


  • Click
    replied
    Good build, don't know how I've missed it until now.

    Leave a comment:


  • jakeb
    replied
    Btw this will have AC....AC fittings and new crossflow condenser came this week.

    The e12 uses flare fittings on everything so I had to get adapters to go from flare to the new O-ring style.


    Coming off the drier (new one waiting) will be the GM AC pressure switch and the high side port.

    Condenser mounted using the stock e12 mounts up top and a couple small brackets on each side near the bottom. You can sorta see the brackets down low.


    Started on the engine harness.

    I took all the split loom off a couple weeks ago...looks like this.


    Then go through and take off most of the tape so everything can be split apart.


    Then I de-pin both PCM connectors.
    First the blue.


    Then the red


    All the wires that will get rehooked to the connectors are labeled with the connector color, pin number, and function. Removed wires are just pulled out.

    Next step is to pull all the wires apart...remove unneeded circuits. Reroute it...on and on. More pics and details to come.

    Leave a comment:


  • blunttech
    replied
    Originally posted by LJ851
    I think there is a cream for that now.
    We could save a step and have you apply the cream to your face. then when youre down there it would soothe the tingle on my inner thighs from your 5 o'clock shadow

    Leave a comment:


  • LJ851
    replied
    Originally posted by blunttech
    Im getting a tingle

    I think there is a cream for that now.

    Leave a comment:


  • blunttech
    replied
    Im getting a tingle

    Leave a comment:


  • jakeb
    replied
    Waiting on a couple things before the engine can go back in....also went back to my day job this past week...well sorta. K-12 band teacher...kids start next Tuesday. Hard to go back every year.

    Got a belt for the new belt routing...and I only got one belt at the auto store and it was right the first time around. Tensioner still have a lot of adjustment if the belt stretches a bit.


    Alignment of the belt. I rolled the engine over about 5 times and it seems to track straight.


    Tensioner bolts to the waterpump and then two threaded standoffs that are welded to a plate that bolts to the drivers side head.


    idler


    The mount off the head will be replaced with a threaded stand off. What is there was just to mock this. You can see the two spacers that go from the plate to the waterpump.


    The reason for moving the alternator was a couple reasons. One to be able to gain space down low for exhaust on the drivers side and second to be able to reuse the truck accessories.

    Leave a comment:


  • jakeb
    replied
    I'll pull a bunch of them from the local place and see which fits the best.

    Cut and threaded the rod on the hydroboost...testing it all in there.


    Fitting up to the pedal...pin is in but not pushed in all the way as it will have to come back out.


    sound deadening on the firewall


    covered with some heat reflection stuff


    Still need to add a little bit over on the drivers side.

    The list is getting pretty short. Engine can go back in soon.

    How I left the garage today...
    Brought my 2002 home today...been in storage sense last fall...who knows why. Driving it home made me remember how fun it is. I like driving it the most during the fall anyway.

    Leave a comment:

Working...