The Ugly E30

Collapse
X
 
  • Time
  • Show
Clear All
new posts

  • tspangle88
    replied
    I decided to clean up some of my smaller parts and also have a shot at cleaning the fuel tank.

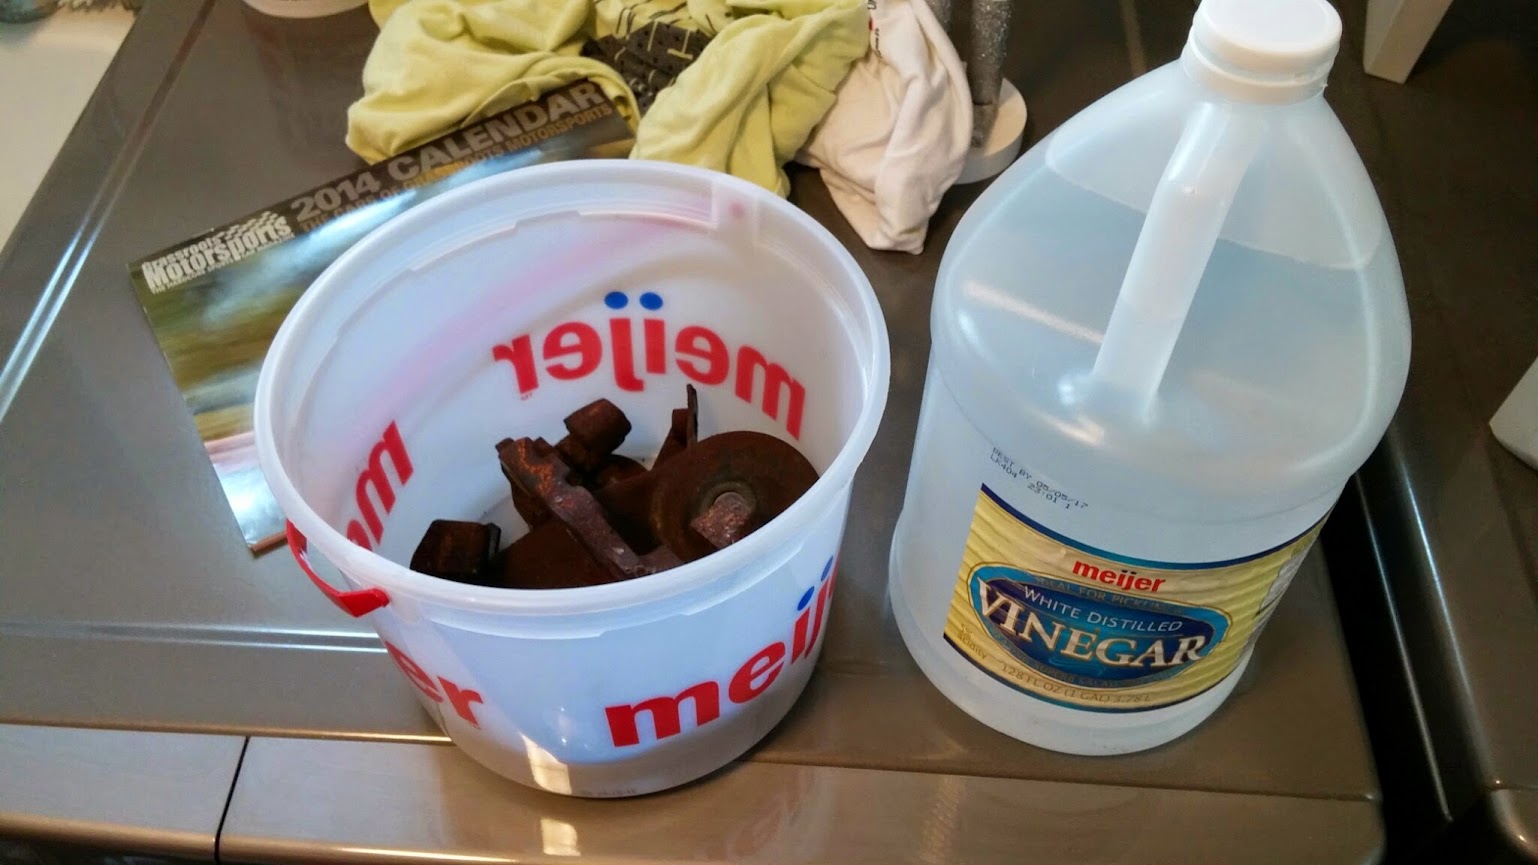
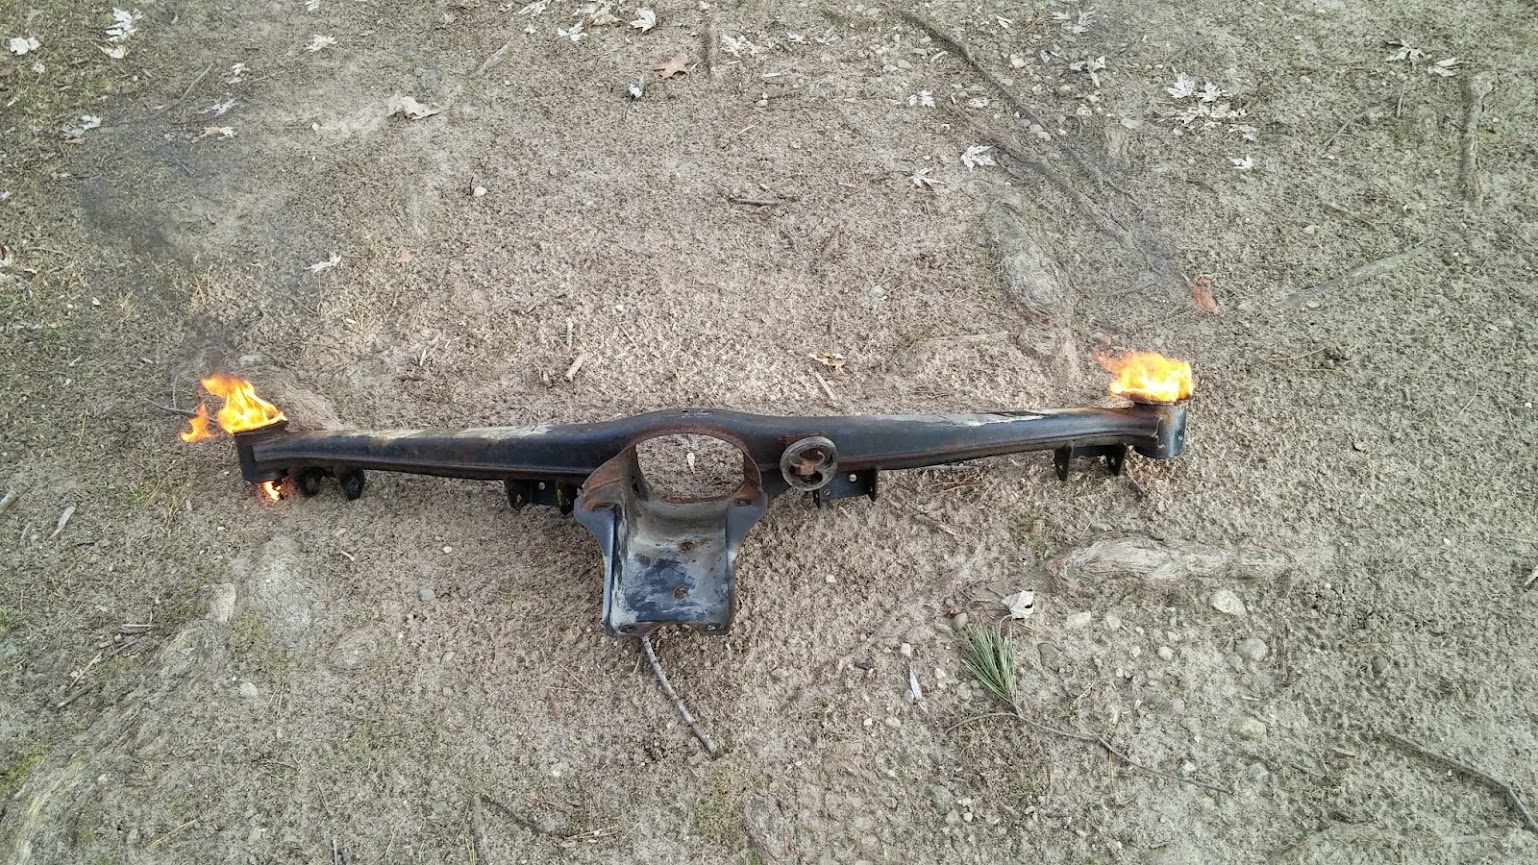
    Dunked the caliper slides, subframe retainer thingys, and a few other small parts and various bolts in vinegar overnight:


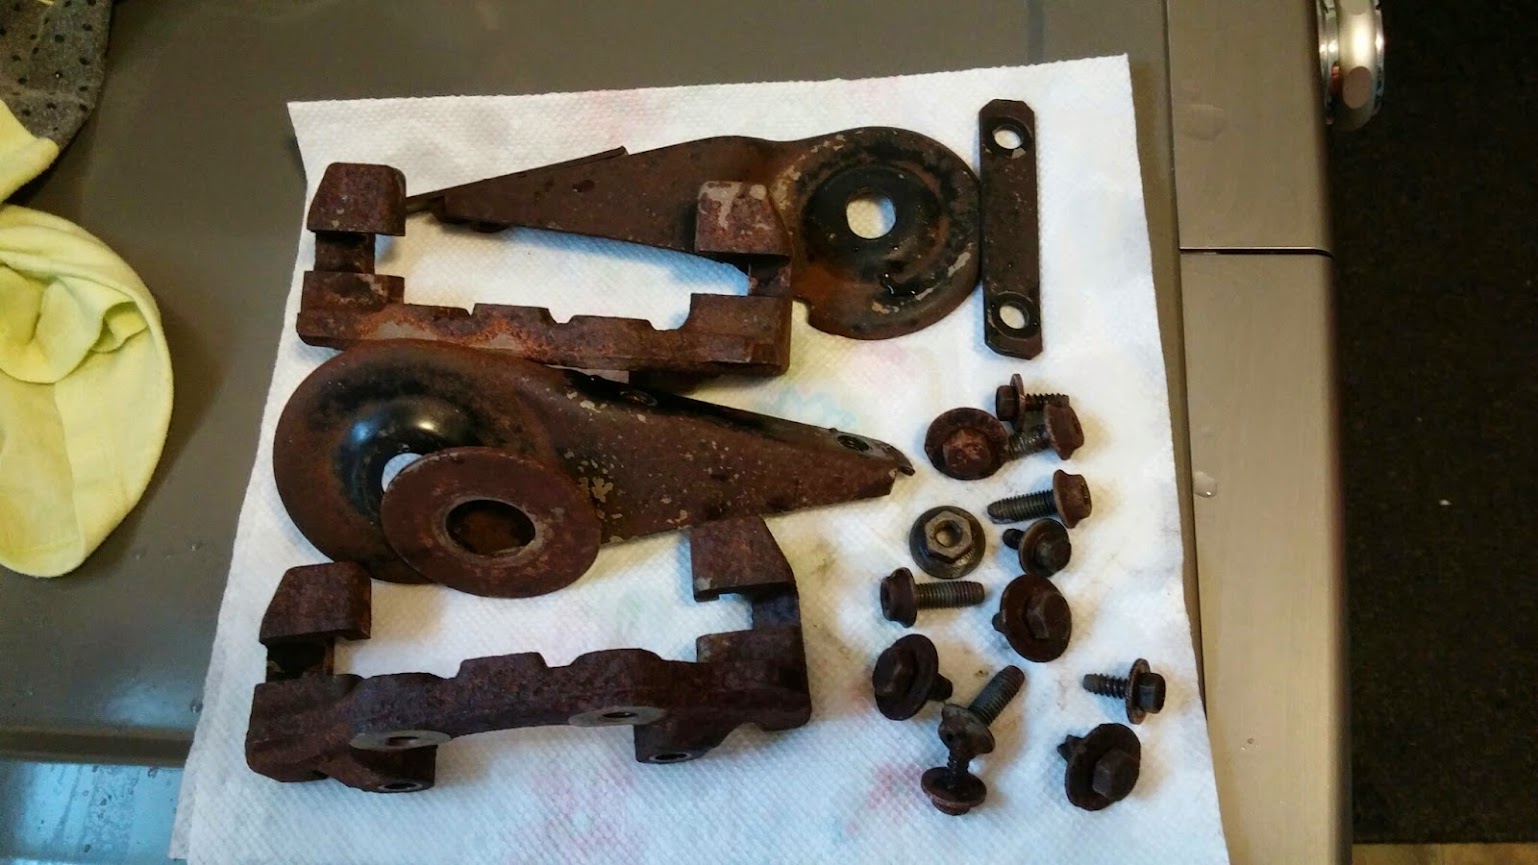
    The next day. Improved, not rust-free by any means, but better than they were:


    The bucket was nasty afterward:


    Overall, the results with the vinegar were meh. It worked, but I'd probably have to leave the stuff in there for quite a while to completely clean the rust off. For now, they are good enough. I then hit them with a quick coat of rusty metal primer to keep flash rust from starting.

    Back to the fuel tank. I decided to at least try cleaning it out. Last weekend I dumped a gallon of acetone and a bunch of old washers into it:


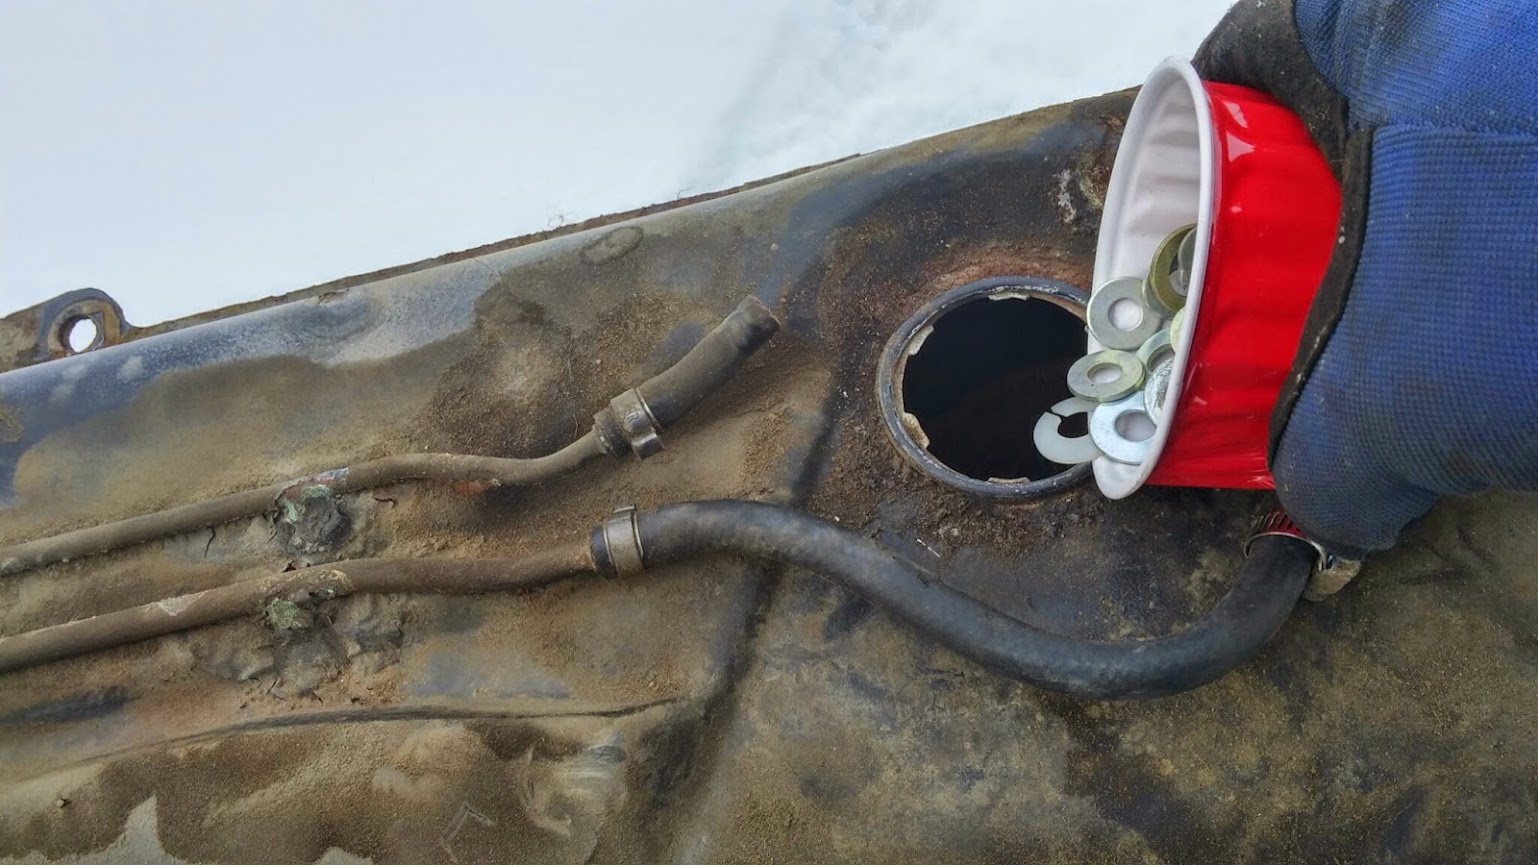
    I then sloshed it around as vigorously as I could. Throughout the week, I left it in there and sloshed it around every day. Yesterday I dumped it all out. That took a while. Those last few washers just didn't want to go, I ended up with a flashlight in one hole and a telescoping magnet the other fishing them out one by one. But I got them. Really glad I didn't use something like pea gravel, that never would have come out.

    And the verdict? Mixed. The acetone came out VERY brown (forgot to grab a pic). Once it evaporated, I put a couple cans of drygas in to clean it out a bit more and remove any traces of moisture or anything. The drygas came out brown, too. There's just a ton of surface rust inside this tank. I guess I can keep putting solvents in there and sloshing them around until it comes clean, but I'm starting to worry about how much metal will be left once I reach that point. I could do the POR15 sealer kit, but I'm a bit leery of the reports of the sealer stuff peeling off in sheets after a while.

    Or I can just get a new tank.

    Leave a comment:


  • Aviator
    replied
    Great work, thanks for the read. Sub'd.

    Leave a comment:


  • tspangle88
    replied
    Originally posted by E30_Pare
    id go for the vinegar mixture with some rocks. Seen it work out well before.
    Yeah, after sleeping on it, I think I'll give it a try before spending the cash on a new one.

    Leave a comment:


  • efficient
    replied
    Originally posted by tspangle88
    Looking around, I found some good fuel tank cleaning techniques involving vinegar, power washers, putting a chain in there and flopping it around, and the POR-15 and Eastwood tank cleaning and sealing kits. But I've also found that I could buy a brand spanking-new tank for about $200. Gotta say, I'm pretty tempted by that....
    my tank had rust like the pictures above and i thought of buying the eastwood kit or vinegar but said screw it, knowing me it would take me a long time to get the rust out. so i just bought a new one from auto zone. it fit prefect

    Leave a comment:


  • E30_Pare
    replied
    id go for the vinegar mixture with some rocks. Seen it work out well before.

    Leave a comment:


  • tspangle88
    replied
    Looking around, I found some good fuel tank cleaning techniques involving vinegar, power washers, putting a chain in there and flopping it around, and the POR-15 and Eastwood tank cleaning and sealing kits. But I've also found that I could buy a brand spanking-new tank for about $200. Gotta say, I'm pretty tempted by that....

    Leave a comment:


  • rcsoundn1
    replied
    Kudos my good man. I love a good backyard build. Much respect, and enjoy it all. It sucks, will beat you up, cost to much and be a shit load of fun!

    Leave a comment:


  • tspangle88
    replied
    Same approach as the subframe bushings, I started off by drilling them out. However, since the trailing arm bushings are smaller, I had to use smaller drill bits, and I broke a few:


    In retrospect, I might not have even needed to drill them out, they came out pretty easily, and more importantly, cleanly. Used a socket and the BFH to knock them out:


    No need for fire, thankfully:


    With the subframe out, I wanted to drop the fuel tank. As previously mentioned, it's full of ancient fuel and God knows what else. It was a moderate hassle, but I got it out:


    And it's a good thing. After draining some nasty, dark brown fuel out of it, I peeked inside. There's a lot of surface rust and other crap in there. It's hard to see it in this pic, but it's there:


    So it's gotta be cleaned before it goes back on. I'm open to suggestions, and I'll be doing some research on the topic, as well.

    Leave a comment:


  • E30_Pare
    replied
    You sir know how to work on cars. Fire and bf hammers. My trusty snap-on dead blow is my favorite tool.

    Leave a comment:


  • tspangle88
    replied
    Been getting some work in on the car in between family obligations during the holidays. Biggest task was getting the rear subframe out. The bolts came out easily enough, but as is typical, the subframe itself was not so inclined to move. So, I drove some 5/8" lag bolts into the aluminum sleeves in the bushings:


    Then I dropped a large bolt into the hole from the top:


    And proceeded to beat on it with a BFH. Didn't take long and it was loose:


    Repeat on the other side, and the subframe was out. Now comes the fun part, actually getting the old bushings out of the subframe. I started off by drilling out the rubber as much as I could to weaken it:


    Once that was done, I knocked the center sleeve out with the trusty BFH:


    Sleeve out:


    How to get the rest of the rubber out? Fire.


    Next, the trailing arms.

    Leave a comment:


  • E30NJ
    replied
    "a bit perished" :giggle:. Nice work!

    Leave a comment:


  • tspangle88
    replied
    Hey! Long time no see! I have no excuses, I simply lost motivation to work on this car for a long time. Fortunately, I've recently rediscovered it, so here we go!

    With the front suspension done and dusted, I decided it was time to dive into the rear. Everything is coming out. I mean everything, right down to the subframe.

    OK, I'll admit it. I didn't know this thing had drum parking brakes until I pulled the wheel and saw it:


    My CV boots are cracking, but not cracked all the way through. So, the boots certainly need to be replaced, the question is do I replace the whole halfshafts? The CVs should be fine except for the fact that they have 200k-plus miles on them.....


    Left side trailing arm and attached bits came out pretty easily. The right side, not so much. The fuel fill hose prevents one of the bolts from coming out all the way:


    Old, non LSD, tall gearing, eta differential removed. It will be replaced with the shorter geared, LSD-having diff from my parts car:


    Every bit of rubber on this car is, as they'd say on Wheeler Dealers "a bit perished". Every bit of it will be replaced:


    The subframe is unbolted and hanging there. I need to get some lag bolts to drive into the aluminum bushings so I can then beat them out from above. You can also see the trailing-arm bolt I was talking about. I decided to leave it until the subframe is out:


    So, once I get the subframe out, I'll do a few things. First, gotta get the old bushings out of it, the diff, and the trailing arms. I anticipate a combination of drilling, hammering, torching, and swearing will be necessary. I will be putting IE "street" poly bushings in their place. I also plan to clean them up and hit them with a little Rustoleum. I think I will also drop and drain the fuel tank. God only knows how old the fuel in it is, and since everything else is apart.... I already have springs, shocks, stainless brake lines, RSMs, rotors, etc. So, like the front, everything in the rear will be new.

    I hope to be updating this thread more often this winter. I want this car on the road in the spring, period.

    Leave a comment:


  • tspangle88
    replied
    Been WAY too long since I've updated this. And, to be honest, progress has been slow. But there has been progress, so here goes:

    After installing the E36 rack, I was ready to put the rest of the new suspension on. Here it is with the SS line and new tie rod end:


    New Lemforder control arm. I bought E30 M3 offset bushings and pressed them into my old housings. Not sure I'd do that again, but fortunately my FIL has a press, so it wasn't too bad:


    Rebuilt brake calipers all ready to go with new Hawk HPS pads:


    Scored a new Magnaflow midpipe/cat system on Craigslist for $200:


    Fast forward, driver's side all assembled with the new bits:


    New ST front sway bar with Meyle HD end links:


    I got rid of all the stock stuff a few months ago, and now I realize that I needed the end link brackets that attach to the control arms. Stupid. They are cheap enough, but it's just one more thing I need to order.

    Leave a comment:


  • EREKSHUN
    replied
    I also changed the transmission lube to this:


    I'm hoping that it helps with the shifting, the shifter felt like it was stuck in molasses before.[/quote]


    coming along great!


    Dem legs though mmmmhhhmmmmmmmm :giggle:

    Leave a comment:


  • willworkfore30s
    replied
    Since you were going to replace your wheel bearings anyway, you could have just gone ahead and removed the axle nuts with it all on the car, grabbed the rotor and pulled the whole assembly off without undoing the rusted in set screw. Once apart it is very easy to flip it over, set it on the table, and drill the set screw out from the back. That is, if you want to save the rotors. But if replacing the rotors and the hub/wheel bearing, just do as I said and throw the whole mess in the scrap pile and never have to worry about that set screw.

    It makes the job over all much quicker and easier. I have done it both ways.

    Leave a comment:

Working...