BAUR resurrection

Collapse
X
 
  • Time
  • Show
Clear All
new posts
  • Odin
    Member
    • Oct 2012
    • 68

    #1

    BAUR resurrection

    Hello everybody, I'm Odin from Spain. I have been lurking around on this site for some time now, and have always found it a great inspiration. There sure is some very talented people on here, and I have learned a lot by watching over the last few years now. So I gues I owe the comunity a big THANK YOU !

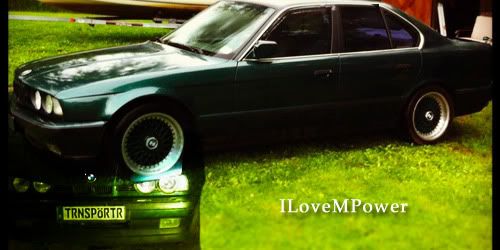
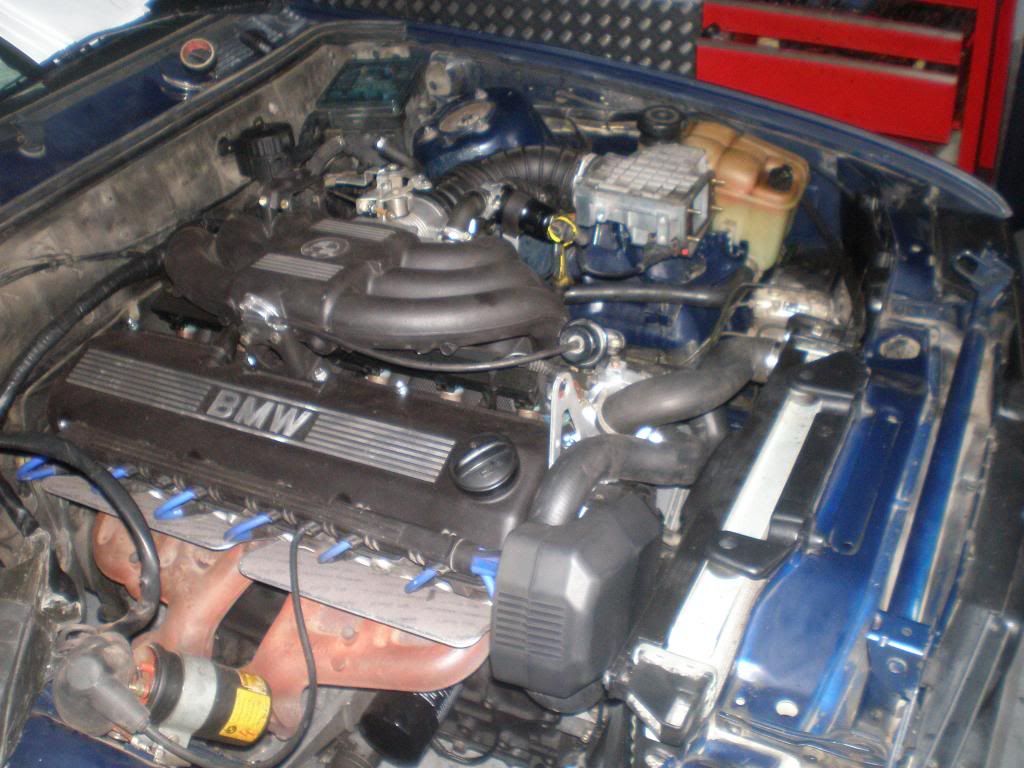
    Anyway, I'm the proud owner of a 1984 BMW 320 BAUR converteble. Bought it about 6 years ago, and it has served faultlesly as my DD. 2 years ago I disided it was time for a major overhaul. The plan is to keep it more or less stock, with some suptle upgrades. I want to lower the suspension, and get some nice wheels. I would also like to keep the bodywork smooth, and debadged etc. But nothing wilde, it has to be funtional, this will not be a show car. I allready had replaced the engine with another m20 from a 525 e-34. That was a major improvement over the old b20 lump. There were some small electric isues etc, but it went more or less painless.

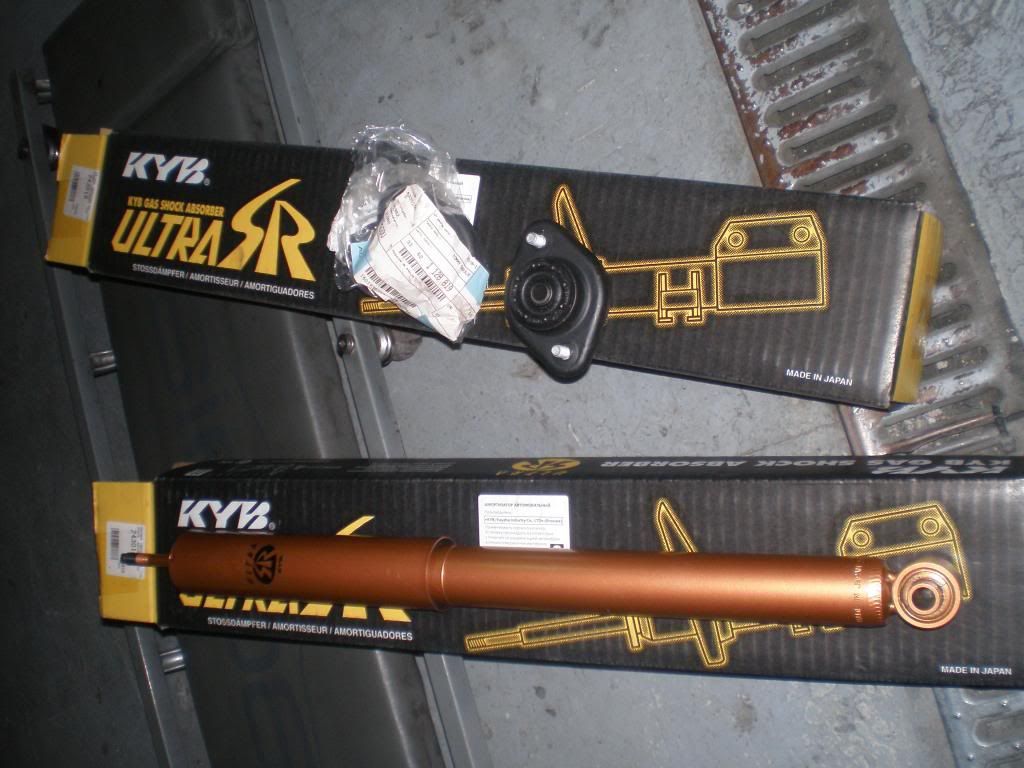
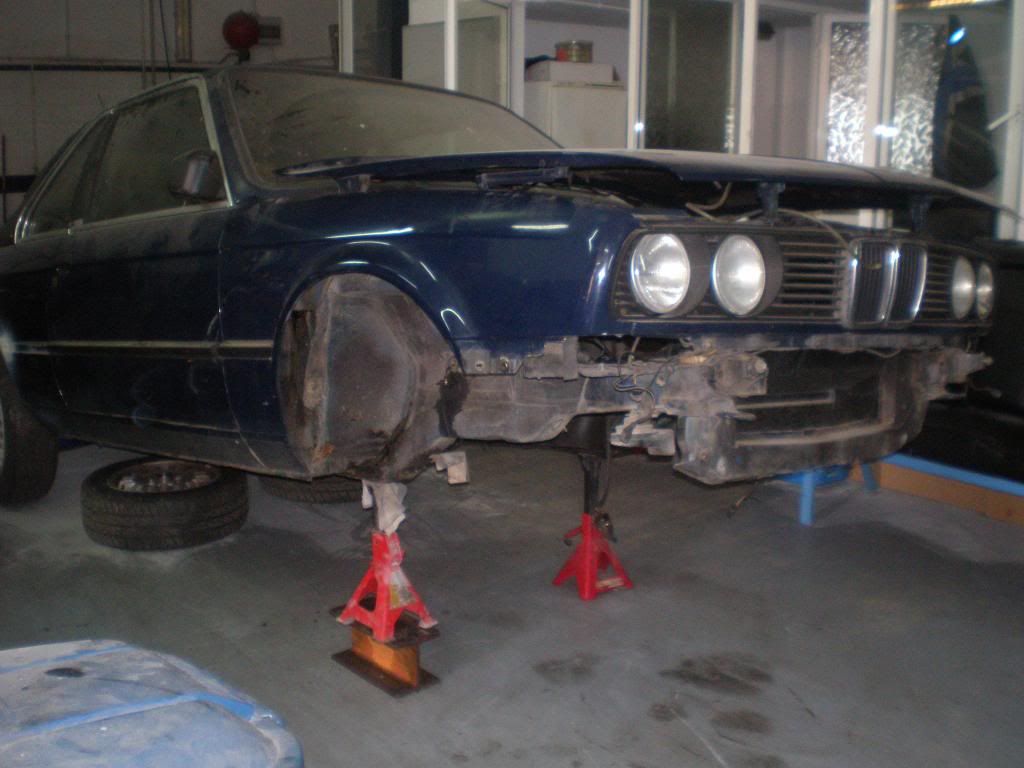
    The suspension was in badly need to be rebuilt, and the car screamed out for some lowering springs. So that was where I startet the project. Here is the car the day I parked it in the garage And the teardown comence 
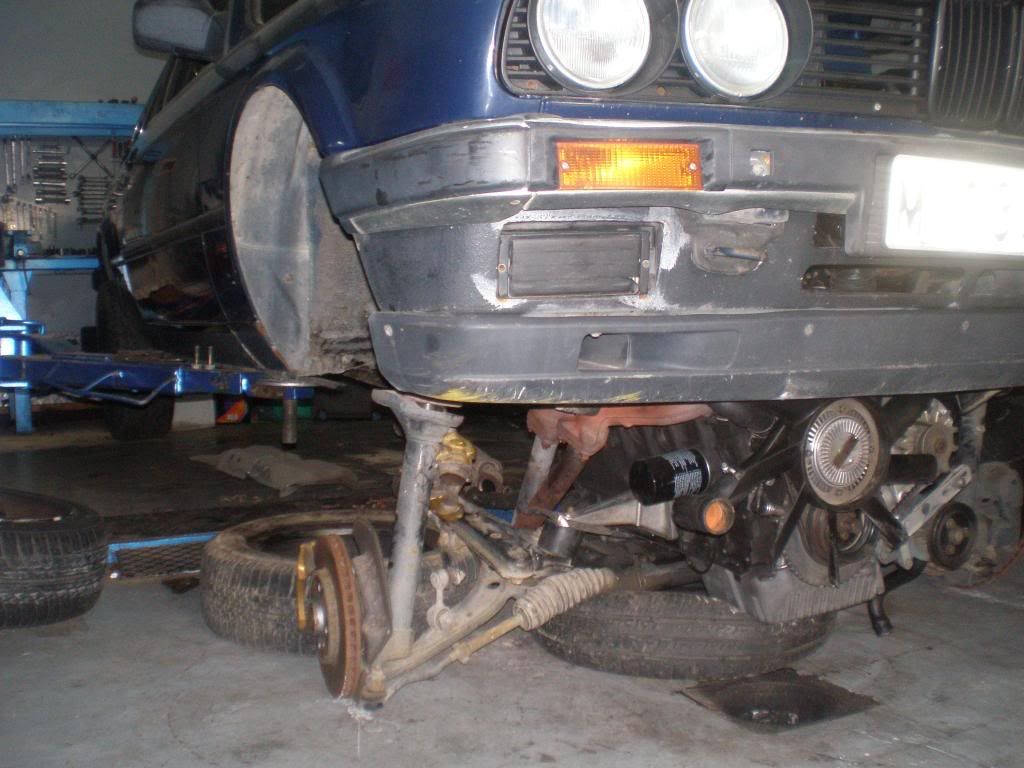
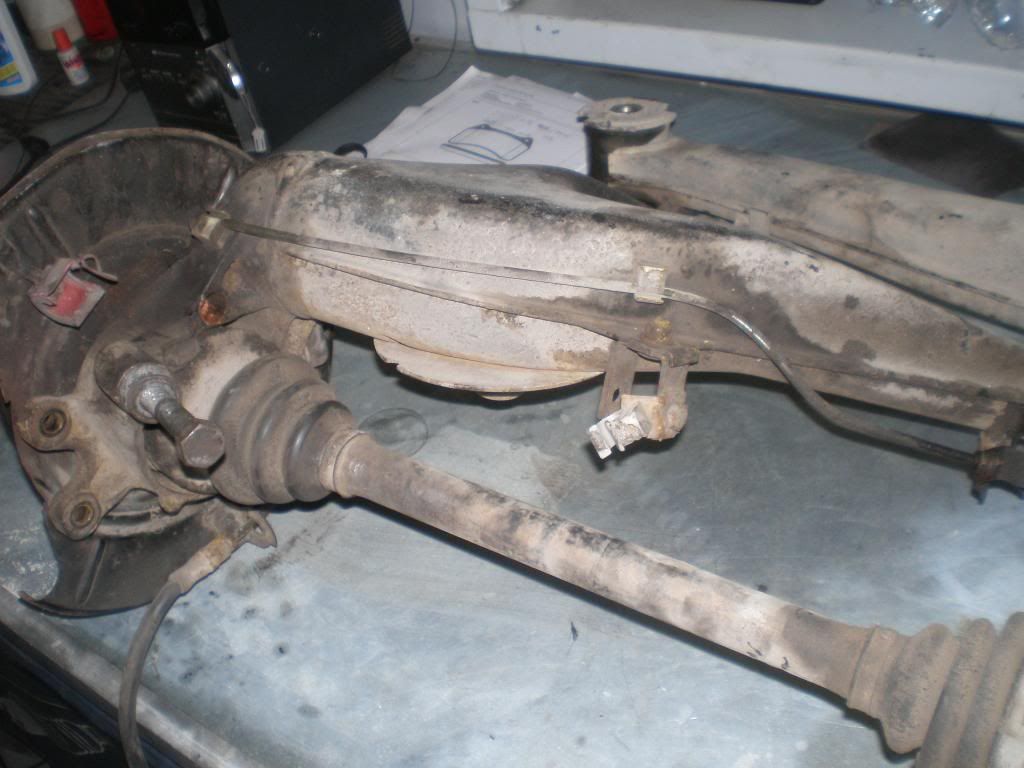
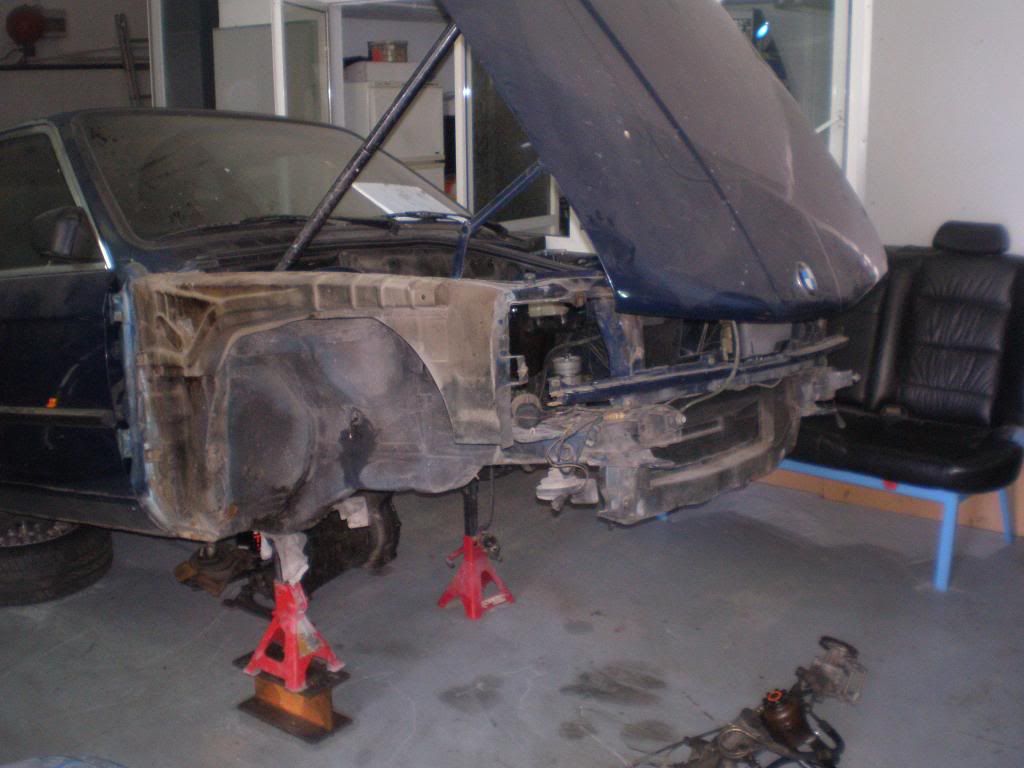
and here we have the pasient on the operating table. Looks horrorble ehh 
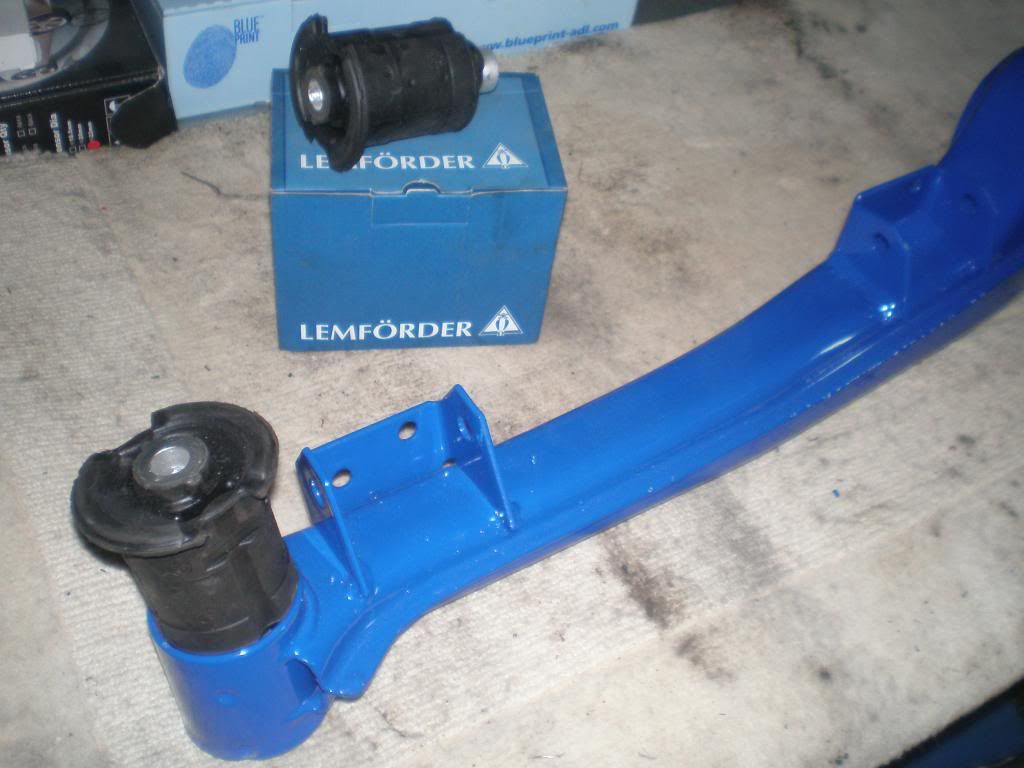
Shocking state of the traling arm buschings:sad: Rear caliper cleaned ready for Primer and finaly 
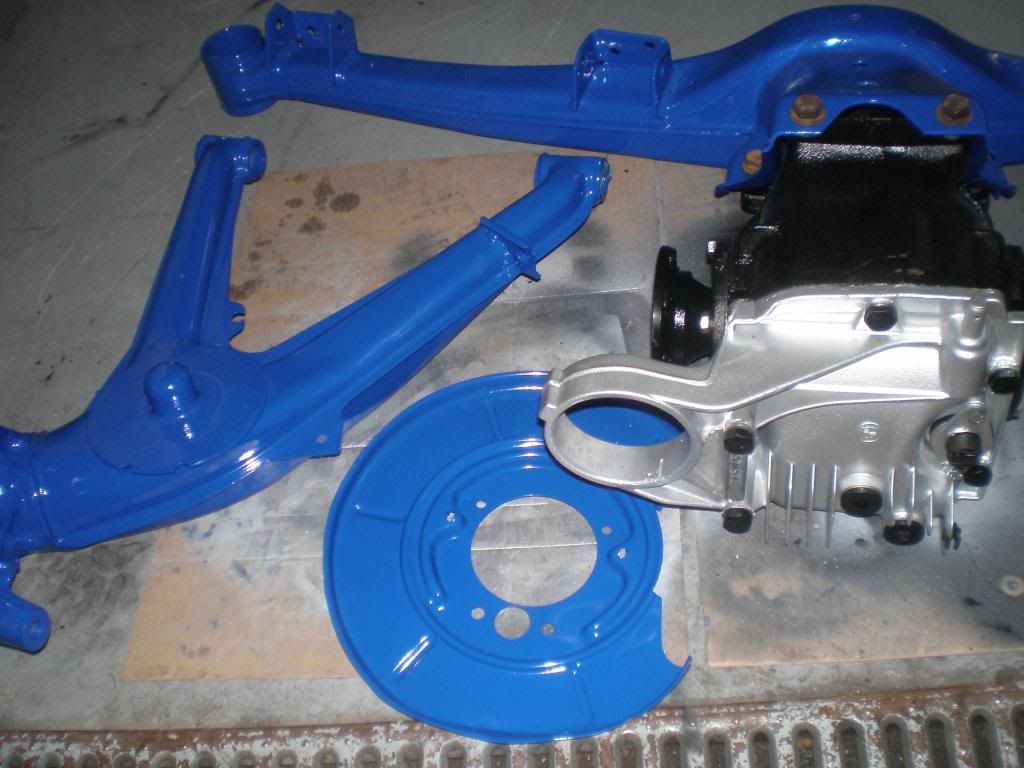
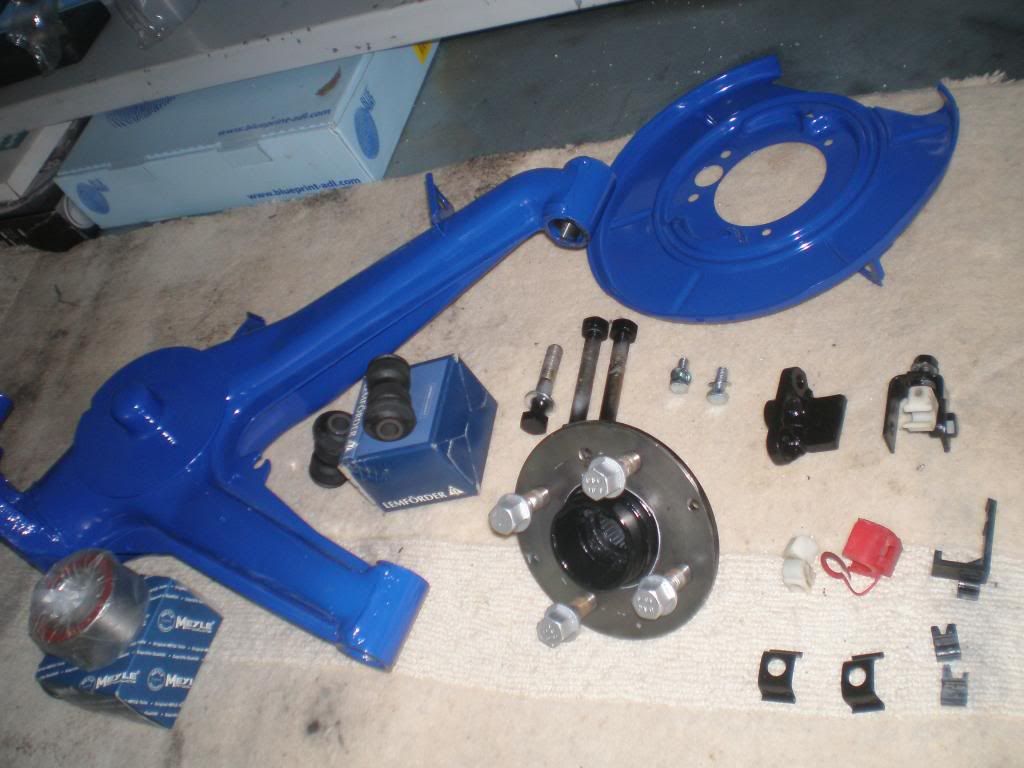
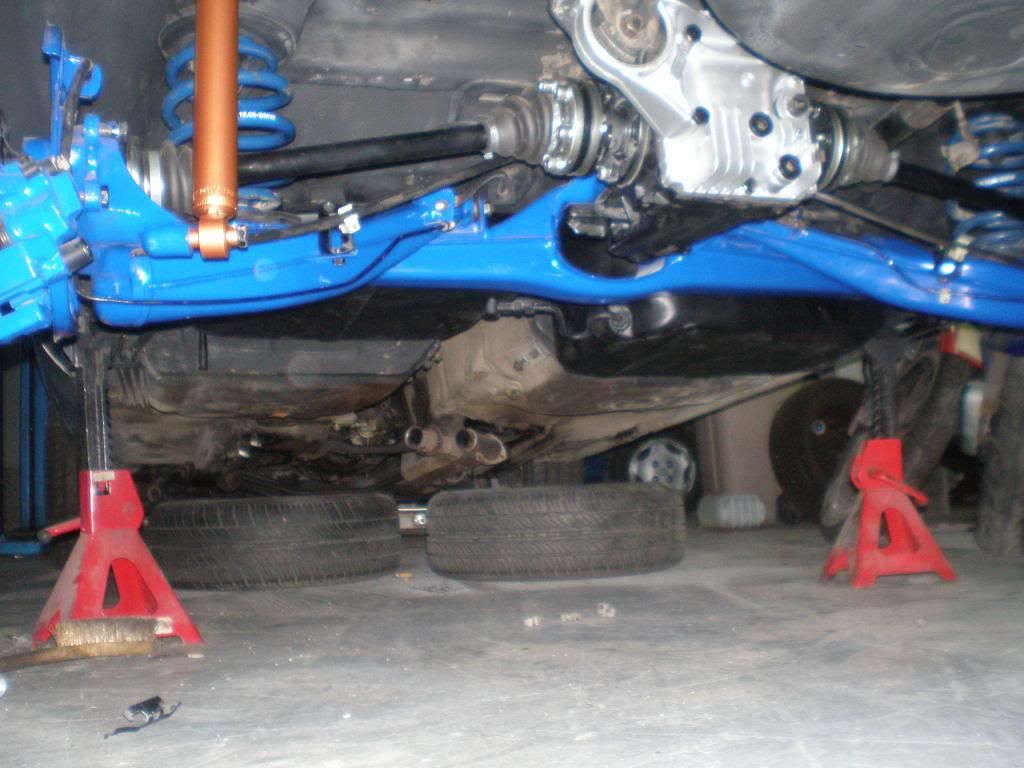
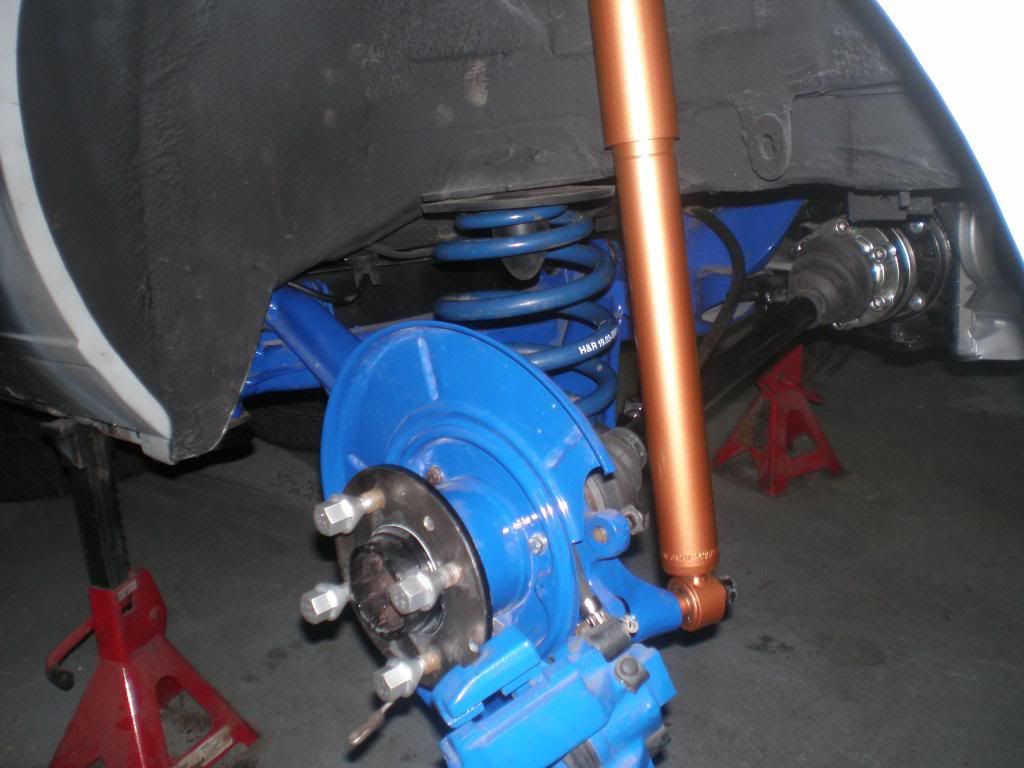
A few coats of blue paint.:cool
  • Odin
    Member
    • Oct 2012
    • 68

    #2
    Nice blue paint

    Comment

    • Odin
      Member
      • Oct 2012
      • 68

      #3
      I have many more photos but for some reason I can only uploade 1 at the time??? I'll try again later .;)

      Comment

      • ILoveMPower
        Mod Crazy
        • Feb 2005
        • 607

        #4
        Try using photobucket to host the pictures :)
        1990 Islandgrun 535iM Sedan
        Euro lights + trim | Eibach/Bilstein | BBS RC090 17x8 | EAT Chip | Port + Polish | IE 284 Cam | Built valvetrain

        Comment

        • Odin
          Member
          • Oct 2012
          • 68

          #5
          Thanks Ilovempower. I have created un acount with photobucket now.:p

          Comment

          • Odin
            Member
            • Oct 2012
            • 68

            #6
            Ok ,so now I have an acount with photobucket, hopfully this will speed up things a little. I have many photos I wuld like to share. So now that I have it more or less organised, here is a few shots from a few years ago when I did the engine swap.

            Here is the freshly rebuild m20b25 from a 525 e-36 auto. Spec on the engine;

            New valve guides, 3 angle valve seats, portmached and cleaned up the ports, new waterpump, timingbelt, aux belts, headgasket, plugs,etc. 
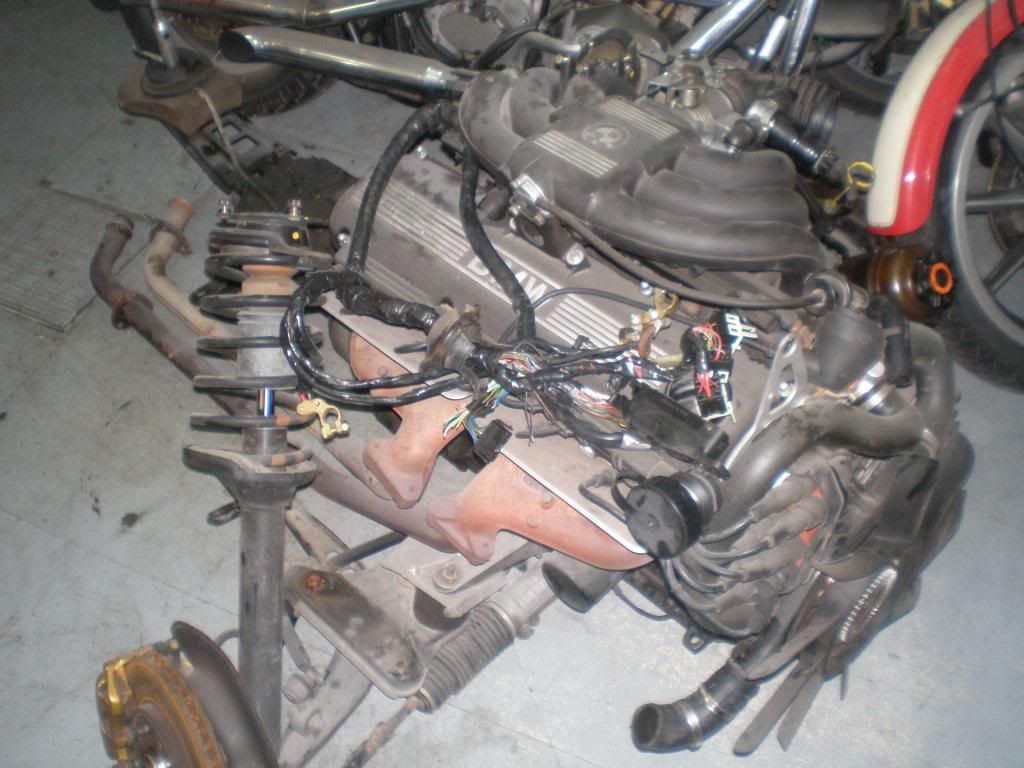
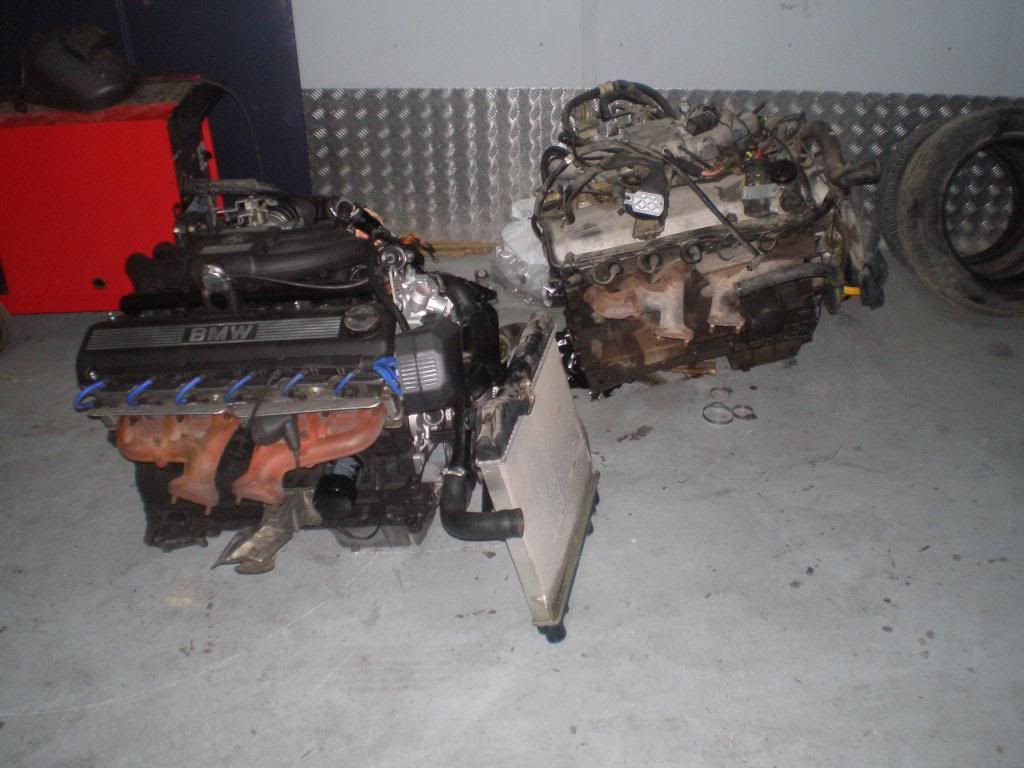
The old engine shamfully hiding in the background:D

            Slowely getting there

            Comment

            • Odin
              Member
              • Oct 2012
              • 68

              #7
              A few issues came up, the electrics was nor just plug and play, things like the expansion bottle, air box, radiator, etc.


              Converitng from auto to manual, new pilot bearing and cluths.

              Comment

              • Odin
                Member
                • Oct 2012
                • 68

                #8
                I drove the car like that a few years, the new motor was really an improvement, it offered a lot more power. Ofcourse the new power transfered to problems with the suspension, it just could'ent keep up anymore. That and the fact that the body needed atencion, lead to taking it of the road and do something serious about it. You have already seen some shots of the rear sub-frame, here is a few more;


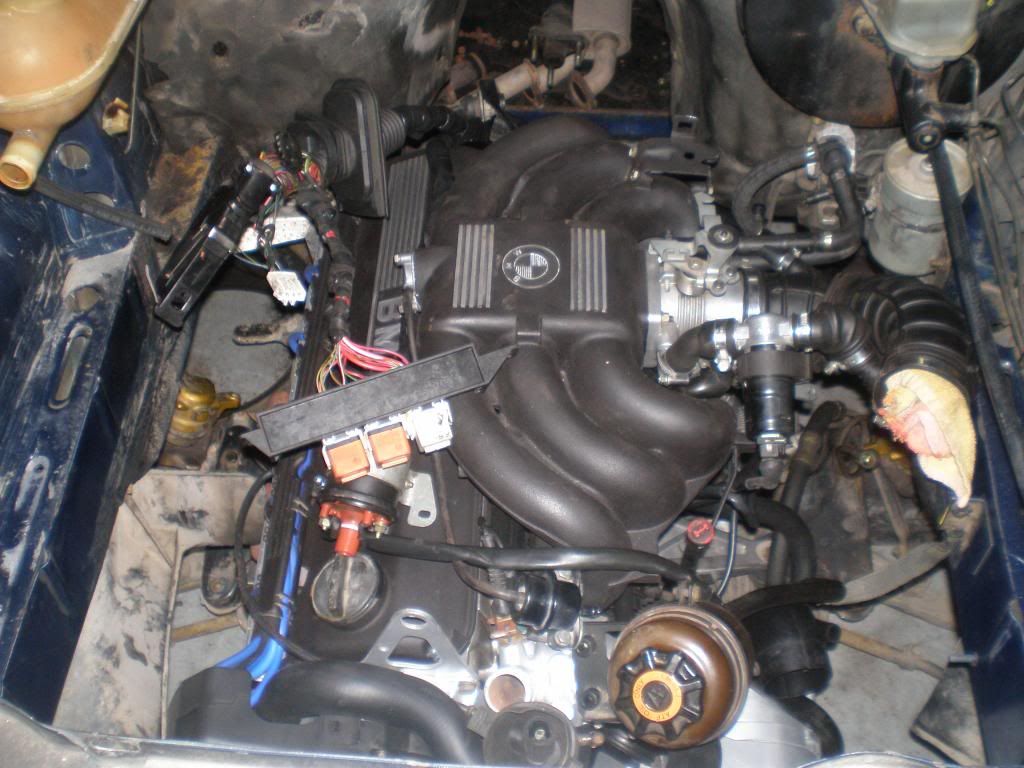
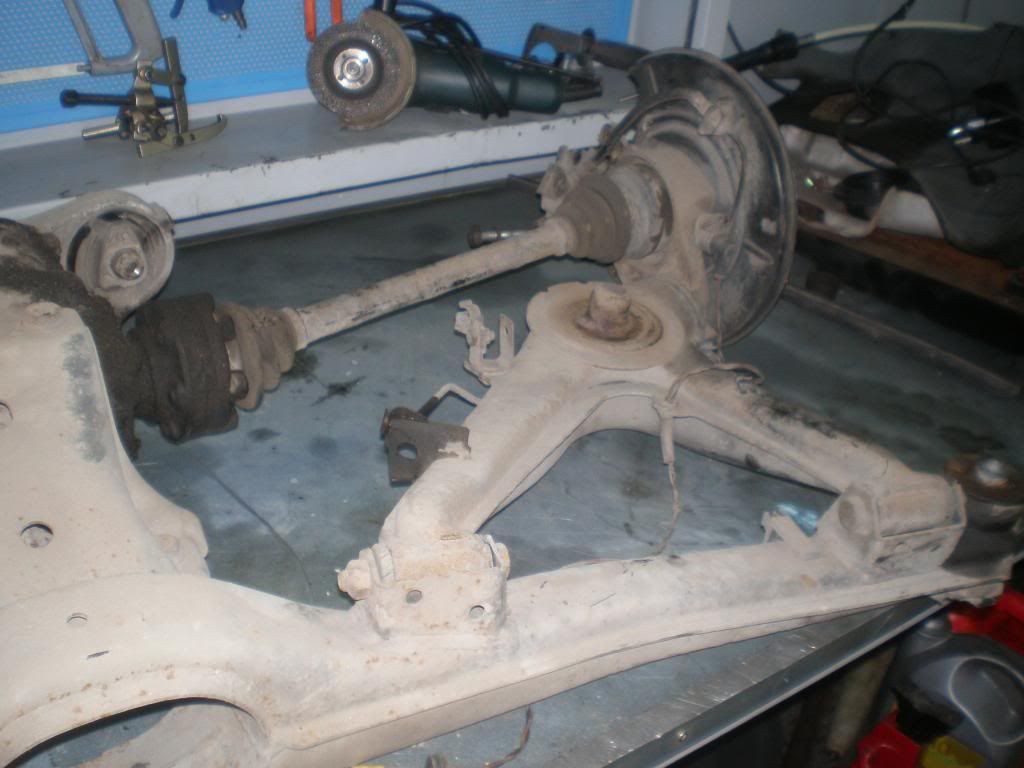
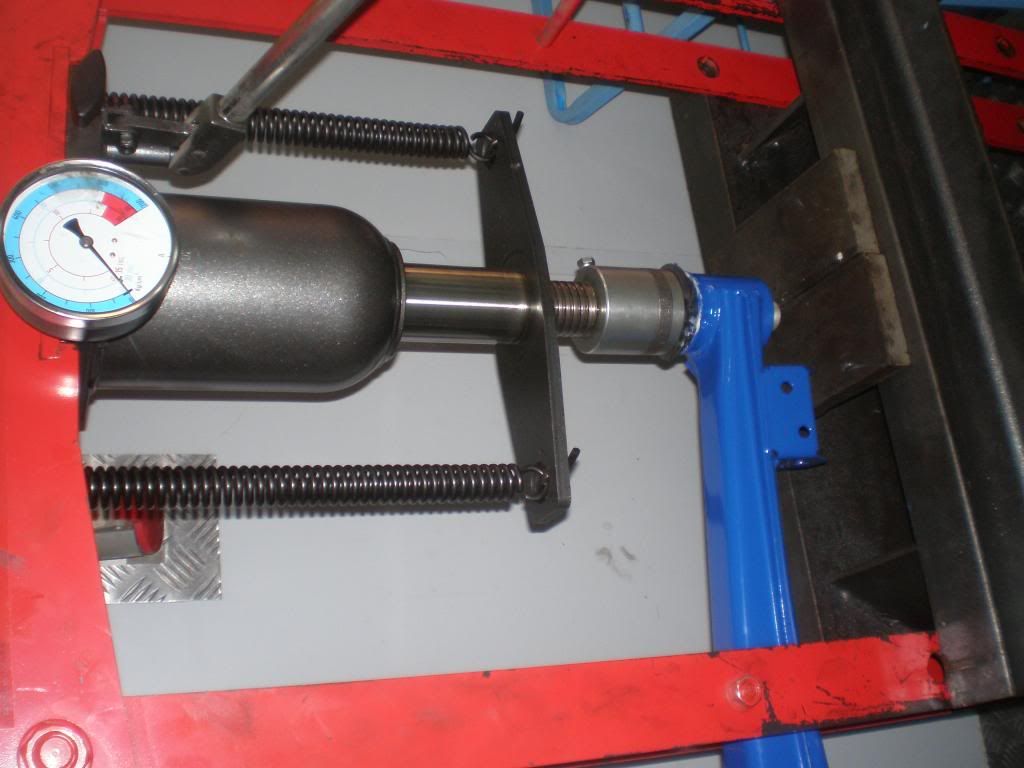
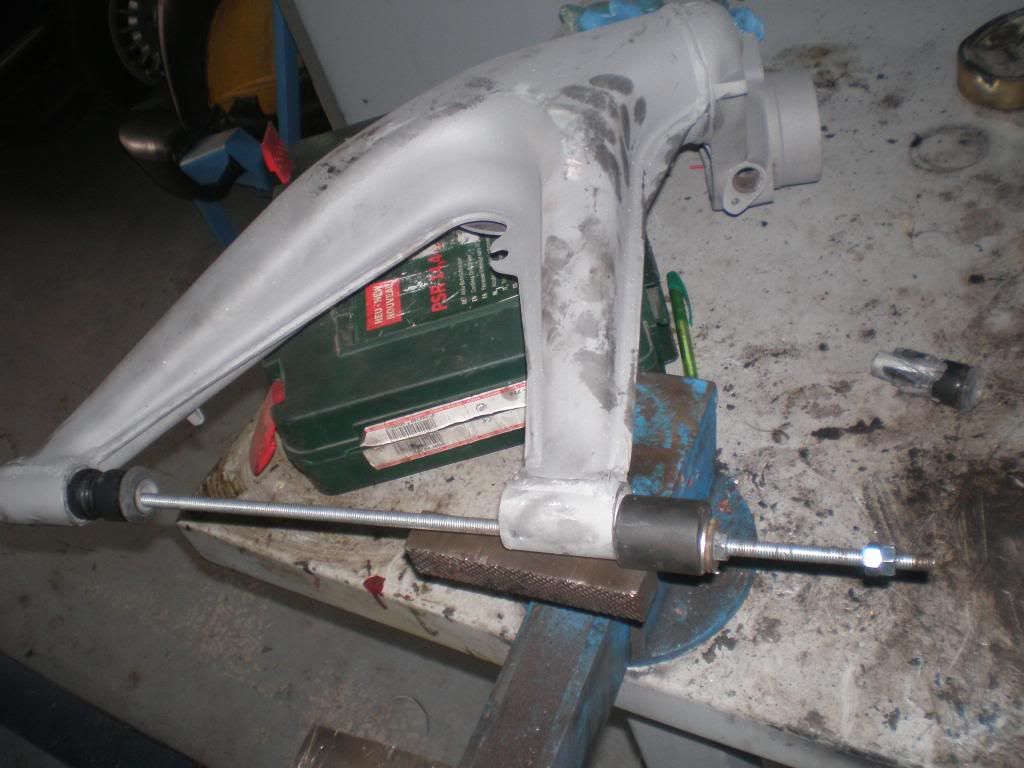
                Pulling the old trailing arm bushings.
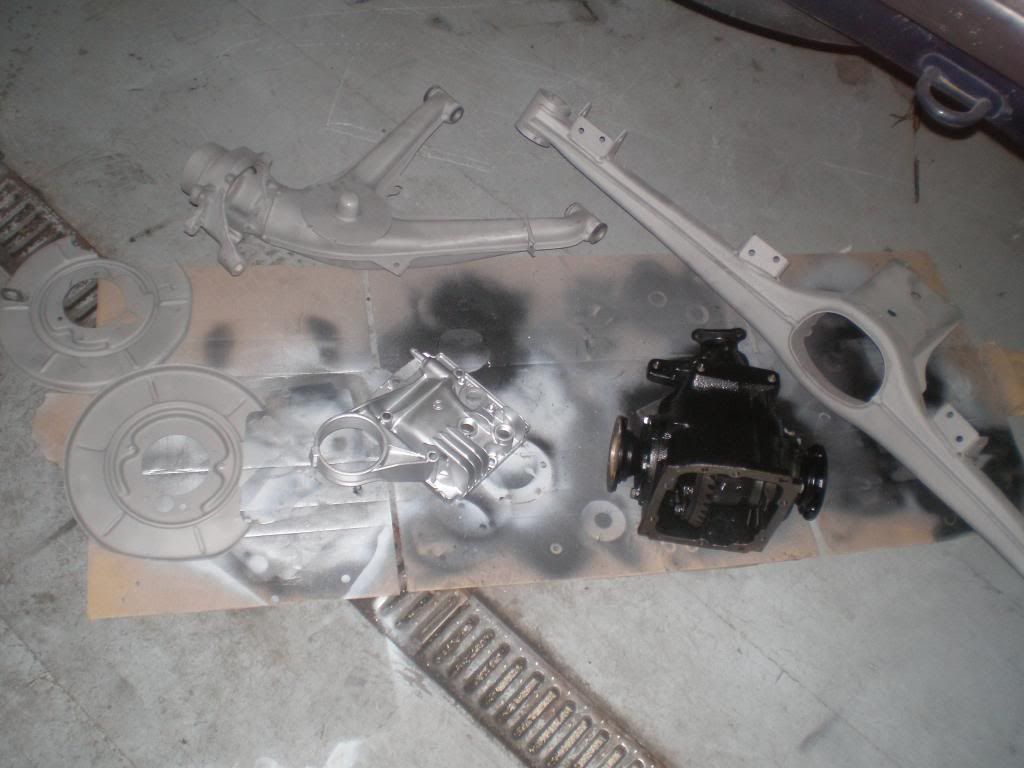
                Few more bits back from the blaster
                Powder coated
                Getting ready to assembly, new bearings, bushings...

                Pulling in new bushings
                [IMG]http://i1273.photobucket.com/albums/y415/OdinBAUR/005_zps4e28e0de.jpg[/IMG

                Comment

                • Odin
                  Member
                  • Oct 2012
                  • 68

                  #9


                  A hydraulic press makes this easy:D I also rebuild the half-shafts and cleaned the diff.


                  New Kayaba gas shocks and oem top mounts.


                  H&R springs.

                  Comment

                  • Odin
                    Member
                    • Oct 2012
                    • 68

                    #10

                    recondisioned the tank, new fuel lines cleanup and a coat of paint.


                    Heat shield, cleaning of 28 years of crap, coat of paint and back on the car. Note the new exhaust hanger.

                    Comment

                    • Odin
                      Member
                      • Oct 2012
                      • 68

                      #11
                      Moving on to do some work on the body.

                      Rear left wheel arch. Small bubles turned out to be a lot more:(

                      ...seen from the inside off the trunk


                      Cutout seen from the inside.

                      Inner panels reconstructed.

                      New metal.

                      Welded and primed.

                      Comment

                      • Odin
                        Member
                        • Oct 2012
                        • 68

                        #12

                        More nastyness!!

                        The same hole seen from the trunk.


                        Ready to weld.

                        Comment

                        • Odin
                          Member
                          • Oct 2012
                          • 68

                          #13
                          More rustwork....


                          Cut.

                          Copy.

                          Paste. :D


                          I had to fix a few rust spots in the engine-compartement, so this had to come out again.

                          This is how the car sits at the moment. A lot of work ahead:up:

                          Comment

                          • F34R
                            sLaughter
                            • May 2009
                            • 12390

                            #14
                            Awesome job man, spot on!
                            ~ Puch Cafe. ~ Do business? feedback ~ Check out my leather company ~

                            Instagram: @BWeissLeather

                            Current cars:
                            ~ '87 325 M30B35 swap
                            ~ '87 535
                            ~ 01 540 Msport 6spd
                            ~ '06 X5 4.8is

                            Comment

                            • Odin
                              Member
                              • Oct 2012
                              • 68

                              #15
                              Originally posted by F34R
                              Awesome job man, spot on!
                              Thanks,a lot more to come:up:

                              Comment

                              Working...