-
-
-
definitely looking good on that interior. leatherique really works wonders, as does the crack filler+dye.Leave a comment:
-
Actually faded red...like your car
No peeking Brad.
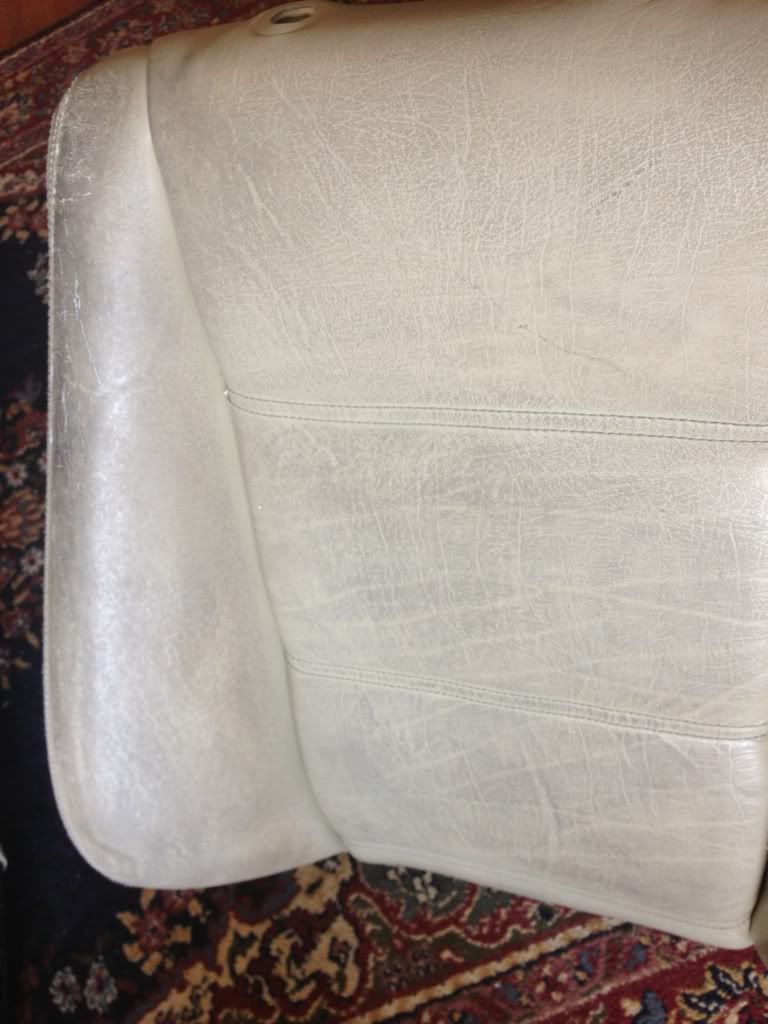
Pulled and broke down the passenger seat today for final prep and swapped in the 91 IS seat out of my coupe (yes the 84 318i coupe..with the IS interior:-) for the time being. Now where the hell is that dye ?
...and honestly I cant take credit for using the wheel as a hub puller...or for using one as a vice to undo the strut retainer. Read both ideas here.Last edited by jeffnhiscars; 09-02-2013, 10:34 AM.Leave a comment:
-
-
-
If I had any Power vested in me through owning 5 BMWs, I would bestow upon you the degree of Doctorate of E30.
From hence forth, you shall be jeffnhiscars, PhD.
Stellar work.Leave a comment:
-
Hub Epilogue: Not only is the growl gone (thankfully) but the steering somehow feels a bit more nimble. The best comparison I can think of is when your tires are under inflated, then you bring them up to spec thereby reducing your contact patch....or maybe I just put air in the tires.
Either way I headed to Florida that day and the car was flawless for the entire trip..including the freshly topped up AC (yes I seem to have a slow leak) which gave me a steady 27-35 degree temp differential.
PS Two tone seat dye is on its wayLeave a comment:
-
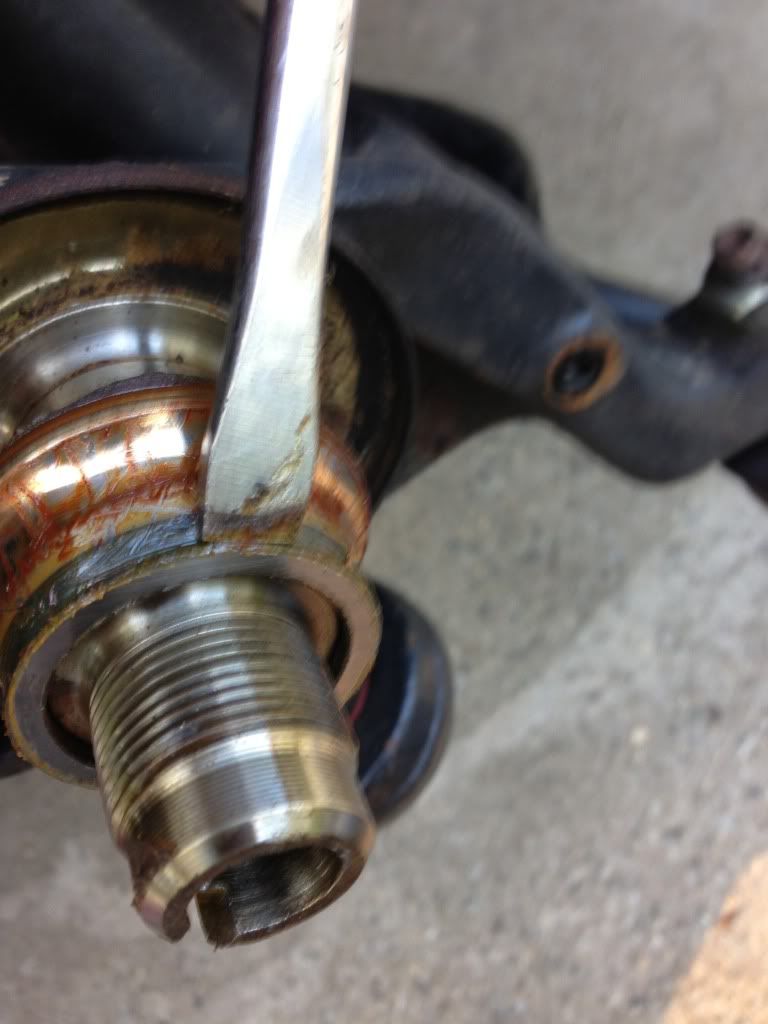
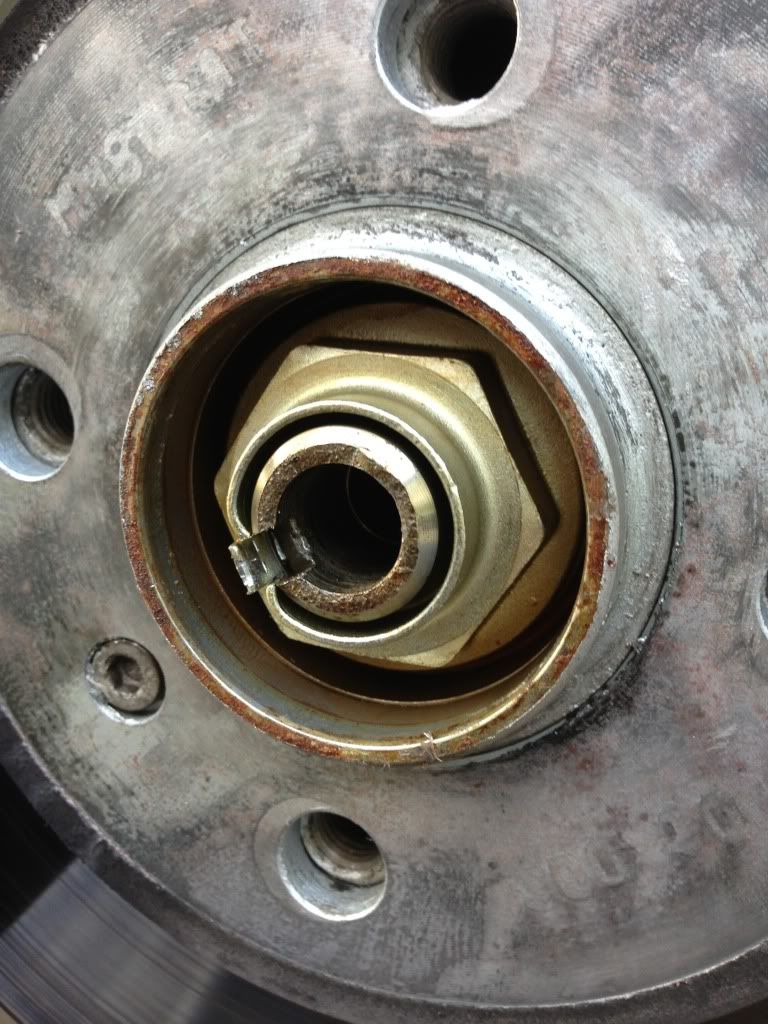
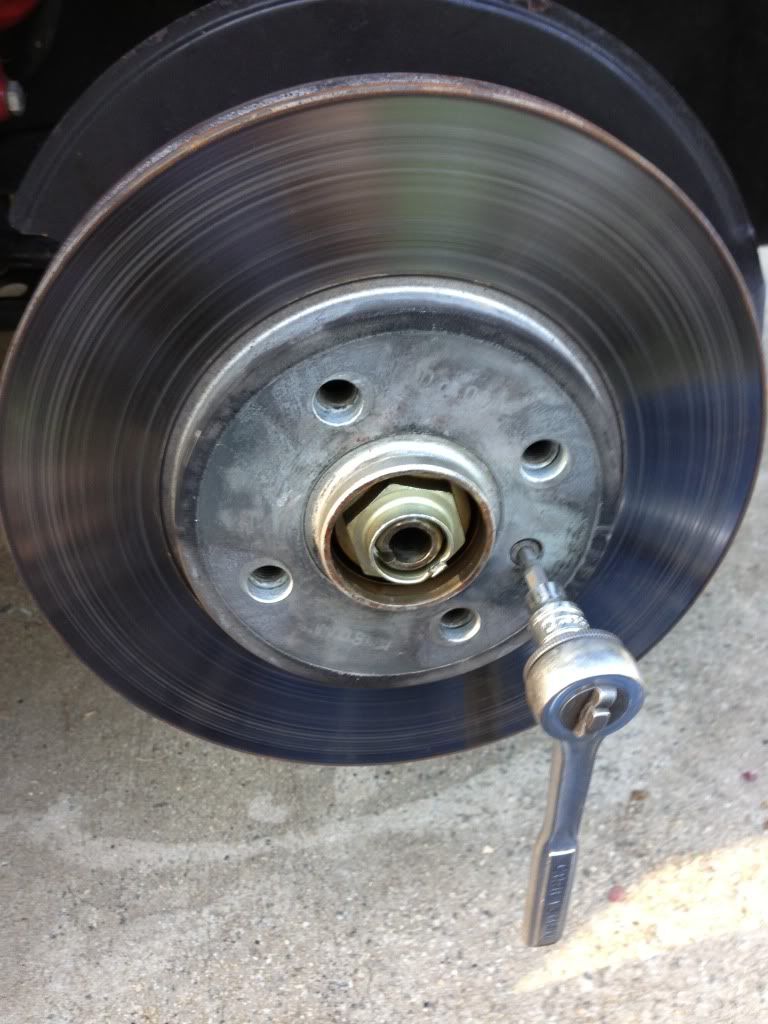
I then put the wheel back on with just 2 bolts and used it as a puller which left me with the inner race which is no surprise. What was interesting is that the drivers side hub just slid off by hand which makes no sense.

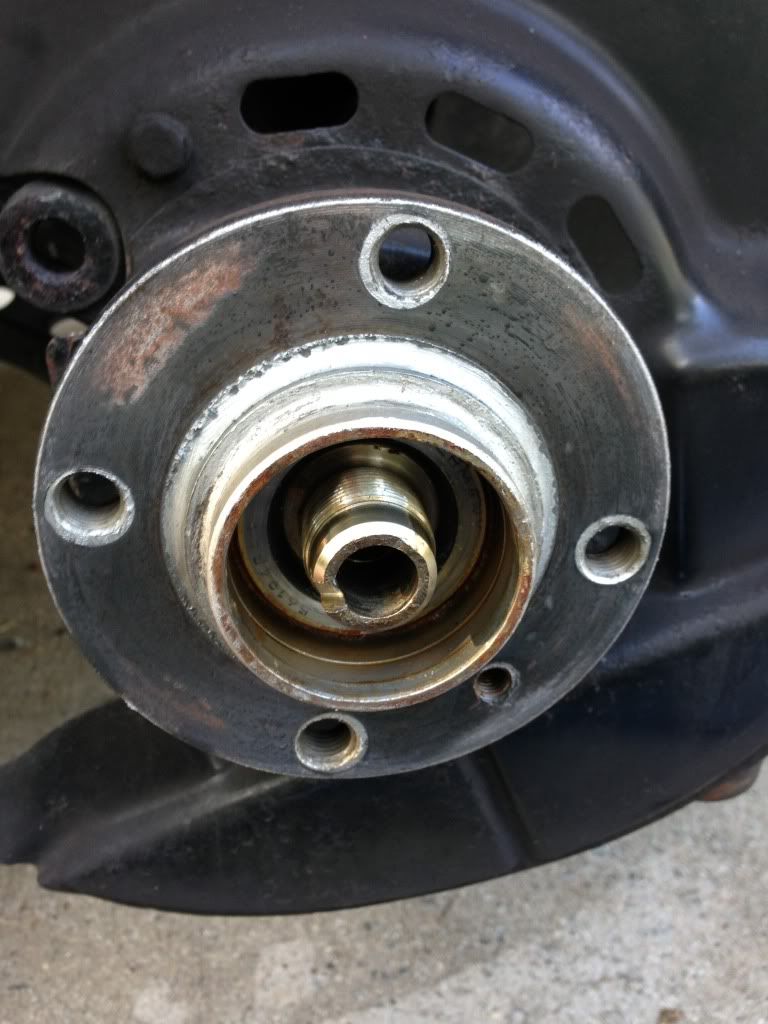
A fews taps with my screwdriver/paint can opener/drift and so much for the inner race
My dust shields were not that pretty so this was the one and only opportunity to clean them up and at $35@ I decided not to replace them.
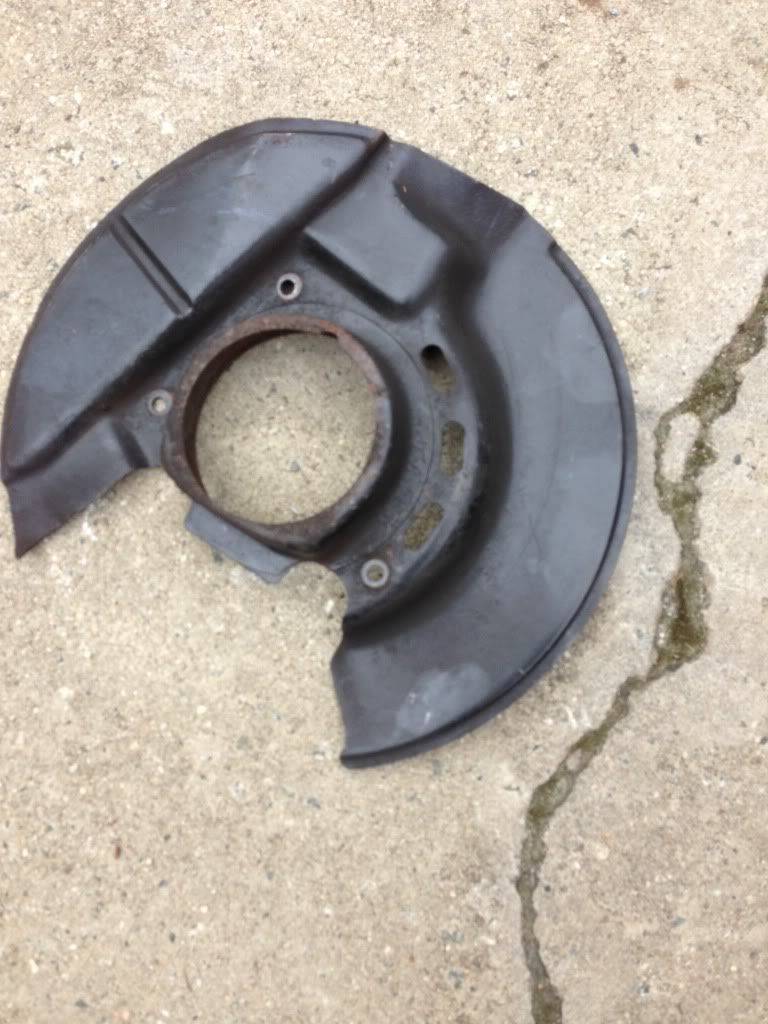
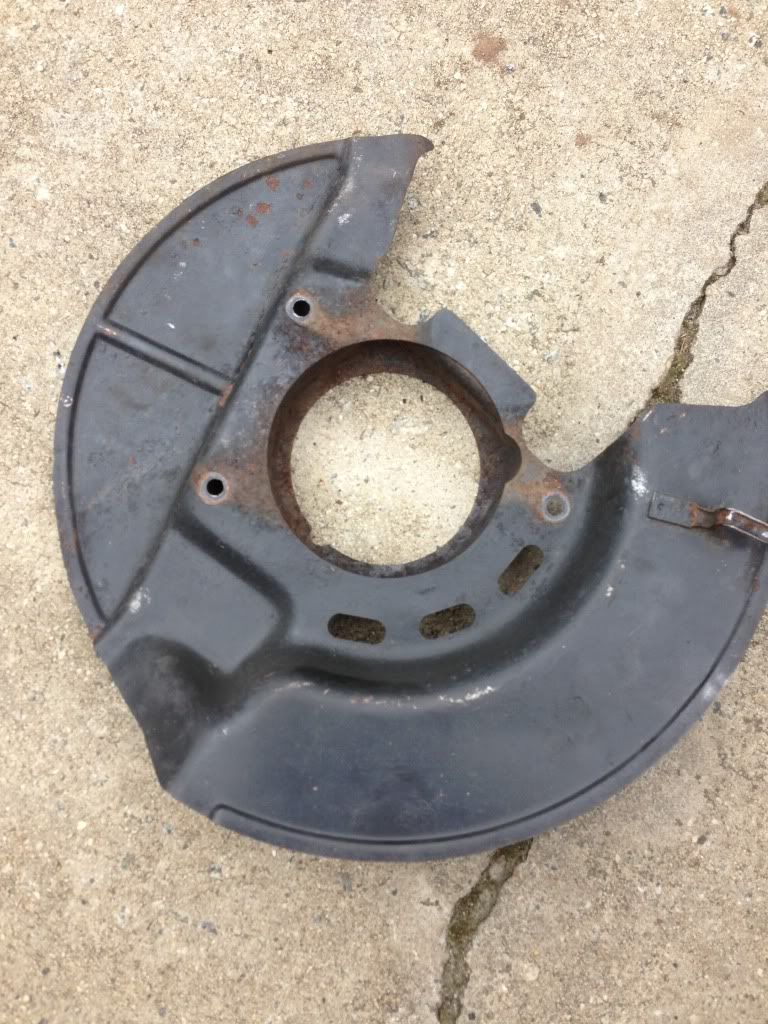
A few minutes with a wire wheel, then some POR Metal Prep followed by some VHT Chassis Epoxy and it all went back together.
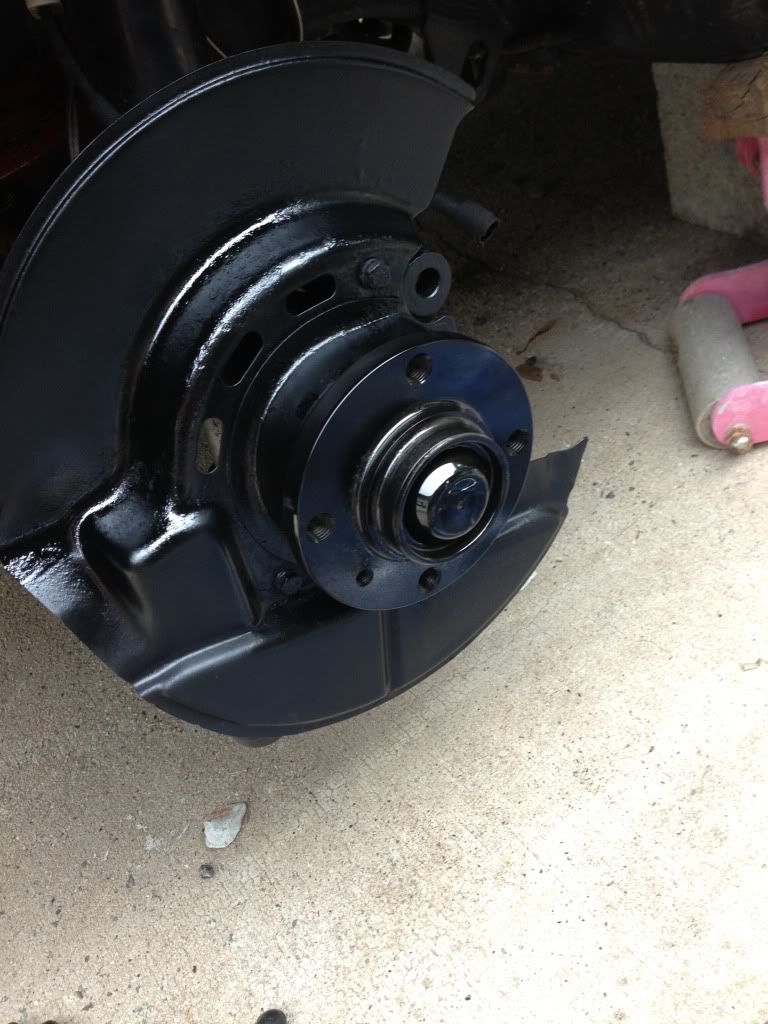
To get the hubs on I started them by hand, then used my 36mm socket as a drift on the inner race. Once there was enough thread to start the nut I let it do the rest of the job. Torqued to 210ft/lbs and here we are
Leave a comment:
-
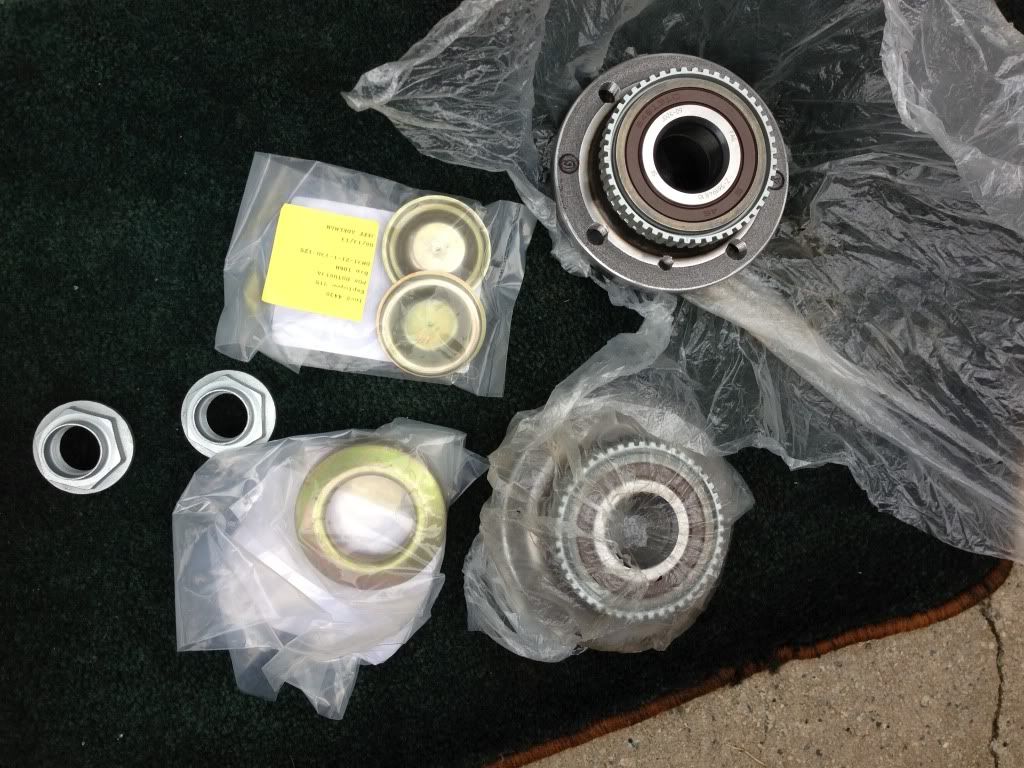
I may have mentioned the fact that I had a bearing growl when turning left which I think means my right bearing is going. Thats really academic though since they get replaced in pairs. Here's the kit from my friendly dealer who was more than competitive with on line FAGs and the warranty is as good as it gets. I did note that there seemed to be very little grease in the bearing so I brought them back and my favorite parts guy walked them back tot he shop and had them packed. I would have done it myself but the grease was yellow and unlike any bearing grease I had seen so I figured BMW had some exotic product of their own and I did not want to risk using something inappropriate or a possible warranty dispute that situation came up
Im not sure why they put a paint dab there since its pretty obvious where the lock tab goes but Im sure they had a reason.
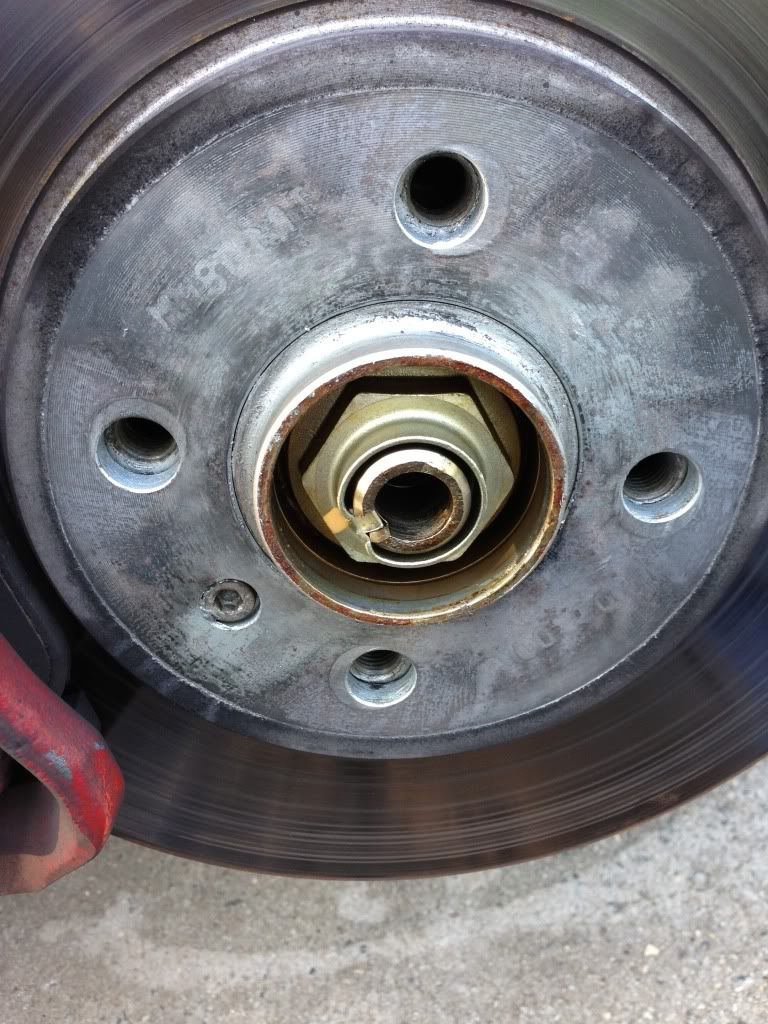
Anyway, bang out that little puppy
Remove the rotor (duhh) and nut
 Last edited by jeffnhiscars; 09-01-2013, 05:22 AM.
Leave a comment:
-
Just made it all the way through... why had I not been reading this from the start? At least I found it before I attempt a rack swap, definitely going your route as opposed to the other write ups I've been looking at.
Car looks amazing as well, and looking forward to seeing how the interior takes shape. Two tone can look good depending on the design, red and tan might look amazing (thinking along Ferrari lines).
Also, where can I see pics of your Alfa? That's one of my favorite cars of like, all time. I imagine it being kind of like the older, more temperamental, Italian e30.Leave a comment:
-


Leave a comment: