-
Damn son! 'I've had it with these motherfucking snakes on this motherfucking powertrain'Leave a comment:
-
Here's another couple of side projects.
When I had the jumper cables connected I learned that the fan only worked on 4 which we all know the cause of. The new resister was an easy swap and has been well documented so I won't bother repeating that part. The part I will share though, is not so typical.
Removing the firewall cover is a little easier with the head off and I then pulled the upper blower housing to find this
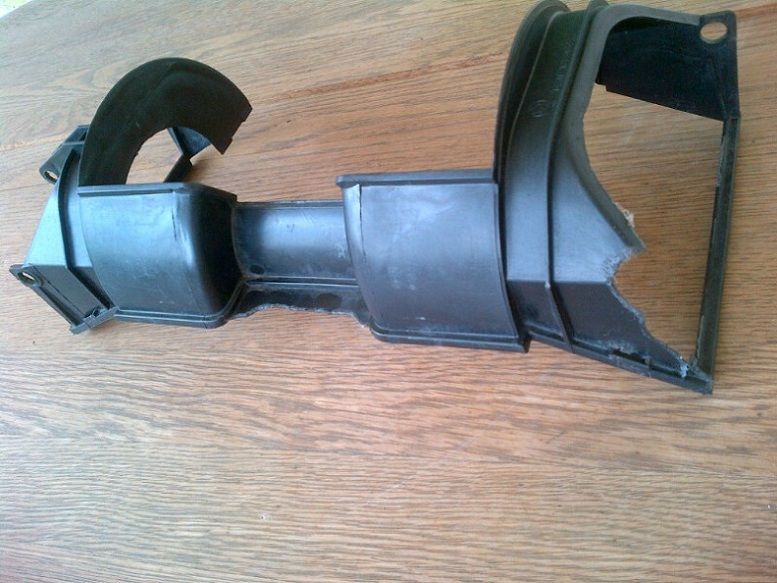
This explained all the fibreglass insulation that was packed around the blower housing and in the wiper well and also supports my claim that this is indeed a barn find. A mouse just ate away part of the cover which was, unfortunately, also the part where the flaps pivoted.
If you've ever dealt with flaps, you probably know that the c*&^(()%f*^k it is getting the white plastic clips out without breaking them as they tend to be rock hard and very brittle. The clip is what connects the inner and outer flaps as they do have to work in synch. The inner flap is controlled by the recirc servo motor and is connected to it by a rod via ball & socket that snap in to the lower flap. The ball is clearly visible. Fortunately, the guy who sold me the fender (more on that later) also had a spare HVAC unit on hand (dont we all) that he gave me, so I had spare flaps.
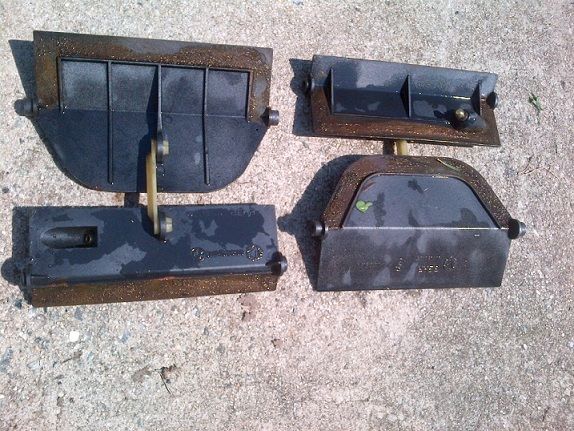
It's also interesting to note that at some point there was foam around the edges of the flap to provide for a tight seal. I began to install some new closed cell foam and then decided that if it was too thick it could strain the servos a bit and since I've never heard anyone complain about their flaps not sealing well enough, I let this go. It would only matter on recirc anyway.
Just be sure to spin the blower by hand thru the flap opening to be sure it does not interfere with the upper housing as they tend to be a bit finicky about sitting just right.
Oh....and if you are wondering what happened to the mouse this may help...
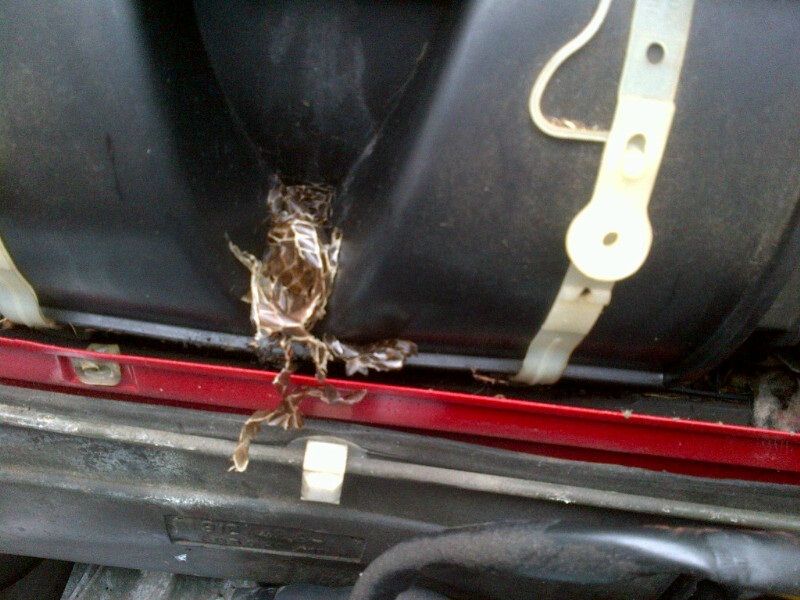
RIP my squeaky little friendLeave a comment:
-
I scraped the muck off that bumper in the hairpin...didnt you feel it
This "cancer" reminded me....I was working the west coast of British Columbia on a 65' schooner that was licensed as a salmon troller. We fished around the west coast of the Queen Charlottes in May...in the snow...about 50 yards off the rocks...the water was truly pitch black. We were up near the Alaska border and our Volvo Penta started acting up so we headed in to Prince Rupert.
The rockers had a ball pressed in to the end that sat in the top cup of the push rods and one of them looked just like my cancerous rockers. We took it up to the machine shop and pressed the ball out but since the only replacement would have had to be flown in from Vancouver...we made one on a lathe..even case hardened it.
Last I heard it was still working just fine :-)
...but I digressLeave a comment:
-
Yesssss, just add "wingfooted god" and a Stirling Moss reference, and thanks for not tapping my bumper.
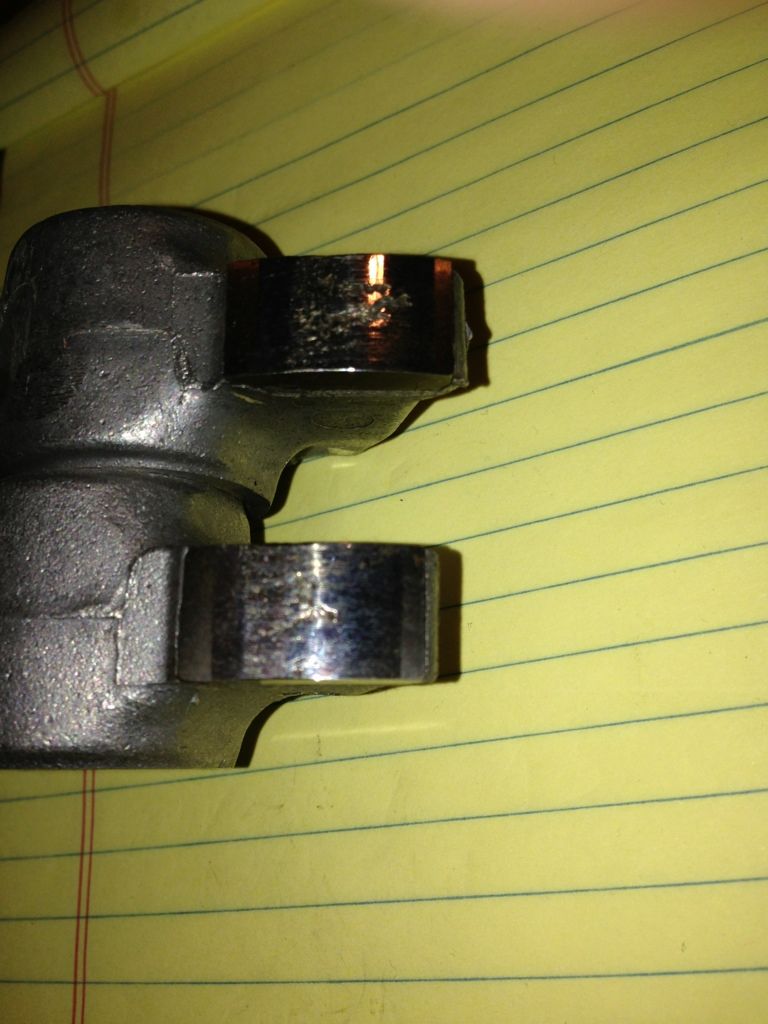
[quote=jeffnhiscars;3477993] Well it turns out that I did not like the looks of the 6 rockers that did not break so I got back to Dave who was again nice enough to hook me up. The galling is a sign that the case hardening is failing so its only a matter of time before its becomes a big deal
quote]
I had some Sportster cams that looked like that, and asked Tim Scoggins (a plowboy HD guru with a magic touch) what he thought about them: He spit in the dirt and said "fucking cancer!".
This thread delivers like jlevie with pictures.Leave a comment:
-
As you read this keep in mind that I have never seen this car run and have run cables to it only to do a brief check of what works. At this stage for all I know it has a spun bearing.Leave a comment:
-
Thanks for the kind words guys. Frank its all from following your Red Cabrio through the twisties...lol...ok Im lying, but it sounds good right :-)
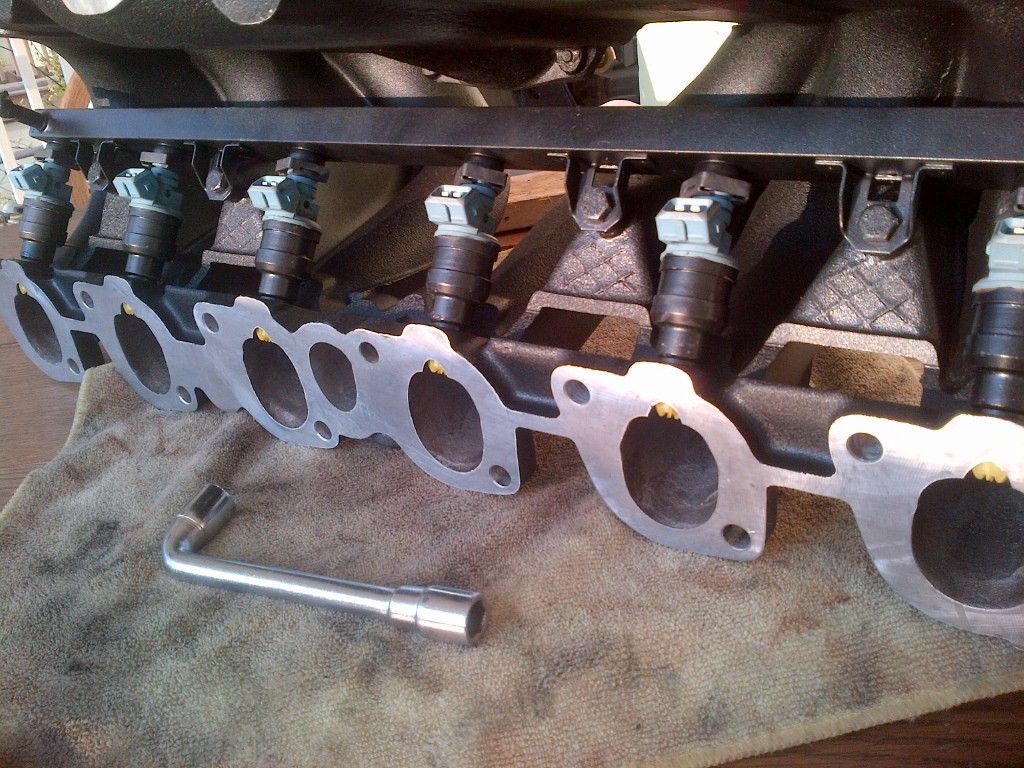
Let's pick up with another shot of intake love. These things really are works of art.
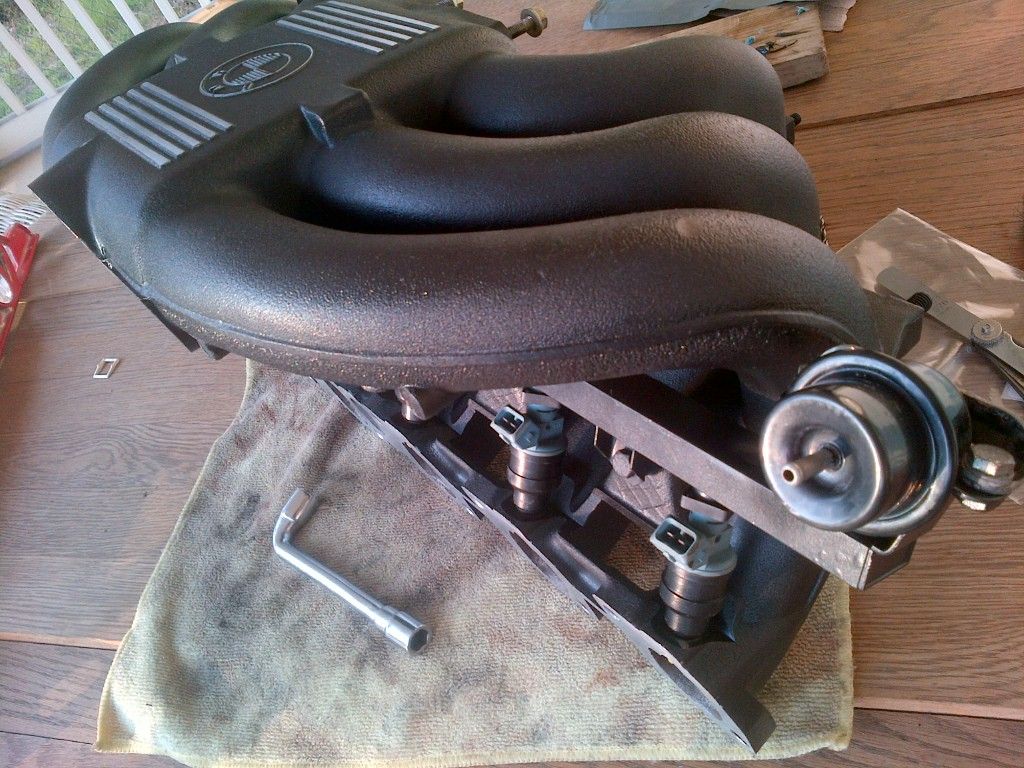
I'm also surprised no one has commented on my wrench. Can you even buy those in the US ?
So Raymond, my machinist, calls me up to say the head is done and would I like him to pop the valves in. Now I'm old school so I dared to ask if he was going to lap them and he said..he never does and hasnt had one come back yet...so I said sure...save me a trip to Advance to "rent" a compressor.
FWIW I was having a cat welded iin to my 84 318i today and I mentioned Raymond to the guy and he said he does all of Budwiesers engines too.
Well it turns out that I did not like the looks of the 6 rockers that did not break so I got back to Dave who was again nice enough to hook me up. The galling is a sign that the case hardening is failing so its only a matter of time before its becomes a big deal
Now I'm staring at this head and hearing this soft whisper saying over and over "laps the valves...lap the valves.."...so I relented.
Here's how they looked to start
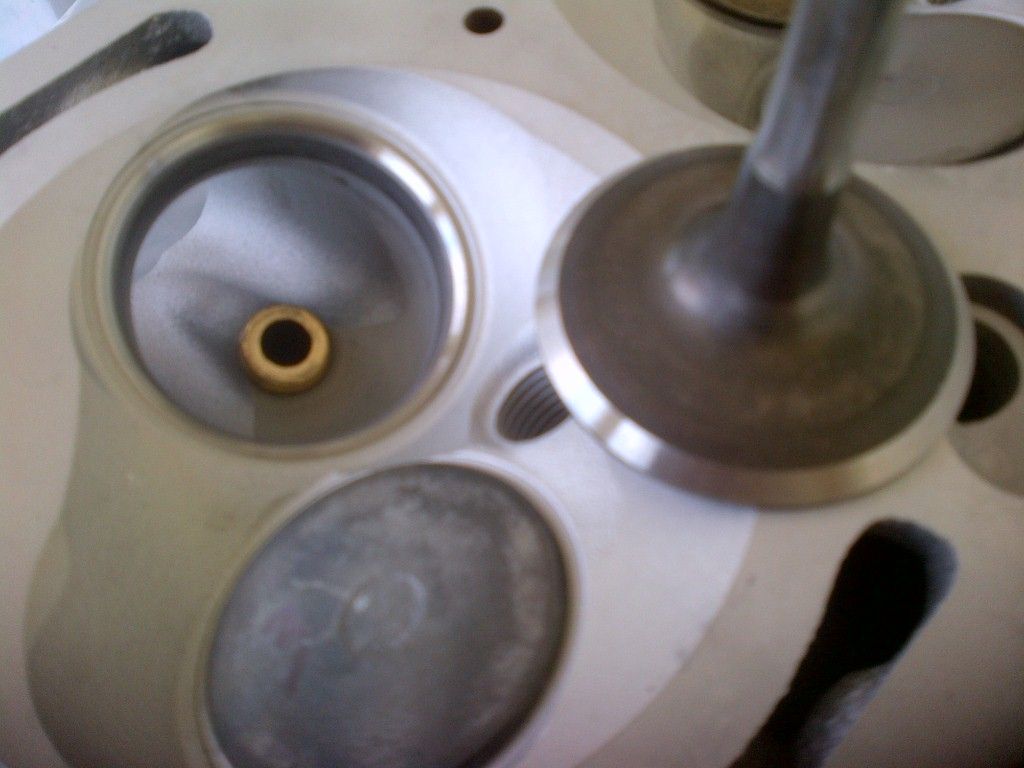
You cannot fault Raymonds work. I even tested a valve stem in the new guides and the before and after difference was night and day. Ray said the valves were very close to spec so I figure my clearances are good.
It did not take me more than a minute or 2 to clean up each valve although there were a couple that did want a bit more. For those of you who have never done this THIS is what valves should look like
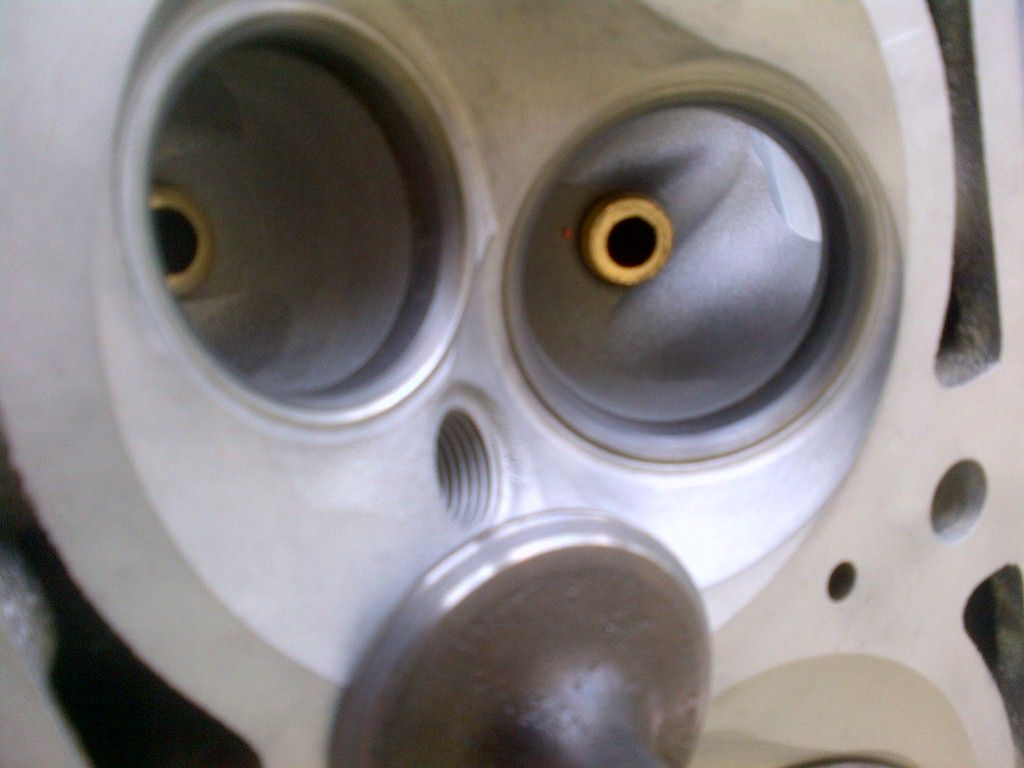
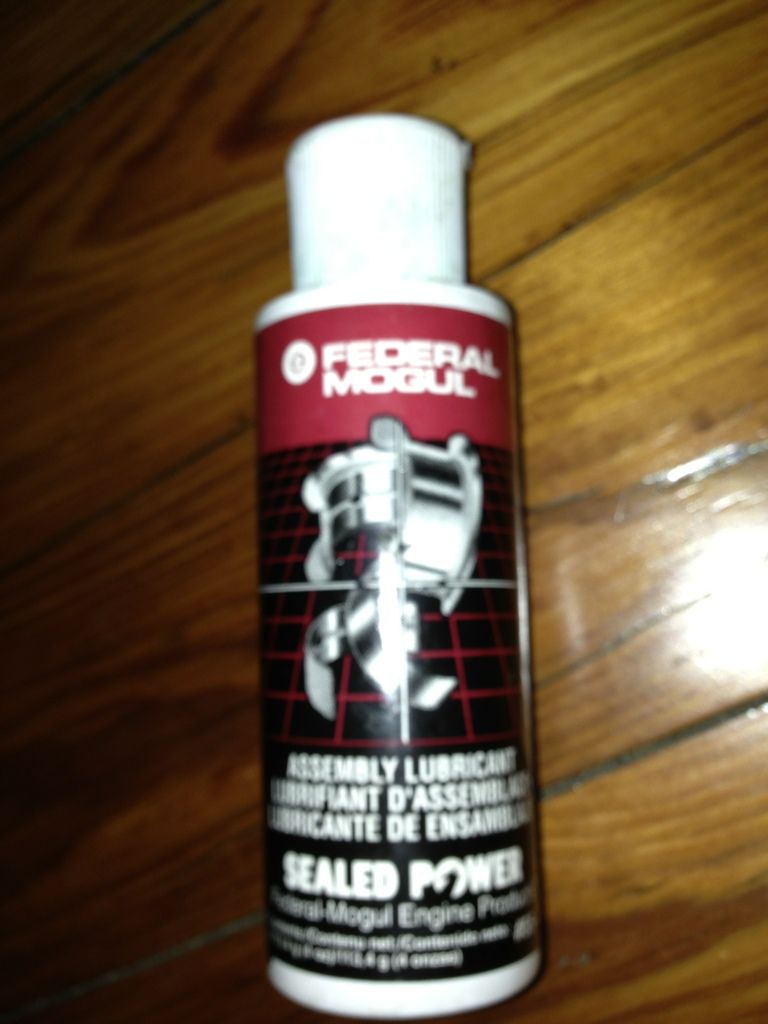
Time to get the cam in using the assembly lube I got from Ray
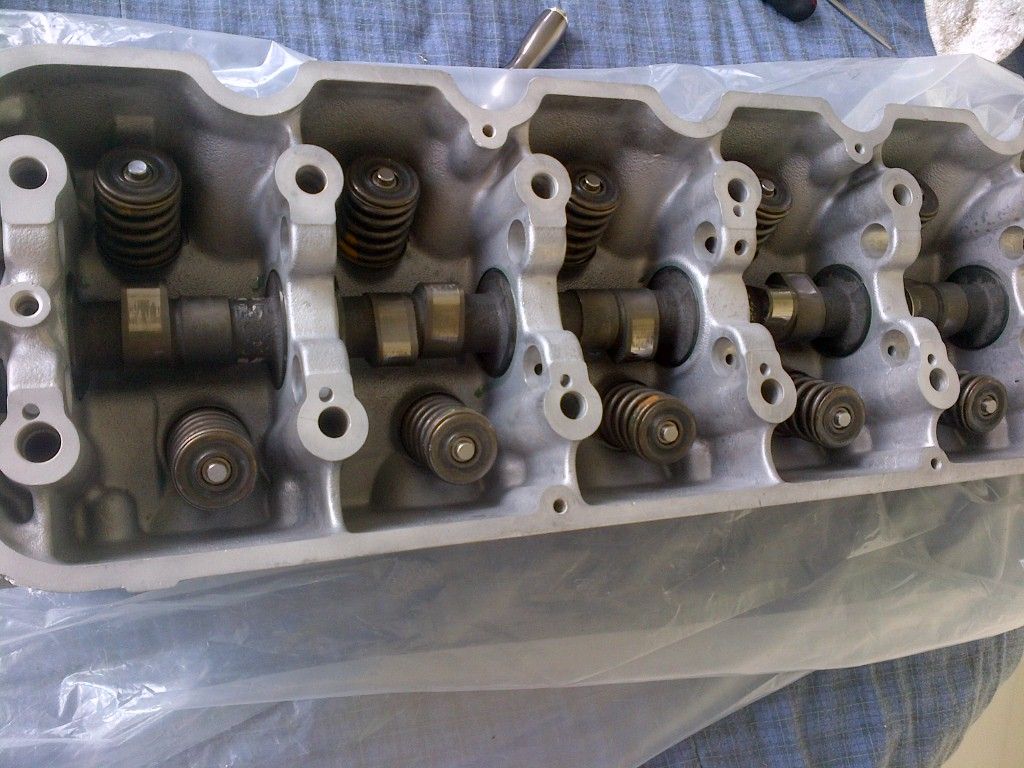
I used 320 wet and dry with some mineral spirits to clean the block after stuffing the bores with terry rags. It cleaned up nicely.
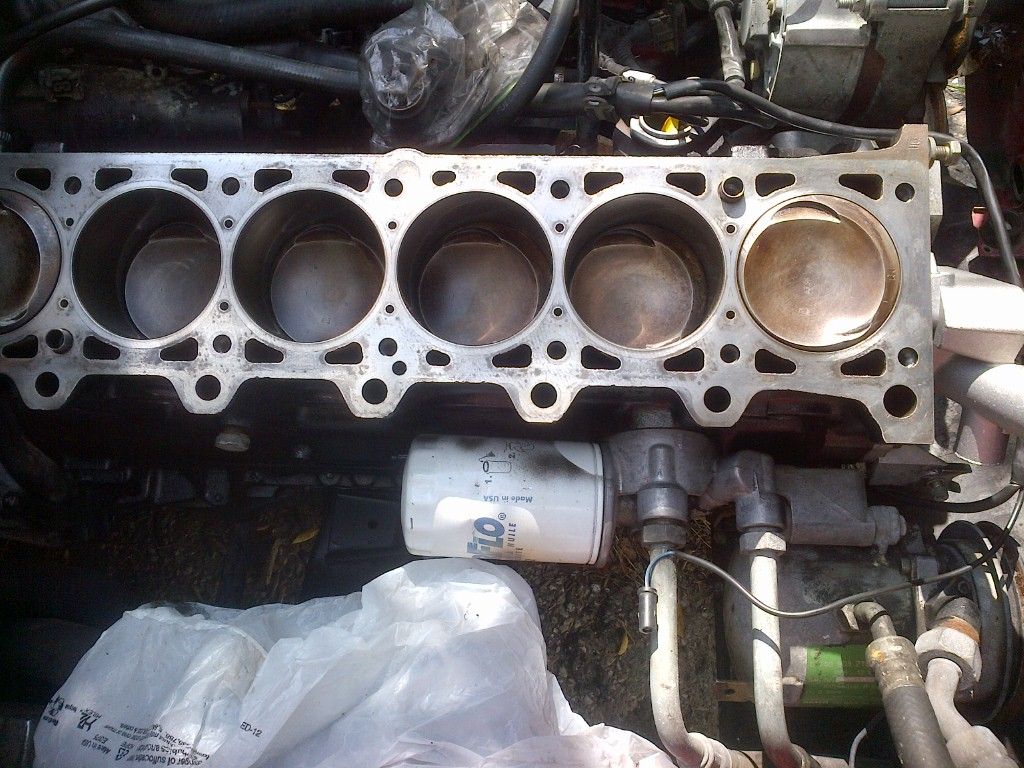
Here we have the fully assembled head with the valves adjusted on the bench sitting in place. Something is missing I know
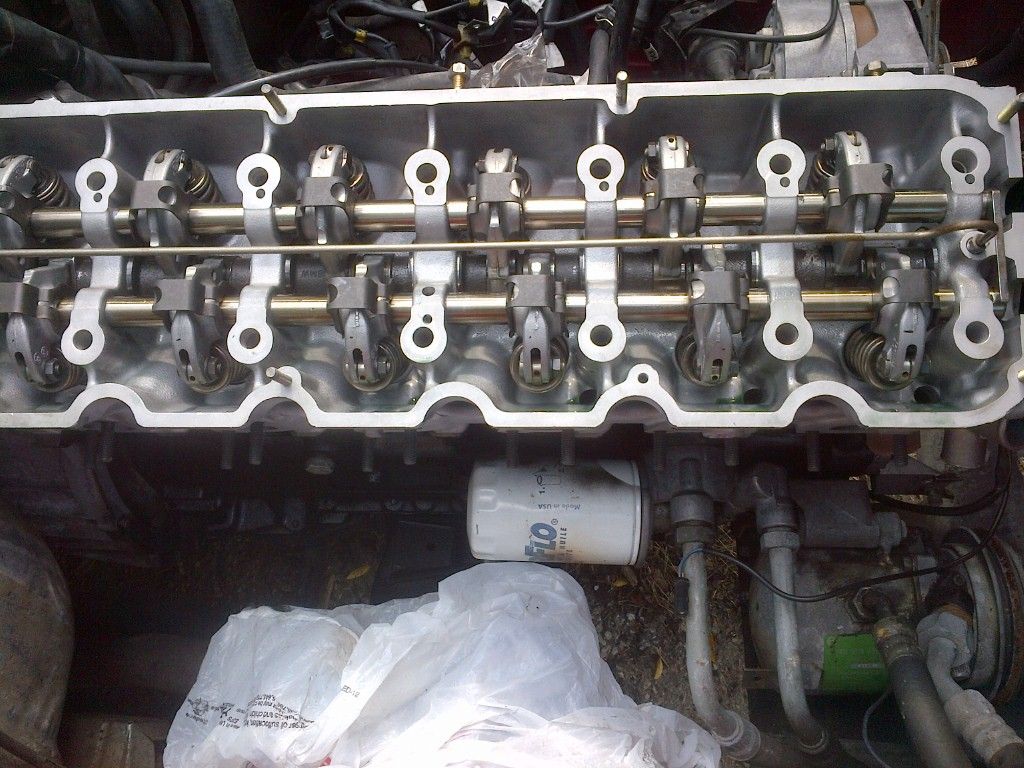
These
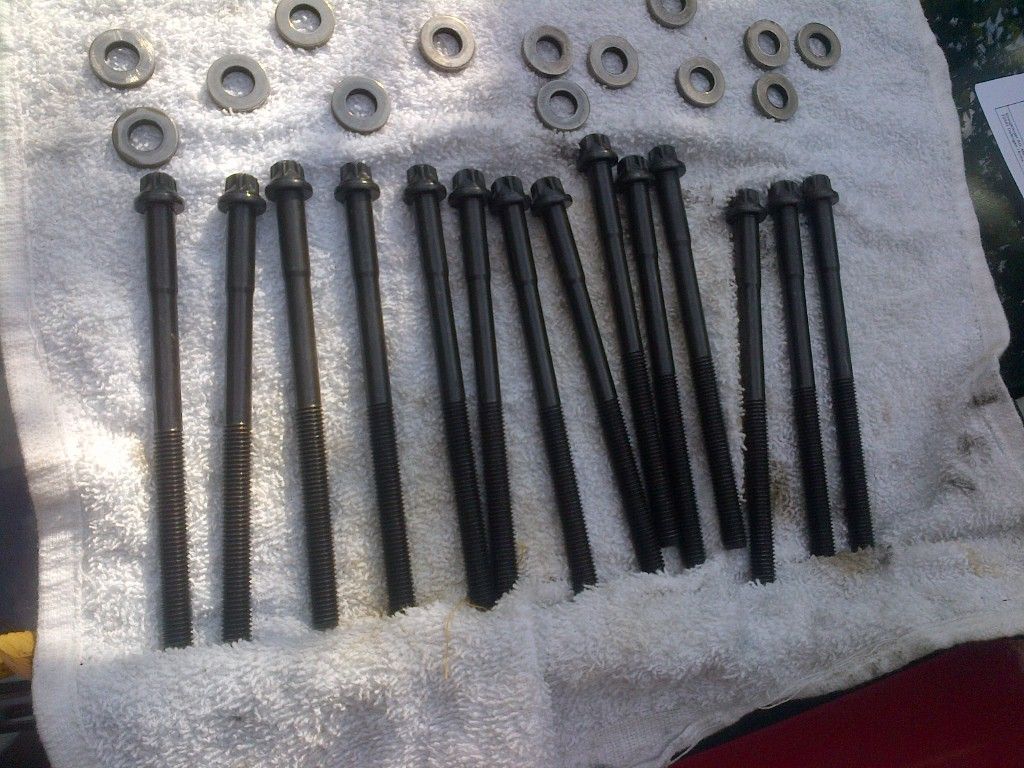
As much as we all are wary if VR, they do seem to be the OEM provider for tty head bolts. Before I set the head on I did take an M10x1.5 tap to the bolts holes. Based on how much crap I had to slug through I will state that this is not just recommended, it is mandatory. There's a thread I read that explains tty (torque to yield) bolts and the science behind it. I'll look for it if I can find it again. The good news is that I already had the tap since its the same size threads as for the lollipops which is the other place you must chase the threads when apart. Ask anyone who has snapped one of those off in the chassis if Im right.Leave a comment:
-
Entertaining! Good story, nice pics, plus plus plus. Carry on, Jeff.Leave a comment:
-
Besides the injectors I actually managed a couple of other improvements that I've again long thought about, but never done. Who loves cosmoline ?...I figured as much so how about this:
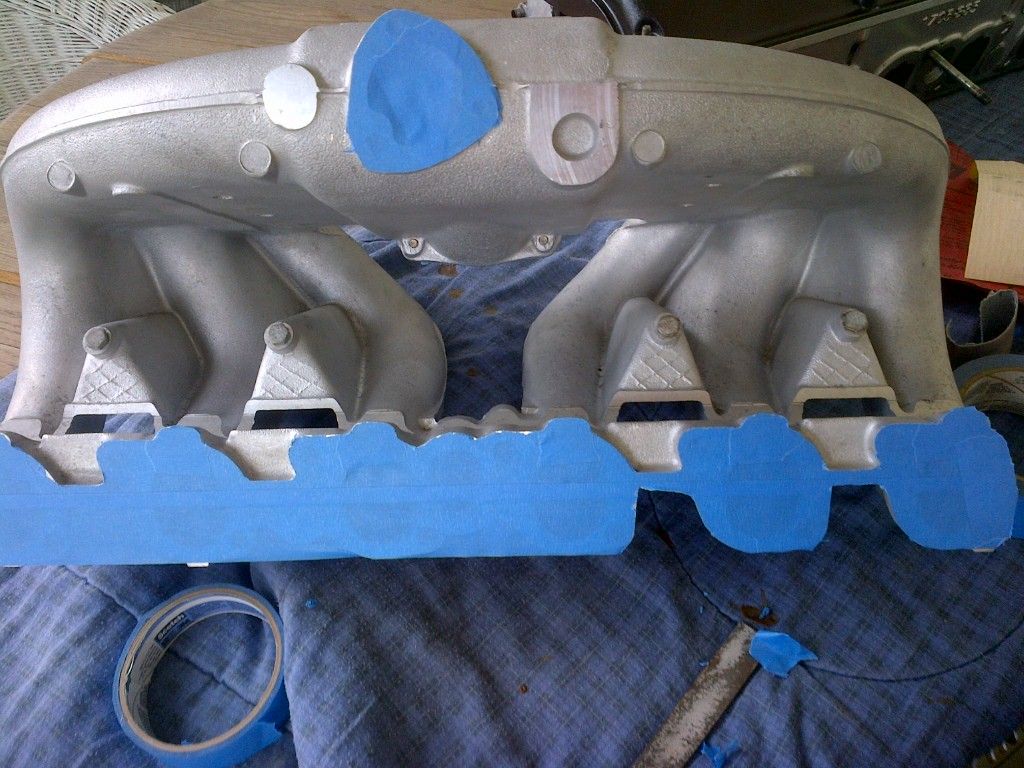
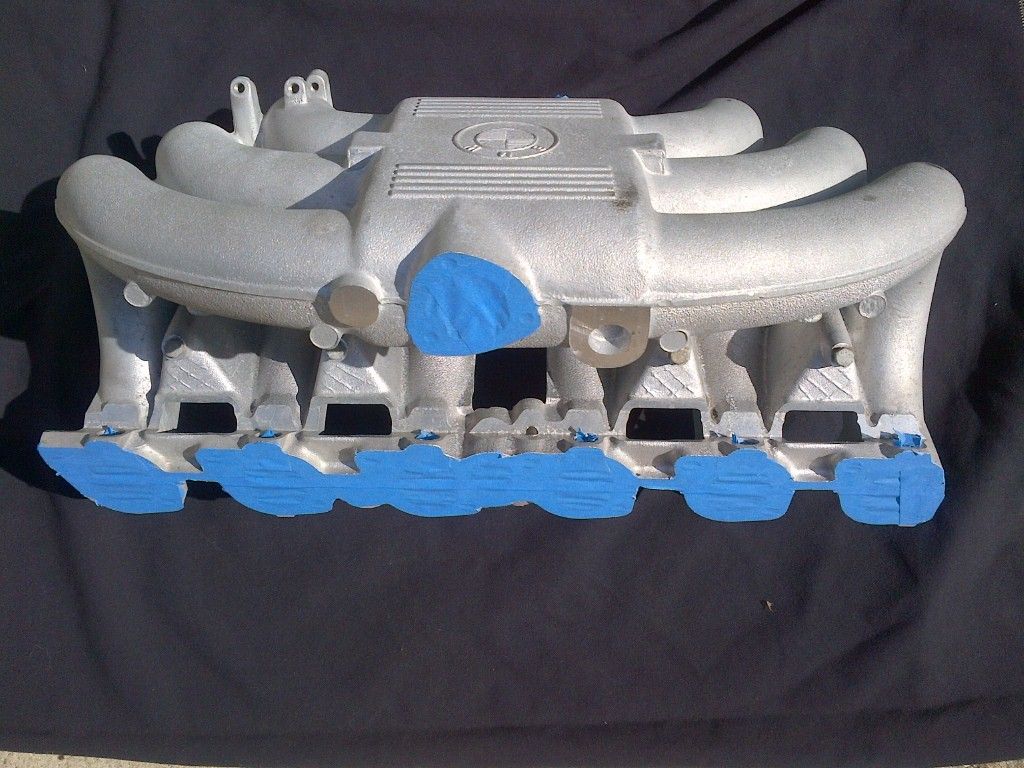
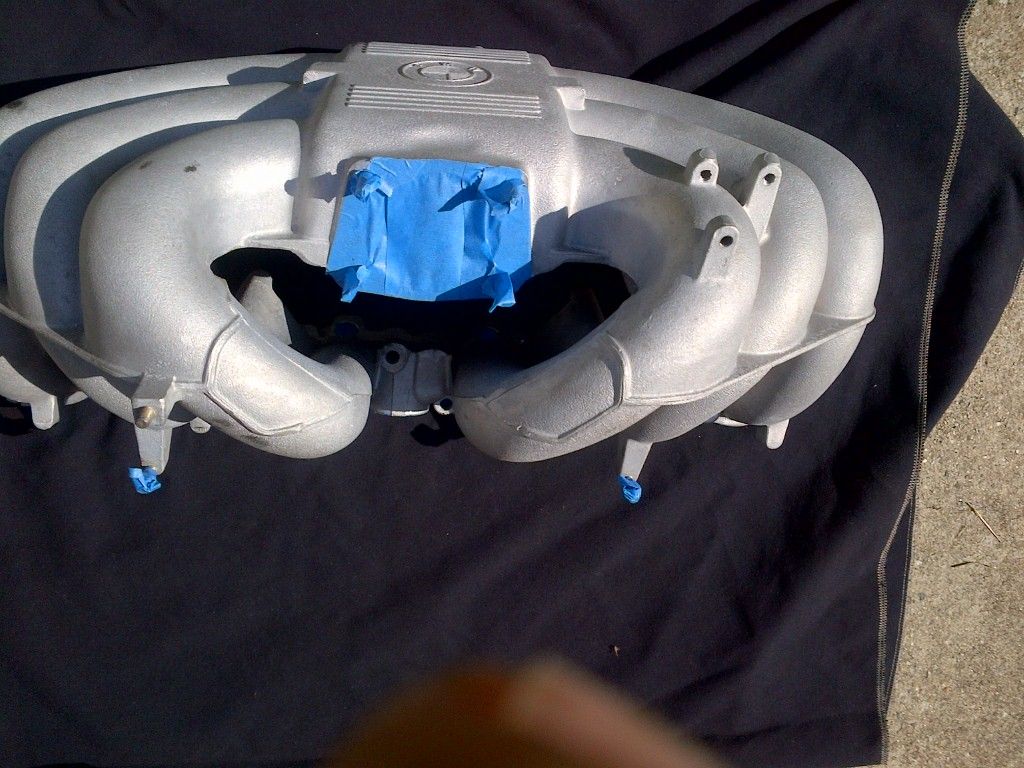
The pic above are after some healthy scrubbing with degreaser, Simple Green & a surface prep followed by high temp primer.
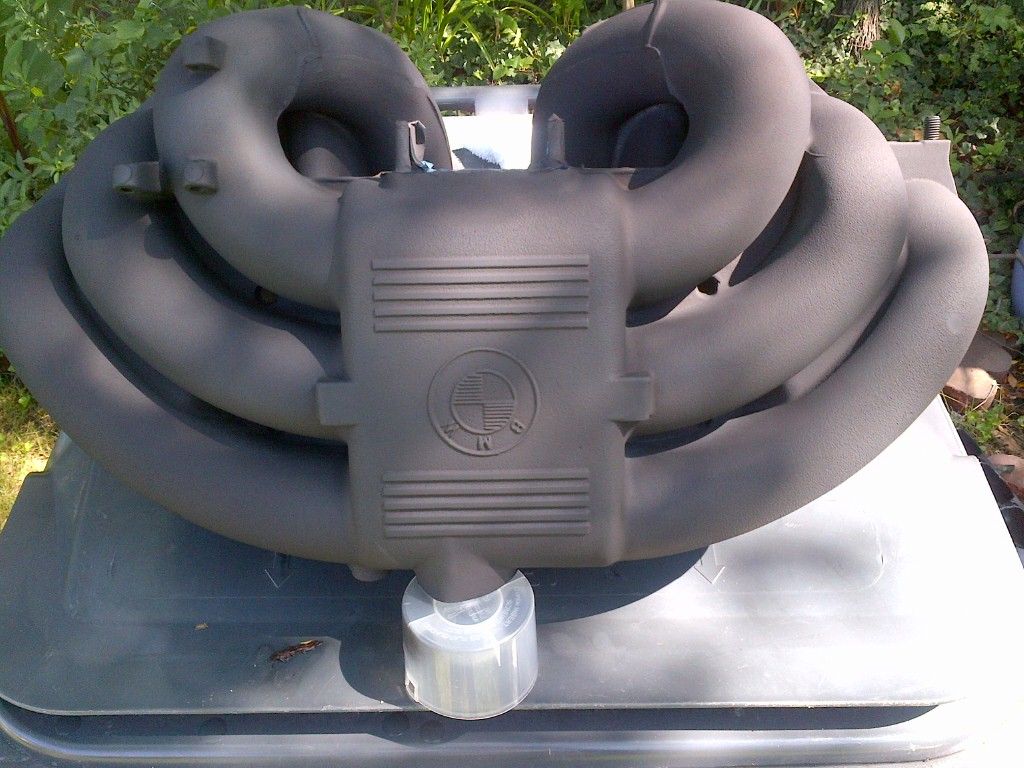
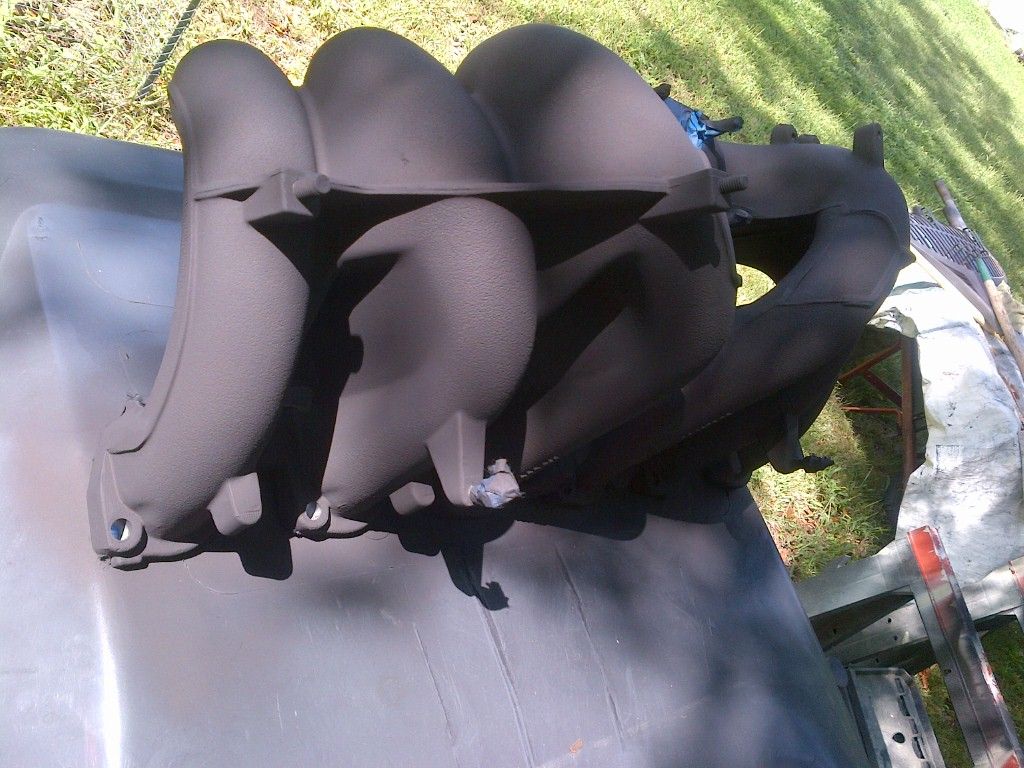
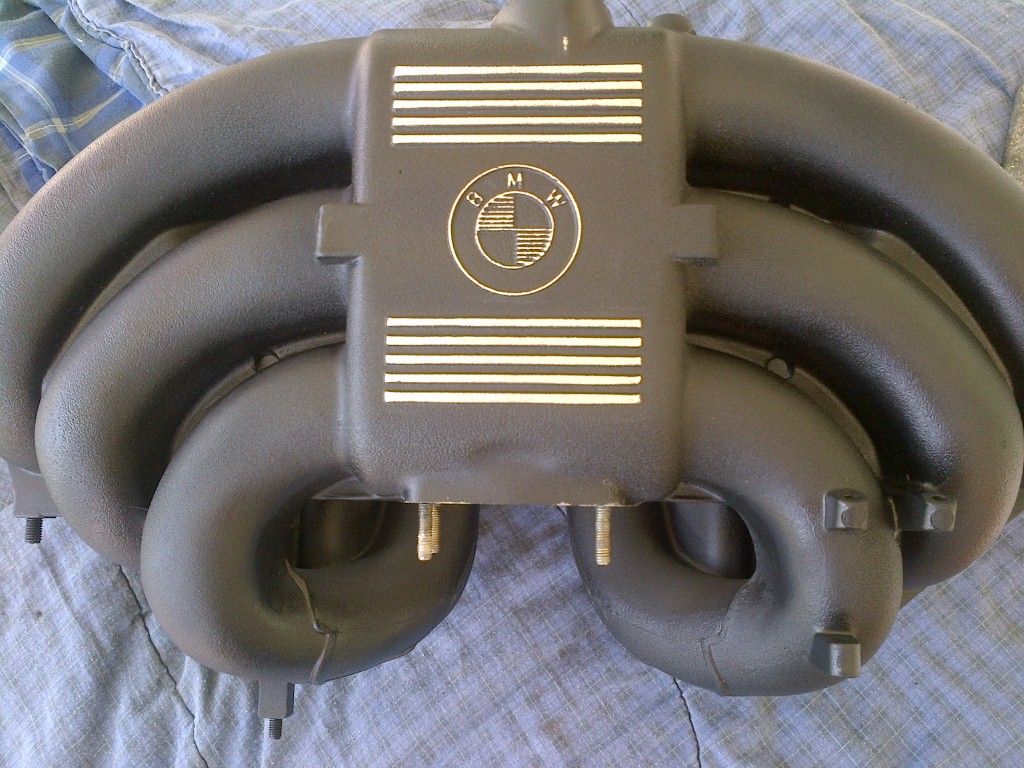
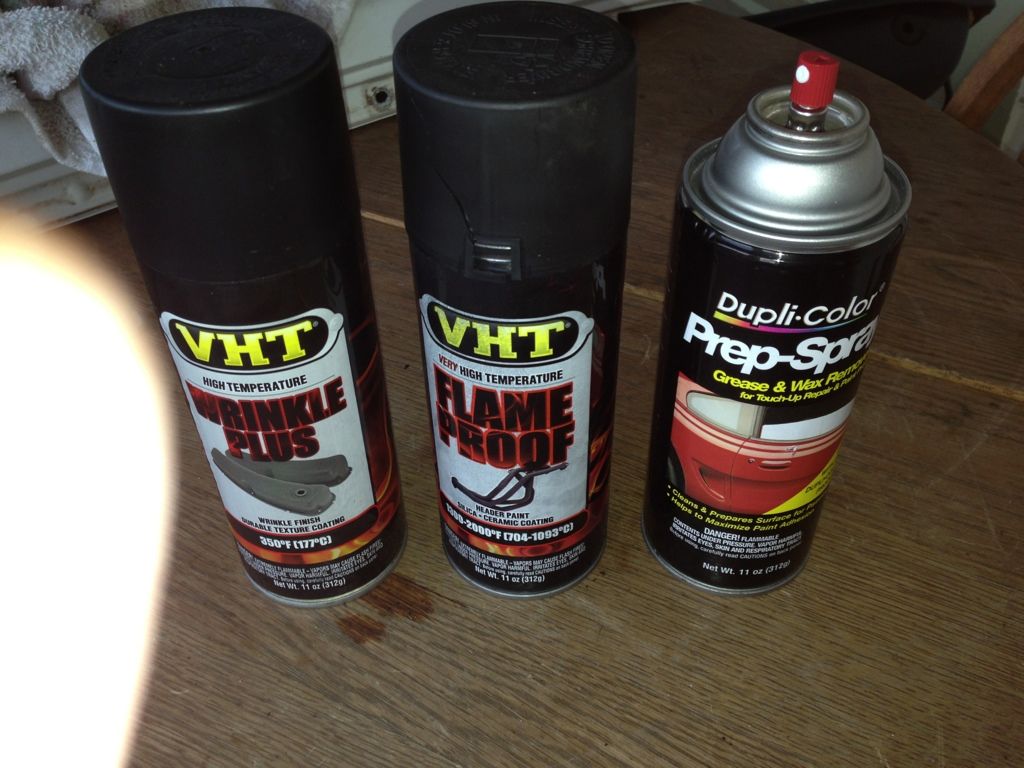
There was no way I was going to tape off all the highlights prior to the final coat so I applied the wrinkle coats, baked it as directed (which went over big in the house as you can imagine) and THEN took 220 grit to the highlights to arrive at the finished manifold.
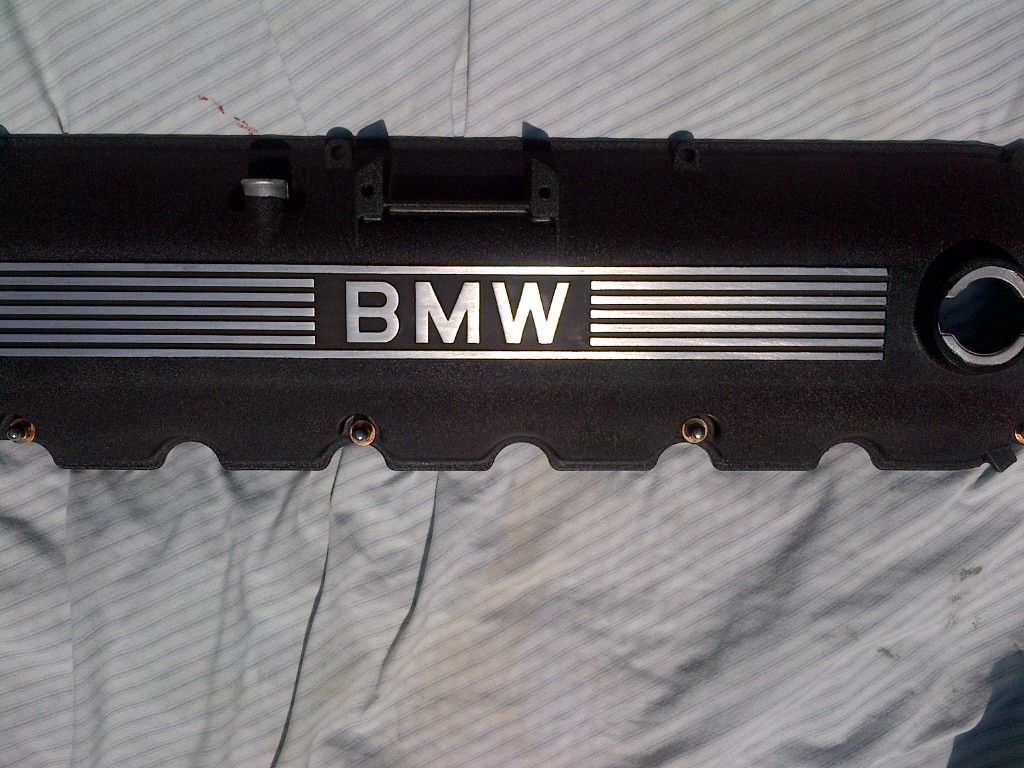
Then the valve cover...1st primer coat
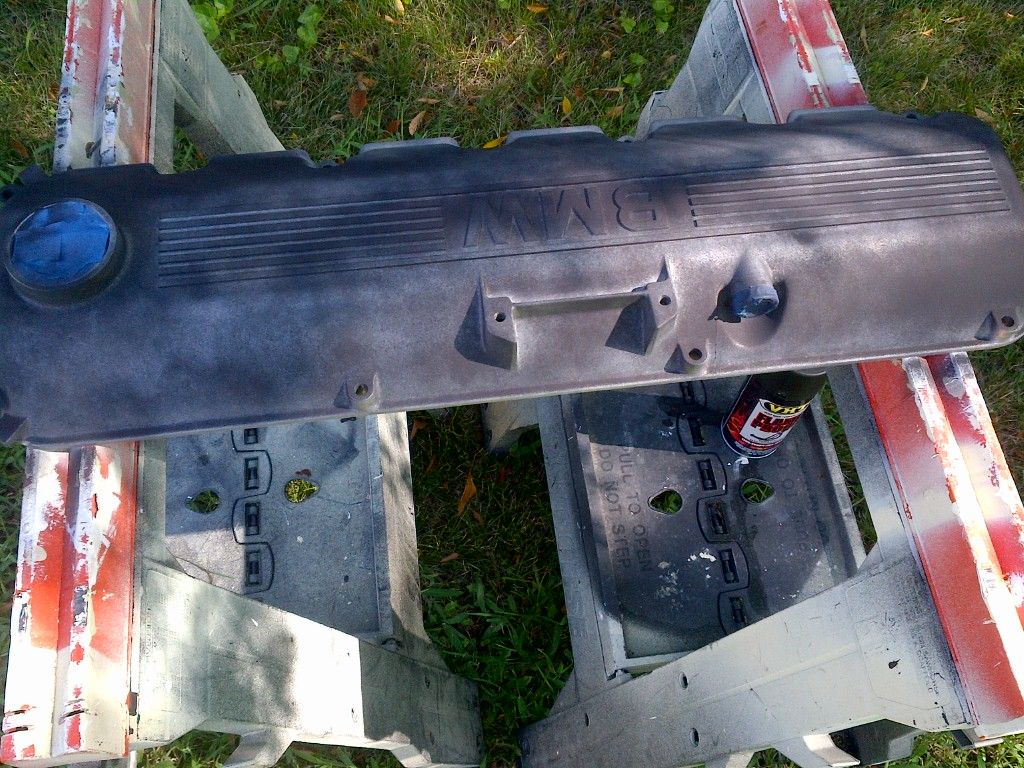
2nd primer coat
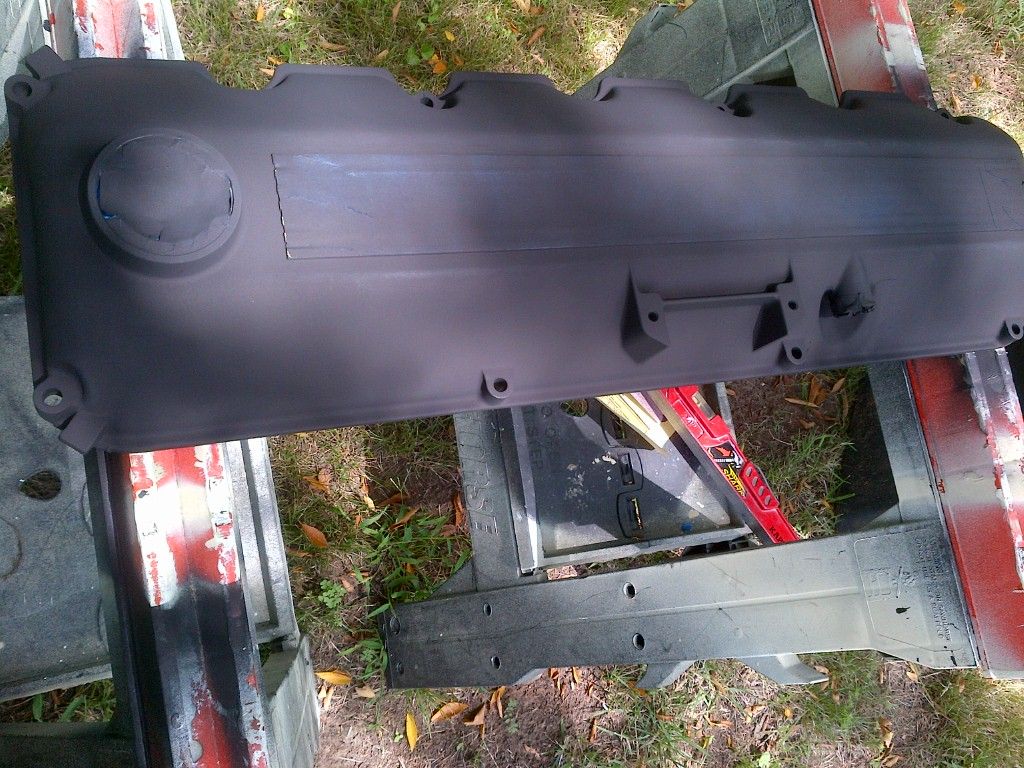
and the final baked Wrinkle coat with the bright silver features AND mocked up with the stainless acorn nuts and copper washers
This is the stuff I used for the intake and valve cover
Now let's throw in the refinished fuel rail with the updated injectors. Can you feel the pintle cap love ?
time to bag that baby until it gets installed
This is getting to be fun :)Last edited by jeffnhiscars; 11-25-2012, 02:27 PM.Leave a comment:
-


Leave a comment: