

So I figured it was about time I put together a build thread for my car.
Story:
After working my ass off in school and at work I decided I would buy myself a project car. My rational was that the car would cost about the same as a quarter at school and I felt the learning experience would be justifiably significant to warrant the cost. So the search began. Coming from the VW scene I really knew nothing about E30’s. I had a few friends with them, but other than that really nothing. I built and paid for the whole car by myself with the exception of some gracious friends helping along the way. I built the majority of the car during my senior year of college. I took extra shifts at work to pay for it and drove out to work on it just about every weekend (which my girlfriend hated :)).
In the beginning I really had no clue what I wanted the car to be. I already had a daily, so some sort of weekend canyon carver was my initial intention.
This was followed by the usual progression of engine swap ideas….LS1 (too expensive)…..S54(too expensive)…..S50(too boring)……Turbo(Turning problems)…..uhhhhh now what.
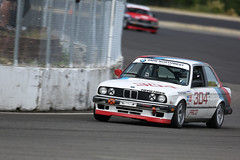
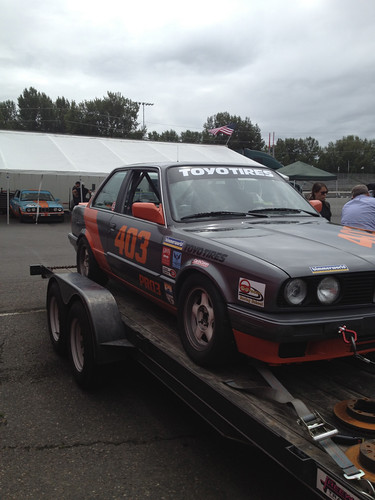
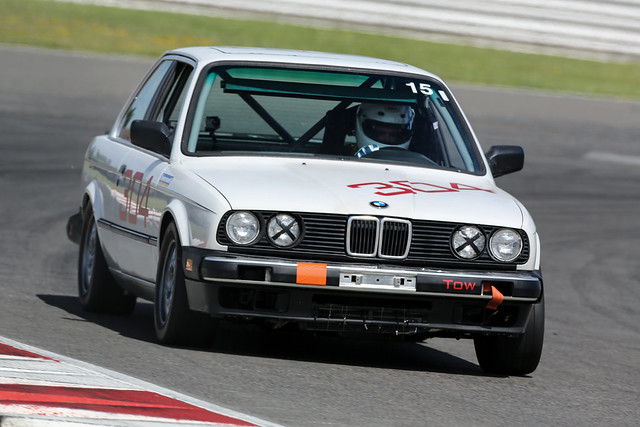
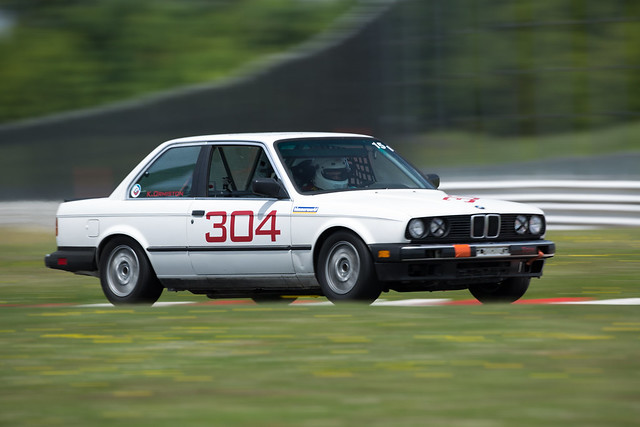
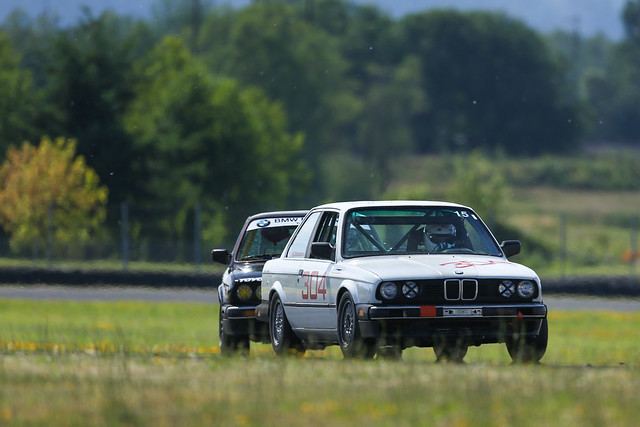
Then one of my best buddies Bill decided he was gonna build a PRO3 car for the spec series we have up in the PNW. Well shit….I gotta have one too! Because Racecar
And so begins my journey, there has been much head scratching, money spending and deadline missing, but in the end its been super fun and a great learning experience.
Here we GOOOOOO! I’ll try and add tid bits that I learned along the way.
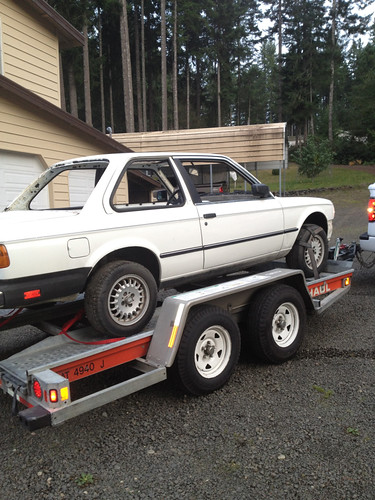
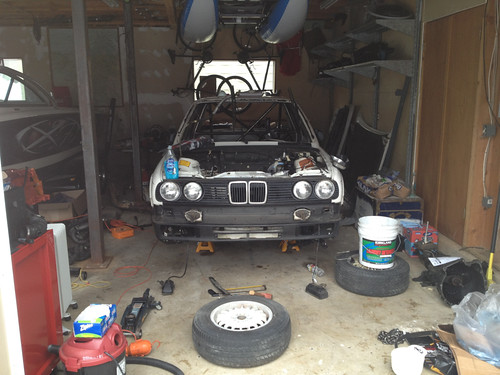
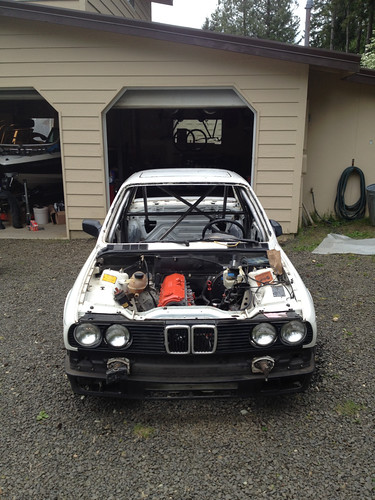
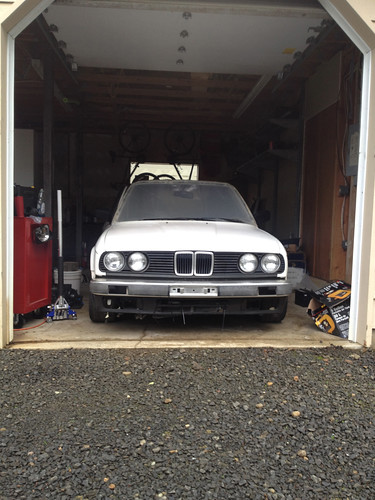
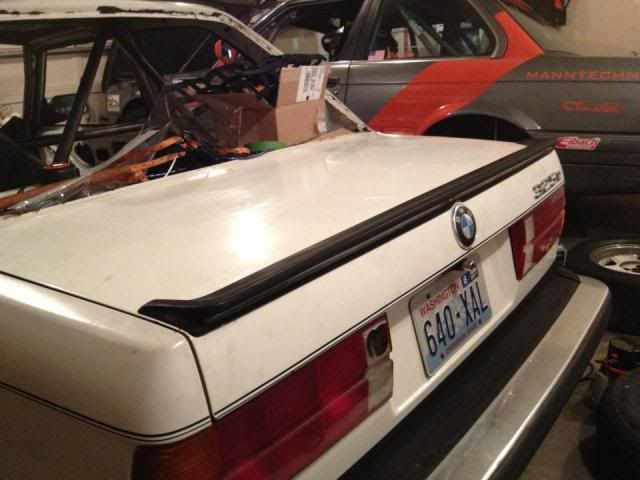
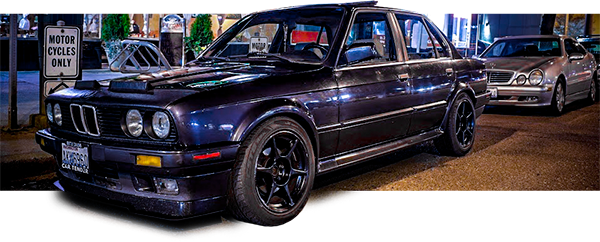
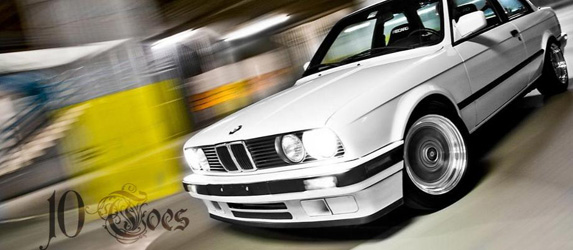
Because I knew nothing about E30’s I decided on an Alpine white 1984 325e that belonged to a friend of a friend. $900 and that bitch was mine!!! Loaded her up on the trailer and off to the garage! (Summer 2011)

Once at the house I started stripping the car. Still had no clue what I wanted it to be at this point but the carpet was really moist and I was worried about mold and such so I tore it out.


Other than a little bit of rust here and there she really wasn’t too bad. All of it was surface and was treated and sealed.

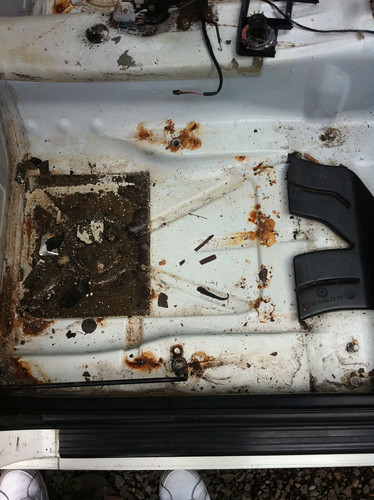
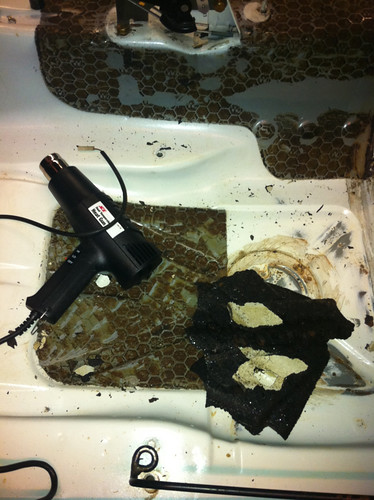
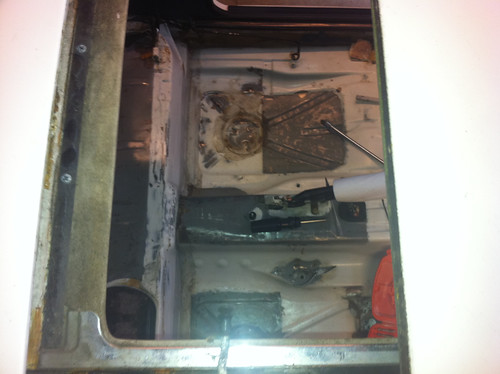
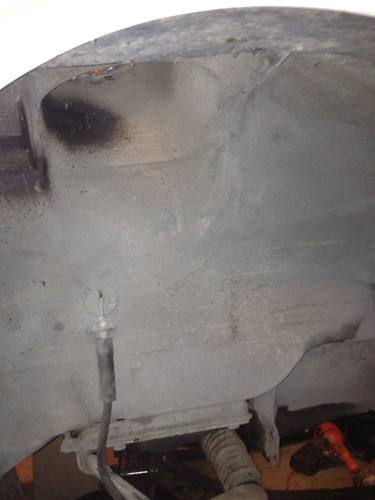
Sound deadening is for pussies, so that had to go! (Note: Use dry ice not a heat gun, the heat gun smells terrible and takes forever)
Before

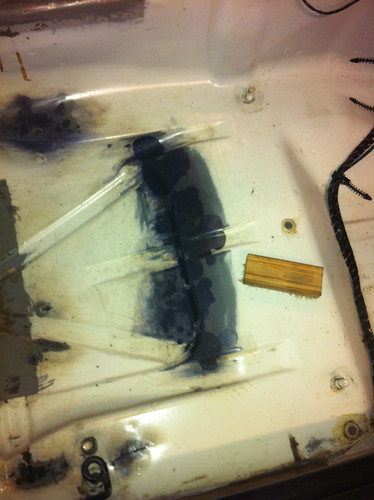
During

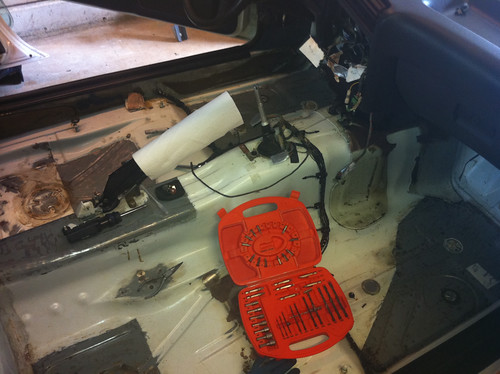
After
I used paint/adhesive stripper to get the adhesive up. Use gloves when you do this, that stuff leaves some nasty chemical burns.
Who knew the handbrake was such a handy paper towel holder?
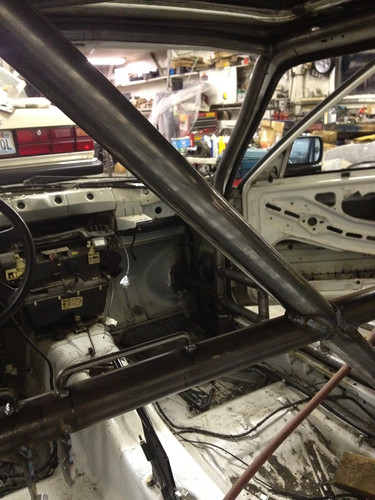
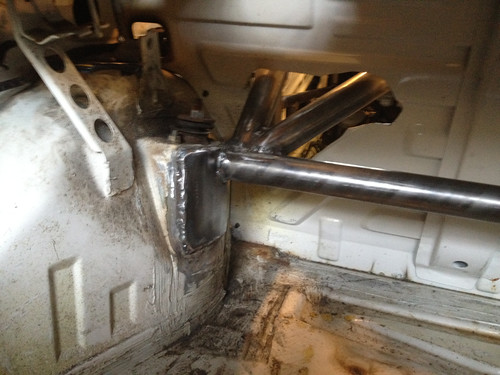
It was at this point that I decided to go full racecar. As a result the interior got the full strip. I decided on PRO3 as it is extremely popular in the northwest and is well known for its comradery and competitive racing.


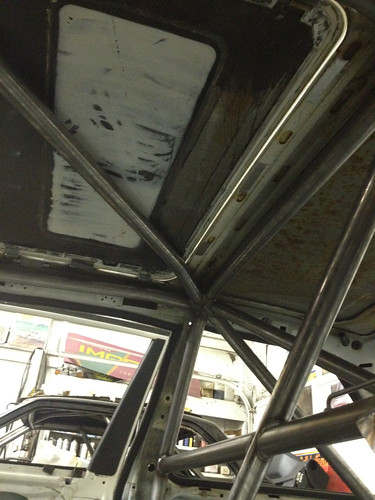
Not a good start to the weekend, mysterious broken rear window!
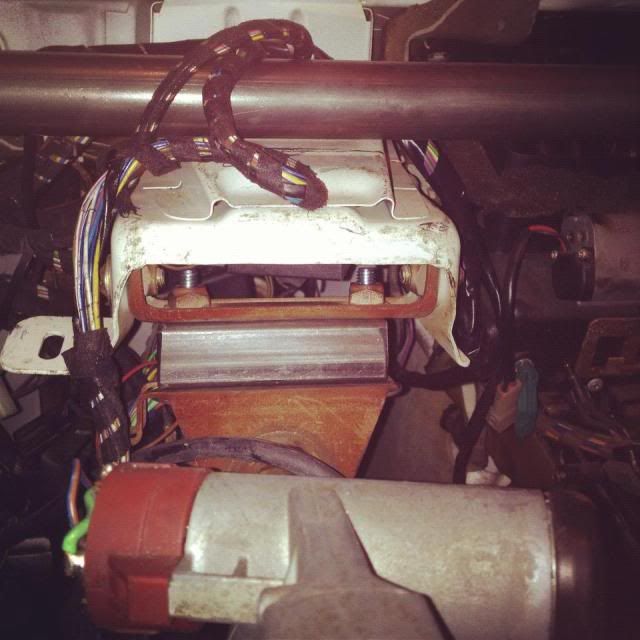
Started the weekend by taking the dash out. A cool head and a friend help but it really isn’t that hard once you get the hang of it.

Everyone’s favorite…..wiring!
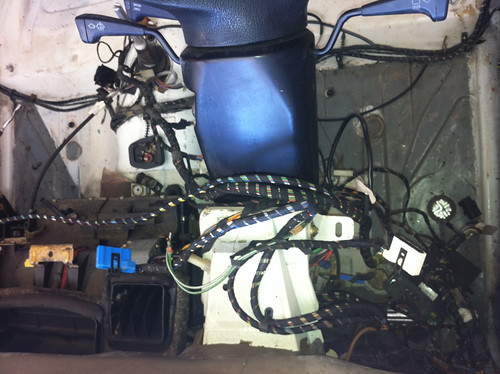
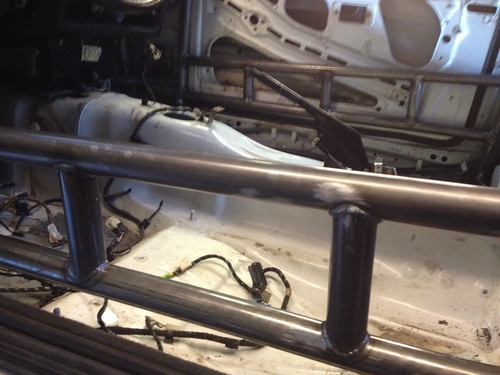
I started to take parts out of the main harness. Wiring diagrams and a lot of patients are your friend here. (Fall 2011)

At this point I had the car pretty well stripped and knew that I wanted to create a full blown PRO3 car. My thinking was that rather than create some mismatched track car I would focus on one class that way it would be worth something when I went to sell it.
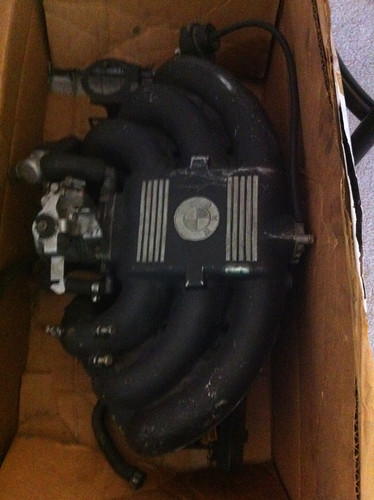
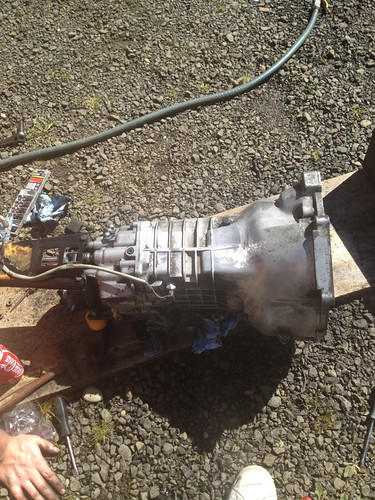
PRO3 requires the M20B25 and my car was an E so the B27 had to go!


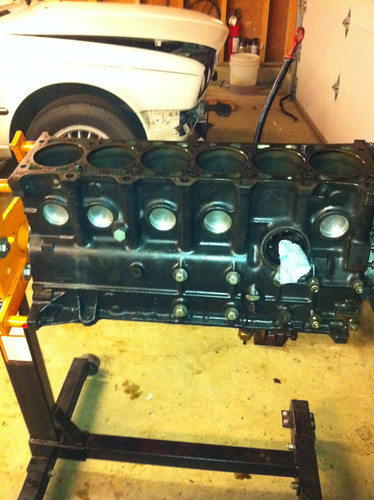
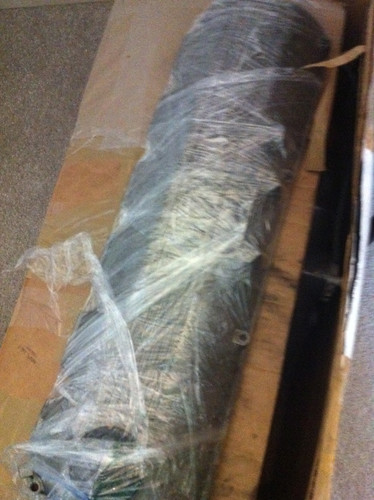
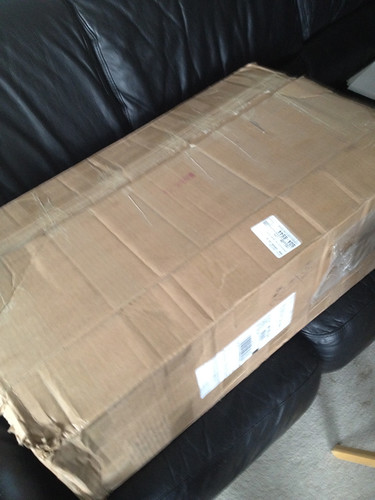
Picked up the engine from a guy on R3v and hauled it down to the garage. Upon further inspection everything looked pretty decent. Oil pan was cracked but I knew I could scavenge parts off the B27.
The mountains were blue! Beer Break!

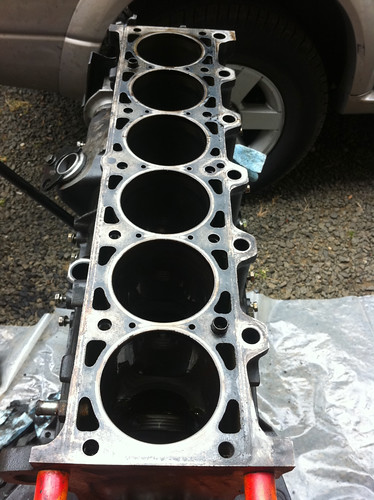
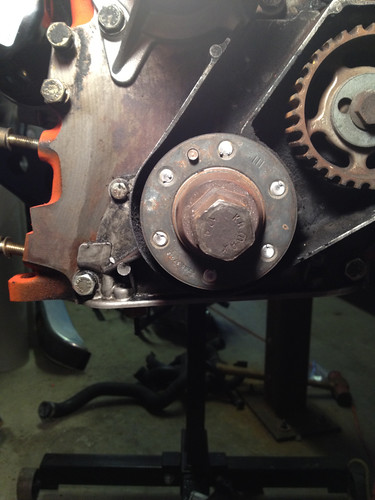
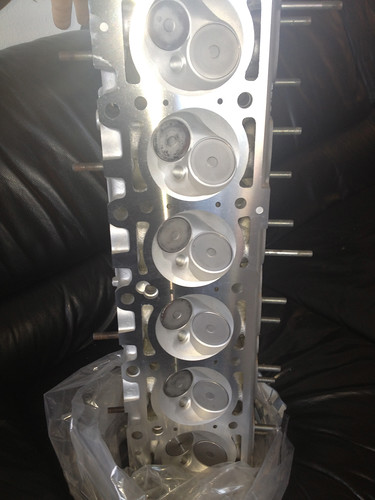
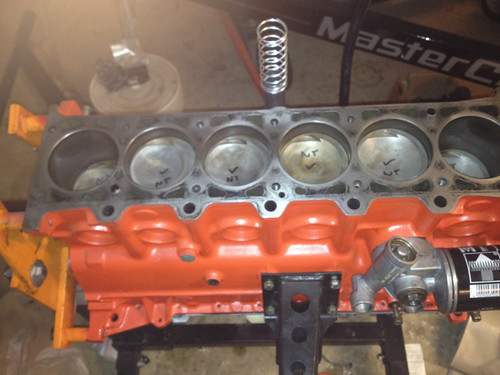
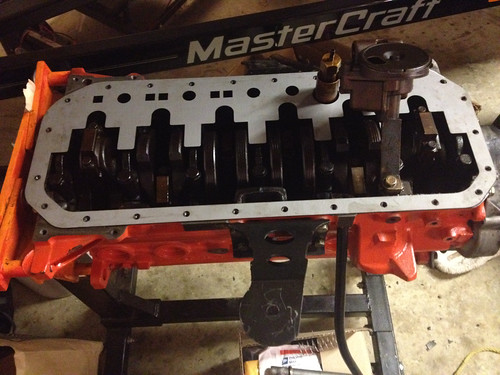
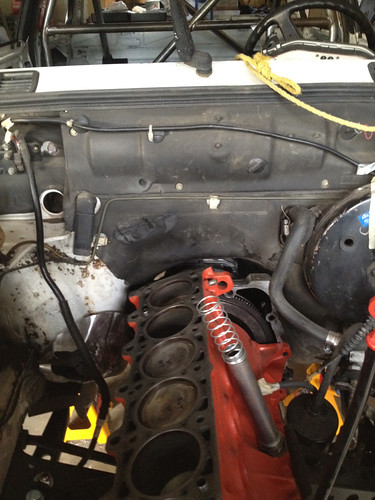
Took the pistons out and started cleaning up the block for paint.

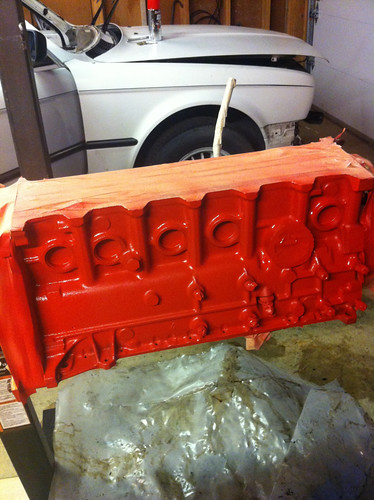
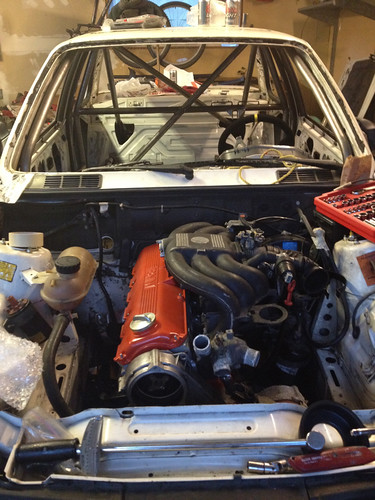
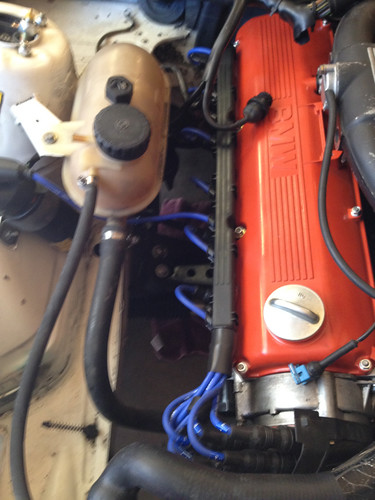
Decided on Chevy Red-Orange. Orange is my Sisters favorite color and makes it easy to see oil on the block. The paint was still wet, it’s not nearly this neon in person.
Cleaned the pistons up too!

More later…..i gotta get back to studying!
Story:
After working my ass off in school and at work I decided I would buy myself a project car. My rational was that the car would cost about the same as a quarter at school and I felt the learning experience would be justifiably significant to warrant the cost. So the search began. Coming from the VW scene I really knew nothing about E30’s. I had a few friends with them, but other than that really nothing. I built and paid for the whole car by myself with the exception of some gracious friends helping along the way. I built the majority of the car during my senior year of college. I took extra shifts at work to pay for it and drove out to work on it just about every weekend (which my girlfriend hated :)).
In the beginning I really had no clue what I wanted the car to be. I already had a daily, so some sort of weekend canyon carver was my initial intention.
This was followed by the usual progression of engine swap ideas….LS1 (too expensive)…..S54(too expensive)…..S50(too boring)……Turbo(Turning problems)…..uhhhhh now what.
Then one of my best buddies Bill decided he was gonna build a PRO3 car for the spec series we have up in the PNW. Well shit….I gotta have one too! Because Racecar
And so begins my journey, there has been much head scratching, money spending and deadline missing, but in the end its been super fun and a great learning experience.
Here we GOOOOOO! I’ll try and add tid bits that I learned along the way.
Because I knew nothing about E30’s I decided on an Alpine white 1984 325e that belonged to a friend of a friend. $900 and that bitch was mine!!! Loaded her up on the trailer and off to the garage! (Summer 2011)
Once at the house I started stripping the car. Still had no clue what I wanted it to be at this point but the carpet was really moist and I was worried about mold and such so I tore it out.
Other than a little bit of rust here and there she really wasn’t too bad. All of it was surface and was treated and sealed.
Sound deadening is for pussies, so that had to go! (Note: Use dry ice not a heat gun, the heat gun smells terrible and takes forever)
Before
During
After
I used paint/adhesive stripper to get the adhesive up. Use gloves when you do this, that stuff leaves some nasty chemical burns.
Who knew the handbrake was such a handy paper towel holder?
It was at this point that I decided to go full racecar. As a result the interior got the full strip. I decided on PRO3 as it is extremely popular in the northwest and is well known for its comradery and competitive racing.
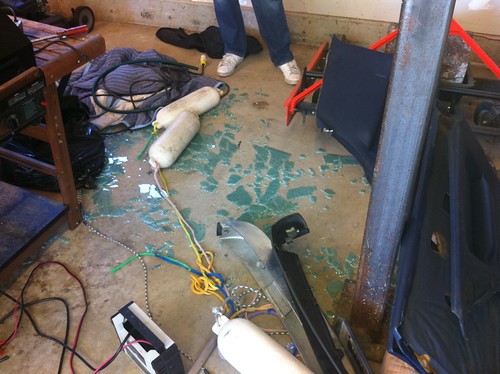
Not a good start to the weekend, mysterious broken rear window!
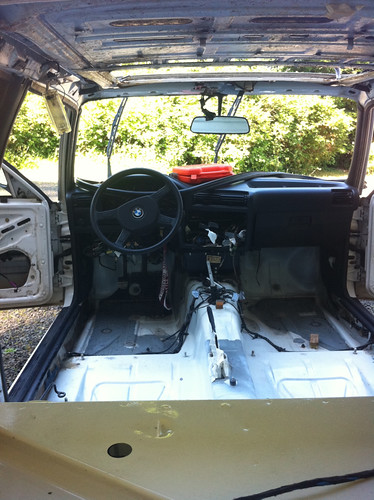
Started the weekend by taking the dash out. A cool head and a friend help but it really isn’t that hard once you get the hang of it.
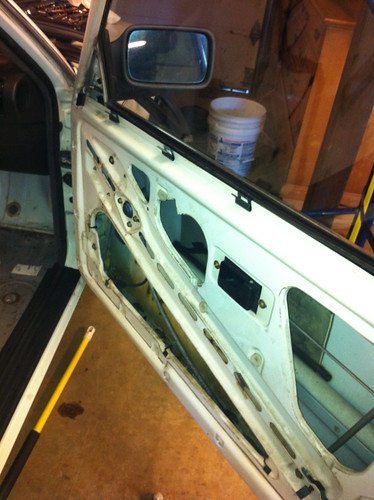
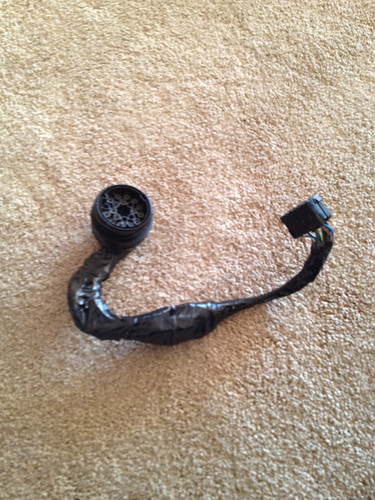
Everyone’s favorite…..wiring!
I started to take parts out of the main harness. Wiring diagrams and a lot of patients are your friend here. (Fall 2011)
At this point I had the car pretty well stripped and knew that I wanted to create a full blown PRO3 car. My thinking was that rather than create some mismatched track car I would focus on one class that way it would be worth something when I went to sell it.
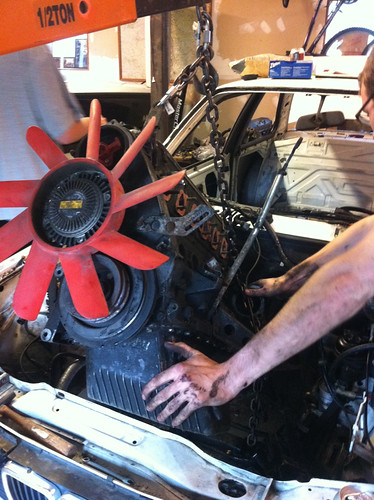
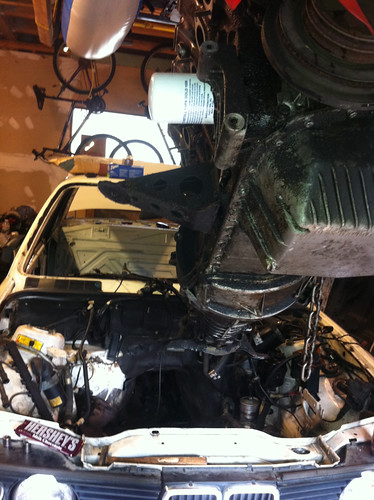
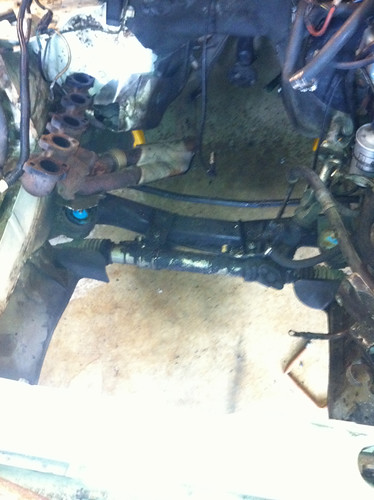
PRO3 requires the M20B25 and my car was an E so the B27 had to go!
Picked up the engine from a guy on R3v and hauled it down to the garage. Upon further inspection everything looked pretty decent. Oil pan was cracked but I knew I could scavenge parts off the B27.
The mountains were blue! Beer Break!
Took the pistons out and started cleaning up the block for paint.
Decided on Chevy Red-Orange. Orange is my Sisters favorite color and makes it easy to see oil on the block. The paint was still wet, it’s not nearly this neon in person.
Cleaned the pistons up too!
More later…..i gotta get back to studying!


Comment