
:mrgreen:
Did you ever get those floor mats I PM'd you about?
Djgenius10 on eBay; just look up "e30 cluster rings"; he should be one of the vendors. Buy them only from him though, all/most others are Chinese knock-offs that don't fit right unless persuaded. He's also on BF.C if you would rather communicate wi him there (DjGenius)
Dj's pop in within seconds and fit nice and tight
Ended up buying a second set because I screwed up the set I just installed by using glue. Oh well; live and learn
More parts galore! New bumper (finally!) and a few more things here and there soon
-
Got work done:
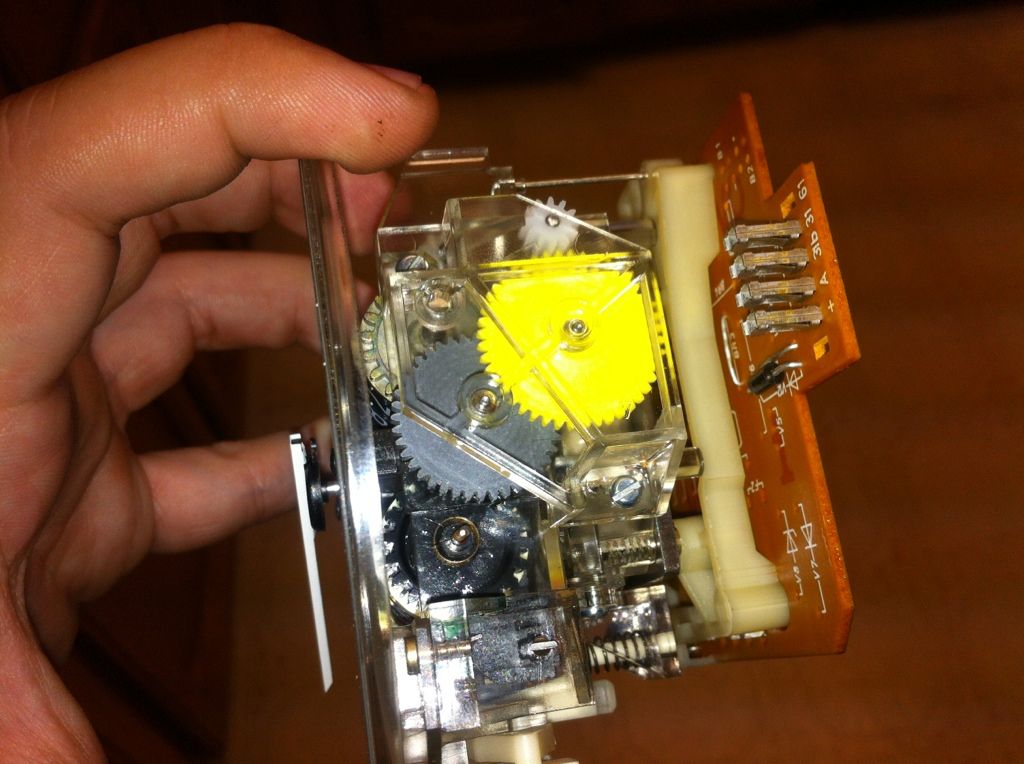
Garagistic Motometer gears finally came in
DjGenius's cluster rings came in
Red paint and paint brushes came in
Anyone know what that means? Yeah, you guessed; a drop kick of awesomeness.
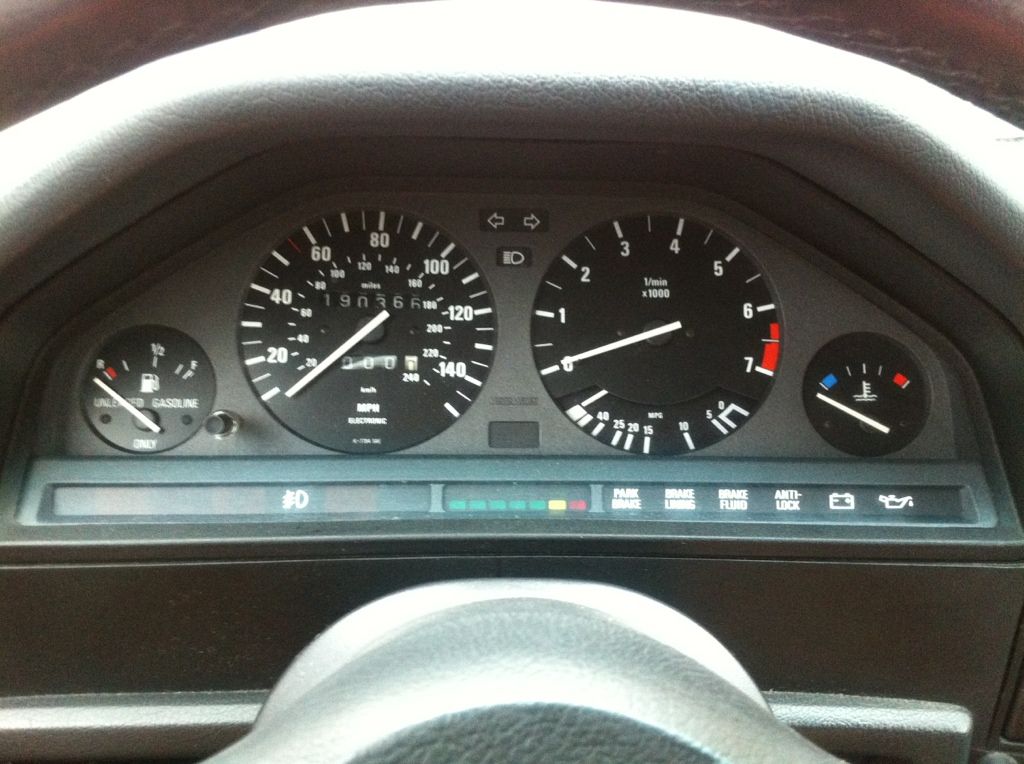
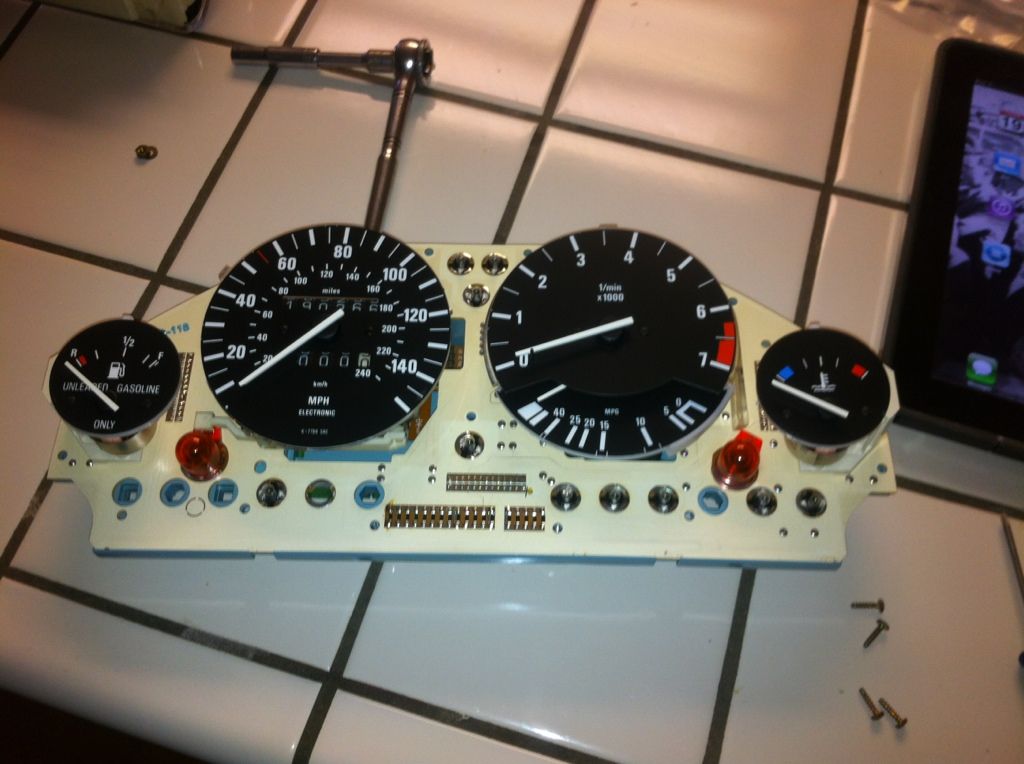
Last glamor shot before transformation:
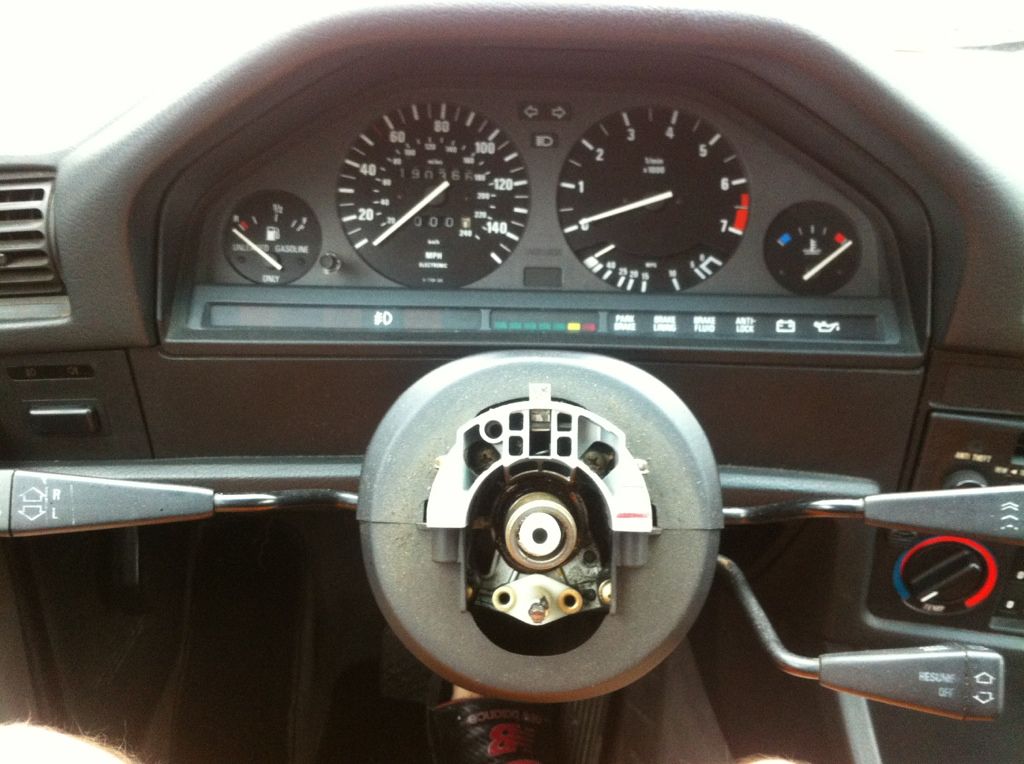
Taking the steering wheel off:

BMW emblem pops out with a simple flathead
Easy
After removing the dash cover, two screws in the center, two up top, and 2 on the sides; it comes off
Gone, for now
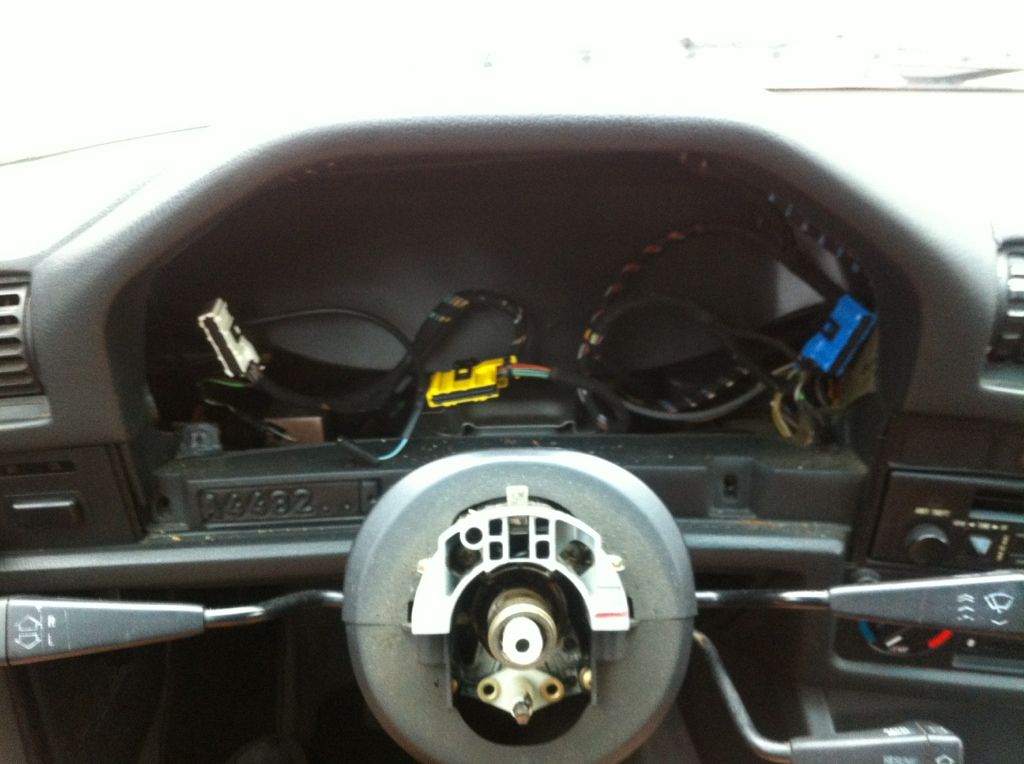
No wonder my temp gauge flopped around! Trip down to the hardware store fixed it all up
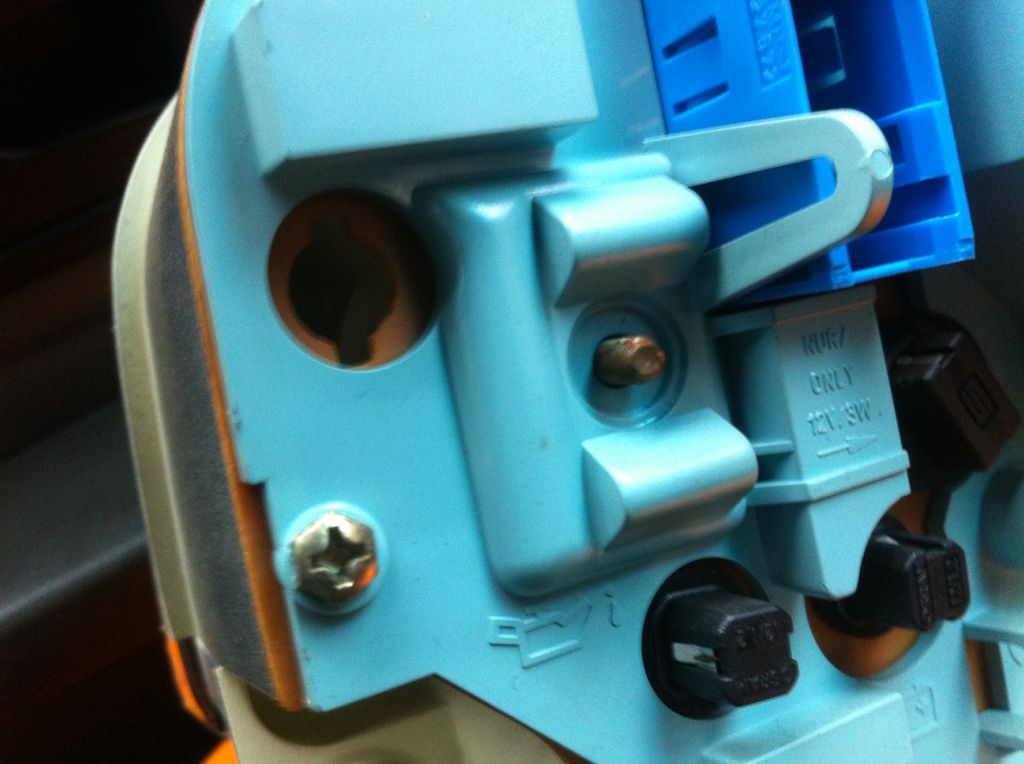
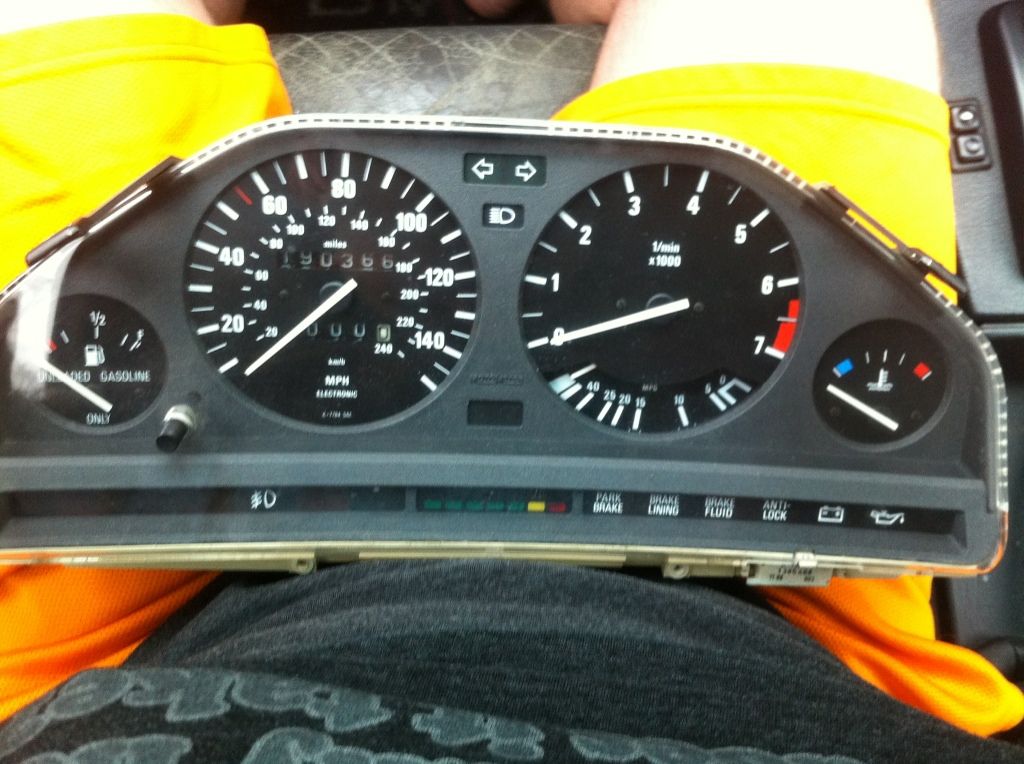
Let's open me up!


Faceplate detaches after unscrewing the 9 hexagonal top screws in the back of the cluster
Garagistic gears installed. Lookin sweet!
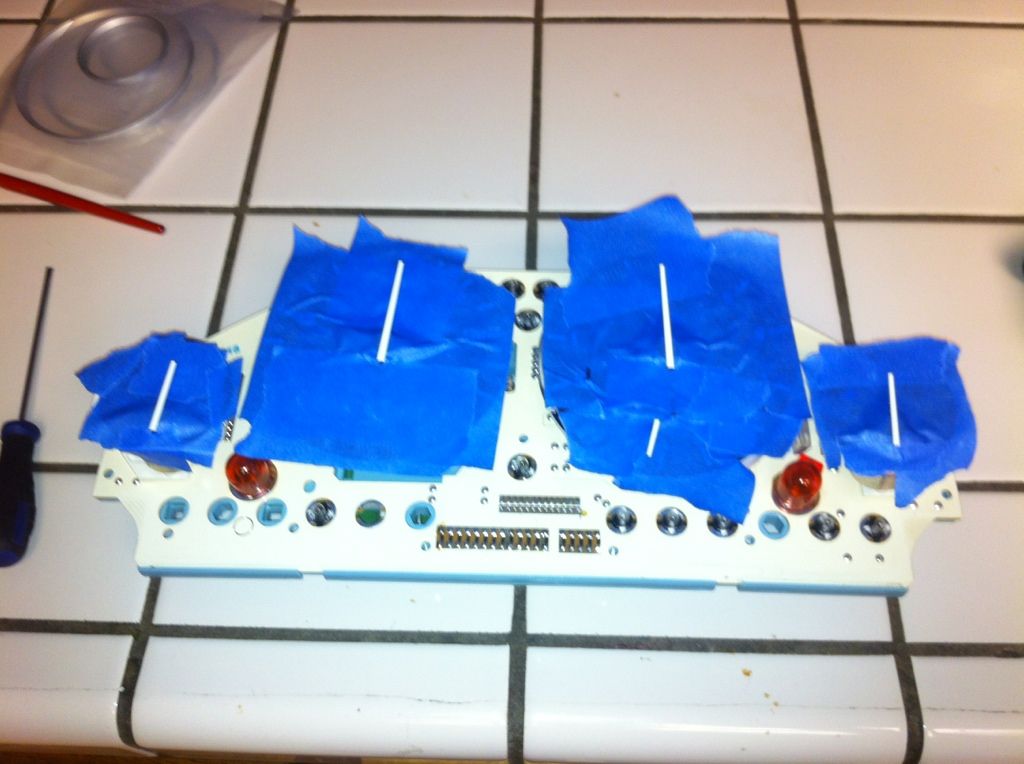
All prepped up
Was crunching for time, so I had to skip pictures, but here are some pictures of the finished product. Didn't come out exactly like I wanted, but I'll take another whack at it when I order my plasma gauges and do an e34 needle retrofit
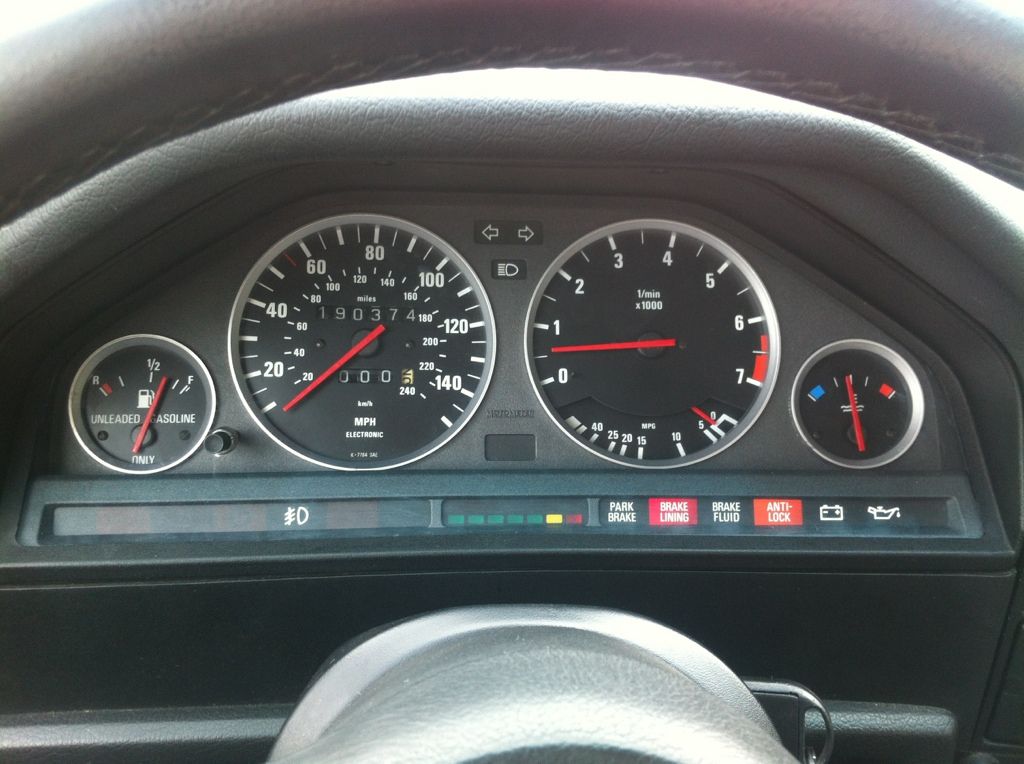
Fixed my brake lining bulb in the process, so now that that's over,I see my brake lining is on, and that I have even more to fix. Sweet! :mrgreen:
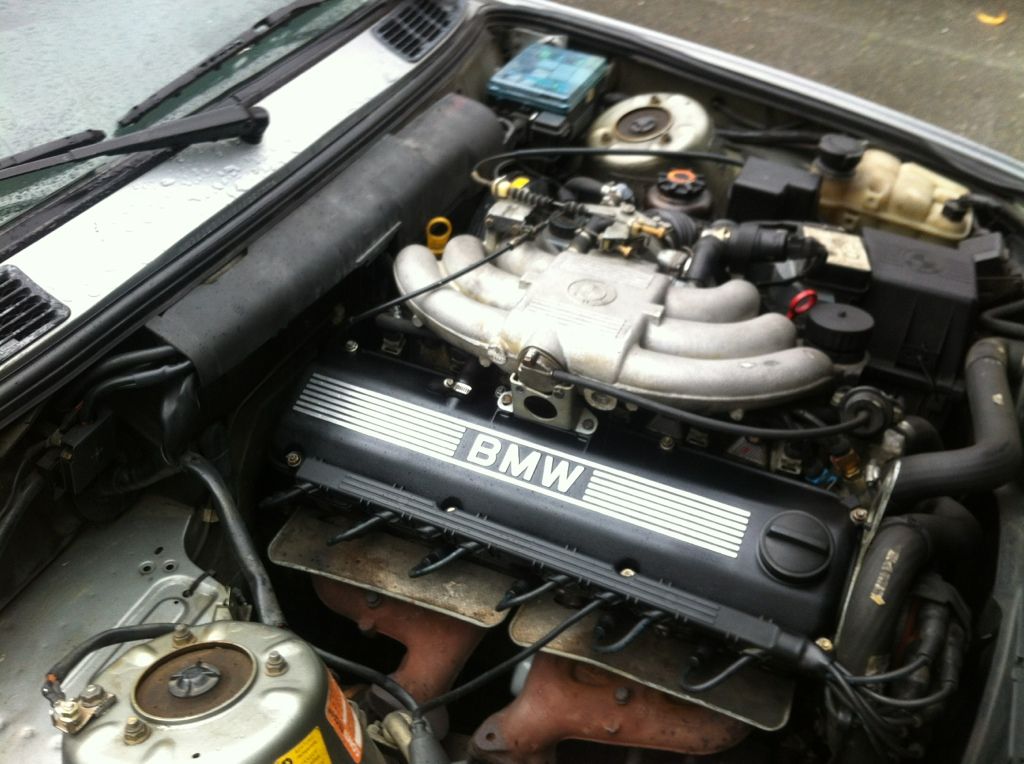
Also did some engine bay simplification; think the 318 wire harness cover looks right, and while it's a tight fit, it squeezes in no problem
If anyone is doing the Cluster rings, order them from DjGenius (BF.C; djgenius10 on eBay). His rings are original and are direct fit clip ins, without any need to glue, etc. I learned the hard way and screwed up a pair of rings because I thought Dj's rings needed glue, so now I need to order a new set because I want to do it right. All other manufactures are Chinese knockoffs and won't fit as nice as Dj's and you'll have to use glue (aka, it WON'T come out as nice as just clipping in)Last edited by JinormusJ; 02-19-2013, 05:37 PM.Leave a comment:
-
I guess I might as well clue you in on all the little happennings that have been going on with the e30
(Dont expect much however; Iphone quality picture content)
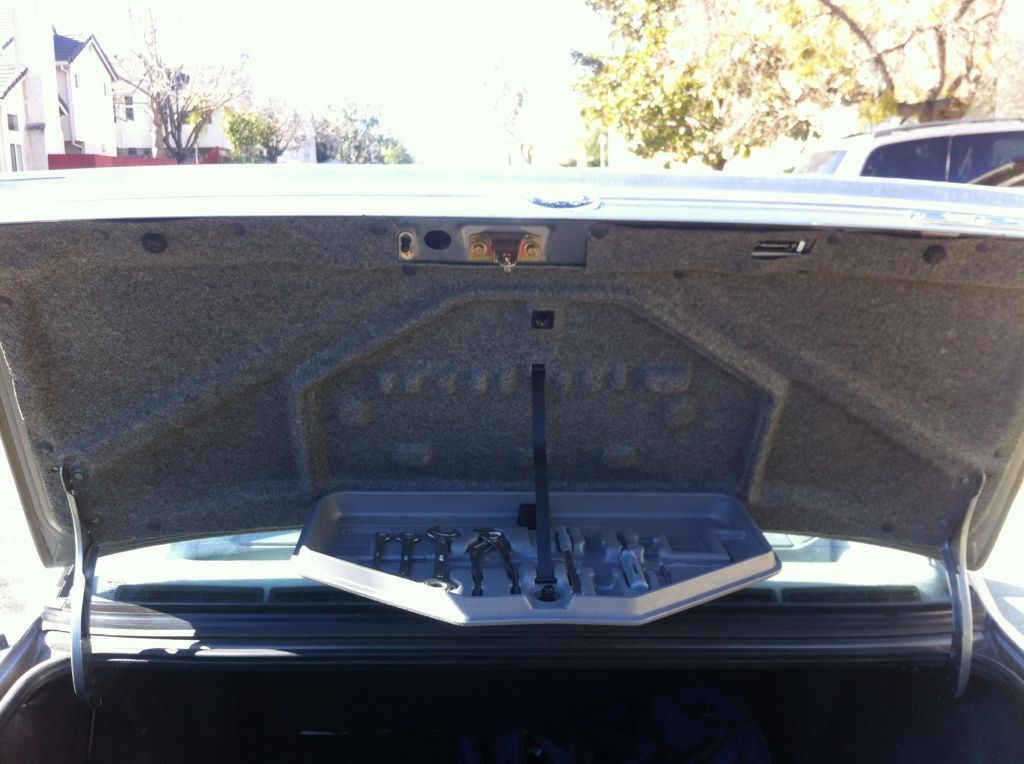
I guess the most obvious improvement was the e32 trunk liner and tool box retrofit. Its simple, but the liner takes forever to get a good fit, and even then its not perfect; came out much nicer than my last one though. Now on the hunt to find the rest of the tools to finish the e32 toolbox
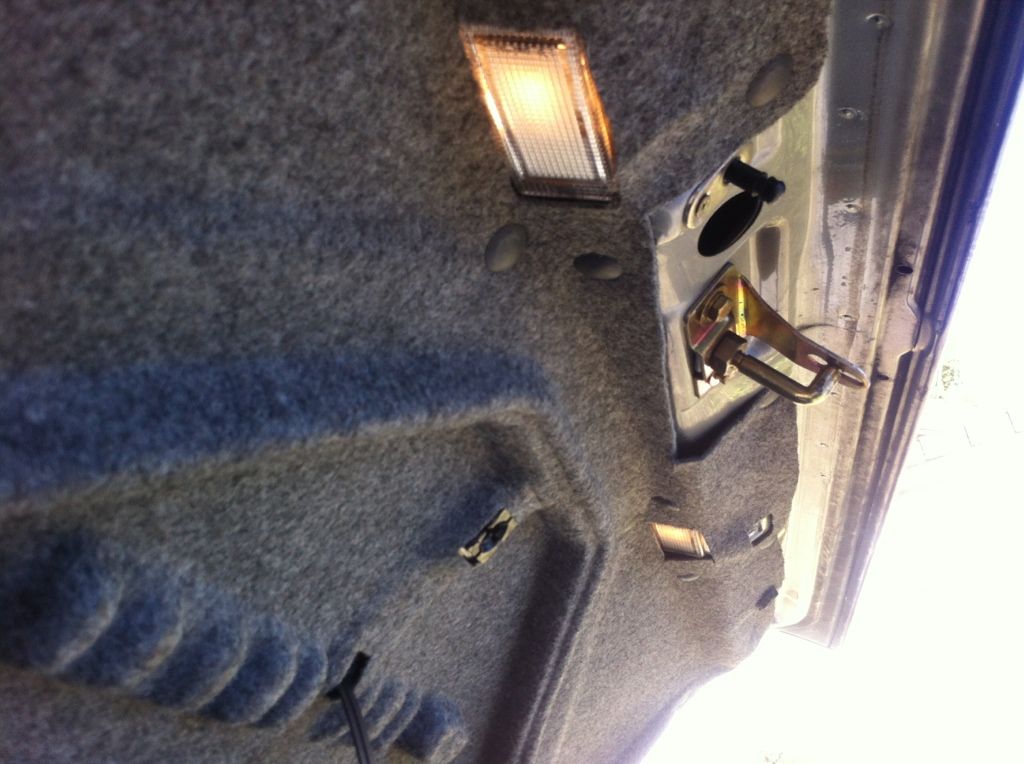
Did a dual trunk light retrofit just like the last one e30 because you cant do a trunk liner without dual lights. Learned from my mistakes last time and wired it clean and simple this time around. Came out pretty nice I like to say
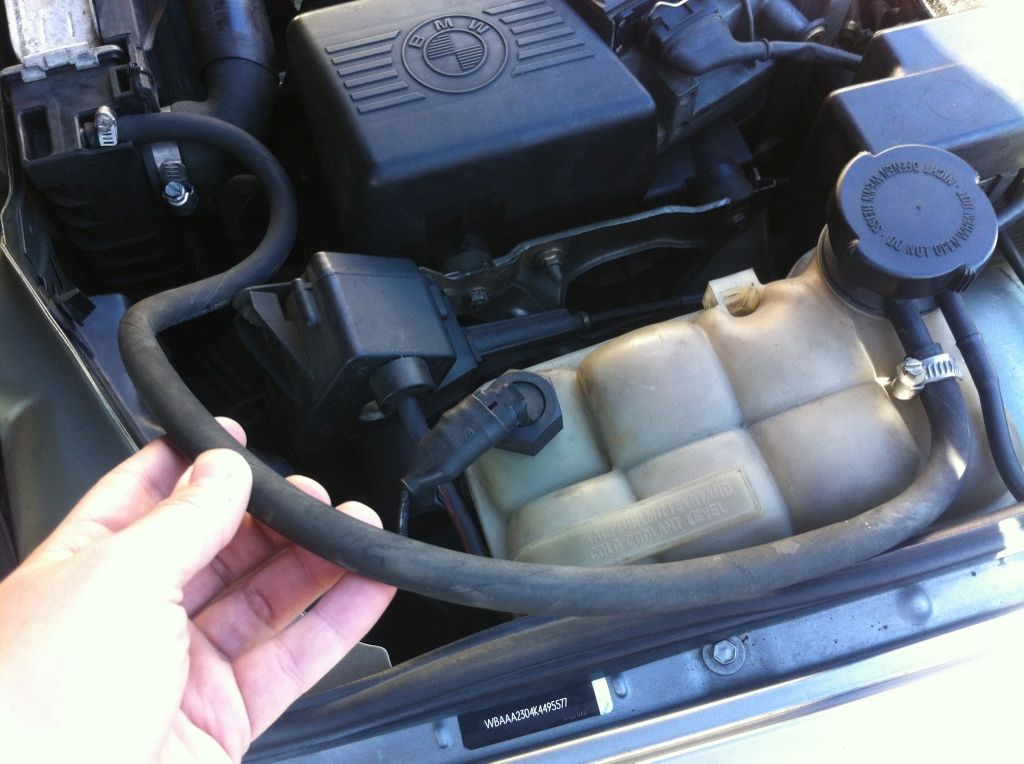
Then doing little things here and there to revert all the free farm-fixes the OP decided to do on this thing:
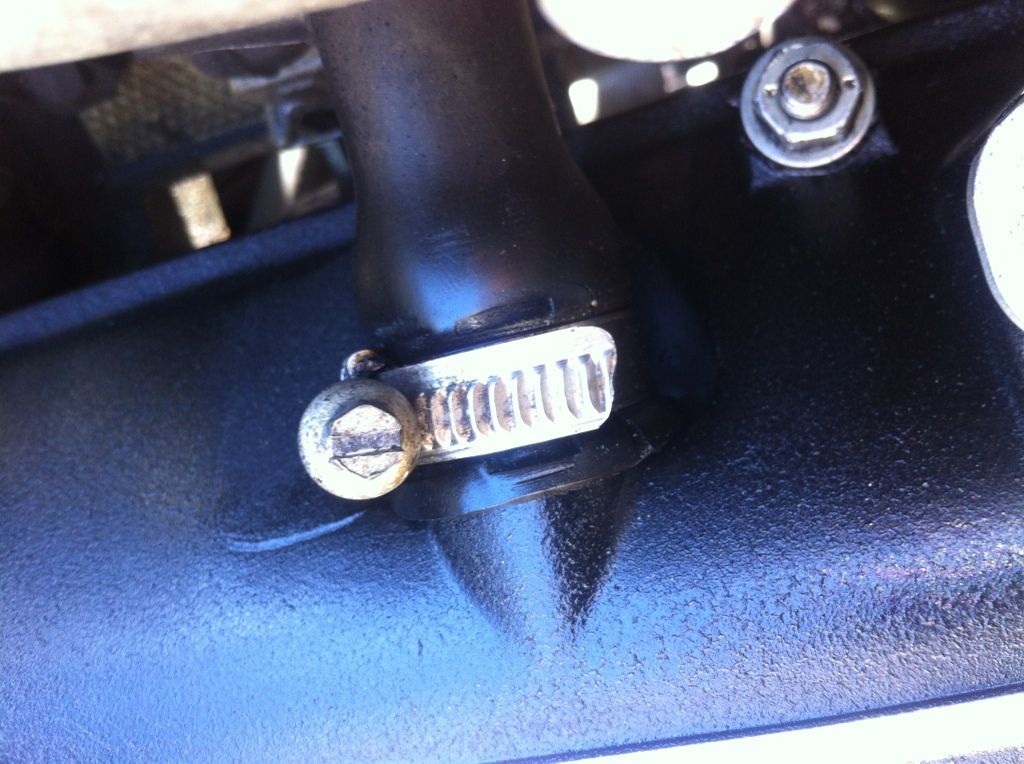
New overflow hose and OEM clamps
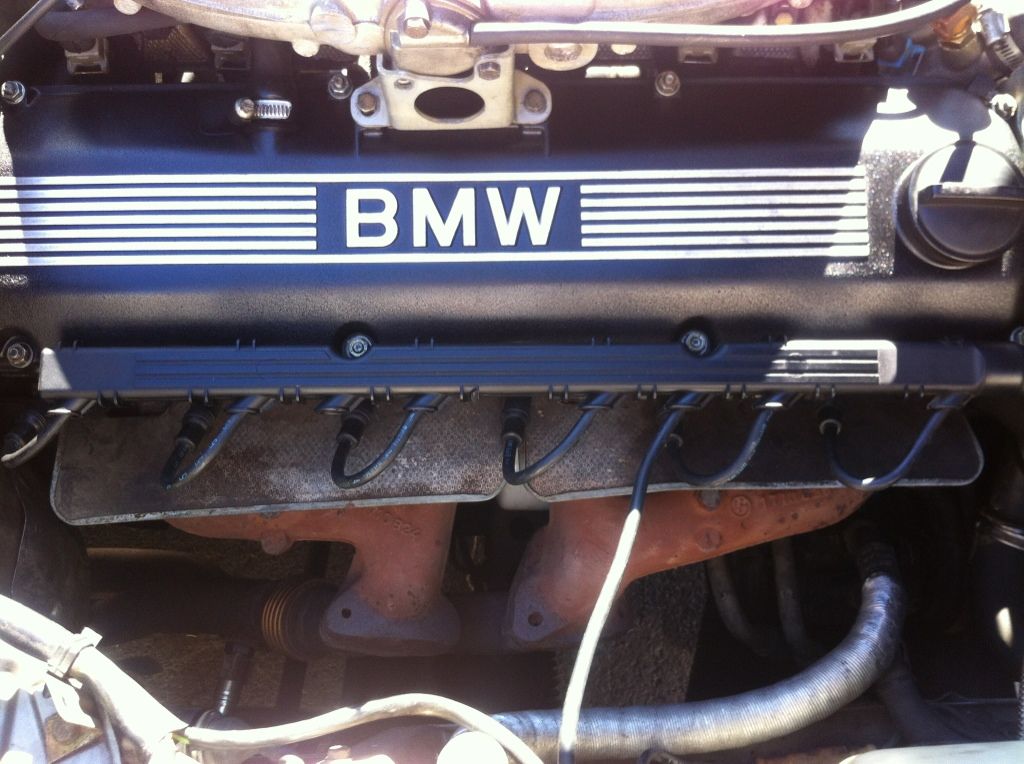
New unbroken spark plug rail (those little spark plug bastards are hard to correctly fit into the rail!)
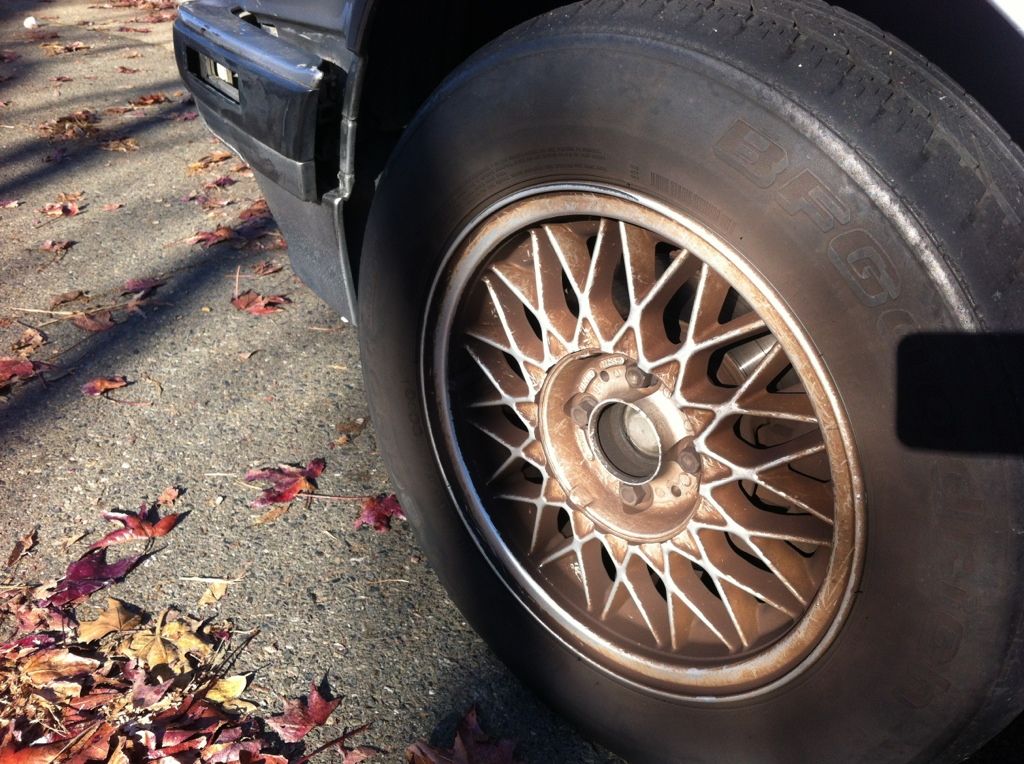
Never posted up a picture of how the wheels came out after a good detailing. They're a little dirty in the picture, but loads cleaner than the last time you guys saw them. Ended up going to a local part out and getting a good deal on 5 centercaps as well
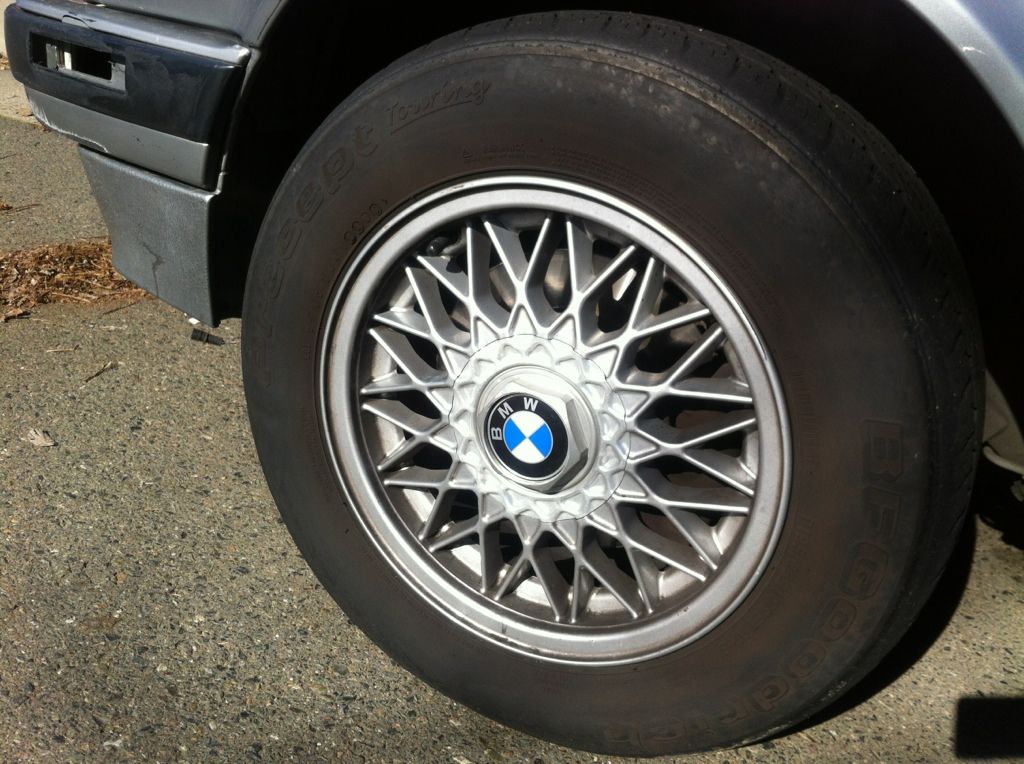
Which is loads better than
Poking around the engine a little more has revealed the following:
Torn intake boot
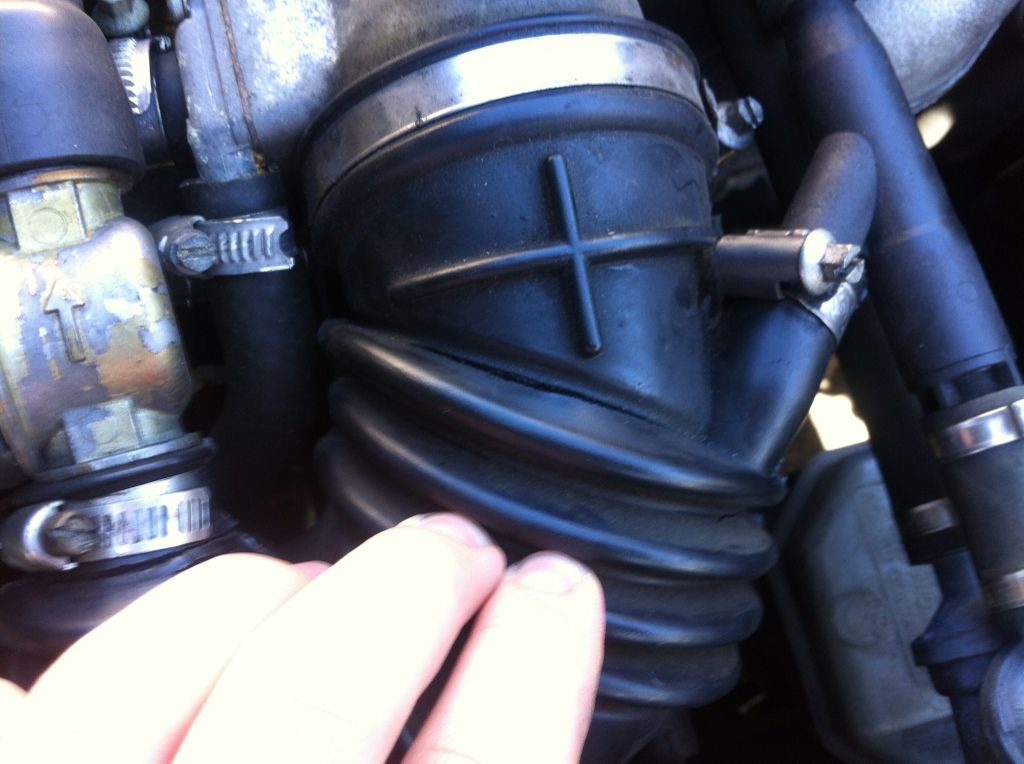
Bad breather hose
Parts already ordered and on the way. As the car sits now, it is not being driven; I want to fix the timing belt and water pump first before I drive another mile with this thing. Just tidying up loose ends here and there and getting the small things done for now. once all the parts arrive, I'll take a day off to tackle all my maintenance at one timeLeave a comment:
-
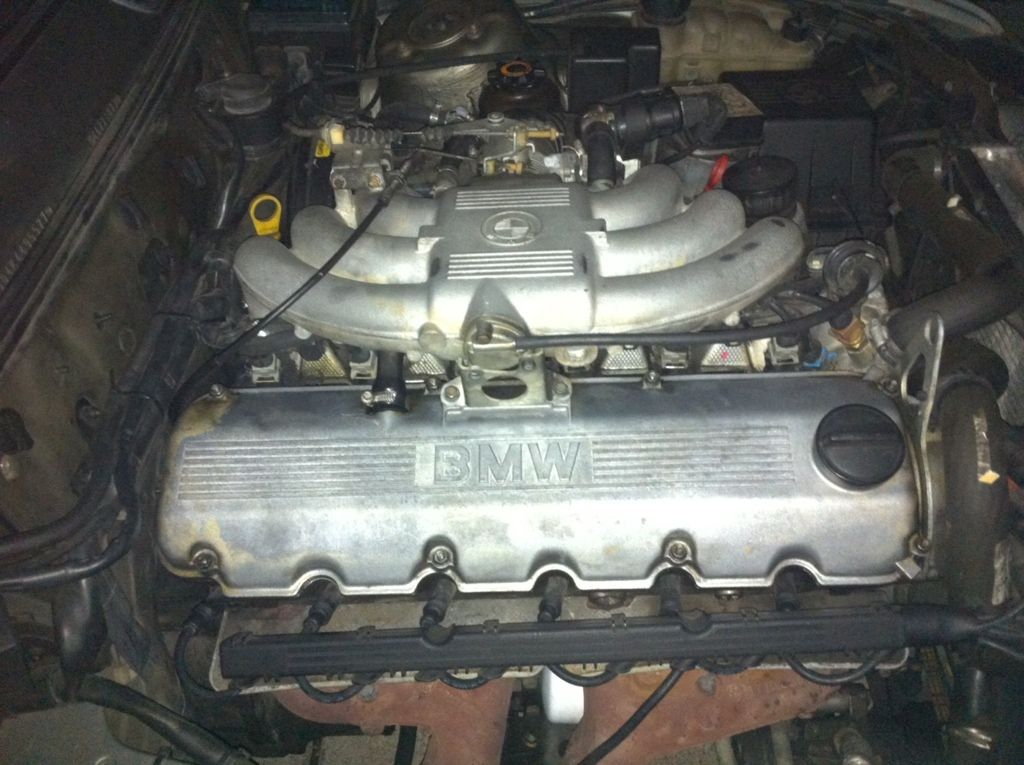
The valve adjustment didn't do much on power, but for daily running it did great; it runs a lot smoother now, and not having valve lash while driving is so much more comforting
New water pump hasn't gone in yet; I have a box of parts that have been sitting for about a week now. I'm putting it off waiting for the last bit of parts to arrive. Planning on doing timing belt and everything while I'm in thereLeave a comment:
-
valve cover looks great! Did you get the new water pump in? How is it running after the valve adjustment?Leave a comment:
-
I used a special engine paint that was rated to 500* and needed to be baked before curing. Tossed it in the oven for about 20 minutes so that the rest of the chemicals could bake out and the wrinkle effect would progress
As for the floormats, I'll keep my eyes peeledLeave a comment:
-
Nice progress Joey, btw did you make sure to bake that wrinkle finish cover?
Once they hit a certain degree of heat, they tend to chip a little if they weren't baked properly.
Looks good otherwise... What's next? and a little request for ya, if you come across another set of floor mats in the same condish, please hit me up., I will take them.Leave a comment:
-
Ladies and gentlemen! Ah, who am I kidding, we just have gentlemen
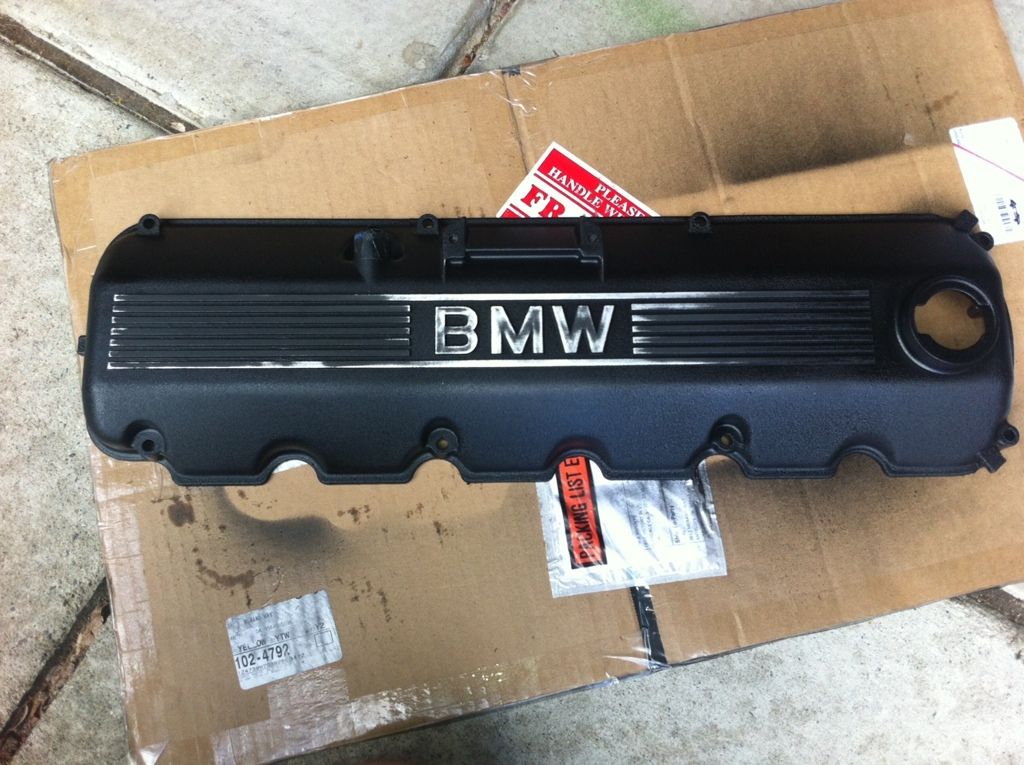
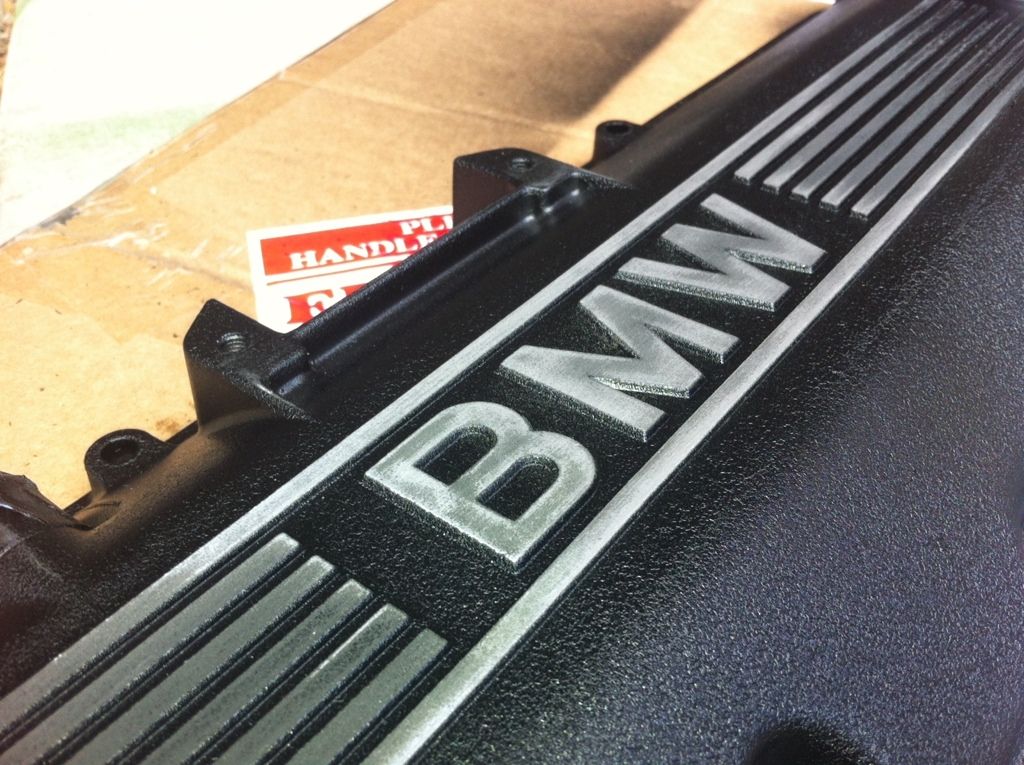
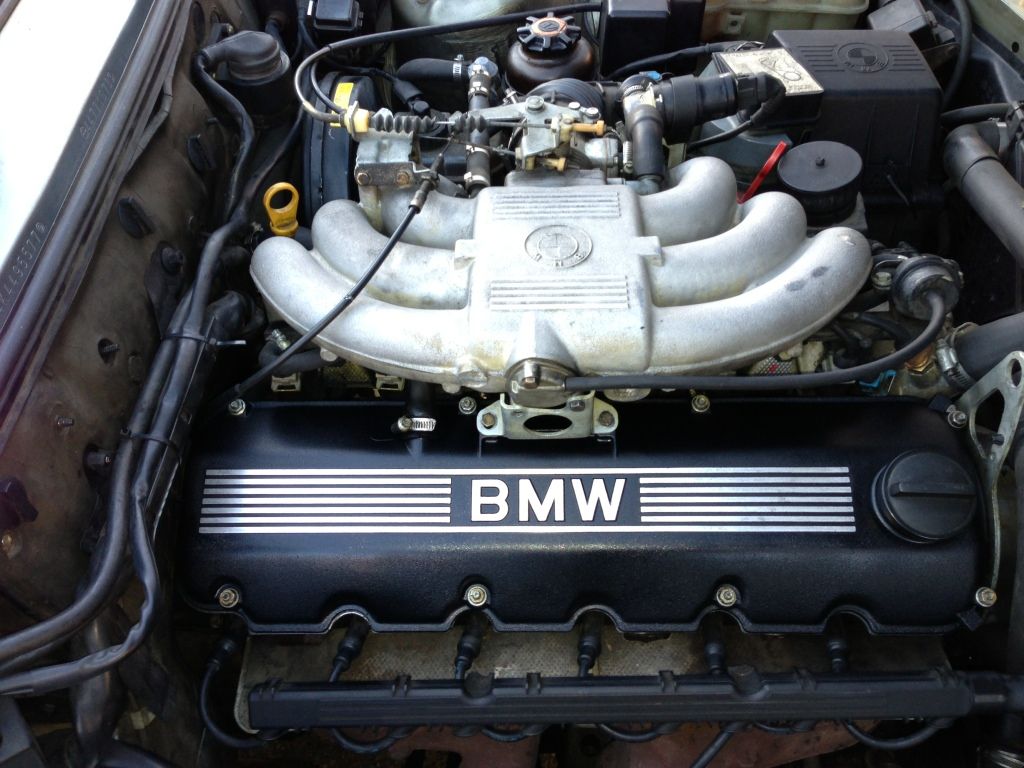
Only ever seen it in pictures, but now seeing a wrinkle black valve cover in person, I really like how it looksLeave a comment:
-
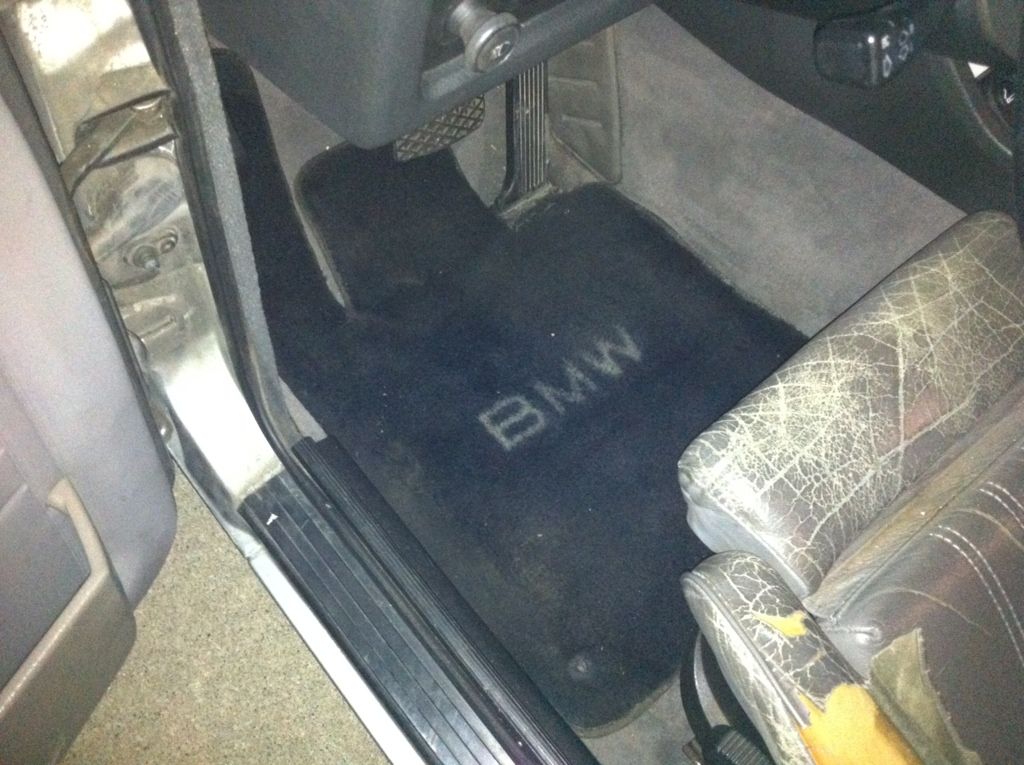
Found some sweet BMW floormats at the junkyard last trip
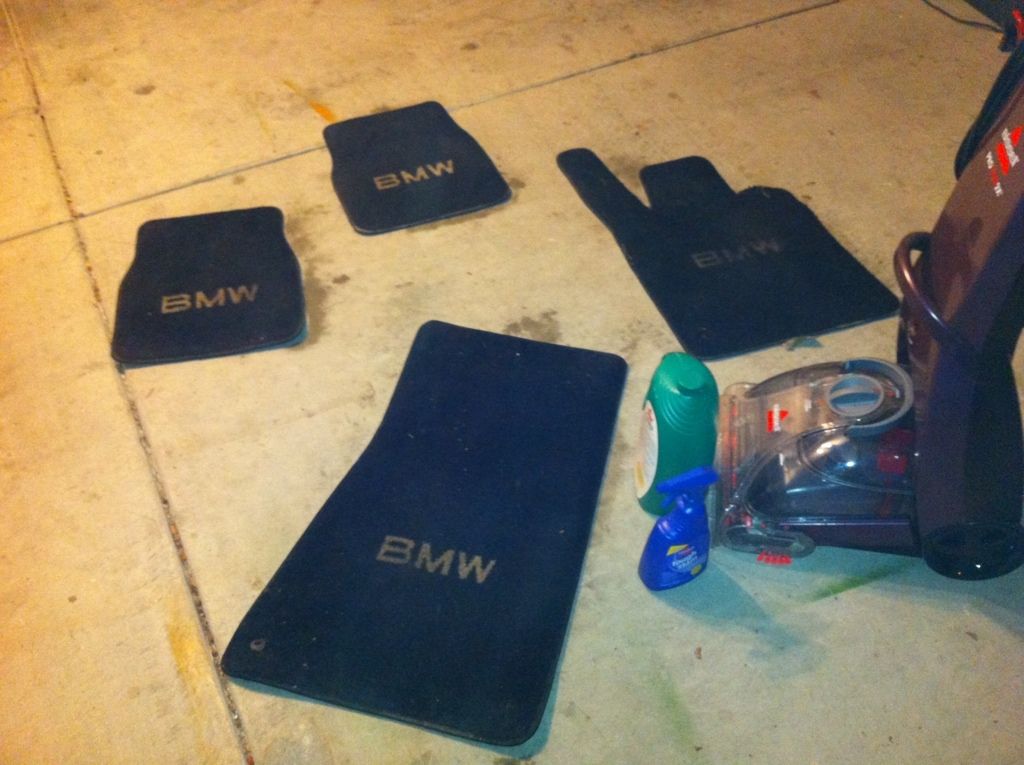
I think they cleaned up pretty nicely!
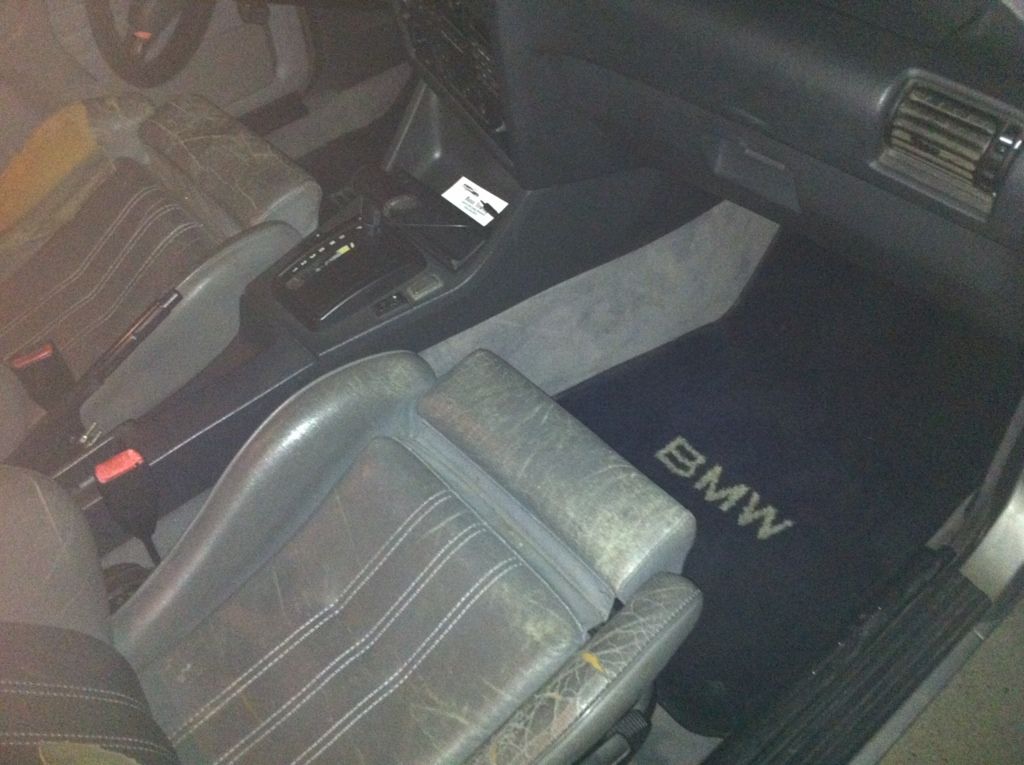
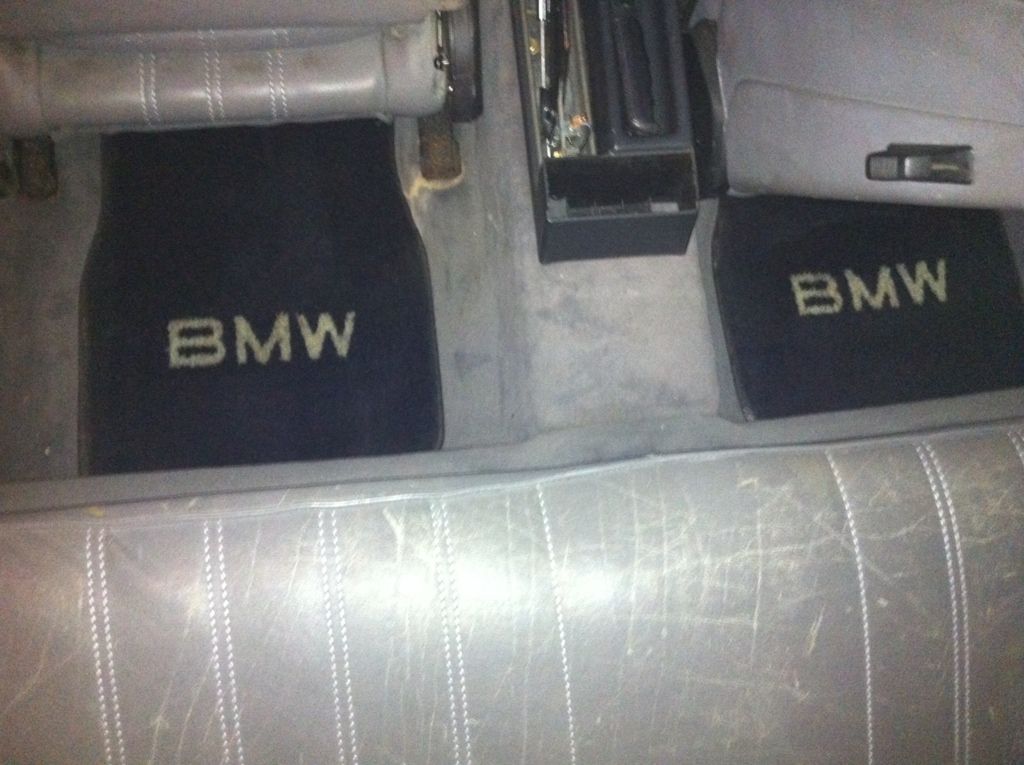
Keeping with the whole factory option theme; slowly accumulating all the awesome 90's nastolgia items one peice at a time
Oh, and I'm just going to leave this here for future developments
Foud out my water pump leaks a little bit; guess its that time again!Leave a comment:
-
Valve adjustment today;
Valve cover gasket in the mail; surprise on its way as well; ordered a few things that I've been wanting for a while nowLeave a comment:


Leave a comment: