
This is a mini update
Decided to get crafty once more yesterday and upgrade my original e30 key light to work with a white LED and more powerful battery. Wrote a decent DIY for anyone who wants to give it a shot
-
STUFF KEEPS HAPPENIN!
So, my OBC light was burnt out. And I'm pissed when it's burnt out.
Wanted to order one from the guys of the forums, but I'm too impatient to wait a week for turnaround now that I had my OBC fully functioning.
So, I had a minty junkyard OBC I wanted to swap in with a light bar core...
Guess what happened?
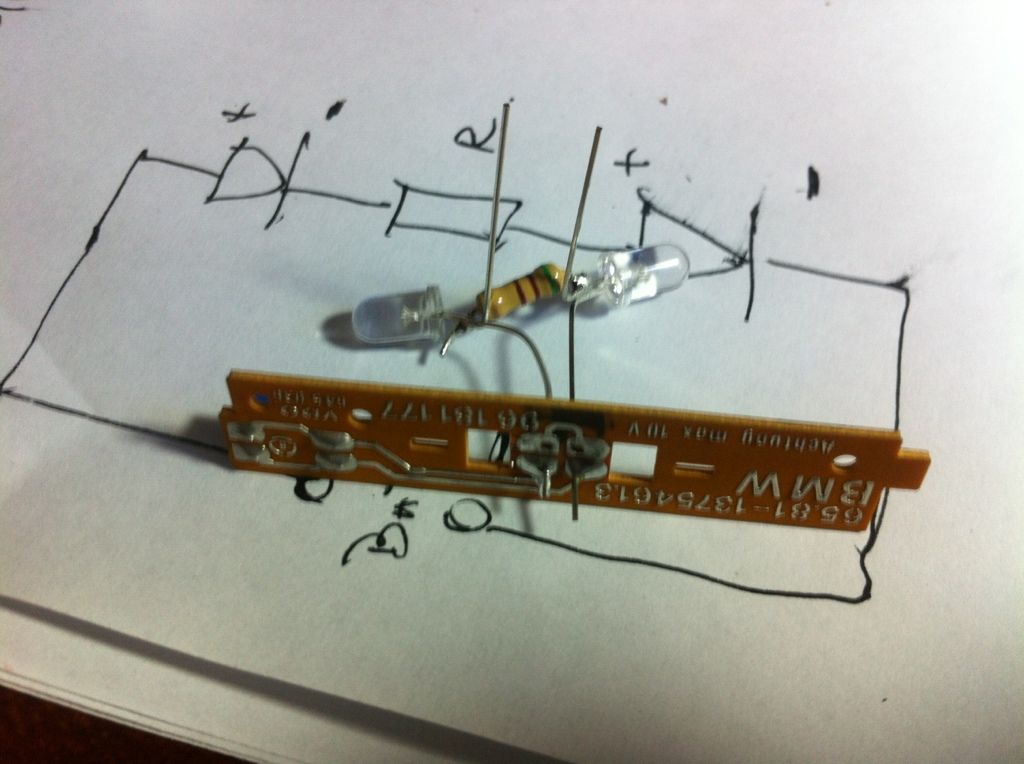
My dad, AKA Main Electrician Bawuce, drew me up a semantic of the stuff (don't ask me what it means, I still don't have any idea lol)
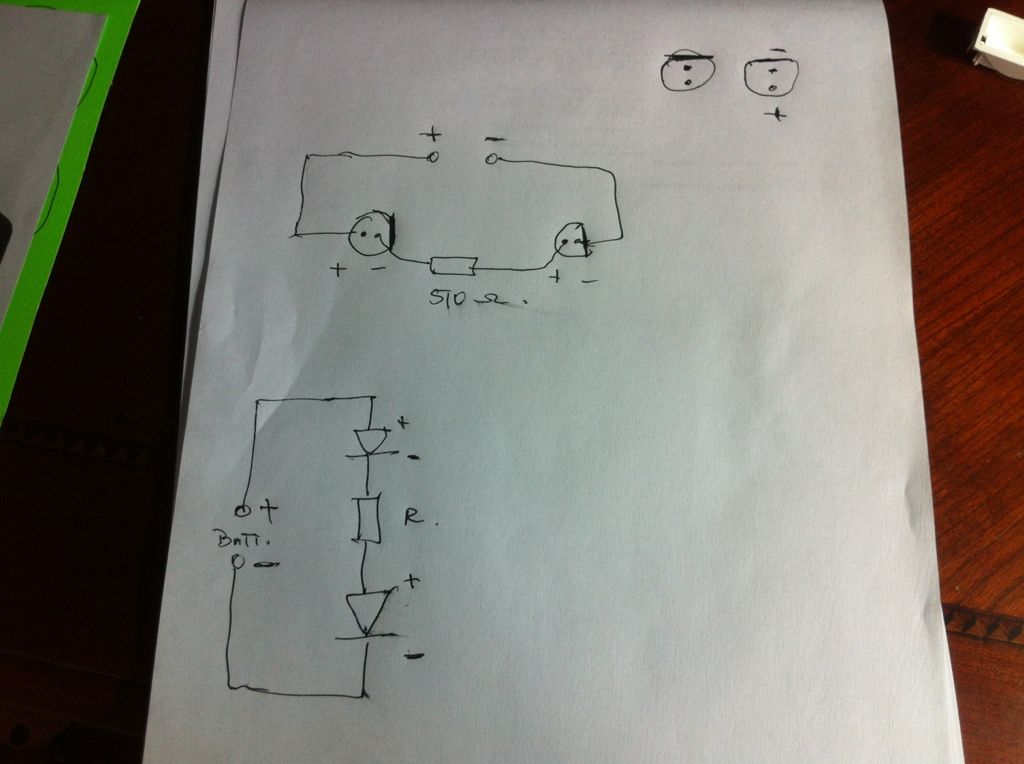
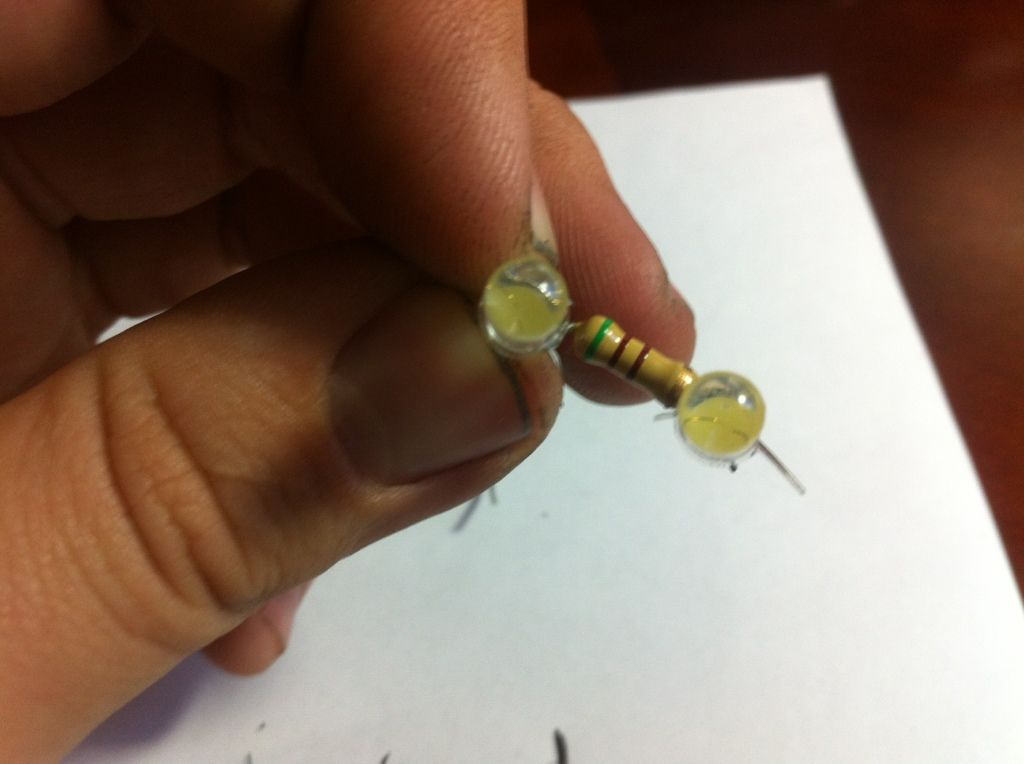
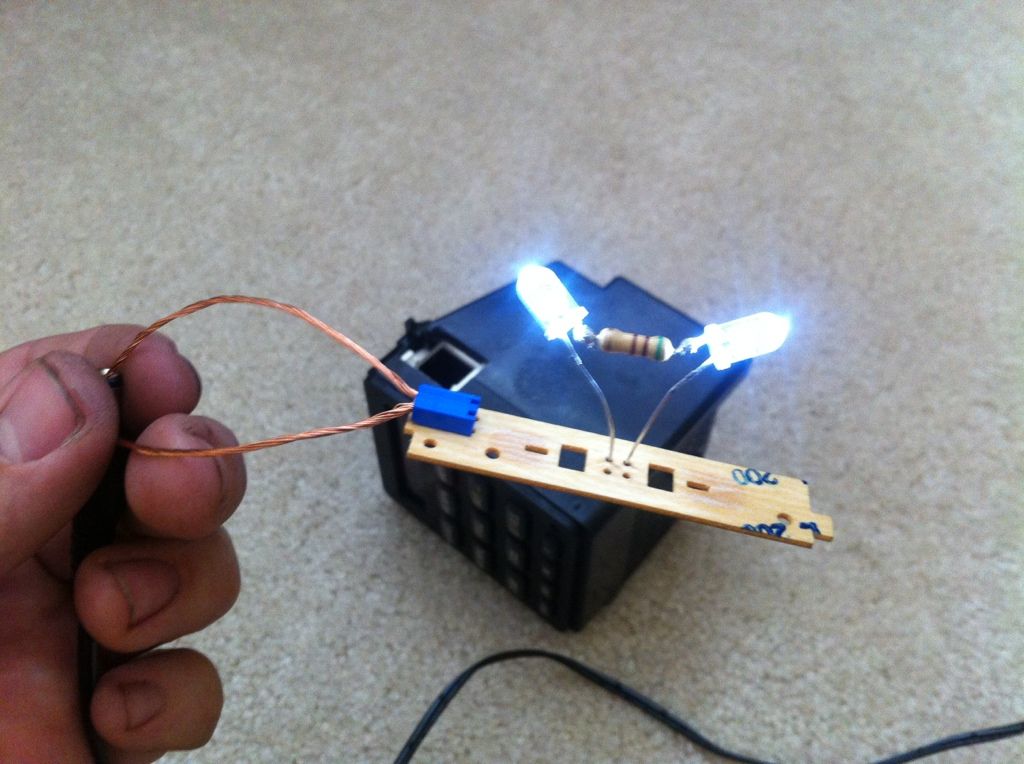
He said that because of the 2 7.5V LEDs, any resistor under 500 ohms would cause it to fry over a long period of time and burn way to bright. I dont want to change this anytime soon, so I listened to him. My 510ohm resistor would dim the LEDs enough to match stock lighting perfectly
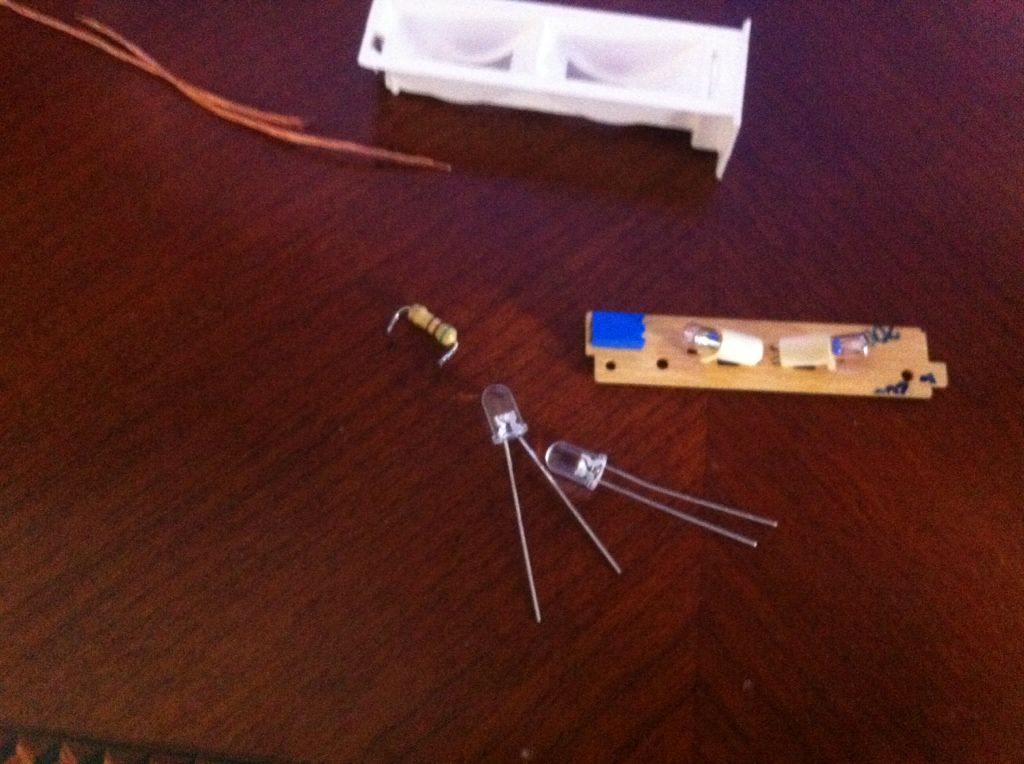
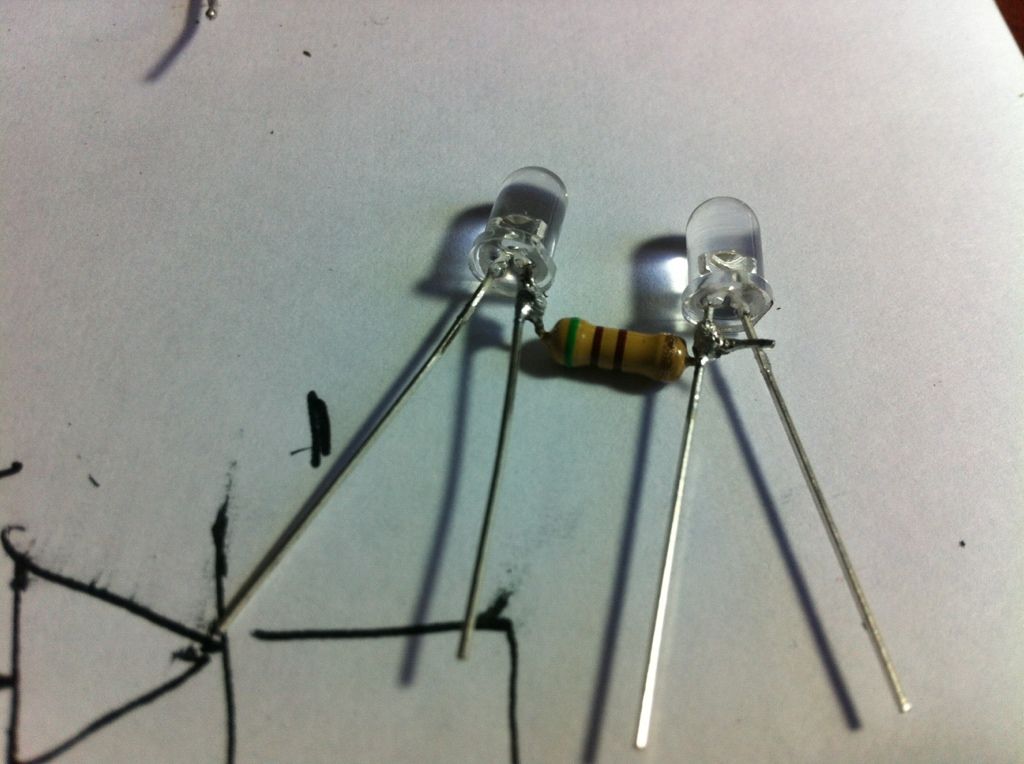
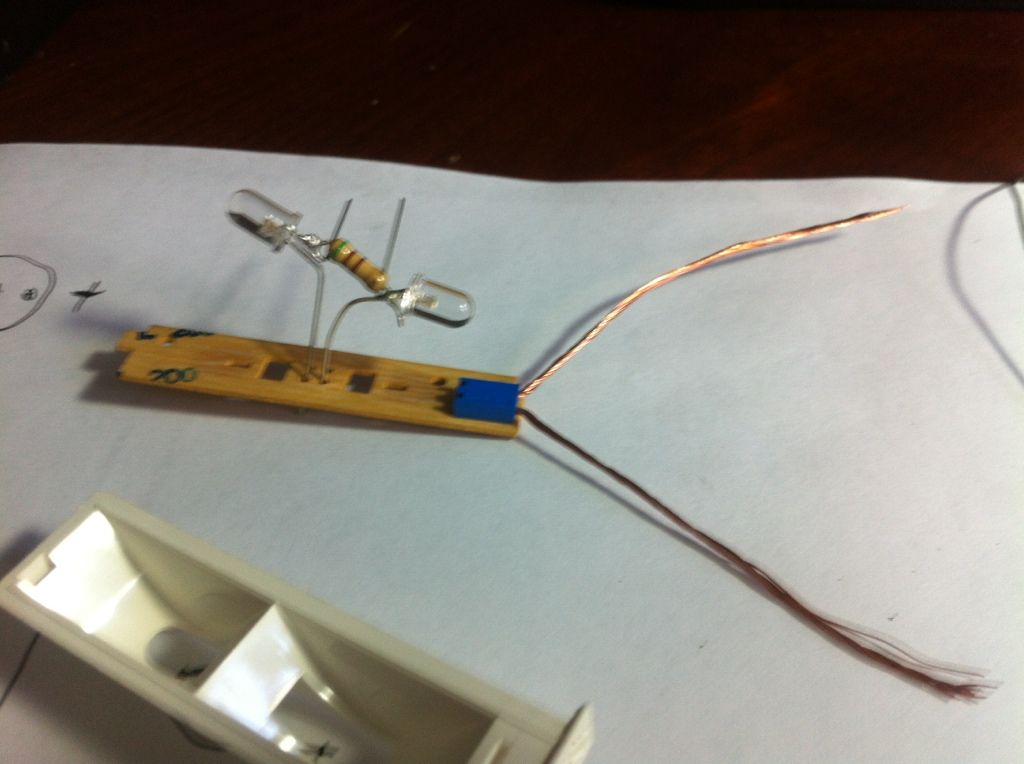
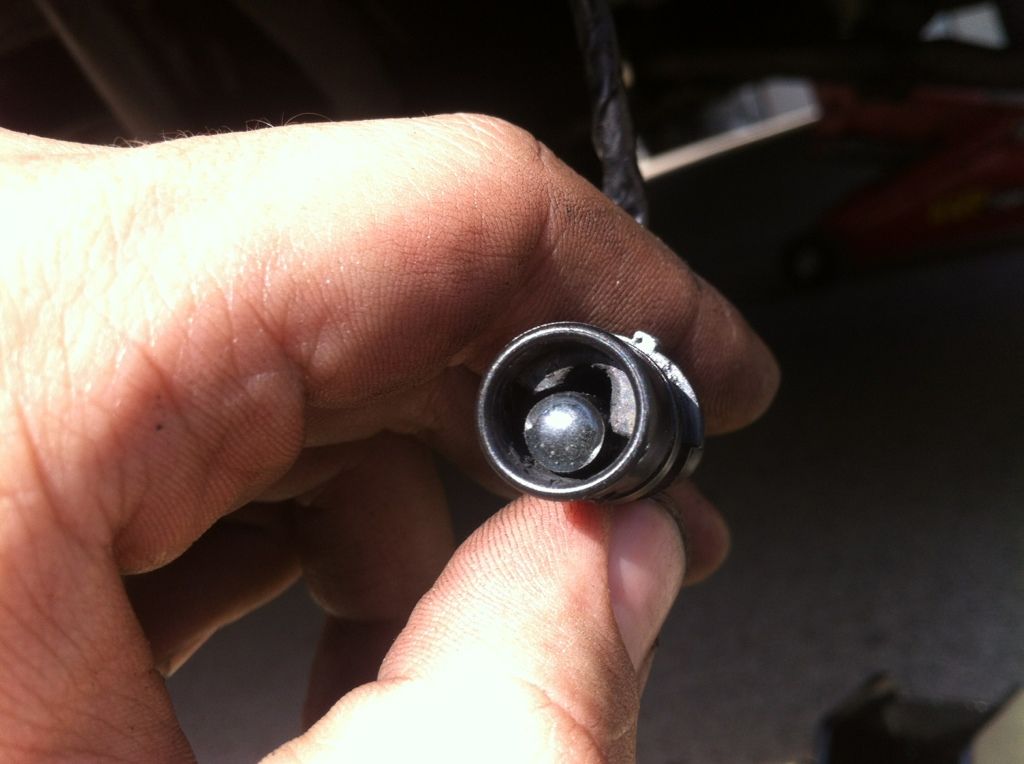
So I starting stripping
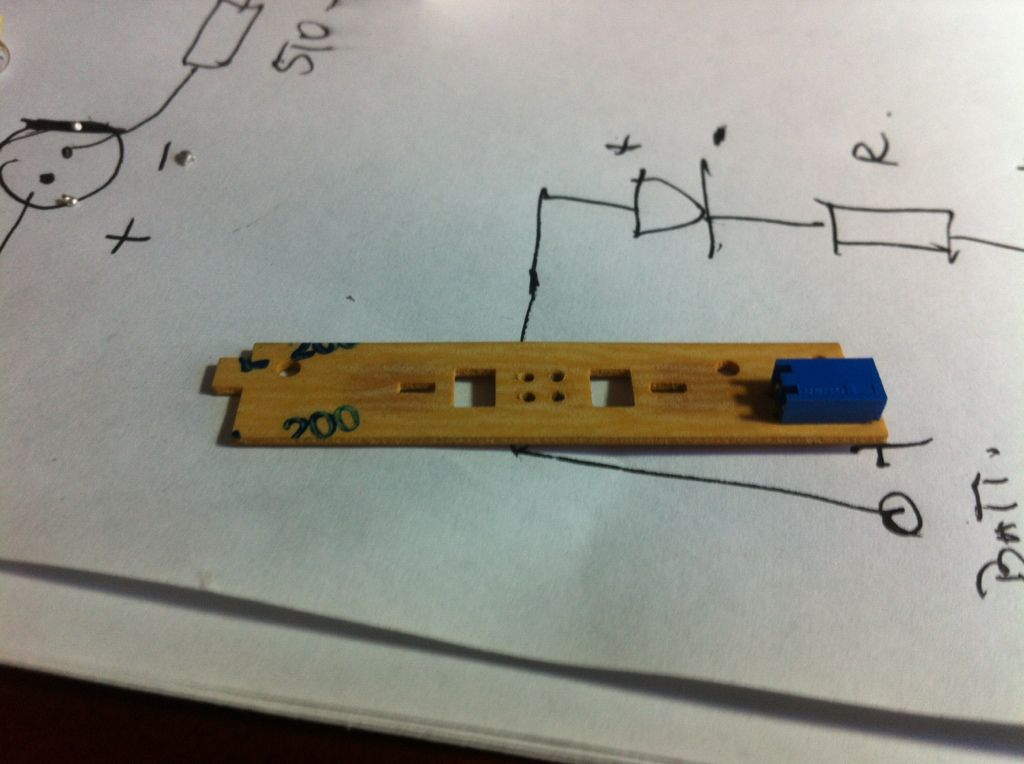
Soldered up the main module. As you can see, the white/cream color in the middle means the LEDs are white
Gettin it DONE!
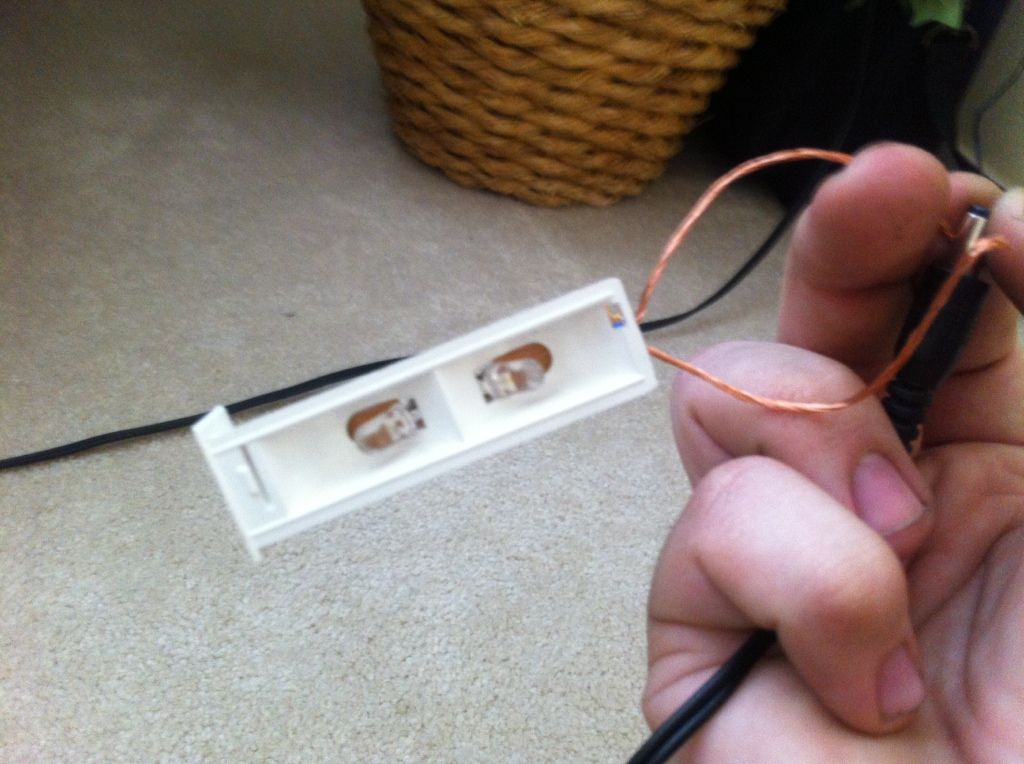
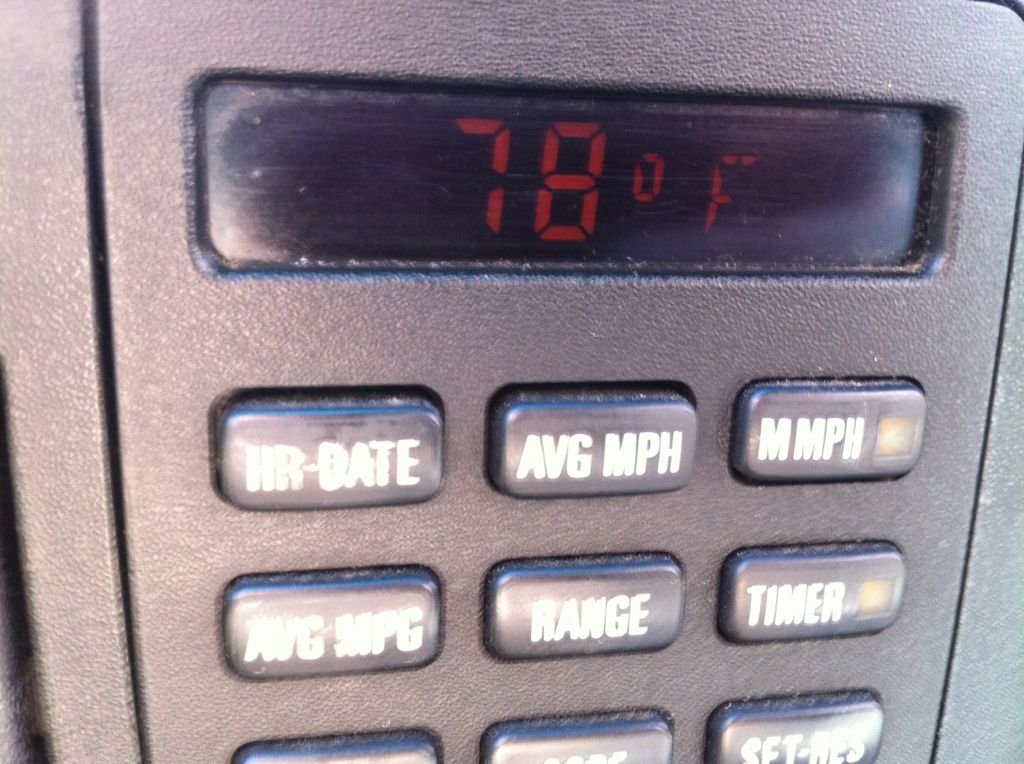
Ghetto testing, but it works
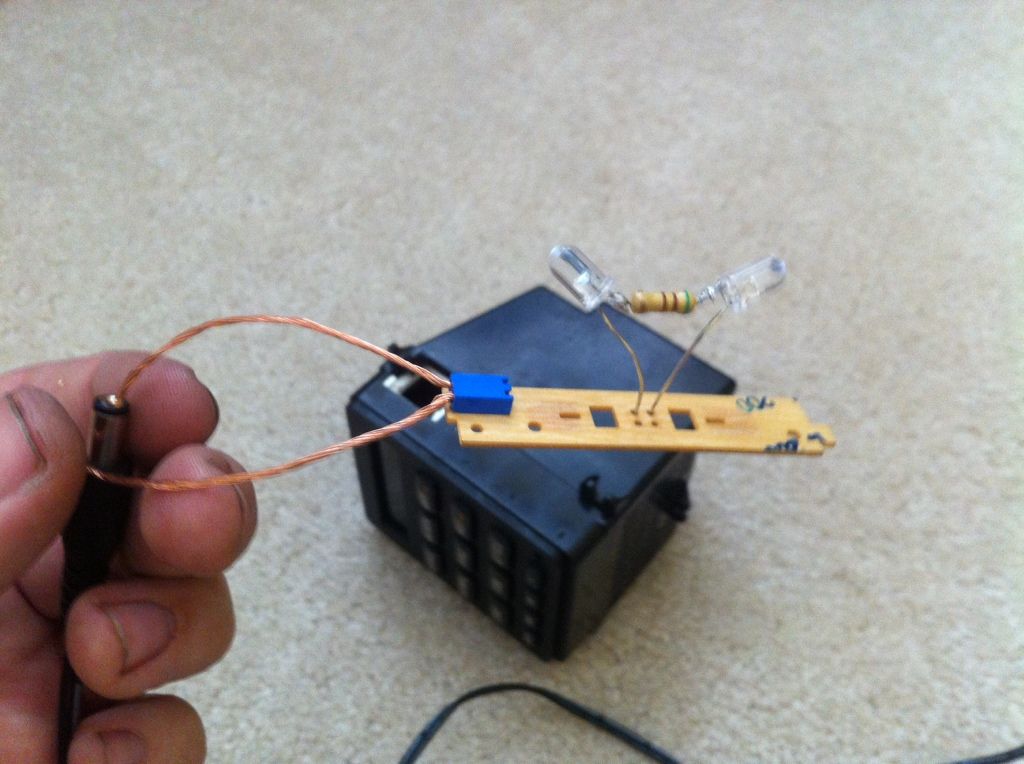
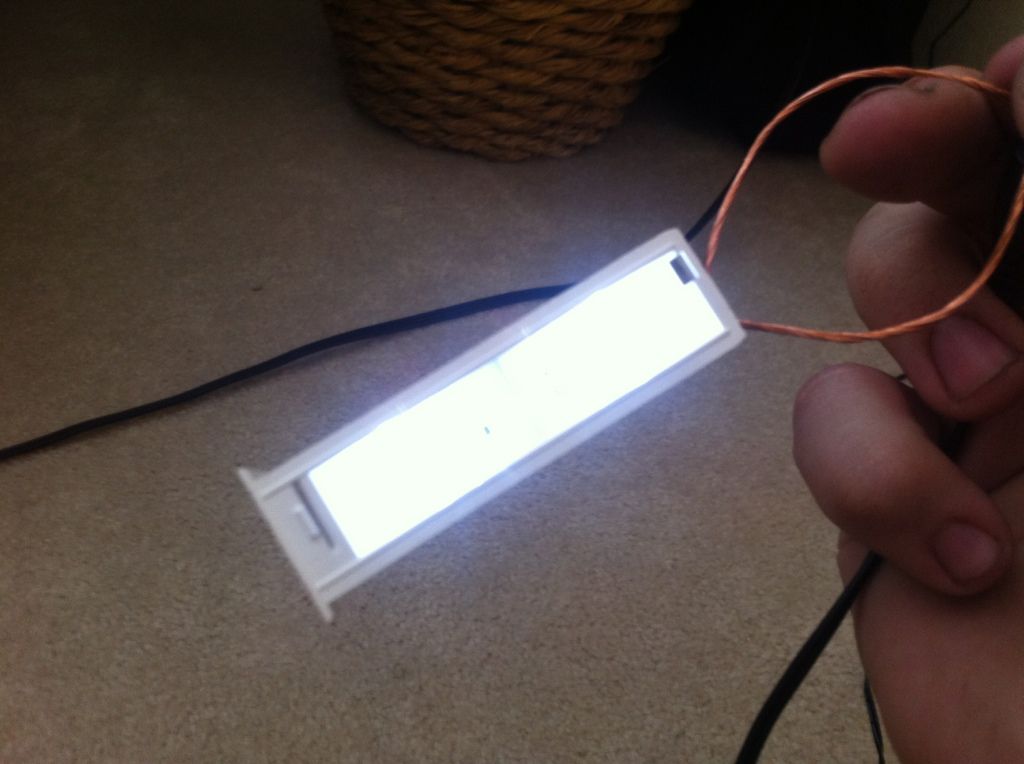
IT'S... ALIIIIIIIIIIIIIVE...!!!
Final product
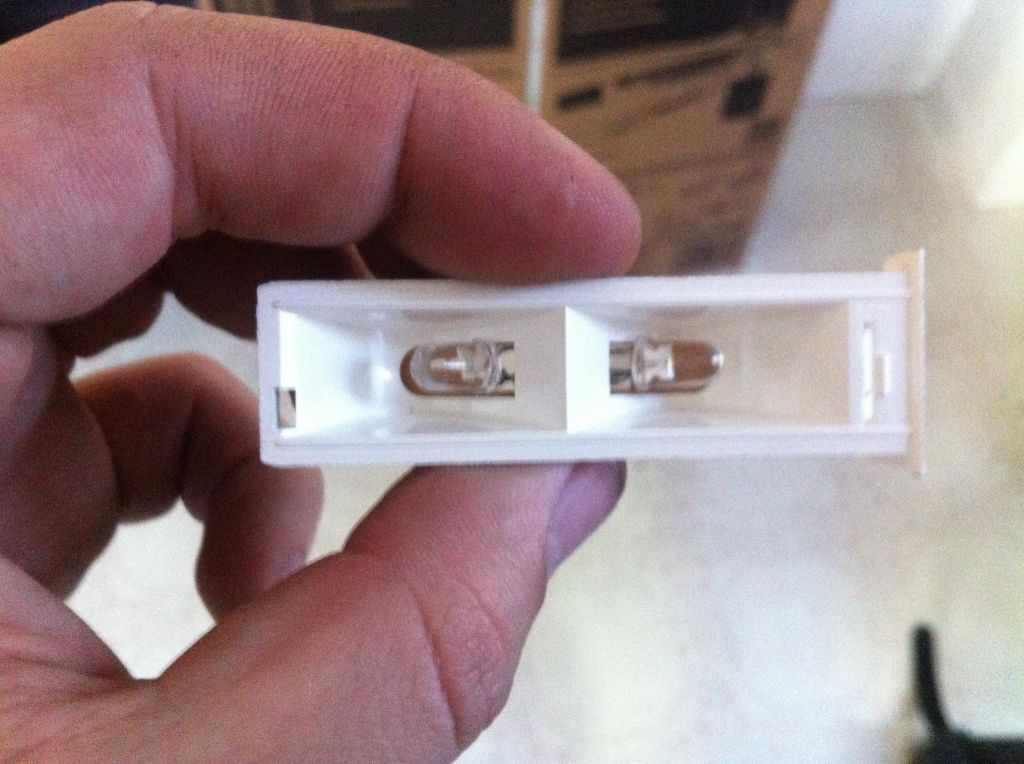
Once more for good measure
Bright!
More than pleased, came out even better than I expected

All buttoned up + Minty OBC swap

Leave a comment:
-
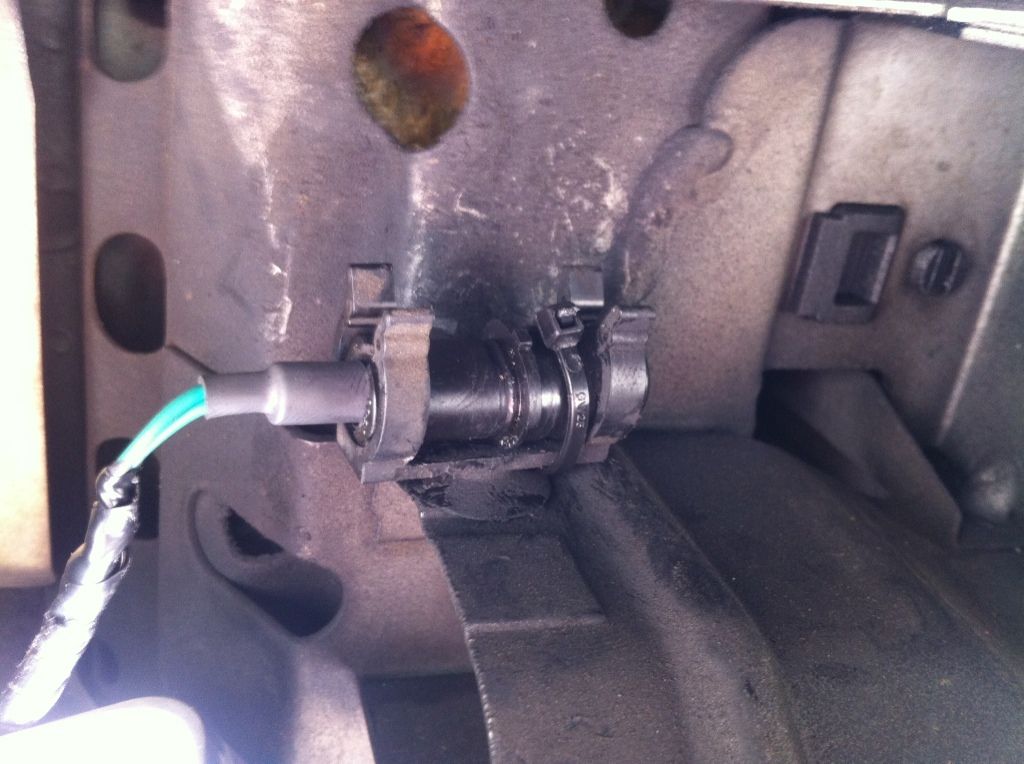
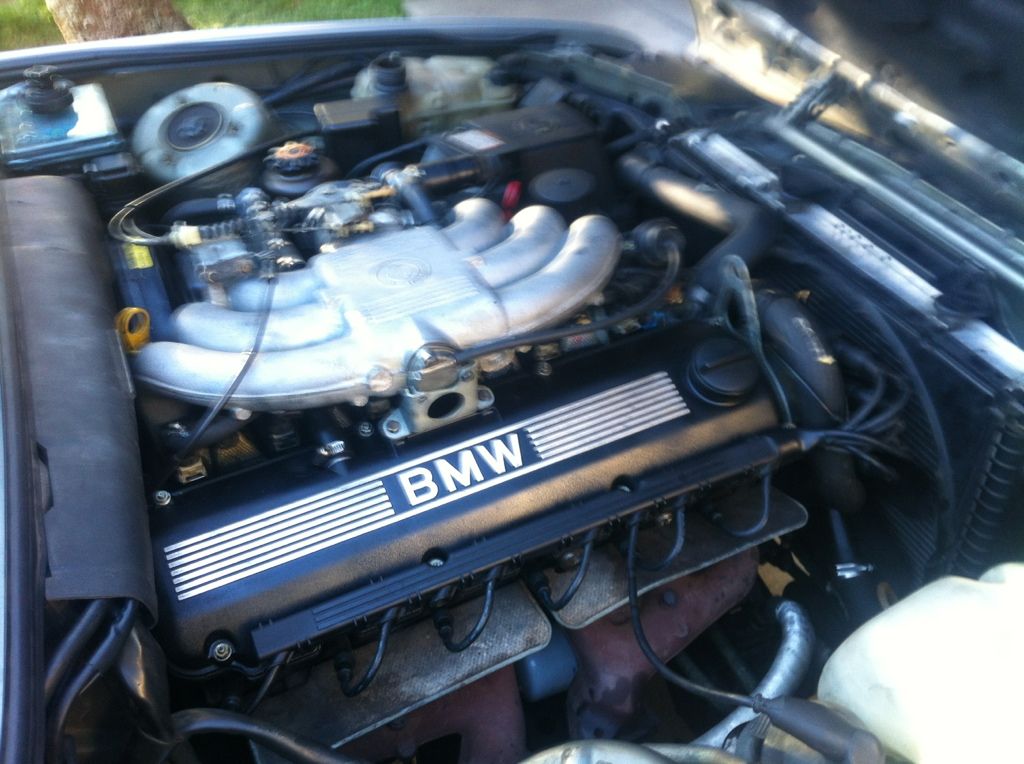
So finally got around to installing the Red Rocket Labs (George Graves, AKA e30 Master Electrician) temp sensor
Needless to say, I was very pleased with the results:
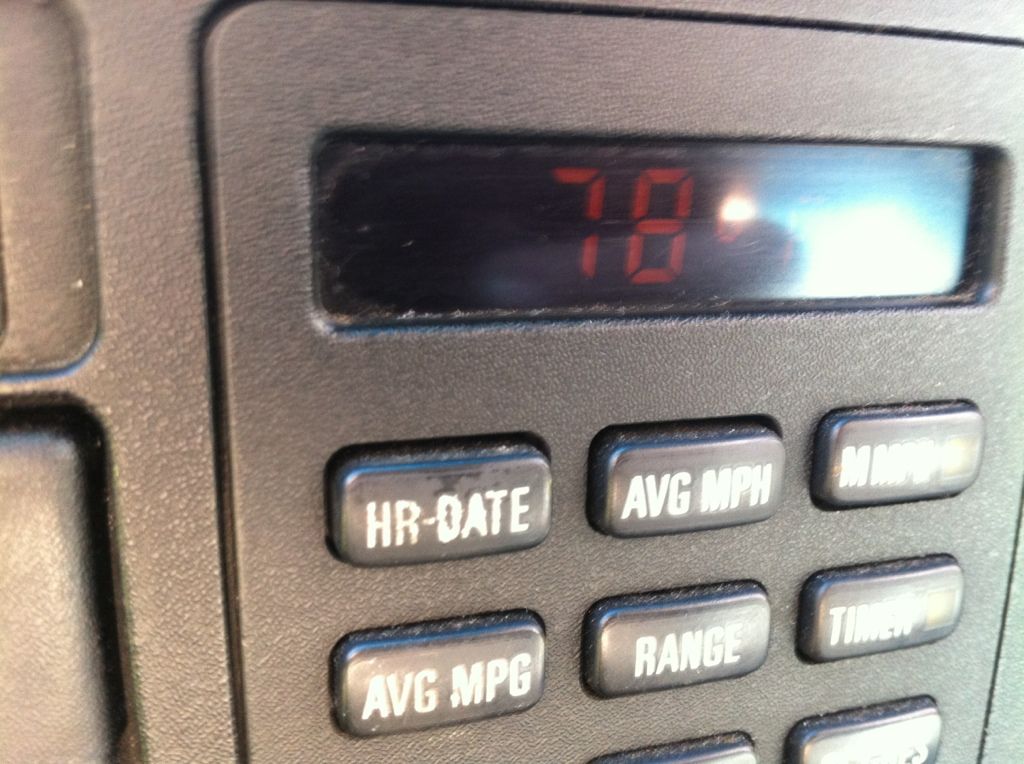
But, I couldn't get over the way it.. "looked"
That's no fault on Greg or the Company, it functions as it should, but I wanted a more OEM look. I still give their product a 10/10
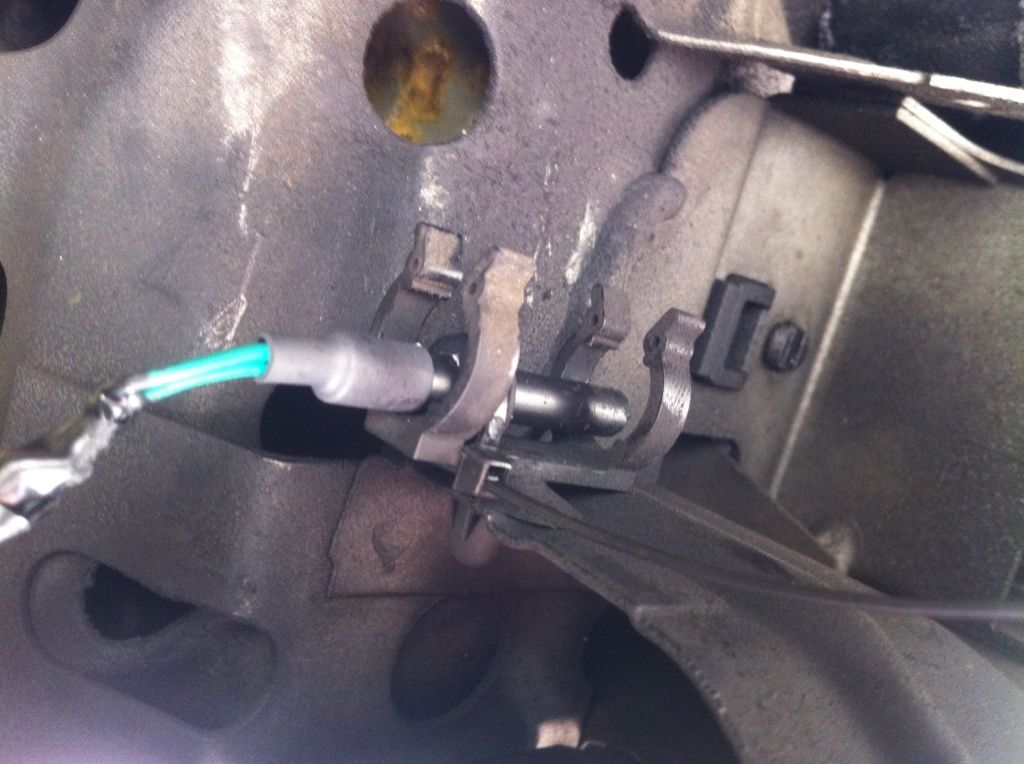
So I did something about it
Gutted out the existing wires on the old sensor, and drilled out the inside rubber with a power drill and vice
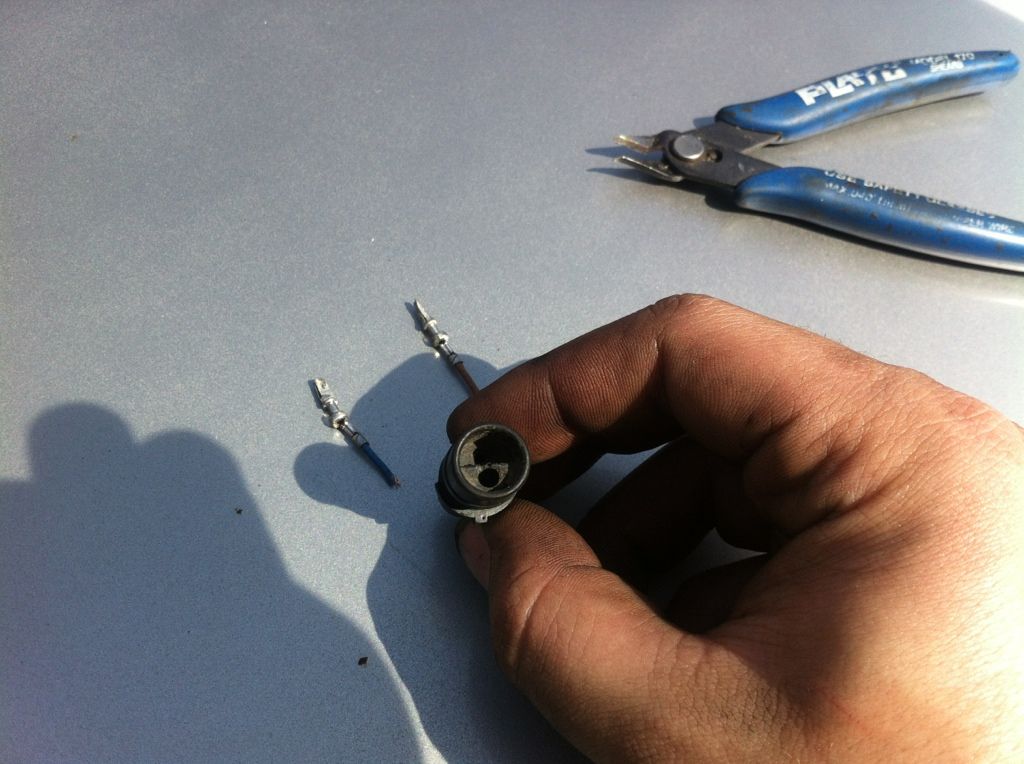
I like how it came out, fit like a glove
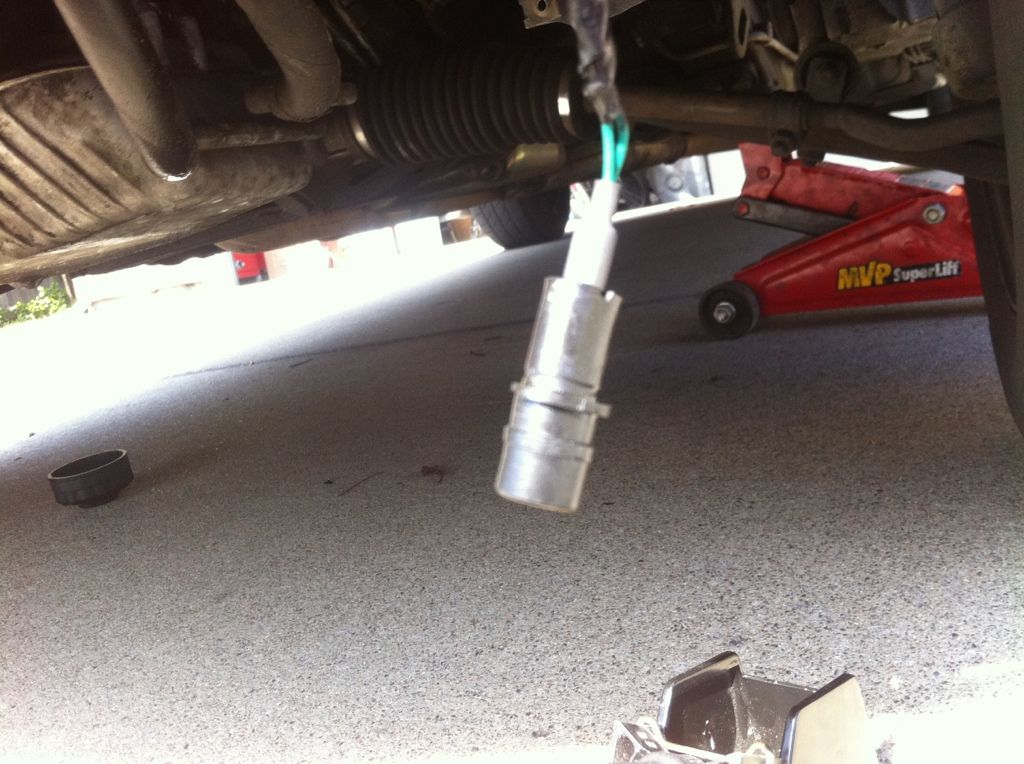
The end sticks out just a hair, but it still fits within the whole rubber boot of the old sensor
And it didn't interfere with any of the readings
"looks OEM, nothin to see here folks!"
EDIT
So it turn out what I THOUGHT was the temp sensor was actually the temp sensor connector.
I've messed up, but will enjoy the working temperature gauge until I can piece together the parts for repair. So far, all I need is the brake duct and I can troubleshoot from thereLast edited by JinormusJ; 02-22-2013, 04:26 PM.Leave a comment:
-
So I've had this box from BMA sitting for the better part of a month

All sorts of goodies inside
Opted for the more expensive good stuff as well cause well.. It is an iS ( )
)

GRAF Water Pump
INA Timing Belt Tensioner
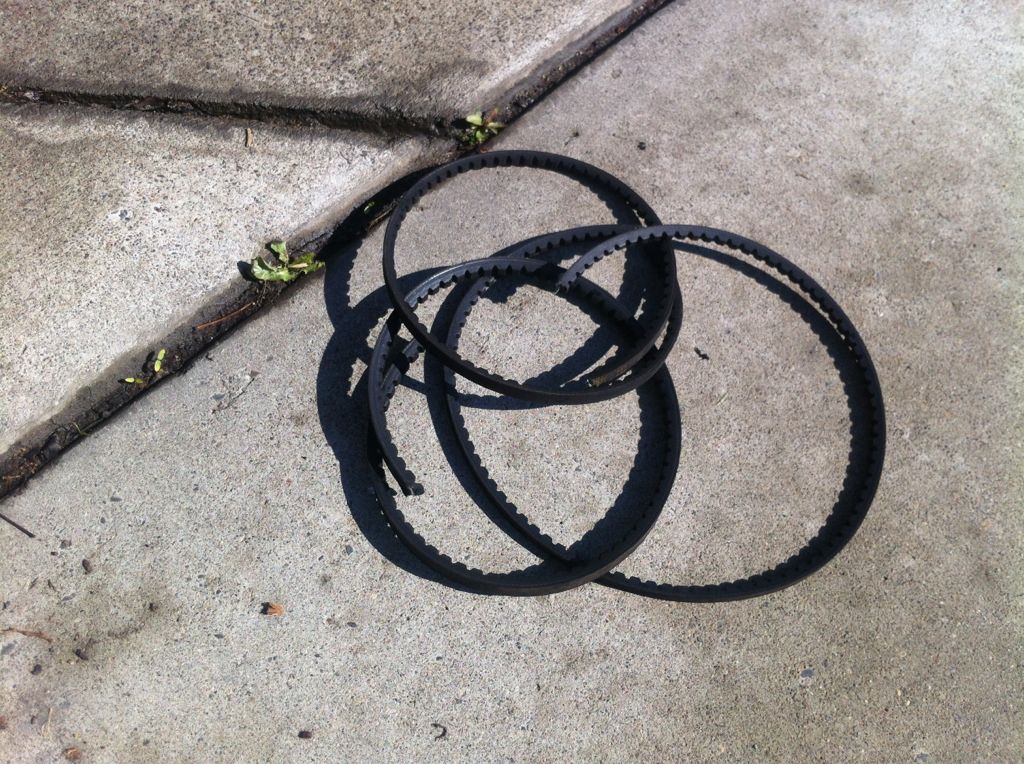
Continental Belts (Timing, AC, Power Steering, Alternator)
Behr 80* Thermostat
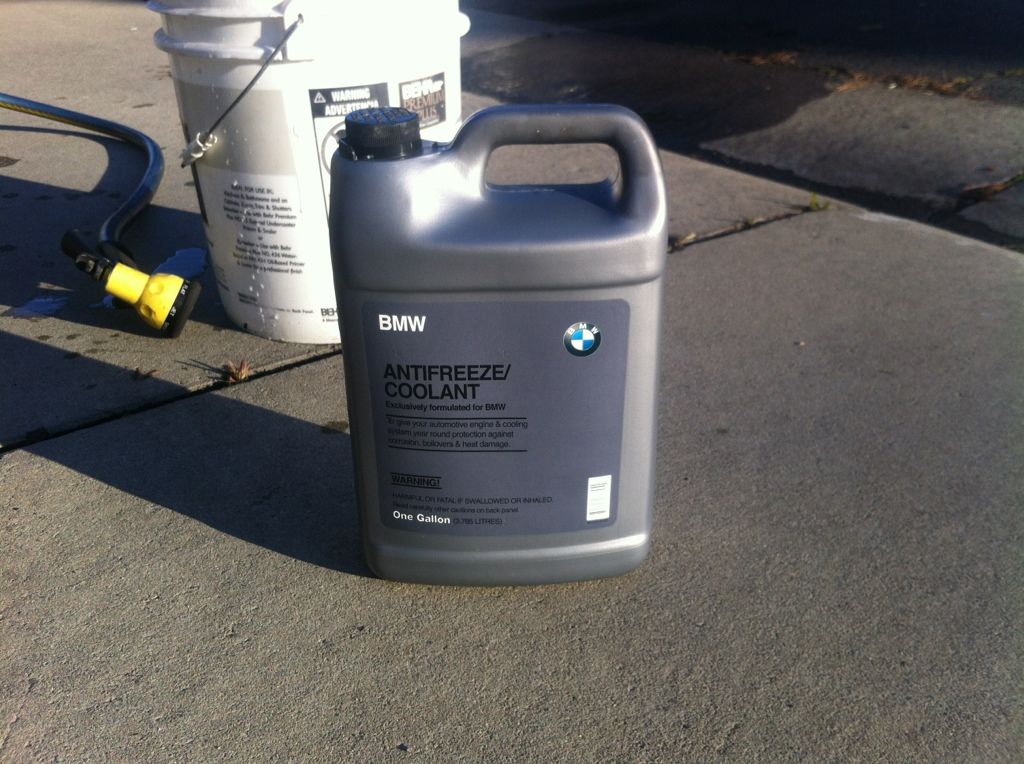
Genuine BMW Coolant
New OEM Breather Hose
New OEM Intake Boot
Red Rocket Labs OBC Temp Sensor
Bosch Spark Plugs
(Installing the last two at a later time)
You guessed it.. IT'S TIMING TIME!
Rise and shine! (7:30AM)

Splash guard out.. FILTHY!

Hoses out! radiator out!

Belts out!
Mechanics, aka monkeys with wrenches, love to over-torque these dang fan clutches. WHERE THE HECK IS IT GONNA GO??? It has a reverse thread for petes sake!
This has happened to my last e30, so i followed suit like i did last time by ending up removing the whole water pump assembly with the fan clutch still attached, then taking it off outside the engine bay

Some mental swearing, brow throwing, and about 30 more minutes later, VIOLA!

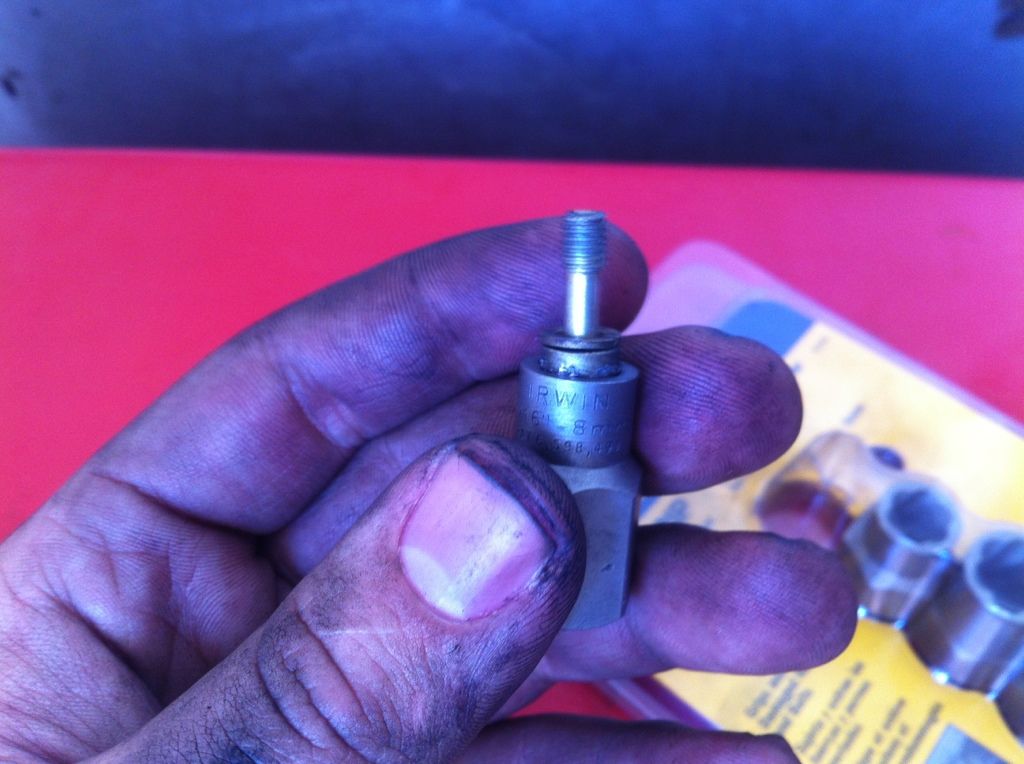
Then I stripped those dang Allen key bolts on the rotor :curse:
Luckily, I had my extractor sockets that I ended up buying for my 5-speed swap when we stripped the starter bolts. Tools really do pay for themselves don't they?

Another 30 minutes later of hammering away in tight clearances
BADABING BADABOOM KACHOW BROWNCHICKEN-BROWNCOW
Cut 'er loose cap'n!

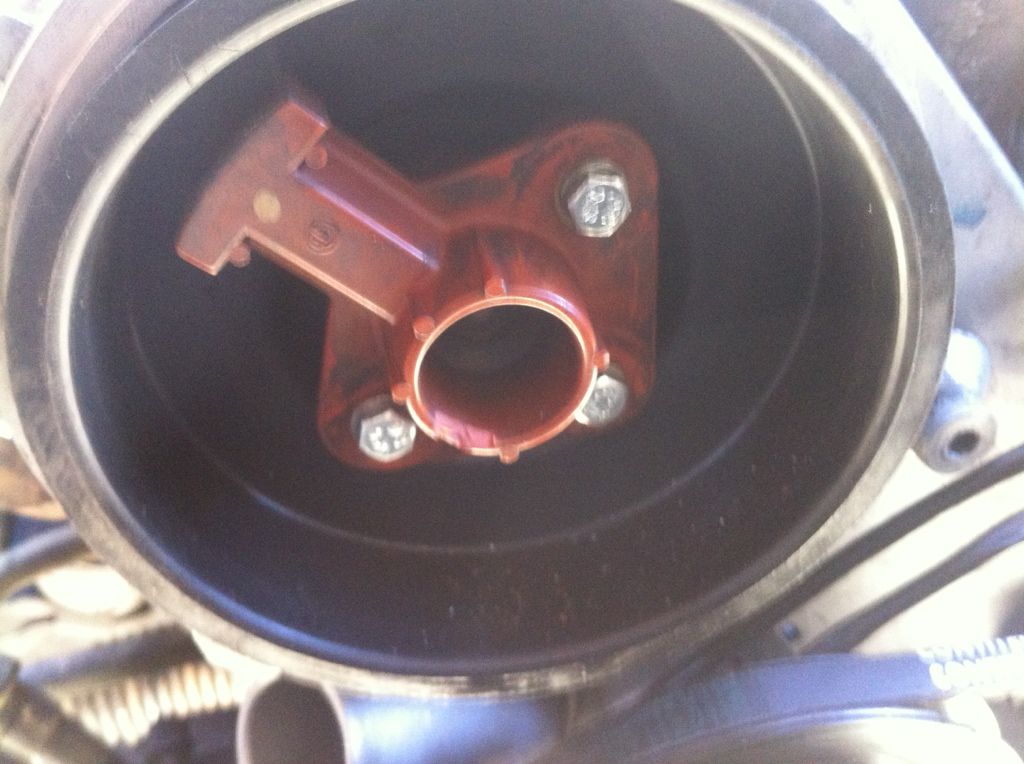
After that, everything went smoothly; timing belt n, tensioner in, water pump on, pulley on, bottom crankshaft on.
Then we got to the rotor. Had to custom grind some 8mm bolts I picked up at the hardware stor from down the street. By no means pretty, but better than those Allen key bolts. Screw you BMW; Screw you. :weak:

Perfect for when I have to replace that rotor soon
BM-Freakin-W Blue bling swag coolant
In it goes
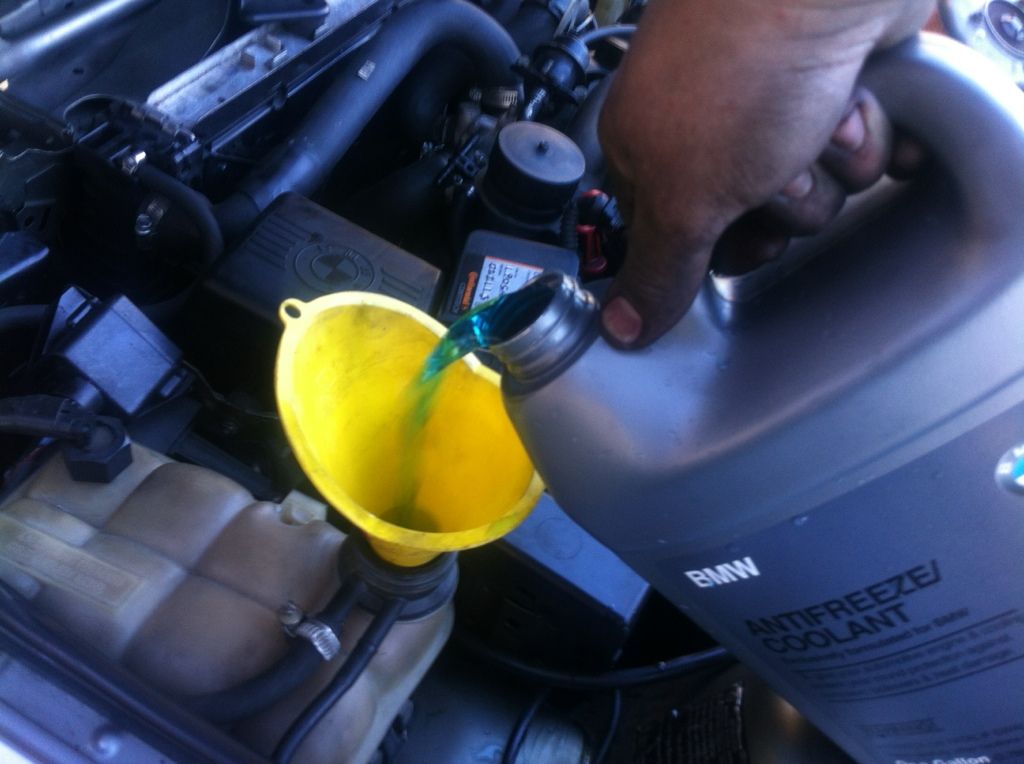
All buttoned up and ready for another 60k miles
Ending time: 5:57PMLeave a comment:
-
Love the project. Subscribed. Rehabbing one of God's chariots on its last leg is the most fulfilling charity work money can buy, and an IS to boot.Leave a comment:
-
cluster looks great!
looks like everything is coming together nicely.Leave a comment:
-
Been kinda busy with life, so I totally missed out.
Thanks for the heads up though.Leave a comment:


Leave a comment: