-
More suspension work
Cut/ground off the brackets for brake related wiring (removed the wires long ago)
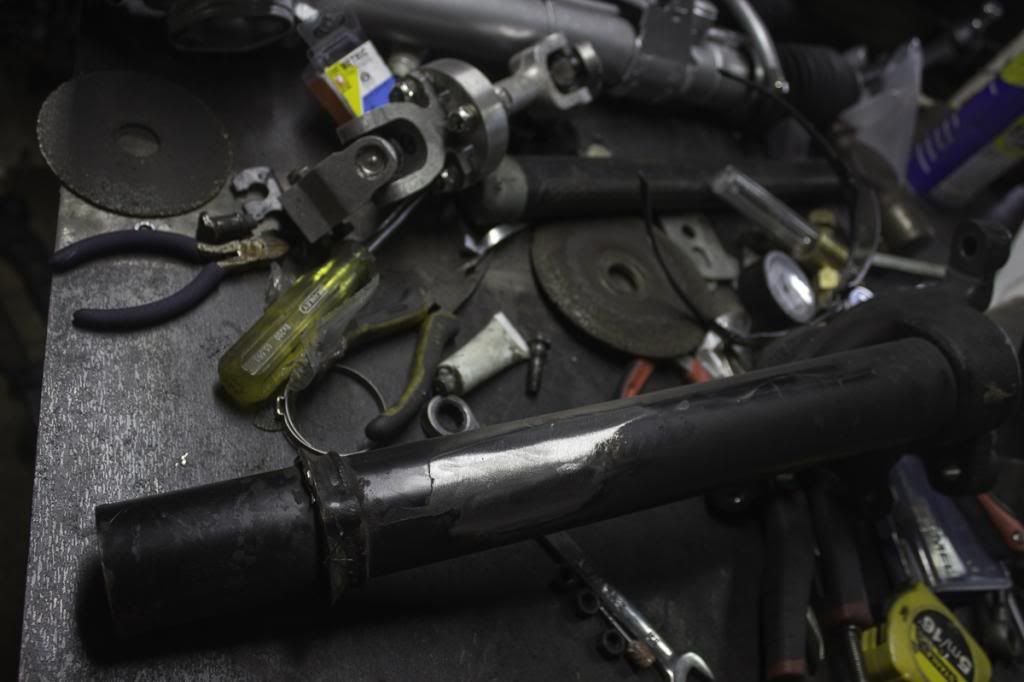
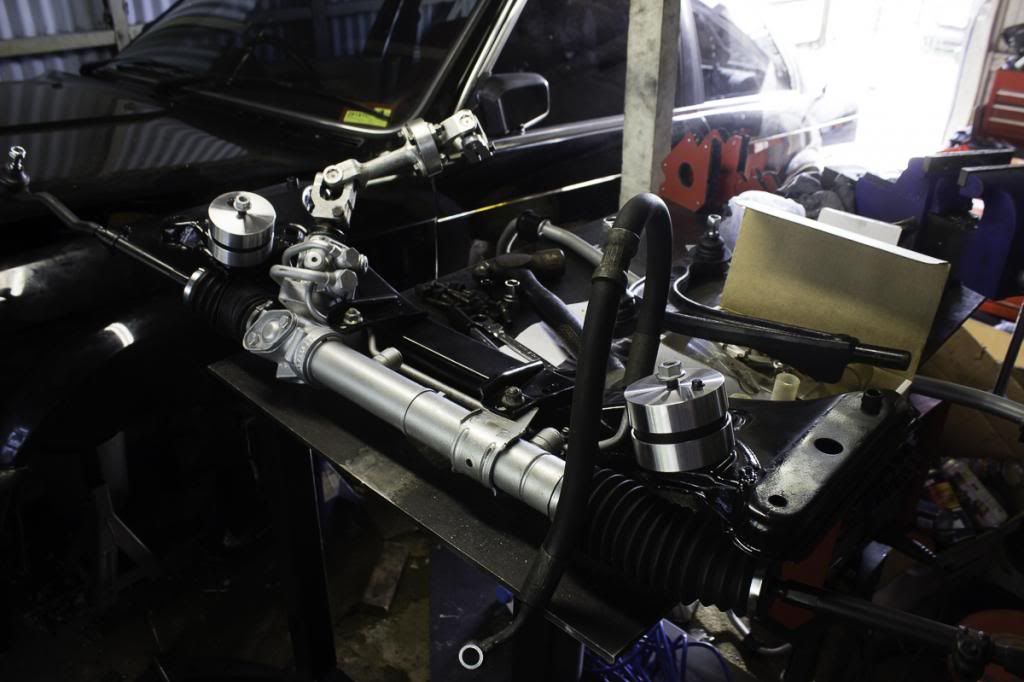
Replaced the rubber steering guibo with aluminium
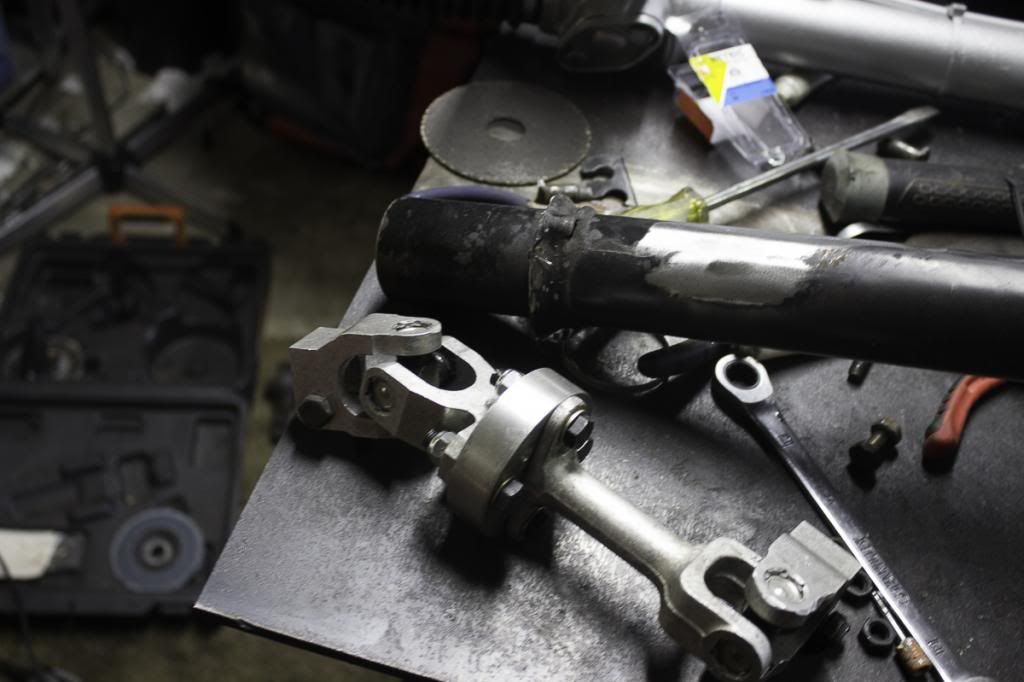
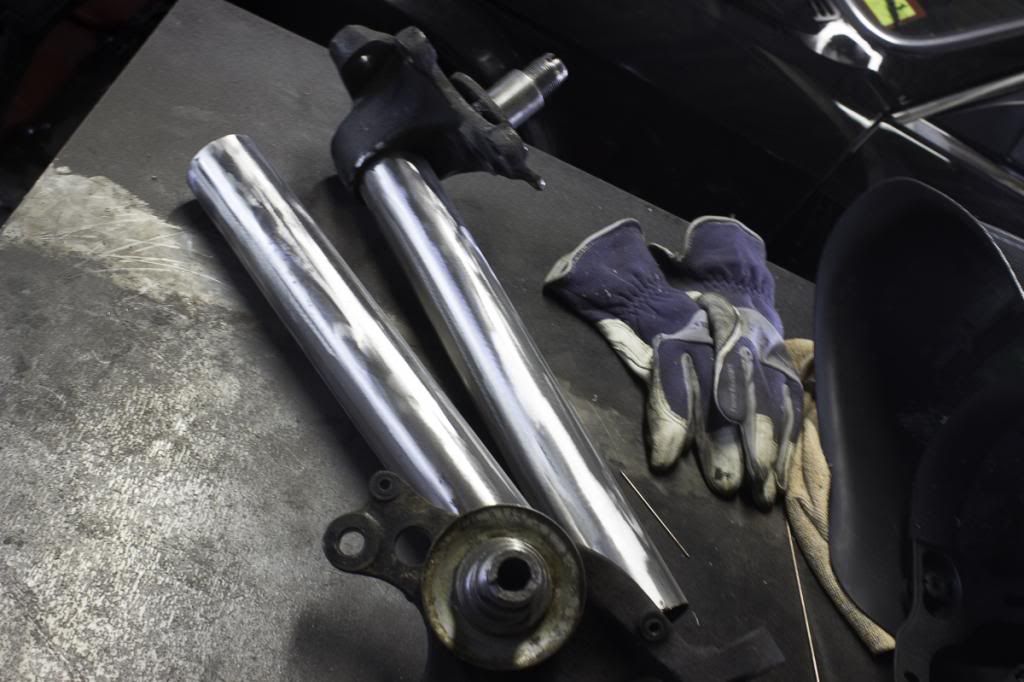
Removed 1.5" from the strut housings
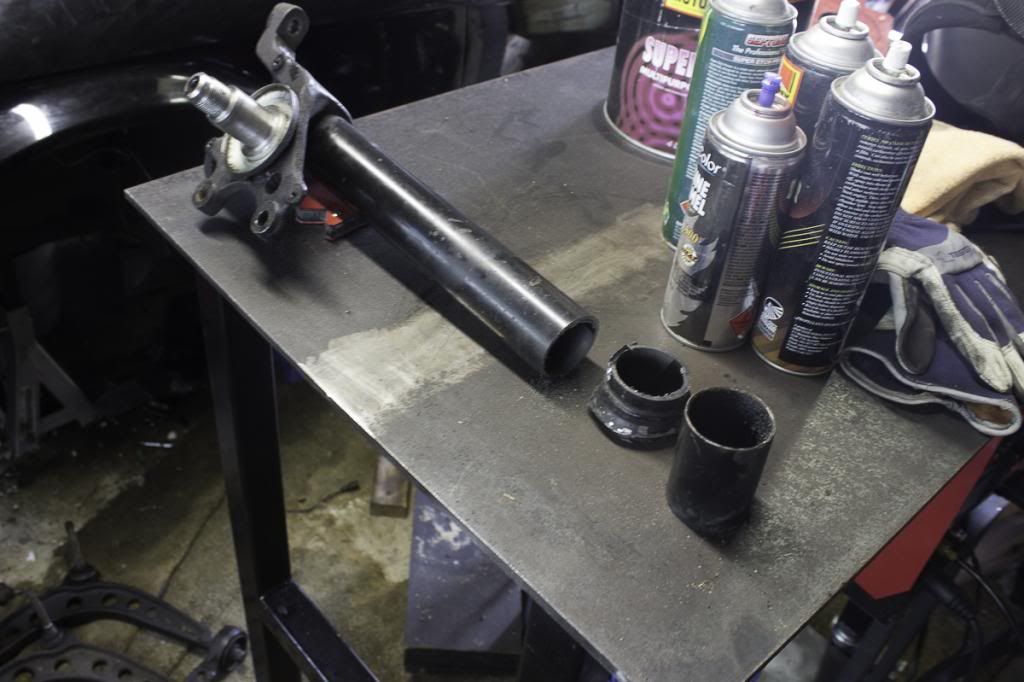
Tack welded up with magnets and old shock in to ensure its perfectly straight
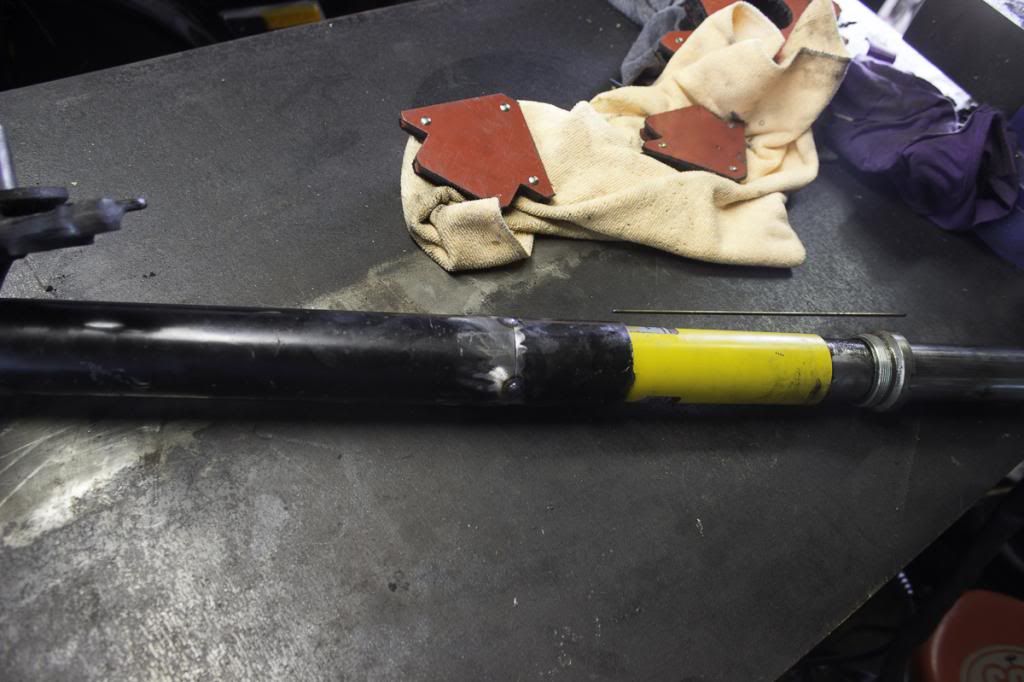
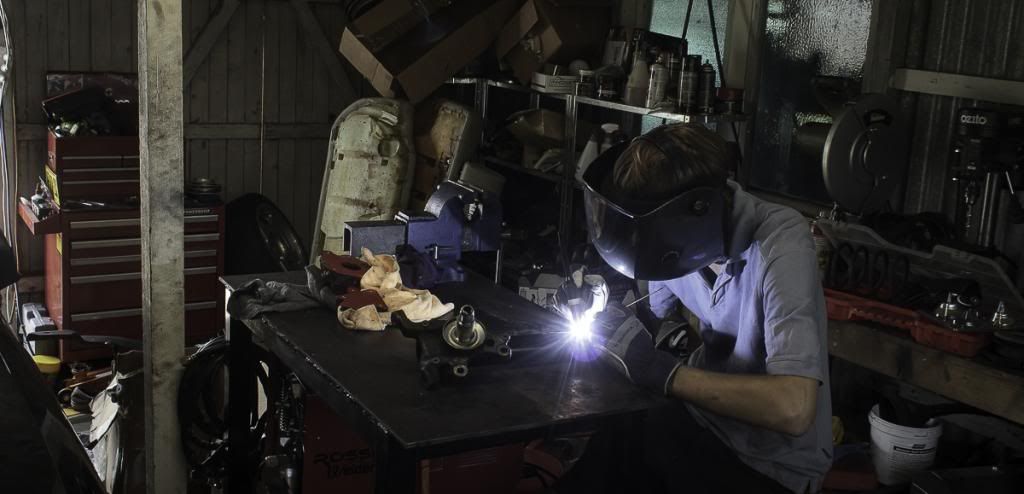
Tig welding
Welds ground down
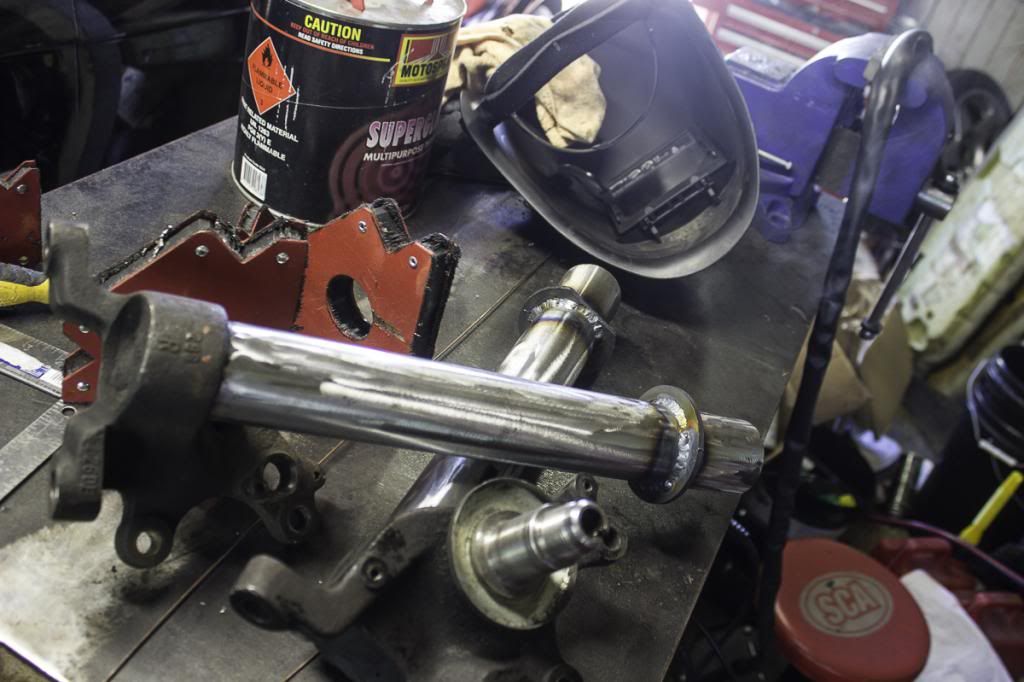
New spring perches welded on
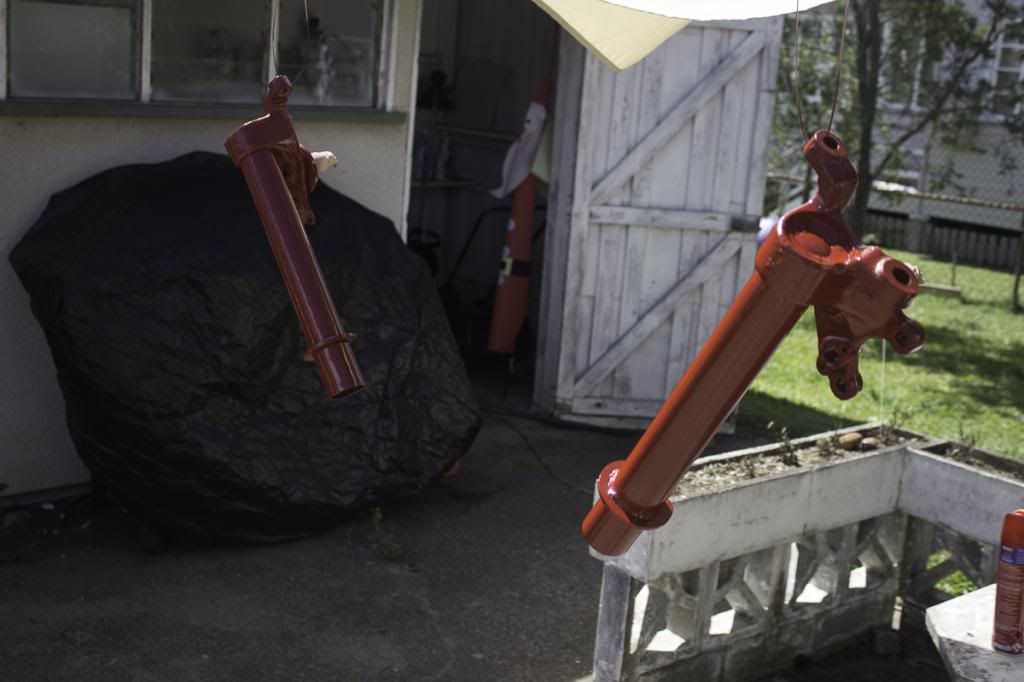
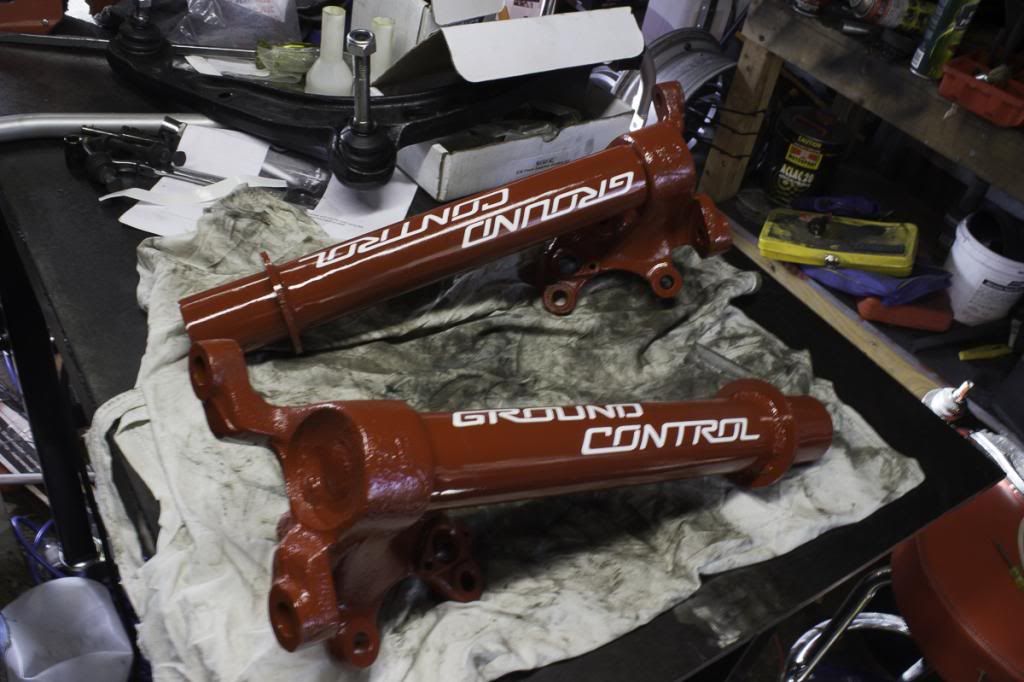
Etch primered and painted red (let the lady friend pick the colour)
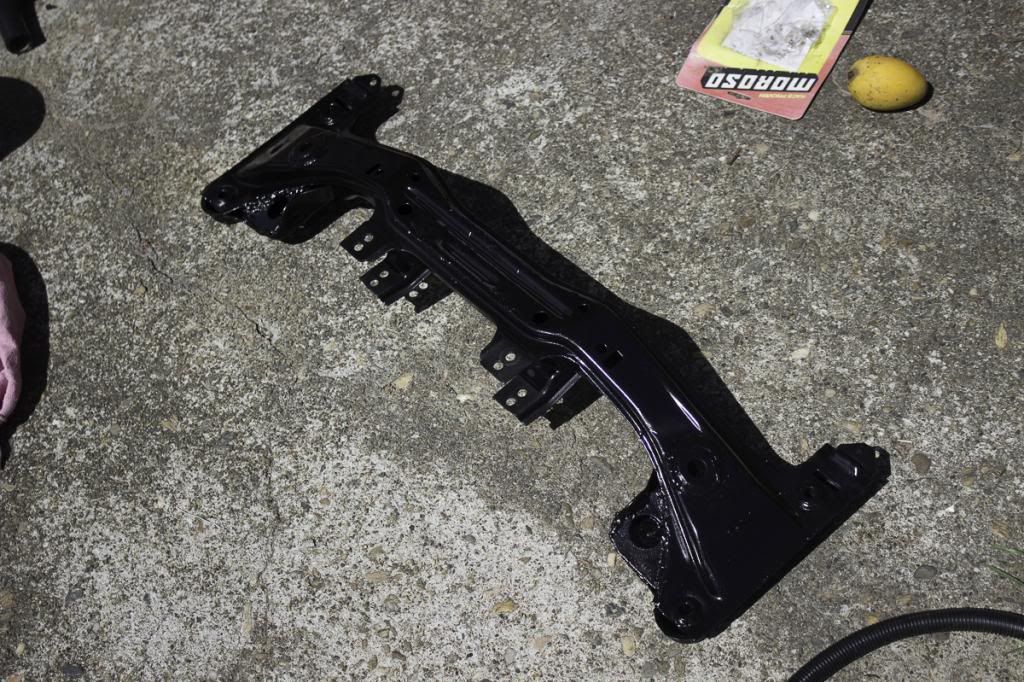
Subframe reinforced around the engine mount area, as they are known to break with hard driving, especially with stiffer engine mounts. Sand blasted and painted.
Steering rack and linkage fitted, along with new turner motorsports engine mounts/buckets
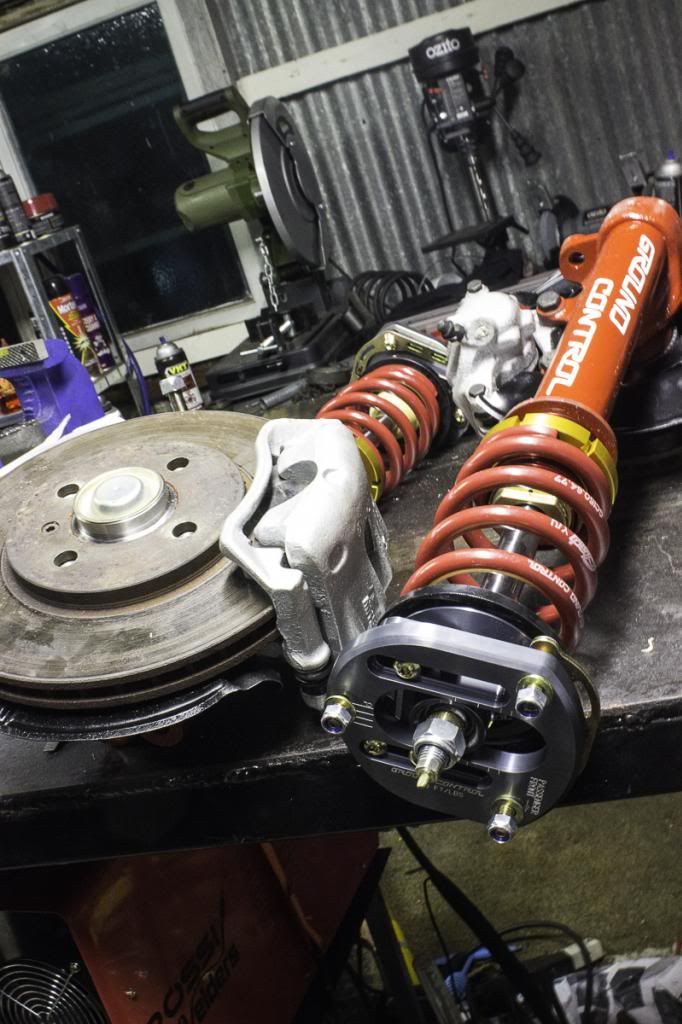
Ground control stickers stuck
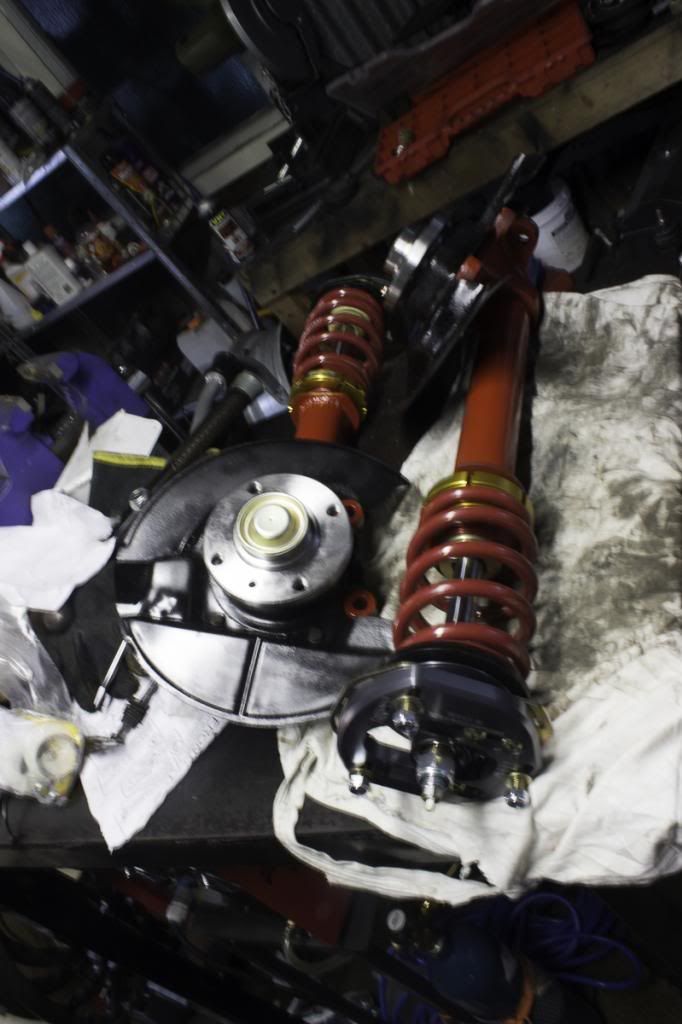
Brake dust shield things painted and put back on, new wheelbearing/hub assemblys fitted, and the shock, coilover adjuster sleeve, spring, camber/caster plates fitted.
Brakes back on
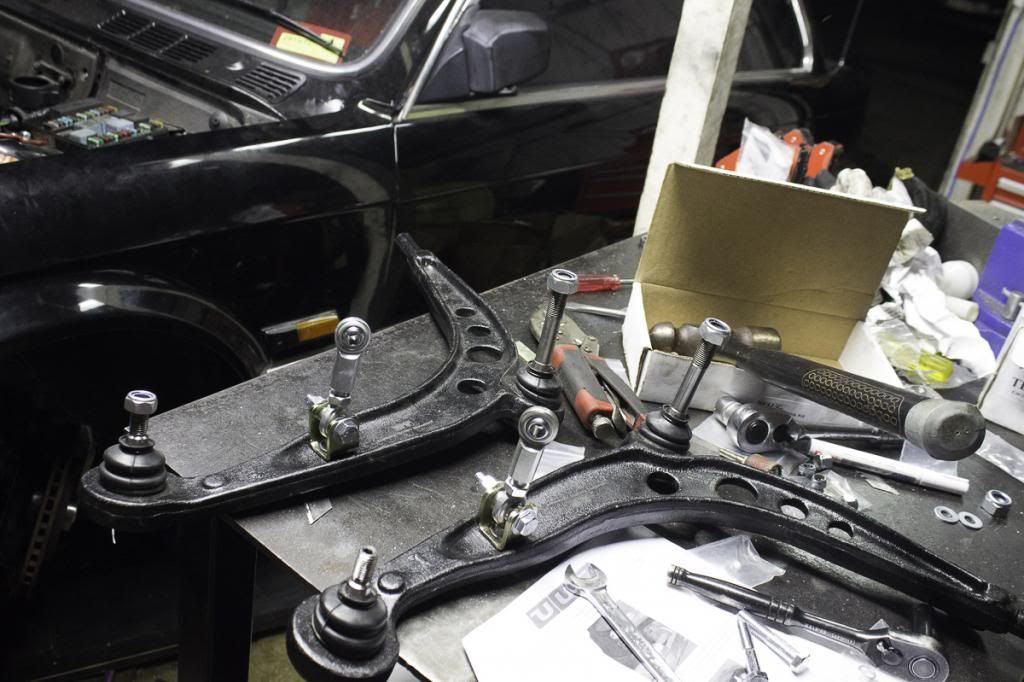
New control arms, with UUC swaybar hardware
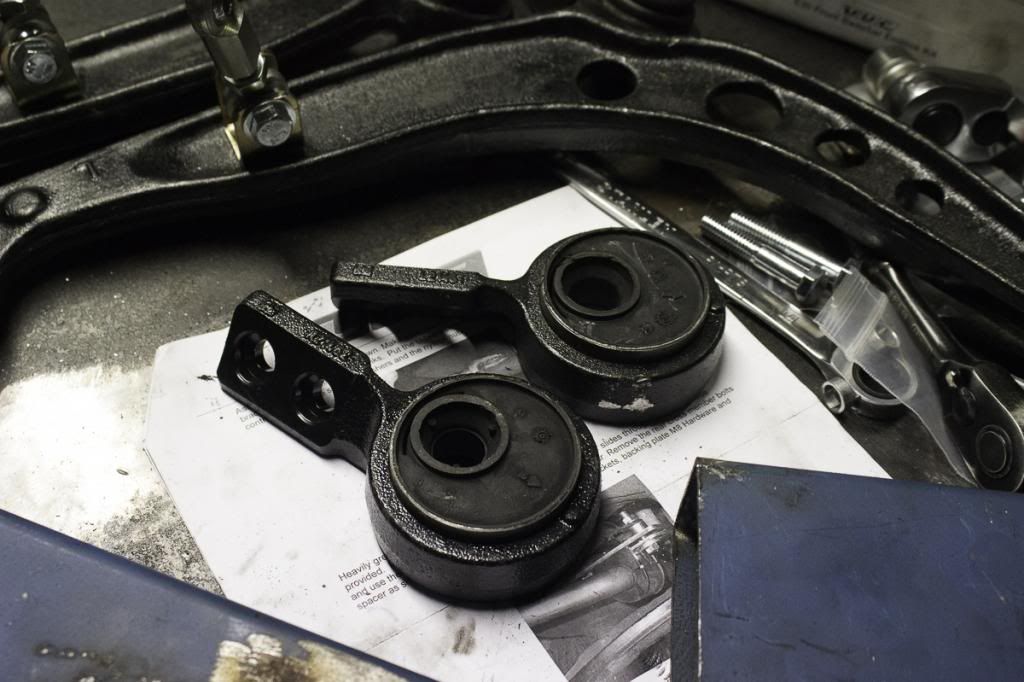
Offset solid M3 control arm bushings in new lollipops
Leave a comment:
-
Cheers guys
So, hungover as fuck I got stuck back into it today.
The car was leaking oil pretty bad (or had a lot of horsepower sweat), so while the subframe was off I decided to drop the sump and replace the gasket. Was quite a waffleswaffleswaffleswaffles to get off, a few very hard to reach bolts happened to have nicely rounded heads and had to be carefully cut off with the dremel... Once it did finally come off though it was all good news, was pretty clean in there which is a good sign that the engine is healthy, and the old gasket was fucked (and most bolts were literally only finger tight) so hopefully the oil leak was just from this gasket, and not the rear main seal, which would not be as much fun to change.
Cleaned the sump up
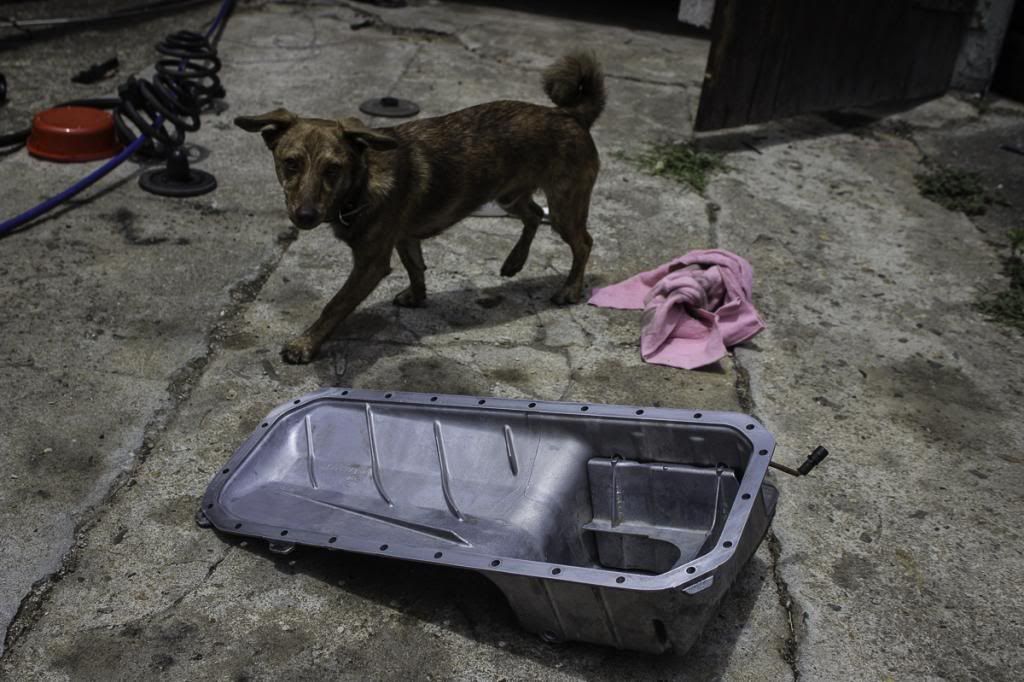
Stuck it back on with some sealant, put in a new magnetic drain plug, BMW oil filter and fresh oil (which was well and truly overdue)
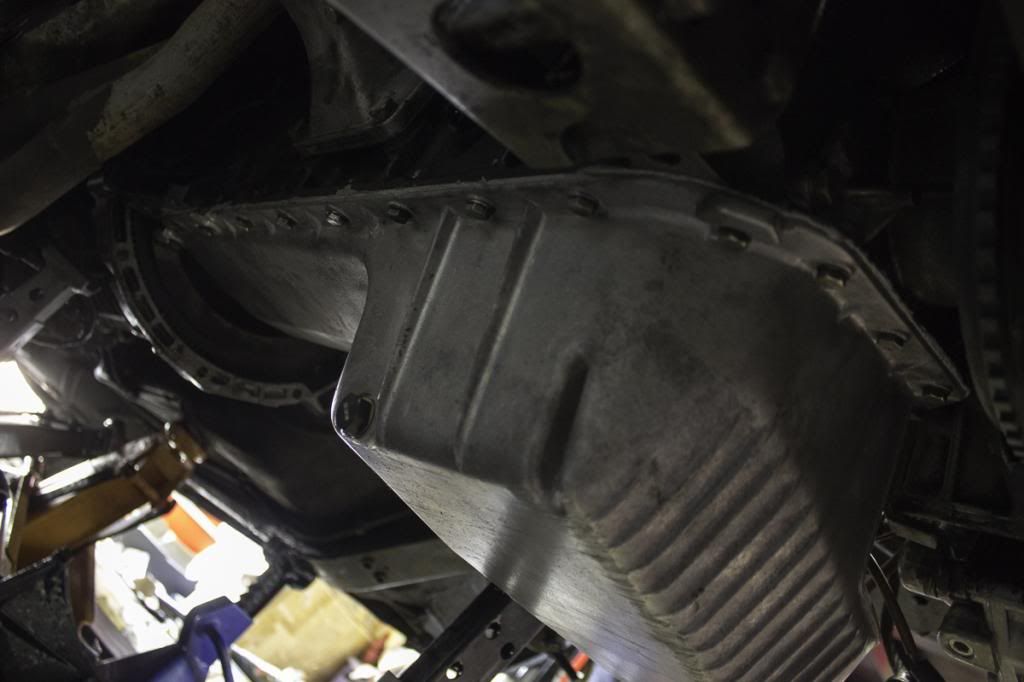
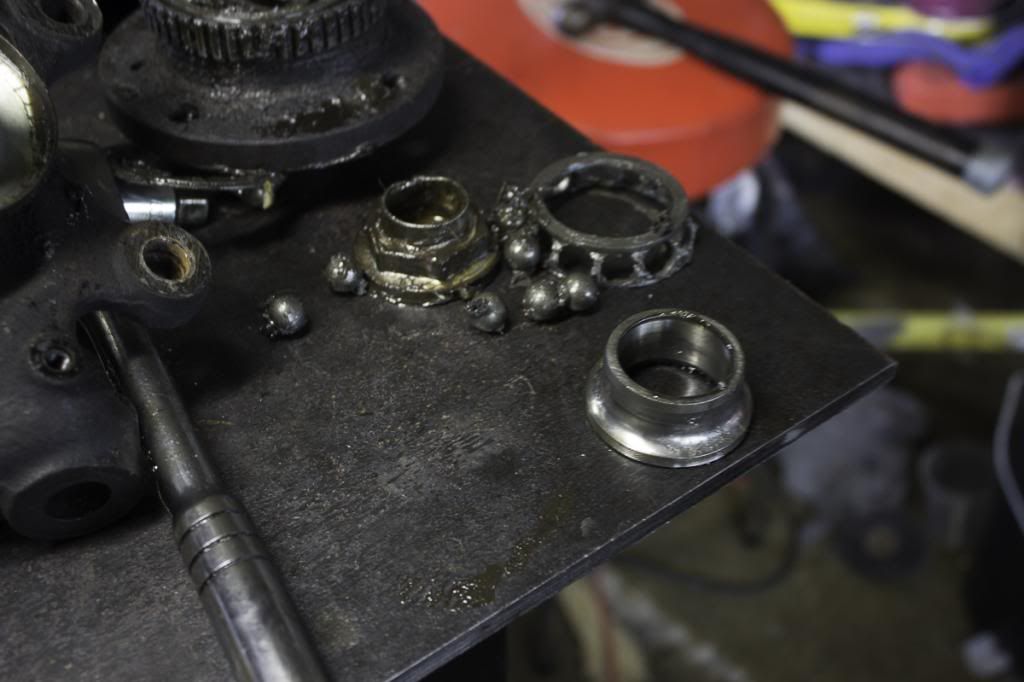
Then got back to the suspension. Stripped the subframe and everything attached to it down and pulled off the front hubs/wheel bearings. The old bearings were fubar.
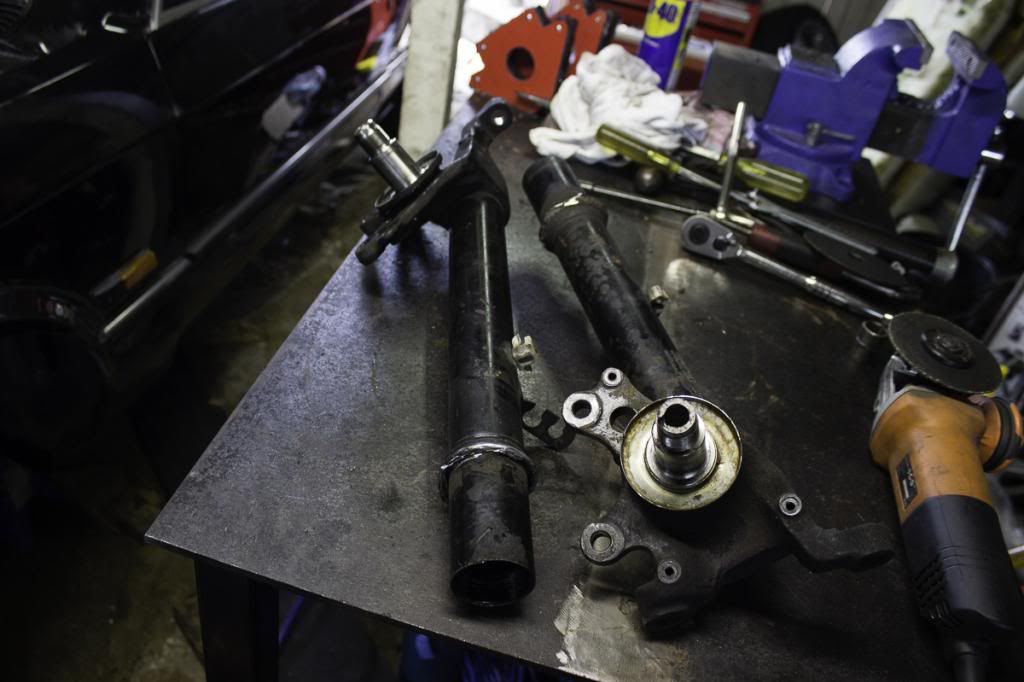
Then I pulled the springs/shocks out, and cut off the old spring perches (plus while I was at it gave myself a nice cut through the thumbnail, deep into the thumb. Fun stuff.)
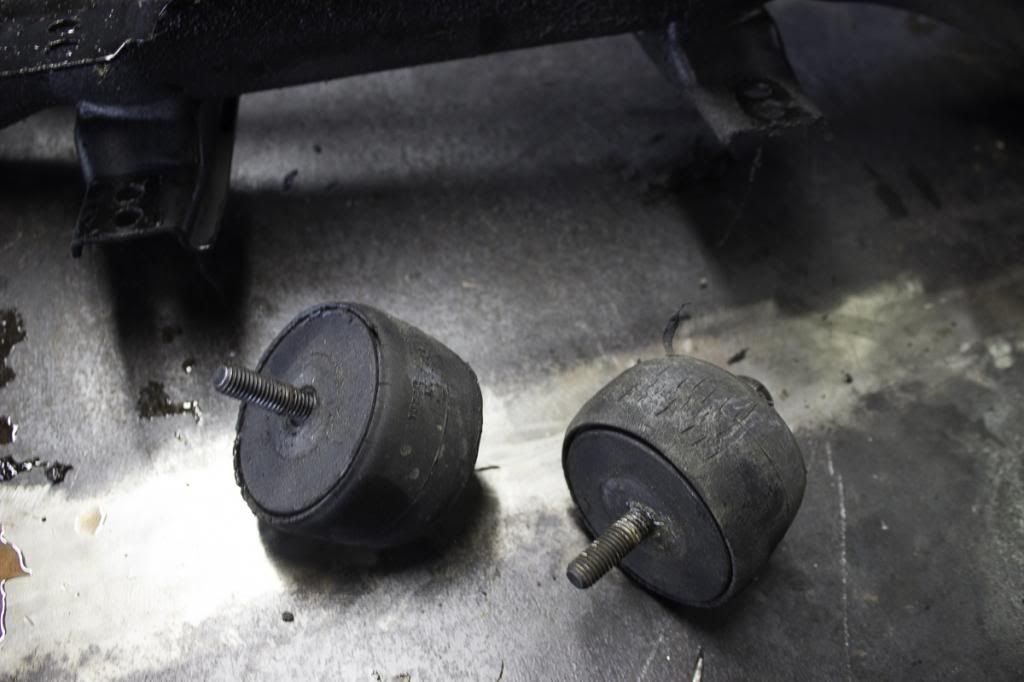
Old engine mounts are pretty shagged
Brakes were pretty filthy. Cleaned them up and gave them some paint.
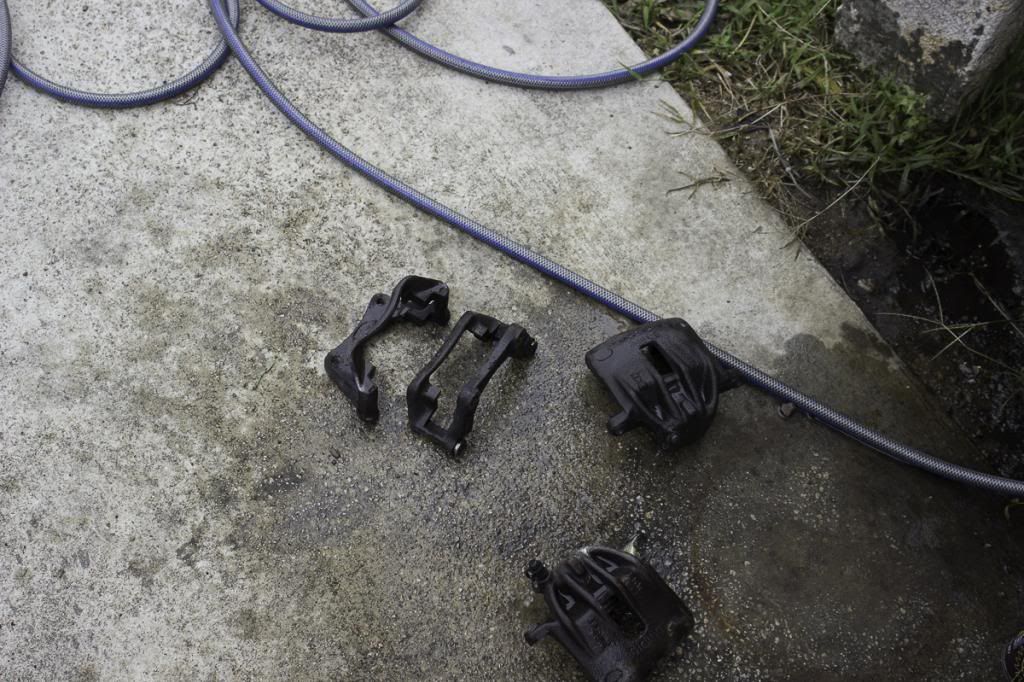
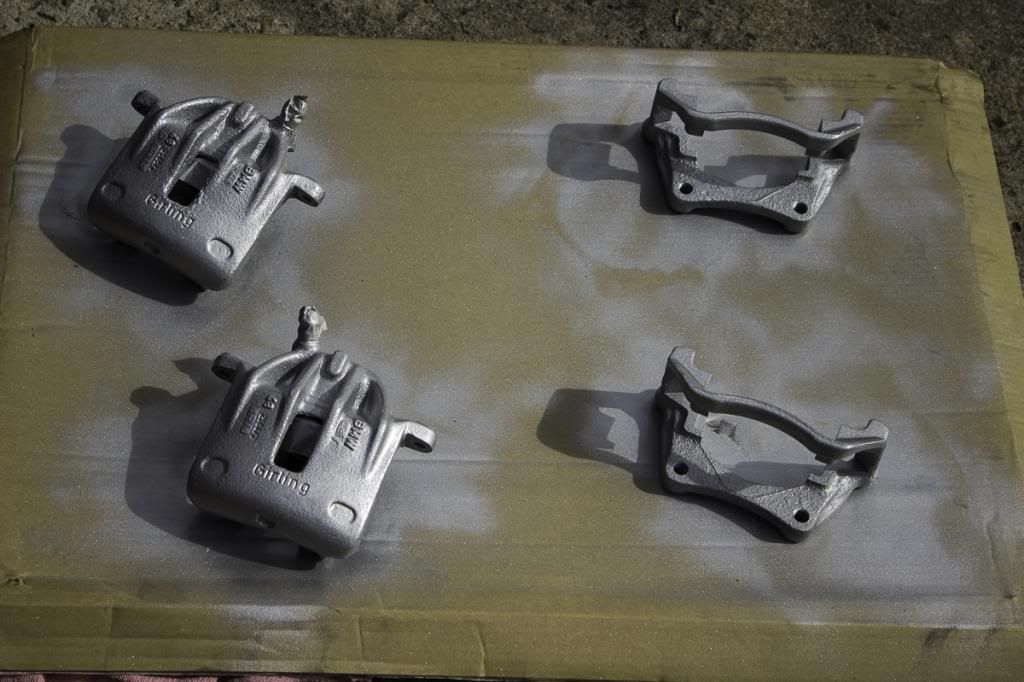
Couldn't do much more as far as putting things back togethor yet, as I still need to reinforce the subframe, and am waiting on more welding gas and want to sandblast the subframe before I weld it up anyway
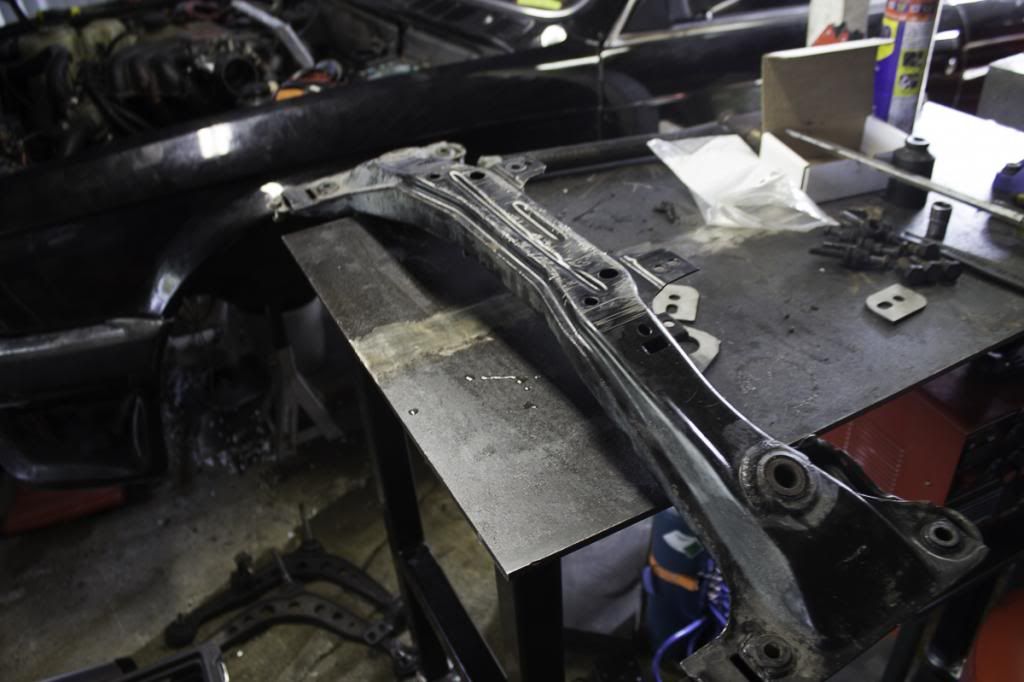
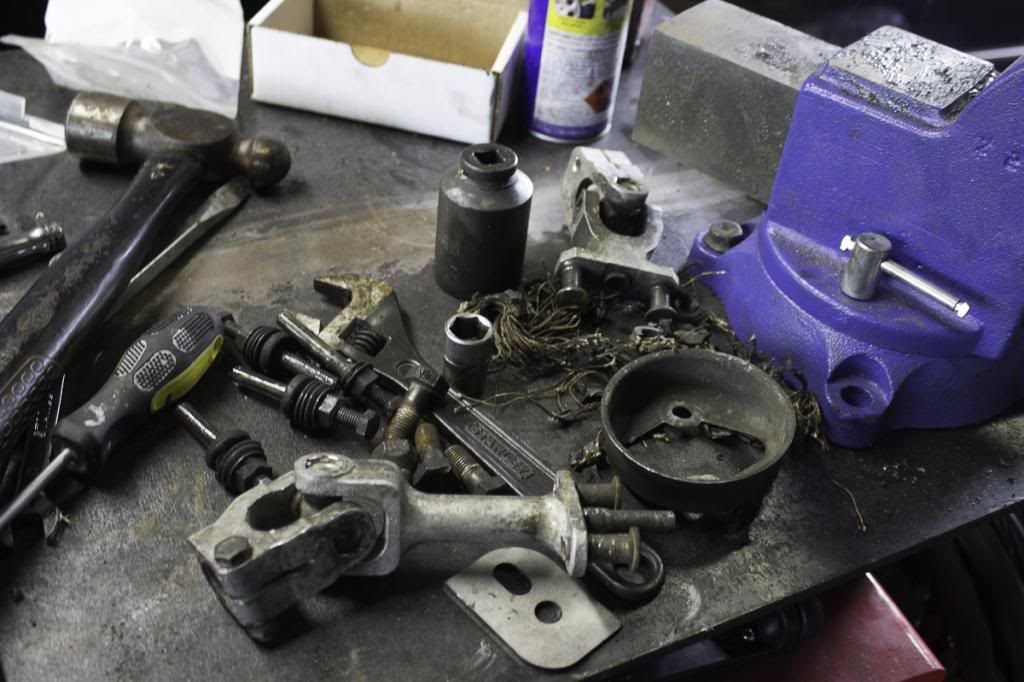
Also cut out the old rubber steering guibo, and cut out the rivets for it. Need some bolts before I can finish this.
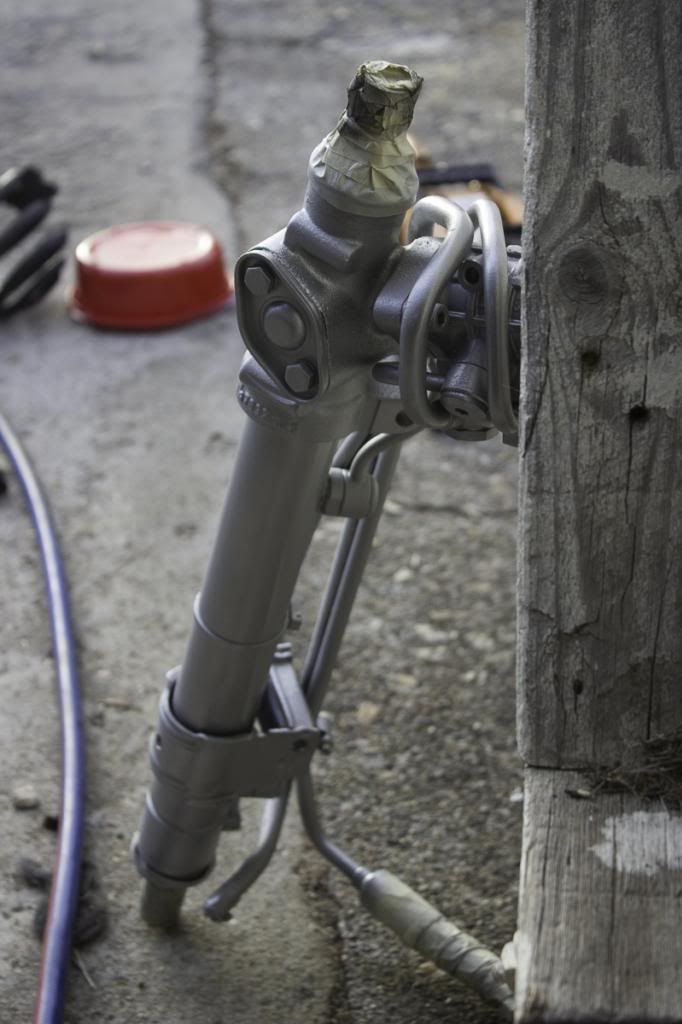
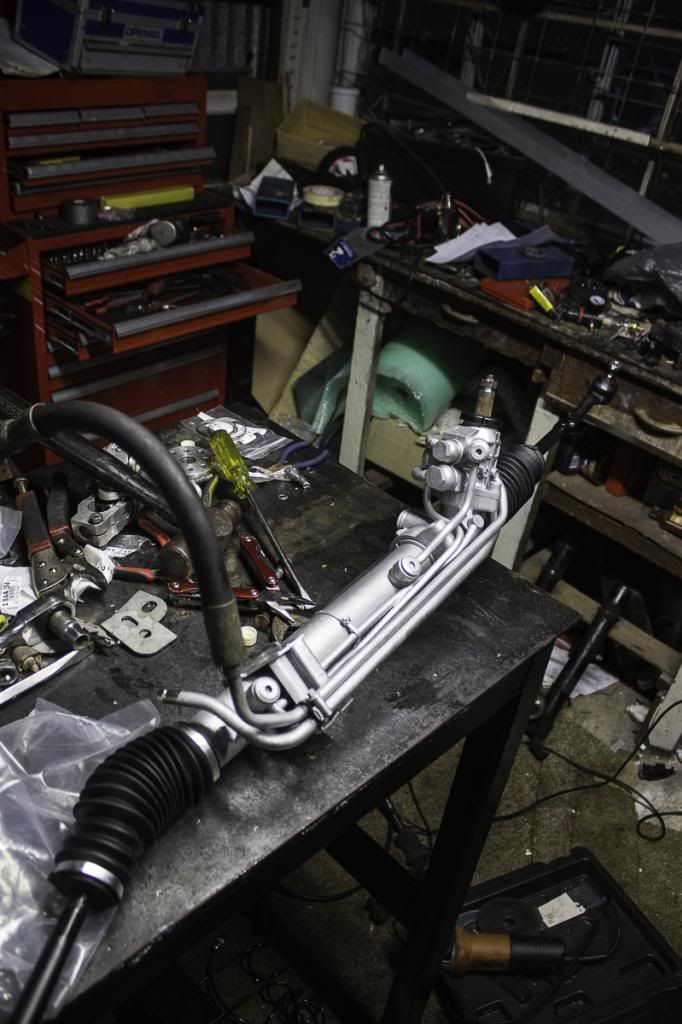
Gave the steering rack a quick clean, but still wasn't happy with it, so gave it a quick lick of paint aswell
New full tie rods, locking plates, boots and clamps fitted
Leave a comment:
-
great job. i wish i could paint parts and make it match that well.Leave a comment:
-
Seems I got a bit carried away and skipped photos of a lot, theres a very large chunk of work missing (probably the most time consuming part of the standalone converision) but I made a complete new wiring harness, all covered in Raychem dr-25 and tucked away neatly.
Then wired up some relays and mounted the ecu and some fuses.


Bonnet back on, going for a few quick laps around the block to see if everything works. Fired up first try and even on the base tune for a different motor I got from a mate, pulled so nice ;)

Put more of the front on and some interior and took it for its first proper drive last night to the euro meet. Didn't miss a beat. Had it plugged into the laptop, datalogging, and played with the tune a bit on the way there and back. Is driving very nicely! Still a few things to tweak, like cold idle and such, and no doubt can get more power out of it, but I'm still a very happy boy.
So after taking it out for the first time in months, I put it straight back in the shed and decided to get stuck into the suspension. Really hoping to make halfway hangs, which is quickly approaching, so am getting stuck in.
Now, I have a lot more stuff to do in the rear, you'll see in time, but I don't have time to get it done before halfway hangs, so I'm just throwing the coilovers in for now.
Out with the old (already had koni adjustable sport shocks which was a surprise, would be happy to sell them if anyone wants them ;))

In with the new. This ground control stuff is great stuff. They basically put a kit togethor with eibach springs in whatever spring rate you like, with koni adjustable shocks valved to match the springs. Then some nice adjusters and such, and some beautiful billet shock mounts.


Also got this out to start work on the front suspension

Leave a comment:
-
also just fyi head over to bmwarchive.org and plug the last 7 of your VIN. it will tell you build date, color, and factory options your car came with.Leave a comment:
-
gotcha. check your wiper stalk too. it should have a button on the end and an "S" on top. that activates the intensive cleaning stuff.

Leave a comment:
-
Thanks!
The car may very well have had the headlight washers at one stage, it seems to have been very well optioned. The intensive wash tank wasn't hooked up to anything when I bought it, so who knows what previous owners have done to it. I don't think the headlights that came on the car were the originals, and they had hids crudely retrofitted which I was very happy to get rid of...
Sent from my GT-I9305T using Tapatalk 2Leave a comment:
-
good looking ride..
wonderful job on the coils timing cover and plug wires.
puzzled that you have the intensive wash tank but not the headlamp washers / headlamp cleaning system? i know the intensive wash stuff was for the windshield, but I thought the system had both intensive wash and headlamp cleaning..Last edited by bradnic; 12-30-2013, 07:50 PM.Leave a comment:
-
Exactly, they need somewhere nice and warm to sleep. Might be able to fit two in if I'm luckyLeave a comment:
-
Haha actually pretty much everything in the engine bay needs a bit of a clean, most of it is pretty nasty.
It is an intensive wash tank I believe, not that it works. All of the tanks on the right side will have to be relocated/deleted soon anyway to make room for some fun stuff... ;)Leave a comment:


Leave a comment: